
Constabulary
-
Posts
5,801 -
Joined
-
Last visited
Content Type
Profiles
Forums
Events
Blogs
Gallery
Store
Everything posted by Constabulary
-

juki JUKI 1508/LU-563N - I can't remove the bobbin case?
Constabulary replied to rhinez0r's topic in Leather Sewing Machines
Grab the small tab and and try to turn the bobbin case until it comes off - there is just 1 position where it comes off. If it is stuck for some reason you can try to grab the center post with pliers or you have to remove the entire hook for further inspections. Thats what I would do. -
Don´t know their hand tools, I just order odds and ends from em. https://www.rickert-werkzeug.de/ http://www.lederhaus.de/
-
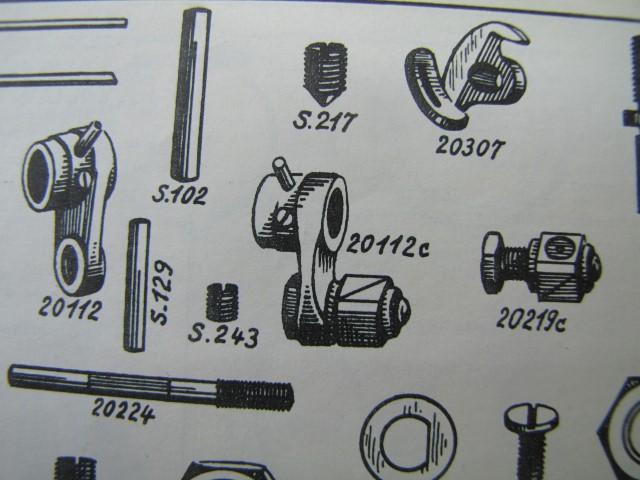
seems to be the drive shaft crank for the hook driving shaft - right? What model is it? Adler 20-2 I guess. EDIT: if it is the Adler 20-2 part I guess it is then the parts the No. is 20112 The german nomenclature is.... Schiffchentreiber-Wellen, Kurbel
-
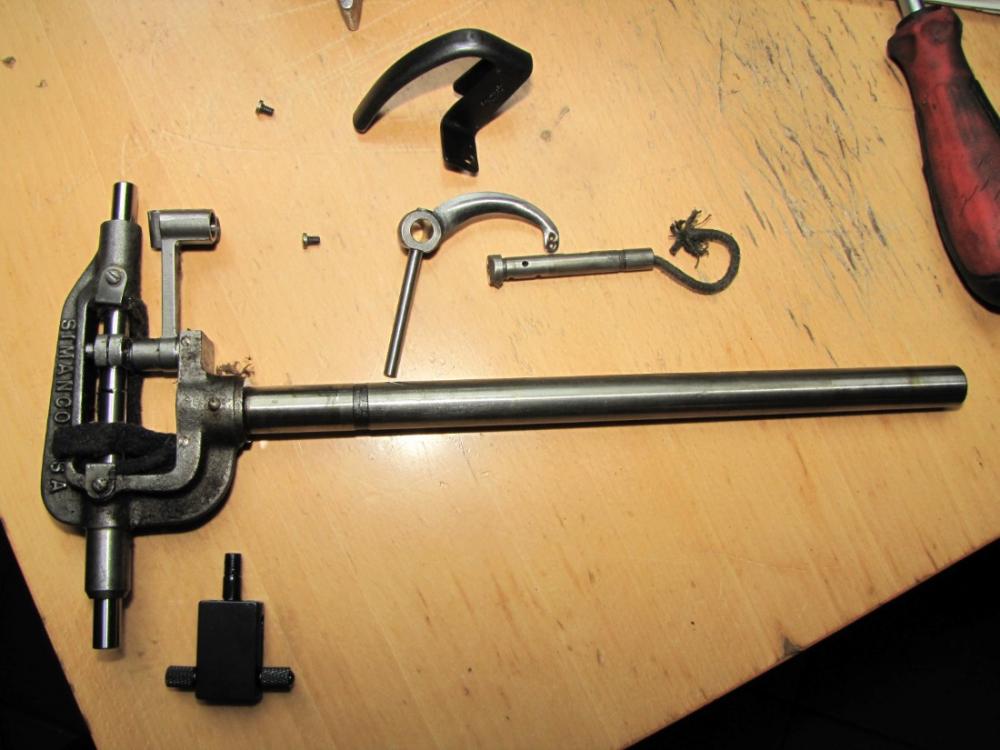
I would not call it a bargain but depends on what machines are available on the market. On this machine some parts are missing and some look odd. complete front tension unit is missing (not really necessary but it is missing). Stop screw for the revolving head is missing. Thread regulator spring is an odd one. Thread holder behind the hand wheel seems to be broke or is missing. Spring and tension discs on the spool holder which is mounted on the base are missing. The Foot pressure spring on the backside seems to be bent or is mounted the wrong way. All smaller issues but still issues. Thats just what I see one picture - do you ave pictures of the back side? Problem with patchers using for fabricating leather goods are: The bobbin is holding only a very small amount of thread (BTW - the 30-5 is a small bobbin machine which is using the longer 332L (L = LONG) needles. The presser foot which is feeding the material (it´s a top feed only machine) is leaving marks on the leather because of the aggressive teeth the foot has. The max stitch lengths is 5mm in best case - worn machines just do 2.5 - 3mm stitches. 4mm stitches are often enough a good score already. Personally I would not buy this machine for producing leather goods. Patcher machines are machines designed for repairing things / sewing shorter seams. Sewing a long straight seams is not an easy task with a patcher machine. My opinion - better look for a compound feed / triple feed machine.
-
The notch in the gib has to point up and the notch of the squared pice has to point down to give enough space for the foot bar movement. I just posted a 29K71 manual in another thread, hope I can link it here http://leatherworker.net/forum/applications/core/interface/file/attachment.php?id=142508 your machine is pretty much the same. But yours has a different (drop out) gear box, thread regulator and a few other minor differences but the manual should be very helpful for your 29K51 too. The parts diagrams are helpful if you want to disassemble the head for cleaning.
-
here is another one with nice exploded diagrams of the parts - helpful if you want to disassemble it for service. Singer 29K71, 29K72, 29K73.pdf
-
Another hint - please show some pictures of your thread length adjuster - maybe the "gib" is missing... The position of the gib and the squared piece is important too. Just another guess.
-
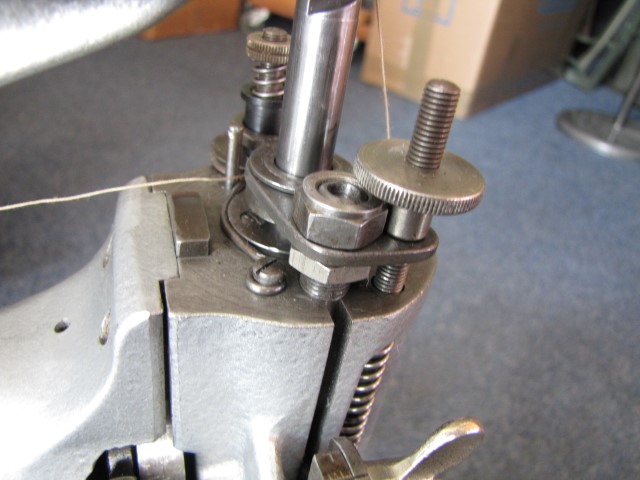
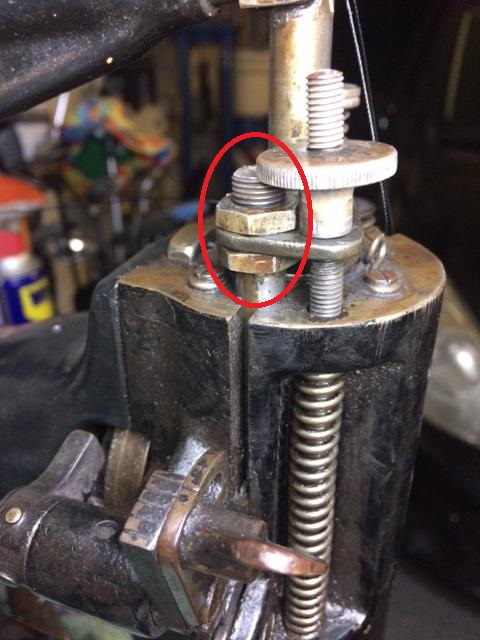
Remove the tension thumb nut then losen the 2 nuts I have marked in your picture and reposition them as shown in the 2nd picture. Meaning - try to find the point where the foot meets the needle plate. Tighten both nus properly when done. Your upper nut is thinner than the one in my picture so the threaded end that sticks at the top should be approx 6-7mm. Thats at least how mine is positioned and it works well. Furthermore the machine seems to need a thorough cleaning this for sure will help to improve the performance. Hope this helps - if not report back. EDIT: BTW - your top nut is not the original one - the original nut is a bit higher (see my picture)
-
Could be dirt or maybe something wrong assembled. Please post good clear and detailed pictures of your machine from front and back (head only) and when you have the chance post a video too. It is a wild guess but is it possible that the tip of the bell crank lever does not sit in the ring grove of the feed motion ring slide bar? I guess you have this parts list already, right? SINGER 29K51,29k56.pdf
-
Singer 132K SV 11 -> a 132K6 variant?
Constabulary replied to Constabulary's topic in Leather Sewing Machines
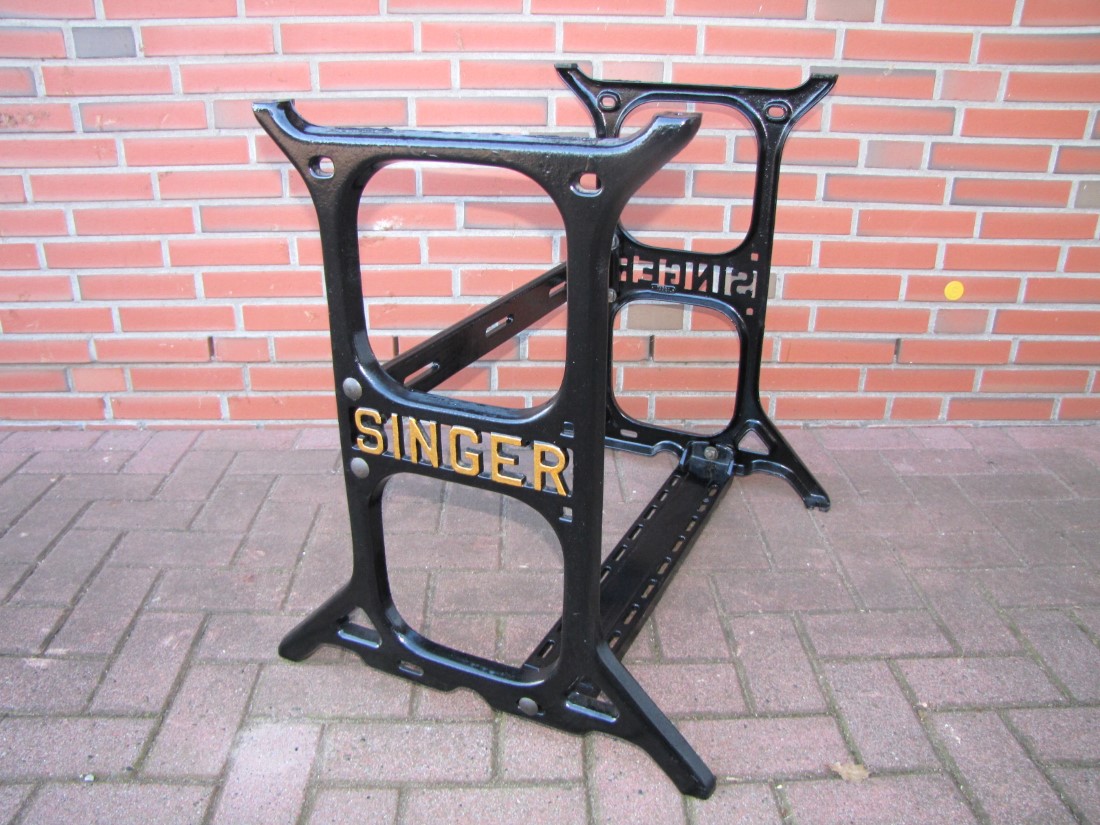
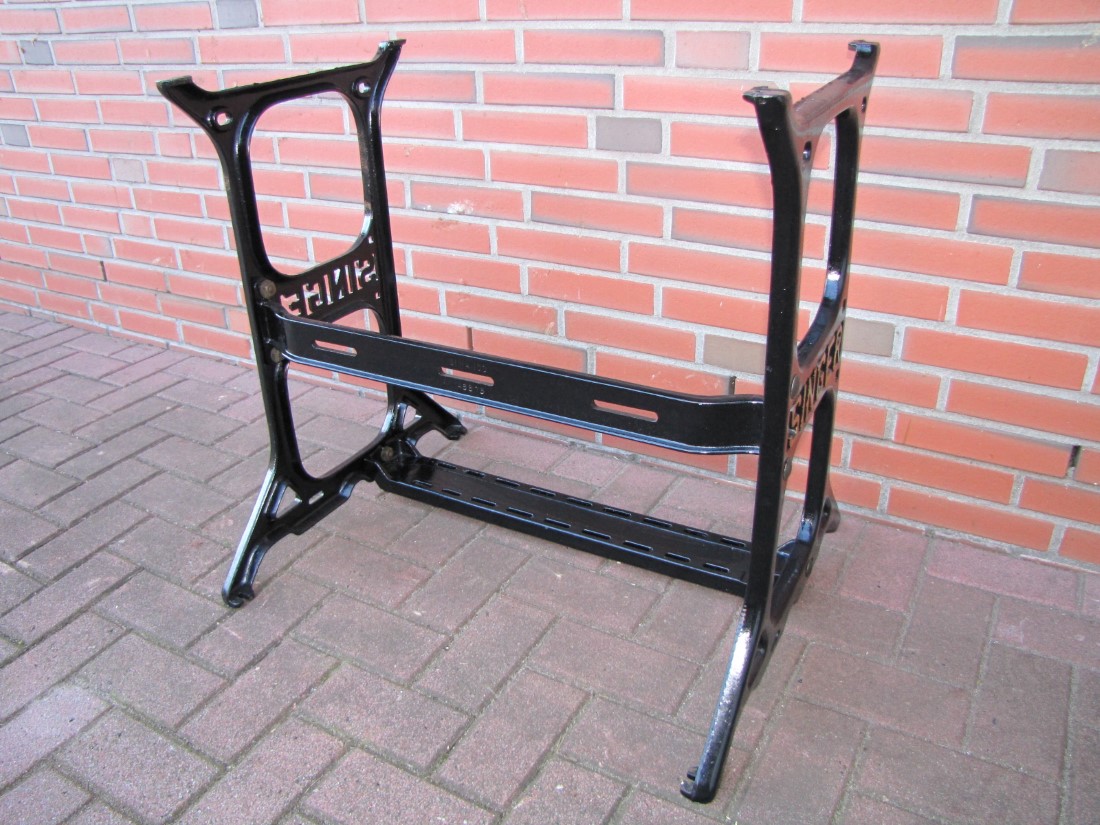
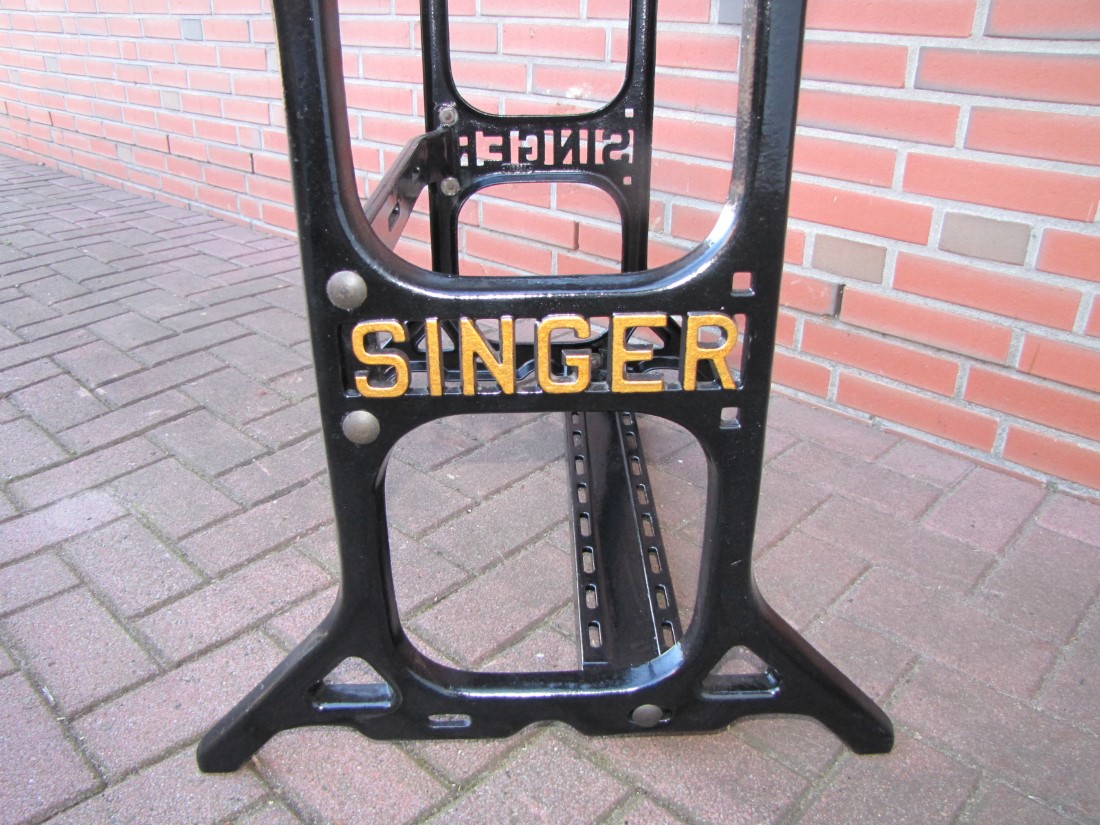
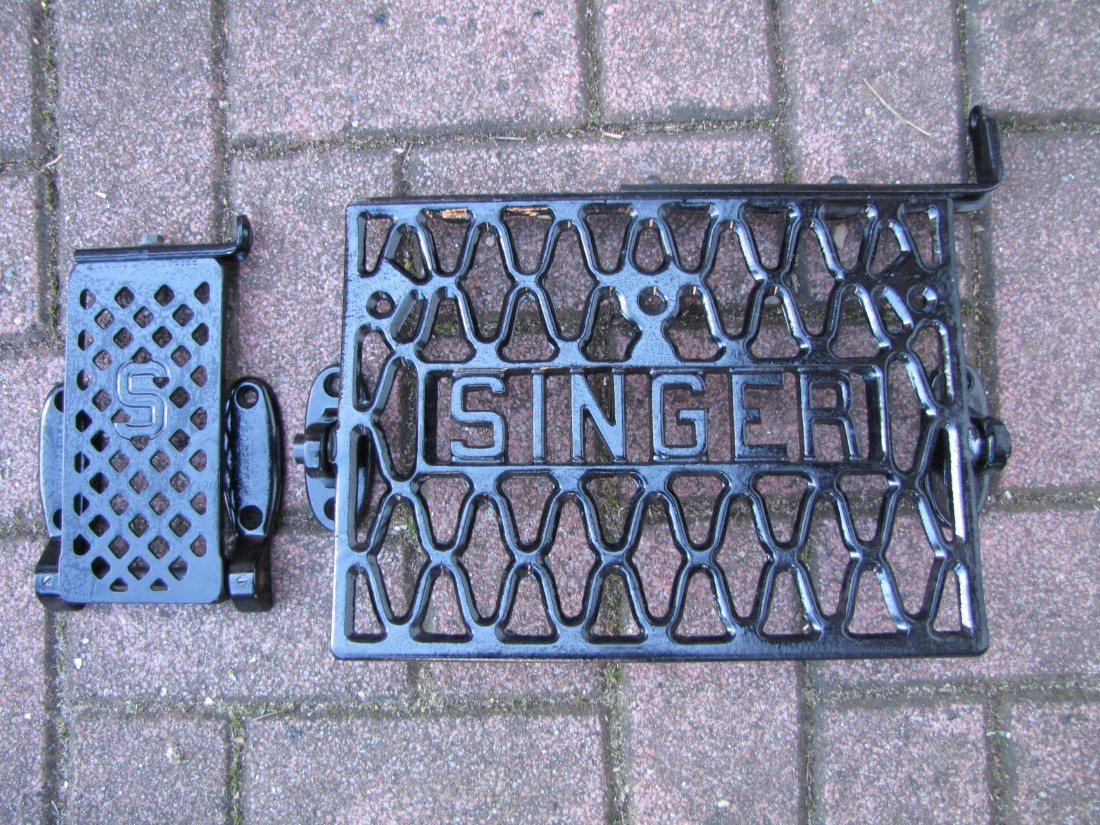
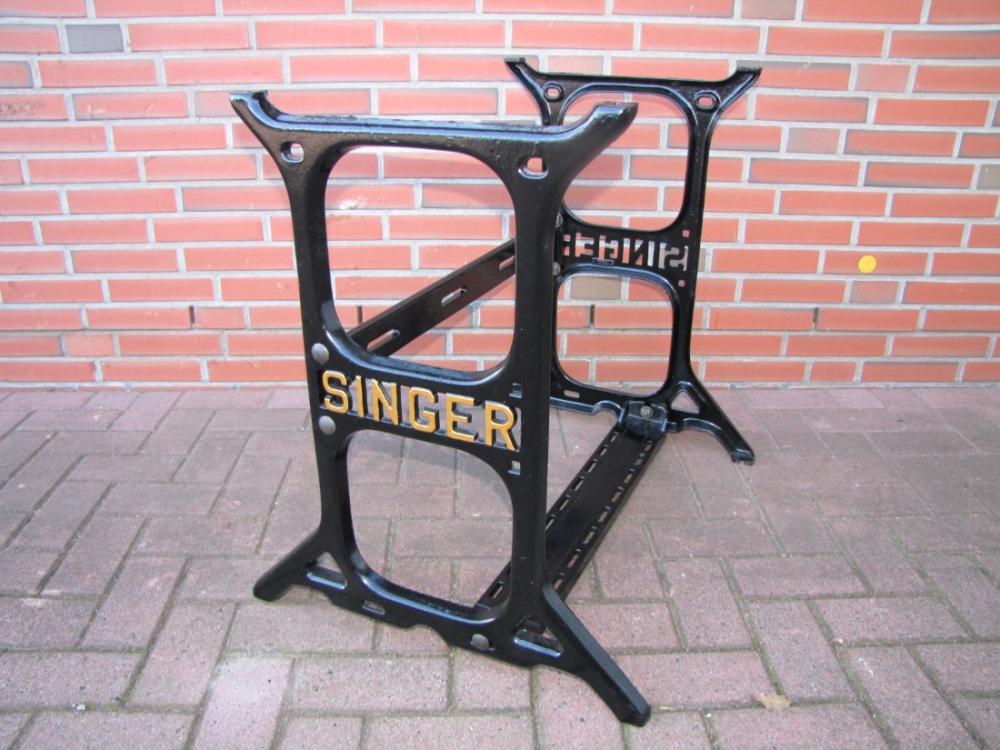
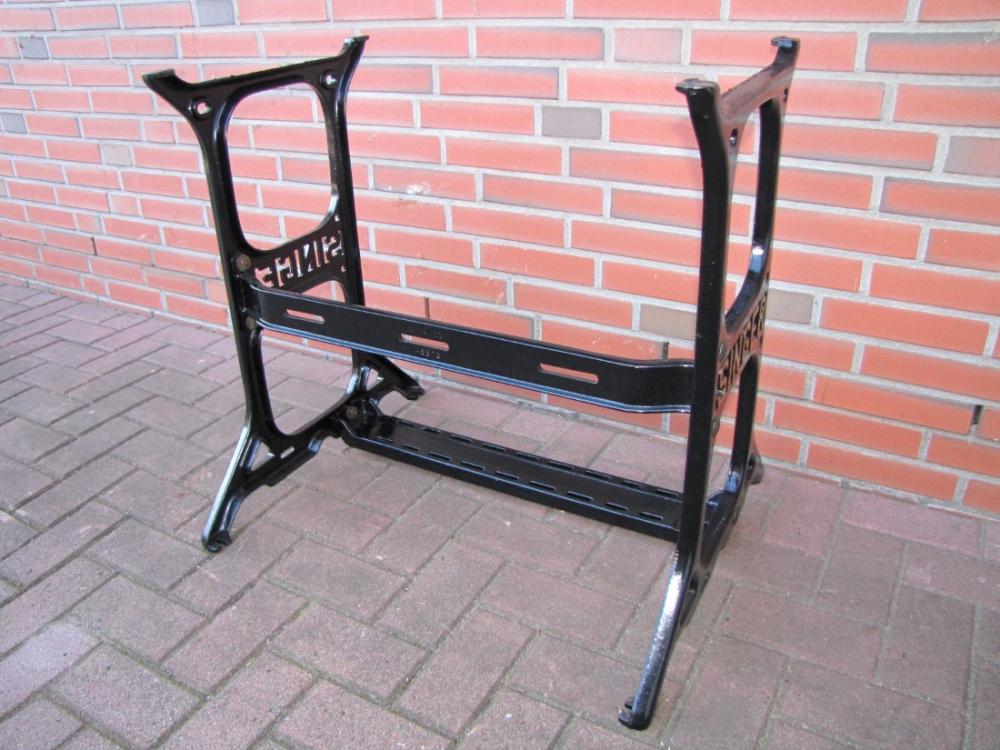
Finally found the time for finishing 1 of the 2 Singer cast iron stands. It´s completely repainted. Small pedal is for the foot lifter bar but I yet haven´t found a lifter bar for an acceptable price - seems the lifter bars was an optional items. College Sewing has them but I don´t want to pay that stupid price for just a foot lift bar So I´m getting closer to finishing my 132K6 setup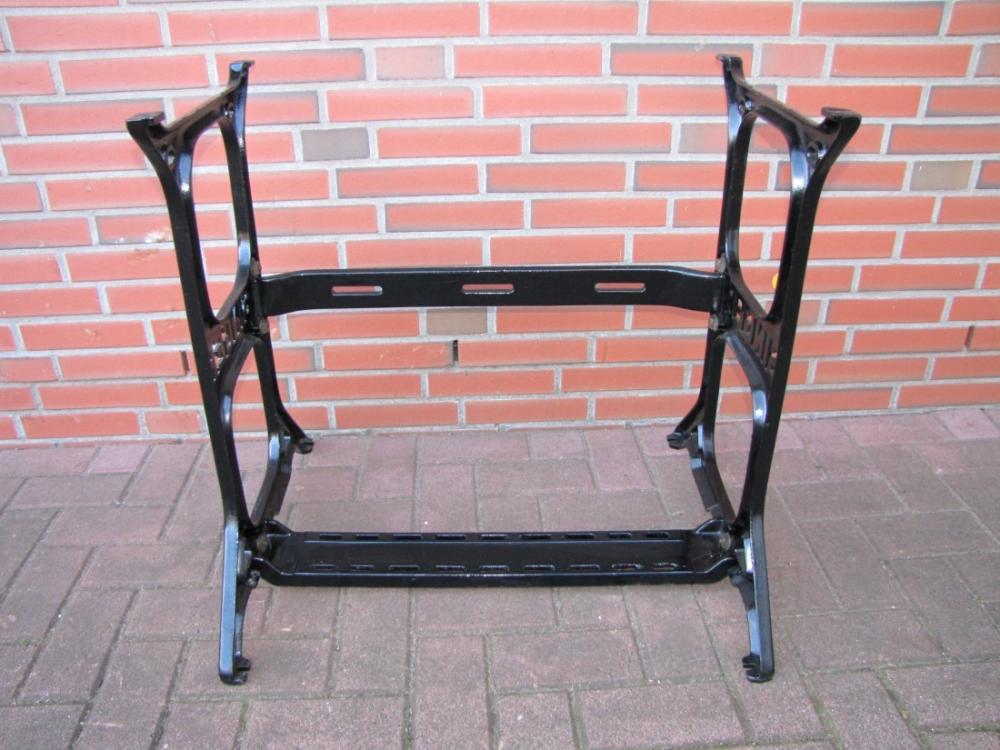


-
Hey VanRhodes - how is it going with your Singer 7 - or was it an Adler 20? But The Duerkopp 239 is a 1 need tripe feed machine or has it been converted to a 2 needle machine - flat bed should be long enough for that.
-
Singer Leather Sewing Machines
Constabulary replied to Trevor Baret's topic in Leather Sewing Machines
uuuuh - haven´t seen this one before so just form what it looks to me i tis a Singer Zigzag post bed machine and the head part is based on the Singer 107w as far as I can tell. Probably 3 step ZZ or it is making some sort of stitch pattern - I think thats what the device on the backside is for. But I only can guess. The dealer has no information? -
Adjusting needle rocker to needle hole
Constabulary replied to Michiel's topic in Leather Sewing Machines
I neither know the machine nor it´s needle bar - not sure if the needle hole is centered in the needle bar but maybe you can loosen the needle bar clamp screw and turn the needle bar by 45° - just a guess when I look at the position of the needle holder. Of course reposition the needle it self as required -
Note: The pull knob of the right needle holder can hit the casting when set in the upper position. So you either don`t raise the knob fully or you have to make a cut out in the casting. Personally I do not raise the knob fully and it works w/o problems. If you want to install a split needle holder of more than 3/8 needle distance you most likely have to make a cut out in the casting due to the width of the needle holder unit. I have a 1/4" and 3/8" needle holder and both work without making a cut out. These split needle holder can be found on Ebay and I´m sure most of the well known sewing machine dealers who support this forum can supply you too.
-
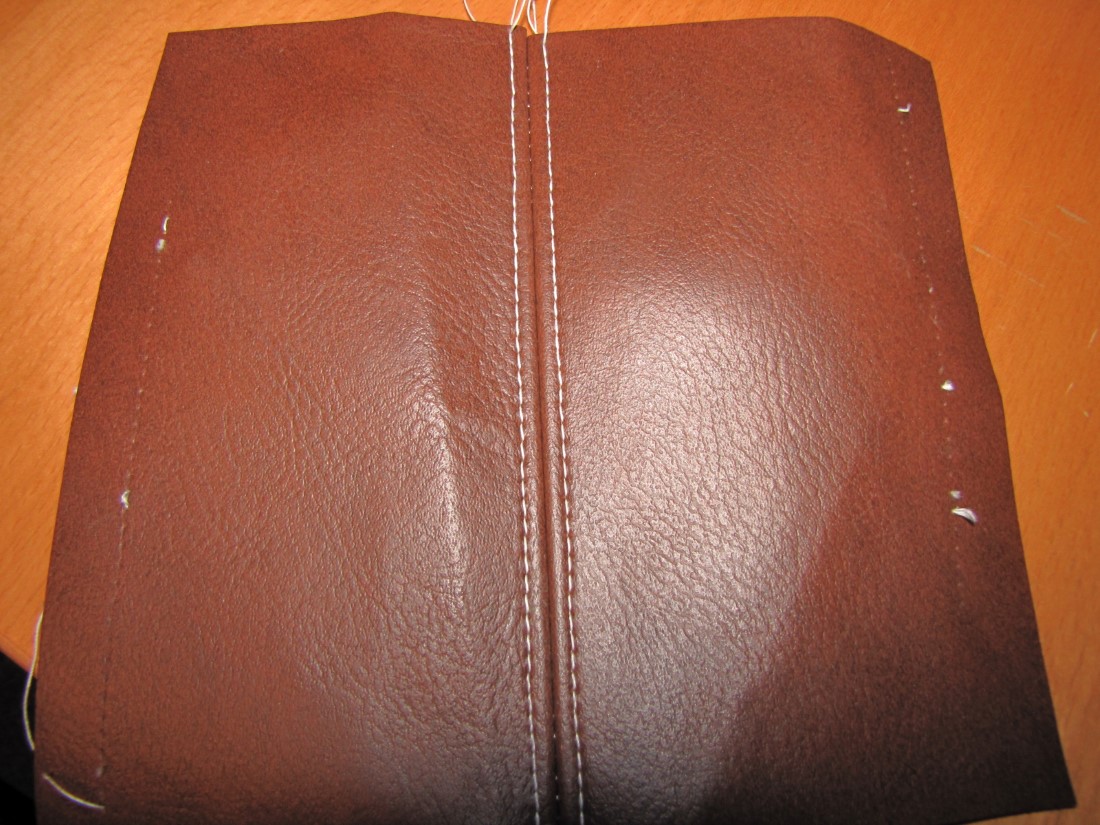
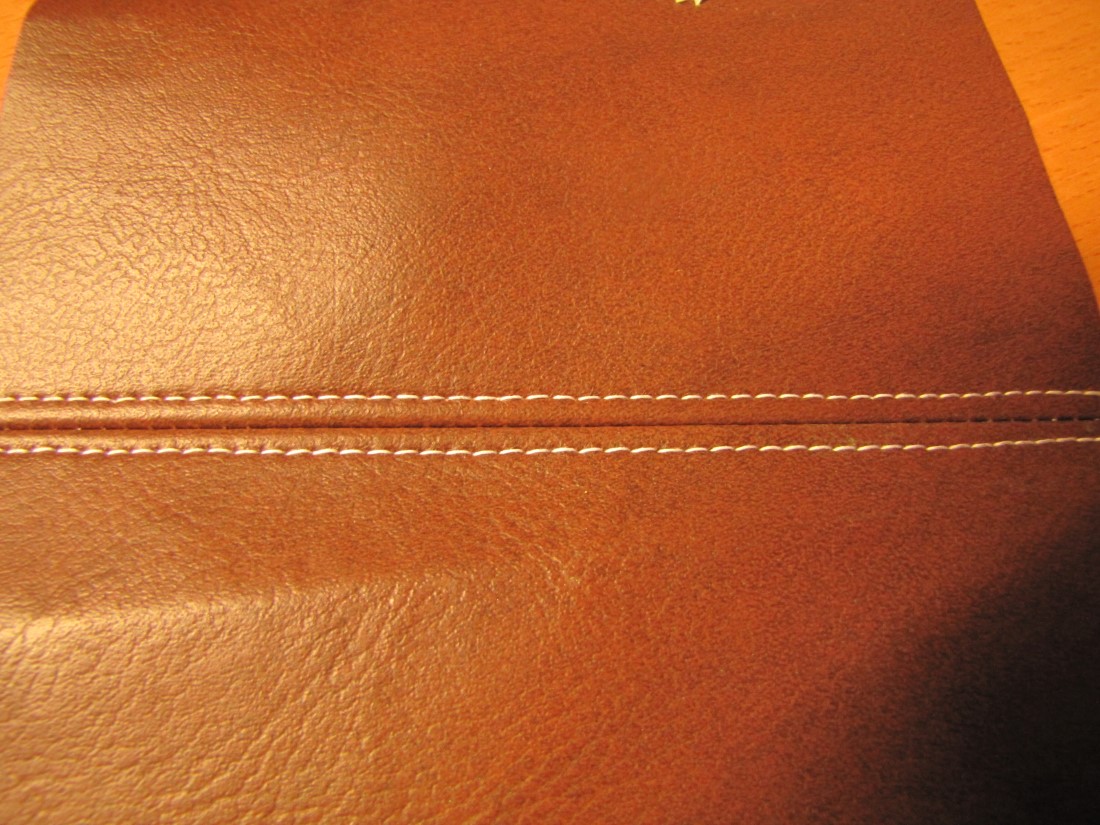
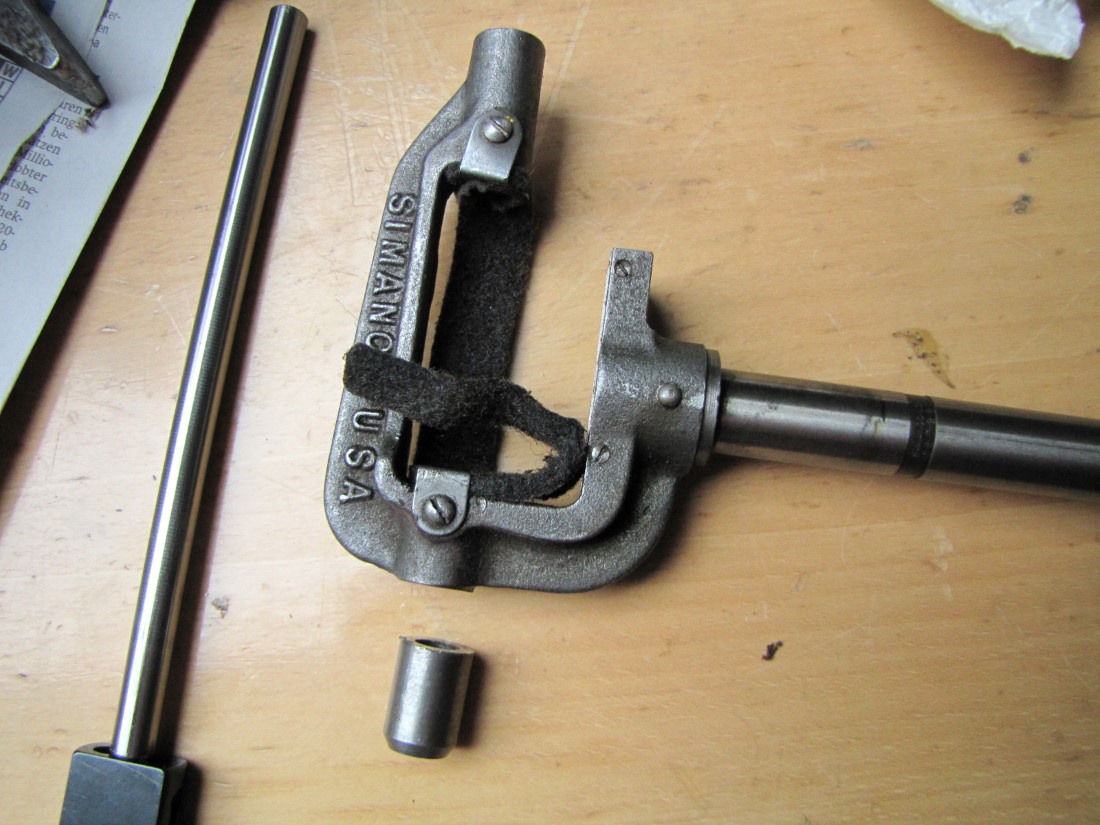
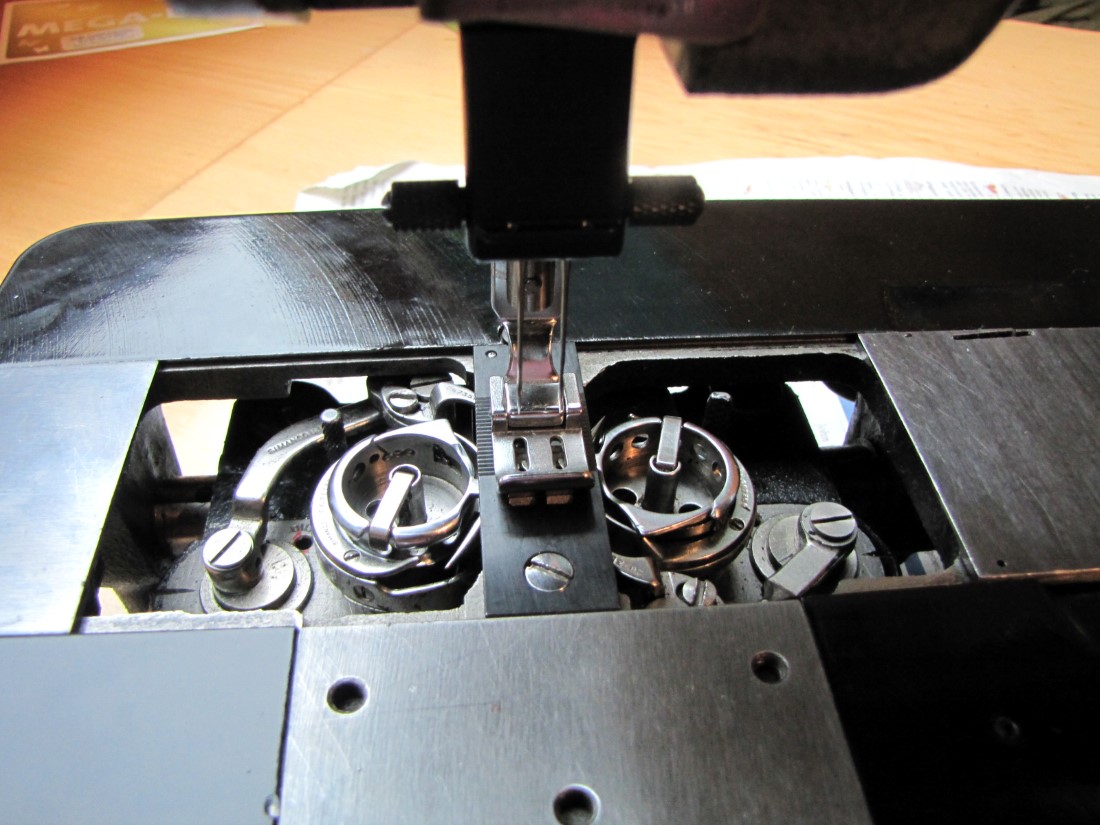
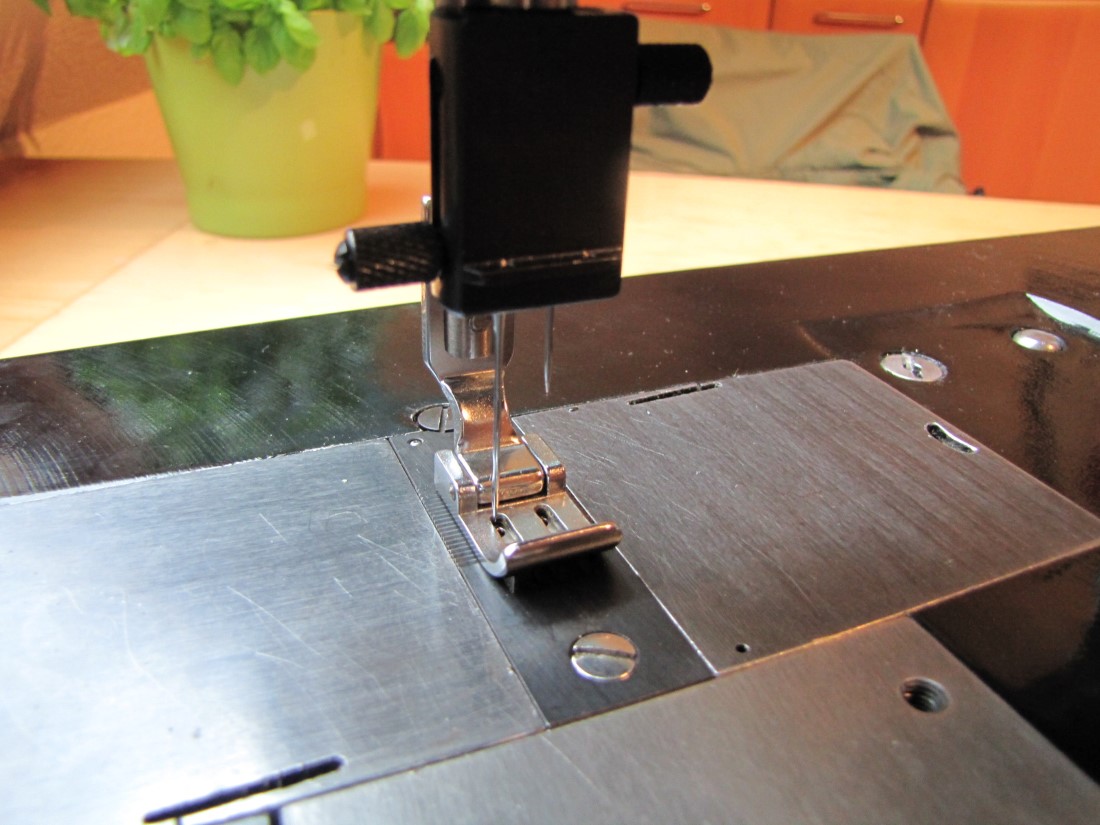
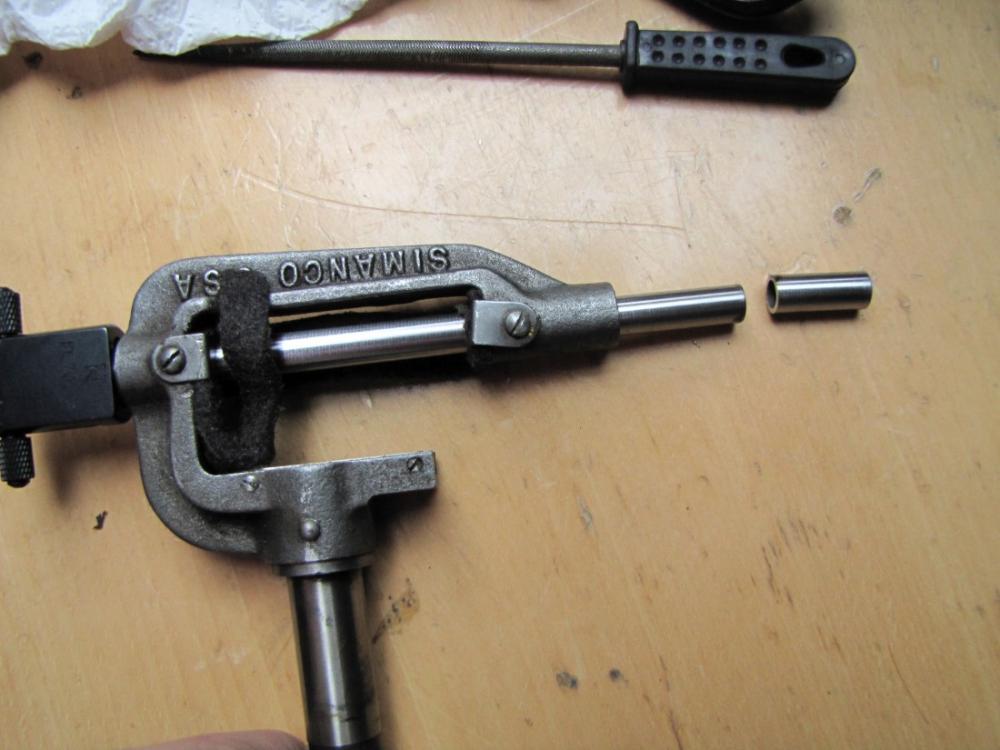
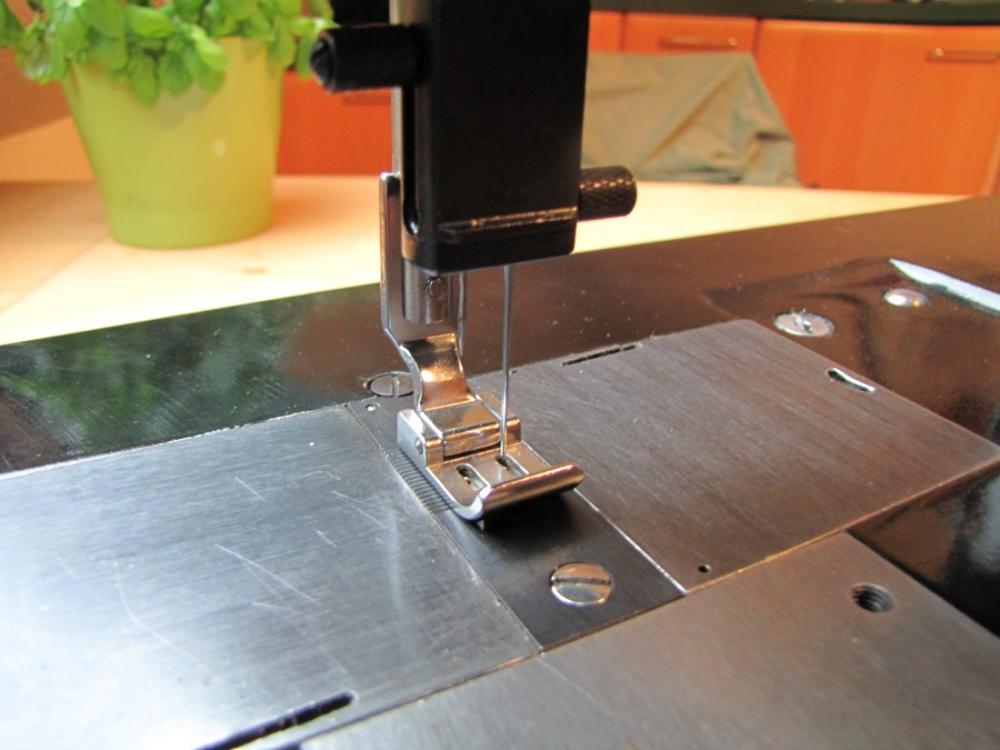
Ready to go - quick test by hand cranking with 120 needle round tip and size 30 cotton thread (both metric). Not too bad but it needs some fine tuning and I need some practice


-
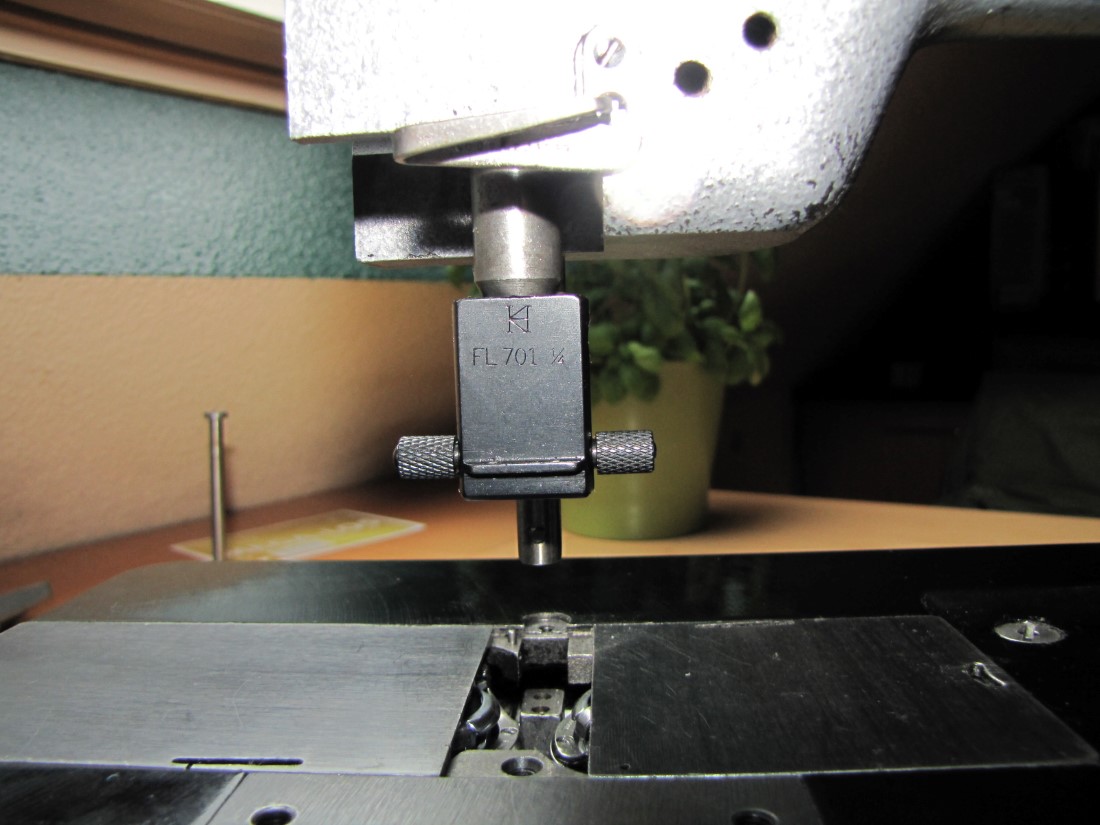
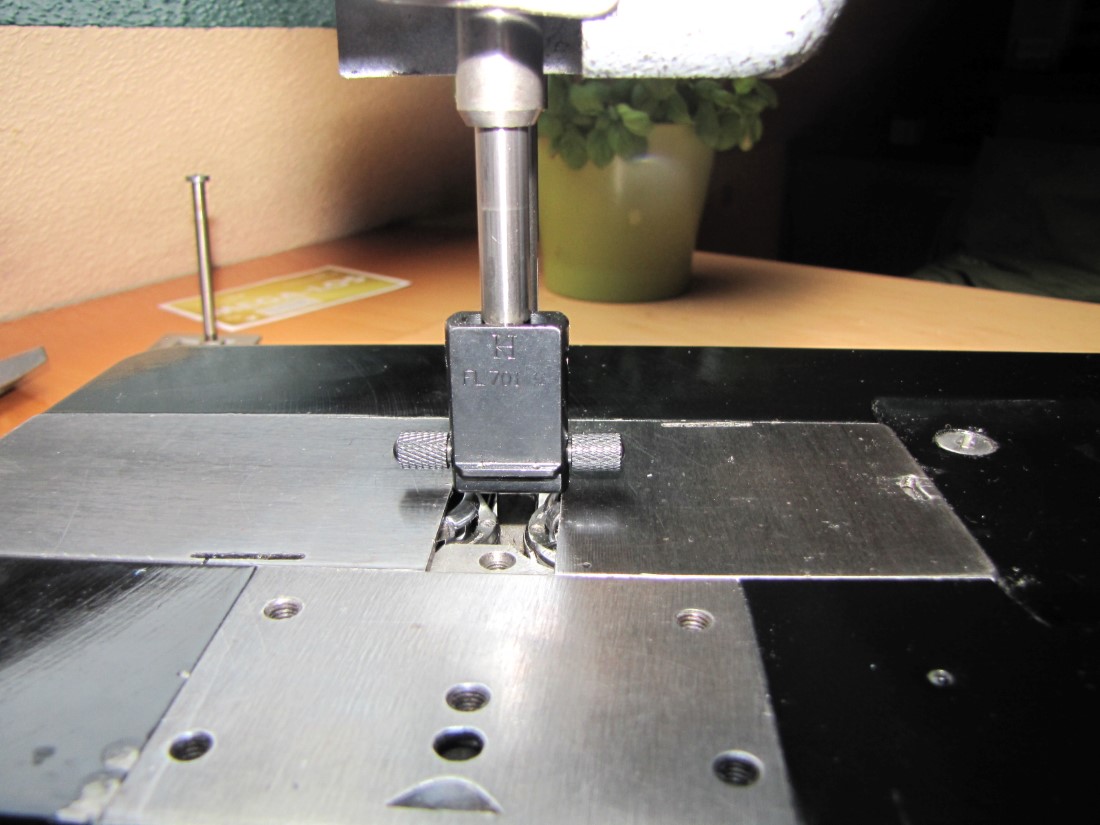
Some pictures: Picture 1 + 2 - needle holder hitting NB rock frame and flat bed Removed NB rock frame w. shaft and thread take up lever Cut down lower end NB guide of NB rock frame and upper end of the needle bar Reinstalled everything incl. the gauge set parts This is how it works


-
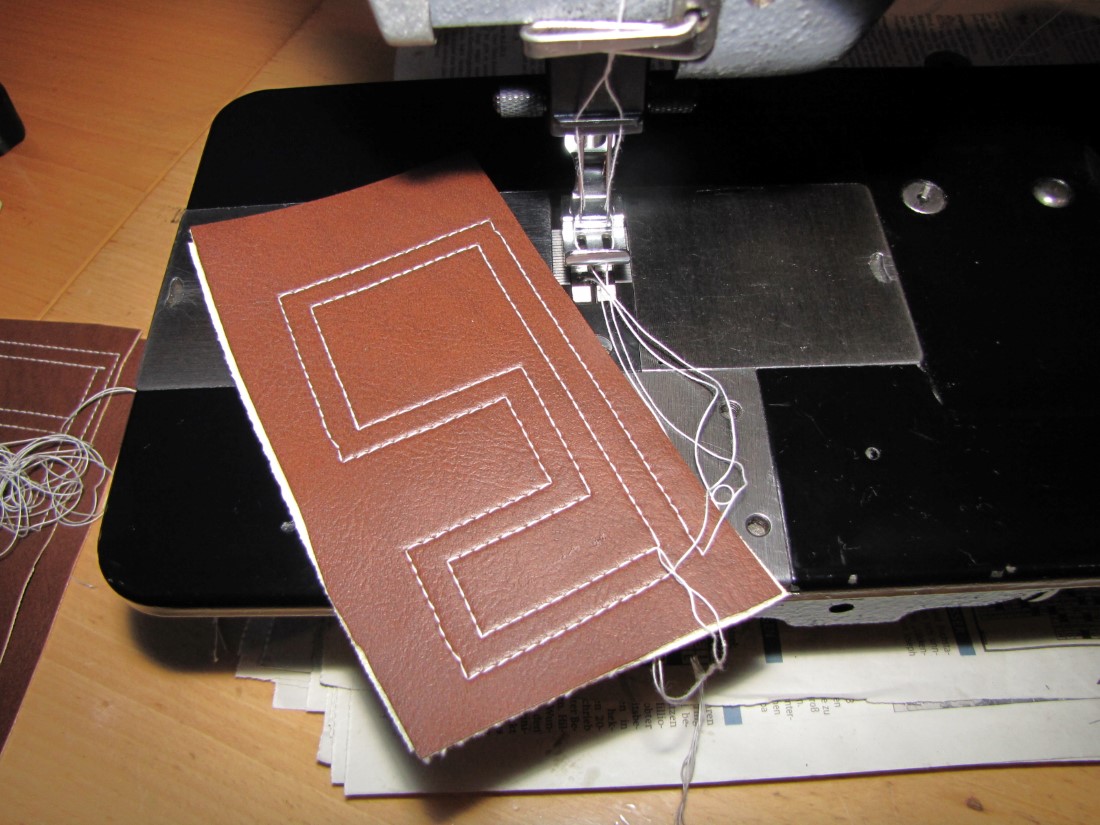
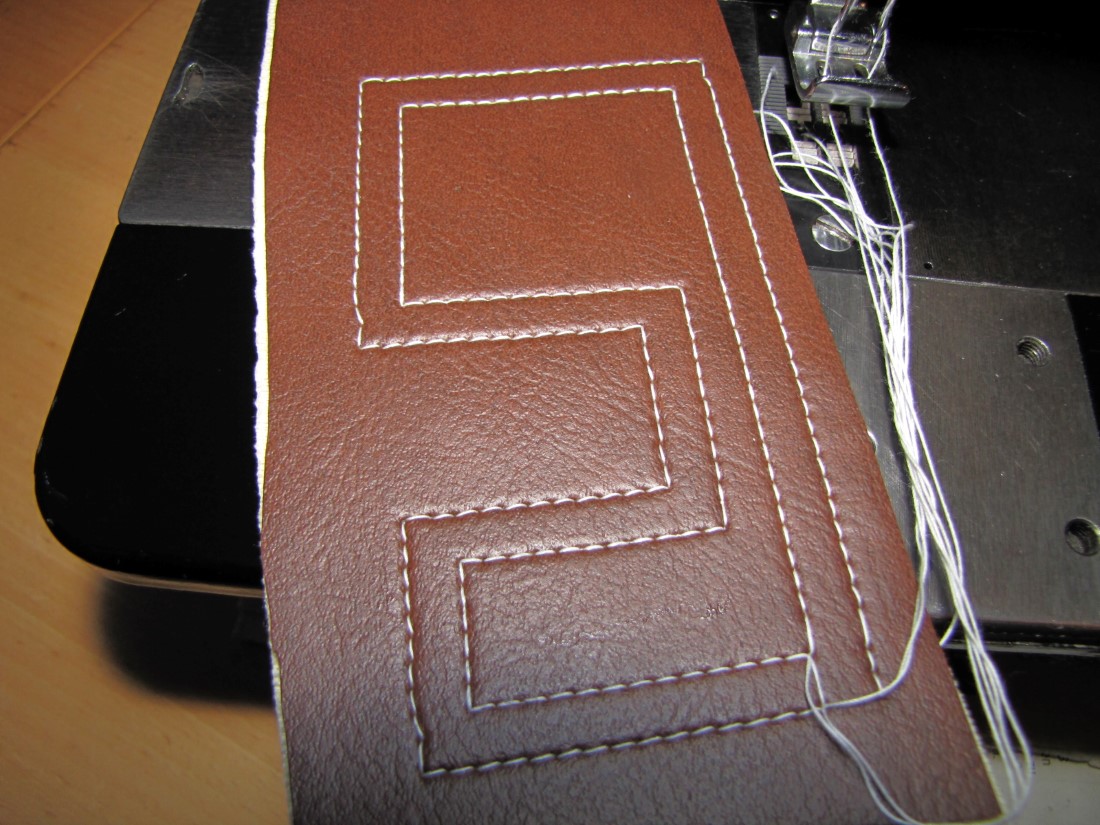
This is no science and a rather simple conversion but yet I haven`t seen any threads on this topic. I think it could be useful for some bag makers and upholstery folks. Split needle bar machines (you can disengage and reengage the entire left and right needle bar on these machines) are rather expensive so converting a plain Singer type double needle machine into a split needle machine (disengage and reengage just the left or right needle holder) is a rather cheap alternative for low volume or single piece projects. The purpose of a split needle bar machine is that you can sew right angle double seams w/o sewing small boxes in the corners when you make a right angle turn. If these small boxes don´t bother you its okay (they can look cool too) but on some projects I think you don´t want to have this. You can also sew french seams with 1 machine in 2 steps. Lift 1 needle - sew 2 pieces together - lower the needle and make the double row seam - done. A few technical things reg. Singer (and other brand) double needle needle feed machines like the 212 and 112 (all to my best knowledge). There are basically two types of gauge sets - #1 is a push in type where you push the double needle holder in to the needle bar and #2 is a double needle holder you screw into the needle bar. Maybe there is even a fixed type where you can´t remove the needle holder - I don´t know. I think the older Singer 112 originally had the #1 type and the 212 had the #2 type but as often you never know if a used machine has been converted so I think you can find either type in either machine. I´m using the #2 type here - not sure if there is a push in split needle holder (don´t think so). However 112 and 212 are using the same diameter needle bar so you can always switch form a push in (or fixed?) needle bar to a screw in needle bar by changing the needle bar. So - I once bought my 212 machine with a "shifted needle" gauge set where the left and right needle are a bit shifted from the center. I had no use for this setup. So I wanted to switch to a 1/4" distance gauge set and maybe later to a 3/8" gauge set. Switching standard gauge set is a rather simple task - change feed dog, needle plate, presser foot and needle holder, adjust hook saddles and gears - done. The problem with the split needle holder is that it is quite a bit longer that the standard needle holder. So when the split needle holder is installed it will hit the needle bar rock frame and the flat bed because the needle bar cannot execute the full stroke. And of course the hook cannot grab the thread because of this. So what I did is I removed the needle bar rock frame with it´s shaft and the thread take up lever and cut a piece of the lower needle bar guide. Furthermore I cut down the top end of the needle bar because it otherwise would hit the casting when the needle bar rises. Reinstalled everything, adjusted the two hook saddles, gears and the needle / hook timing and I was ready to go. Not sure if cutting the NB guide on the NB rock frame is necessary on 112 type machines but it is necessary on the 212 because of the long lower den NB guide. Removing the NB rock frame and thread take up lever is no science and you don´t have to be a sewing machine engineer. The procedures are well described in either manual.
-
seems 3 cast iron heads hit the Submit Reply button at approx the same time
-
don´t know the model but to me it looks like a chain stitch machine
-
try a needle 1 size up or bottom thread one size smaller.
-
Adler 30-10 Upper Tension Issue
Constabulary replied to Sunny9072's topic in Leather Sewing Machines
can´t tell from the Video whats wrong. So from what I n´see it is working normal - I would check if someone probably put a disc between the tenison spring and the small cup the spring sits in (who knows). I´d also try a different thread - the thread looks like old heavy duty probably pre-waxed cotton thread. Try #96 polyester thread. When you have new thread check the bottom tension - seems to be too low (probably). Can you post a picture how the thread runs through the oil cup. -
Adler 30-10 Upper Tension Issue
Constabulary replied to Sunny9072's topic in Leather Sewing Machines
please post pictures of your machine and the thread path. Or can you post a short youtube video? What the thread thickness you are using? W/o sitting in front of your machine the 1st think I would try is shorten the top tension spring. Then - usually there is a thin felt or leather disc under the top tension discs - it should be approx 1mm tick - if thicker it could increases the tension. If your machine has a thread guide instead of a oil cup (later Class 30 models often do no have an oil cup) let the thread just run through 1 or 2 holes. -
Consew 226 Stitch Selector Not Working
Constabulary replied to Kryptonite's topic in Leather Sewing Machines
most vintage sewing machines have an un-precise stitch length adjustment. Most lot of them don´t even have the stitch length marked on their dials - if they have a dial at all. -
Maybe not too importation for you but the 20U is using the same needle plates and feed dogs as the Singer 107W & 457. So you have quite a wide range you can choose from. How do I know? Well I once ordered a 20U & 457 needle plate and feed dog for my 307G2 AND the needle plates of my 107W1 fit the 307G2 as well - conclusion - 20U and 107w / 457 needle plates and feed dogs are interchangeable CS in the UK has a wide range but I´m sure you can find them in the US as well. https://www.college-sewing.co.uk/store/Singer107G,107WSewingMachineParts https://www.college-sewing.co.uk/store/Singer457G,457USewingMachineParts
-
Grease for Gears in Gearboxes
Constabulary replied to Scoutmom103's topic in Leather Sewing Machines
usually most gear boxes are not completely sealed and would not hold the oil. Most also do not have a filler and drain screw.