
Constabulary
-
Posts
5,825 -
Joined
-
Last visited
Content Type
Profiles
Forums
Events
Blogs
Gallery
Store
Everything posted by Constabulary
-

What Is Normal For Using A Sewing Machine?
Constabulary replied to lranger's topic in Leather Sewing Machines
Seems the machine has not been tested properly before shipping. Not sure where you put the shim but usually there is a disc with a small bar in the center and this small bar can be adjusted by tapping it a little bit to one or the other side to adjust the tension release. Most machines of this class (if not all) have about the same hook / needle bar / timing settings. So you had to go back to almost zero with the timing as it seems. Glad you solved it! -
Singer 111W155 Vs Singer 111W103
Constabulary replied to bill2750's topic in Leather Sewing Machines
I´d probably choose the 111w155 because of the safety clutch!!! -
Adler167 Vs Durkopp 69, Help Me!
Constabulary replied to Dignitas1980's topic in Leather Sewing Machines
These machines are pretty much the same class as the 2 above they just have post beds instead of flat bed or a cylinder arm. Take the thread you want to use and the material you want to use and try out the machines. Maybe you´ll find out that non of them is working for you - just try them. Thats the best way to find out if they are good or not. Sewing speed is one thing more important is if the machine can handle the thread and material you want to use. You can easily replace the clutch motor with a servo motor. I can recommend the Jack servos from College Sewing: https://www.college-sewing.co.uk/catalog/search.aspx?keywords=servo -
Adler167 Vs Durkopp 69, Help Me!
Constabulary replied to Dignitas1980's topic in Leather Sewing Machines
The clutch motor seems to be very fast. It probably runs at 2800 rpm and that is difficult to slow down. You probably have to swallow a bitter pill and replace the clutch motor with a new servo motor. So when the guy with the 167 is a difficult man I´d leave him alone with his machine! But I would still test sew the 69 when possible to check if it meets your requirements. Twinoaks is right, the 69 is not a heavy duty machine and has its limits. You probably have to look for a heavier machine when you want to sew with thicker thread. -
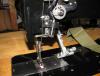
Holy Cow - what a fly wheel!!! I don´t see a stitch length adjuster and how do you put it in reverse? Or am I missing something?
-
Adler167 Vs Durkopp 69, Help Me!
Constabulary replied to Dignitas1980's topic in Leather Sewing Machines
The 167 has a larger hook + bobbin and since you are planing to sew flat items mainly it´s a good choice. I´m not sure but is it possible that the 167-62s has a roller foot and no triple feed / compound feed? The 69 is a cylinder machine with compound feed and when you make your self a flat bed attachment the 69 is the more versatile machien I´d say. But I´d test sew both machines to see which one works best for you. If I had to choose Id take the 69 but it has the smaller hook + bobbin... 1985 - 1990 is relatively new - I have machine from 1932 in use -
Assistance Needed Identifying This Singer
Constabulary replied to Throntree's topic in Leather Sewing Machines
The 133K´s are really nice machine, I recently have restored a 133K3. But keep in mind that it has no reverse. The EY prefix makes is a post 1965 made machine I´d say so it is relatively "new" (mine if from 1932 and still runs smooooth) http://www.singerco.com/support/machine-serial-numbers/double-letter Well, it depends in what part of the world you are. Sewing machines in Australia are by far more expansive than in the US or Europe. When you are buying form a private seller the price should be about 1/2 of the dealer price I´d say as you have no warranty, support and so forth. It also depends if the machine comes with useful accessories or even with some spare parts. In Great Britain some dealers ask 1000 GBP (approx. $1500) or more. The one in the picture seems to be a really nice one. I would say between $600 and $800 is a fair price when you are buying from a private seller. I have uploaded a user manual for the 133K8 - check the below linked post. Maybe its useful in advance. http://leatherworker.net/forum/index.php?showtopic=56667&p=383242 -
Restoring Singer 29K71 - Need Help
Constabulary replied to GreasyJ's topic in Leather Sewing Machines
I can´t give you an advise w/o having the machine in front of me. I also have a bit of slop when I jiggling the needle bar but thats about 1/2 mm or so and I think it is normal. Skipping stitches is usually a timing problem or your hook tip is worn. Do you know how to time the 29K71? You can download a manual here: http://leatherworker.net/forum/index.php?showtopic=57862&p=372012 -
Assistance Needed Identifying This Singer
Constabulary replied to Throntree's topic in Leather Sewing Machines
Picture is a bit small but it seems to be a Singer 133K8 with walking foot -
I recently figured that there is a very interesting "museum" in Bielefeld as well. It is an old factory for household linen and so forth. They have closed this factory in 1980 and EVERYTHING is still at its place just as it was on the day they have left the building. The oldest sewing machine is from 1914 and the newest from 1962. Nothing is put together this is entirely the original factory!!! http://www.museum-waeschefabrik.de/Museum.html Too bad I did not know of it earlier.
-
I don´t know what they are producing in the new factory but I´m sure nowadays most Dürkopp-Adler Machines come form the Czech Republic (Minerva?) and / or from China. I was just interested in seeing the old buildings but since I was in Bielefeld anyway I just have checked out the new location. Sooner or later I want to visit Wittenberge (Germany) where Singer made sewing machines until 1945. I know the old watch tower is still present and they have a museum in it. http://www.schlingenfaenger.de/sfsite/index.php?id=188
-
Rolls Razor Blade
Constabulary replied to TooledByML's topic in Purses, Wallets, Belts and Miscellaneous Pocket Items
I know them, they have these "flip back and forth thing" for sharpening, right? Are you still using the Rolls razor? Off Topic - but a very cool razor also is the SCHICK Magazine repeating razor - I´m lucky to own one of them. -
Some more. The new plant is not very "representaive" I´d say - typical 1970´s style building. The Old plant is awesome - would benice to have a flat or shop in that building!!!


-
Today I had a trip to the City of Bielefeld - the Home of Dürkopp-Adler sewing machines - but this time not for purchasing old sewing machines. I took the chance and took some pictures of the former Dürkopp Werke plant. And I checked where the new Dürkopp-Adler plant is located. Unfortunately I forgot to take the slip with the address of the former Kochs-Adler Werke plant with me. Damn - maybe next time! So here are some pictures:


-
Payment received - SOLD
-
Pending Payment...
-
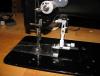
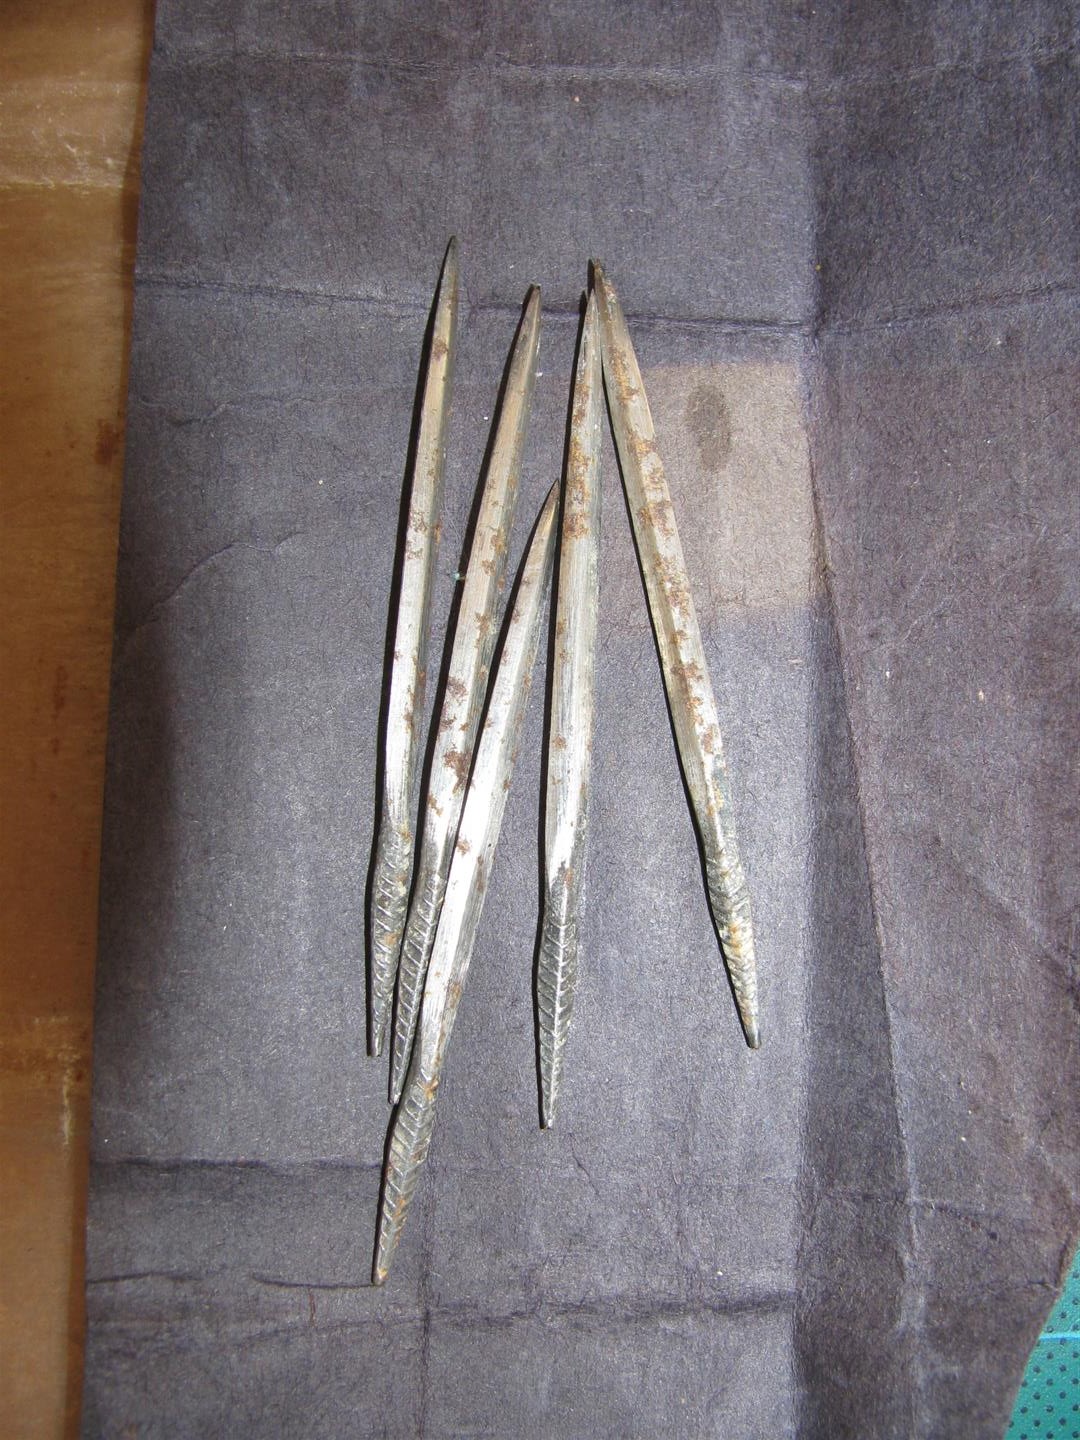
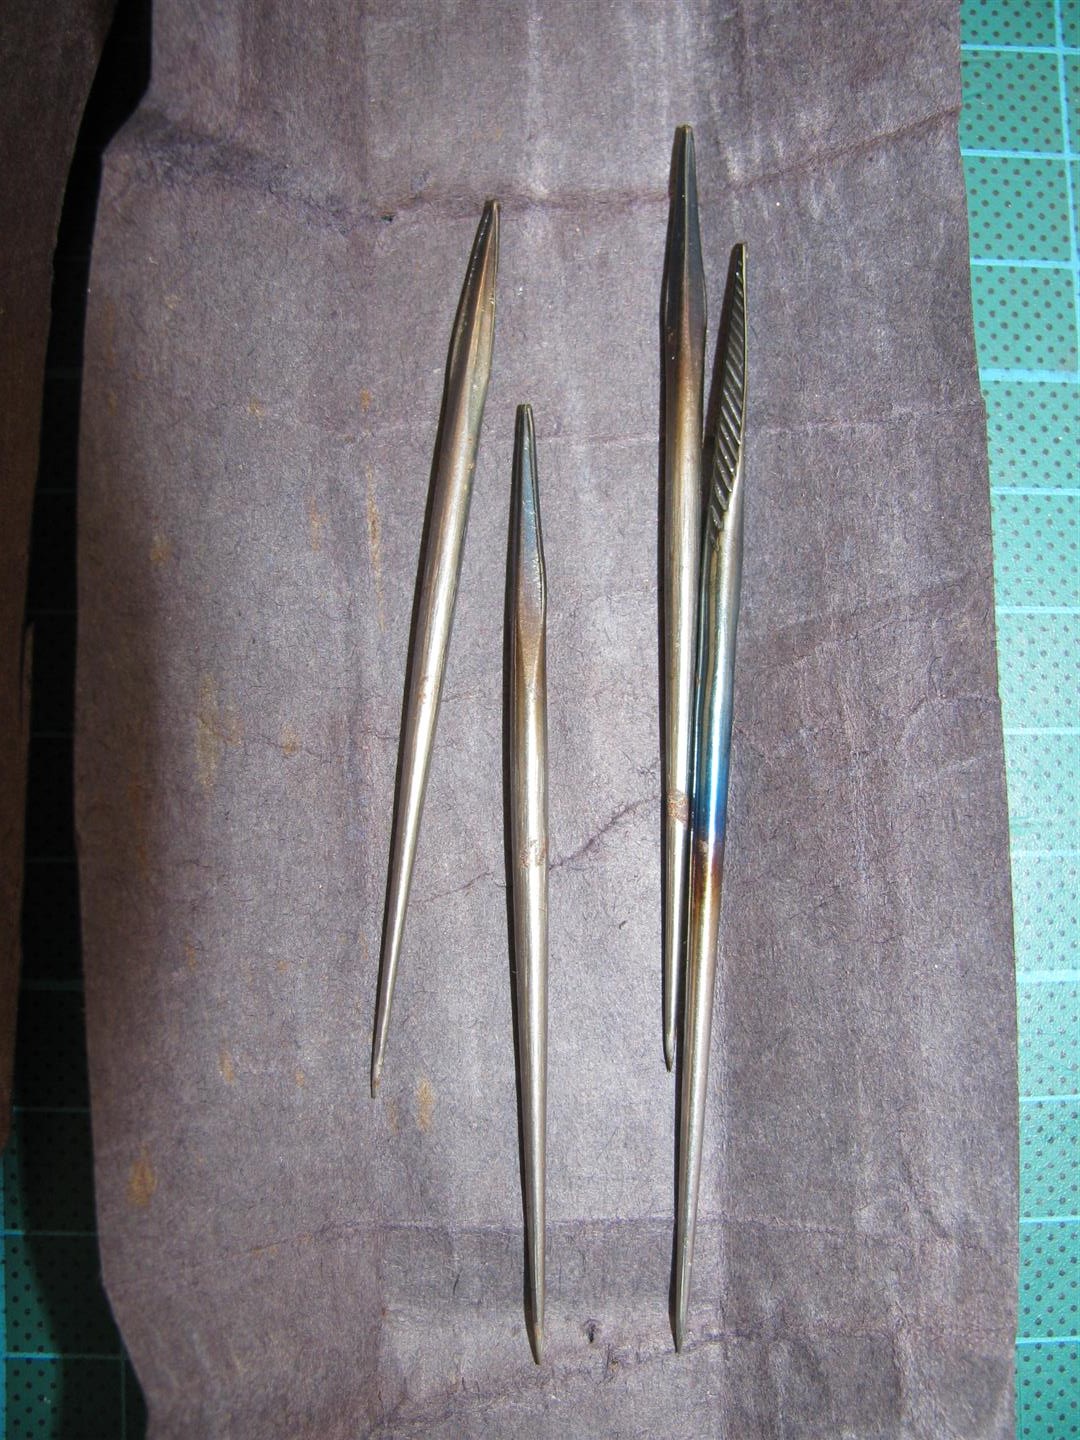
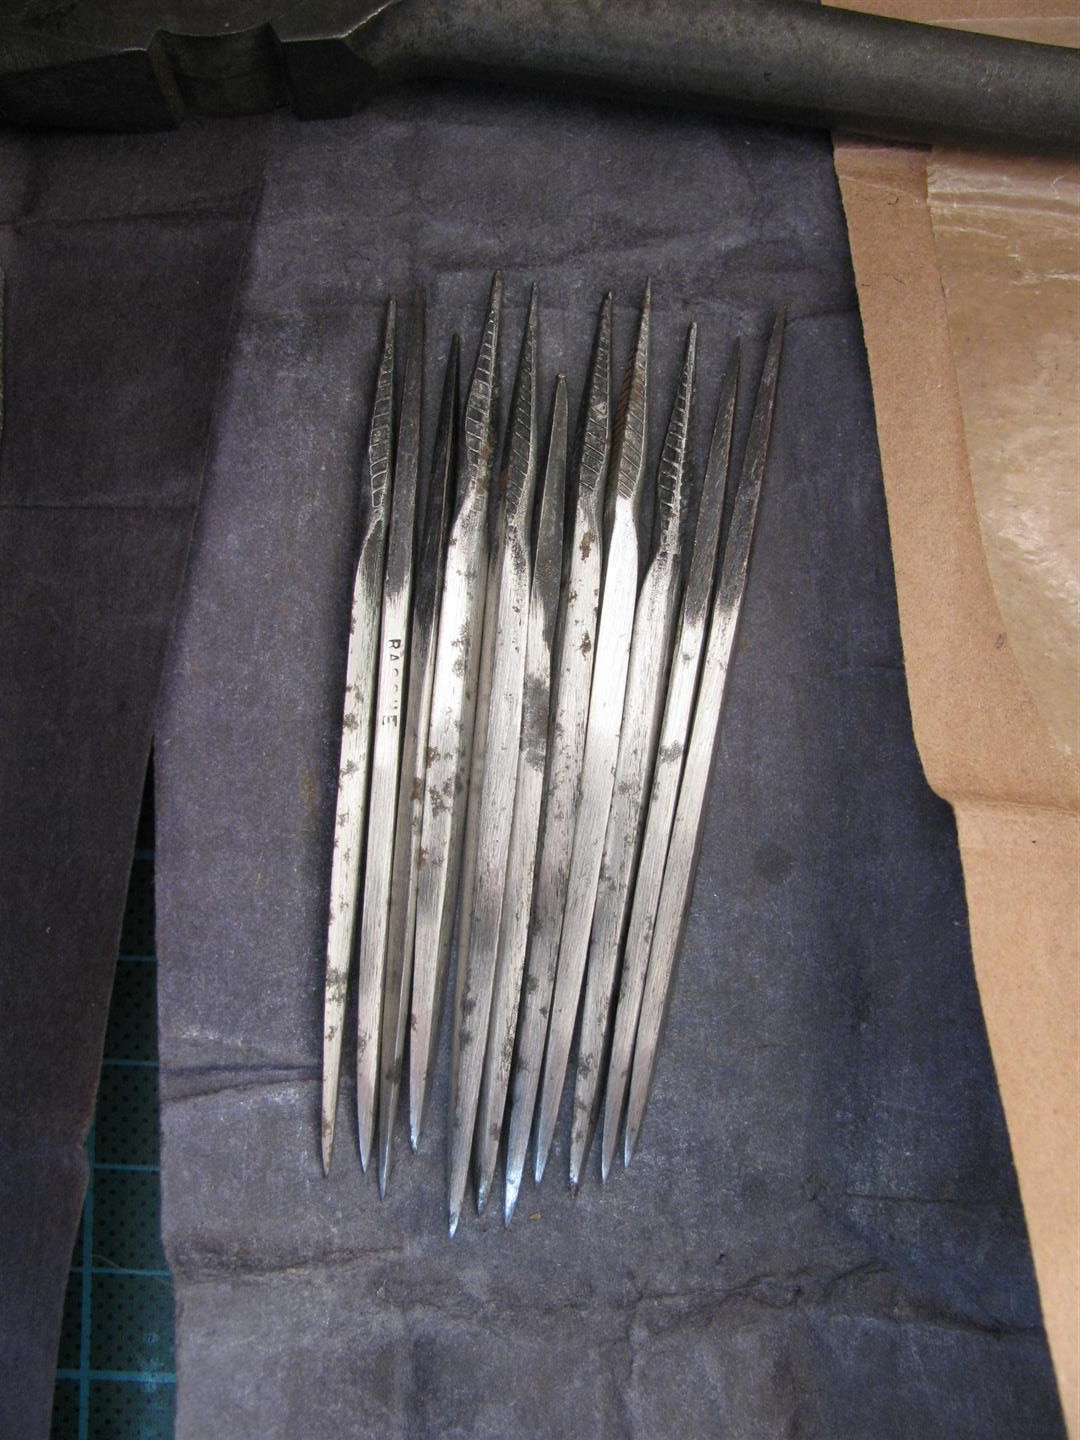
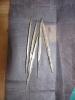
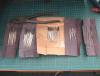
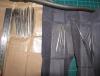
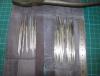
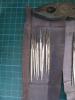
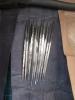
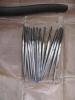
a few more pics
-
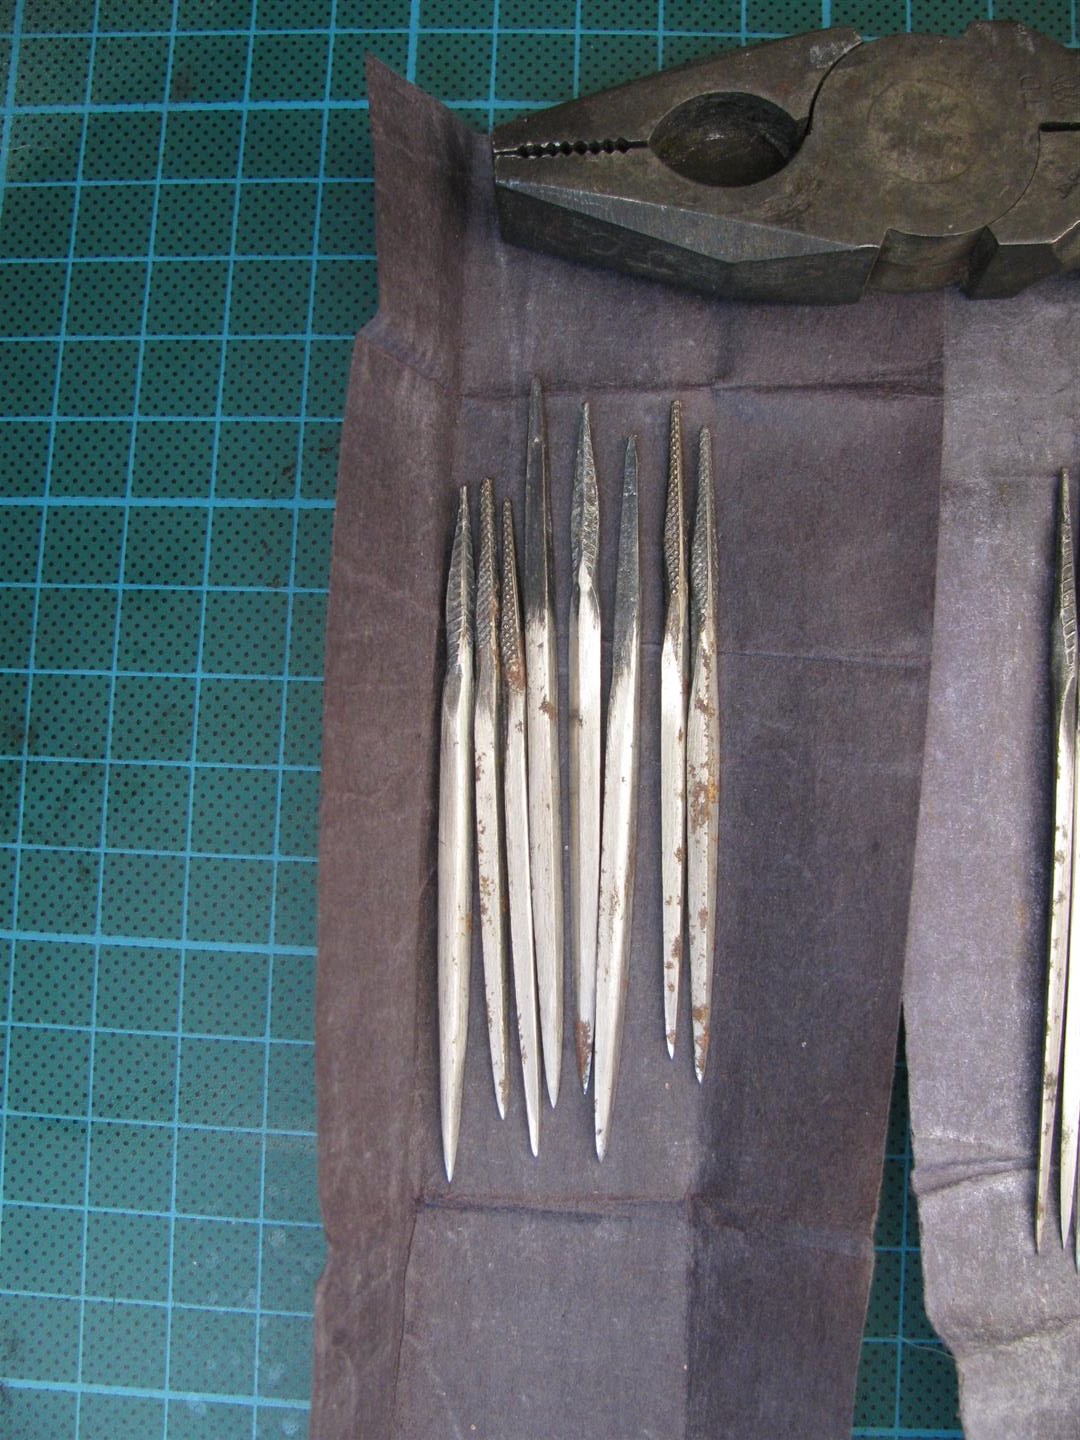
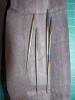
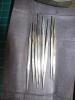
I have a bunch of sword type (diamond ?) and round type awls but have no use for them. The appear to be unused but have some signs of storage / light surface rust. What you see is what you get - this is a lot of 40+ awl blades in different length + strength. I´m no expert so if you need some more information please ask. I´d ask $25 for the entire lot + $6 Worldwide registered shipping. Paypal is welcome.
-
 Coool Monsters!!! Do they have names? This one reminds me of Kenny from South Park and Gremlins - very cool!!!
 -
I´d say too thin thread or too thick needle. I´d try a 180 to 200 (metric) needles for 277 thread (180 might be a bit tight but I´d at least try it) and would reduce the foot pressure on the center foot as it leaves feed dog marks on the backside. Leather seems not to be very thick so a round point needle could probably work fine but depends on the result you expect. Different points produce different seams. I think I have seen a chart from GROZ BECKERT showing the different seams that the different needle tip will produce but can´t find it atm.
-
29K1 Pre Christmas Barn Find :-)
Constabulary replied to Constabulary's topic in Leather Sewing Machines
Thanks Billybopp - I try my best to turn it in to a good usable condition but I don´t think you can consider them as factory new or so. They are just too old and of course a lot of parts still show their age. It´s a hobby and one machine pays the next (if possible) but if I would count the hrs I work on some machines I´d say it is money loosing. I just like what I do and hope others like it too. Old cast iron is not dead - most machines are worth restoring them - no matter what others say. It´s a bit of a point of view. -
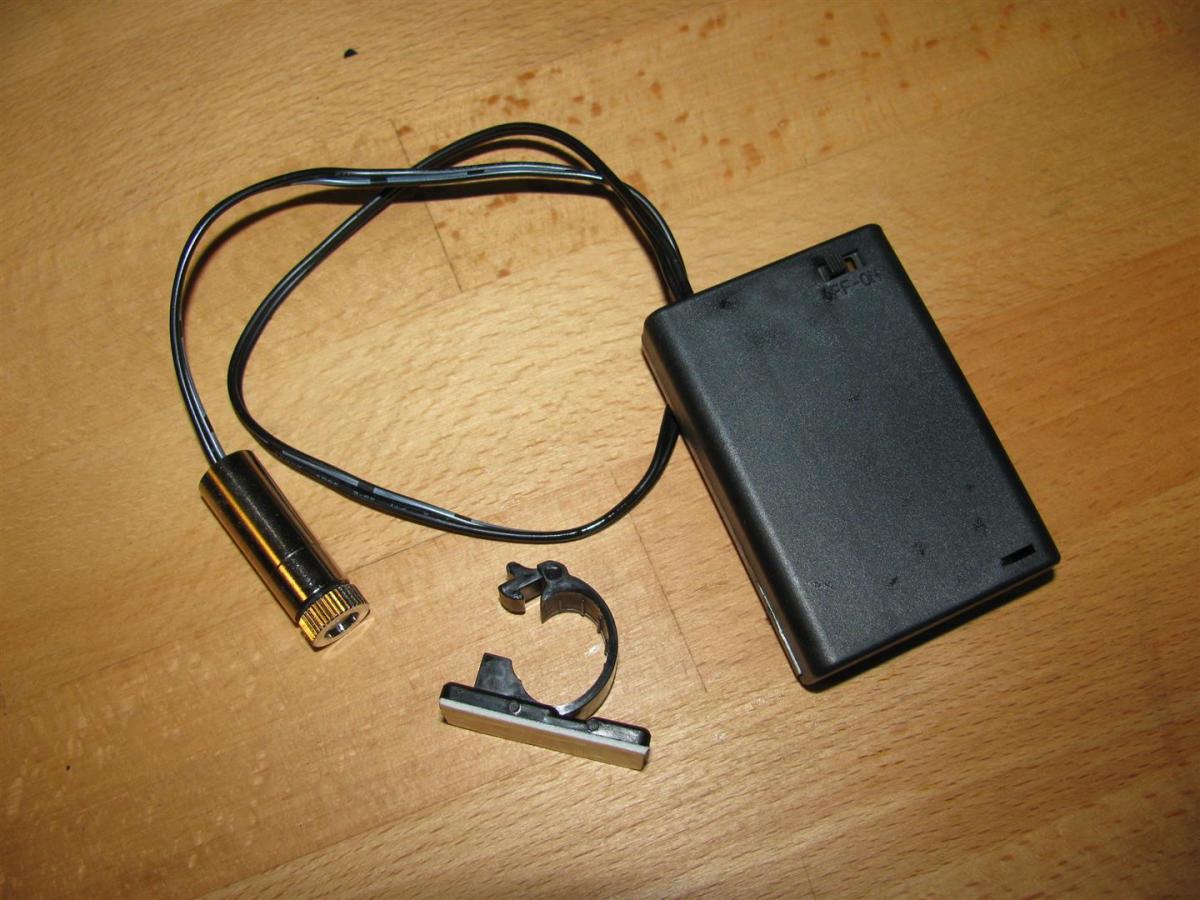
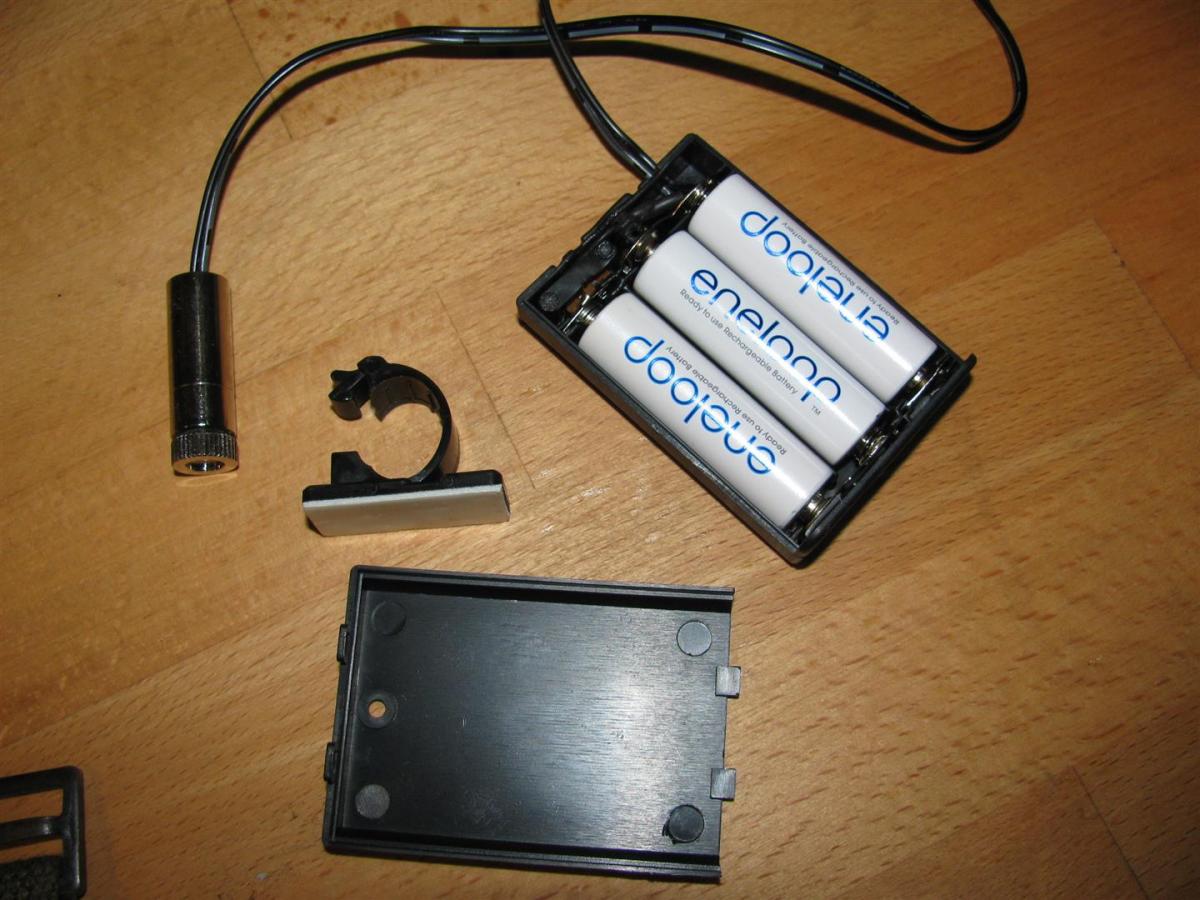
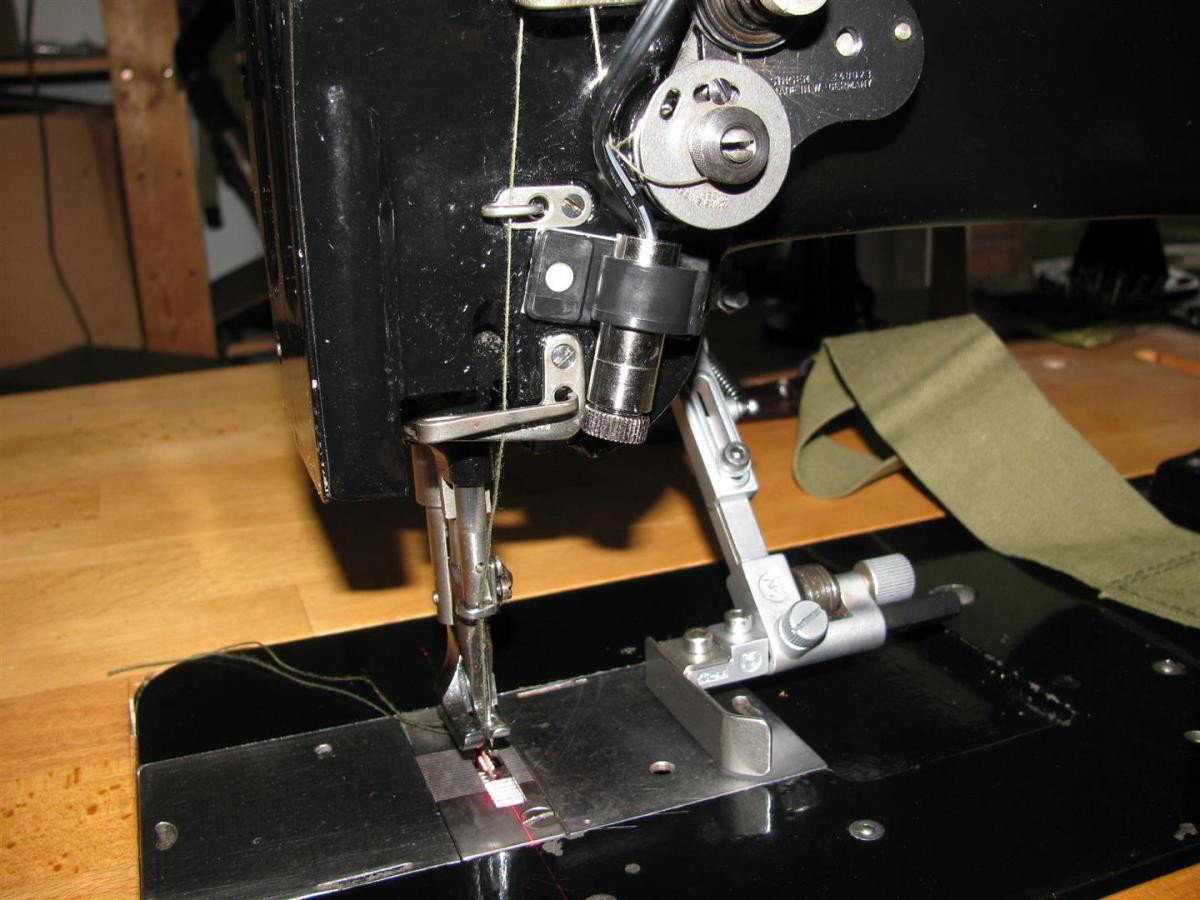
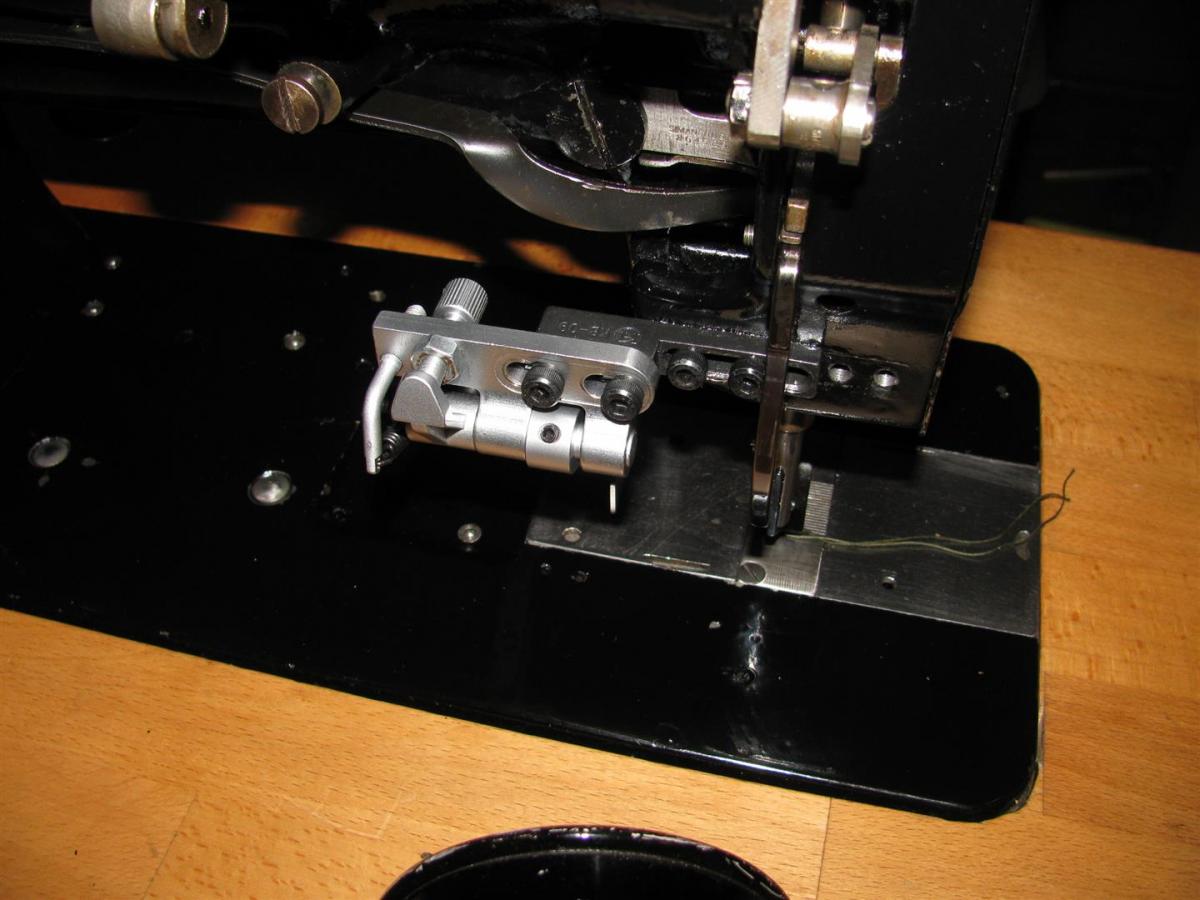
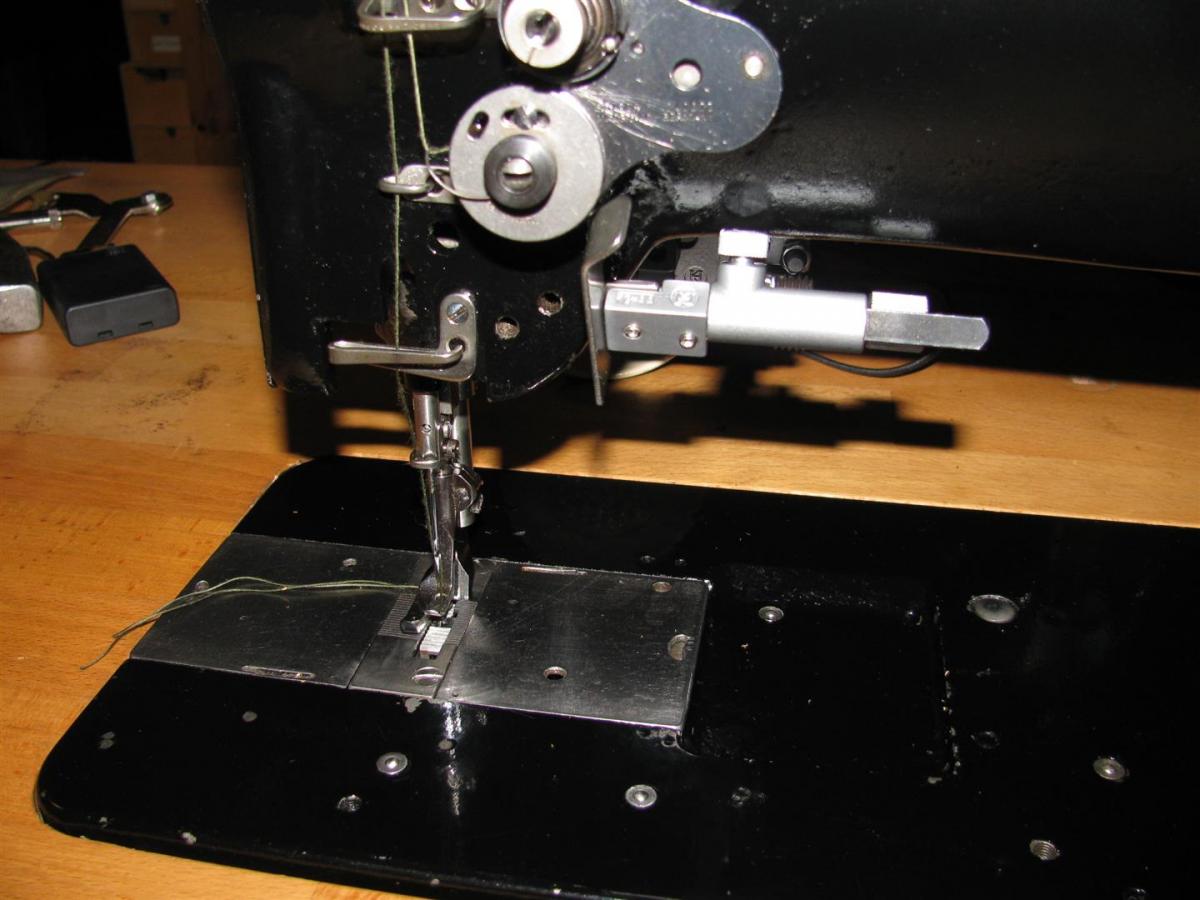
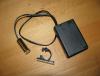
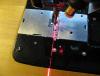
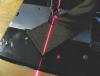
I noticed that some mfg´s offer "laser guides" for their machines. I was wondering if such an device makes sense at all as there is no physical guidance - it´s just a line of light but that does not make you sew straight seams - right? So I was looking around a bit and found some cheap parts for tinkering on Ebay. - Line laser for ~2€ - Battery Box for ~2.20€ - Cable Clamp for ~5€ (for 2) - some cable from the spare parts box So thats less than 10€ incl. shipping for a "Laser Guide" - I thought thats worth to give it a try. I have chosen a stick on cable clamp as I don´t wanted to have anything permanent for just trying it out. It works OK. And here is the result: Old cable removed and soldered a longer cable between the parts. I only found just one useful purpose for my work and that is sewing straight line between 2 fixed spots like the corners of box tacks but only when the distance is not too long. I think on distances longer than approx. 5"- 6" it does not make sense. Or you have but some reference marks on the material. Other that that I absolutely do not see any advantage but I have to admit thats the X-box tacks look better now as you don´t have to make corrections while sewing when you are a bit out of line. So for me it is a funny gadget but I don´t see many useful purposes. I will try it for a while to see what else it is good for. What is you experience with laser guides? Any opinions?

-
Making Copper Rivets From 4Mm Wire?
Constabulary replied to BDAZ's topic in Hardware and Accessories
What a coot tool! I never thought someting like this would exist! -
29K1 Pre Christmas Barn Find :-)
Constabulary replied to Constabulary's topic in Leather Sewing Machines
Al - No it is metric. I had to tap a new thread for the thumb screw as it came with a metric thread. Darren - they are commercial availlable? Sounds good - can you point me to a tap set for Singer threads? I live in a metric World and do not know much about the US threading system but a Singer tap set would be nice to have. -
Info On Singer Singer 153 K 104
Constabulary replied to MuddyClearWaters's topic in Leather Sewing Machines
$69? Is it just the roller guide or does it come with plate? I have a flip down edge guide on my 111G156. It comes with interchangebale guide tips - one straight and one roller guide. It will fit your 153 as well but you have to drill some holes. You can find them on Ebay, College Sewing and so forth. MIne is from College Sewing and works great. Very versatile and I´m sure it will fit most other industrial machines as well. https://www.college-sewing.co.uk/KG1245-DROP-GUIDE-PFAFF-1245,1246,1525,1526,335,591 http://www.ebay.com/itm/Suspending-Edge-Guide-for-Industrial-Walking-Foot-Sewing-Machine-Juki-Consew-GB-/181638866413?pt=LH_DefaultDomain_0&hash=item2a4a8525ed www.kwokhing.com is another source but I don´t know if they still sell to end consumers.