


bland
-
Posts
270 -
Joined
-
Last visited
Content Type
Profiles
Forums
Events
Blogs
Gallery
Store
Everything posted by bland
-
It appears to be a double loop braid. Here are a couple videos. Tandy had some old posters with instructions.
-

8-plait round braid christmas tree garland help
bland replied to LizzyH's topic in How Do I Do That?
I'm not really a braider. I have done some small stuff for myself on occasion, 100 feet of 8 plait rope sounds like quite an undertaking. For a garland you could splice in strands as you go and keep it looking good. I don't know about doing small sections and piecing them together as a whole would work out well I think it would be noticable. You could use decorative knots to cover where the pieces come together. Or you braided in metal (brass, stainless steel) rings every 4 feet or so it would look like it was on purpose and add to the decorative look. Just a thought. I have used small sisal rope as a garland for years so I think the braided rope is a cool idea. There are quite a few leather braiders online making reatas or Romal reins where you might get some ideas. Happy Braiding! -
There are a number of different center console designs. Probably need more information for a particular console. I made one that slips over the console lid and secures with elastic and velcro under the lid. Mine was for a bench seat with a fold down center console so the lid was pretty simple to cover.
-
I use the red can Weldwood for most projects. It is good for most applications. I also use wood glue Titebond or other brands for some other things.
-
If there is any liquid coming up from the leather while tooling the leather is still too wet. The top grain should almost be the same color as it was before you got it wet.
-
Великолепная работа с кожей!
-
That's cool! Thanks for posting it!
-
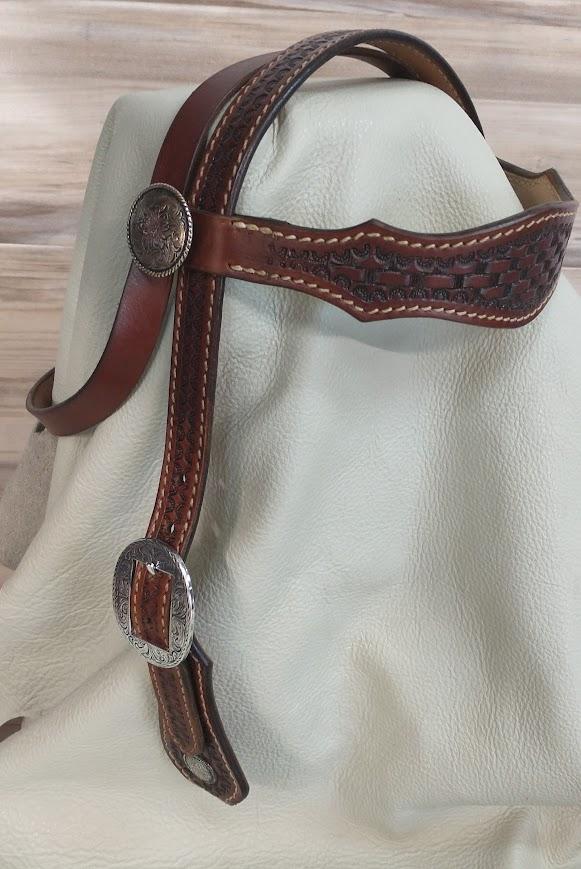
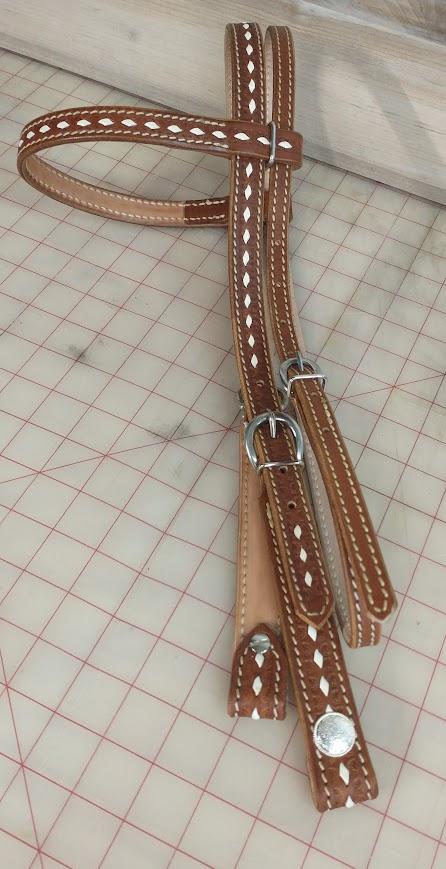
You can make headstalls out of all the leathers you referenced. There are many different types of headstalls. Tooled, untooled, lined unlined, wide, narrow, single ear, split ear, western, English, browband with throat latch and multiple variations of all of them. The leather you choose can depend what type you want to make.
-
When you say slim what do you mean? That the coverage doesn't go back much past the closure? Or, do you want them more open in the back, more narrow leg pattern. Either way you can adjust your pattern. I have made a couple pairs of shotguns based on a modified from Tandy pattern in the link from Mulesaw above. I have also made patterns from jeans. There are a lot of websites out there with how to take measurements for chaps. I only made 2 sets of chinks using 2 different printed patterns and I wasn't really happy with either pair. Have fun.
-
What project are you working on? 5-6 oz rawhide is pretty heavy. When it fully soaks up water it can double & sometimes almost triple in thickness depending on how you long you let it go. Search this company "TRAHIDE". I have never dealt with them but they do have an extra heavy hide that is 6-7 oz.
-
No resolene or other finishes until the dye has penetrated the leather and dried. Then I'll usually oil and let it even out before I apply a finish.
-
Screws ripped out of saddle tree
bland replied to Mendosa's topic in Saddle Identification, Restoration & Repair
Don't tempt fate with faulty equipment (its come apart twice on you) you are already in a risky business even if you are riding the best equipment. Take the saddle to a reputable shop and get it checked out. They'll give you an assessment and recommend repairs or replacement. You can likely find passible factory saddles starting at $1000 and probably can get a well built custom starting at $3000 maybe closer to $4000 and up. There are more than a few good makers out there willing to make you a saddle. I know pay outs are not big at times but you'll never get a good pay out if your rigging doesn't hold. Your mind won't be right for the ride if you are wondering "is the rigging going to hold for this one? Split seconds change lives in a lot of other ways but 7.98 and 8.00 seconds pay different. -
Matching a color is hard. You have a lot of things working against you. The boots are chrome tanned leather and have some patina from wear. Vegtable tanned leathers from different tanneries have different color tones even different hides from the same tannery have slight differences. I don't think there is an exact science. There will be a lot of trial and error. If I was trying to match the color of the boots I would probably start with a Fiebings Dark Chocolate or Walnut (they are a little less orange/tan) diluted down to about 1/4 strength with alcohol. If it is too light add a little more dye too dark more alcohol. If it is still too orange I would add a little black and more dilution, the black will tone down the orange. Keep track of the ratios and keep test piece of scrap where you can see the differences. When you get close add your finish of choice and see where you are at. It is going to be a science experiment. Have fun!
-
Sorry to keep coming back to this but after seeing you pictures my friend upped his estimate to $4500. He said it looked to be in really good shape. He used to own a saddle and tack store around Klamath Falls 20 or so years ago so he has looked a lots of saddles. Hope it helps.
-
Here is what a friend said when I asked him about DD Potter Saddles. "Good saddles mostly. I don’t think they were going for a long time. Out of Pendleton Oregon or right near there. Lots of great saddle makers up there in that area. I have seen a couple pairs of their taps and they are awesome but pretty heavy. Do you have one? I would guess value to be depending on shape. Not a well known name and Wades seem to be coming down so I imagine $3500. If it was a Severe saddle from that area it would be $6000. They might have used Rich Bean trees which would be a huge point of quality!"
-
I don't know the name, but I have a friend that worked ranches from northern California to eastern Oregon and he knows the saddles and thinks pretty highly of them.
-
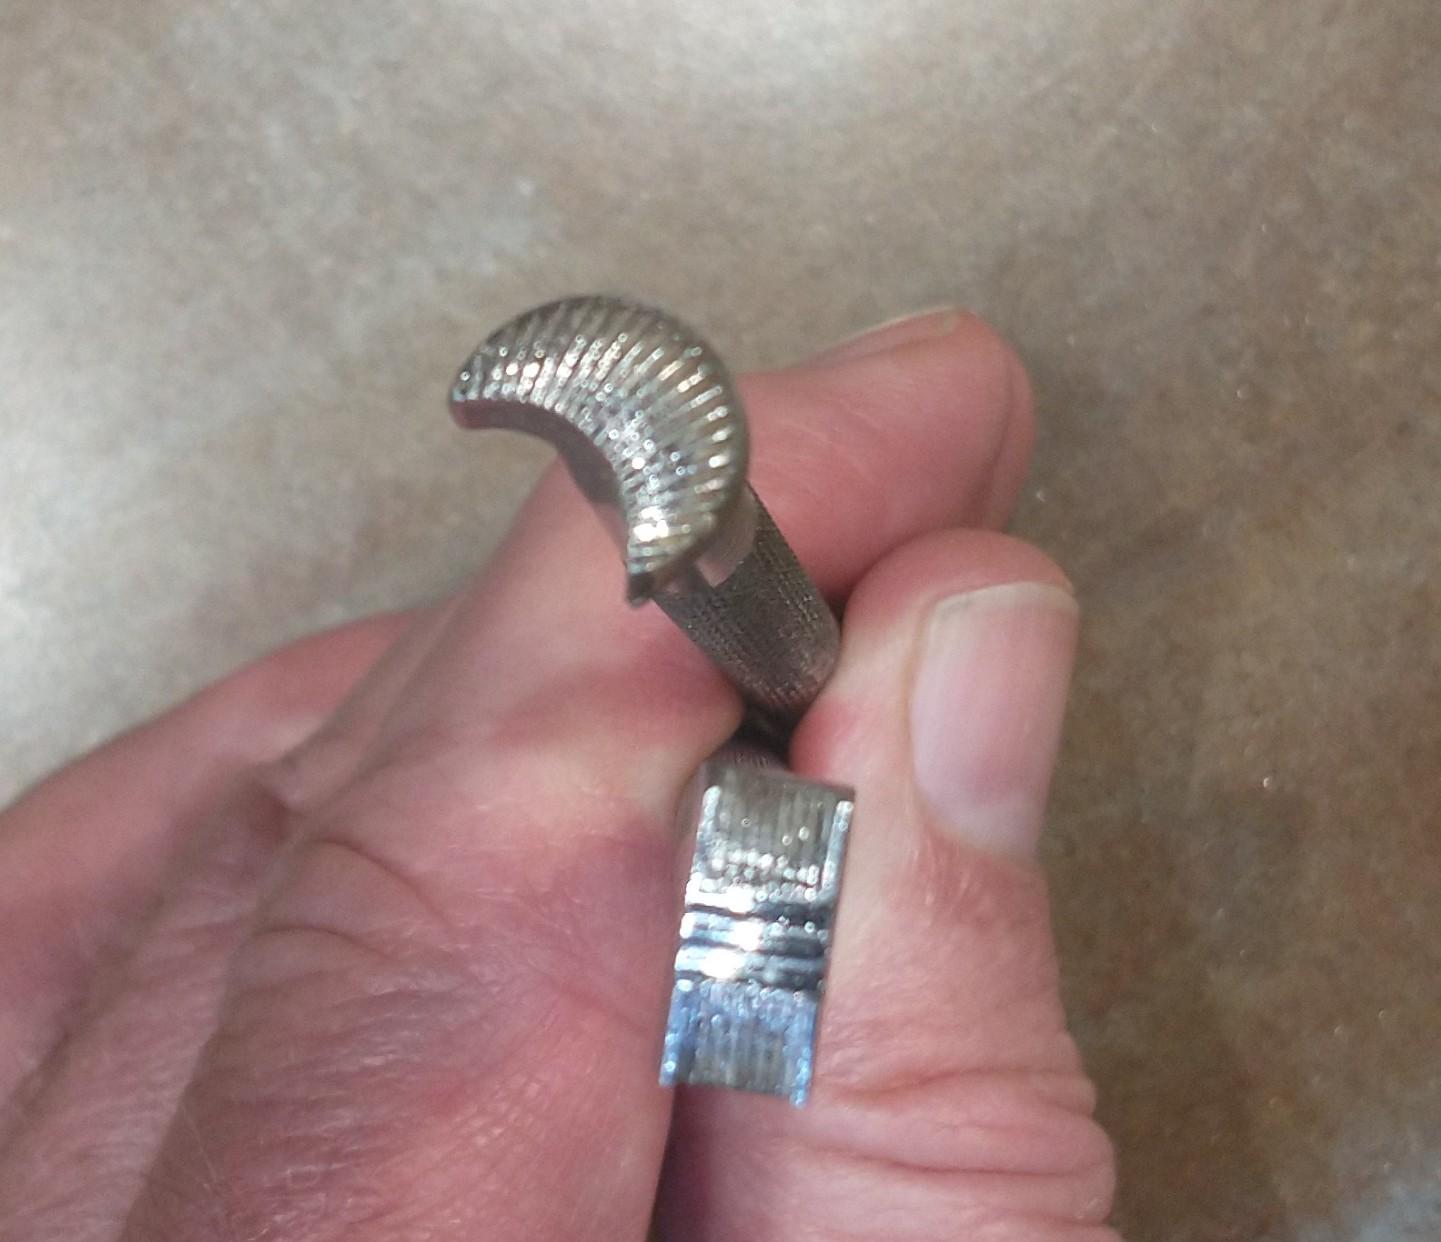
To me it looks like Crafttools basketweave X511 and the camoflage 433 (it is an old one)
-
I would ride it just like it is. I'm just imagining riding it right now through the damp sagebrush gathering cows, what a thought. It's a pretty saddle with nice long pretty taps. There are a lot of working cowboys out there riding a single rigged saddle similar to that one every day. You could probably find some around Pendleton this week roping at a branding all day long with hundreds of catches. I would recommend not to alter it. I'm sure if you ride it for a while and don't like it, you could sell it for about what you paid for it or maybe a little more in the right market. There is someone out there looking for that saddle right now. Just a thought.
-
You absolutly could add a back rigging, but why do you want to? Is your plan to work in it daily roping big critters or are you in steep rough country? From the pictures it looks like it is aleady rigged back at 3/4 or 5/8, could be wrong the picture angle is not the best. The back of the rigging probably wraps behind the cantle and it should pull pretty flat and not flip up in the back. Cost prohibitive? What is it worth to you to have the ability to have a rear cinch? I think you could probably have it done for $300-$500. It would alter and devalue the saddle some. Just my opinion, but I would ride it like it is or pass on this saddle and find one you like for the job you are going to do on it.
-
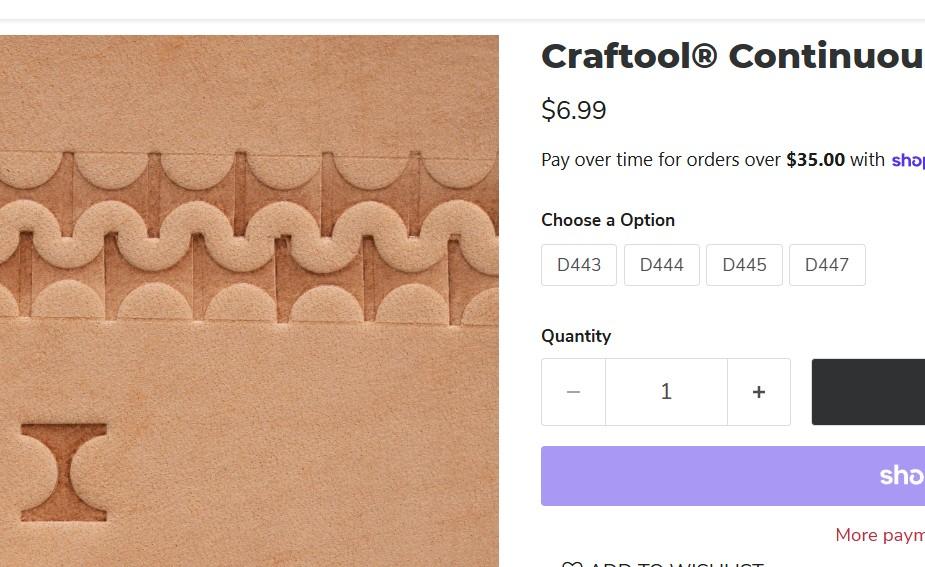
Or a less expensive option at Tandy. https://tandyleather.com/products/craftool-hourglass-border-stamp?_pos=1&_sid=6e3e56c2a&_ss=r
-
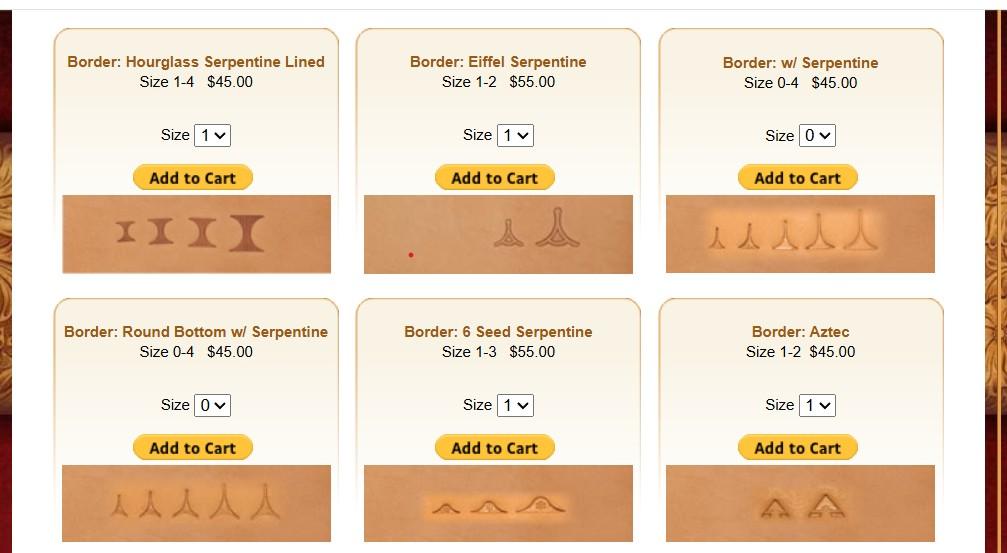
I'm sure there are several companies that have different sizes but here are some styles from Barry King.

-
Is it a western saddle? I have never dyed a tooled saddle. I think it would be difficult to get a consistent color after forming and shaping all the parts. Only an opinion but if I wanted to build a dark saddle I would use drum dyed skirting leather. Many companies offer dyed leathers.
-
Didn't realize how old this post was. Masters project should already be done by now.
-
It is the foundation of the seat in western saddles. It is put in several layers and ground/skived down on each one shaping and smoothing. Then you put the seat in.
-
If it is a western style, you do not want to wet mold it very tight. Al Stohlman, Will Gohrmley , and many others have patterns out there. There are several YouTube videos on the subject. There are several threads on this forum to assist you. Search the posts on the forum. Most will have a hammer thong to hold the revolver in the holster in place.