Rawhide
-
Posts
1,311 -
Joined
-
Last visited
Content Type
Profiles
Forums
Events
Blogs
Gallery
Store
Everything posted by Rawhide
-
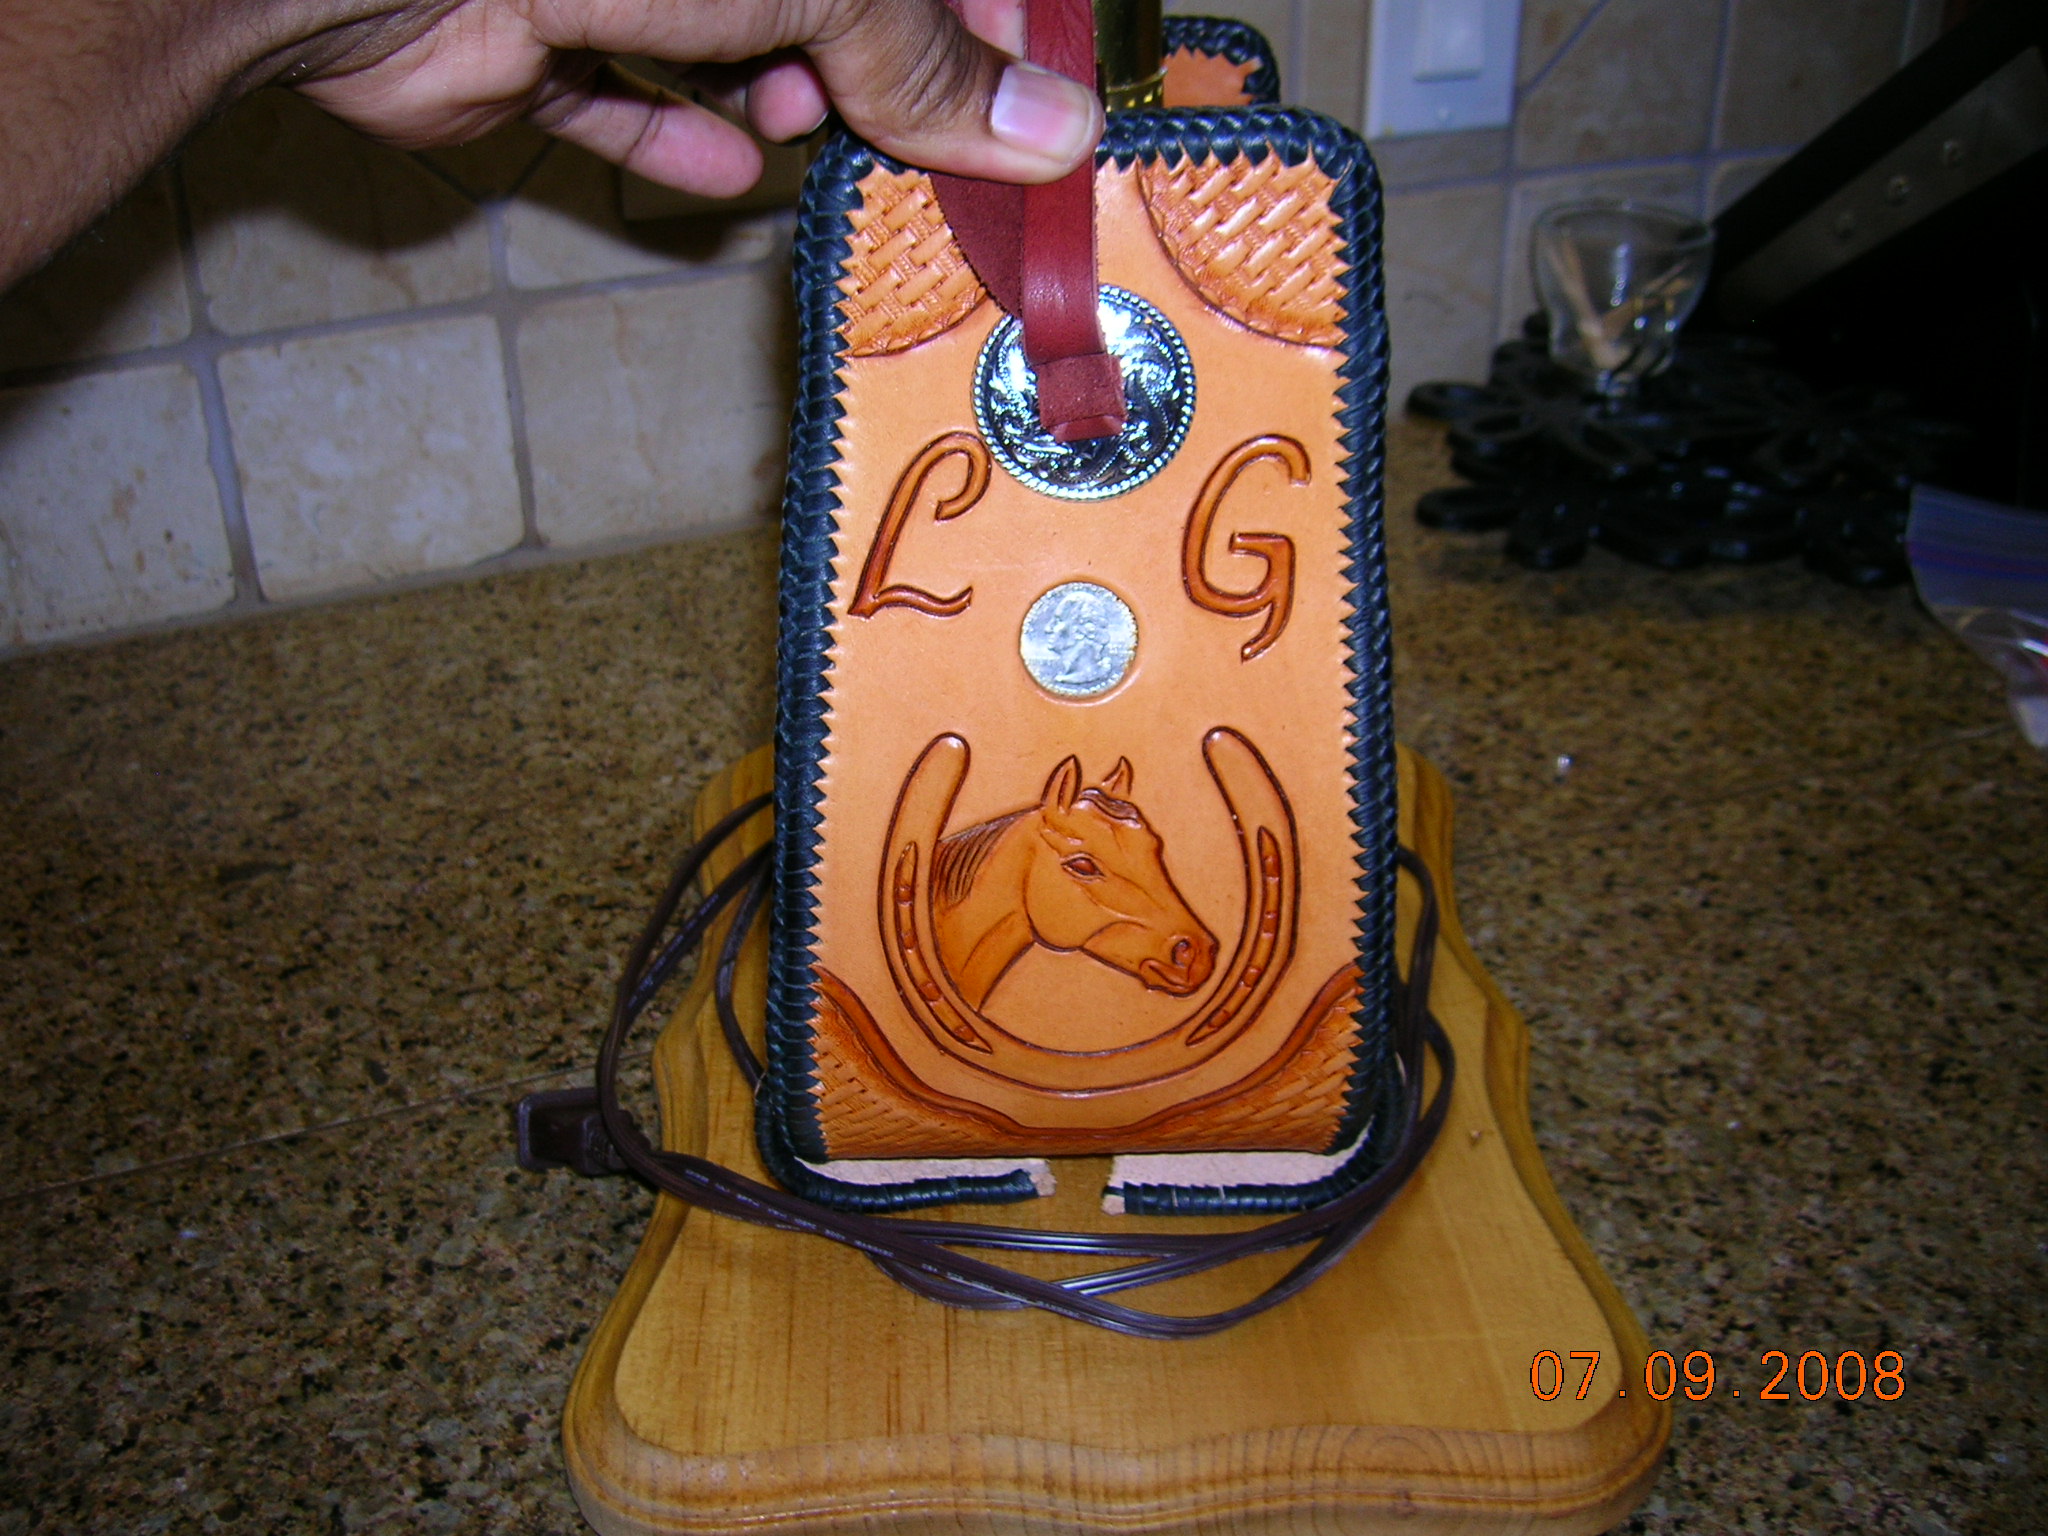
There is something wrong with you....You don't have enough tools yet Ok Here's my collection so far, Top row, an Al Stohlman Brand (ASB) with a hair blade, and from my dad's collection an old craftool with a ceramic blade. Middle row, A new craftool with a Barry King Beader blade, a Henley with blade, Chuck Smith with blade, ASB stacked leather with filigree, Henley with blade, another ASB stacked leather with ruby blade. Bottom Row, ASB with hair blade, and finally another ASB with Peter Main blade. Whew. I also have a Robert Beard knife on order. Other tools, 3 head knives, Osborne, Marlin, and ASB. 3 scalpels, (two #3s, one #4) 2 skivers 1 bevel point knife 3 stabbing awls 4 stitching awls (one bob douglas, two Peter Main, one Osborne) 3 mauls (two Barry King, one ASB) 5 mallets (two rawhide, two poly, one ASB poly) 2 lacing fids There's more, but it gives you an Idea. Bottom line, TOOLS ARE GOOD! Marlon
-

Advice for my next belt
Rawhide replied to eirenealetheia's topic in Purses, Wallets, Belts and Miscellaneous Pocket Items
Tom's right, There are as many answers as there are members. But to keep it simple, 1. Stain the piece with eco-flo highlighter stain. (This has the greatest possibility of success.) 2. put on a heavy coat and work it in circular motion with a piece of sheeps wool, or a damp sponge. 3. Somewhere within 10 min. Wipe the excess off with a folded, wet paper towel. 4. Use a clean piece of sheeps wool to get excess out of the crevices. 5. Let dry completely. (overnight) 6. Buff the belt with an old tshirt. Until the dye is barely coming off onto the shirt. 7. Seal the stain with supershene, or satinshene. (there are many more finishes available, but for now this is probably the simplest) 8. Bevel the edges with and edge beveler. (If you get the Tandy ones, you'll need to sharpen them first) 9. Dye the edge if desired. 10. Take a wool dauber and burn it until it's crispy. 11. rub off the blackened crust with a paper towel until no more is shown.(It should look dark brown.) 12. use this to apply the dye to the edges. 13. Let this dry about an hour. 14. Dampen the edge and use a slicker, or bone folder, or piece of canvas to rub the edge back and forth to generate heat and it will fuse the fibers together. 15. Apply resolene to the edges if you have it with a burnt dauber. Let it dry, and slick it again. 16. You can also slick the back if the belt if you want, but that's optional. Good luck, Marlon -
You just missed one on ebay, but it went for over 300 bucks. Might as well buy a new one. I haven't seen many used ones though. Marlon
-
You can try buckstitching, or lace the edges, or even an applique lace. Marlon
-
You can also try David Morgan. I think he has a website.See Here Marlon
-
Ray, Lots of these questions are answered in that book I mentioned and it's kinda hard to explain them in words, but I'll try. There is a method to ending a laced project back at the point you started, but it's definitely a watch learn and try process. ( may see if I can put a youtube video together to explain it) For going around corners, the trick is to start there. Punch all your corner holes first and fill in between with the prong chisel. Trick for using the hollow needle is to skive the end and taper it to a point and thread this into the needle until it stops, If it breaks on you during lacing, you'll need to burn it out. (Use pliers to hold it and heat the end until the lace comes out.) The splicing you described is called wet splicing, and I don't like to do it. sometimes there's almost no choice. For glue, use either PVA or contact cement. The book explains wet splicing and dry splicing, which is what I use. There's no glue involved. Hope this helps Ray. Marlon
-
-
Roo, This is basically applique embossing, without the top layer of leather added. It may be easier for you to use a scalpel. Another thing to think about is burnishing the cutout areas to smooth out the finish. Looks good, I hope to see more. Always love your work! Marlon
-
I fancy Barry King's line of grooved bottom edgers. I think they are the best bang for the buck. They're more expensive than tandy, but less expensive than ron's or Jerimiah Watts. I've used Ron's and still prefer Barry's. I haven't tried Watt's so I can't compare, but Bruce Johnson loves 'em and I'd respect his opinion any day. Marlon
-
I haven't heard anyone's use of a lacing fid. I prefer to use slits instead of holes, because it looks 100 times better. It looks very amaturish to use holes. Second, use the two prong lacing needle. (hint: polish the needle and the fid). When using the prong lacing needle, pre-punch the holes in the lace with a scratch awl. you'll be amazed at how much stronger the lace is and how long it lasts without breaking. Wax your lace with beeswax. Use the fid to open the slits a bit to get the needle through. Leather tends to close naturally when you spread it apart. If you punch holes, they won't close because the material is no longer there to close. Same thing when saddle stitching, using the stitching awl, the holes almost disappear when you stitch, and same goes for using slits for lace. Best explination I found to lace was in the book from tandy shown below. And it's only 3 bucks (US) if you're a wholesale member.
-
Tan Kote Finish
Rawhide replied to tgardner's topic in Dyes, Antiques, Stains, Glues, Waxes, Finishes and Conditioners.
There are several. Aussies Wax, Resolene (this seals completely and you won't be able to condition it later), Montana Pitch Blend, Snow Seal, and some other's that I can't think of right now. Marlon -
Tan Kote Finish
Rawhide replied to tgardner's topic in Dyes, Antiques, Stains, Glues, Waxes, Finishes and Conditioners.
Did you buff the piece before putting the tan kote on? As the dye drys the dyestuffs, (dye particles suspended in the alcohol) will stay on the surface. If the surface is carved, you should use a piece of dry sheeps wool on dry leather, or if not carved you can use an old t-shirt, to buff off the dyestuffs. Once you get no more or very little dye bleeding to the wool or shirt, you can put the tan kote on. Marlon -
I'm not sure if it's a store front or not, It may only be a collection of people yearly. Email Kevin and ask if you're interested. I think it may be a good idea to drive up there that day and at least meet those instructors. I've met Bob Beard and George Hurst and both are exceptional guys. Marlon
-
David, Below is a link to a place that's probably not far from you, I would look into going there too every so often. They have a workshop they put on last year and I think they are doing it again in march sometime. They'll have some of the great leather artisans there to teach classes. Even if you don't take a class, I'm sure they'd welcome you with open arms. If nothing else, sign up for the free newsletter, they email i each month, and usually have a pattern or two in there. Welcome to the addiction, Marlon Hides to Art
-
That's called a quilter's rule. these are great. My wife has about every size imaginable. Sounds like you knife may not be as sharp as it should be. When it's not extremely sharp, the knife can actually pull the leather and it will cut unevenly. Marlon
-
-
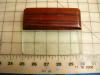
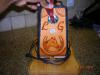
Sorry for the late reply here. I missed it. Below I posed an example of what I did. you can find individual punches the size you need, but unless you do a lot of punching, it's probably not worth the 30/40 bucks for one. Just use a sharp xacto knife or the like to cut out the hole, use a french edger to recess the back side of the hole and burnish the inside of the hole. place your coin in and cover it with a liner leather. A liner is just a piece of leather to cover the back side, they are either glued down or glued and sewn. Marlon
-
cover your eyes, nostrils, and skin when you machine cocobolo, it has toxic properties. Be sure to wash up before you eat. Marlon
-
Hidecrafter's Marlon
-
You can try uship I think people bid on shipping your stuff for you. Marlon
-
Man these are great stories. My only one so far is, I was saddle stitching a project and punching the holes with an awl. I went through the leather and the top of my middle finger's nail down to the bed of the nail. After many words of distress that I care not to repeat, It bled under the nail for a while. A few days later I was able to scratch the nail down to the bed and get the dried blood out. Marlon
-
you can bet i know where breaux bridge is....mmmm crawfish festival!!!! Man I miss that! Sorry about your losses. I hope you get back into the craft and do well. Marlon
-
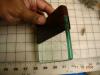
second view
-
Edge Kote
Rawhide replied to ArtS's topic in Dyes, Antiques, Stains, Glues, Waxes, Finishes and Conditioners.
Bob, I've always had a small problem if I burnish before dying. I seem to lock the fibers and they won't accept the dye very well, almost like a resist. So I usually dye first. M. -
Here's a couple of pictures of my glass slicker.