immiketoo
-
Posts
2,372 -
Joined
-
Last visited
Content Type
Profiles
Forums
Events
Blogs
Gallery
Store
Everything posted by immiketoo
-
Thanks Bikermutt for including me in this convo. We do a LOT of acrylic on leather and the hype about Angelus is just hype. Frankly I hate the stuff. Too thick out of the bottle and when you thin it, the color breaks down so it’s useless. We use Golden hi-flow acrylic almost exclusively with the exception of Lumiere for metallics and createx airbrush colors because they’re thin. thin is the way to go with acrylic because you get the best adhesion to the leather and you can sneak up on your colors as opposed to slopping it on thick. Golden has the widest array of colors and hues, and are readily available locally in most cases. I highly recommend them and Createx. additionally, you can use them with an airbrush right out of the bottle. here are some examples of golden on leather.

-
-
What Bruce said.
-
Thanks, Noob. Pics are great, but videos are even better. IF you guys have any requests, let me know.
-
Generally speaking, cops are the worst shooters out there. I was in charge of our department training and I would DQ guys for not being able to complete what I consider basic drills and firearm handling skills. FFS, I had to order a guy to buy a new holster because his had broken and was only being held together by the lining cloth of a Safariland level 3 retention rig. As a competitive shooter in several disciplines, I was appalled at the average cop's ambivalence regarding firearms.
-
 Good work thats pertinent deserves a share. Thanks for taking the time!
 -
i actually shared this on this page yesterday
-
Aging.... blurry vision when tooling
immiketoo replied to chriscraft's topic in Leatherwork Conversation
Good luck. After that, I suffered a severe allergic reaction that caused my eyes to swell. I now have what is called a retinoschisis, or a tearing of the retinal layers. Nothing can be done to fix it, and so it could never change or I could be blind tomorrow. Fortunately, its been stable since the diagnosis, but I find that using glasses reduces the strain on my eyes and helps my vision overall. It's not getting better, but not getting worse either. More lights changed my life in the shop. Sucks getting old! -
As I got a very late start in leatherwork, I can tell you you can do it! I wish I had started 20 years ago! Ah well. Love the canoe!
-
HEre's a read that may help you. https://medium.com/@jasontimmermans/a-comparative-study-of-leather-hardening-techniques-16-methods-tested-and-novel-approaches-8574e571f619?fbclid=IwAR2gSSIg1JQvTMOQOMo-mJSaNuDdsoB65d-jEy6HOkEmhbANBudIz8rawsc
-
Nice work dude. Goes with that bass perfectly!
-
Buy the right tool and they still do I know this because my Knip knives are so sharp that you don't even feel the bite until the blood stains your leather. Or the awl from elder Louis comes out the top of your thumb from the bottom :/
-
Aging.... blurry vision when tooling
immiketoo replied to chriscraft's topic in Leatherwork Conversation
Like you, I had amazing vision my whole life. I could see things that others thought were impossible. Then I turned 40 and just like that the warranty expired. Went to the doc and he said because my far vision was still perfect, just wear the readers. I have all the focal lengths from 1.00 to 3.75 for super close detail work. I hate it, but there's no other way around it, except getting a lens replacement. Since its an elective surgery, its very expensive, so readers it is. One tip. Leave the stickers on the lens telling you what magnification on, or buy different styles for each magnification. Otherwise you'll spend a lot of time trying on the wrong pair! -
Your best bet for lace it buying metallic lace. Knotty Linda sells nearly every color imaginable. If you have to add metallic to your existing lace, there is metallic dye from tandy thats frankly uninspiring, and there's metallic paint by both Lumiere and Golden. They each have very sparkly paint but I have no idea how it would hold up to the physical act of lacking.
-
Always seal after antique. I use RTC by Bee Natural.
-
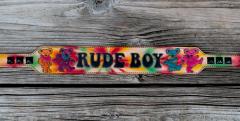 More sweet lettering!
 -
 Sweet lettering!
 -
Is there a font for Ivan Alphabet stamp set 8132-00
immiketoo replied to RockyAussie's topic in How Do I Do That?
Cause it looks bad? -
Want to start using an airbrush. Please Help!
immiketoo replied to ShellyAnn's topic in How Do I Do That?
Looking at the quality of your work, I'd say you have invested a decent amount of time and effort in your leather craft, so I'll give you a leather specific response as best I can. My first airbrush was a dual action Paasche VL. It was a good starter brush and it served me well for many years. It had a .5 needle and a.3 needle in the box so I could vary the spray for nearly anything a leatherworker could ever need. Once I moved to acrylics, the Paasche would clog up a lot regardless of how thin my paint was so I looked for alternatives. Its still fine for dyes though. its my black brush now. I upgraded to a couple of Iwata a few years ago, with in gravity feed and in siphon feed. I use both equally. For larger coverage, siphon feed is good with a bigger needle (Means a bigger hole and more flow) and the opposite is true for details. The gravity feed is great for smaller areas and if you have to change colors often, especially if you work with spraying acrylics say on one of your fish. Usually, you get what you pay for and the Iwata certainly has a better spray and its easier to control than the Paasche. However, I was turned on to some chinese made copies of the Iwata and frankly, they're fantastic. At 35 bucks on Amazon, you can buy four of them and still have money left over for a compressor. I'll see if I can find a link if you don't mind buying from China. Now, a lot of folks like to cheap out on the compressor, but if you spend a lot of time with an airbrush, you will really do well to spend the money there. Look for a model with reservoir tank to ensure consistent, pulse free spray, a moisture filter and most importantly, buy a quiet one. I bought one that operates at 40 dB and I can barely hear it turn on. Great for long days in the shop without the need for earplugs. Speaking of, stay away from reed style compressors as they are obnoxiously loud. Lastly, look up Chris Wright on you tube. He makes amazing leather art with an airbrush and he's starting a channel for tips and tricks videos for us leather workers. -
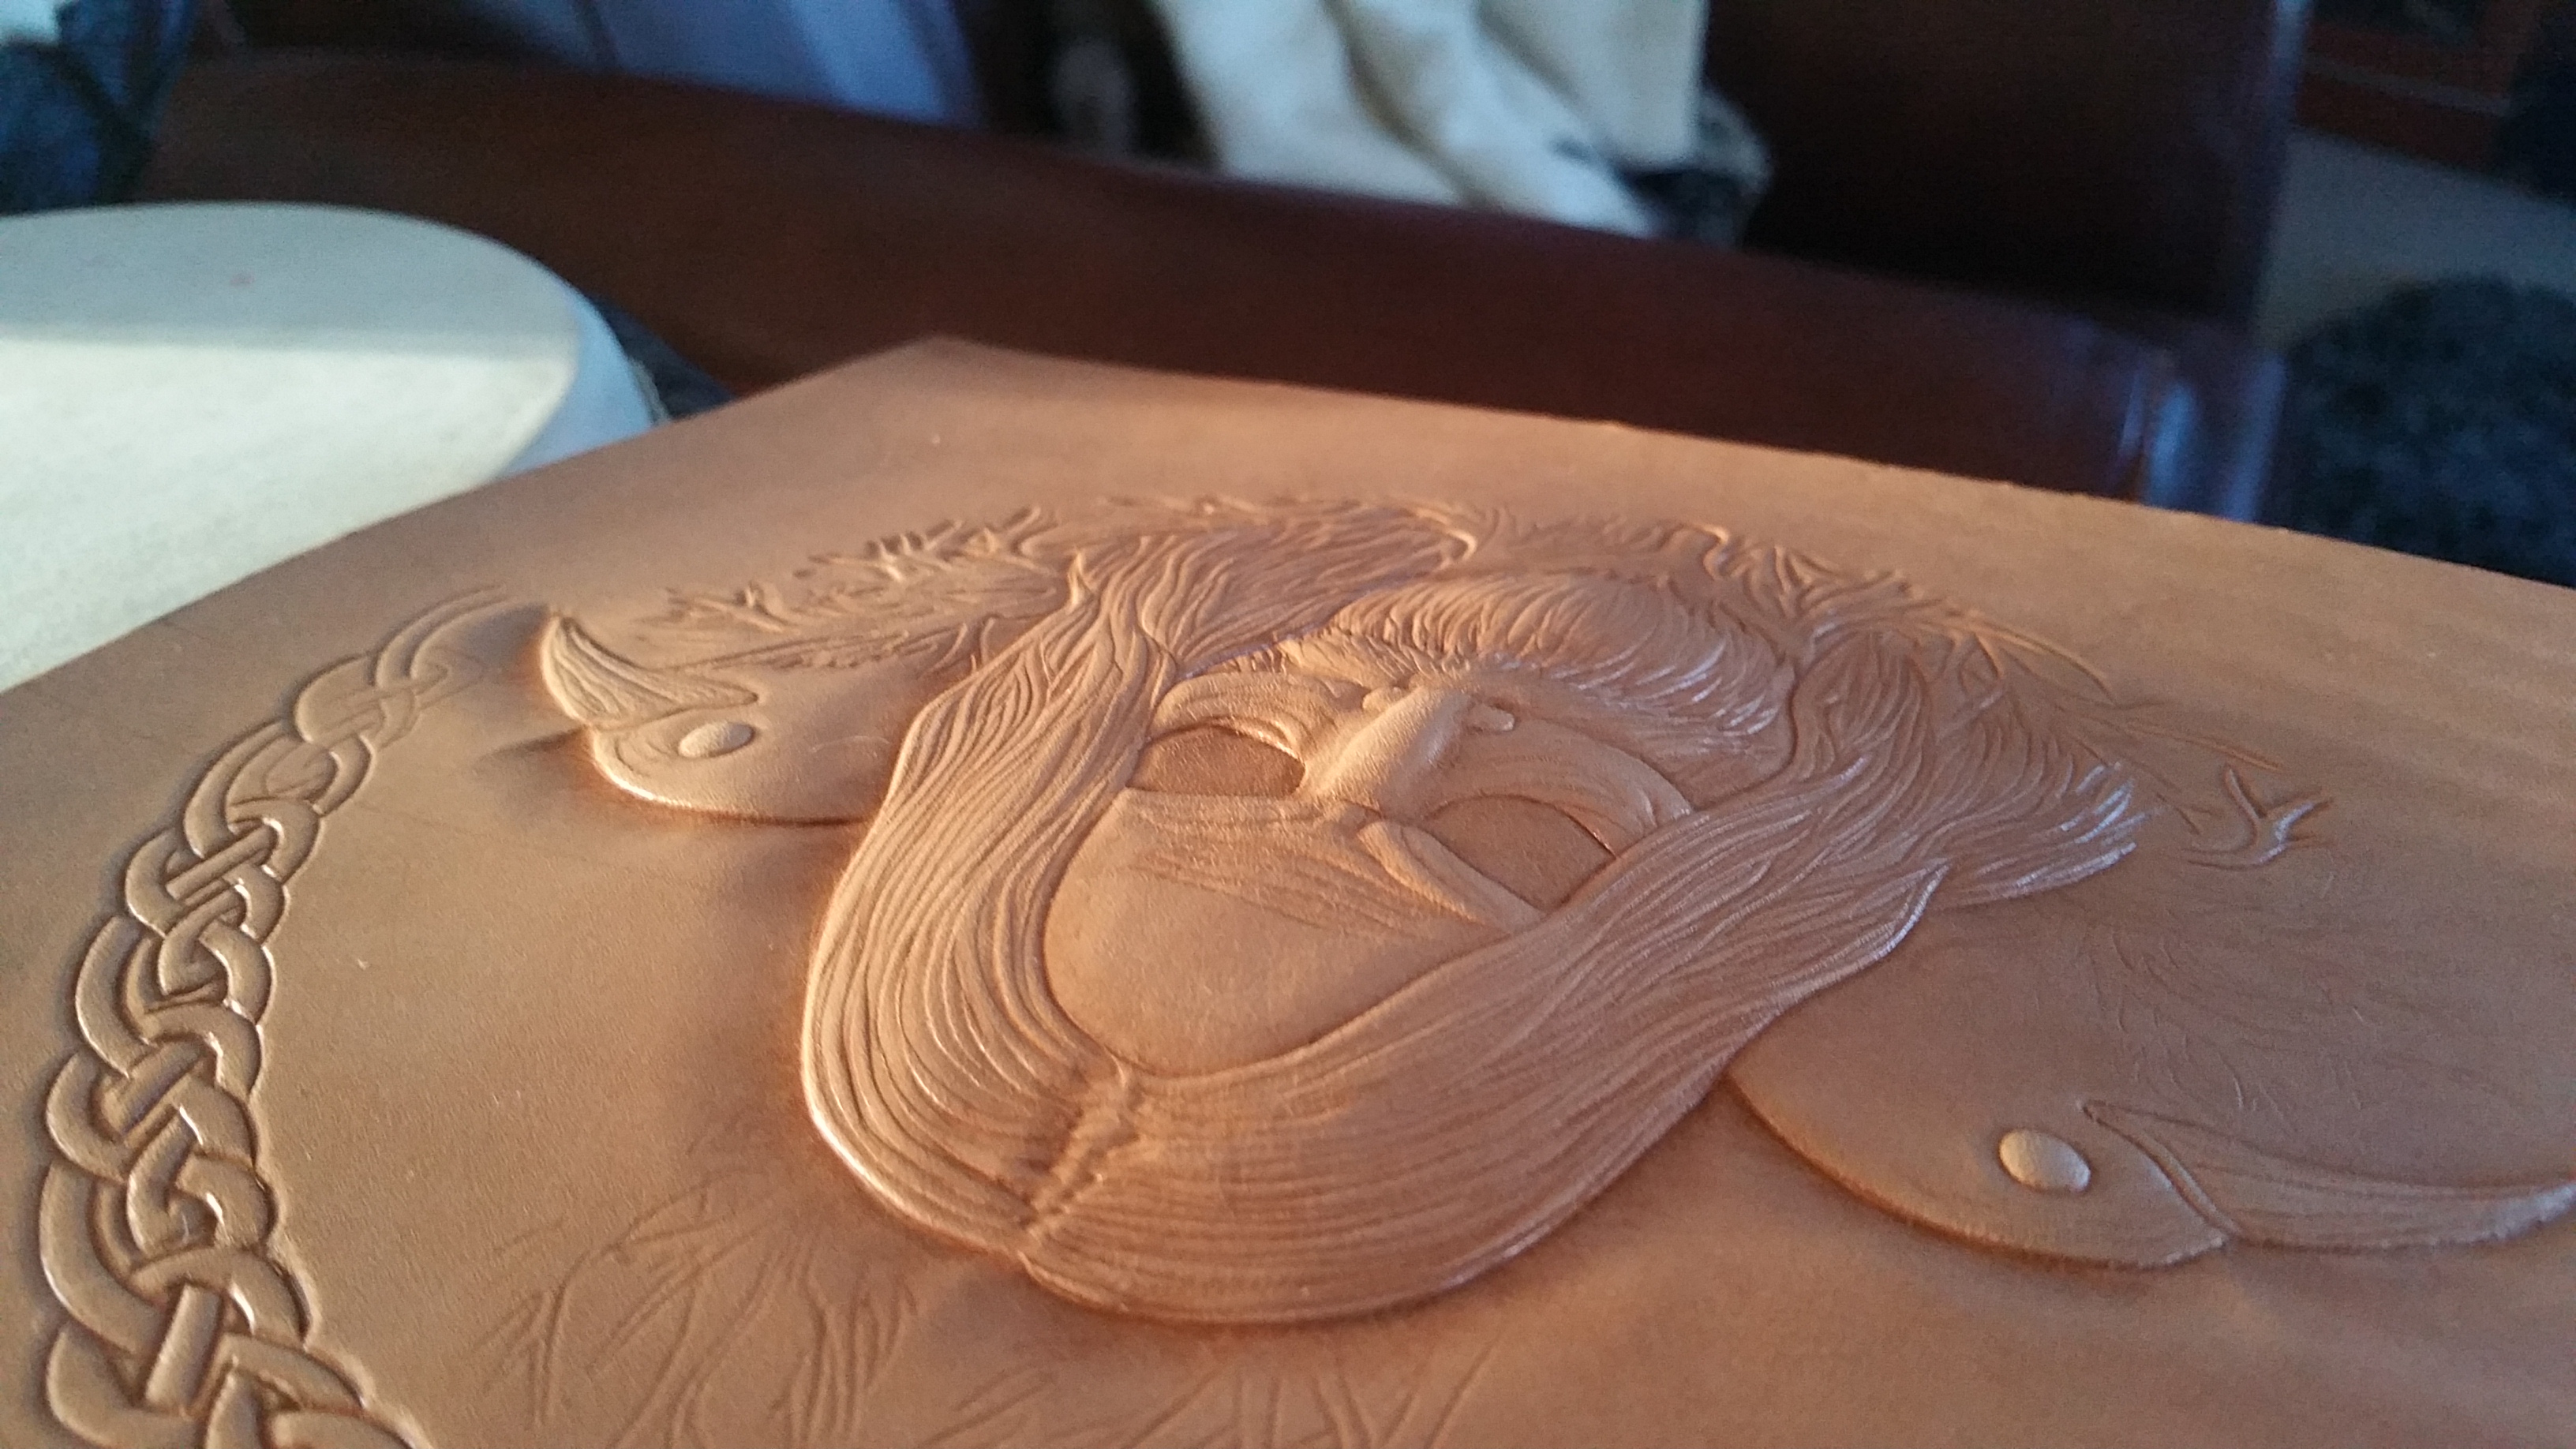
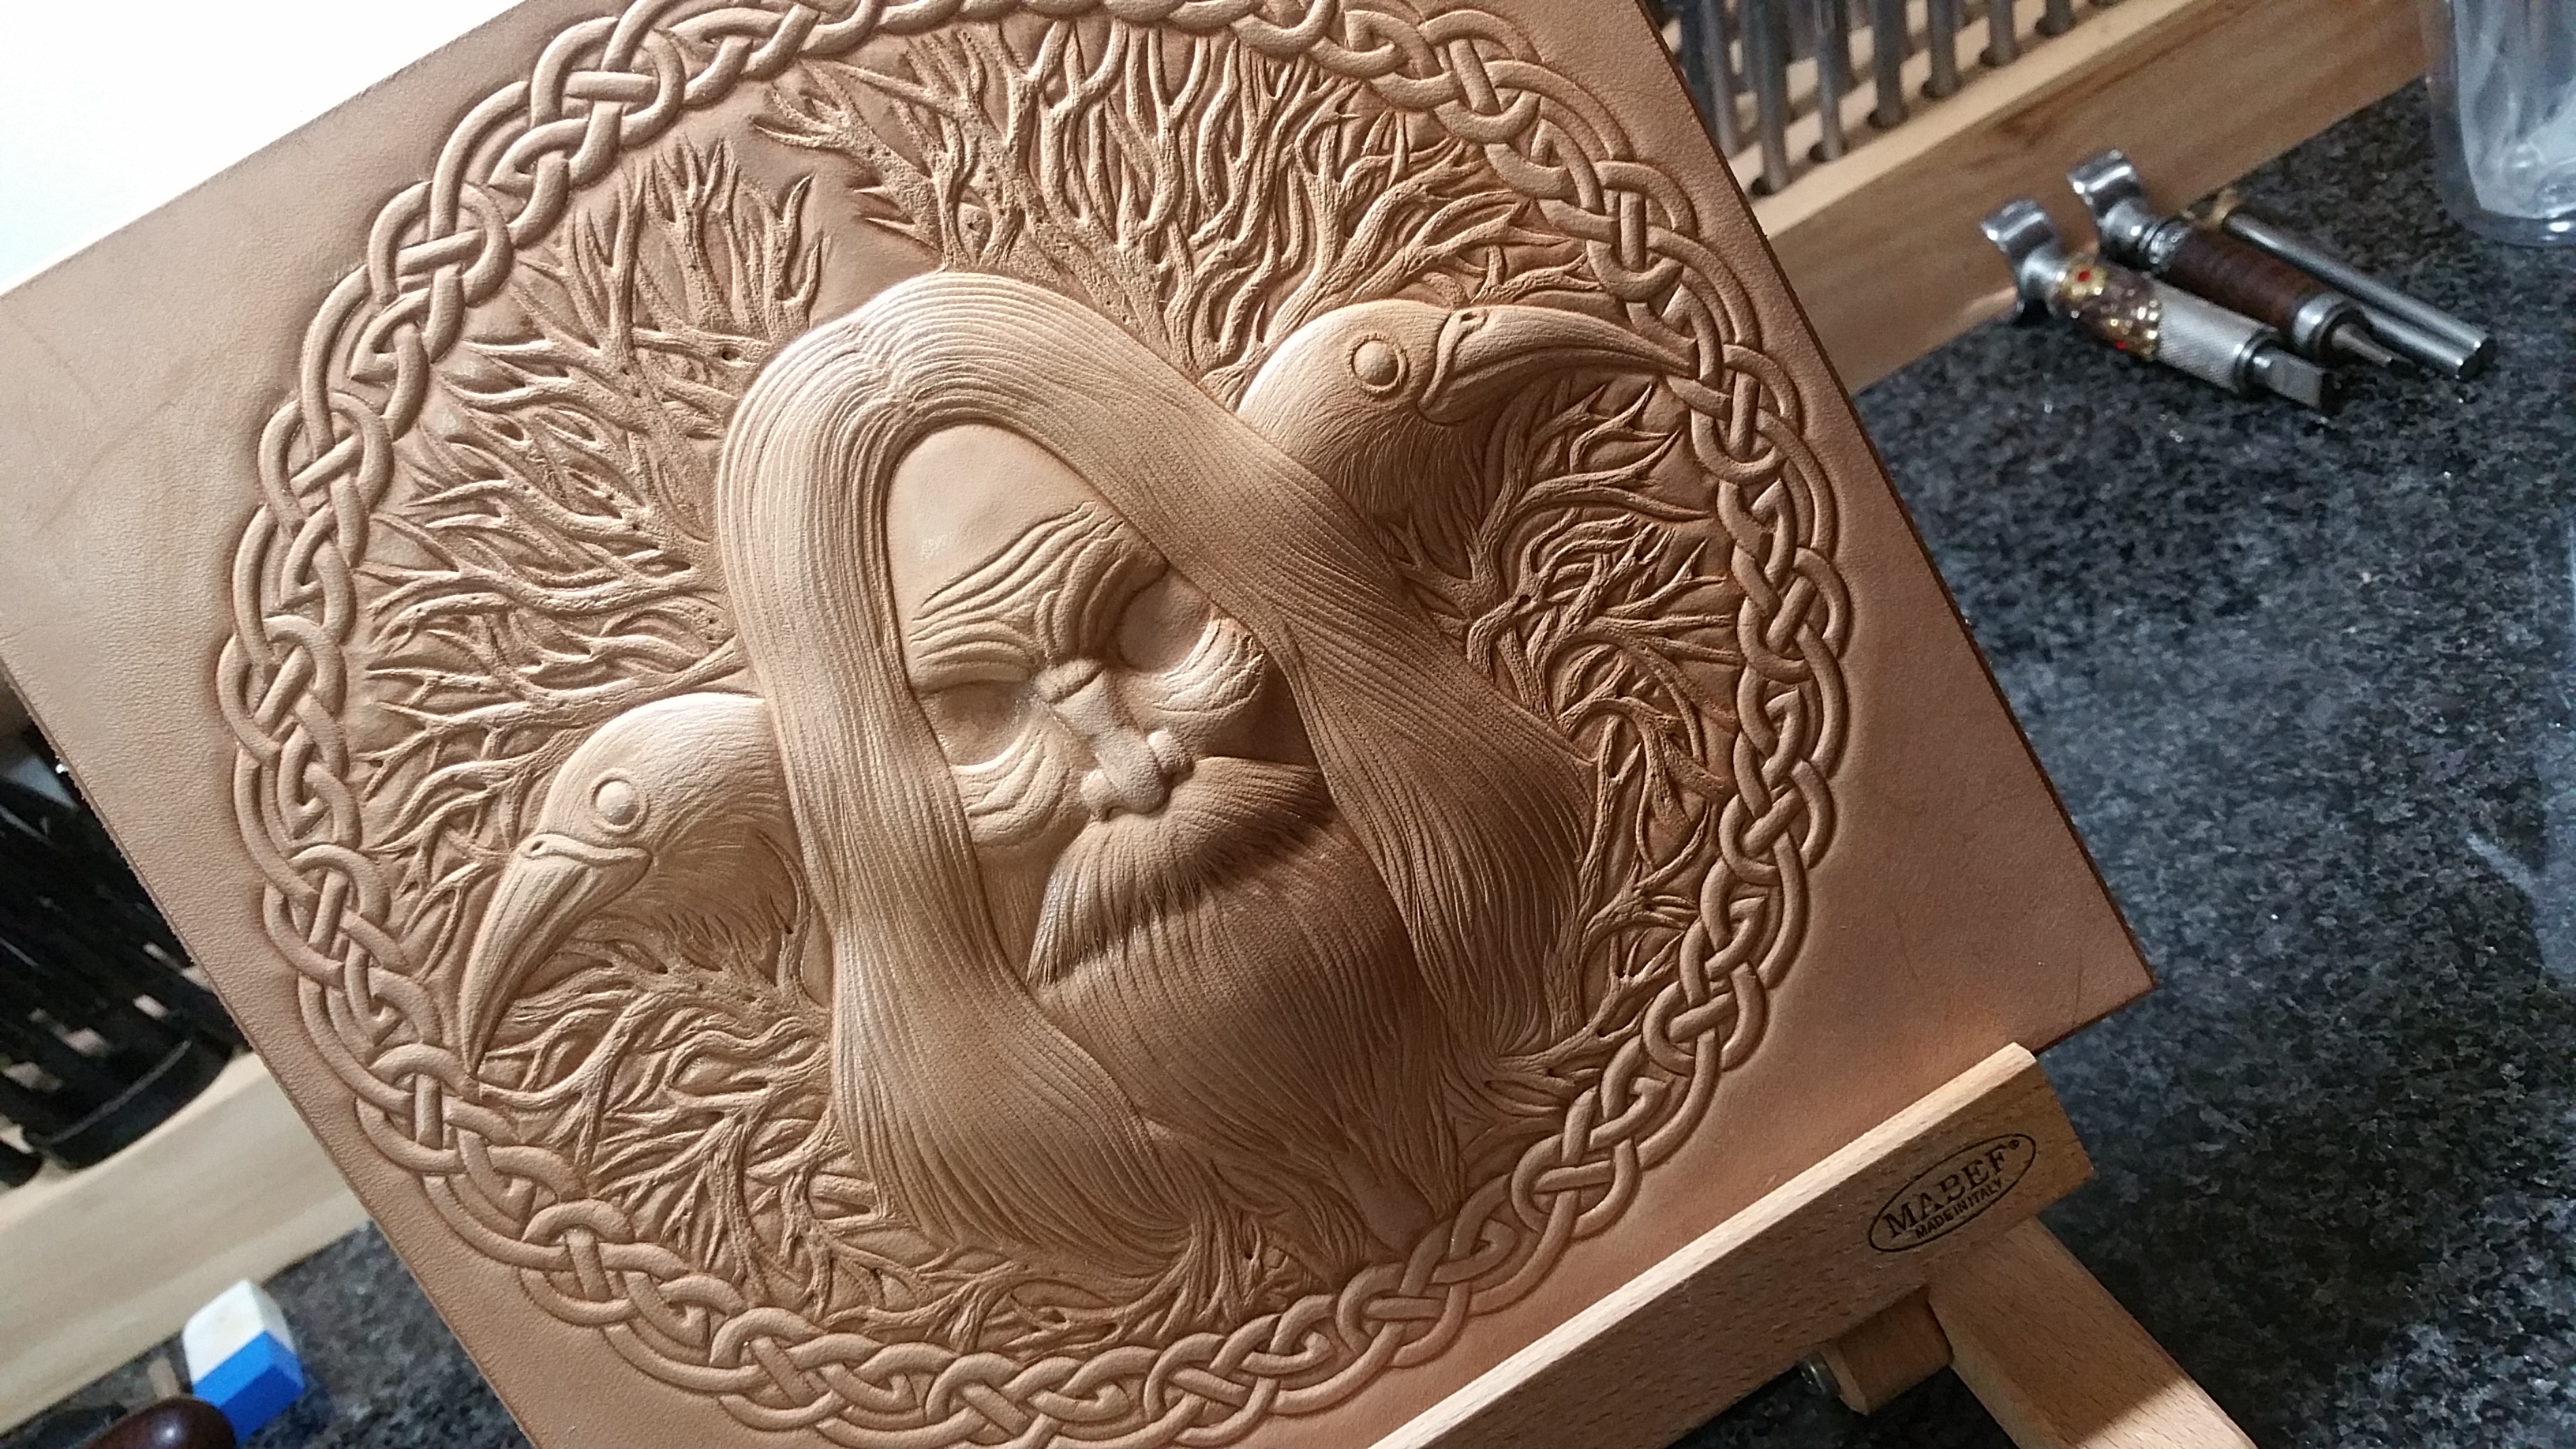
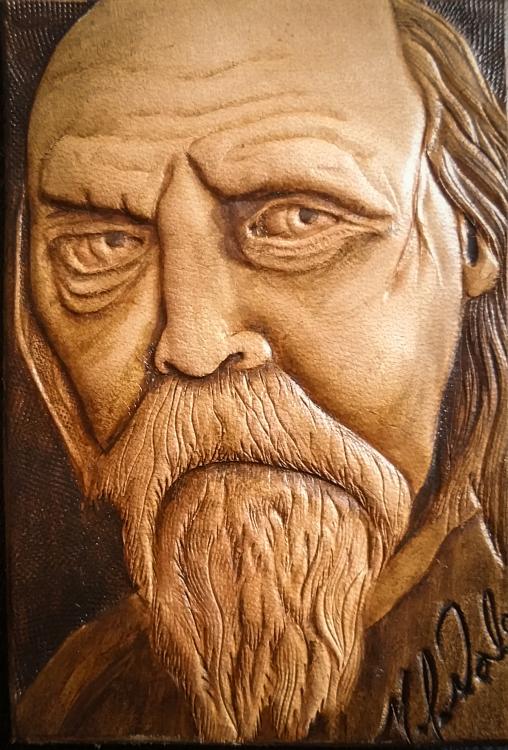
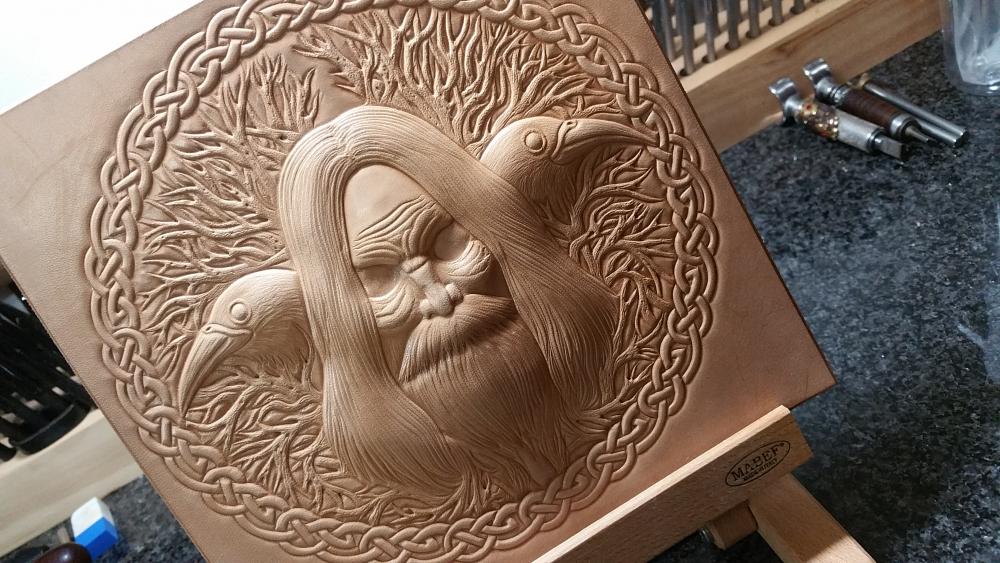
For your first attempt tooling, you did a great job. So much of tooling comes with experience and feel, which will come with time, but here are a few pointers. On any kind of carving other than floral carving, but especially with any kind of figure carving, look into getting a figure beveler. This will make that pop you're looking for. I have put a few examples below to show how a figure beveler can separate the background from the carving. Next, the transitions on any viking or Celtic design where one part goes under another need to have smooth bevel transitions so it looks like a natural flow as opposed to steps down and under then back up. Again, a figure beveler will help, but you can also smooth the transition using a modeling spoon. Another analogy is that steep beveling makes things look like they have been pushed down into a pillow, whereas a figure beveler or spoon makes them look like they have been place on top of the leather. If you're using antique to create contrast in your carving, checkered tools will help hold the antique and give darker areas to help pull the smooth areas to the front visually. Figure bevelers are generally smooth though. In Pic one, you can see the area around the hair is smooth except for the lines for the branches. The figure beveler pushes down the leather smoothly and makes your art stand out. In the second pic, you can see our the branches are behind the birds and Odin, but above the background. Also you can see the transitions on the celtic weave. Hope this helps.

-
That kit has a little bit of everything you'll need to make some things, but the quality isn't there. Don't expect it to last very long. How long is dependent on how are you'll use the items. I just made a set of armor and I didn't really use a lot of tools to make it. Most of it was hand stitched, but the parts that were machine stitched would have been a nightmare to do by hand. For the scales, we used 4mm leather and the rest was 3 mm leather. You can wet mold veg tan leather and let it dry. It will keep its shape. Baking it in the oven at very low heat, or a hot box will harden the leather and still keep the shape. Too hot will cause shrinking and shape loss. Under 125 degrees works well. Boiling it also works but looks like ass in my experience. I didn't give it much of a go after it looks like something the dog chewed up. As for buying leather, you have a lot of options. If you aren't concerned about a lot of color in your armor, you can buy English Bridle leather thats much more dense and durable than standard veg, and it will hold its color (Shade of brown or black) indefinitely. Otherwise, you'll likely have to dye it or just leave it plain. It's expensive. My last armor has over 500 bucks worth of leather in it. Depending on the type of armor you want to make, you may just add a few layers to give strength as opposed to hardening it. Be prepared for some waste if you do choose to harden. Its not an exact science. Good luck!
-
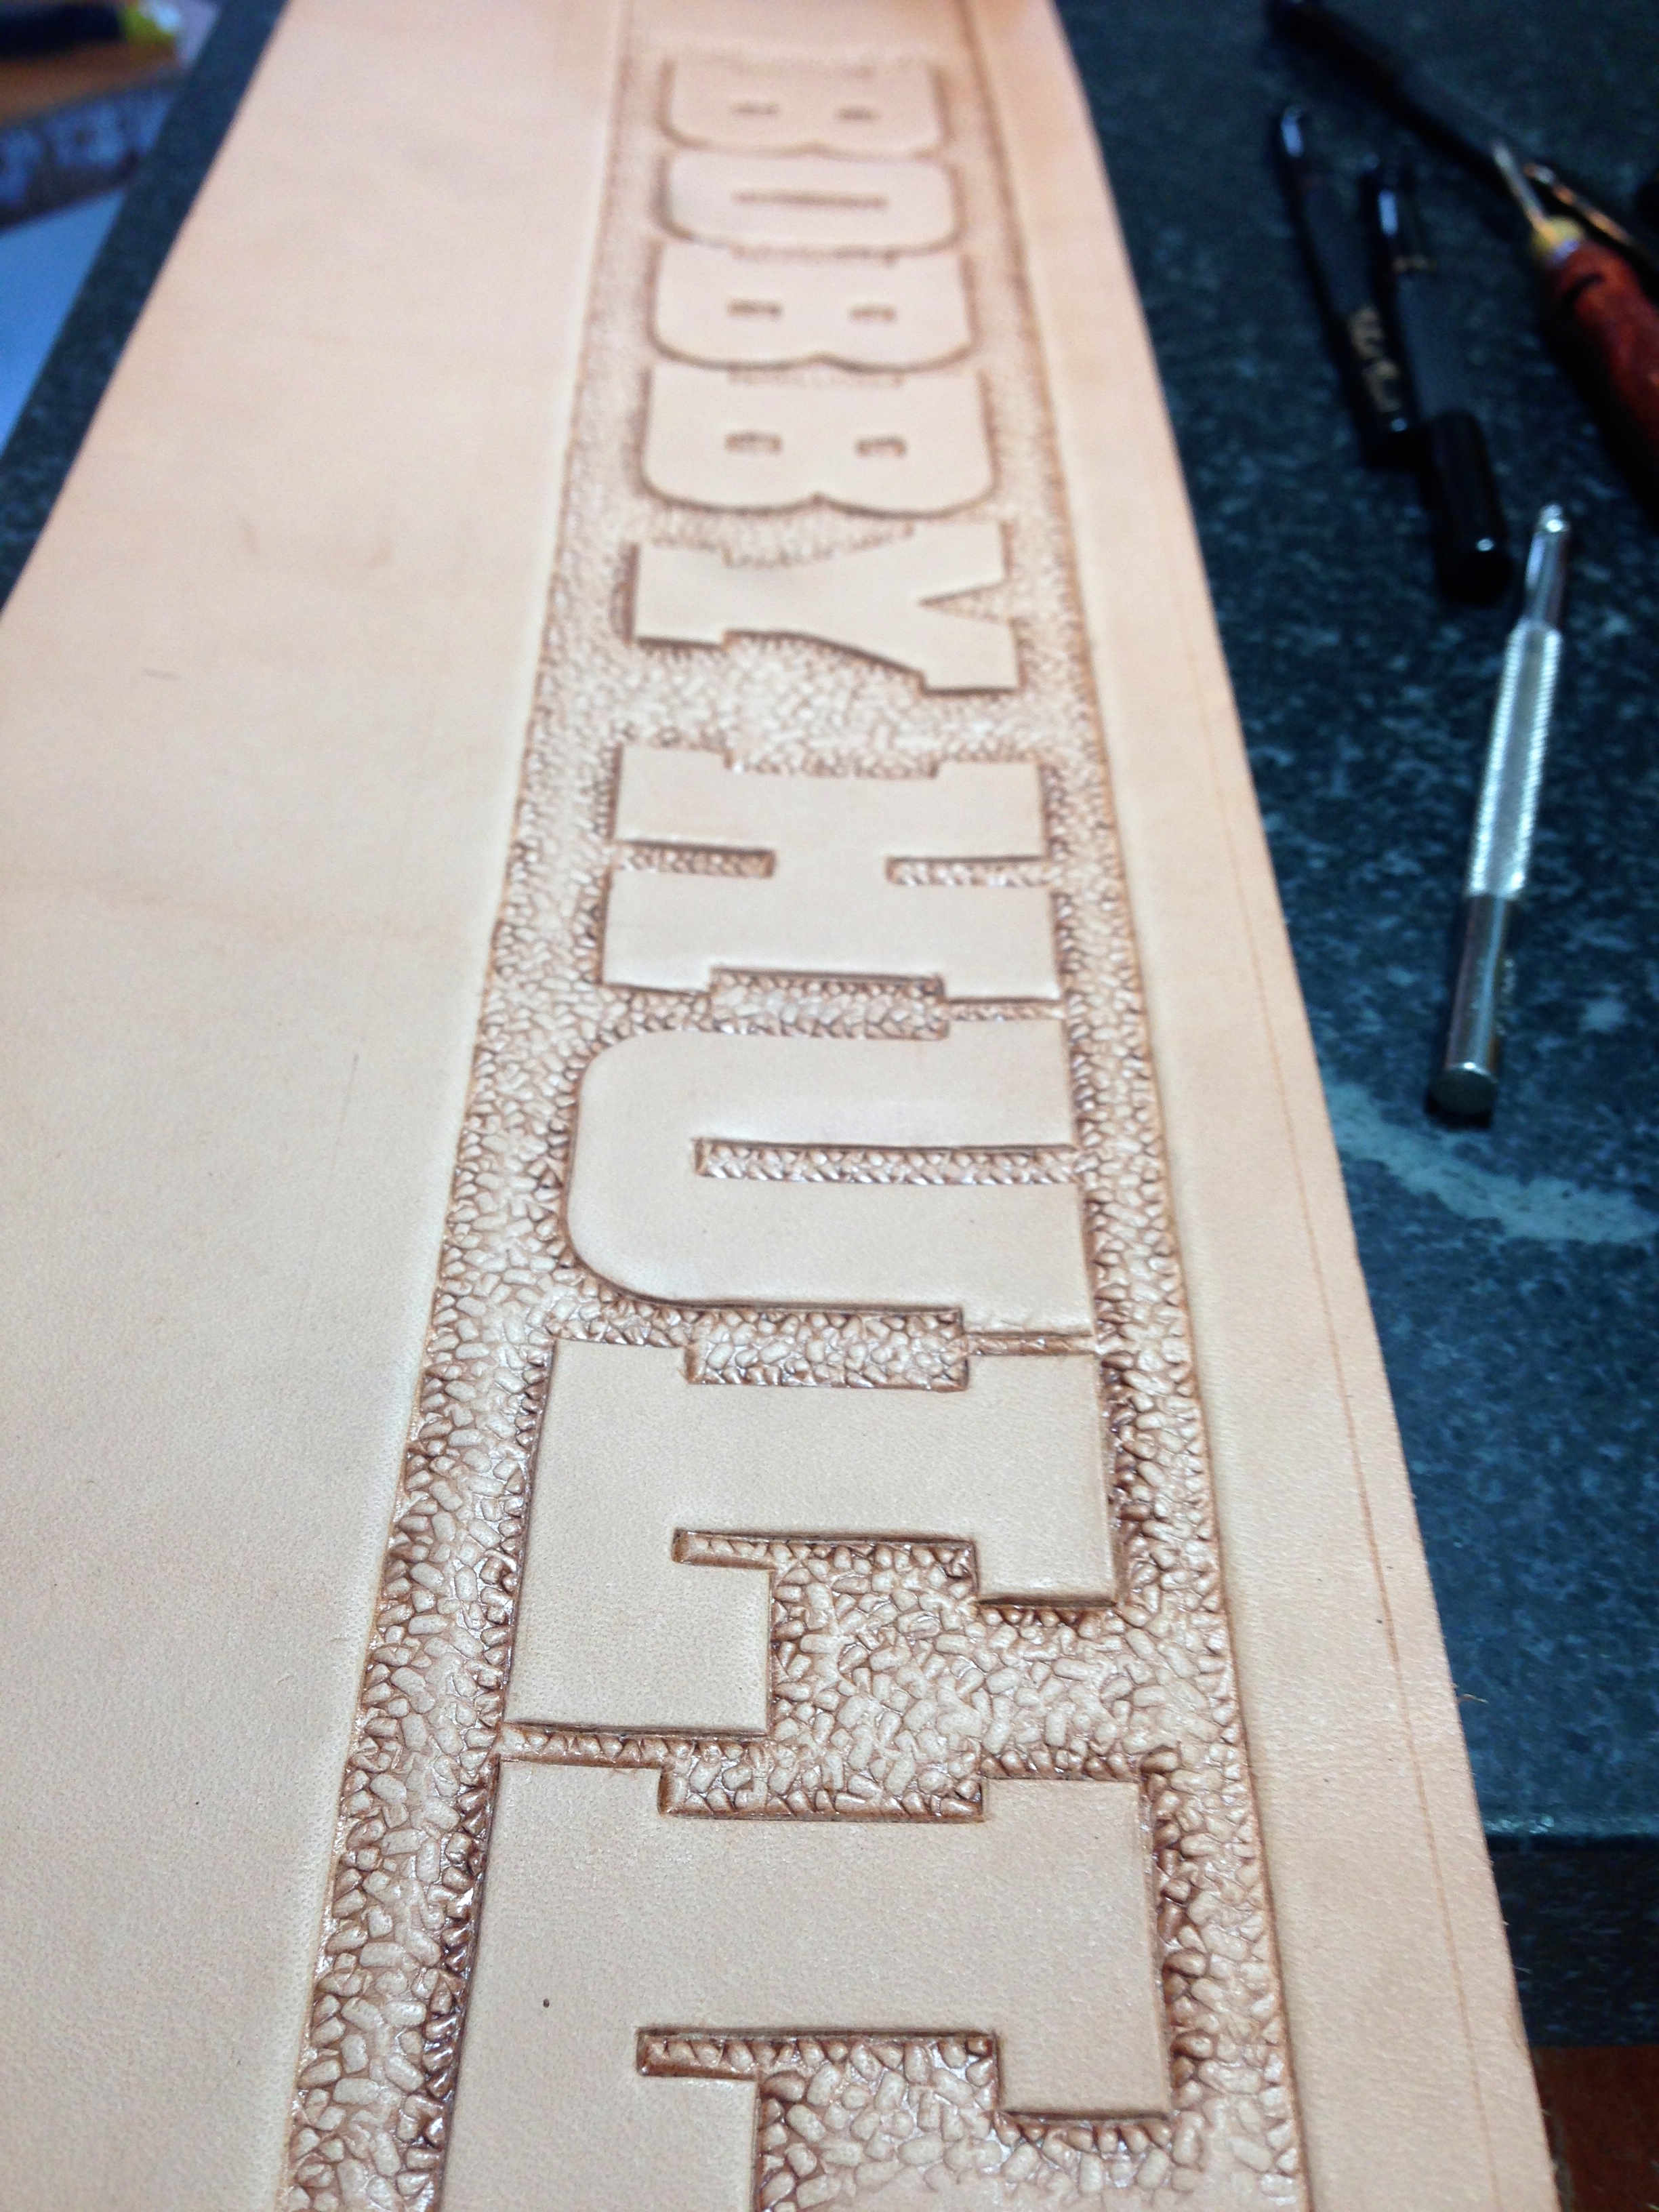
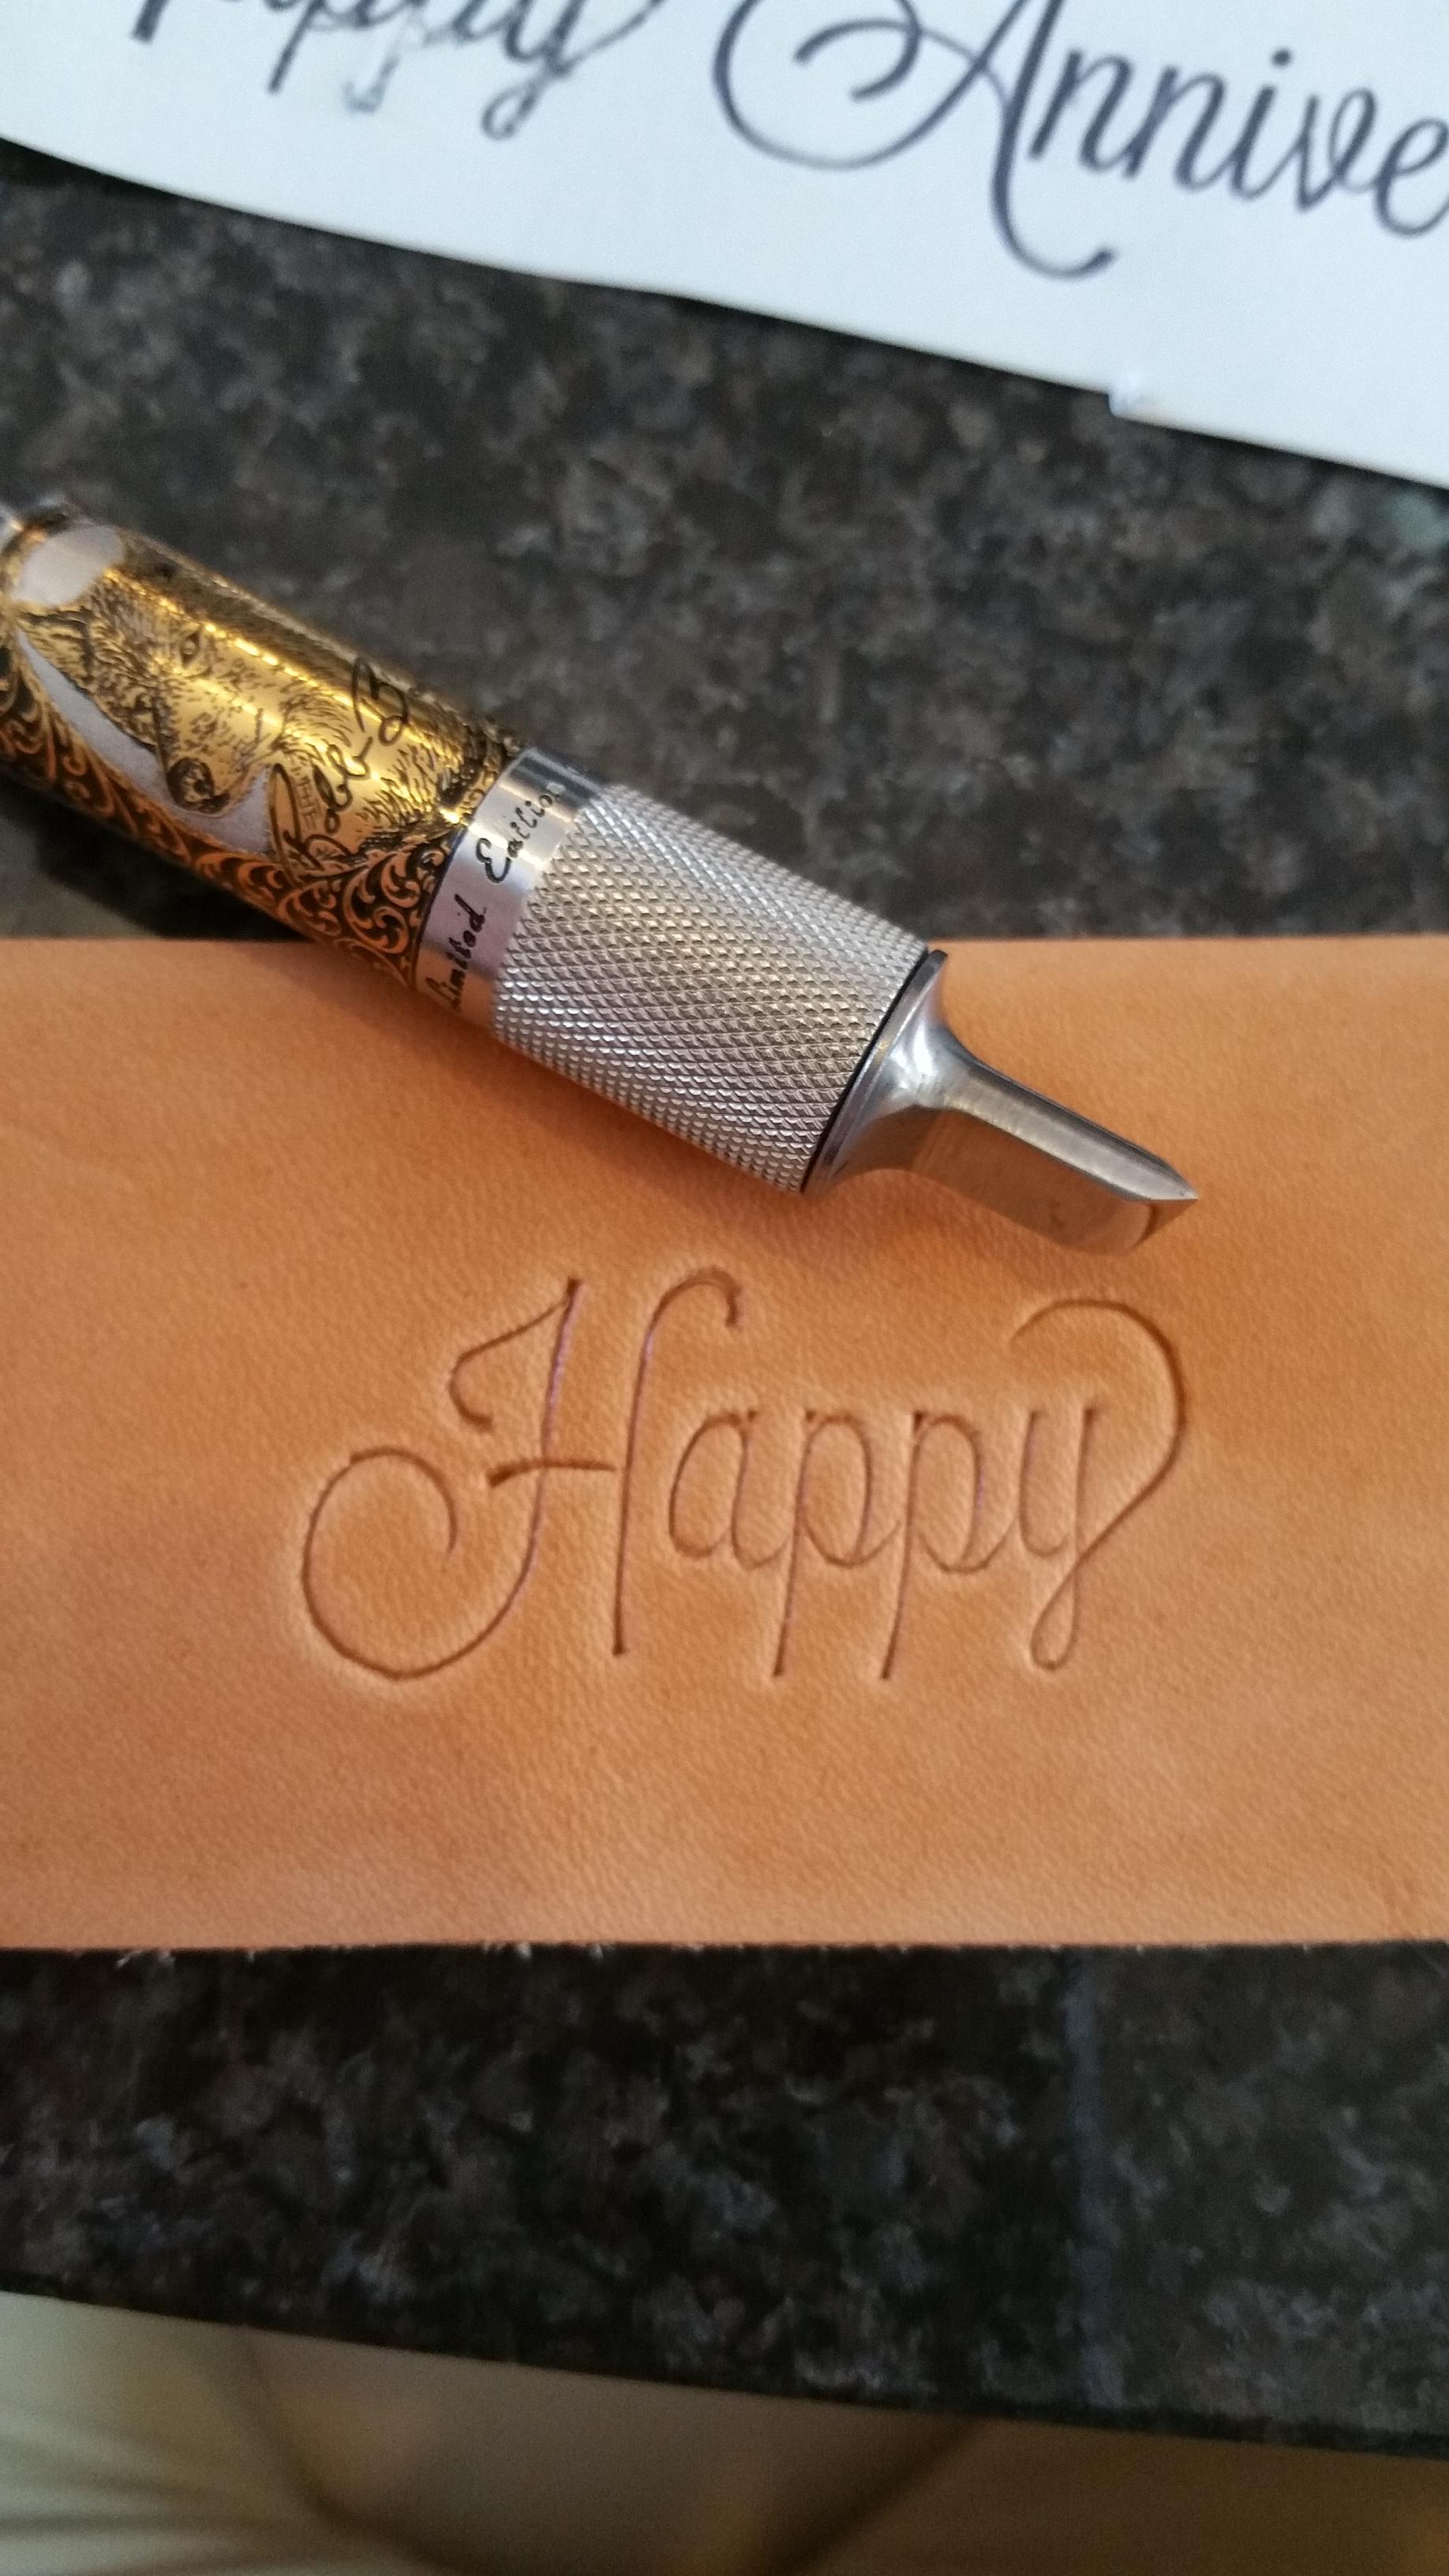
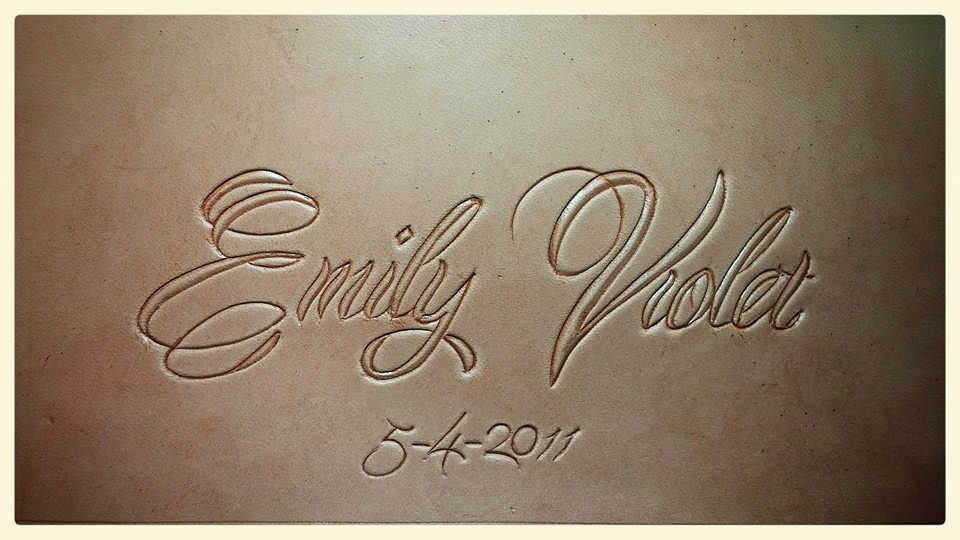
I do a lot of lettering in my work, and I have always had a disliking for using the same lettering that everyone uses on their work. I wanted to share a website called dafont.com. This site allows you input your text and view it with thousands of fonts to see how it will look. It also allows you to set kerning and tracking so that your fonts look professionally spaced and they are never crooked. They also never have that telltale halo from hitting a letter stamp unevenly or too hard. The downside is that some fonts are complicated and you have to know how to carve delicate shapes without altering the dimension or consistency of the font. It's a challenge I feel is well worth the effort, as it allows a person to match the font with the type of work. For example, a college sports theme could be paired with a font called, surprisingly, Colleged. It gives that old jersey feel. A memento could be combines with a scripty font that adds elegance to your work. Just a thought I have had for a long time that's come up again the last few days. Give it a try, and don't forget to donate the couple of bucks to the creator of the font you use. They really appreciate it! A few examples for illustration purposes. Hope it helps!


-
 Nice!!!
 -
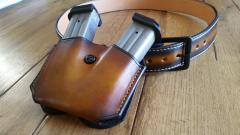
Billy, that thing is pretty cool. Never saw anything like that, but I did have a clicker die made with 8 scales per click for this project.
-
It may. In my experience, paint stick better to un-Dyed leather. I started doing it that way because I don’t like thick chunky paint like he’s using or the color bleed through that happens with dye. Some people seal the dye first and then paint, which seems to work for them. I started with a lot of white so that never worked for me, and I arrived at my process out of necessity. the only thing I can say is try a few ways and see what works best for you. I took a lot of advice along the way and it’s led me to where I am now, but experience is the best teacher. Also, thin paint is much easier to control during application.