thekid77
-
Posts
435 -
Joined
-
Last visited
Content Type
Profiles
Forums
Events
Blogs
Gallery
Store
Everything posted by thekid77
-
First Dye Job--I Think I Must Be Doing Something Wrong! Advice?
thekid77 replied to wmcmanus's topic in How Do I Do That?
Again, I'm no expert, but that stuff looks like paint...it looks to be too thick for the leather to even absorb it....what is the base? water-based? oil-based? I totally understand wanting to work with what you already have but in the future get some quality leather dye......Fiebings makes good dyes that penetrate the leather well. You should be able to get the Fiebings oil dyes as long as you're not in CA. Here in California, they ban it if it works.... -
First Dye Job--I Think I Must Be Doing Something Wrong! Advice?
thekid77 replied to wmcmanus's topic in How Do I Do That?
I don't have all the answers, but here goes... If the finish looks plasticky, it could be the type of finish you're using. If it's not that, it could be that you are applying too thick a coat. If that happens, the leather will look like plastic because the finish has filled all the pores of the leather and is just sitting on top of the grain...with that being said, I prefer to use acrylic resolene cut 50/50 water:resolene. I keep it in a small bottle, and when I'm going to apply finish to the leather, I take a couple paper towels and wad them up, then wrap a piece of old clean cotton t-shirt around the paper towel ball. I'll cover the mouth of the bottle with the resolene and loightly tip it onto the cotton ball. Then I blot the excess resolene off onto a separate paper towel and apply the finish to the leather using either a swiping or a circular motion. This results in an extremely light coat of acrylic on the leather. The first light coat will leave a dull matte finish. You need to wait until that coat dries (how long depends on the climnate/humidity)...then apply the second coat the same way as the first coat...you can buff the resolene with a piece of wool in between coats which will work to polish the resolene and buff out any streaks that may appear. It's more work this way, but the end result is just a better looking finish and you have much more control over how much finish you're leaving on the leather. I know you said you're trying to work with what you have, but for future reference....I was dying a bunch of things black with the tandy eco-flo stuff and was getting a lot of dye lift and the dye wasn't penetrating the leather very well (especially the black dye)....I had purchased their Tandy Pro Waterstain (black) and this stuff is a whole different animal.....it penetrates the leather well, and 24 hours after applying it, you can run the piece of leather under water scrubbing the surface and will not get any dye coming out at all....mind you, this is BEFORE even applying any kind of surface finish to it.........you might try it if you're having dye lift problems...... a lot of people will tell you to stay away from the Tandy stuff, and I do agree that they put out some pretty bad products at times but I can tell you with certainty that the Waterstain in Black stays put really really well...hope this helps!!! -
Jason, I use the red label weldwood and the contact cement can be picky about temp/humidity....with that being said, I went on the suggestion of a saddlemaker who uses the stuff all the time who told me that once you've covered both pieces that are to be glued together, heat the contact cement up with a hair dryer (non sparking) just until the glue is warmed up a bit....I guaranteed you'll have to tear either the leather or the liner to get the two separated...give it a try it's especially helpful in the winter when contact cement just does not want to set at all....hope this helps
-
hey David, I am not an expert on this, but I don't know that it is possible to get the front to look identical to the back by hand in terms of the way that the thread lays... this is because when you make the holes with the awl, there is a taper to the awl blade...the hole opening will be larger on the front side of the leather than it will be in the back because of the tapered profile of the awl blade....when the stitches are pulled tight, the thread will lay differently on the front than it does in the back because the holes on the front are shaped differently (wider, broader) than the holes in the back....i don't know if that makes sense, but here's an analogy... this is an extreme example, but stitch a line of stitches with and without a groover. note how the groove affects the lay of the stitching...hope this helps
-
I just dip a Q-tip into the dye, blot it lightly on a paper towel, and roll the Q-tip along the edge of the leather...it really gives precise control over how much dye you're applying to the edge of your work and you can prevent getting excess dye on either side of the leather. not too sure if this technique would work with edge paint since the consistency of the paint is probably different than the water-based eco stuff that I use...Good Luck!!
-
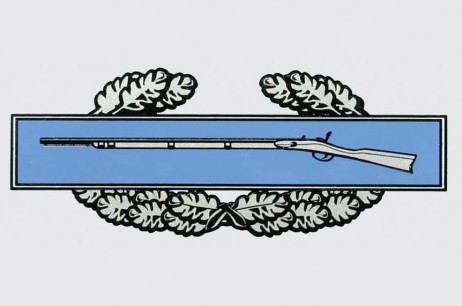
Where To Find Combat Infantry Blue Colored Irish Linen?
thekid77 replied to thekid77's topic in Leatherwork Conversation
Yes Ingrid! Thank you!!! -
it still looks like it's in great condition...just a few water stains....what does the inside look like? you may want a second, thrd and fourth opinion besides mine, but it the leather is really dry, you and apply a very thin coat of neatsfoot oil to the leather and that will help the leather keep from being dry and brittle.... anyone else chime in?
-
Hey friends, can anybody tell me where I might find irish linen in combat infantry blue color? Kinda like a sky blue (see photo) thanks!!! Preferably .6-.9mm Thanks!!

-
Where To Get 2/3 Oz Leather By The Square Foot?
thekid77 replied to thekid77's topic in Leatherwork Conversation
Thank you everybody for the recommendations!! -
Hi all, Just wondering where I might find 2/3 oz leather sold literally by the square foot. Tandy leather here in town will not cut the leather at all, so you have to purchase $120 of leather even if you only need a couple square feet. Do any of you guys know who sells 2/3oz in the actual amount that you need? Thanks you for the help!!
-
Lined Wallet Prototype
thekid77 replied to Hi Im Joe's topic in Purses, Wallets, Belts and Miscellaneous Pocket Items
Joe, thank you so much for sharing....it's so awesome to have people who are willing to share in the art that we all love so much.....please keep making wallets and post up your work for us!!! It's a huge inspiration!!! -
Thanks for the input!! I really appreciate all of the help :D
-
Thanks for the advice Twin, so, do you suggest stitching further in than 1/8"?
-
I have read Kevin Kings tutorial about wallets and was wondering, how do you guys secure wallet lining in the bill pocket along the edges?? The problem seems to be, that if you get the fabric close enough to the perimeter edges of the wallet (close enough to get caught up in the stitching), it will show through the leather edges... If the fabric isnt caught in the stitching, is it enough for it to be cemented down asking the perimeter, then stitched along the top edges of the bill pocket?? How do you guys do this?
-
Lined Wallet Prototype
thekid77 replied to Hi Im Joe's topic in Purses, Wallets, Belts and Miscellaneous Pocket Items
Beautiful work Joe, thank you for sharing with us!! A couple of questions... from the photos, it looks like you have a nice clean edge all the way around without the fabric liner showing through any of the finished edges...how close to the outer (finished) edges of the wallet do you tack down the liner? do you just contact cement the fabric down along the stitched edges, or is the fabric close enough to the edge to be caught up in the stitching as well? lastly, what's the distance from the edge to the stitch line? 1/8"? 3/16"? Thank you so much for sharing...I really want to do a wallet like this and your work is very inspiring!!! -
maybe, I have no idea...I hope I never get a similar piece of leather again :/ Yeah if this is the case, whatever was on there did not leave any visible trace... I alcoholed the daylights out of it, let it dry, and still the same problem. It will absolutely not take the resolene. I wonder if there might be fat depositis in certain hides that prevent resolene from bonding???
-
Good question...I'd like to know myself....if it is wax or something else...it's invisible to the naked eye. Interesting idea Bob, I just don't have a penny to spare to experiment right now so i just tossed the piece in the scrap pile...it's a mystery... It is vegetable tanned Grizz...in fact, vegtan is the only leather that I ever buy.
-
Hi Bob, The leather took the dye just like normal...I was thinking it's something to do with the hide as well....I don't know what could be preventing the resolene from adhereing to that area of the leather, but whatever it is, it's invisible. You can literally coat the area with resolene, and it just evaporates into thin air I am at a loss because although I am fairly new to leatherwork (2 years under my belt), I have dyed and finished well over 40 sq ft of leather using the same process and have never had this problem...
-
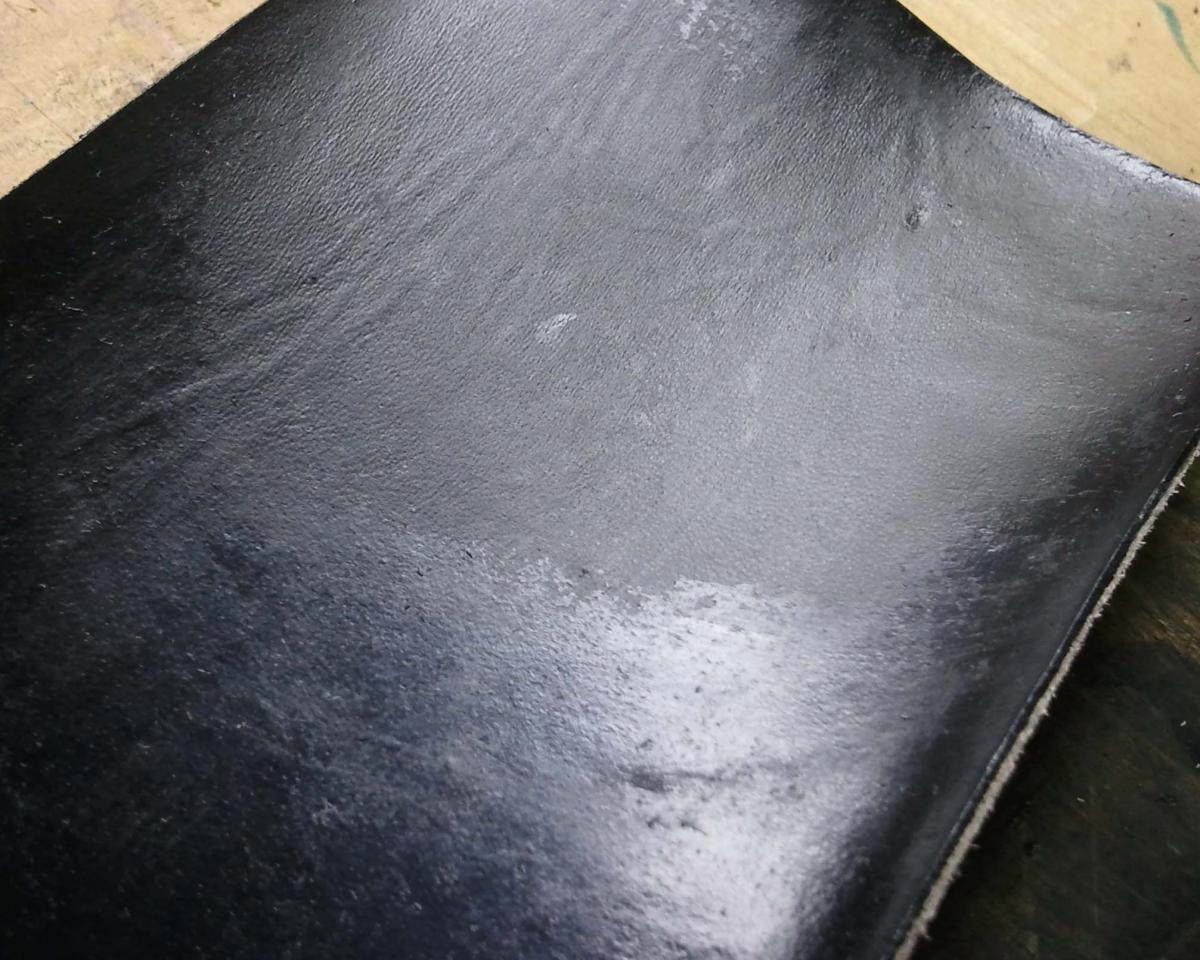
You will see the area that has the resolene has a sheen....the dull area u could dump resolene on it and when it dries...no sheen at all it doesn't even look like it got touched

-
Hi all, Recently I had dyed a piece of leather. After it was thoroughly dry, I buffed the excess pigment off, and went about my usual routine applying 50/50 resolene:water. For some reason, there is a circular area on the leather about an inch-and-a-half diameter that absolutely will not take the resolene. All of the other parts of the leather shine, but this area won't take the finish at all, even if i slather resolene onto it. It looks like I masked it off and all the other areas got finished except the circular area. For the life of me, I've finished lots of projects and never had this happen... Please help!!! Thank you in advance for sharing
-
Thank you for sharing Bill, I will definitely heed the advice!! Thank you Jason, I think I need to make the edge burnisher next on my shopping list...great advice!! :D
-
Does anyone have any suggestions on how to burnish leather inside tight corners (90 degrees and less)? normally, I just use a piece of canvas or wood slicker, but if the angle the leather is cut at doesn't allow those two things to get in to burnish the leather, what do you guys use?
-
Thanks for the tips!!!
-
A+ thank you!! Thank you so much! )
-
never did it this way, I will definitely give it a try! thanks for sharing!! another technique I've never heard of...thank you so much for sharing!! yeah, i think the longer tail will definitely give me a lil more room for error seeing as i was only leaving a couple inches before....i never really had the unthread problem with the heavily waxed/braided threads....but that thin nylon stuff just wants to slide off no matter how much i wax it....kinda like sinew...very slippery thank you!!!!!