-
Posts
874 -
Joined
-
Last visited
Content Type
Profiles
Forums
Events
Blogs
Gallery
Store
Everything posted by Rossr
-

Latest Bowie and Sheath
Rossr replied to dougfergy's topic in Gun Holsters, Rifle Slings and Knife Sheathes
Looking good! Clean work imo. Keep it up each one you will get better! Ross -

Knife sheath with snake skin inlay
Rossr replied to pitersek's topic in Gun Holsters, Rifle Slings and Knife Sheathes
This is wonderful. The inlay seems perfect. Love how it matches the knife with the colors. Solid work. Keep posting please it's great to see your work. Ross -

Knife sheath and knife
Rossr replied to Rossr's topic in Gun Holsters, Rifle Slings and Knife Sheathes
-
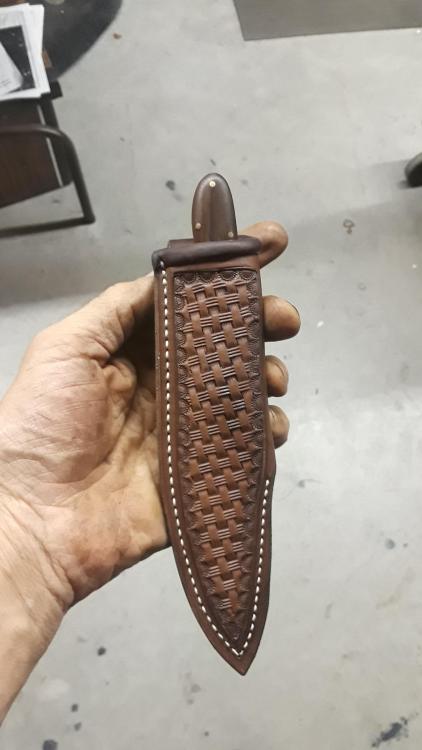
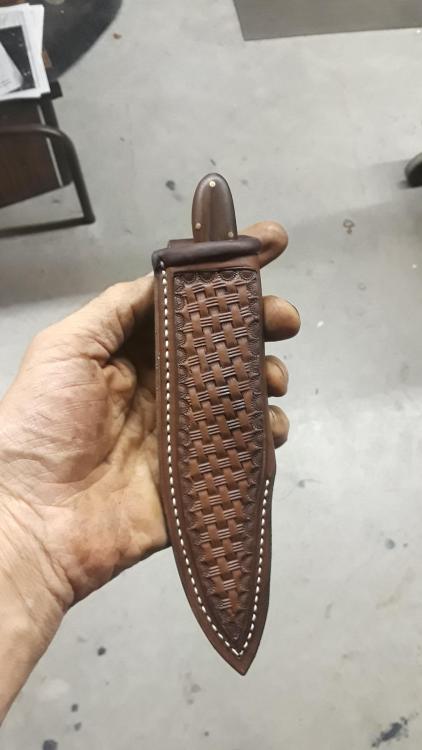
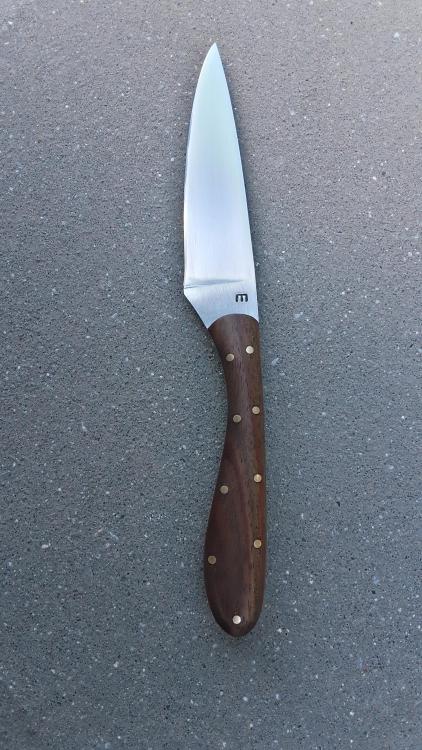
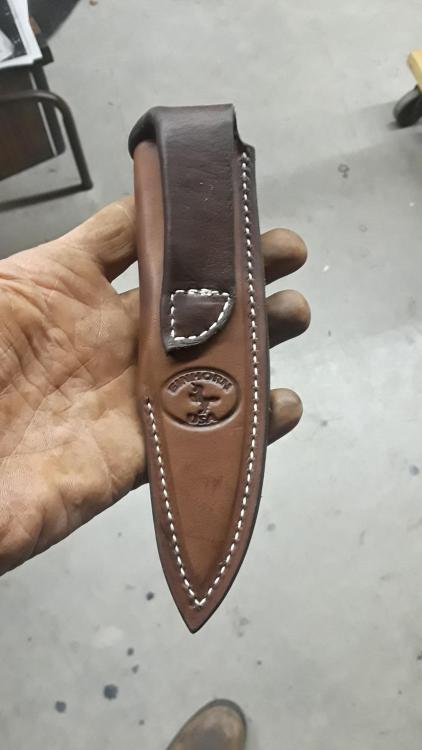
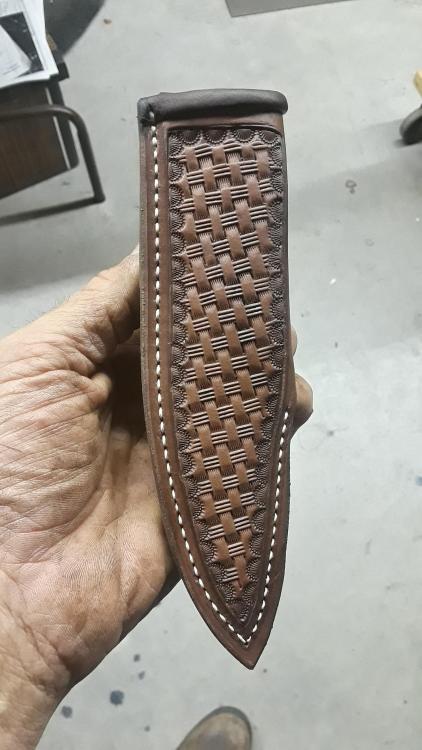
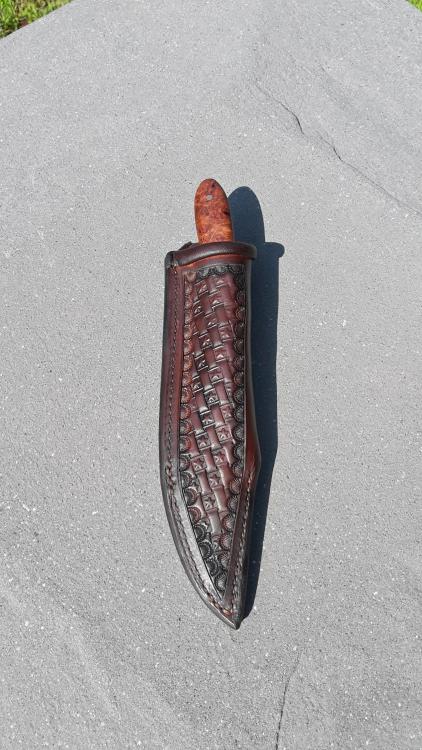
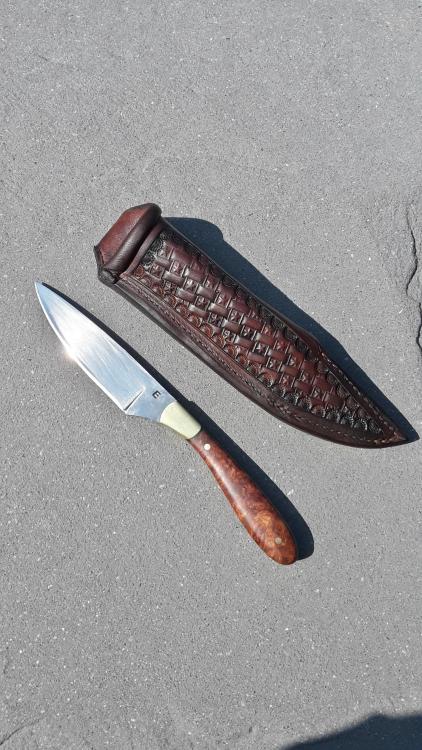
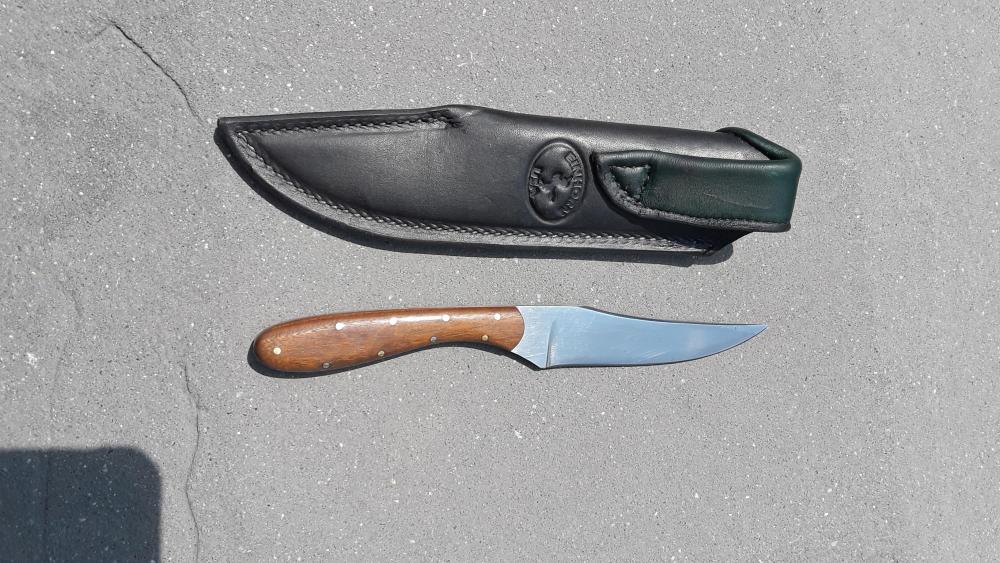
Latest knife and sheath. Knife is a drop point hunter with walnut handle and brass pins. Sheath is made from wicket and Craig skirting in brown. Lined with deer skin also brown. Did a basket weave on the front. Each one I learn a bit more.
-

Coaster and some carving practice
Rossr replied to Rossr's topic in Purses, Wallets, Belts and Miscellaneous Pocket Items
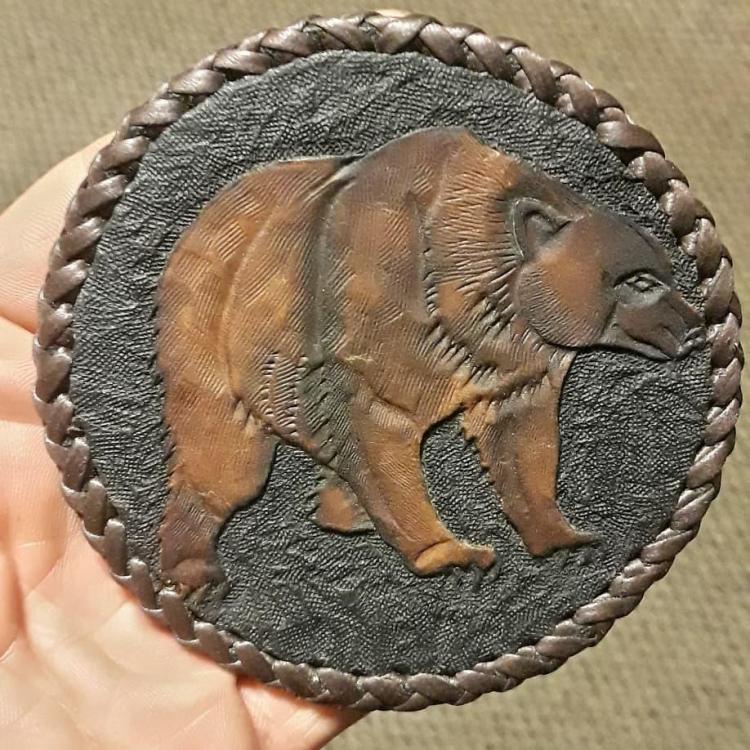
Thanks Rohn I agree on the eye The hair wasnt the worse to me but I get the struggle. The claws I just dont ever seem to have the touch or maybe a need a even smaller beveler hmm -
I was pleased with how the basket weave turned out. Thanks for noticing and the complements
-

Challenging Knife Sheath Build Part 2.
Rossr replied to Vikefan's topic in Gun Holsters, Rifle Slings and Knife Sheathes
Nice results there. Interesting closure to hold the knife in the sheath. Is there a belt loop on the back too? -
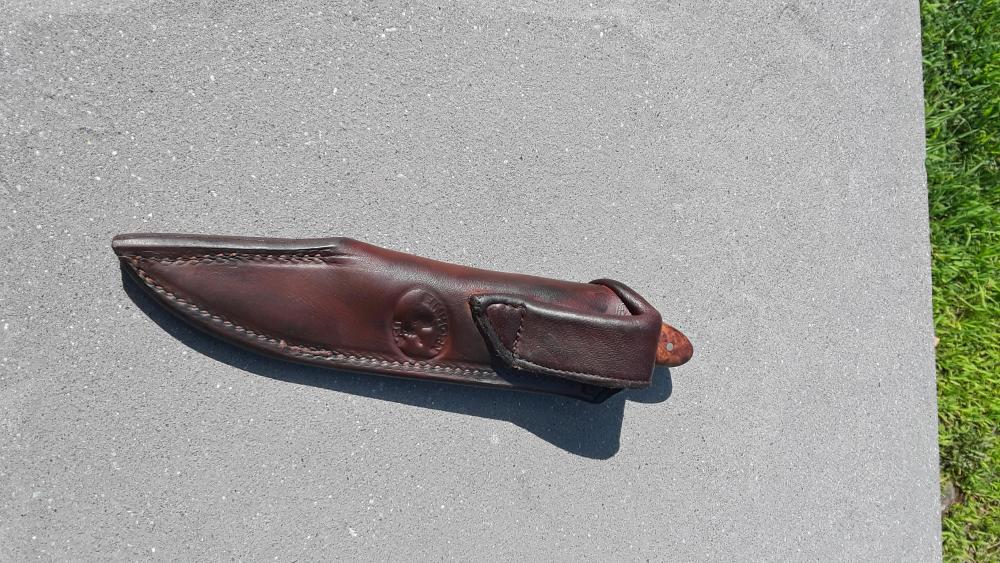
You see them on a fair bit of high end custom knives. It helps hold the knife in without wet forming the sheath and it sure adds a nice touch too. I do not know Paul Long personally but he does post here and he may chime in...almost all of his I've seen has a liner. It's more work but I think it's worth it. Happy to share and like I said it's not my idea. We are all learning from each other. You are welcome. Welcome!
-
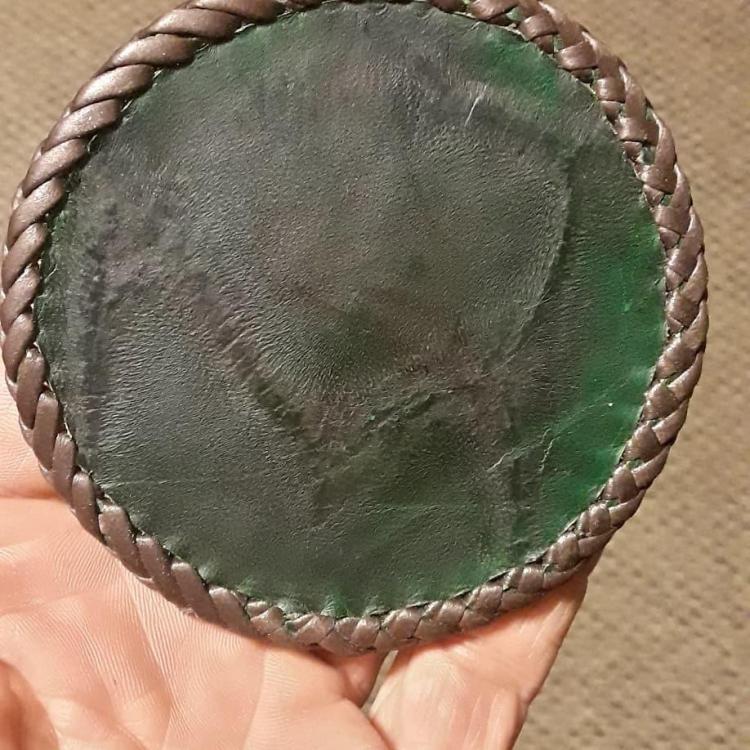
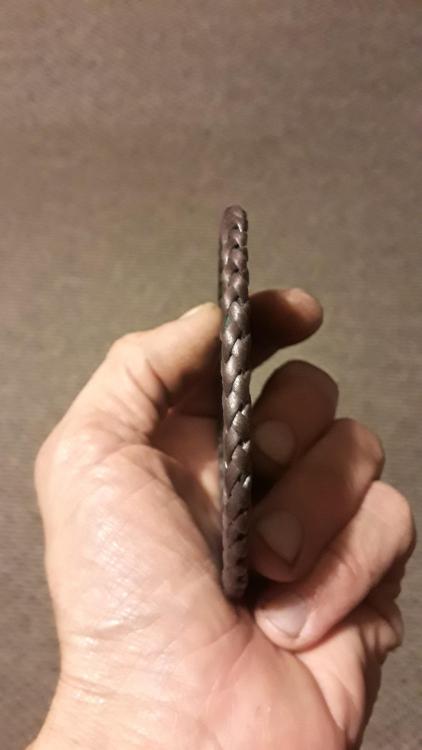
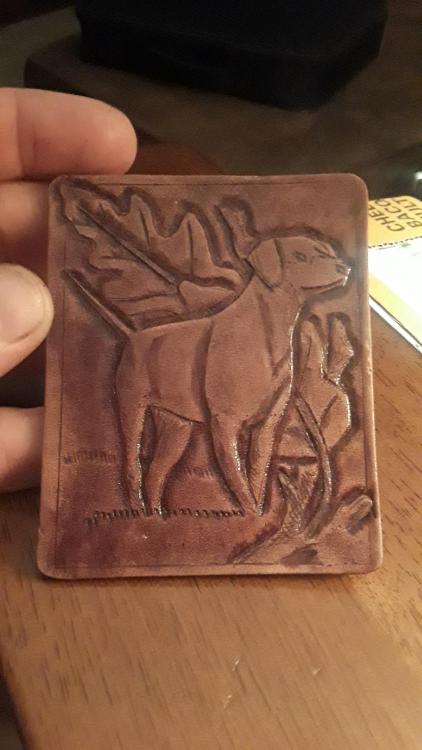
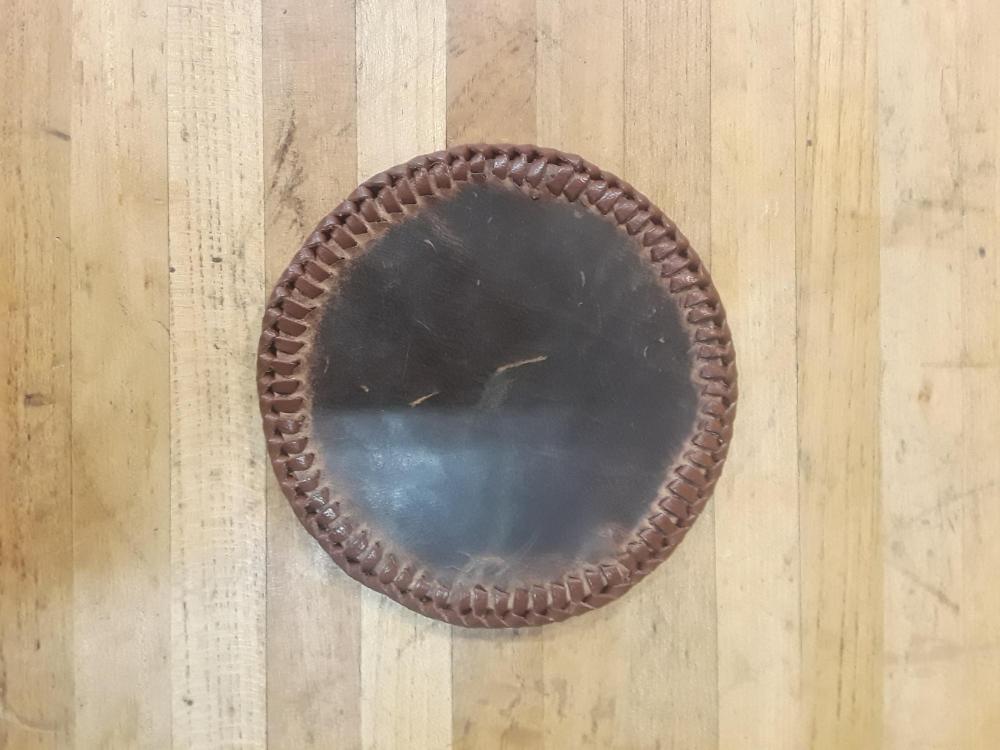
I made up this coaster. Practiced some carving with the bear. The bear is from the wildlife craft aid set. The back piece has a brand mark on it thought it looked neat. I laced the edge with mexican basket weave or round braid. I'm still not happy with the eye or the claws. But I'm learning everytime
-
Looks great nice package
-
Kind words thank you By no means is that my idea. It's a deer skin liner. I learned it from the Paul Long tutorials which you can purchase. Paul is an expert sheath maker and makes sheaths for the top knife makers in the country. I've learned a lot from his videos. Basically you cut out your sheath. Then lay the good side of the sheath on the good side of the liner. The you stitch down the belt loop to the edge. Add contact cement to each side. Then u roll it over and glue it. After that you skive the edges glue in the welt and glue together the edges then stitch. Note you need to stitch down the belt loop part before gluing the welt. Hope that makes sense guys.
-
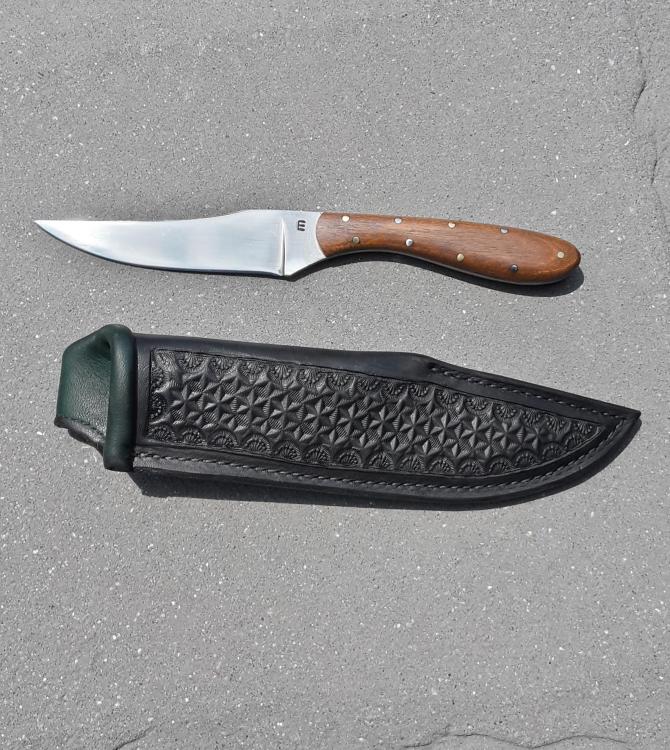
Just finished these two up. Made the knives and then the sheaths. Pleased overall with them. Constructive criticism always welcome.
-

Leather work swap who would be interested?
Rossr replied to Rossr's topic in Leatherwork Conversation
Glad you liked it and the key chain too! Rockoboy. Got yours in the mail today. Thank you and all the way from Australia no less. Really like the dog and oak leaf motif! Nice looking stuff yintx. -

Leather work swap who would be interested?
Rossr replied to Rossr's topic in Leatherwork Conversation
Tammy no worries I'm sure we all understand hope everything is better on your end! If halo can just send to yintx that will solve it with no worries . Long as he comes back from sausage and beer land ie germany -

Leather work swap who would be interested?
Rossr replied to Rossr's topic in Leatherwork Conversation
If Halo hasn't sent yet we can just have Halo send to yintx. -

Leather work swap who would be interested?
Rossr replied to Rossr's topic in Leatherwork Conversation
Thanks sir. Not sure why I did that just struck me as I was doing it. I do like the lacing on it. Thanks Kay...I'm learning! -

Leather work swap who would be interested?
Rossr replied to Rossr's topic in Leatherwork Conversation
Ok...I think I did jump the gun there.....my bad...guess I was excited. By all means folks hold off on the pics till its gets sent if you like!! Ross -

Oh, come on now. Seriously, Tiny Again?
Rossr replied to YinTx's topic in Floral and Sheridan Carving
Looks wonderful me to. I have a hard enough time with full size carving. You are always learning and that is the best part. Keep making!!!! Ross -

Leather work swap who would be interested?
Rossr replied to Rossr's topic in Leatherwork Conversation
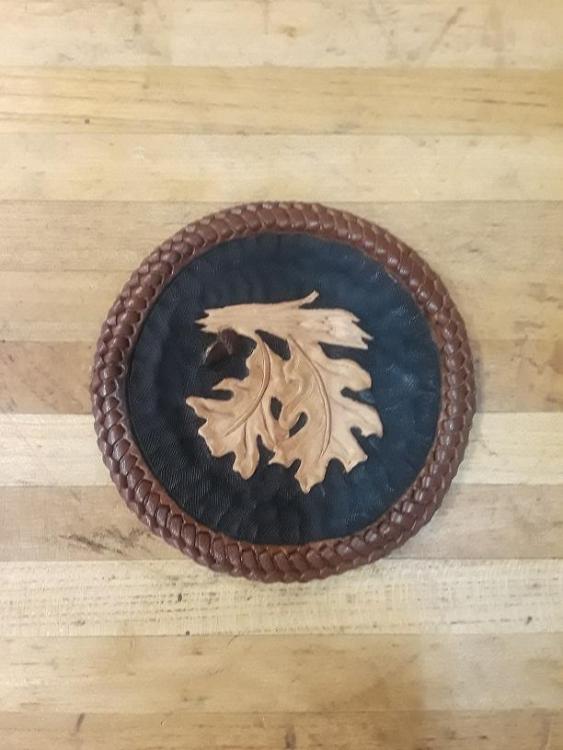
Ok Folks Here is mine I chose the Oak leaf pattern out of Al Stohlman Projects and Designs book I carved it in the leather and did some petal lifting which is tough to see in the lousy pics. I then dyed the background black and the outside Brown. I did try 2 different colors on the acorn of brown but upon adding the pecard leather dressing and then some beeswax and neatsfoot oil it darkened to the same color. I chose to leave the leaves and stick alone so it stood out. I also added a backing of oil tan leather and then double loop laced with brown calf skin. The carving is ok and I still have so much to learn. Depth of cut and proper impressions still elude me at times. I did this one just by using a sray bottle to case the leather ....I have tried other ways in the past. I am happy with the lacing and sure had fun doing this project! -

Leather work swap who would be interested?
Rossr replied to Rossr's topic in Leatherwork Conversation
Ok Folks Drum Roll please......... Based on response on this thread here is the list of who to send to and receive from...if you did not complete please let me know and I will adjust the list. The selection process was a arduous one involving slips of paper upside down on my desk and picking them up at random to build the list Please send a private message to your person to supply address etc. Also please post your complete pictures on this thread. I hope everyone had some fun and learned a thing or two. Enjoy the work of others and remember how special it is to receive someone elses efforts celebrate that!! Kay9 sends to Rockoboy Rockoboy sends to Rossr Rossr sends to Smartee Smartee sends to HaloJones HaloJones sends to ColoradoGirl ColoradoGirl sends to Yintx Yintx sends to Kay9 Thanks everyone and please post those pics! Ross -

Leather work swap who would be interested?
Rossr replied to Rossr's topic in Leatherwork Conversation
By all means make one up Come on now you've got the weekend and this is a fun commitment ! Wow that sounds like a blast enjoy the campout -

East Coast Leather shows?? Do they exisit?
Rossr replied to Rossr's topic in Leatherwork Conversation
Exactly st Louis is it....maybe we need a meetup of east coast folks or a maker event or something I suspect a lot.cant just hit the west coast on a whim! -

Leather work swap who would be interested?
Rossr replied to Rossr's topic in Leatherwork Conversation
Gettting down to the wire folks. Hipe u r wrapping it. I have mine ready to go. Not thrilled with the carving but happy overall Keep.going gang. Looking forward to the pics after the tenth Ross -

Leather work swap who would be interested?
Rossr replied to Rossr's topic in Leatherwork Conversation
No you didn't miss out yet! There is still time just get it done between now and the 10th of June and get in on this.....make it fun and enjoy it. Yes I would say its something like the trading cards.. Ross -

Leather work swap who would be interested?
Rossr replied to Rossr's topic in Leatherwork Conversation
Hey folks plenty of time to jump in yet.....17 days left to design and make a coaster for this swap!


