-
Posts
961 -
Joined
-
Last visited
Content Type
Profiles
Forums
Events
Blogs
Gallery
Everything posted by BDAZ
-
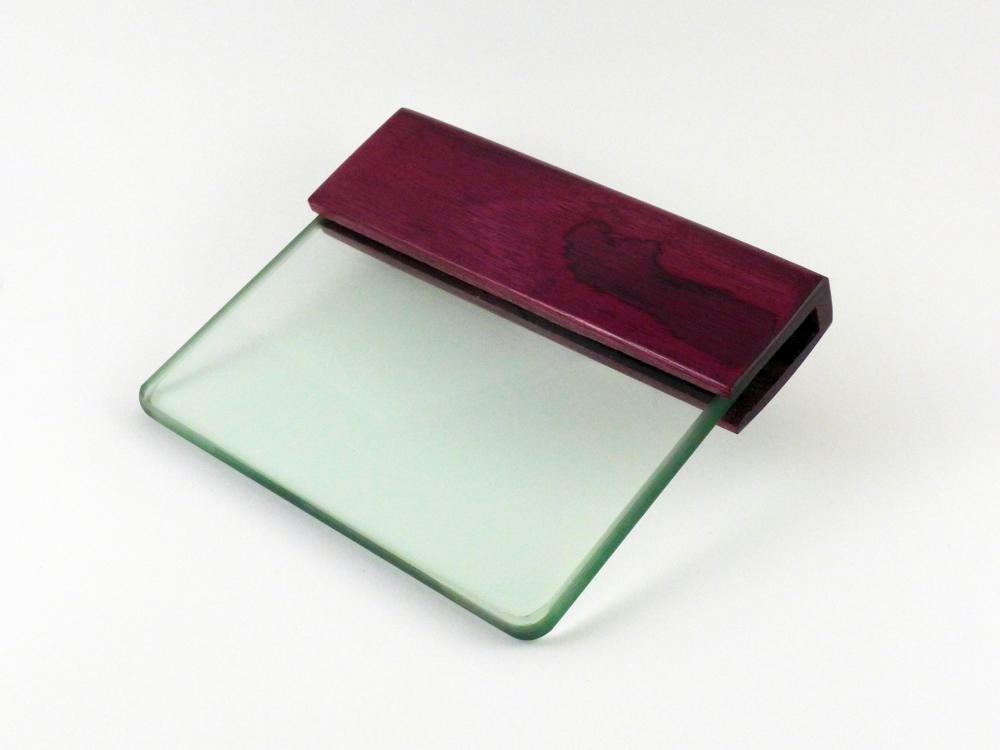
Kewl! That's my target. I am having the glass custom made with a highly polished semicircular edge so it will work at a greater range of angles. In that respect, it may outperform a barry King. Bob
-
Howsit! Born in Joey's and grew up Stateside. Back in SA in the 70s and 80s in The Mother City and was head of Photography at Michaelis, UCT. Now in Tucson, AZ where it is 43C, but great for drying wet formed leather and finishes. There's a big SA club in Tucson and we can buy decent boerewors at the local sausage shop. Ideal for making biltong and spice from CT is available at Amazon. Hear CT had some rains and the taps are still working! As for the Canuk's comments, if Cape Town is a hell hole, what do you call Saskatoon, Calgary, Winnipeg, Yellow Knife, ad nauseum...? Bob
-
Suggestions for slowing down machine
BDAZ replied to rockthecasbah121's topic in Leather Sewing Machines
I found on my machine that by changing the resistors in the speed controller, I can dramatically lower the maximum speed and have no problem getting a stitch every couple of seconds. Bob -
Absolutely. This is what I used initially: https://www.amazon.com/gp/product/B0027A5J9S/ref=oh_aui_detailpage_o04_s00?ie=UTF8&psc=1 It should bend at say 45 degree angles but a fold is an issue. This is arriving today: https://www.amazon.com/gp/product/B000YZ8RVA/ref=oh_aui_detailpage_o02_s00?ie=UTF8&psc=1 My test with standard cotton poplin tacked to HeatnBond was a success and looks almost as good as the canvas. I have used a few coats of clear fixative on it and will be building a case incorporating the lining this afternoon. Bob
-
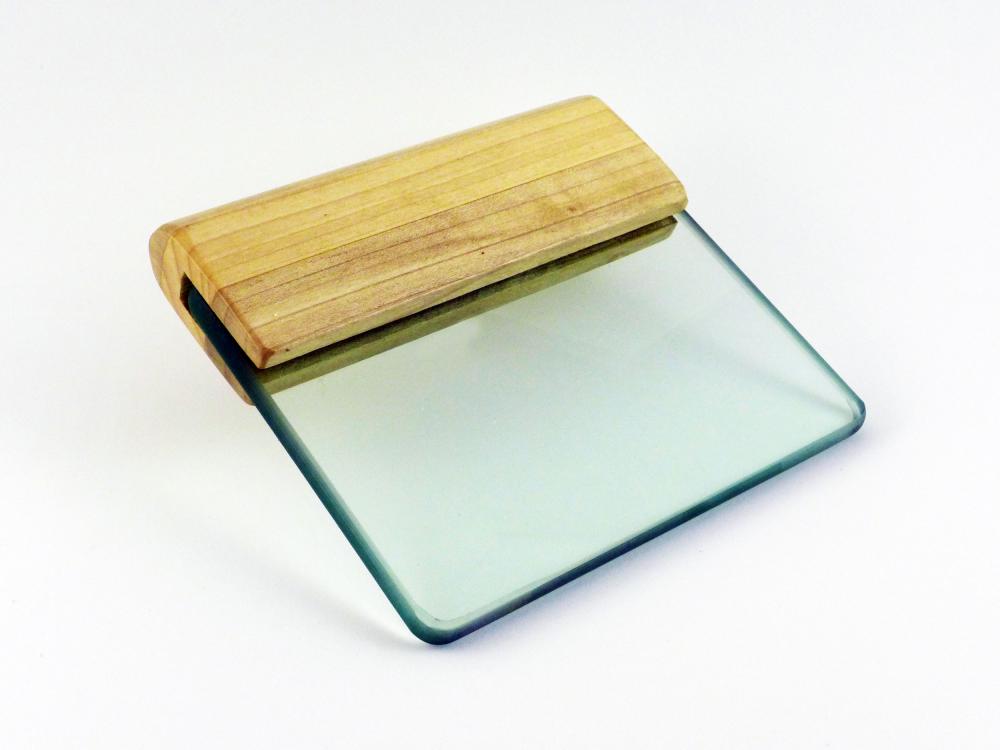
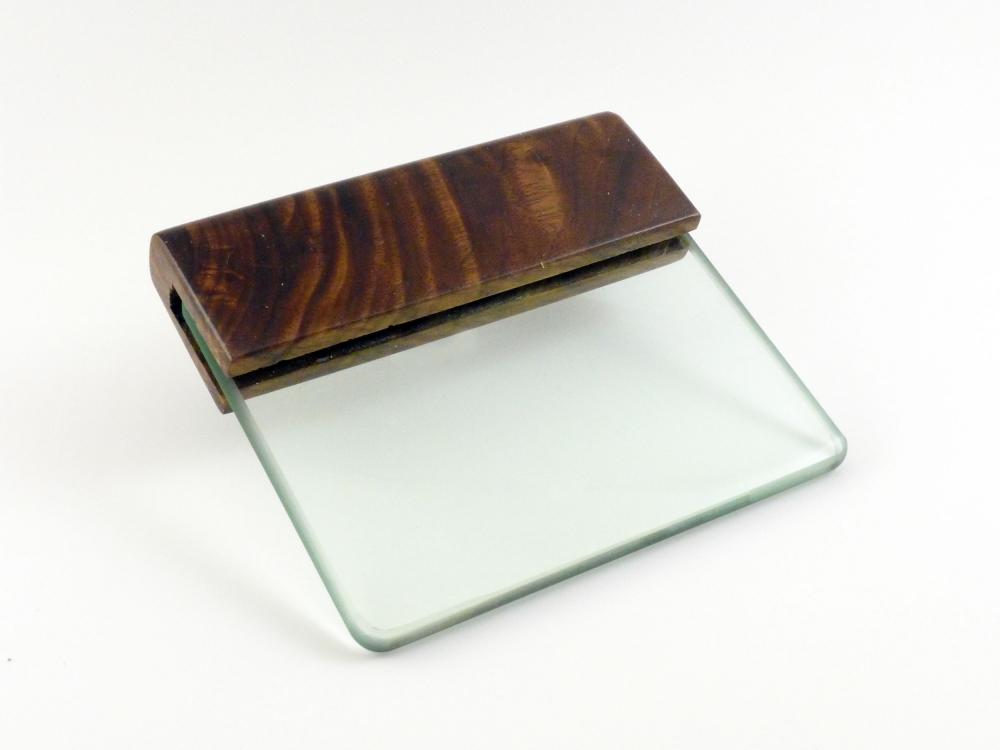
Glass is 8mm thick. I am toying with the idea of doing a small production run using various exotic woods. I am targeting $20 - $25 with an unusually rounded edge I enjoy working with exotics. I had an Irish bouzouki built out of bocote, another beautiful hardwood and I have a guitar made of Brazilian rosewood. Bob
-
They groove is cut exactly wide and deep enough to give a snug fit Purpleheart is an extremely dense and water-resistant wood. It is ranked one of the hardest and stiffest of the woods in the world. It is so durable that it can be used in applications that require toughness, such as truck decking. It's actually harder than cocobolo. Bob
-
I really wanted a Barry King slicker but couldn't justify the $$. Figured I'd make my own. Didn't even have to case them! Still have all my fingers! Bob
-
I already tested their canvas and it made the leather too stiff, though looked great and I will use it for projects that will not flex. I have some off the shelf poplin I am testing as I write (just waiting for the press to heat up) which seems as good, color wise, after adjusting printer settings and upping saturation.I do have some Ink Jet poplin on order as well and will compare with the $5 a yard stuff, but since it's tacked to the heatNBond, no need for any other carrier. This test I will be treating the fabric with resolene only as a fixative.
-
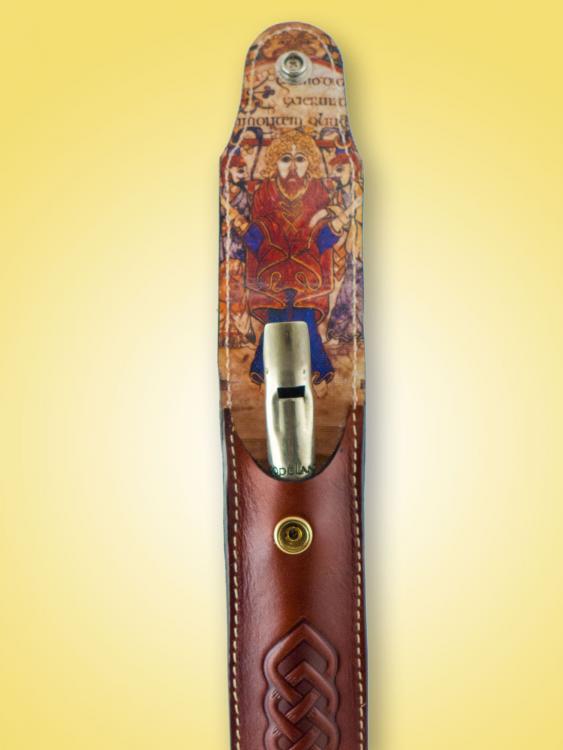
This is a further on to my thread on glueless linings. Using HeatnBond I am able to bond any lining material to Veg tanned leather. Using the lamination process I have tested and now use fabric instead of dyeing or suede lining some of my products. Quicker, cheaper and less messy and predictable. I thought it might be nice to find a fabric with some Book of Kells printing on it from some of my Celtic items, but nothing available that would work. I thought I would see if I could print my own. Turned out to be a piece of cake. I cut an 8 1/2 x 11 piece of white duck fabric, tacked a slightly small piece of HeatnBond to the fabric, trimmed to the HeatnBond and then printed the fabric in my Canon ink jet printer. Once dry, I sprayed the image with a Krylon glossy artists fixative and then removed the release paper and bonded the fabric to my leather blank, 30 seconds at 250F. I then built the item for testing. I used scrap offcuts leather which was a bit spongy, and also tested stitching closer to the edge than normal. Because the leather was a bit spongy, the stitching is a bit uneven this close to the edge with a standard presser foot. I then oiled the case and applied Resolene to both the leather and lining and finished the edges. The printing seems to be stable and should hold up well under use. Off the shelf ink jet fabric is also available which is coated for printing and produces more vibrant color. This is a lot cheaper! Bob
-
I had a look and didn't see anything but you may: https://ohiotravelbag.com Where in ID? Bob
-
I may have not been clear but I did not make the quiver I posted, it's similar in design to mine. Bob
-

Glue alternative to lining wet formed items with suede
BDAZ replied to BDAZ's topic in How Do I Do That?
You can find this stuff at any hobby store including Michaels, JoAnn Fabrics, Hobby Lobby and of course Amazon. Tack for 4-5 seconds on the lining then peel and iron for 30-45 seconds on Med High. Test first but use plenty of pressure. Bob -
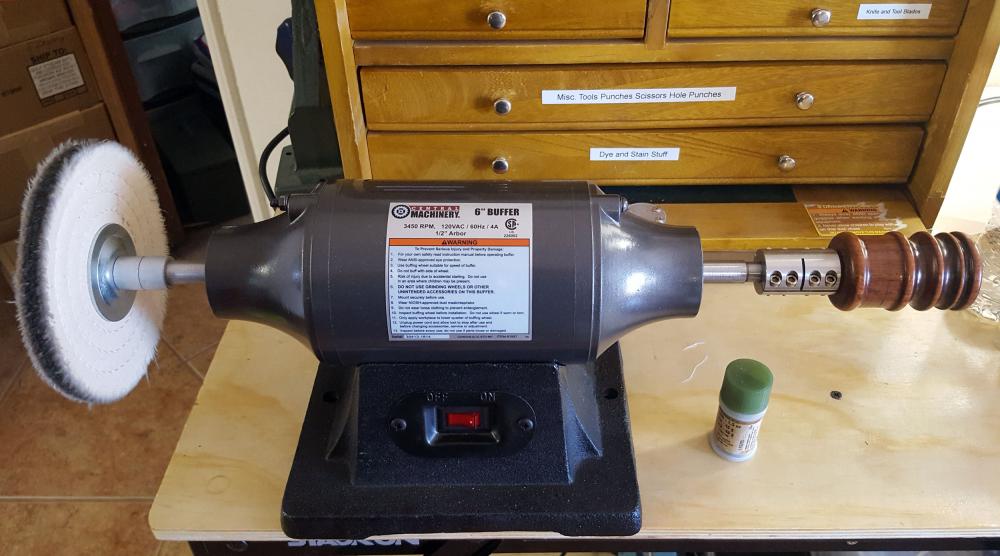
Harbor Freight Burisher $34 Cocobolo burnisher with 3/8 shaft $44 Arbor adaptor, 1/2" to 3/8" $12 Total $90 Not blowing $250 on a Tandy Burnisher Priceless The buffer wheel is fantastic for stropping and sharpening swivel knives, head knives and box cutter blades. Don't know how I did without it! Had this about two weeks now and love it. The burnisher works fine at 3450 rpm. Speed is a function of diameter. A larger burnisher may be too fast.
- 30 replies
-
- burnish
- burnihsing
-
(and 2 more)
Tagged with:
-

Glue alternative to lining wet formed items with suede
BDAZ replied to BDAZ's topic in How Do I Do That?
You bought the wrong stuff. Did you see the video? Remember that the first application is just to tack the sheet to the lining. It doesn't have to bond, just stay in place while you remove the release paper and place on the leather piece. I tack the HnB for 3 seconds or so. It would easily peel off at this stage. Once placed on the piece I use 30 seconds on the press and I would follow their directions but keep up the pressure. I also throw the piece lining side down on granite to cool under pressure. It's actually pretty simple and works 100% Bob -
I have always preferred this style of quiver for target archery. Since you only need 6 arrows, you always know exactly how many you have already shot, silent when walking back from the target and easier to sit down in between shots and pack The pocket is large enough to carry essentials. Mine is similar but more of a basketweave holster style. It has a separator of 3 pairs of arrows. This image is from the net. Of course for target archery, my arrows are the diameter of knitting needles.
-
I retired in 2009, they changed the name from FITA to World Archery in 2011. Thanks for the update! I have been shooting under FITA since the early 60s. A separated shoulder in a bicycle accident put the final nail in the coffin! Bob
-
I tried for the olympic team when I was a lot younger and just wasn't up to par. Married with kids, and not enough time to get to the required level. Also right handed and left eyed, and no scopes allowed for recurve archery. Shooting compound with a release and scope was a lot easier but of course you are competing against archers with the same gear. I really enjoyed it but I have more fun travelling and playing music. less frustrating and you get free beer! Bob
-

Glue alternative to lining wet formed items with suede
BDAZ replied to BDAZ's topic in How Do I Do That?
Just do some testing with time/temperature and pressure first. Leather is thicker and more heat resistant than fabric but works great! It has cut my production time in half for all my lined products. Bob -
FITA is still the governing body. Senior mens is still 90M and 70M on the large targets and 50M and 30M on the smaller. The bull on the larger targets is the size of a CD and if you are not getting 3-4 bulls an end (6 arrows) you are not competitive. The scope is so you can see where your arrow hit. There are 4 men on a target, so 24 arrows for each end and you have to be able to see the color of your nicks at 90M to know what you are doing. There are a lot of $2000 scopes on the field. A typical arrow costs $60-$70, so lots of metal detectors as well. I used to shoot recurve when I was younger but switched to Compound and competed in the Senior Olympics, and won gold for Arizona in 2009. My coach is one of the olympic coaches and I used to shoot 6 hours a day, 6 days a week at the PSE range in Tucson. I quit after winning gold and got my life back! Mostly used the time to get back to music and starting leather work! Again, nice work on the quiver! Bob
-

Glue alternative to lining wet formed items with suede
BDAZ replied to BDAZ's topic in How Do I Do That?
Bob -

Glue alternative to lining wet formed items with suede
BDAZ replied to BDAZ's topic in How Do I Do That?
I have recently been using HeatnBond to laminate ink jet printed canvas and fabric to the flesh side of leather. I have has no issues with HeatNBond sticking to the fussy side of linings. I use a setting of 250F for 30 seconds on my press. For an Iron, I would follow their suggestions, maybe a bit higher and of course, don't skimp on the pressure. Bob -
Я был в Москве в коммунистические времена. Я продал компьютеры Советам. У меня также были времена с КГБ. То были времена!
-
Я говорю Google по-русски! Actually studied Russian in High School. Big Mistake! Have been to Moscow 3 or 4 times in the Early 90s. Очень хорошая работа Bob
-

Die clicker alternative: unplugged/defective t-shirt heat press?
BDAZ replied to Piqued's topic in Leather Machinery
The problem with a T-shirt press is that the plates are not parallel and I am sure the press is not designed for the stresses that would be imposed. One thing you can do with that press is get hold of some heat and bond Set your press for 250F and use it for laminating lining. use the press for 3 or 4 seconds to tack the HnB to the lining (suede, thin veg tan or fabric) then peel the release paper, place on the base leather and press for 30 seconds. Been using this for 2 years and zero failures. Best affordable clicker would be a 12 ton (or even 6 ton) arbor press. Bob -
Hadn't thought about that! Actually I topped the second coat with a piece of duct tape. The duct tape took off the Barge in one pull.


