carr52
-
Posts
729 -
Joined
-
Last visited
Content Type
Profiles
Forums
Events
Blogs
Gallery
Store
Everything posted by carr52
-
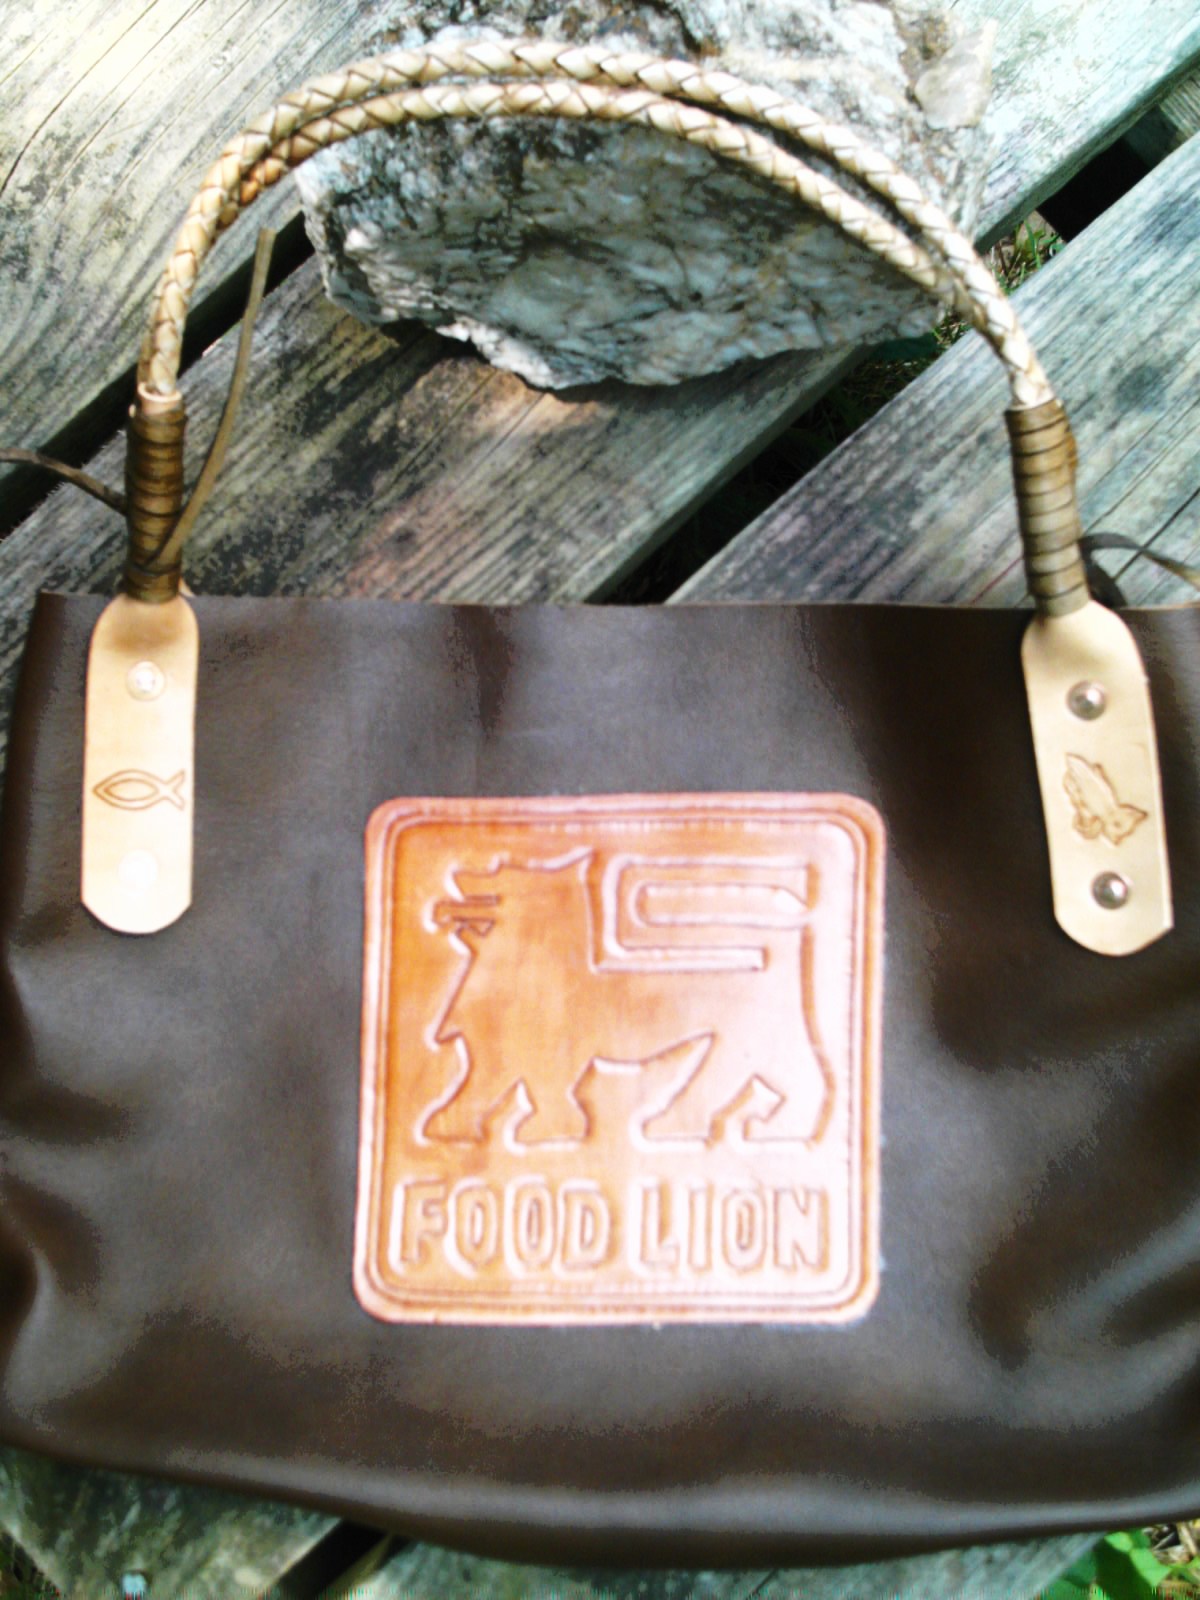
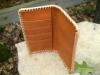
I made this to keep from having to take back and recycle all those plastic grocery store bags. One cow will produce 350 Liters of Methane and 1500 Liters of Carbon Dioxide each day, so kill a cow and make a shopping bag. Oh yeah eat a steak and help fight Global Warming. Tom
-
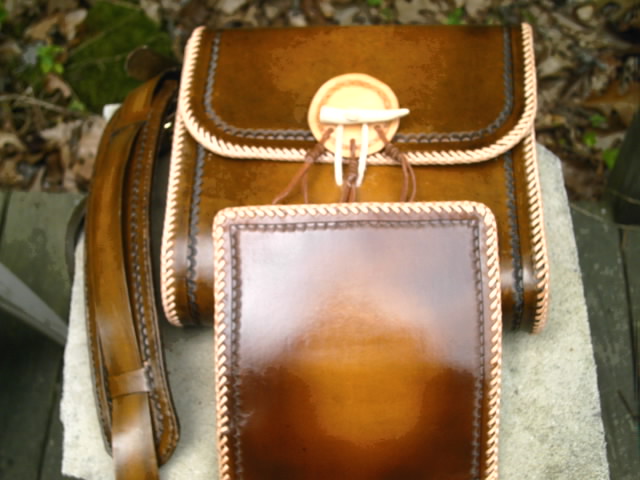
Here it is with a little color added. Fiebings Antique Finish tan.
-
Elton, I think it looks great. I have often wondered why is the horn wrapped up like that? Is it to protect it from wear? Tom
-
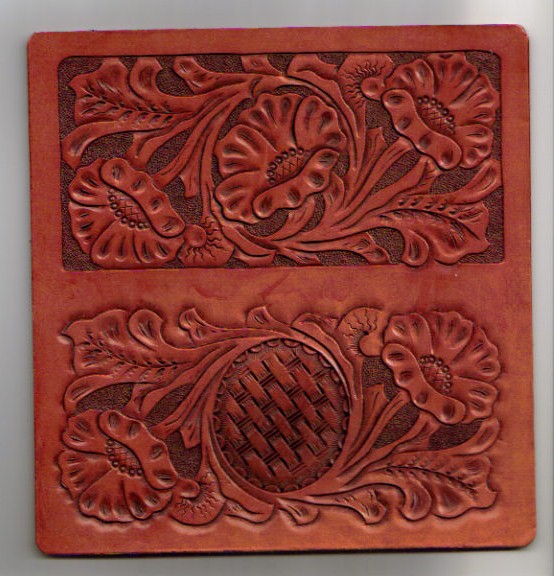
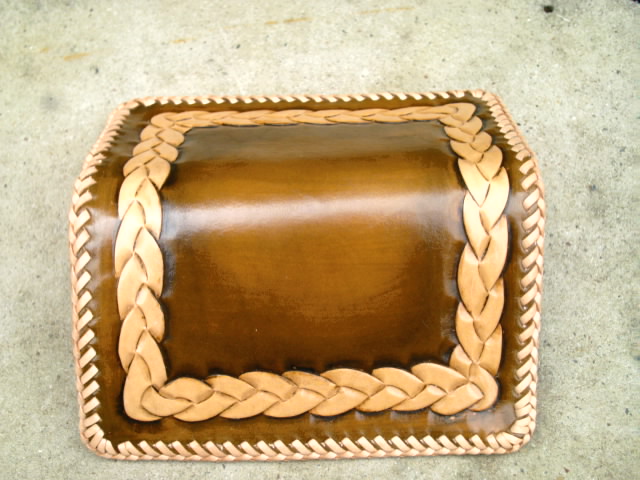
Wasnt sure where this one was going so i left the place for the initial blank and I think I'll put a silver screw back initial there. I ended up with what looks like some water stains in the center. I tried to keep the leather evenly wet when working. But when all is said and done I couldn't get em out. I dont like the box around the pattern on top but when you make a mistake you have to hide it some way. Oh well. Live and learn. Tom
-
Your quite welcome. My problem with the cuts is I have a hard time with consistency. Getting the cuts to flair open on the starting end of the cut. Maybe my leather isn't wet enough or too wet. Just have to keep trying and learning. Tom
-
I did them dry. I dont think they were really needed as the back liner will hold the loops in place but I put them in for looks anyway. I think I'll stitch around the edges today. Tom
-
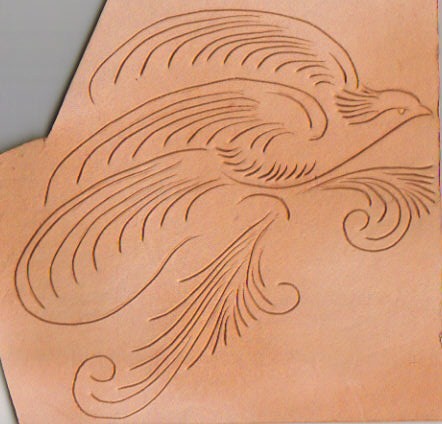
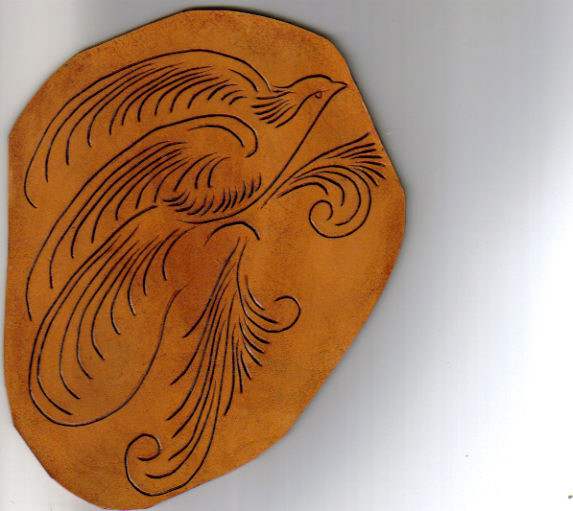
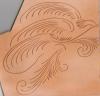
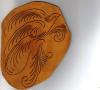
Here is my try for the August challenge. First off I must state that this is not my design. It's one of the practice exercises in my Al Stohlman tech tips book. I did it to try and work on my decorative cuts. As you can see I do need the practice. But I like the bird anyway. I think I'll just keep doing it or something like it till I get better. Cant get any worse. Now I wish I hadn't said that. Jinks, jinks, jinks. Tom
-
Hope not but I've been watching that corn pile for three days now and nothing. A big Doe walked up last week but the season wasn't open yet, well it's too early for doe anyway. I got a box of frozen fish sticks in the freezer so at least I wont go hungry. Tom
-
got a new airbrush
carr52 replied to carr52's topic in Dyes, Antiques, Stains, Glues, Waxes, Finishes and Conditioners.
From the different things I've read about it and on this site it seems I picked a good airbrush. I got it new at AC Moore. It was regularly about $150 but I had a 50% off coupon. Tom -
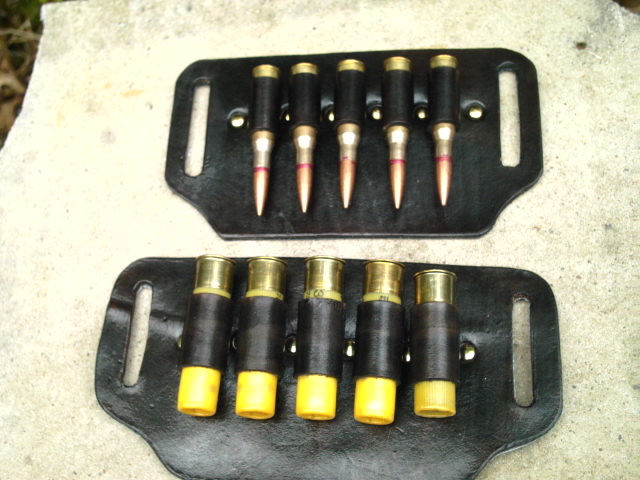
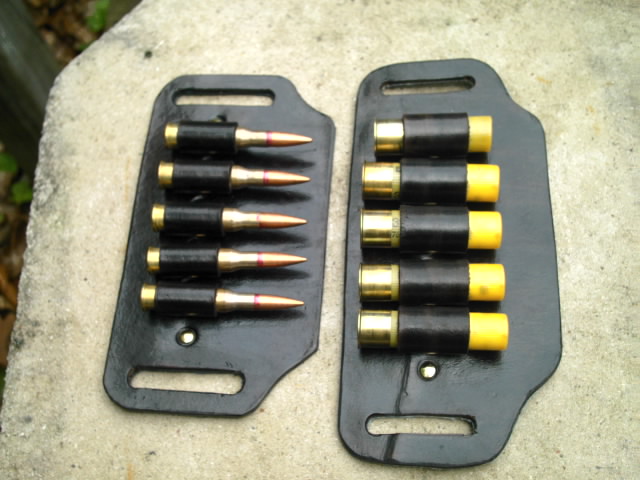
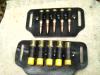
My rifle holds 5 rounds so I thought I might need a few extras. The way I see it is if I cant kill something with 10 bullets I just need to pack it in and go to Piggy Wiggly and buy a chicken. Tom
-
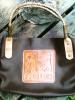
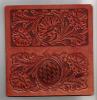
I found this pattern in a book of Celtic patterns so I thought I'd give it a try. It's another one for one of the Ladies at the bank. Tom

-
got a new airbrush
carr52 replied to carr52's topic in Dyes, Antiques, Stains, Glues, Waxes, Finishes and Conditioners.
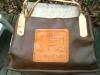
Well this is my first try at it. Not too good but I'll keep working on it. It looks better in real life, but the camera never lies. I tried to make it to match the Black Powder Bag. Tom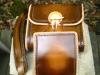
-
got a new airbrush
carr52 replied to carr52's topic in Dyes, Antiques, Stains, Glues, Waxes, Finishes and Conditioners.
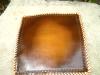
I used it last night for the first time and I like it. I did a checkbook cover antique brown and it fades to the middle. I think it turned out ok. It sprays a very fine to heavy mist, depending on trigger pull. But he main thing is that it gave a really smooth finish. No streaks or lines. Even for a novice like me. I think it'll take me some time to get use to the double action feature. You can make some pretty small lines with it. Got some books coming from the library and with what I learn on the web I'll keep on practicing. Tom -
I LOVE IT. how did you attach the Morgan? I really like that. i can only hope to reach that level. Tom
-
got a new airbrush
carr52 replied to carr52's topic in Dyes, Antiques, Stains, Glues, Waxes, Finishes and Conditioners.
Thanks, I'll do that. I need all the help I can get. I just did a quick checkbook cover to try it out on, beveled border and camo tool. Gonna try and do a fade of some sort. Thanks again. Tom -
Just got a new "Badger 150 professional" Never an Airbrush before but I'm gonna learn. I'll practice on a checkbook cover that I already have cut out. I'll just put a plain border on it with bevel and camofalge tools. I think I'll just try to get and even cover and maybe fade to the middle. Oh well, wish me luck. Tom
-
My only comment is " Freakin" Awesome. Tom
-
Has anybody been watching the silver market? The silver coins I put in the buckles when I made them were $20.00 now they are at $13.40 and oz. Guess I made the buckles at the wrong time. Tom P.S. It's down over $5.00 in the last 30 days
-
a few western holsters
carr52 replied to fishguy's topic in Gun Holsters, Rifle Slings and Knife Sheathes
Those are some really fine lookings rigs. I was just thinking about making another one. My brother has a Navy Colt. You have inspired me to get to work on it. Tom -
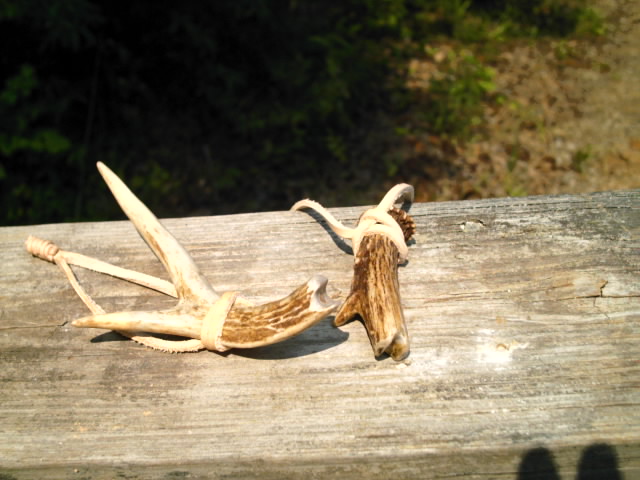
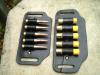
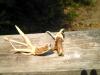
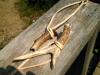
Got some free deer antlers so I made these the other day and thought I'd post a pic of them. I can use the long tine to smooth out the edges if I need to. Tom
-
Thats the same way I got mine. Saw a truck on the Interstate and went to its shop. "AKA" stalking. Tom
-
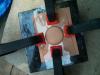
After I wet mold the buckle front over the coin I cut the center out and leave just enough of a ring to hold them in place. Sorta like a leather bezel "ring". I never put glue or anything on a coin. The Morgan isnt worth much more than the silver content except to a collector. Tom
-
I really like those. I'm gonna try making a few. Is there one size that seems to be more popular than others? 1" or 1 1/2"? Tom
-
One is a 1881 Morgan silver dollar The other one is a 1 oz, silver round from the Engelhard Mint. The one with the 1 oz. silver coin of the World Trade Centers on it doesnt show up well at all. I think I need to make a photo booth. I found its cheaper and easier to just buy the buckle kit from Tandy's Dont know how many I goofed up trying to get it just right. As far as the wet molding goes I just drilled a hole in some plexi glass and clamped it. Worked pretty good. Tom
-
I have tried my hand at whip making and I know its hard work. Tell Doug that is a beautiful peice of work. It inspires me to to keep practicing and working on my braiding so that maybe one day my work might be that beautiful. Tom