carr52
-
Posts
732 -
Joined
-
Last visited
Content Type
Profiles
Forums
Events
Blogs
Gallery
Store
Everything posted by carr52
-
Holster Design (long)
carr52 replied to mattsh's topic in Gun Holsters, Rifle Slings and Knife Sheathes
The thanks go to you. With out your tutorial I'd still be hacking away at it. Now I have a great place to start from. I'm hoping my next one will be better. Thanks again Mattsh. -
Holster Design (long)
carr52 replied to mattsh's topic in Gun Holsters, Rifle Slings and Knife Sheathes
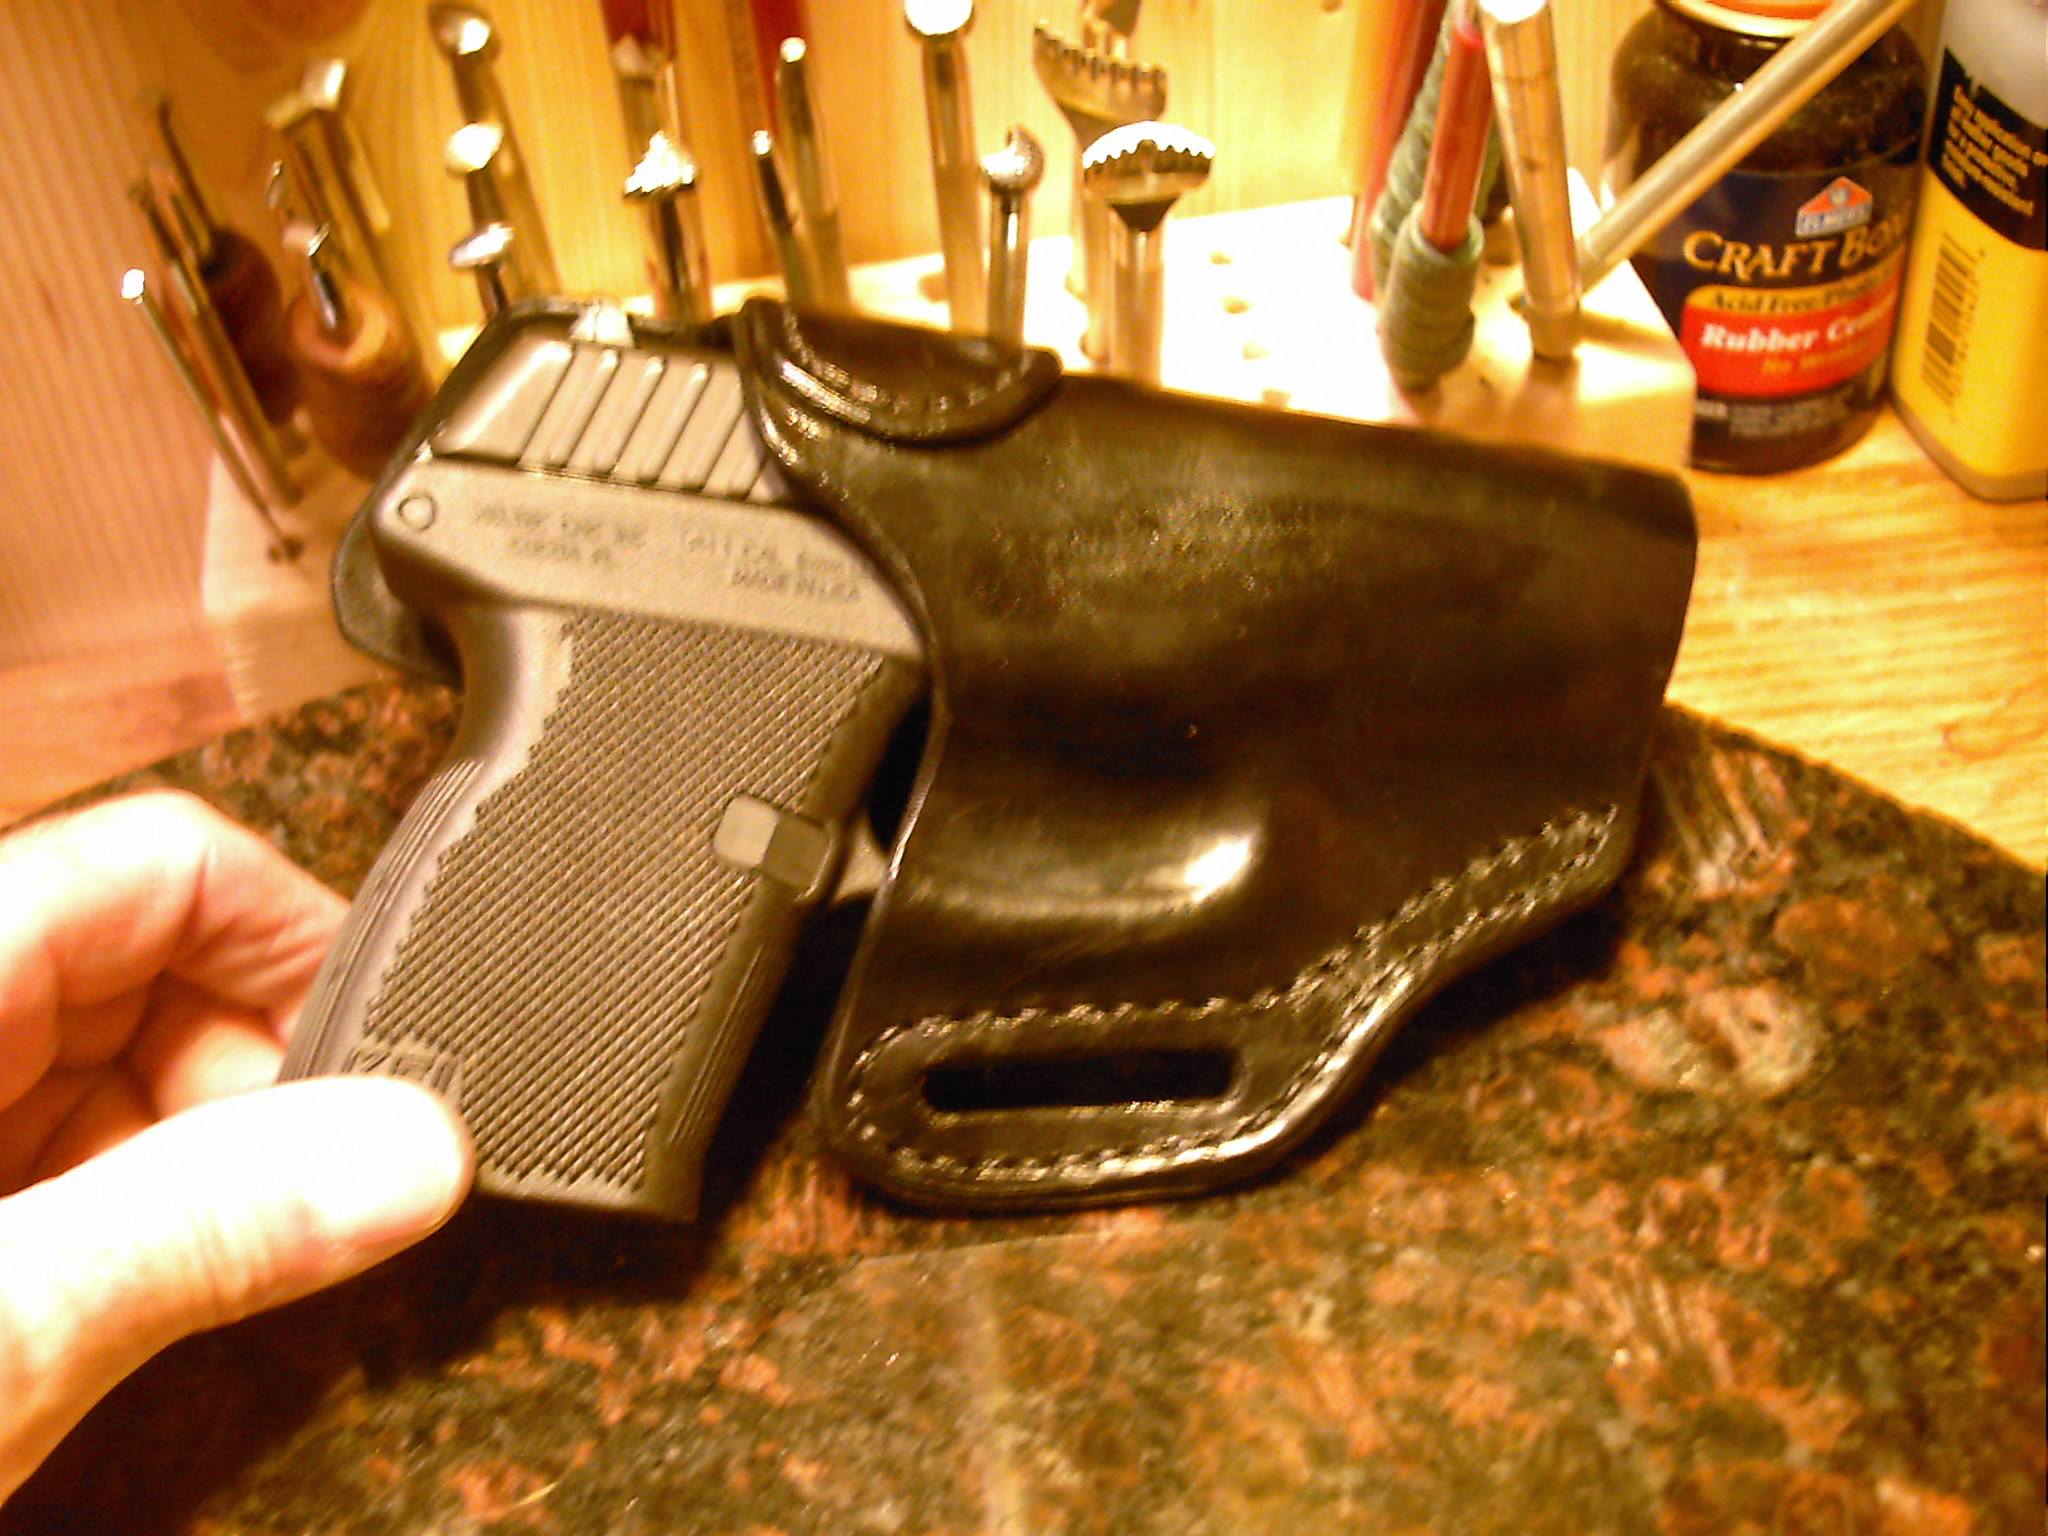
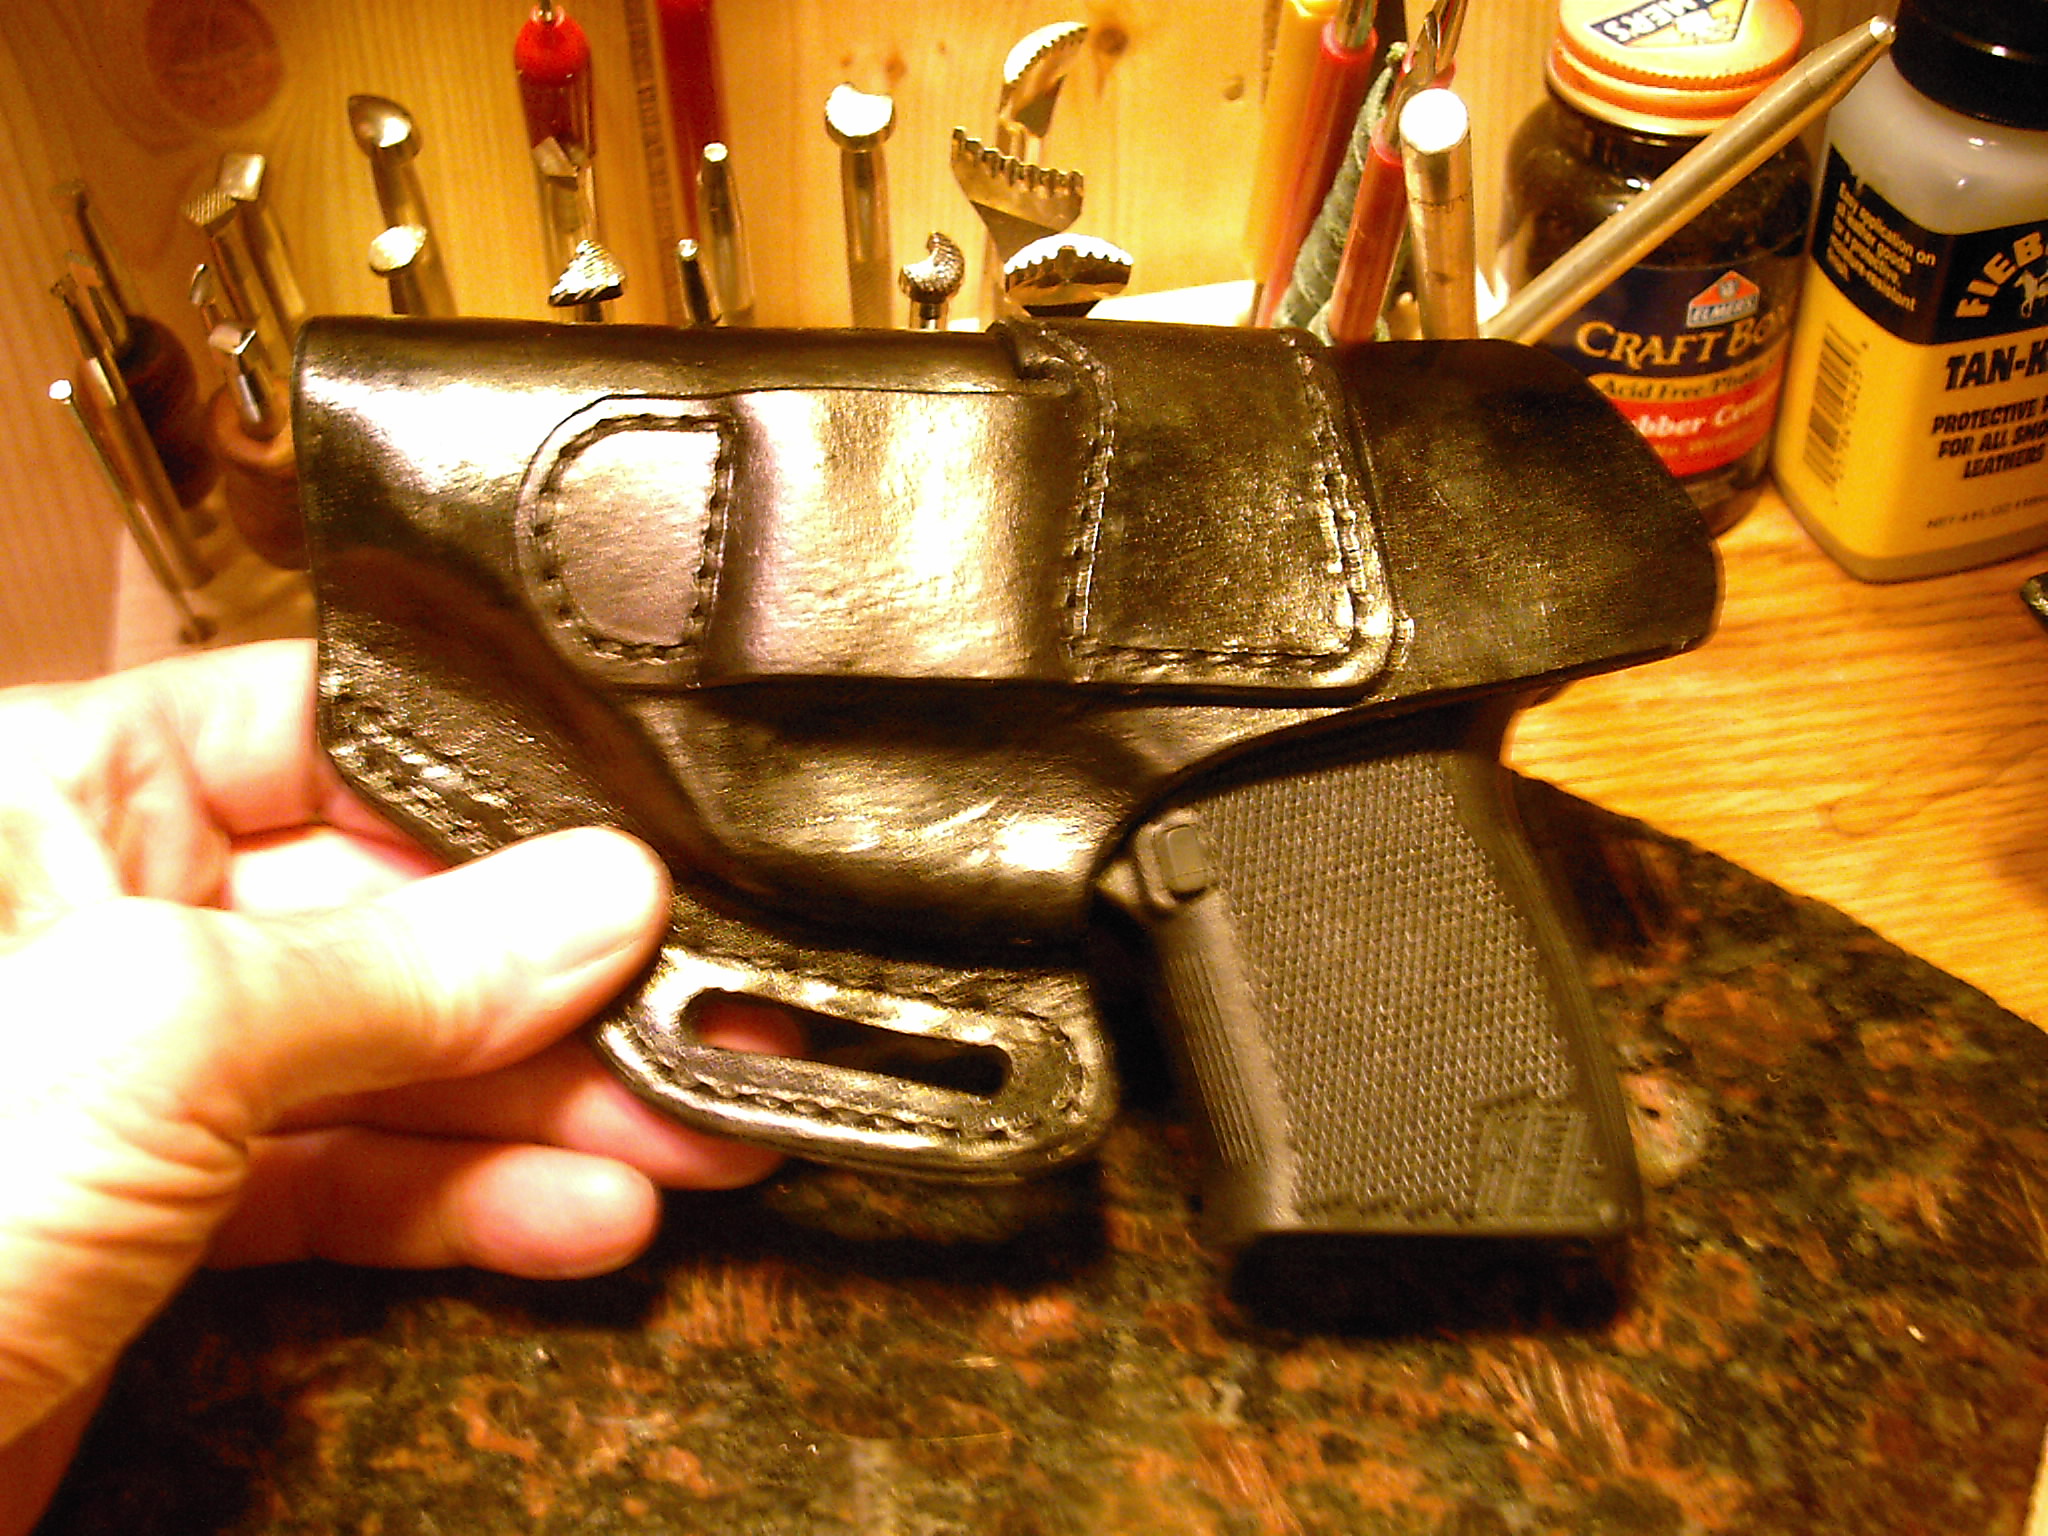
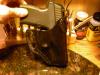
Here's my first attempt at it. It's a 9mm Keltec P-11. Your right about the learning curve part. I had to cut several paper patterns before i got one i was happy with. On the next one I'll make the belt loop bigger. I had to do alot of streching on this one to get it right but it fits an inch and a half belt kinda snug. Tom
-
Rifle scabbard......finally finished!!!!
carr52 replied to Timbo's topic in Gun Holsters, Rifle Slings and Knife Sheathes
I agree. It's just toooo cool. Love it. Beautiful work. Tom -
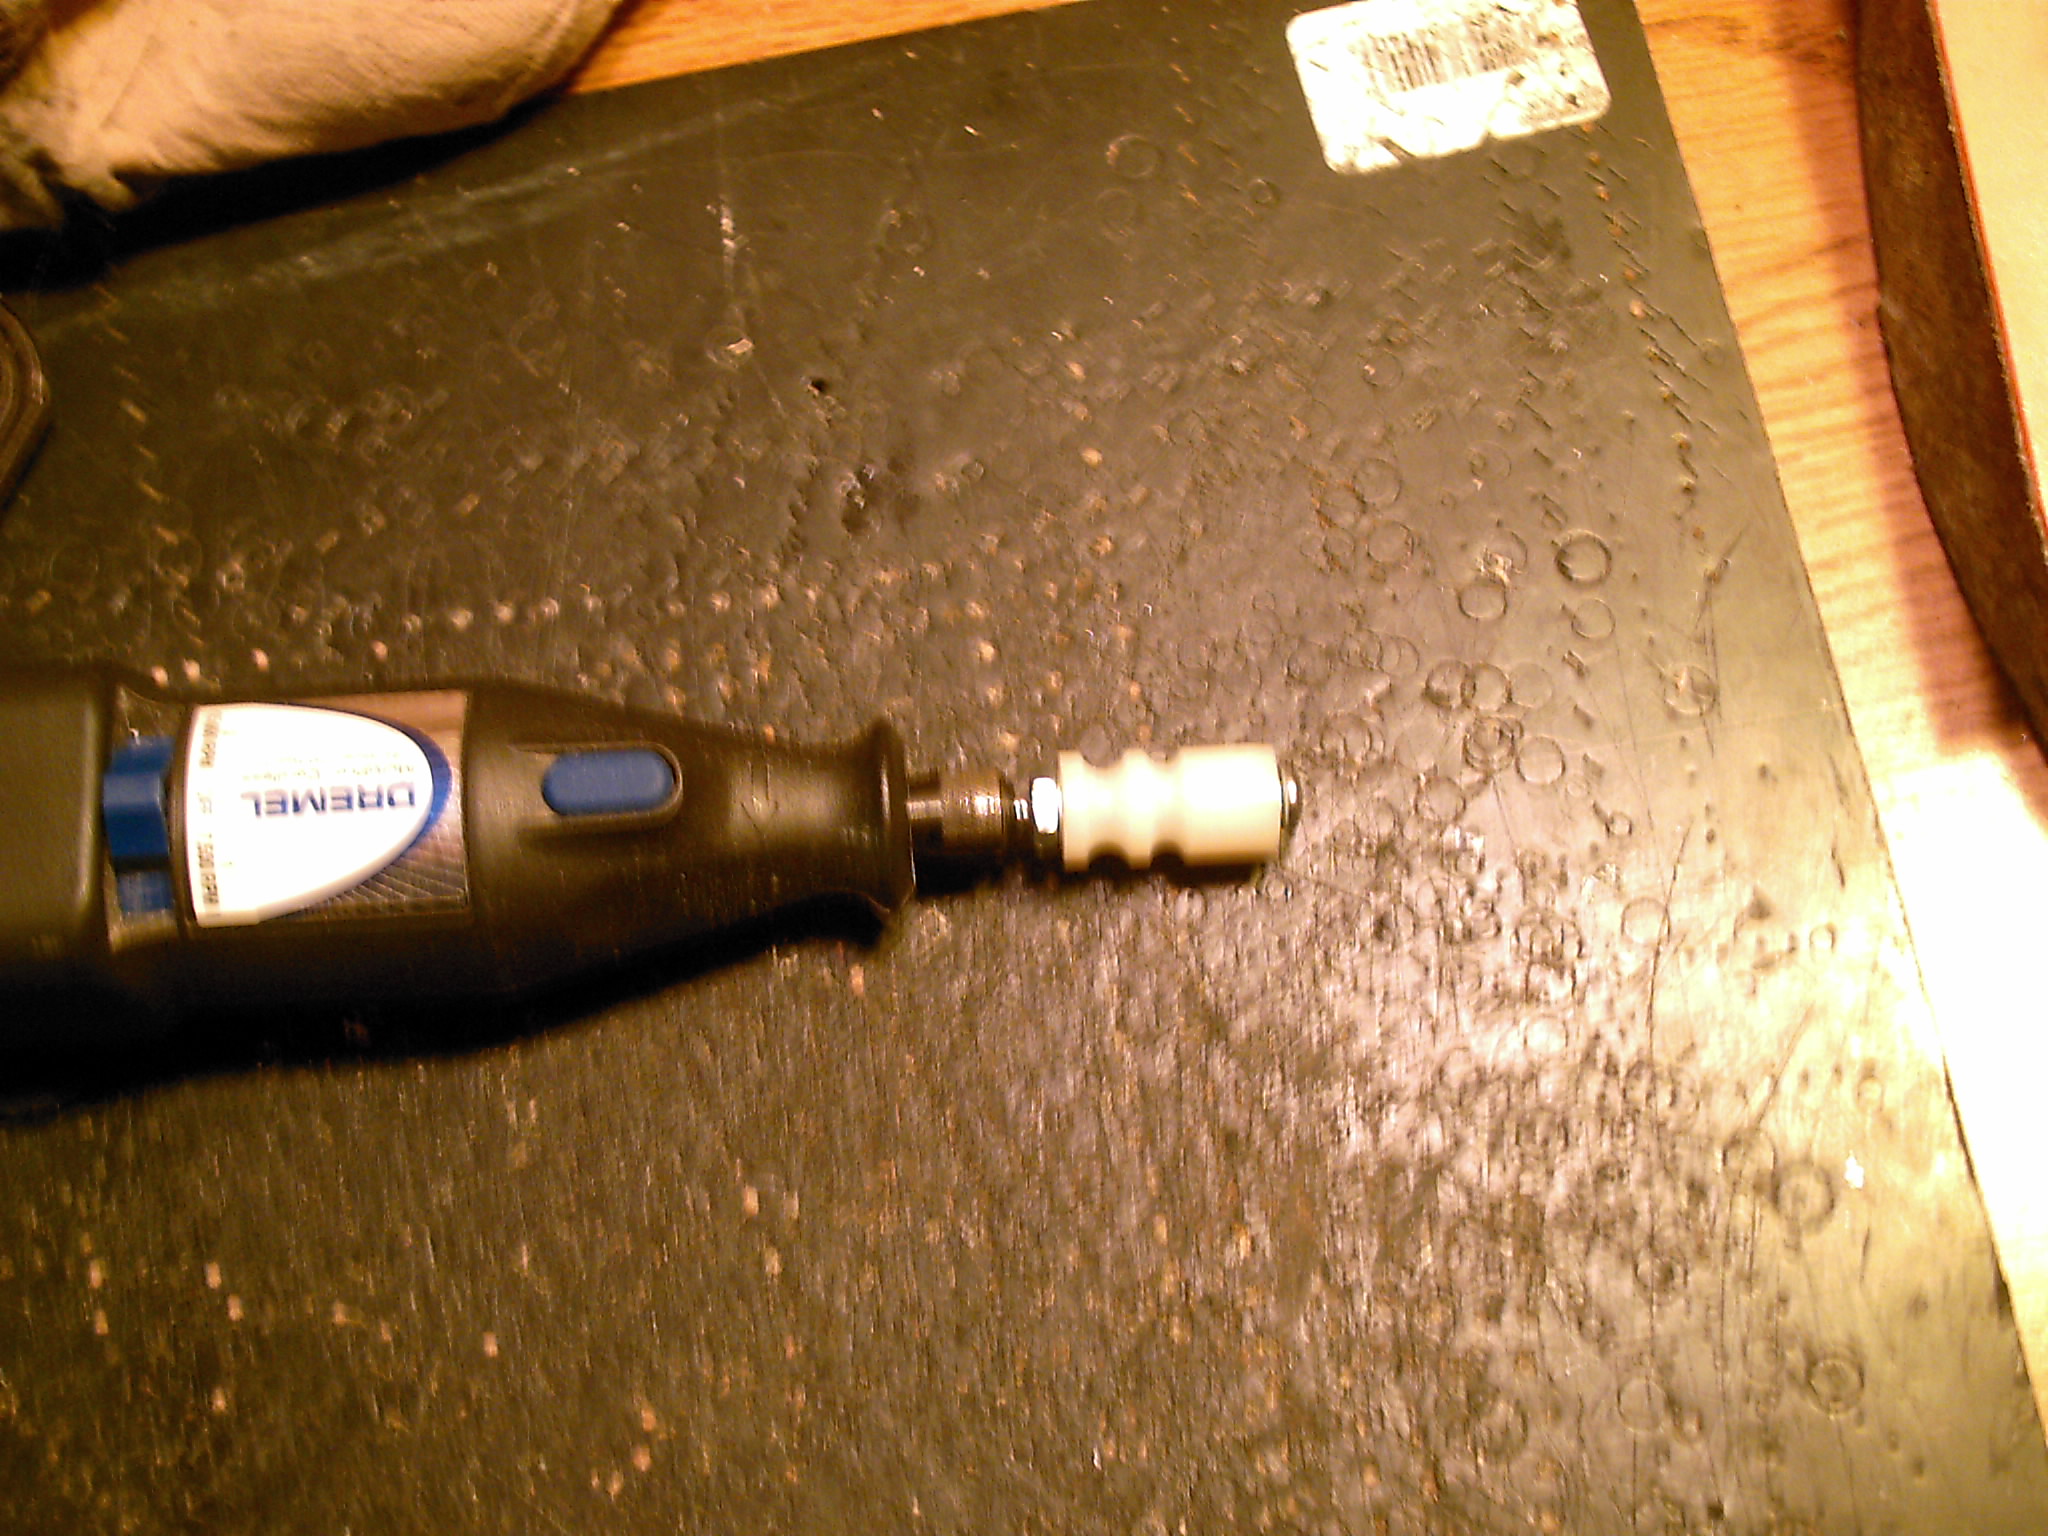
I feel sure I'm not the first to think of this but thought I'd post it just in case. I found a nylon bushing with a 1/8" hole in it stuck in a screw and put it on my dremel. I used a chain saw file to make the grooves. Just turned it on and held the file in place till it got deep enough to suit me. It's kinda small but i couldn't find any bigger bushings. I did come across some sliding door rollers. Gonna try them next. They already have the groove. I just tried it out and it works great. Tom

-
I like to use a small tack hammer. Instead of round you get a smooth flattened end. I like the flattened look on some things but not on others. Also you need to cut them off alittle close. It doesn't take much to hold the burr in place. Thats my take on it. Tom
-
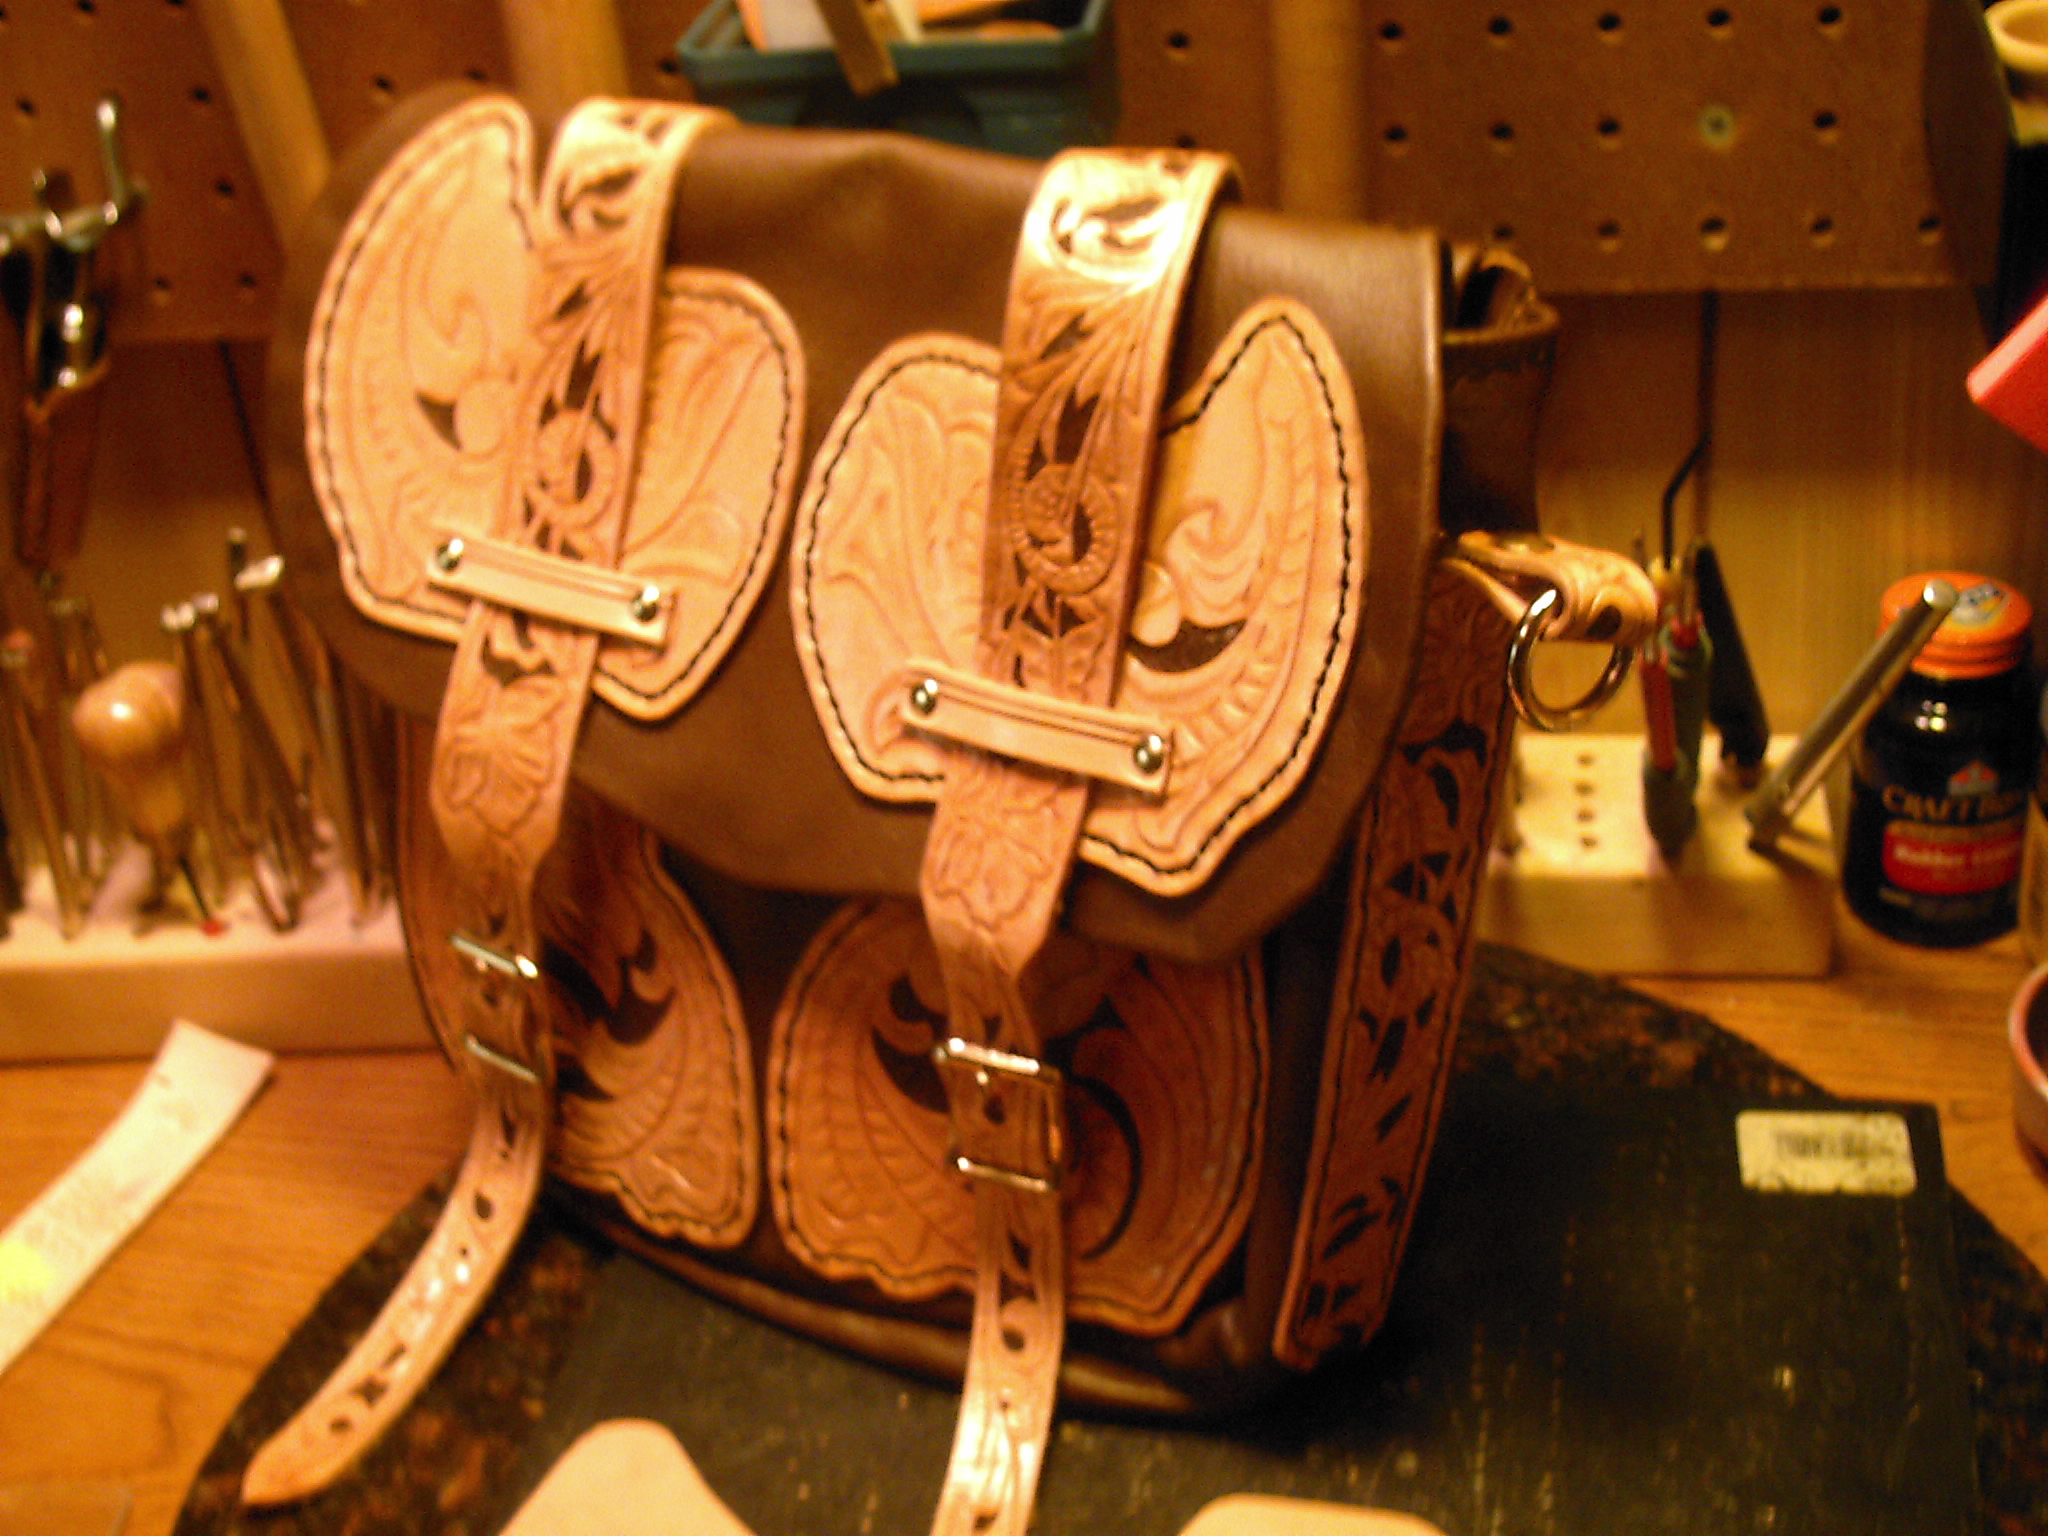
I was just going to make a messenger bag like the one Indiana Jones carries. Plain and simple, no carving. Well one thing led to another and Indiana Jones turned into Henrieta Jones. Tom

-
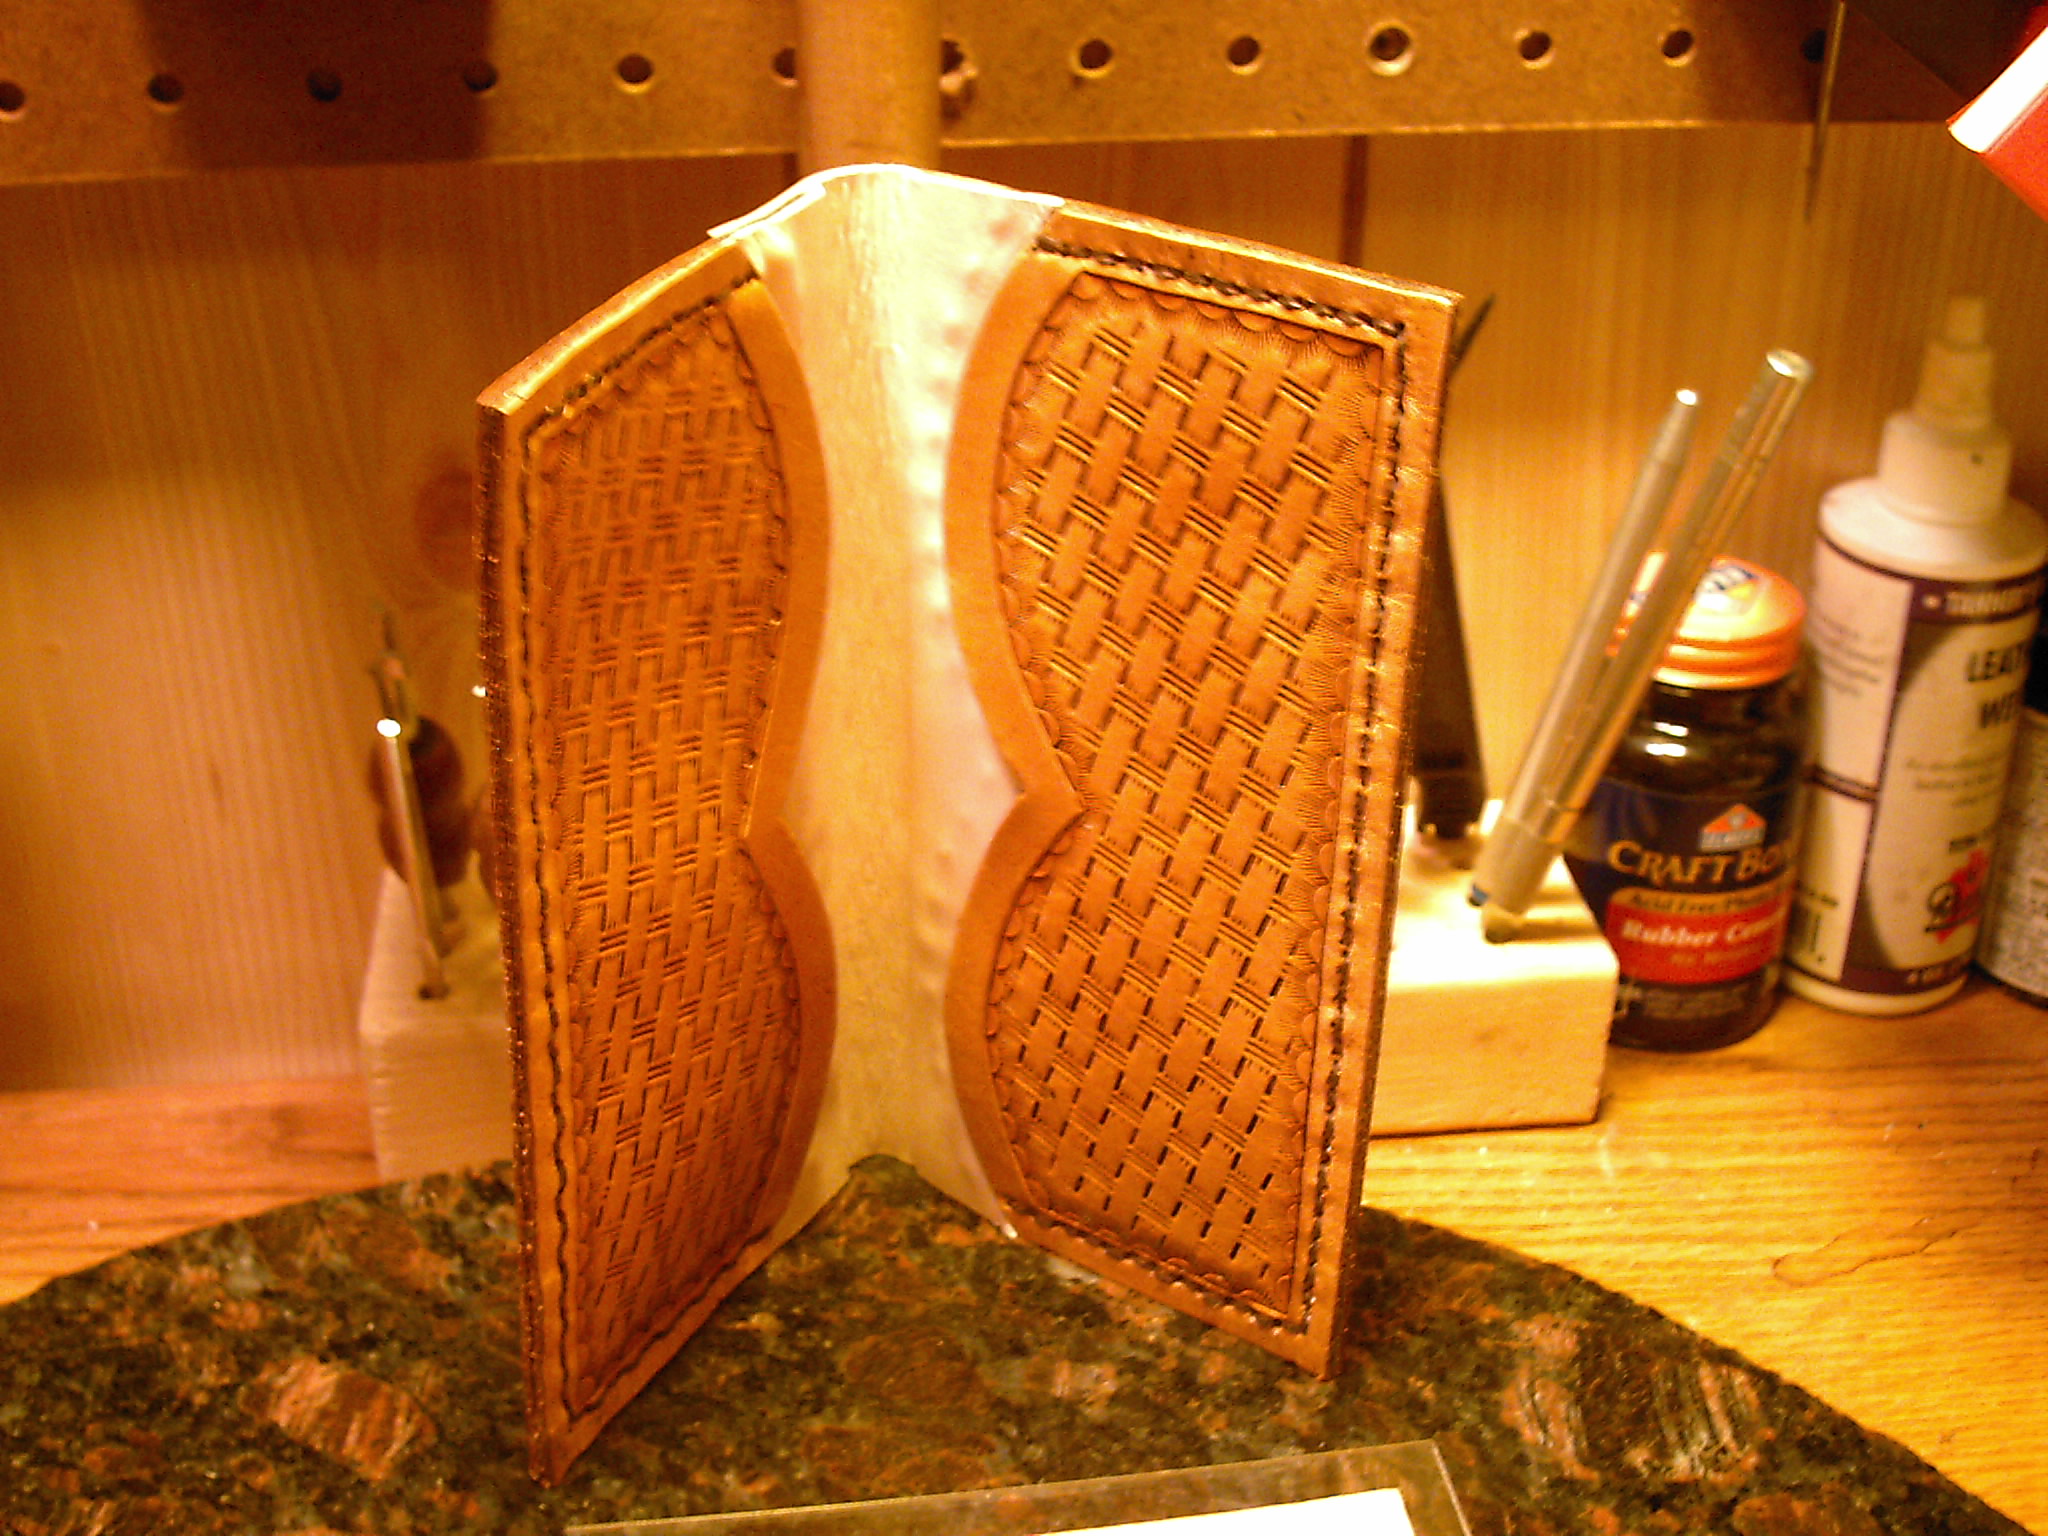
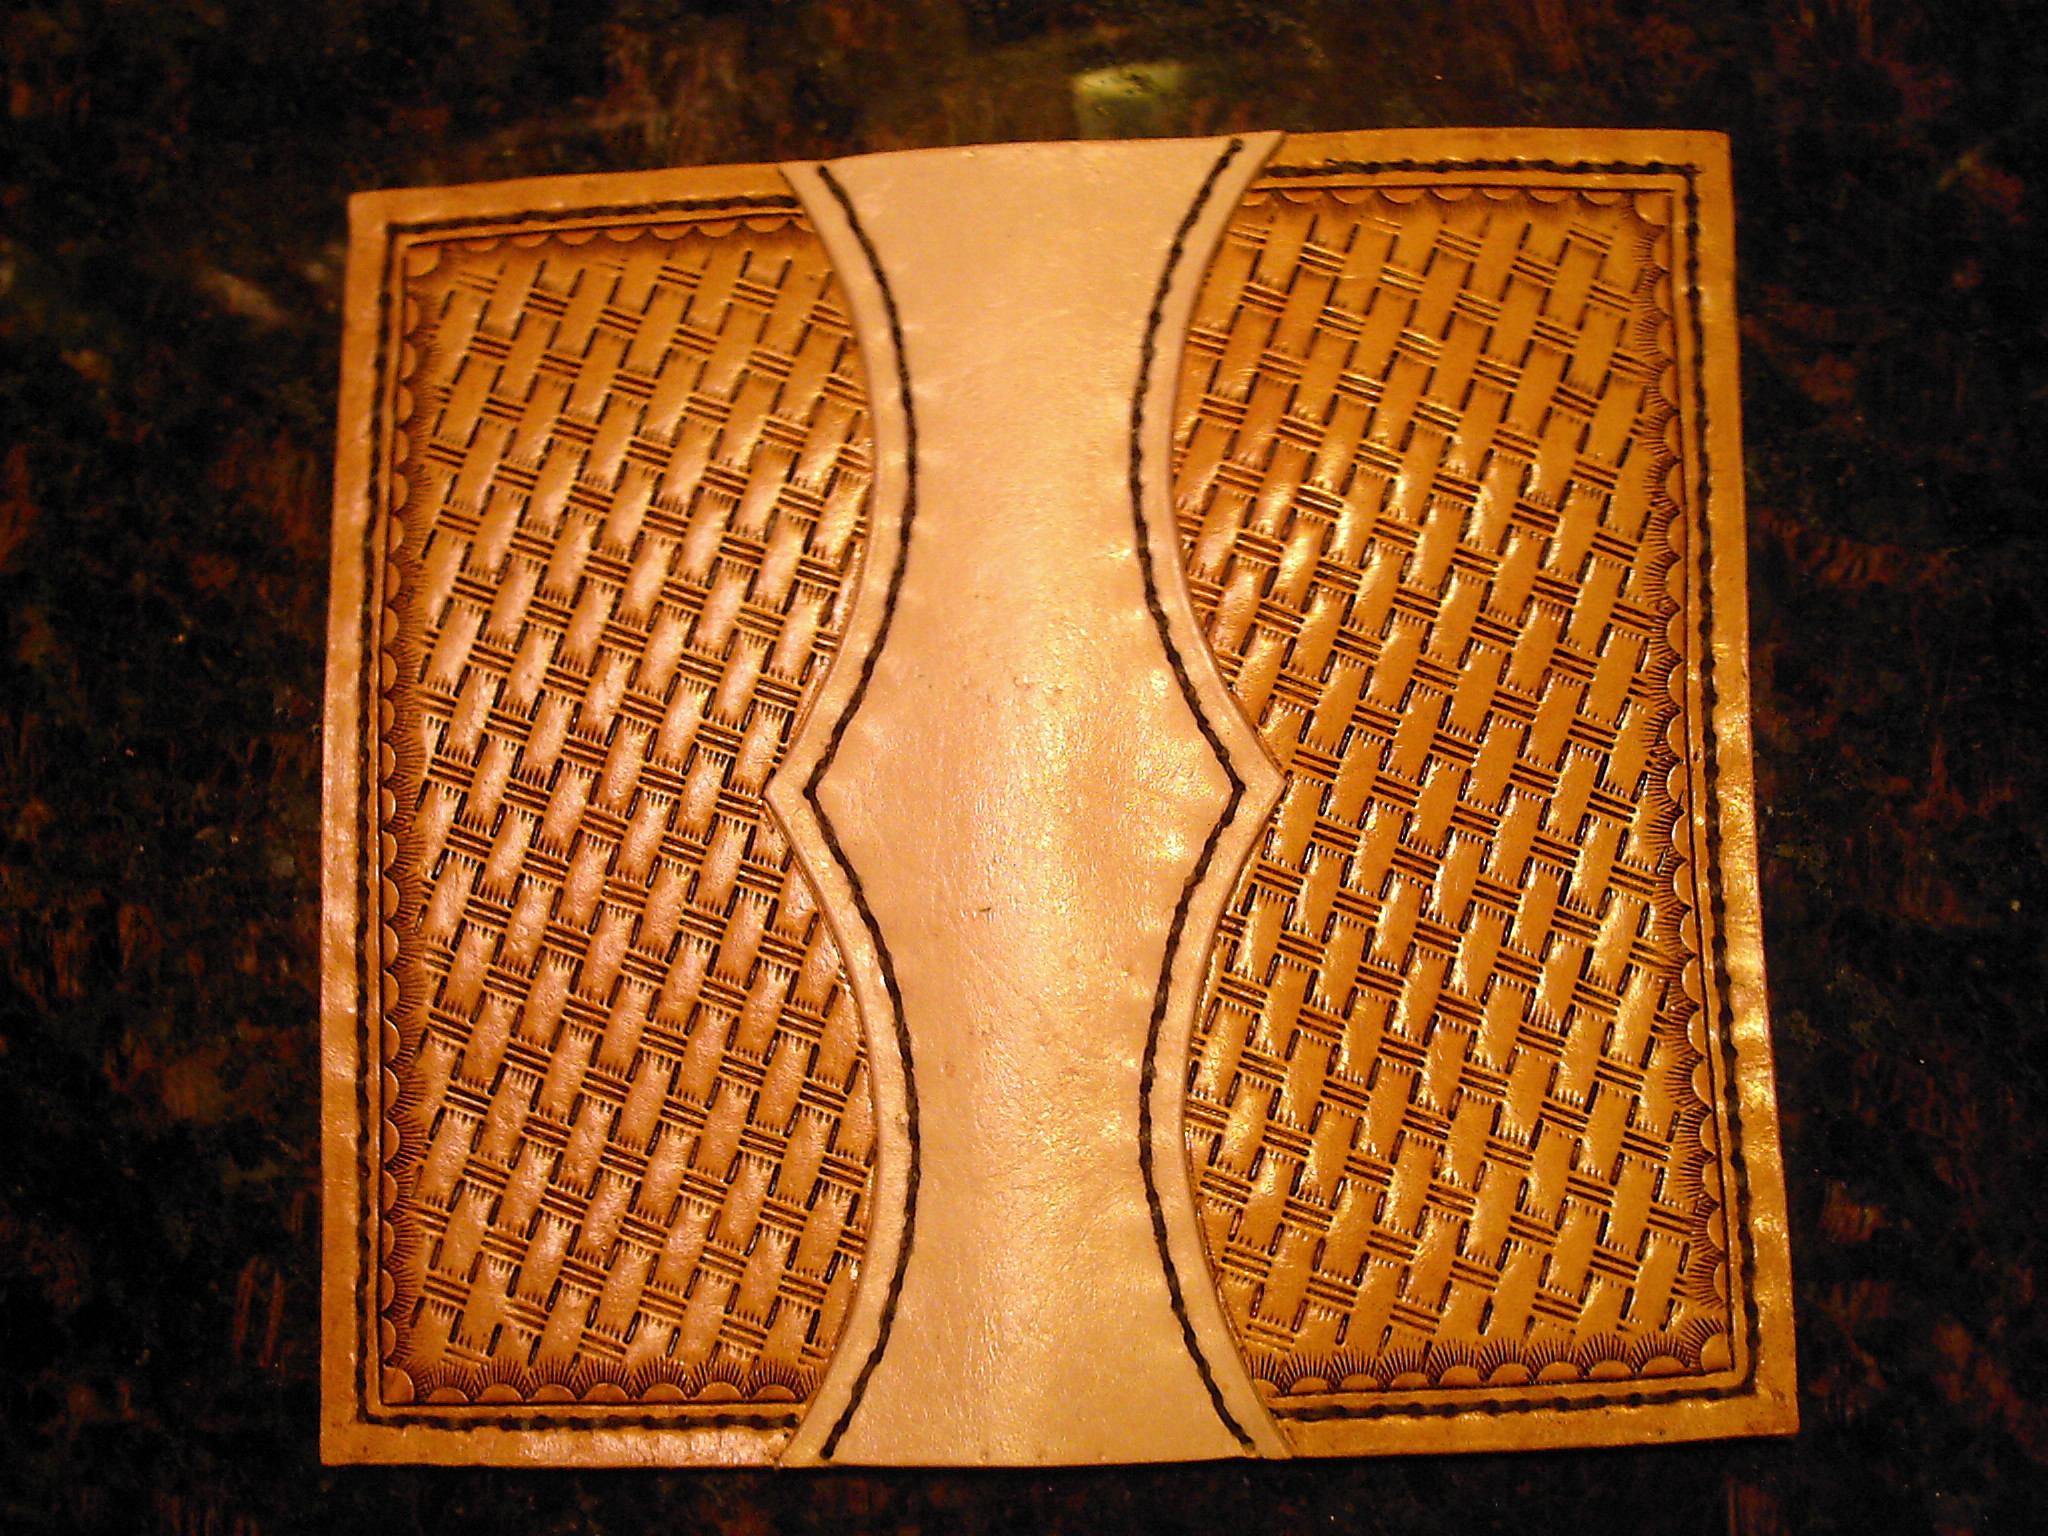
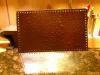
basketweave check book cover
carr52 replied to carr52's topic in Purses, Wallets, Belts and Miscellaneous Pocket Items
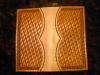
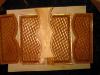
Kate: I used a stitching wheel to mark the holes then used a punch to make the holes one at a time. Tom: It folds rather easily. I used about a 4.5 oz leather. Thank you guys for the compliments. I'm retired so I play alot.Tom
-
I saw this style somewhere but not sure where so I decided to give it a try. Tom
-
I use tracing paper that I get from Tandy's. Works great, and it doesn't cost much either. Then you can save the traced pattern to use again. Well, untill it wears out. I've used the same one many times. As for the weight's of leather I'm not sure. I am still very new to this craft but it's worth an experiment. Tom
-
Hey Tom Sorry it took so long to get back to you. It does have metal flake look to it but no really big silver flakes in it that stand out. I got some gold paint at a craft store that does but havent tried it out yet. Tom
-
They help you grip the needle better. It works pretty good for anyways. Tom
-
Thanks Tanks I guess I'm a poet too.
-
I think this is a perfect topic for someone like me. New to the craft. I've been at this for about 8 months now. I've had the usual needle sticks and mallet hit to the nuckles. But I hope to learn from the mistakes of others. Keep posting. Tom
-
Welcome David I got my slab of granite at a counter top place. It's over an inch thick and got it free. It's a sink cut out from a granite counter top. Might save you a few bucks. That way you'll have more money to spend at Tandy's on leather or tools. Again, wwelcome to the community. Tom
-
All I can say is WOW!! Love the red ones on page 6 and the turkey tail feathers. Thanks for the link. Tom
-
I really like that. I just made a couple of feathers. Or should I say I'm trying to learn how to make them. Nice colors. Tom
-
Howdy From South Carolina Thank you Tom. It is called Cova Color Metalic Silver Paint. I like the way it brushes on real smooth. Also it water based for easy cleanup. Eco friendly. All that aside, I just like the way it goes on and looks when dry. Tom
-
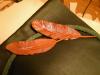
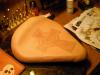
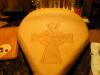
Two new ones with a coat of clear laquer on them to strenghten them. Now I'll airbrush the color on. Not sure what color. Anyone have suggestions? I was just going to look online at feathers. Tom

-
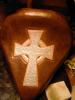
Thank you Wildrose. I wasnt sure what colors to use on it. The silver just sorta struck me as something I'd seen somewhere before and liked so I thought I'd give it a try. Thank you again. Tom
-
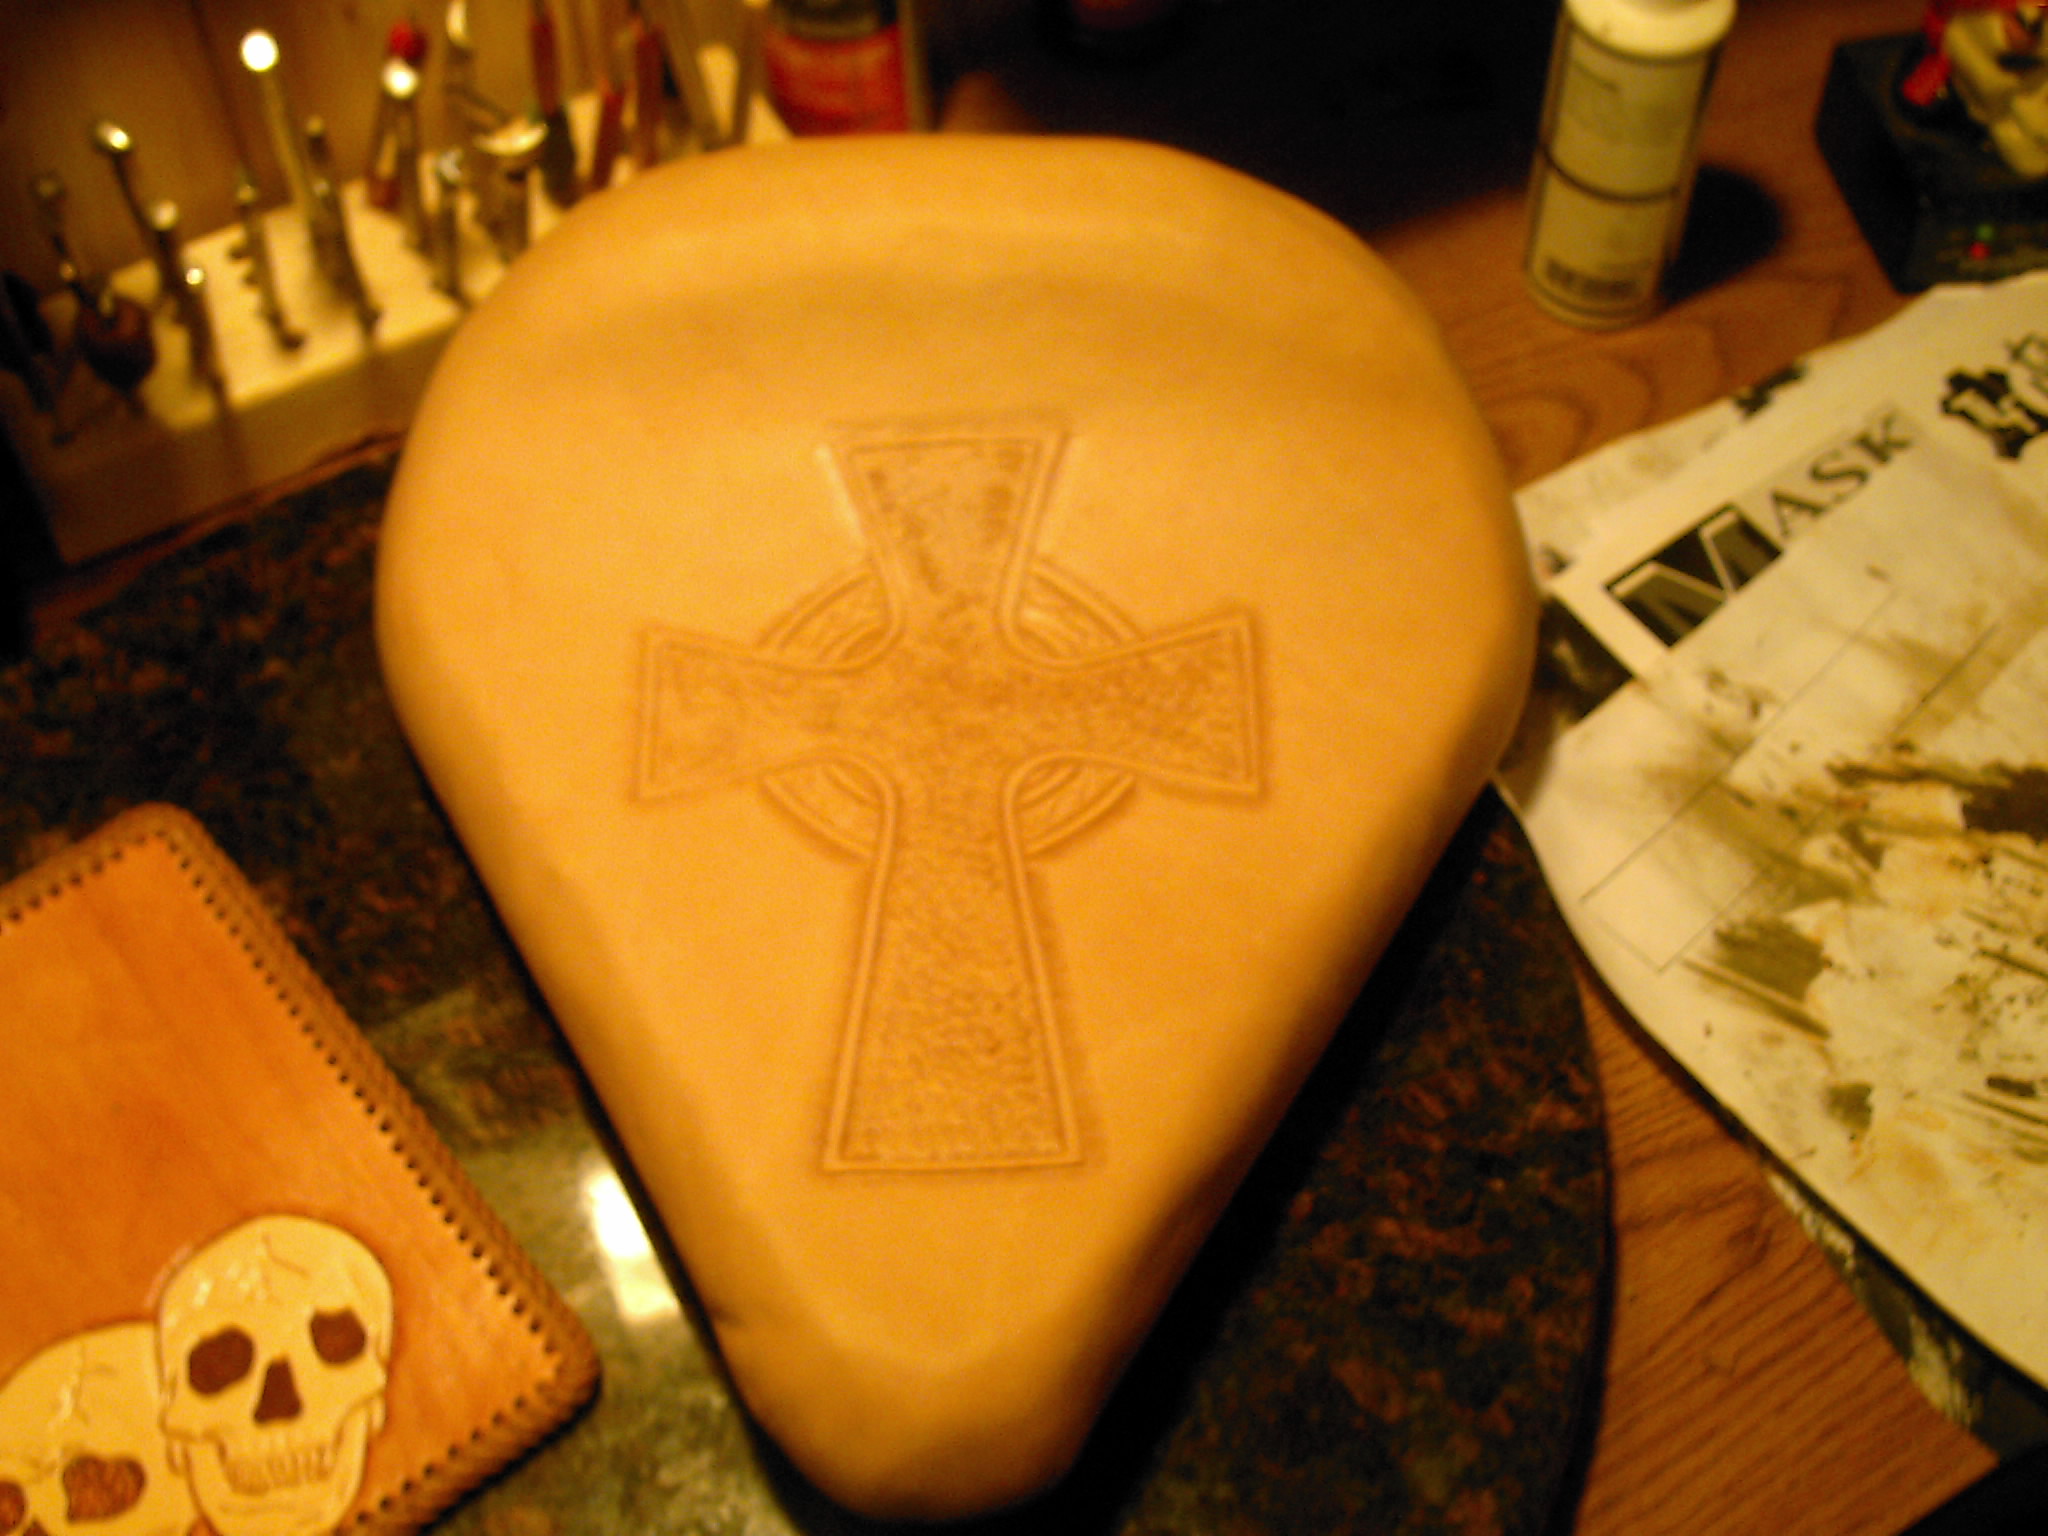
Thank you for the comments. Encouragement means alot to a beginer like me. I've been at this about 7 months now and I am really loving it. As for the colors, I used Cova Color "metalic Si;ver" on the cross and ring. I just blocked out the edges with super sheen then stained it with an antique brown stain and wiped it off right away.Tom I'm going to take this one apart so I can sand the edges of the foam. It was just a practice run anyway. Thank you for the tip.Tom
-
Welcome to the site. I know you'll love it here. I too am still learning but it wont take long and you'll be picking up hint and tips from the folks here. They have taught me so much. Tom
-
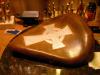
Here it is with a little color added. I had to go with something dark to try and cover up the brand on the left side. Tom


-
I just couldn't seem to get it right. Then it dawned on me, my paints were water based. DUH. So I tried it with enamel paint. It turned out a little different. Here it is all dried out. Still a little tacky so I'll finish it tomorrow. Tom
-
I dont have a rubber mallet but you can bet your swivel knife I will have one tomorrow. Thanks. I do want it to be smooth looking. Tom
-
update on leaky roof destoryed work area
carr52 replied to carr52's topic in All About Us and Off Topic
Boy it sure feels good to have my little work/play area back again. Most of it anyways. HAPPY, HAPPY, HAPPY. Oh yeah and my new leg brace came in today so it wont be long I'll be stalking the aisles of the Food Lion grocery. Tom