Rockoboy
-
Posts
1,422 -
Joined
-
Last visited
Content Type
Profiles
Forums
Events
Blogs
Gallery
Everything posted by Rockoboy
-
Was there any heat consideration on the section of the chimney? or maybe it was the sun and cold causing the surface to flex that made the product harden and crack? On a different surface and under different climatic conditions, I would expect a different results to what you experienced.
-
New Tool from Recycled Sofa and file handle hardware
Rockoboy replied to harryhorse's topic in Leather Tools
I have used my "new" hard roller to press lining onto a dog collar and a belt to help the glue to grab. I can see it being useful to roll over stitching. -
As suggested by @bullmoosepaddles, I would be checking on the wheels available thru Tandy or any other tool makers with similar appliances.
-
Help salvaging a project with USMC black?
Rockoboy replied to Gabriel Rasa's topic in How Do I Do That?
Definitely not an expert here, but once the acetone has totally dried, I can only think I would try some sort of clear coat, like resolene or mop-n-glo, or maybe gum trag if you can get in to buff the surface with a bone folder. It is definitely going to take a test or 2 to get it right. Good luck. -
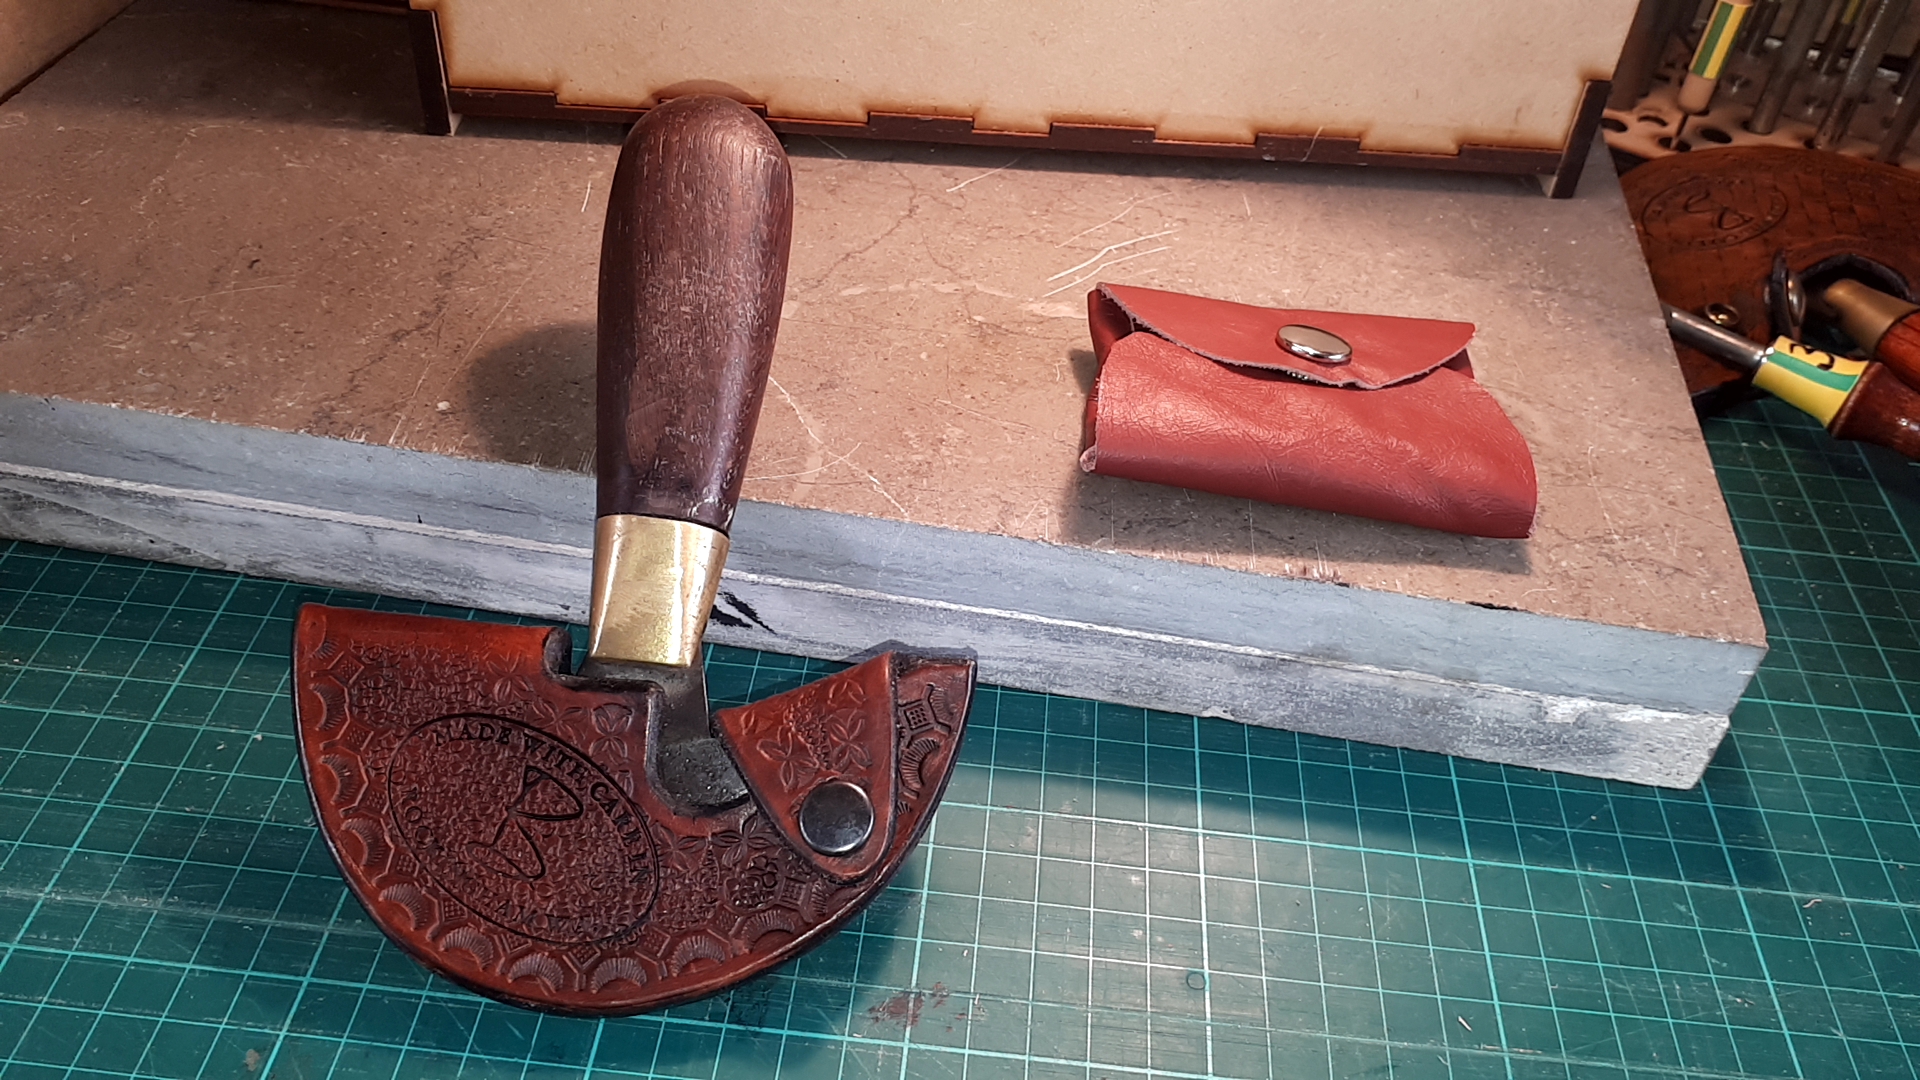
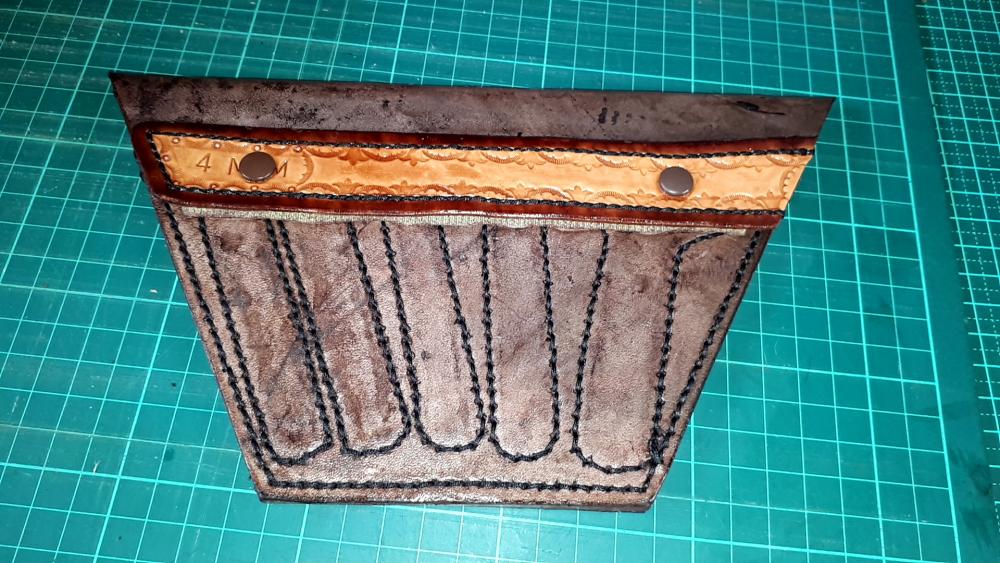
There was a plan of a coin purse on this blog from somebody, which I made a few of. You can see the finished product beside my round knife case. I apologise for not knowing who the original post came from. If I have breached any protocols, Mods please delete my post. coinpurse1.pdf

-
Your carving looks great for a 1st or 5th attempt (compared to my 5th attempt anyway). On your issue with the front flap and the handle tabs, you could notch out the flap so the top sits down where it belongs. If you cut a notch in the front flap, will it impact your stamping? If it will impact your stamping, maybe you could trim the flap and sew another flap on That is about the only way around the only issue I can think of. I made a case for my stitching chisels where I left the front flap a bit short. So ... I added a piece of leather and highlighted it, so it almost sort of maybe looks like it maybe might have been planned that way, almost. As for a catch, you could use velcro or a magnetic catch under the flap, with just a pull tab hanging down an inch or so, to assist with opening.
-
Besides the area of the animal where the leather came from, there are other variables that might improve of reduce the strength, breaking strain or shear properties of leather. Defects from scars, imperfect tanning methods, uneven hide thickness for whatever reason. If you consider a different hide or a different tannery or a different country of manufacture, I think the variables could become almost uncountable.
-
I have never seen shipping on a cow ... I've seen mud, fleas, ticks, flies, even tiny little birds that eat the insects ... but never shipping!
-
New Tool from Recycled Sofa and file handle hardware
Rockoboy replied to harryhorse's topic in Leather Tools
I know which option I prefer, and its not rolling anything across my knuckles! I went looking for something in my shed during the week, and I found an old wallpaper roller with a hard plastic wheel. I thought that might be a decent tool until I can get to Bunnings (big box hardware store) and buy a wheel to make one of these. Good thing I found the wallpaper roller ... they don't sell the wheels same as you used. So your copyright remains un-infringed! -
Can this be saved, money belt western belt
Rockoboy replied to koreric75's topic in How Do I Do That?
My first thought was ... the other end of the belt blank (the buckle side) needs to be tapered as well ... or maybe I am not looking at it correctly. I made a ranger style belt about 35 years ago, no idea where it is now, but I seem to remember I tapered both ends of the belt blank before attaching the belt ends. -
If you really want to hit the spot, warm toast with butter/margarine, vegemite (lots of), a fried egg! Best way to use an egg I can think of.
-
I have a cow I can swap with you, for your magic beans stitching groover and stitch wheel combo.
-
40W Chinese Laser - Engrave and Cut Leather - Discuss
Rockoboy replied to Billy Hell's topic in 3D Printers and Lasers
Always the best option. Try before you buy, and even then different leather can be pig-in-a-poke! -
I have never seen one, but I like the idea. The wheel looks like it can be changed out for a different SPI. If it were mine, I would look at making, or having made, some more wheels.
-
Gluing layers for a gun belt
Rockoboy replied to Hildebrand's topic in Gun Holsters, Rifle Slings and Knife Sheathes
I am working on a couple belts and some dog collars right now. I cut the liner over-width on the second attempt on my 1st dog collar ... made things much easier. Yeah yeah I know ... 1st attempt was a learning experience. -
Formed Knife Sheaths
Rockoboy replied to ABR's topic in Gun Holsters, Rifle Slings and Knife Sheathes
Does wet-forming stamped or carved leather reduce the sharpness and detail? Is there any way to help with this? -
40W Chinese Laser - Engrave and Cut Leather - Discuss
Rockoboy replied to Billy Hell's topic in 3D Printers and Lasers
I had no luck with chrome tanned leather. The 80watt laser would not cut through half the thickness of the comparable vegtan, and etching came out horribly burnt and distorted on the chrome tan. -
Is there anything better? Not in my world!
-
New Tool from Recycled Sofa and file handle hardware
Rockoboy replied to harryhorse's topic in Leather Tools
On my second glance, I noticed the wheels are slightly domed. Wouldn't this type of roller function better with a flat surface across the wheel? -
Just for the memories?
-
Hand Sewn Motorcycle Seat with Pleats?
Rockoboy replied to doorty's topic in Motorcycles and Biker Gear
I am leaning towards what @Bolt Vanderhuge said above, (if I understand what he wrote), where you use 2 pieces of leather with foam sandwiched between and stitched right through the whole lot. Alternatively, use 2 pieces of leather with small pieces of foam, cut to fit each individual segment, and stitched around the outside of each piece of foam and through both pieces of leather. -
New Tool from Recycled Sofa and file handle hardware
Rockoboy replied to harryhorse's topic in Leather Tools
This is great. I hope you don't mind me stealing this idea, because I have planned it already! -
Hand Sewn Motorcycle Seat with Pleats?
Rockoboy replied to doorty's topic in Motorcycles and Biker Gear
I would think you could stitch with a machine or by hand to achieve this effect by stitching right through the foam padding.. I don't understand how you would stitch first then glue the foam between the stitching. That seems to me, like making a sandwich then inserting the ham after its all together. -
Hand Sewn Motorcycle Seat with Pleats?
Rockoboy replied to doorty's topic in Motorcycles and Biker Gear
I do believe this is done by using a medium weight padding, which is squashed down along the stitch lines, on the tan seat anyway. On the grey piece in the last pic, it appears the foam padding, which is thicker than on the tan seat, is cut into strips and gives more depth to the stitch lines. As for the best leather to use for your project, I will have to leave that question for somebody who actually knows what they are talking about, 'cos I don't. -
I just snorted tea out of my nose!!