hidepounder
-
Posts
1,808 -
Joined
-
Last visited
Content Type
Profiles
Forums
Events
Blogs
Gallery
Everything posted by hidepounder
-
Nice job Storm!
-
Dustin, Fabuluster is very dry. I would try to get some more material on the blank spots if you can and then use it to strop with. I will work, I think. Bobby
-
Looks very nice John.....has a nice "Scottsdale" feel to it. Good job. Bob
-
Hilly, I'm sorry Hilly, I missed this thread! You've probably fiinished the project already, LOL! I must be doing something wrong because I don't really have a problem with hair-on inlays. I use a pen to mark the edges of the overlay, then I shave the hair off with a pair of clippers. It doesn't have to be pretty, just enough to expose the leather to glue to and I stay away from the edge I marked. I use Barge to glue the overlay onto the hair-on piece and I plug the inlay with the cut out like Bruce is talking about also. I line everything I do so the hair-on will be sandwiched between two pieces of veg tanned leather. Of course it all has to sewn to make it permanent, so you need to design the overlay with a margin or edge to sew along the edge of the overlap. I don't let the hair-on extend out to the outside edges of the piece. I like to skive the back side of the hair-on down pretty thin so that I can cut is short of the outside edge. I do this because the chrome tanned leather does not edge very well and this way I can let the overlay and the lining come together and I get a better finished edge. One thing that makes a big difference.....I only buy hair-on hides with "summer" hair. It is very short and much easier to deal with. Hope this helps... Bobby
-
This won't help in removing dye from your hands, but it is pretty handy to help prevent or contain spills. Hope it helps.... Bob

-
Pretty cool Storm!
-
You can do it by making a line, David. It's just a tool you need to practice with. You have to establish the angle that you like and the amount of overlap you like and practice maintaining that same angle. If you establish two lines...one on each side of the tool...that will help you maintain the same angle and overlap. Hope this makes sense..... Bob
-
IFoLG 2009 Indianapolis
hidepounder replied to Johanna's topic in Special Events, Contests and Classes
Doughnuts? Nobody told me there would be doughnuts!!! -
New Stuff to show
hidepounder replied to King's X's topic in Purses, Wallets, Belts and Miscellaneous Pocket Items
I like the cell phone holder the best....very clever! -
Amen Brutha!!!!!!
-
Whats the best way to duplicate several identical pieces?
hidepounder replied to filluptieu's topic in Patterns and Templates
I use a knife, Tim. If you score it deep it breaks cleanly. -
Whats the best way to duplicate several identical pieces?
hidepounder replied to filluptieu's topic in Patterns and Templates
The styrene comes in thicknesses as thin as 2 or 3 mils. I use 4 mil and 6 mil. You need to look for a plastic supplier in your area. I found mine in the yellow pages under 'Plastic Suppliers". Bob -
Yan, Are you talking about transfering a tooling pattern to your leather?
-
Whats the best way to duplicate several identical pieces?
hidepounder replied to filluptieu's topic in Patterns and Templates
I use high impact styrene for my patterns. I was using it for stiffeners in rope bags and organizers and I starting using the remnants to make patterns with. I'ts pretty rigid, waterproof, color is white and easy to write on. Now I can throw these pattern templates on a piece of leather, trace around it and cut it out. I like to write instructions for myself on each of the patterns for reminders. It's available in 4x8 sheets (which will roll up) and is available in several thicknesses from plastics suppliers. Hope this helps... Bobby -
....I love that! Bobby
-
Here's an article on edges....hope it helps. Bobby Finishing Edges
-
I think most toolers and makers have switched from rawhide to the nylon and composite mauls. Besides Barry and Wayne our own Ed the Bearman makes beautiful mauls! Bobby
-
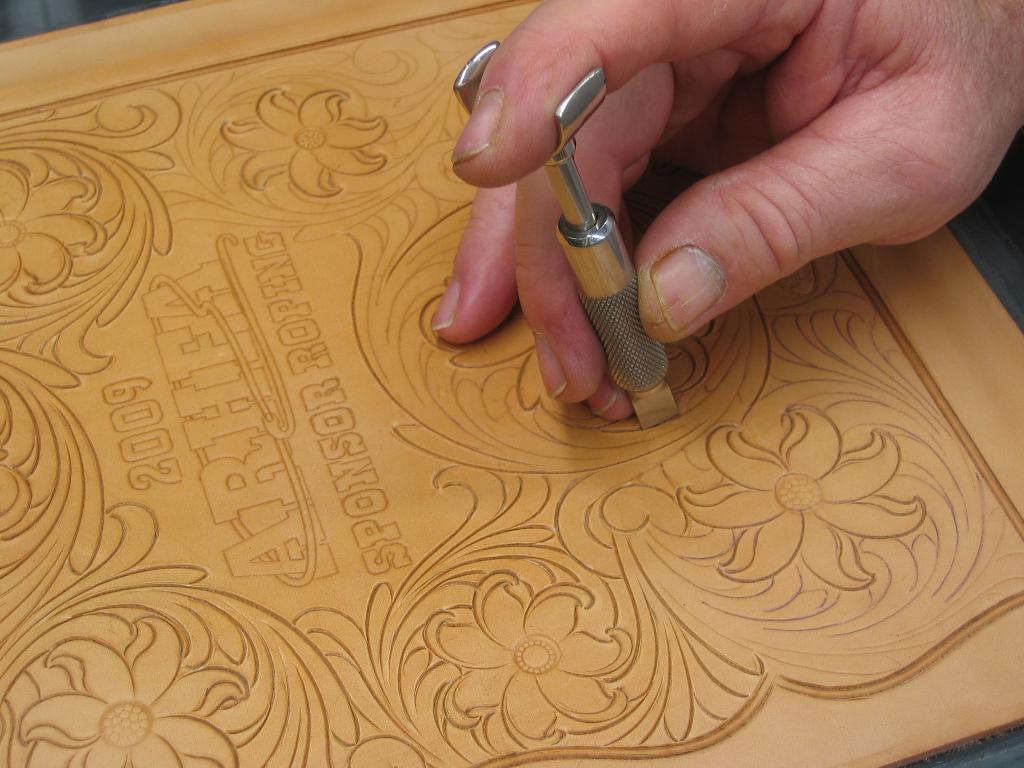
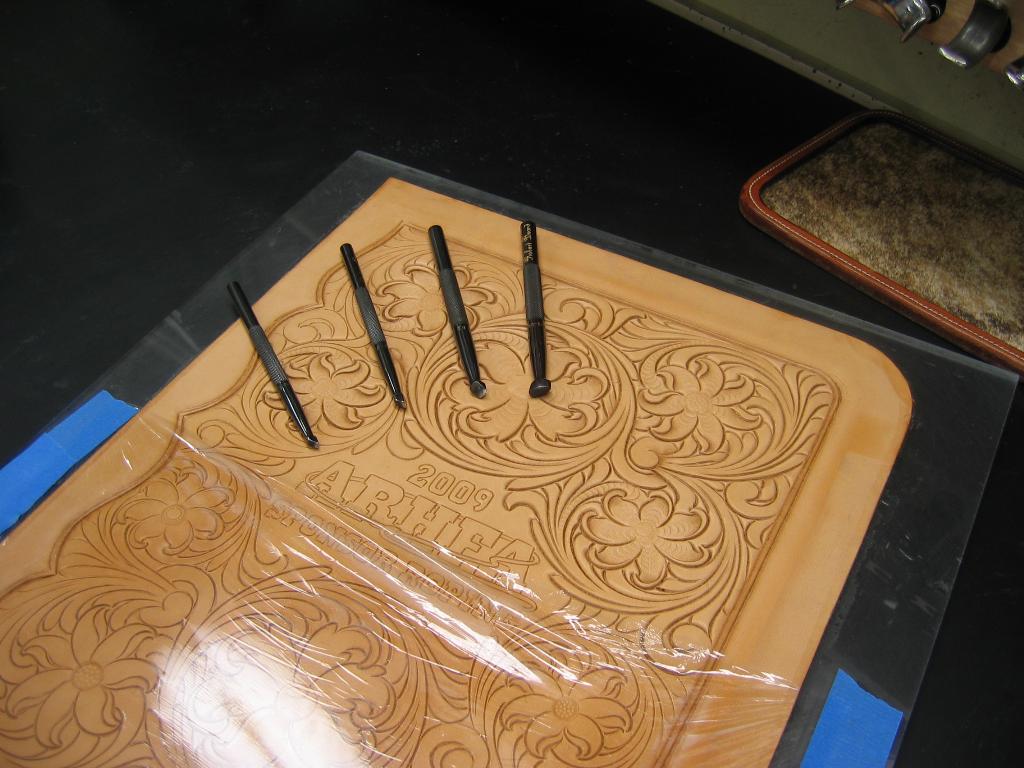
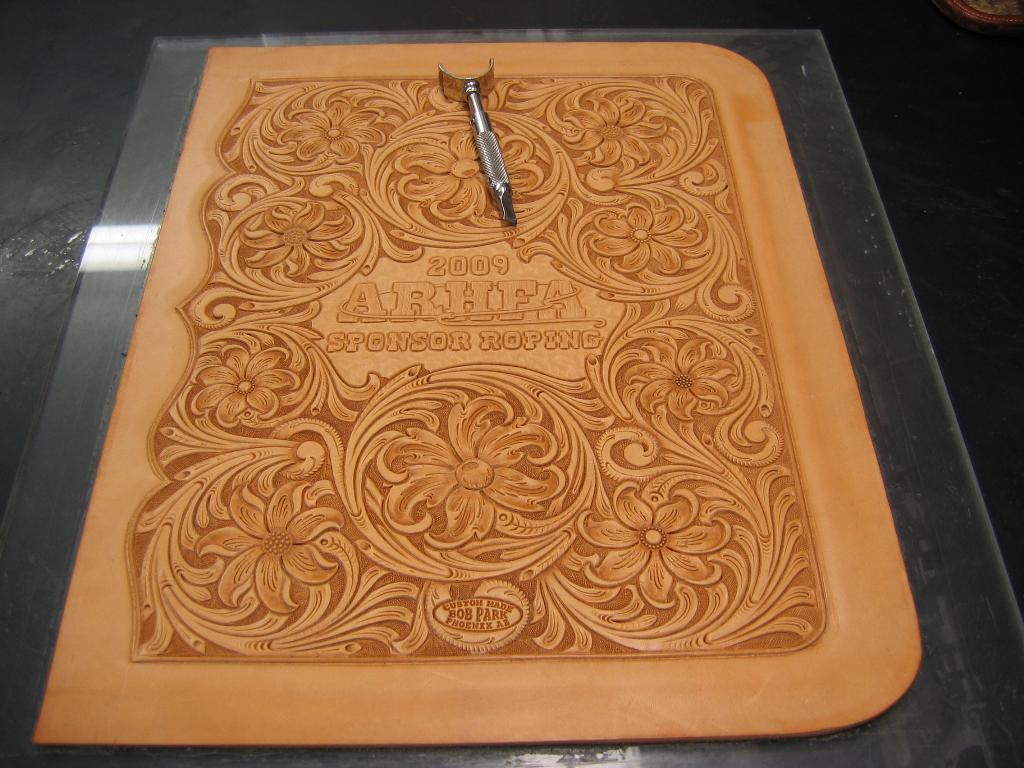
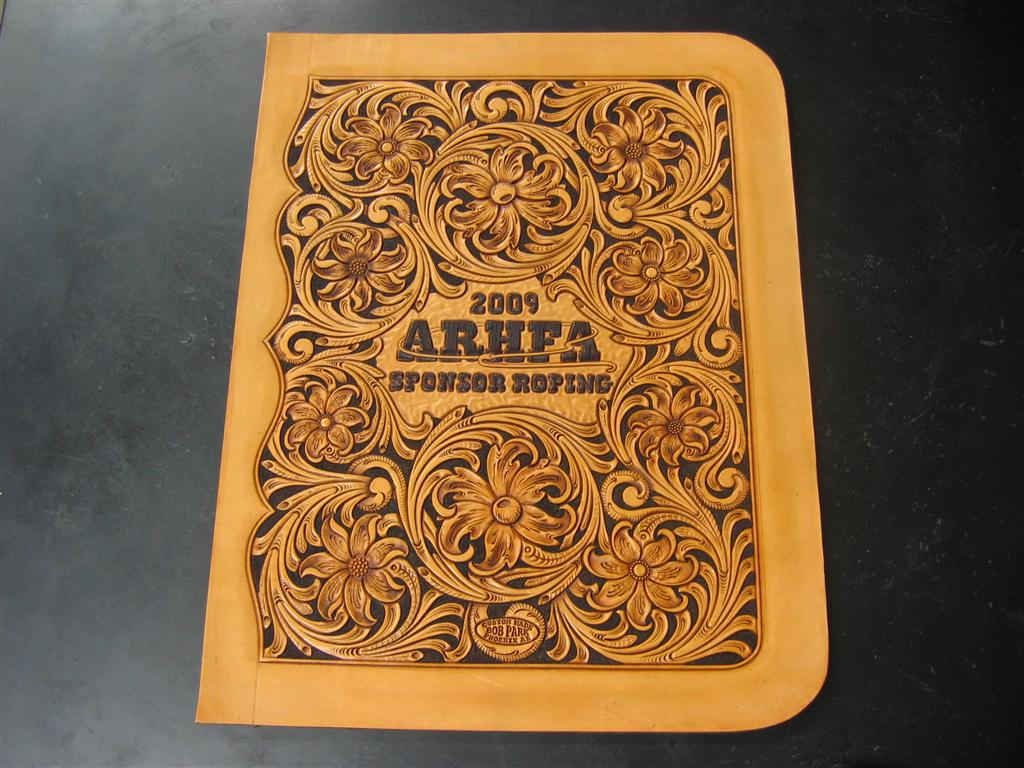
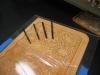
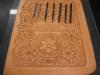
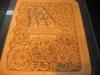
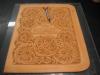
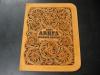
Thanks Tim...on projects like these I draw the pattern and then trace it on Thanks David....I don't remember exactly, but I think I have about 12-14 hours tooling that pattern, which does not include dyeing. I don't rush thru them anymore...I try to take the time I need to do the best job. Thanks Max...the black tools are from Bob Beard. The others are Hackbarth and King. The swivel knife is a Henley with a Bob Beard blade. Thanks for all the nice comments everybody....but I didn't mean to hijack the thread.....I was just trying to help answer Butchkittys question. He is right....being able to see up close and personal what something is supposed to look like is a tremendous help. I took these photos with the idea in mind to create a tutorial, however I didn't achieve the closeness that I wanted to. I am going to photoshop some of the shots to try to salvage the idea. Hope this has been helpful... Bobby
-
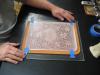
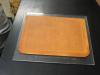
Butchkitty, Here are some progress photos I took during a recently completed project. Thery are not as close as what you are looking for, but maybe you can save them to your computer and then zoom in on them there. I hope this helps you..... Bobby

-
Thanks Steve, I appreciate knowing that! Somewhere I had it in my mind that Barry's blade shafts were flat. Maybe they were before he got his milling machines. SORRY BARRY! I stand corrected! Bobby
-
Brad, I don't know how much time you have in this strap, but it is very clean and crisp. The barbed wire border is well done, the custom tooled letters are well done. Your stitching looks very good. You said it was lined. If I were you I wouldn't accept a penny less than $300 for that strap. It's important to remember....you cannot compete with production products. What you have created is a CUSTOM made product made out of superior materials and to the exact requirements of the customer (even if he didn't have any, LOL!). Good job....demand more! Hope this helps, Bobby
-
Brad, I hope he was a REALLY good friend because he stold it from you! Bobby
-
I might be wrong Tim....I use Chucks guide and love it, but it wouldn't work with Pauls blade which is flat shanked, so I got a Tandy and modified it per Pauls instructions and now I'm back in business. Bob
-
Dan, I am using a 797AB that I bought to sew chaps and organizer linings, etc. on. I sew belts on it with 92 or 138 thread and I feel that is the limit the machine should be used for. Some headstalls are too thick where the leather is doubled and lapped to sew on that machine. Like Steve said, 14 -16 oz max. It will sew heavier thread too, but that's not what it is designed for. Bob
-
Dustin, I don't think Chuck Smiths sharpening jig will help you because Barry's blades are flat shanked and not round shanked. (If that is incorrect will someone please jump in and update me?) Anyway, if you will go to Leather Wranglers site (listed on LW Main Page), I believe Paul has a tutorial on how to sharpen his blades which are flat shank also. He describes how to modify a Tandy sharpening jig (inexpensive) to accomodate flat shank blades. Hope this helps... Bob