chuck123wapati
-
Posts
7,586 -
Joined
-
Last visited
Content Type
Profiles
Forums
Events
Blogs
Gallery
Store
Everything posted by chuck123wapati
-
lol I have some threads for home machines that are on wooden spools with paper labels, they are so old. They were from my mom's sewing stuff.
-
Once you get them running, they are amazing and more fun than anything to sew with. I love mine and use it, it will sew as good a stitch as any machine.
-
The mandala had a basic store tag stuck on the wrapping, size, and color. It's gone, I had to write it on the spool. The Springfield had "their" store tag stuck on the spool with type, size, and color, who knows who actually made the stuff. It says it's brown, so who's to say different, right? Ironically, the only reason I didn't buy from Thread Exchange, who actully sells good A&E thread with the original manufacturer's stickers, is that they didn't have brown in stock. The problem, the way I see it, with quality control is that there is no human element anymore. Someone takes an inventory of something they know nothing about, sends it to a computer that orders it from a computer that sends it. The person gets the order and sells it, not knowing if it's actually correct. I also don't think resellers send back as much as they should, especially in leather. They pass it on to the consumer and rely on the send it back if you don't like it thing, because they get the same message from the manufacturers, and it's not profitable to send it back, is it? As for Amazon its buyer beware.
-

spring flowers and good food
chuck123wapati replied to chuck123wapati's topic in All About Us and Off Topic
I got two nights this year when I could see them from my bedroom window. They kept me up, thinking someone was shining a flashlight around lol. Usually, we get a couple of chances a year, but we have to drive to see them; this was a first, man, it was an amazing sight. -
spring flowers and good food
chuck123wapati replied to chuck123wapati's topic in All About Us and Off Topic
Those are interesting! Pot isn't legal here, but next door in commie Colorado it is. I went to one of the stores once with my daughter, lol. It was so weird buying pot in a store. What was even weirder was it was mostly people my age lol, and it was weird for them too. Yeah, I grew up in the 70's and still remember some parts of it lol. Those are nice key fobs!! -
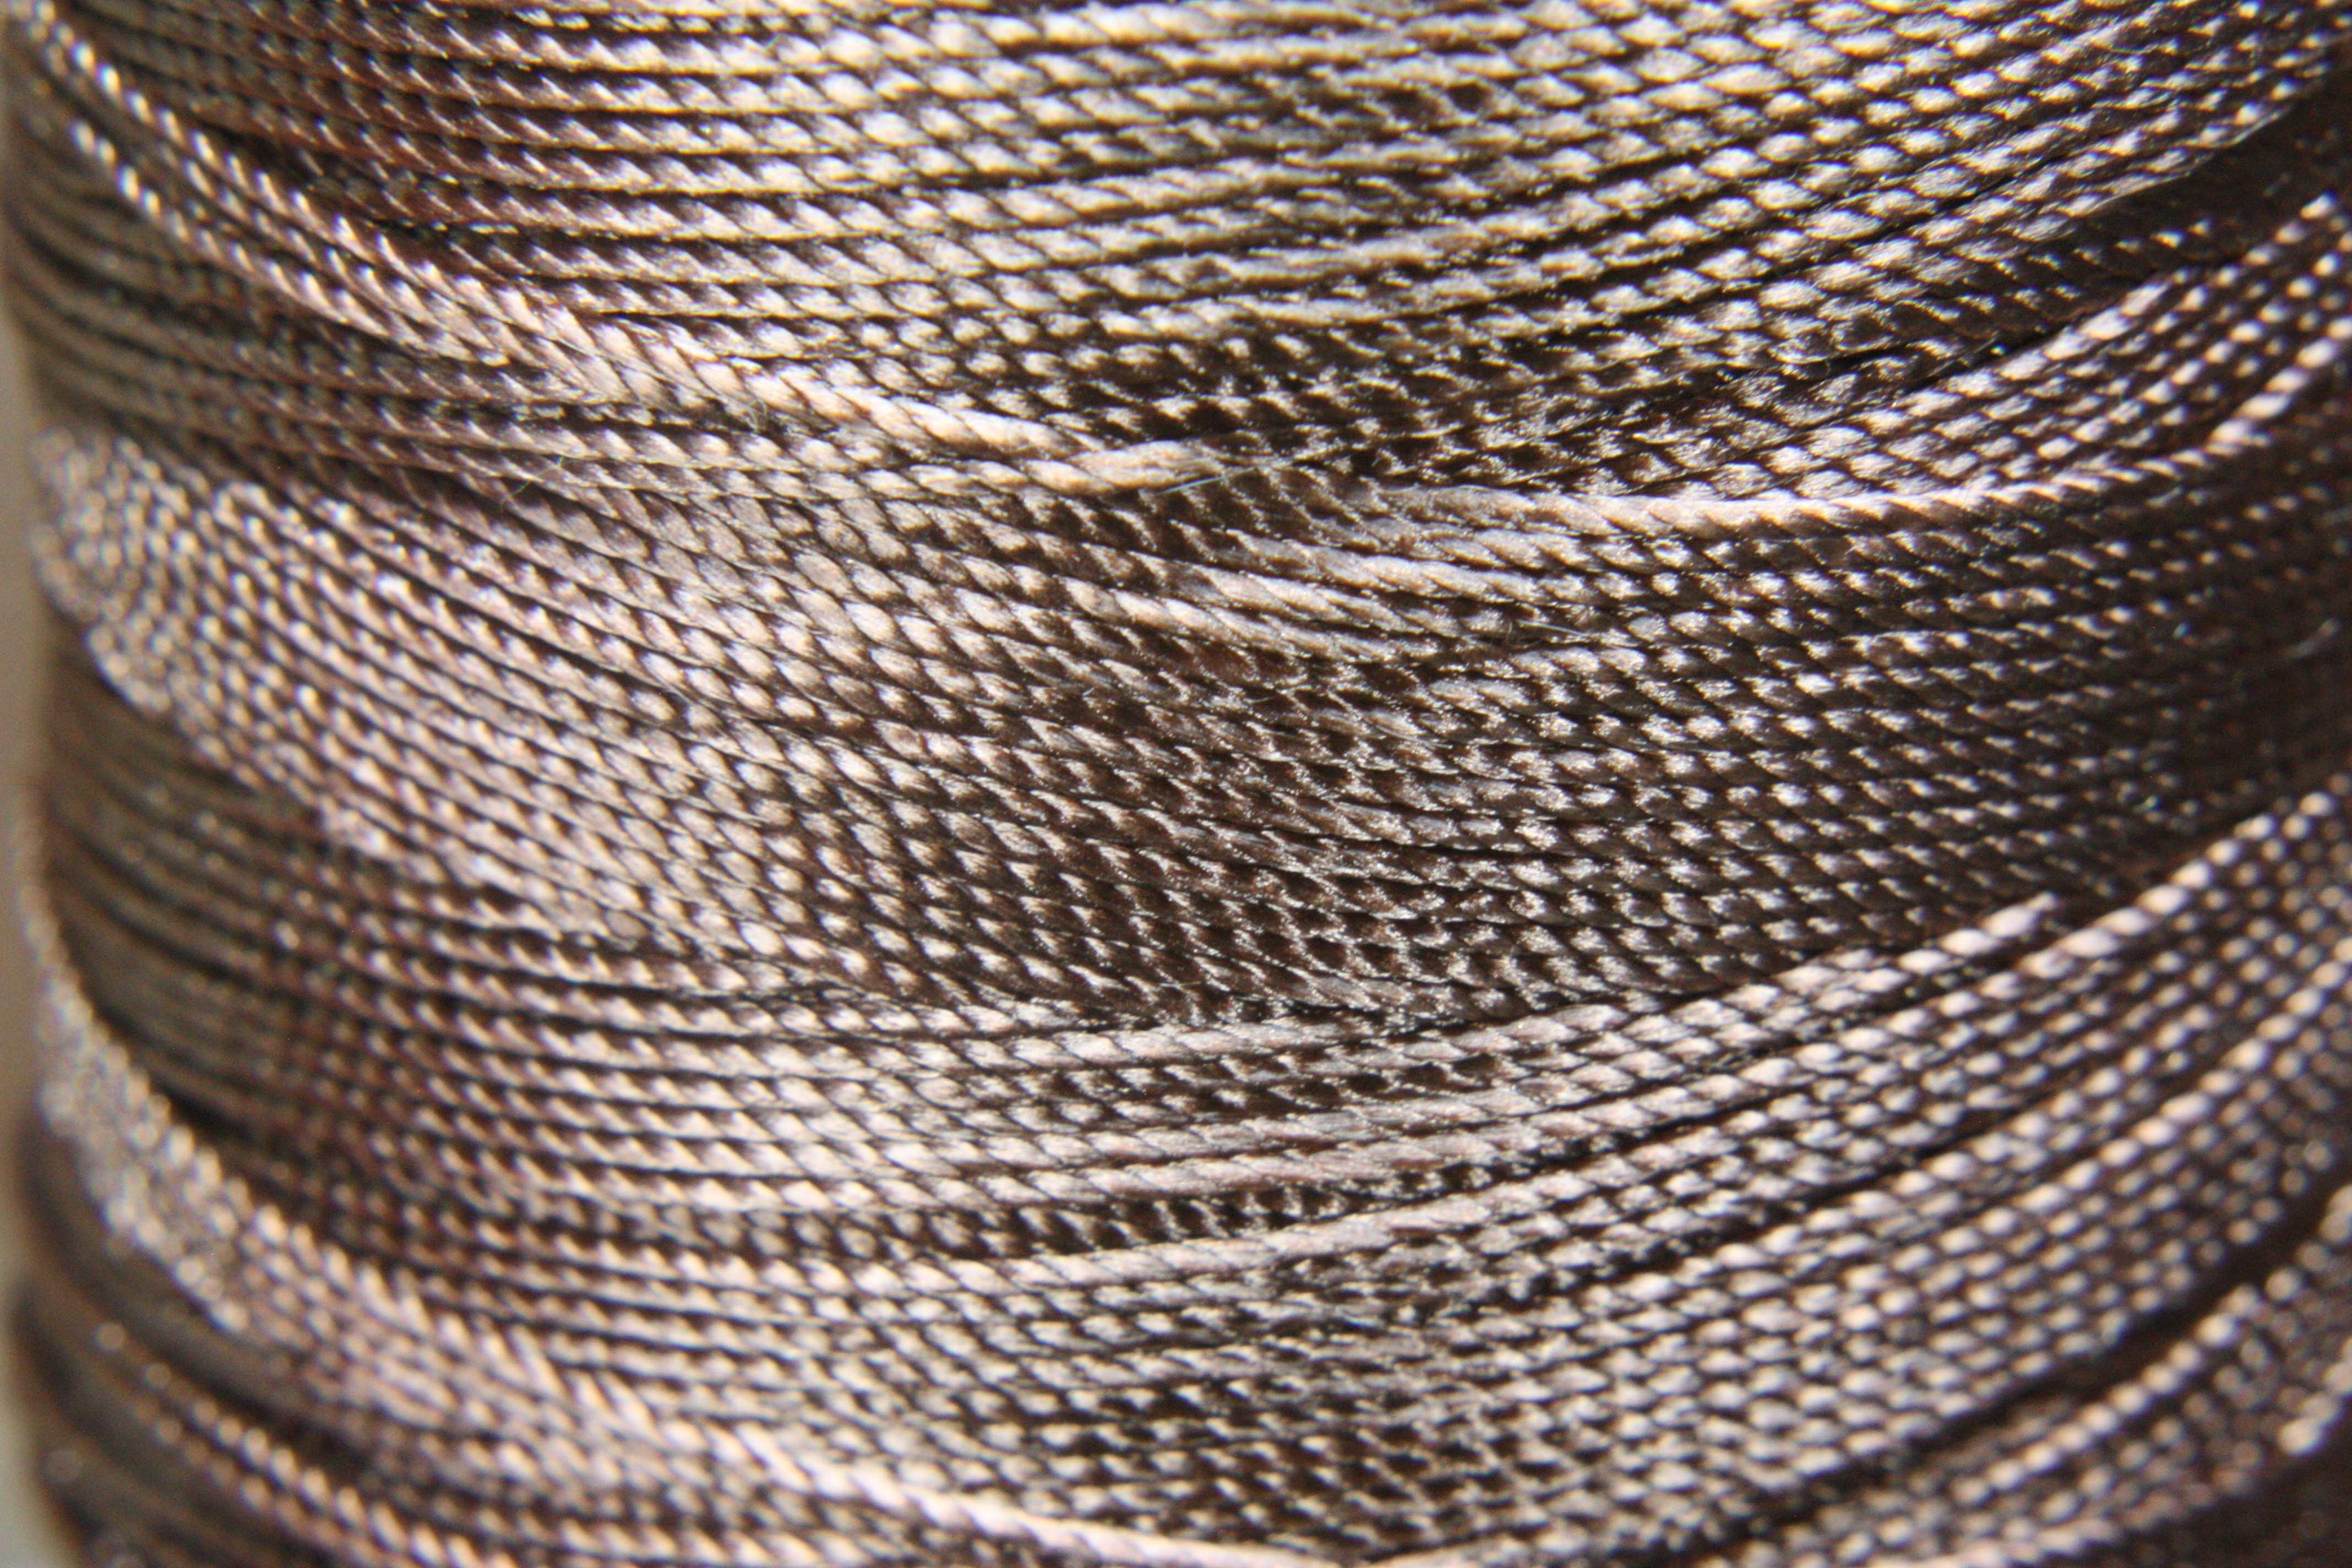
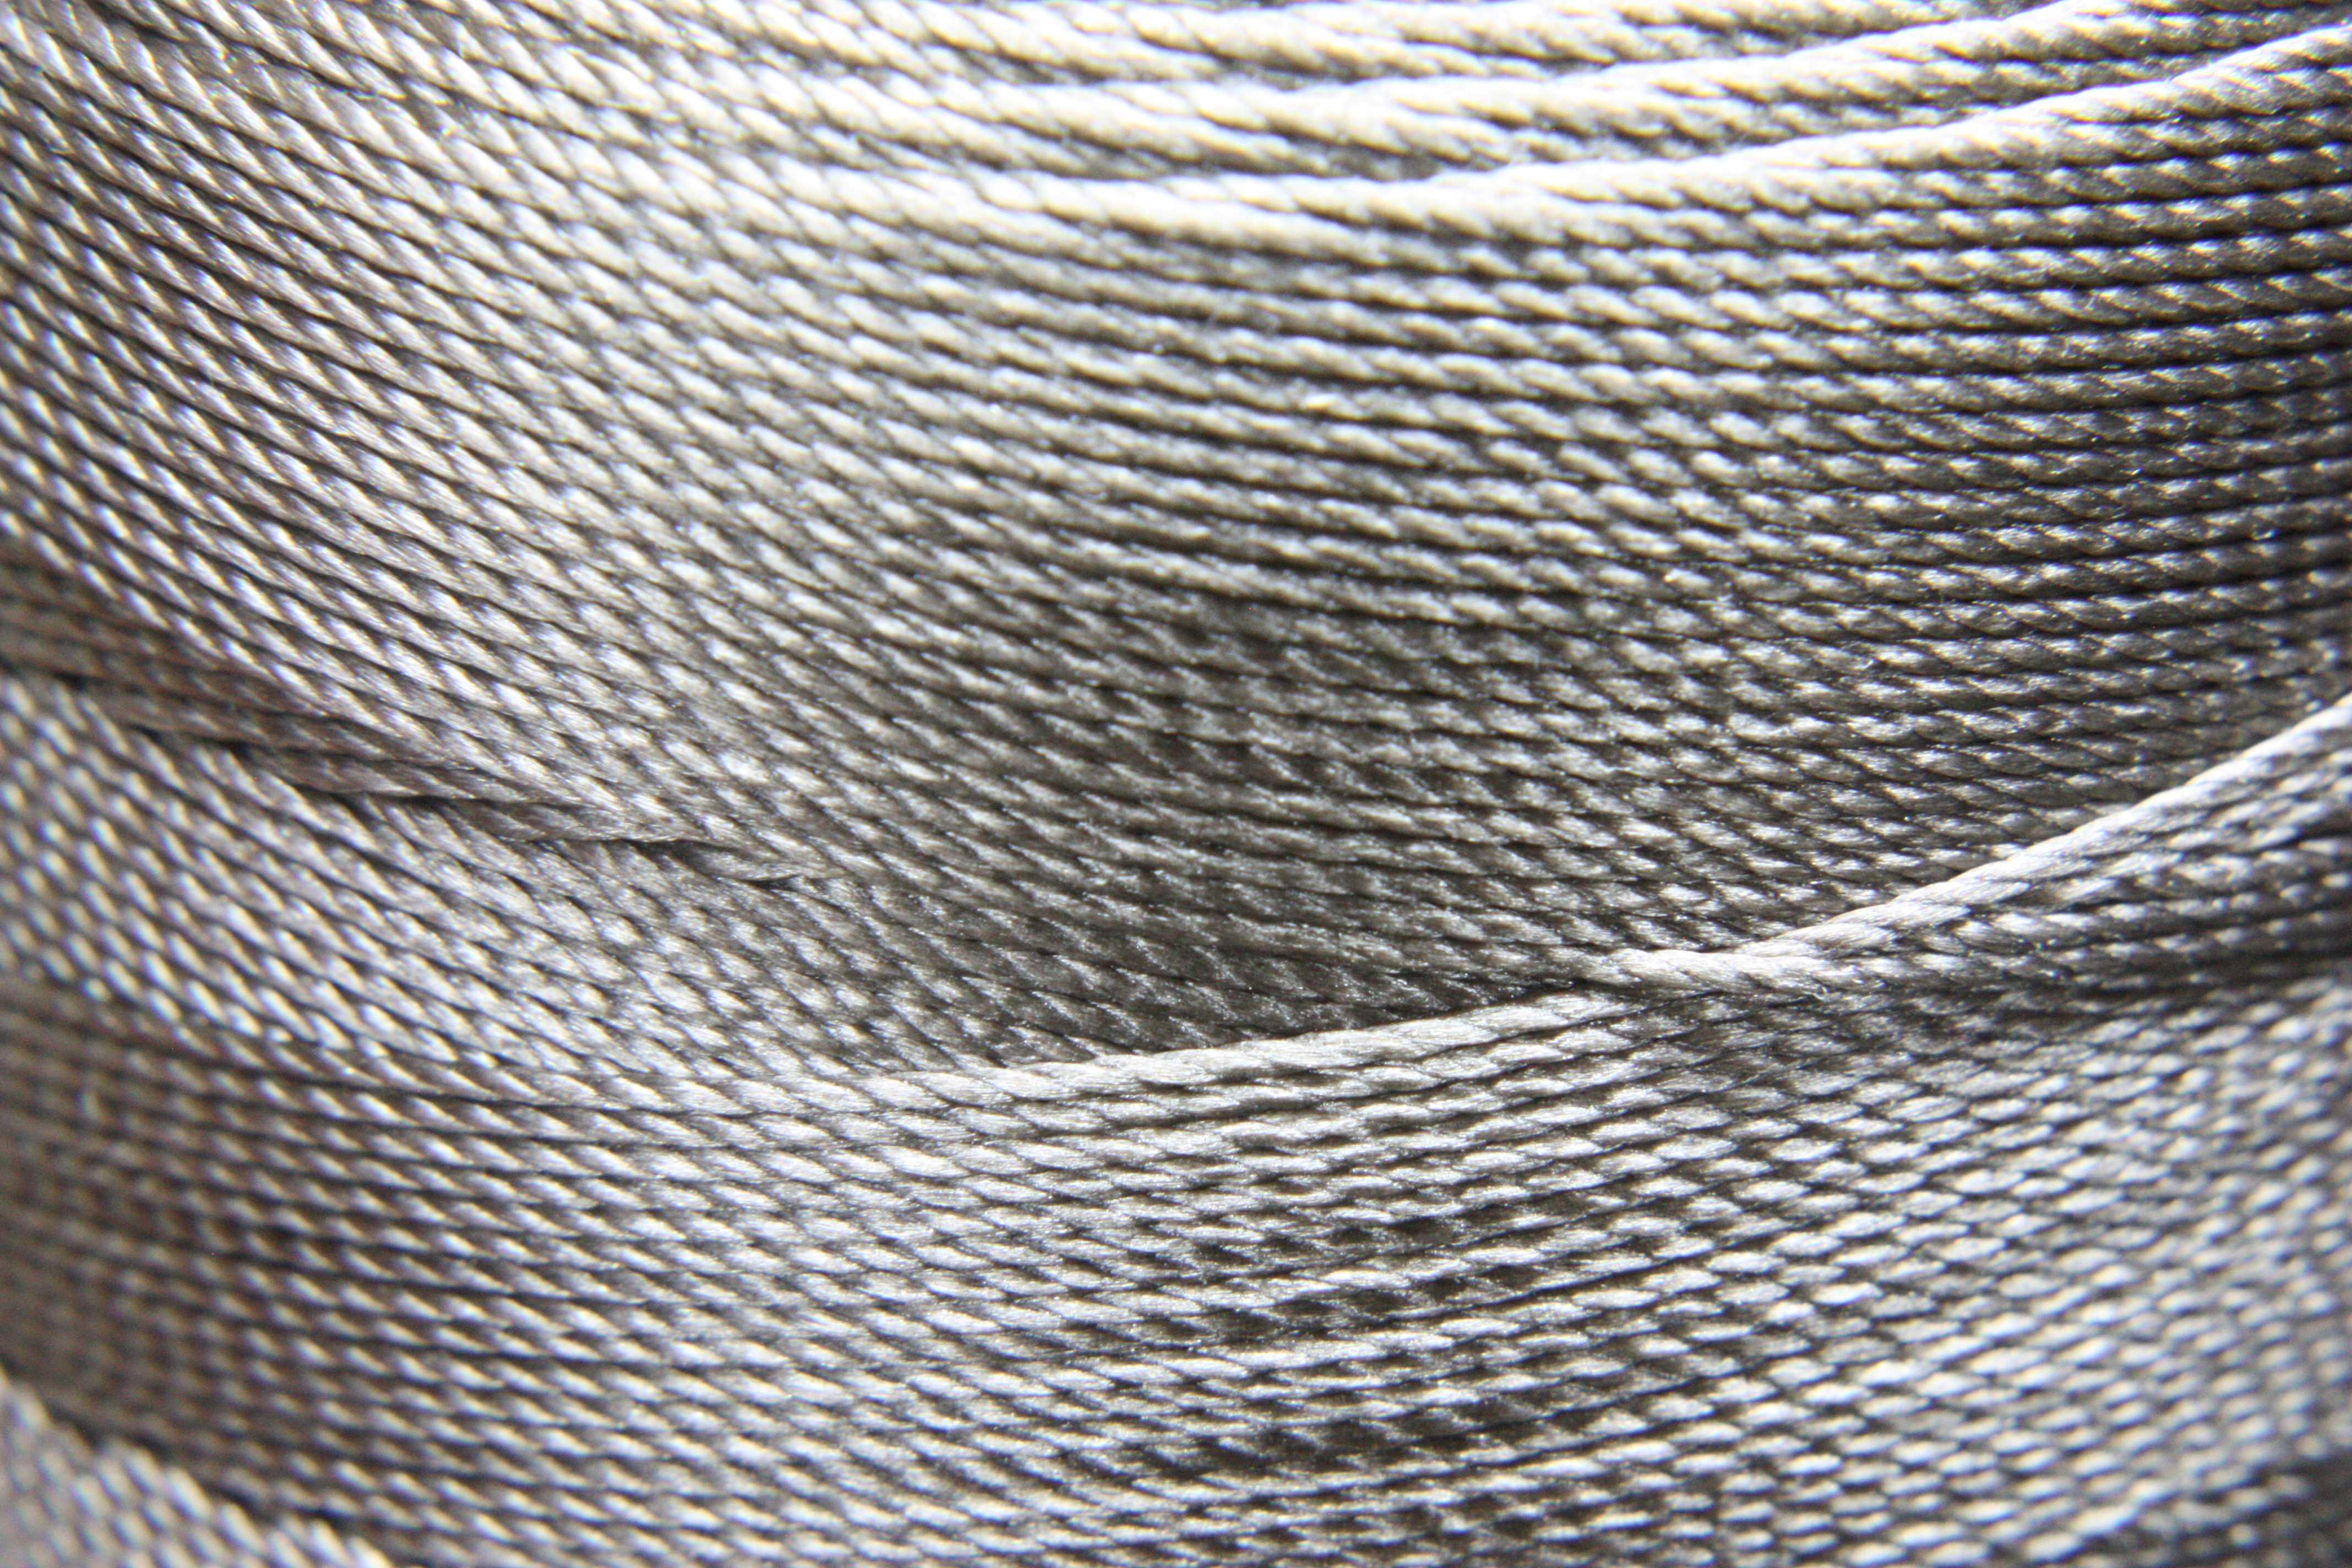
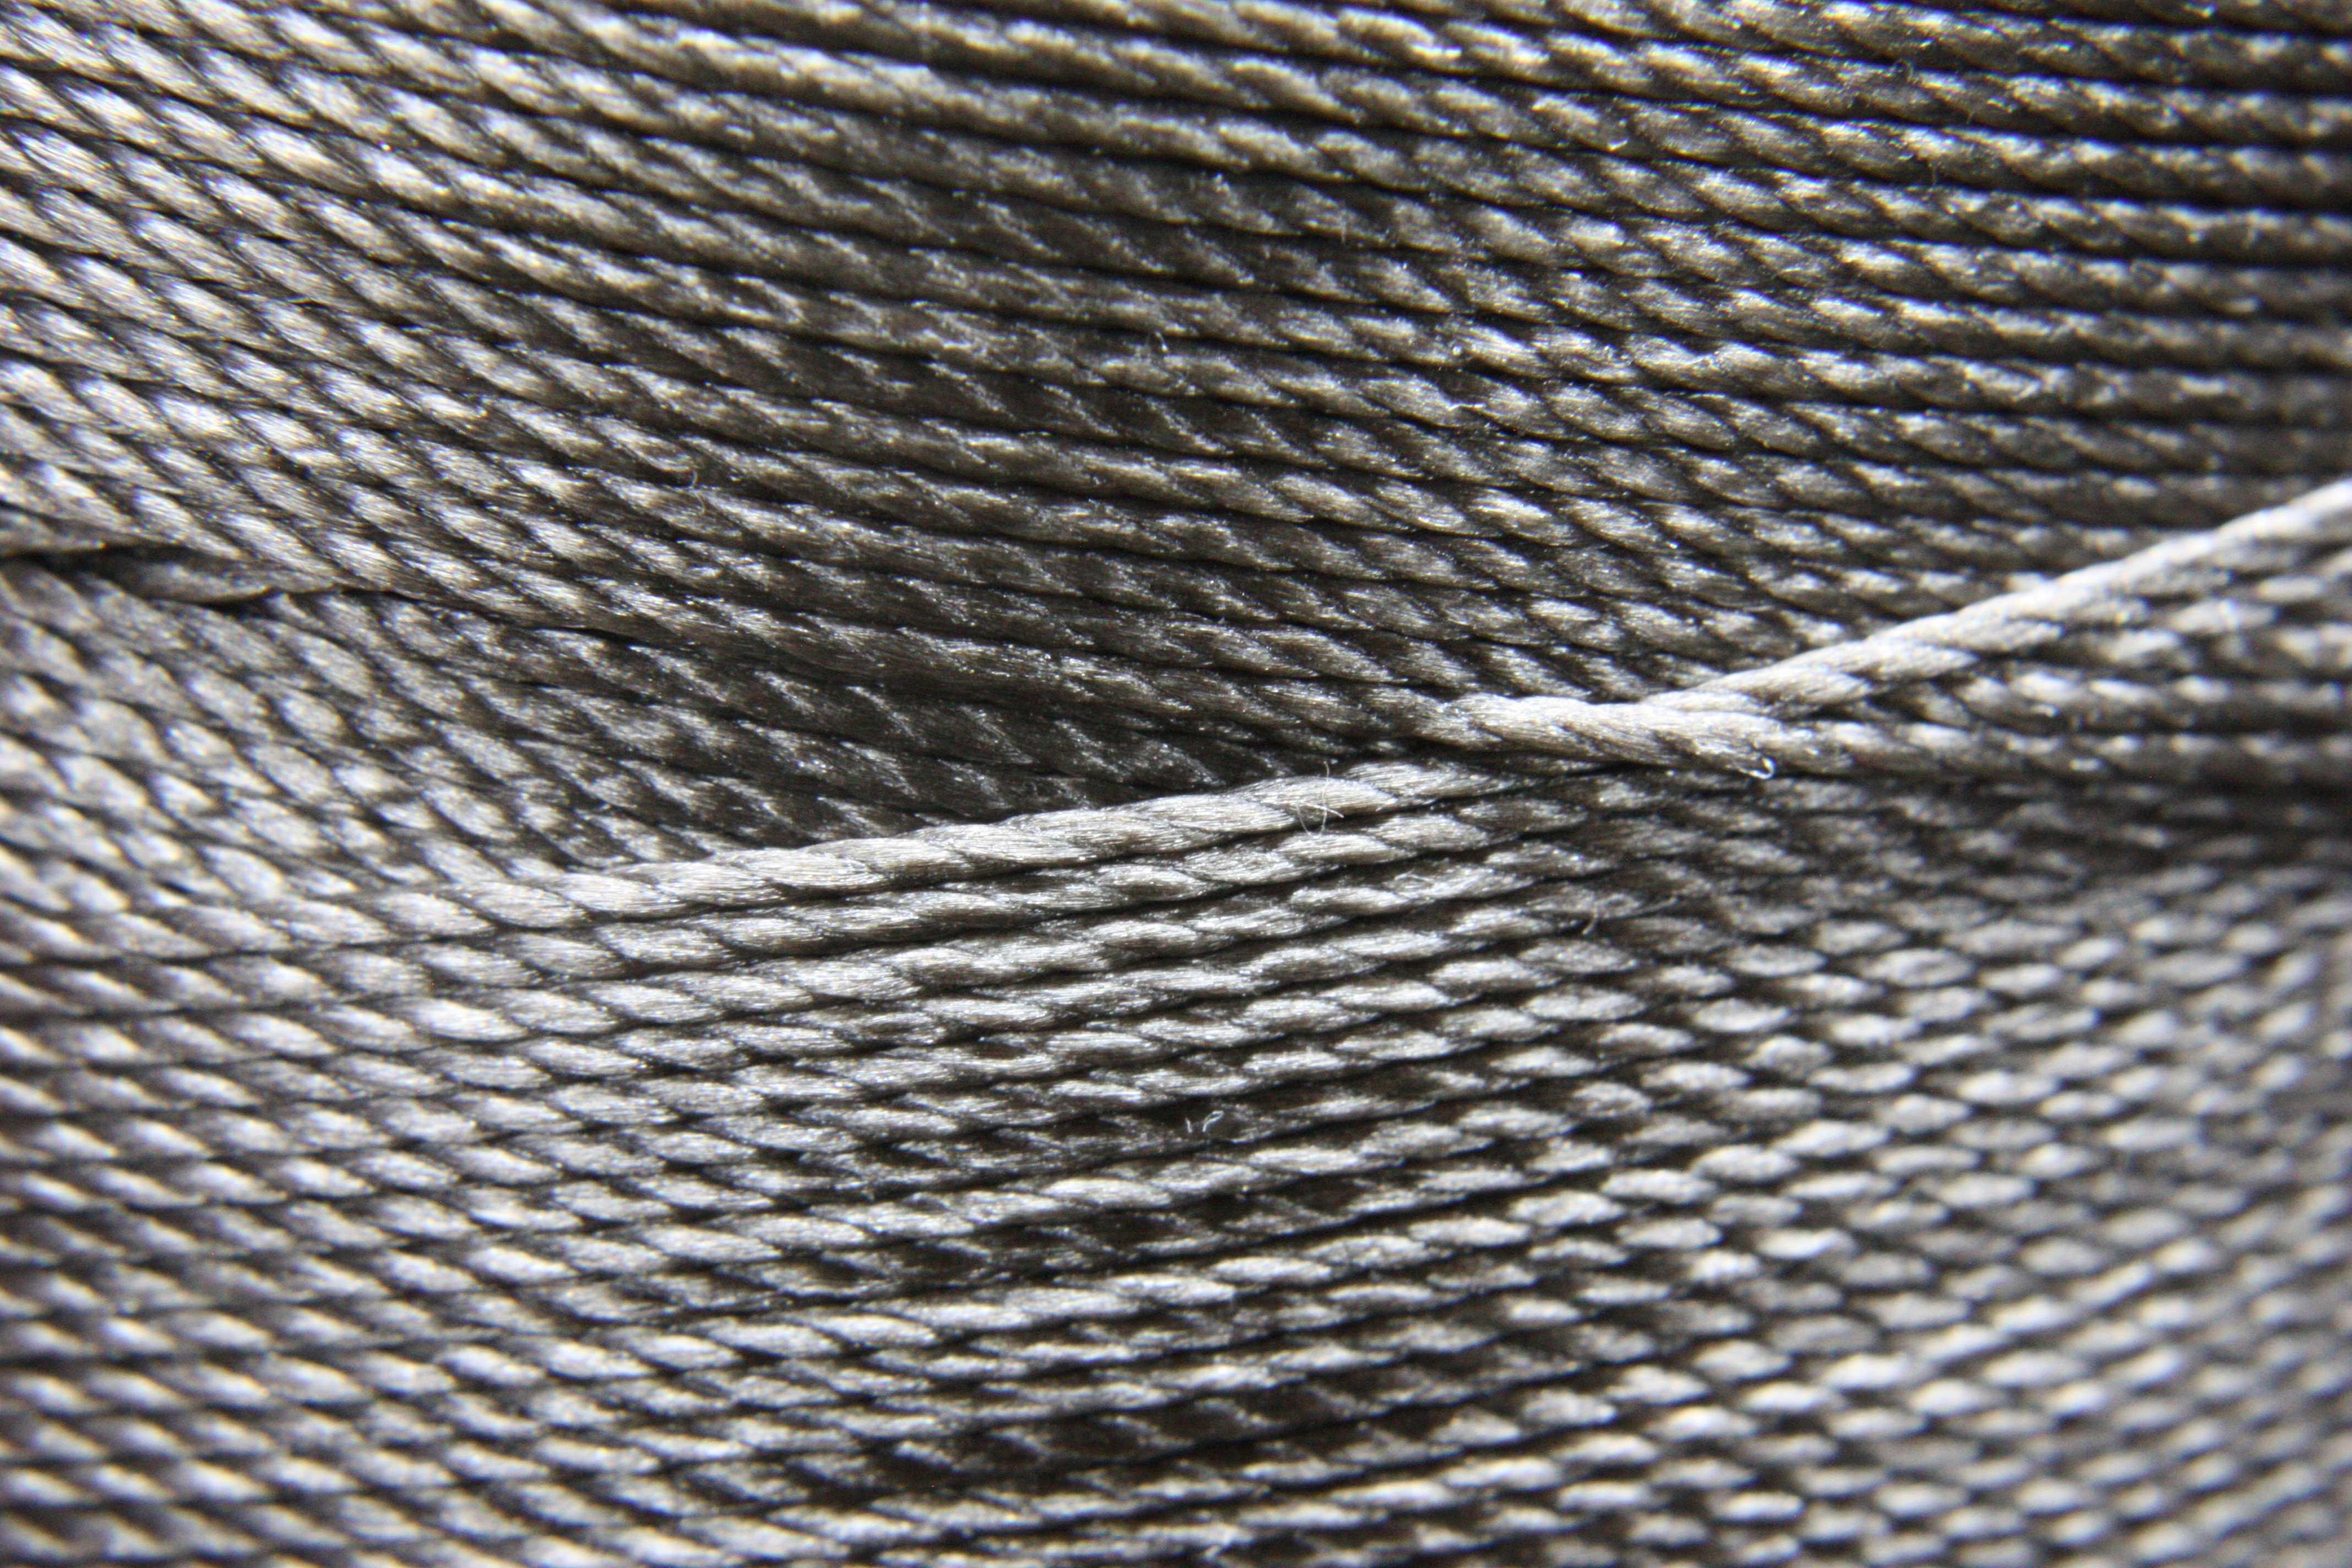
On a previous thread, I was having trouble getting proper tension on my Boss, and after several yards of thread and several very good observations from the folks here, I concluded that the thread was the problem, so I ordered some from Springfield leather. Turns out it was. I put it on and after setting the tension its runs perfectly. So I thought I would add this thread, haha, because I see a lot of machine problems and solutions, but not many folks question the thread quality. I took a couple of photos to show the problem I encountered. 1. The thread was wound so tightly on the spool that at every crossing, the thread was flattened. 2. The thread was also spun very tightly and was very slick; the second capstan-type tension thing couldn't work correctly. This would cause me to have to overtighten the first tension knob, causing the thread to twist and eventually kick out of the tension discs altogether. My only half a**ed solution was to put a double wrap on the capstan tension thing. Then I could loosen the first knob and get a decent amount of work before the thread popped out of the first discs. My only gripe about the Springfield thread is it's not brown. The sticker says brown my eyes, and the camera says grey. You be the judge. The brown thread is the Mandala, and the grey thread is the Springfield thread. Great thread, but at what point does someone looking at a case of grey thread with stickers saying it's brown question it? I purchased the problem thread from Amazon, its brand name is Mandala Crafts. I wouldn't recommend it.

-
Hey old guy, that is an awesome collection. That pioneer handbag pattern is my BP possibles bag lol. My dad made it for me way back in the 70's
-
those are fantastic !!!
-
spring flowers and good food
chuck123wapati replied to chuck123wapati's topic in All About Us and Off Topic
Yeah, I gave it up too, years ago. Never liked cigs, I smoked cigars for a bit. I liked my chewing terbaccy. I could keep a dip of Copenhagen under my lip 24/7, man, it's tough to quit. I think now most folks who smoke smoke pot it's cheaper lol. I dunno if they make pot pouches. On a beer note, Guinness was on sale yesterday for 7 bucks a six-pack. That's cheap here. -
That's a great tip, those would be good tools.
-
spring flowers and good food
chuck123wapati replied to chuck123wapati's topic in All About Us and Off Topic
If I knew what shape they were, it would be a good item for sure. Here is my first leather one, made from Deer hide. Out here in the wilds of Wyoming, you can make cavemanish stuff lol. I'll make a few to give out. Make some classier ones, as well as some from brain-tanned hides, too.
-
i havent went to a doctor yet who couldn't find something wrong. Stay as active as you can, my friend. I actually use a small benchtop band saw to cut most of my thick leather now.
-
spring flowers and good food
chuck123wapati replied to chuck123wapati's topic in All About Us and Off Topic
Here is my first design; it takes about 15 minutes to make. I'll make them with real buckskin and without the fringe, also. Plain jane quick and easy to keep the price down.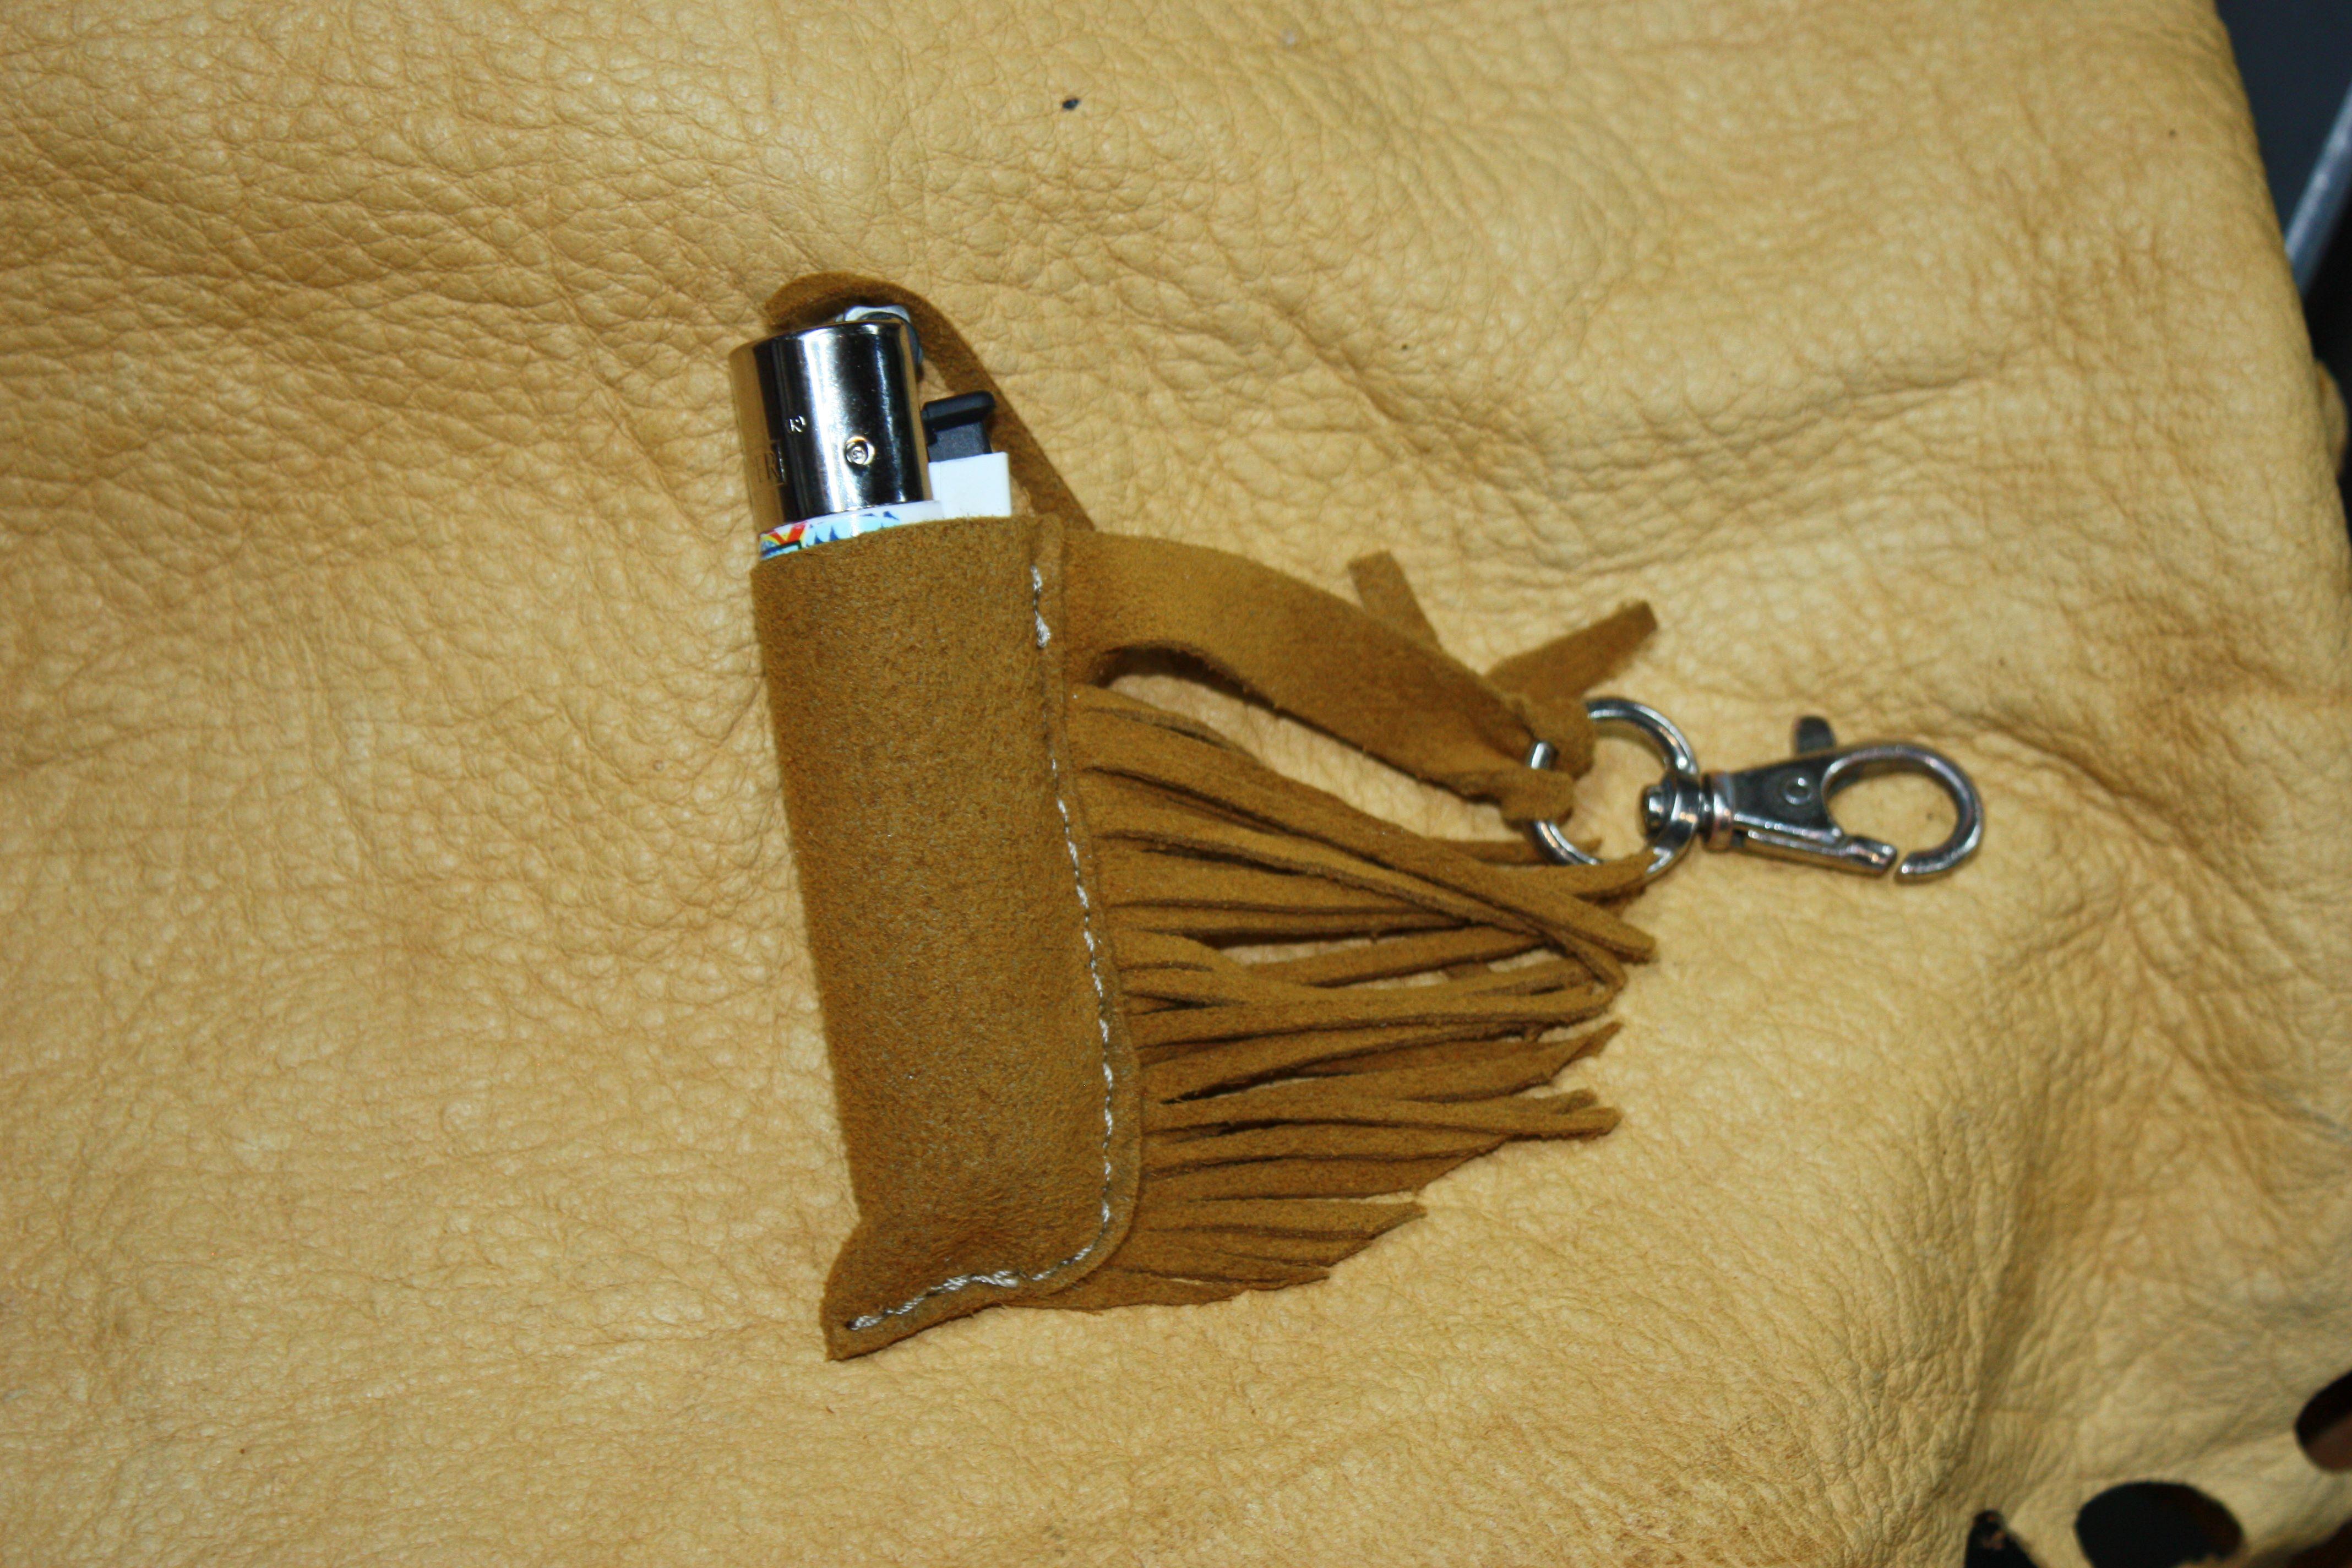
-
spring flowers and good food
chuck123wapati replied to chuck123wapati's topic in All About Us and Off Topic
going good here. Its been a warm, dry winter but our wet season has come. We had a good storm that started out as quarter-sized hail, then rain, then heavy wet snow to almost a foot of standing slush. It was a wet mess for a couple of days. We need some good bbq pics, man. I'm looking forward to spring and summer. My daughter just opened up a new tattoo shop and vape store, so I have a place to sell if I want. The perfect place to find people with more money than brains, errrr I mean a quality niche market with positive cash flow potential lol. I can't believe how much money she makes. -
spring flowers and good food
chuck123wapati replied to chuck123wapati's topic in All About Us and Off Topic
We have four cast-iron skillets and a couple of really old cast iron dutch ovens, oh, and a griddle. We use the Dutch ovens and griddle outside mostly for open fire cooking. Once you have a good seasoning, the secret is how you use it. Don't cook on high is #1, preheat it and cook on a lower heat. Don't wash it with soap. I use butter with our eggs, then simply heat it and wipe it out with a paper towel, and it's good to go. If I get food stuck, I make gravy or sauce just like those fancy chefs. Do you know you can season all cast iron? In fact, the old-timers used to season their wood-burning stoves. -
re-conditioning holsters
chuck123wapati replied to chuck123wapati's topic in Gun Holsters, Rifle Slings and Knife Sheathes
oyeah he shot with both hands!! -
im at a loss. It sure looks like you could lift the edge of something or pull a staple, but it's so narrow it would leave a heck of a mark. Maybe open a paint-can-type lid. Maybe to pry up a tacked-down edge or something like that off of a saddle tree, or such.
-
go to ebay , search 'simplicity back pack pattern" or "simplicity men's clothing pattern". Buy the ones you want, or that are closest to what you want. Study them, re-design them if needed. Actually, using or at least studying a real pattern will answer tons of your questions. I learned as a young boy how to sew from watching my mom. She made most of her clothes, as well as quite a few of mine. Those old patterns are where it's at for learning what you need to know; they will coincide with the ebook so you can understand what it is telling you.
-
You did good on this; it looks great to me. It's very well formed too, and I like the fit of that lid.
-
re-conditioning holsters
chuck123wapati replied to chuck123wapati's topic in Gun Holsters, Rifle Slings and Knife Sheathes
yeah these aren't city street gun-fighting rigs; they are for hard outdoor use, they get wet, dirty, and abused, so they need a finish that can be maintained. That old flap holster is 50 years old or so, and the flap needs to flex, so it needed a good dose of NFO. -
re-conditioning holsters
chuck123wapati replied to chuck123wapati's topic in Gun Holsters, Rifle Slings and Knife Sheathes
You know, some of them also had reins to hold on to when they didn't have their sabre, kinda hard with your left hand too. thanks they are good for another year. -
spring flowers and good food
chuck123wapati replied to chuck123wapati's topic in All About Us and Off Topic
The Continental Divide Trail runs through our town, so we see a lot of these types of folks. We also get bikers and hikers going east and west. Being right on i 80, you never know what or who you will see. -
spring flowers and good food
chuck123wapati replied to chuck123wapati's topic in All About Us and Off Topic
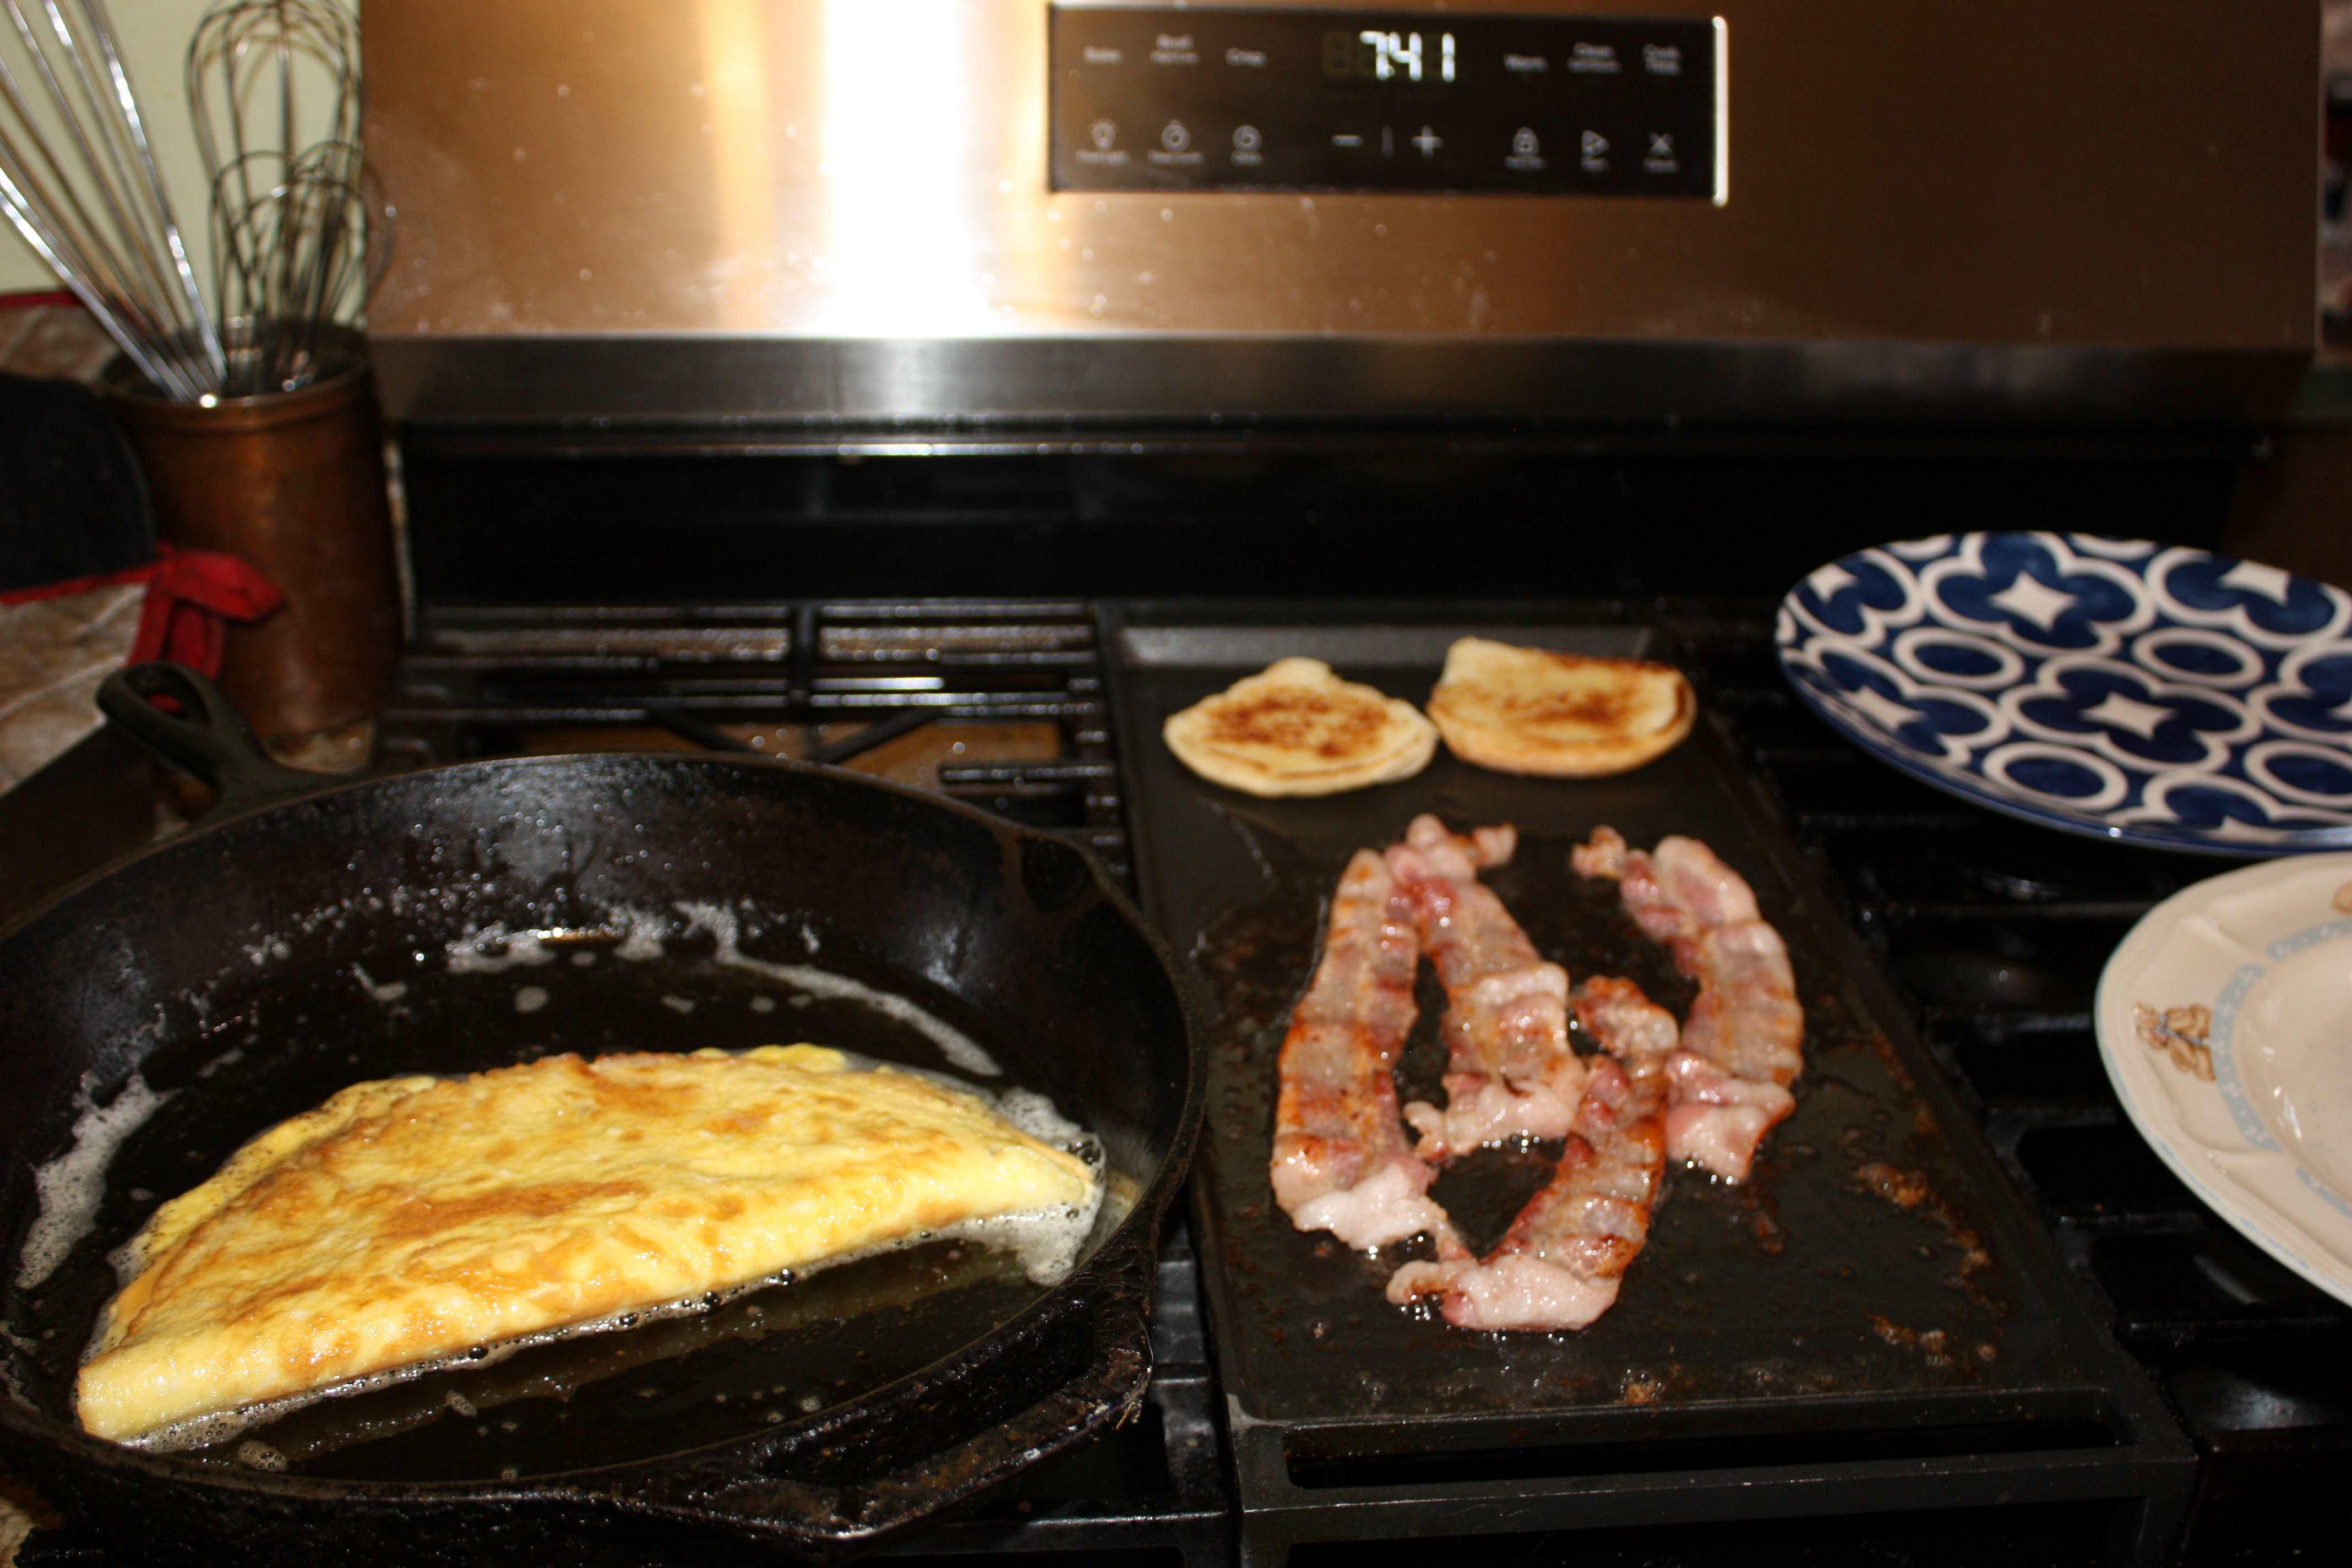
Once you do, they are gold. a 10 minute breakfast isn't bad, lol. -
re-conditioning holsters
chuck123wapati replied to chuck123wapati's topic in Gun Holsters, Rifle Slings and Knife Sheathes
lol They would be making fun of every soldier in the Civil War, the only thing I do left-handed is shoot, I'm left eye dominant and just naturally learned that way. Speaking of the civil war i cleaned up my dad's old holster too. It was bought from Dixie Gun Works about 1974 or so. it needed some NFO as well.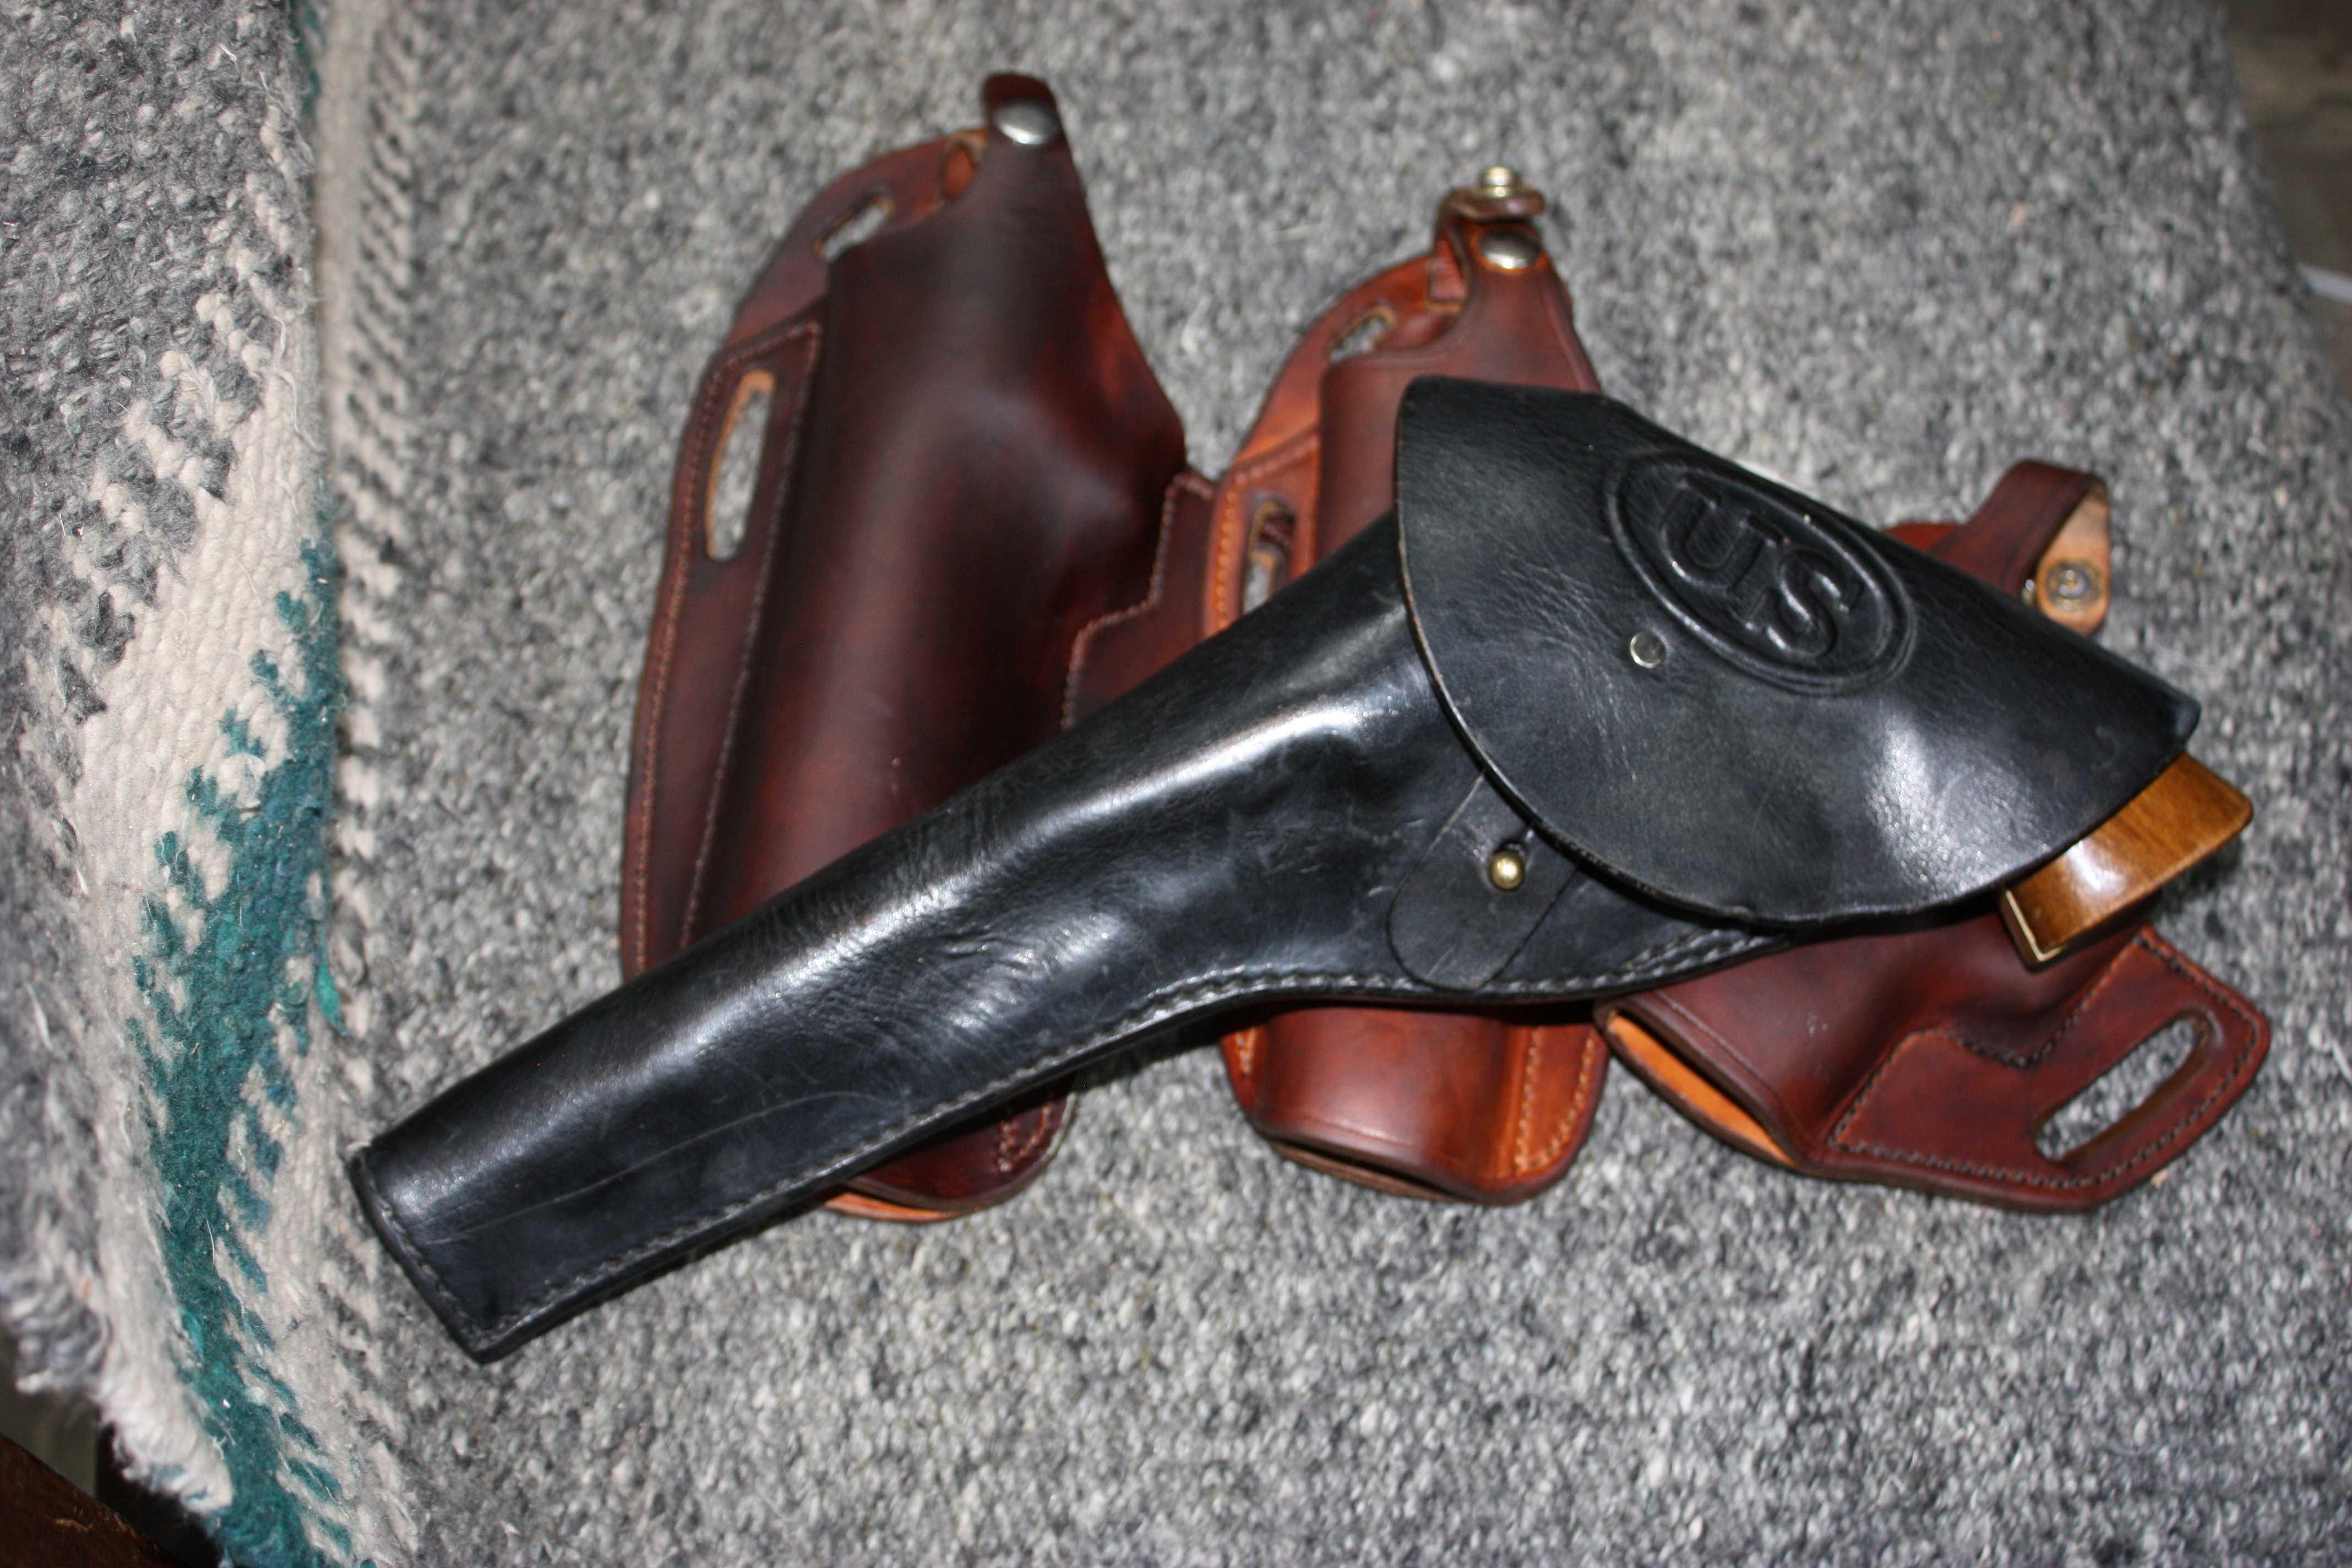
-
spring flowers and good food
chuck123wapati replied to chuck123wapati's topic in All About Us and Off Topic
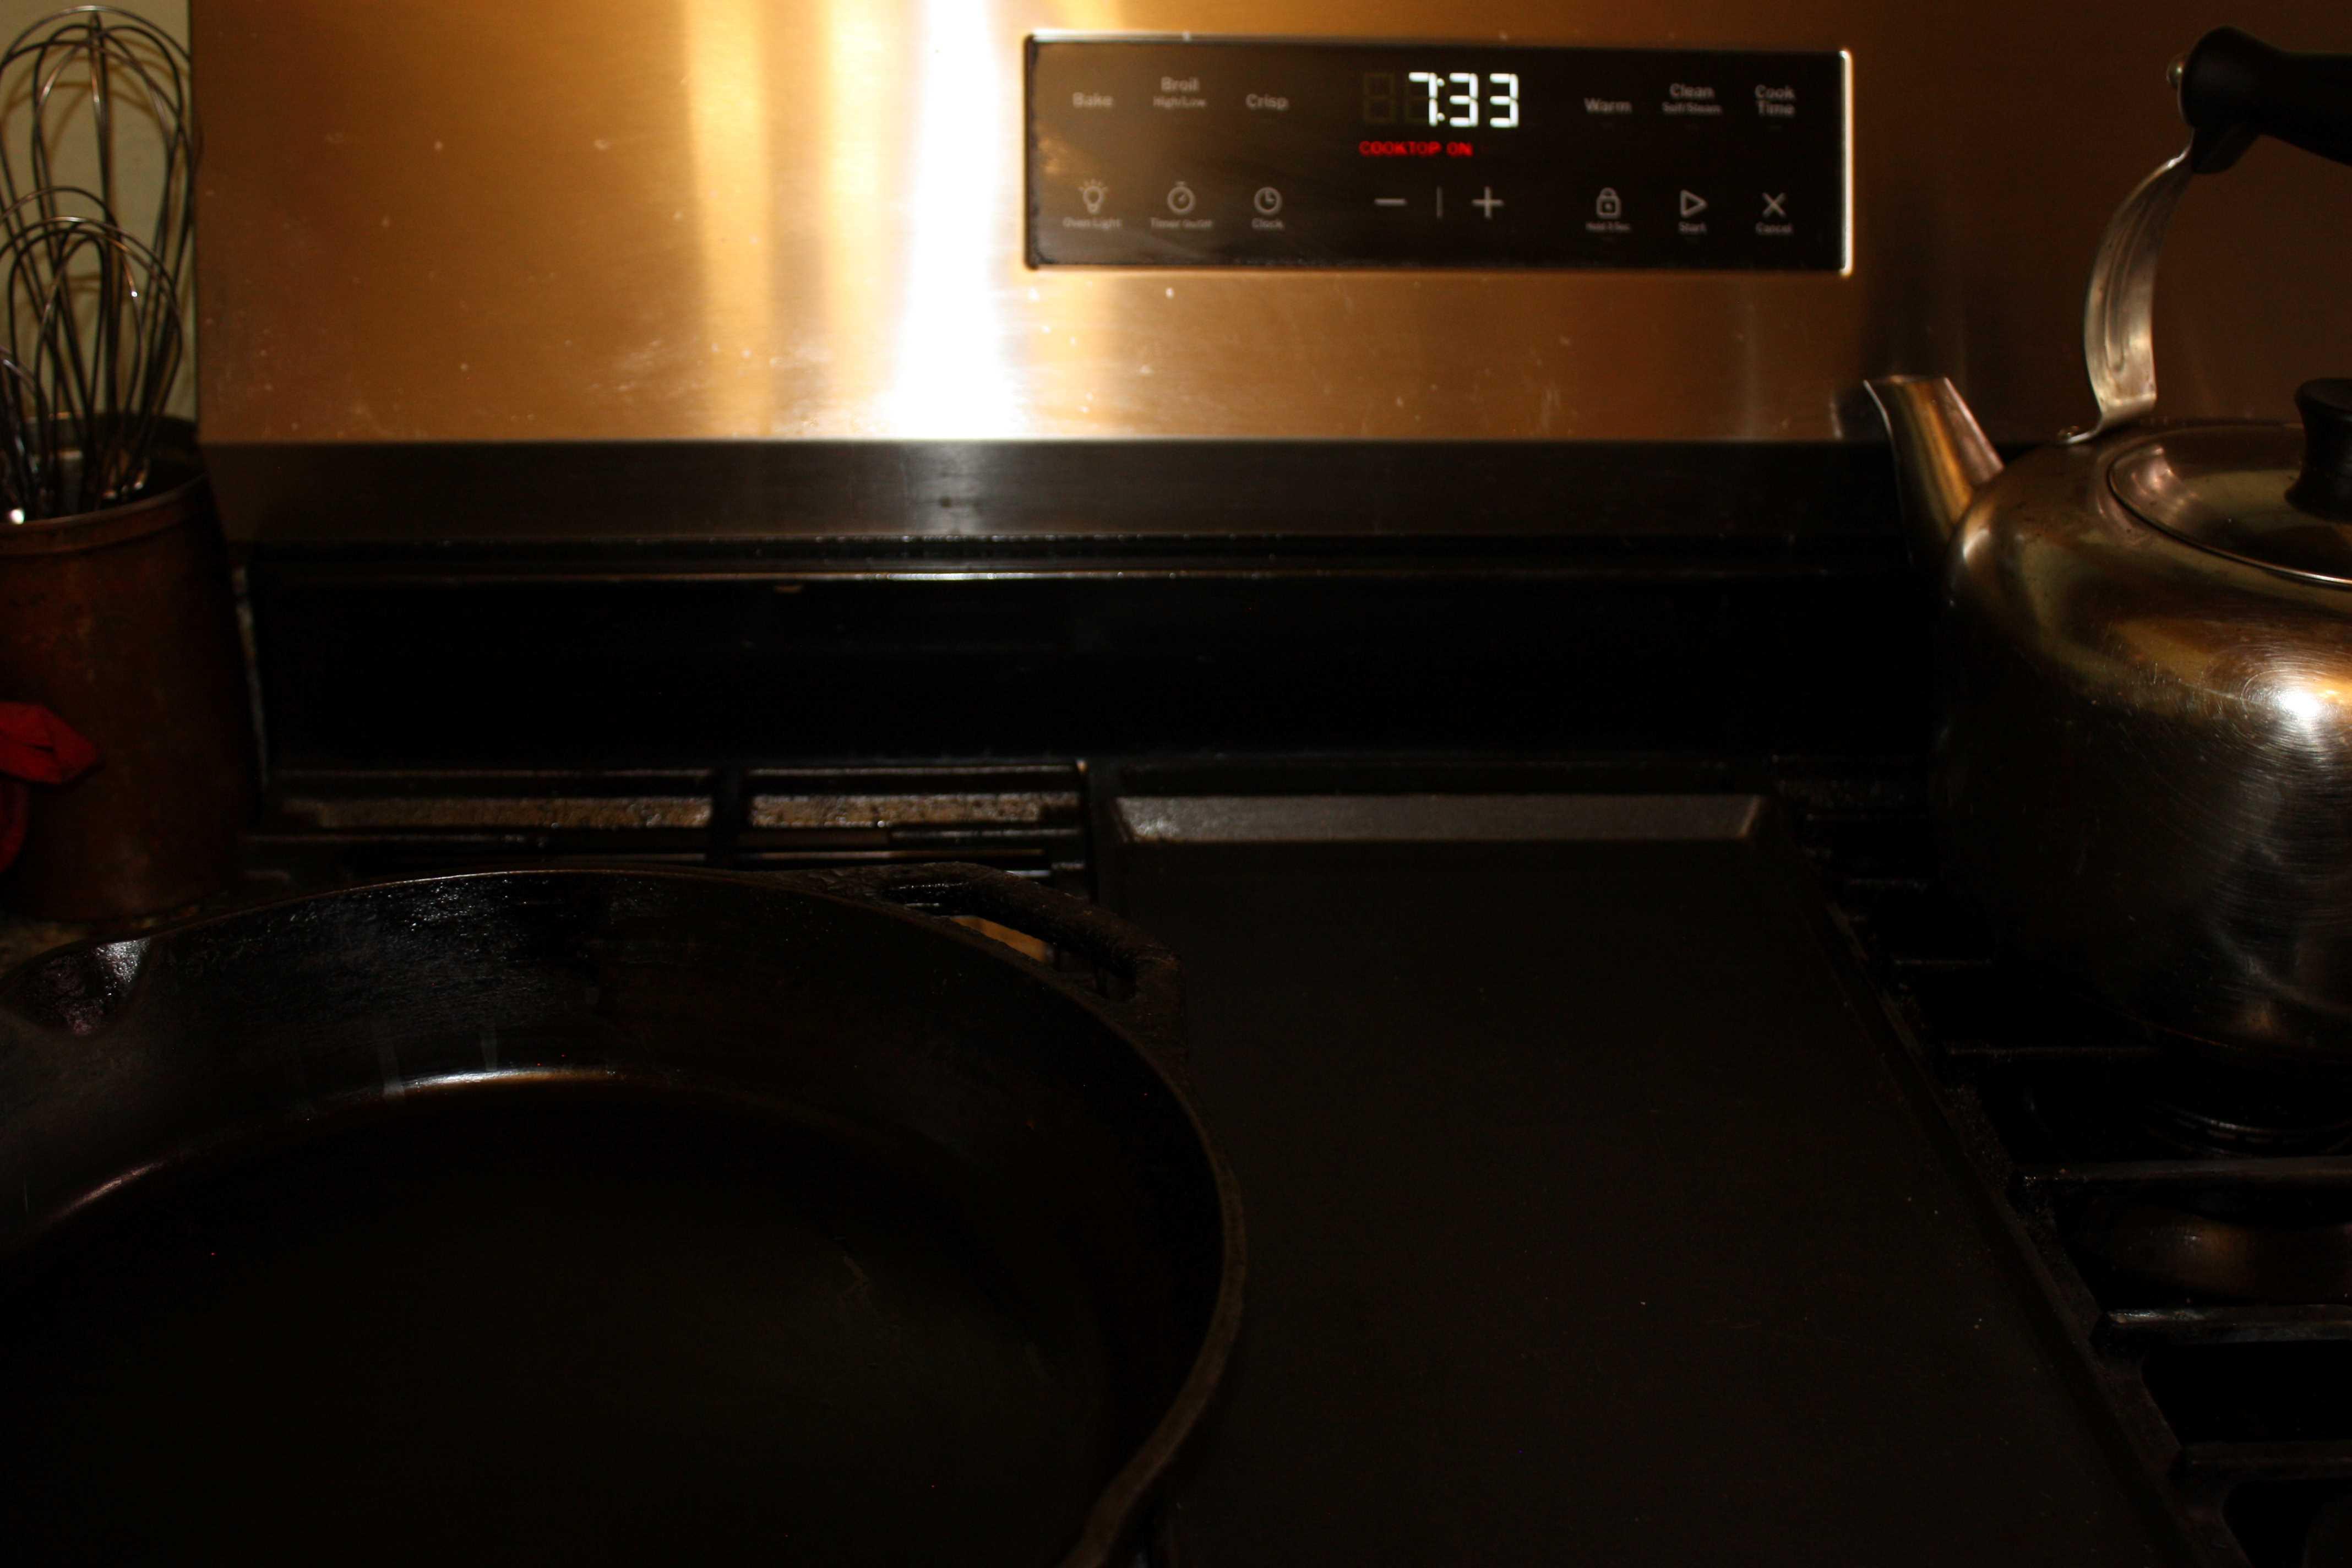
three egg cheese omelet, bacon, and toast for two, from the time I turned it on to plating it up. Have I said how much I love my new stove?