-
Posts
2,706 -
Joined
-
Last visited
Content Type
Profiles
Forums
Events
Blogs
Gallery
Store
Everything posted by Frodo
-
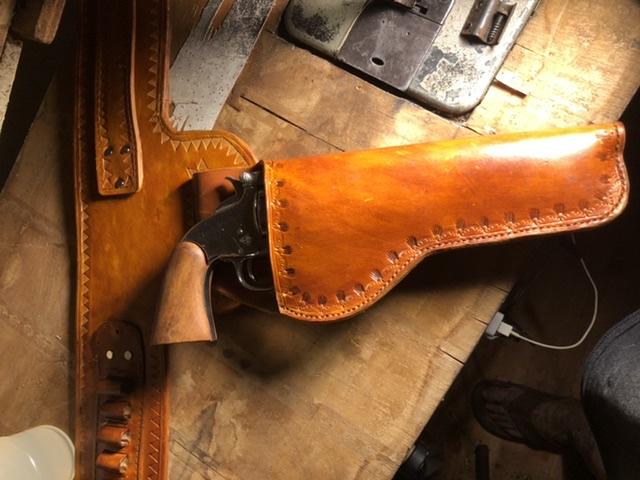
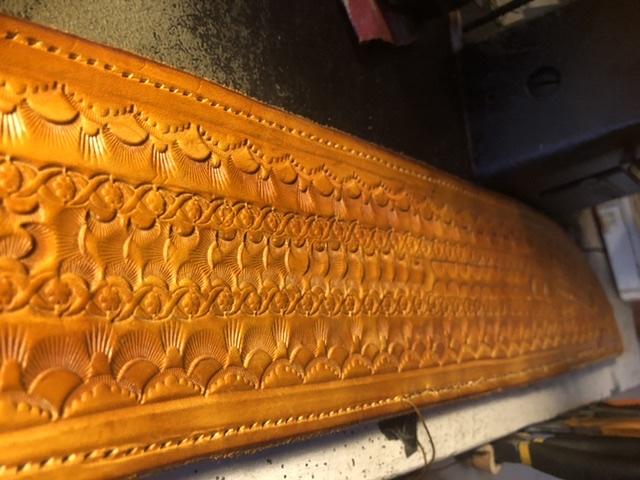
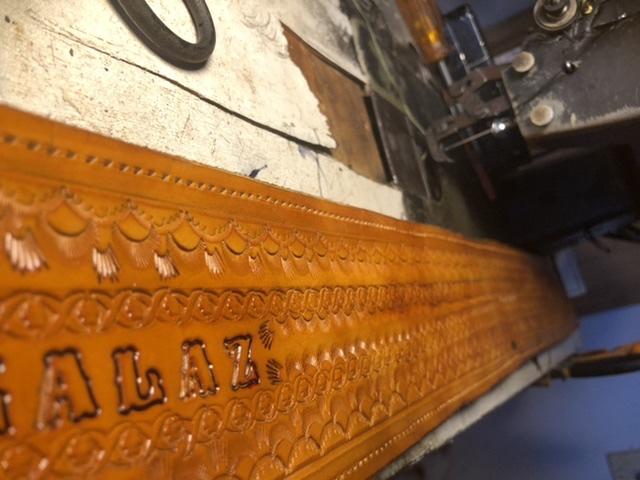
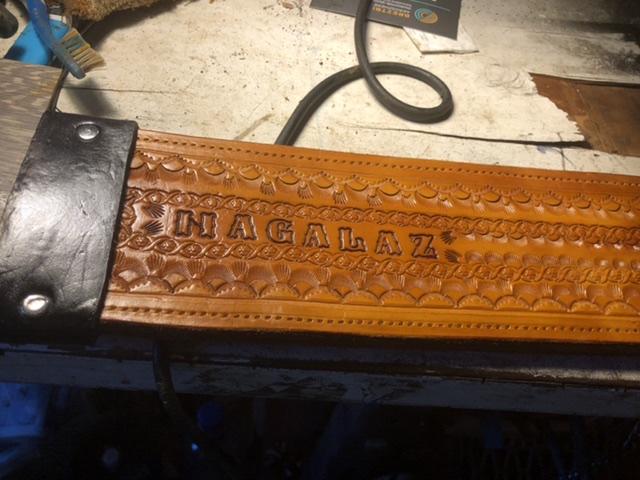
Double holster cowboy rig it has a few flaws but all in all I like it double 9oz belt that is 4” wide and 48” long fits a 42” waist holsters, only one shown. Are doubled 6oz
-
69802509777__4F7EAE59-D389-4E04-A1B5-CB1918428991.MOV 69802509777__4F7EAE59-D389-4E04-A1B5-CB1918428991.MOV
-
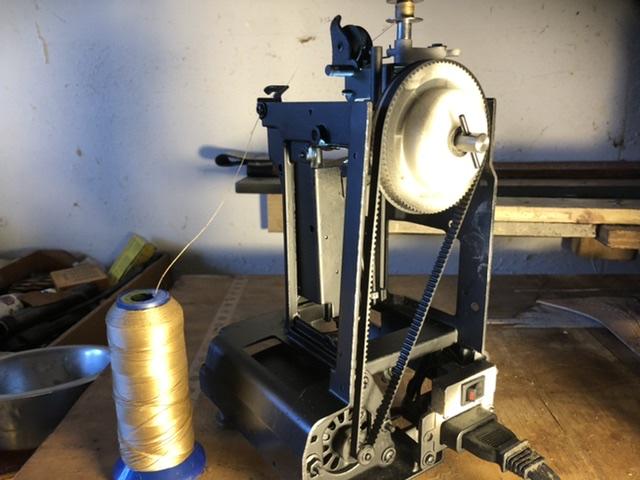
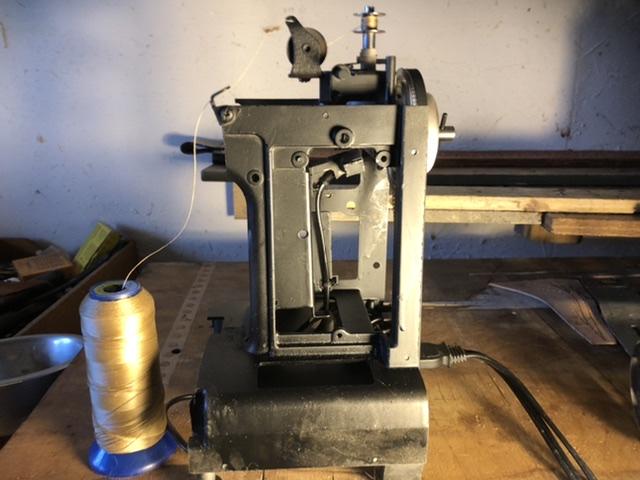
It has a light 3 padded feet and the 4th foot is vertically adjustable foot control tension discs
-
-
Cracker boxes cereal boxes i love the plastic 3 ring binders old file’s Or you can buy bontex it is a bag stiffner 48x48 sheet 20 bucks
-
Hi Chuck love the hat, the tooling is fine as hell Are you ready to motorize that thing?
-
Adjusting walking foot height I figured out how to adjust the height of the walking foot. I knew that the foot would only walk if the pressor foot had tension on it from the spring but what was escaping me was how to raise the foot, so I have been handicapped with 1/4” allowable height Till I dropped the pressor foot down lower and locked it with the pressor bar screw. the height now is 3/8” I can live with that
-
In a simple explanation boiled corn meal to be honest plain boiled cornmeal tastes like shit. The secret to tasty grits is the preparation and the butter / pepper added cook grits at a 1 cup water per 1/4 grit 1 tblsp butter per 1/4 cup bring water to a boil. Add your butter add. grits. Turn heat to a low boil for about 1 minute then turn down to a simmer put the lid on. Every minute stir. To make sure no burning on the bottom. 5 minutes add lots of pepper and ad salt Put in a bowl and toss 3 tblsp butter on top your grits should be thick the butter you ADD to your bowl will loosen them up if you serve running grits then the butter is added you have a plate full of soupyunedoblr hhhvgyp fyh youcan add to your bowl anygg t himg bacon, sausage, tomato cherse eggs etc etc
-
You will like it
-
I came buy this on accident I was setting my breakfast while finishing a strap I needed to wet the edge of the strap to burnish . I had local unfiltered honey on my biscuit and Inused it on the edge OMG ‘!!!! Honey is better than tokonal and will smooth the edge and leave it with a very nice shiny sheen
-
Here is a grits recipe we enjoy on cold mornings no measurements make a pot of grits, we need to stop right here and talk grits. Some people do not like grits because who ever made them did not do it right. If your grits f add ll out of the pot when you turn it over, they are no damn good, you have to cook grits low s as a as nd slow. They should not be runny they should be thick put your grits into a casserole dish add, 4 eggs, scallions,cheese, cayenne pepper, green chili’s. If you want to add browned sausage or crispy bacon go ahead another hand full of cheese on top bake 350 f 30 minutes
-
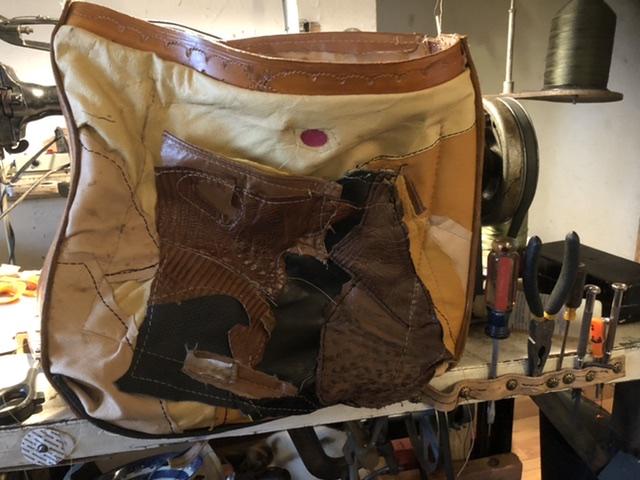
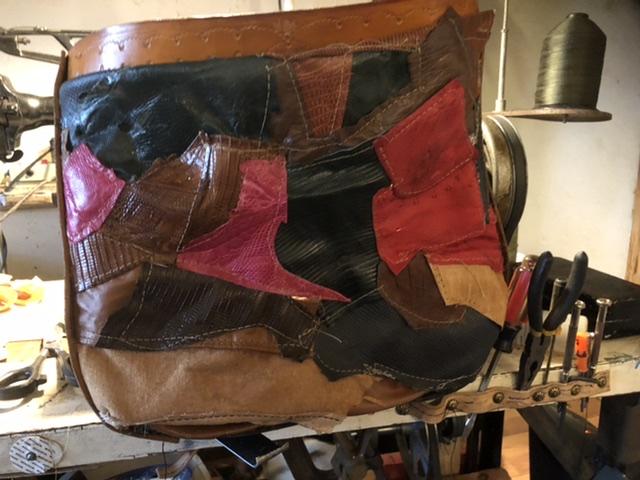
Scrap rag bag
Frodo replied to Frodo's topic in Purses, Wallets, Belts and Miscellaneous Pocket Items
A king size comforter would not only look really nice, It would $$$. profitable -
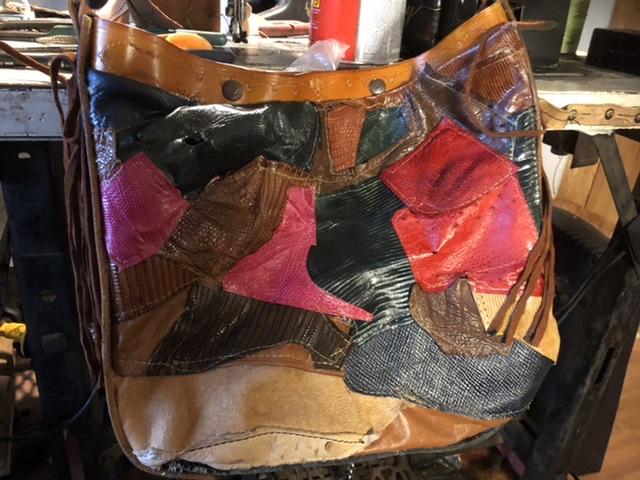
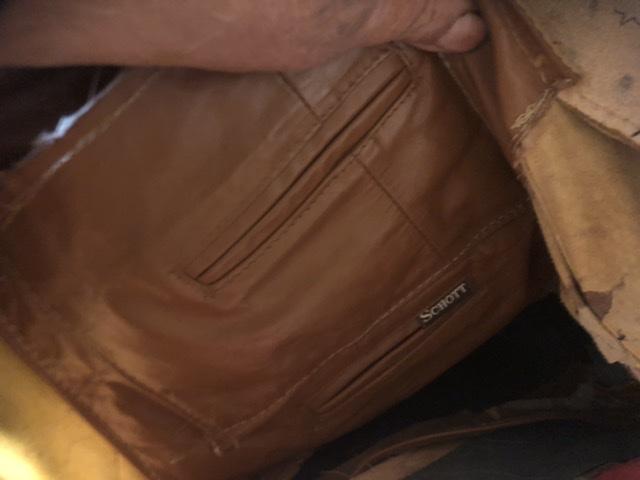
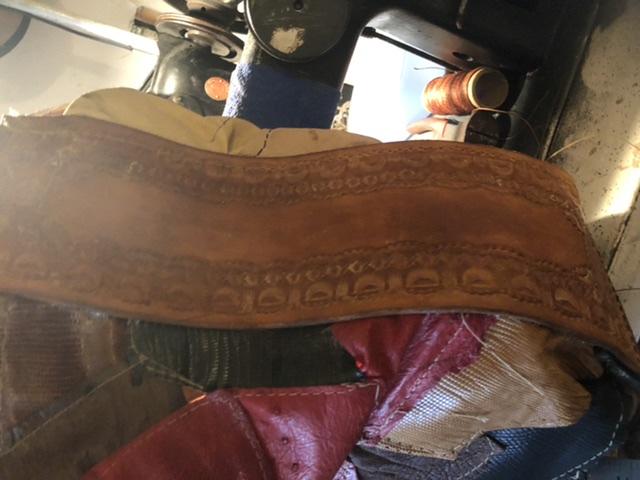
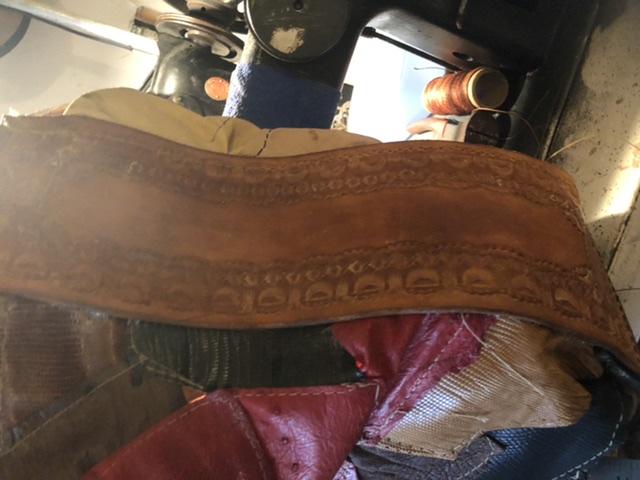
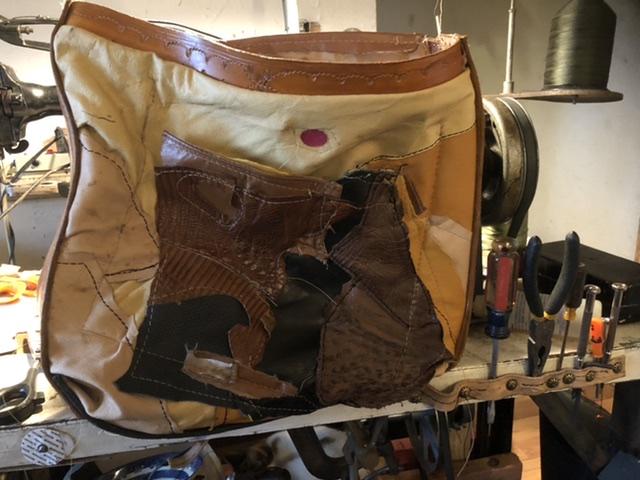
Another member made a bag from scrap i was impressed , so I made one also lizard, ostrich, gator and pig On the inside, I cut up an old leather vest and used the vest pockets as pockets for my bag bag is 16” x 12 x 4
-
Put the Rex to the test thus last few days I have a box of ostrich and Lizard pieces left over so I started sewing the pieces together to Make a bag the bag is rustic not a lot of effort was put into it keep it square or with out flaw the brown ostrich on the front is a big pocket rhere are 4 more pockets inslde machine did surprisingly well, t did not like sewing anything thicker than 7 oz is
-
Leave the butter flavor in. Then charge them extra for a flavored canteen market it as a natural health remedy from the spring water near a Very old and wise Shaman in Calcutta
-
I use popcorn also, it falls out, if you have a stubborn kernel shake your work
-
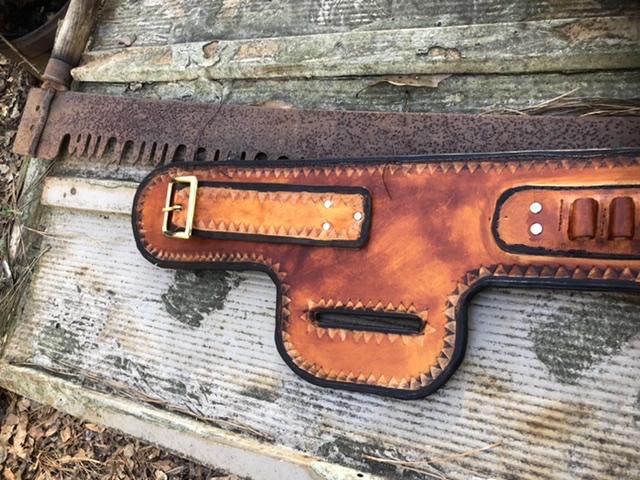
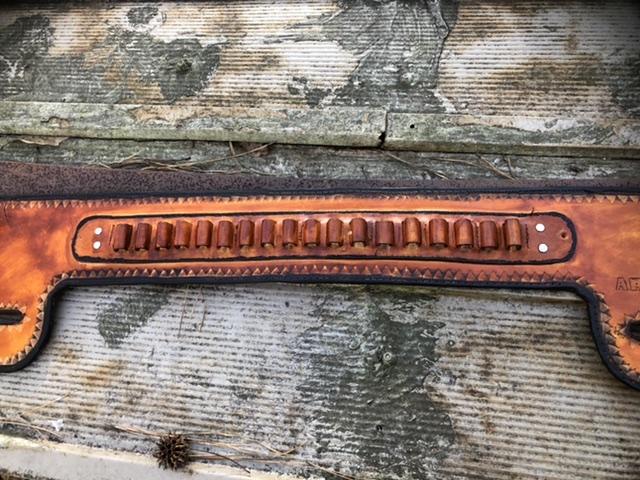
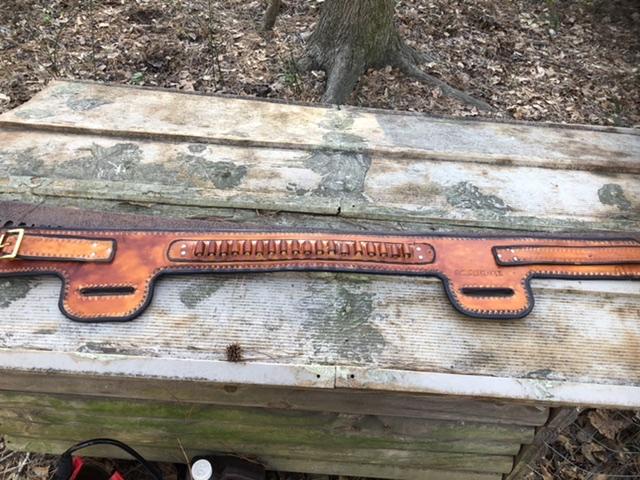
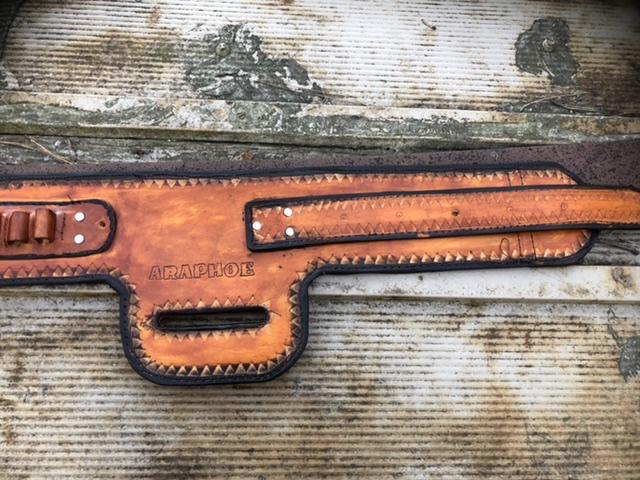
Making a western rig for a pair of 44 mags I will be cutting slots for the cartridge loops does anyone know the measurement center to center for the loop holes using 6oz veg? also the length of the cartridge loop strap center to center
-
So which is it top stitch line is controlled by the bobbin tension and bottom stitch line is the top tension disc or the other way around? Of you have a nice tite top stitch line but the bottom is loopy, adjust top tension?
-
69664044053__B8AE6AF5-F275-4FD5-871A-7CF15D653179.MOV
-
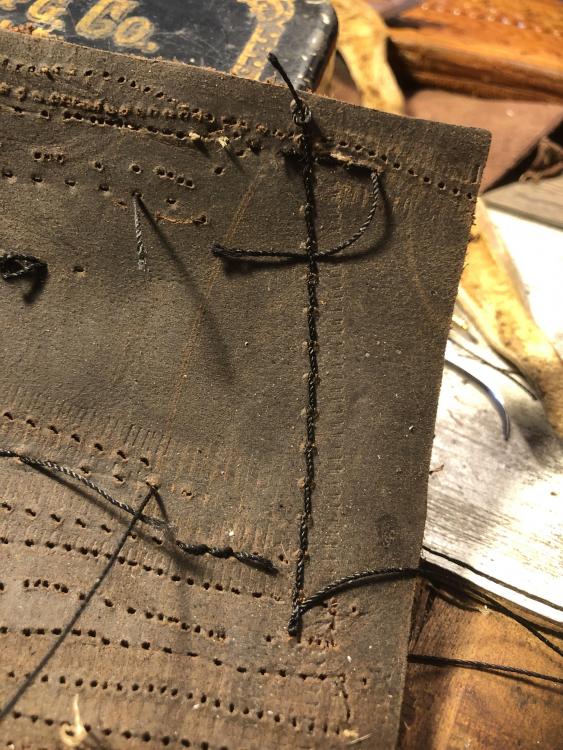
Listened to you Quade backed off the tension and rerouted thread plus built a top tensioner the results are a tight top /bottom on a stitch line I am not sure the ck tensioner is installed correctly but it is working I think
-
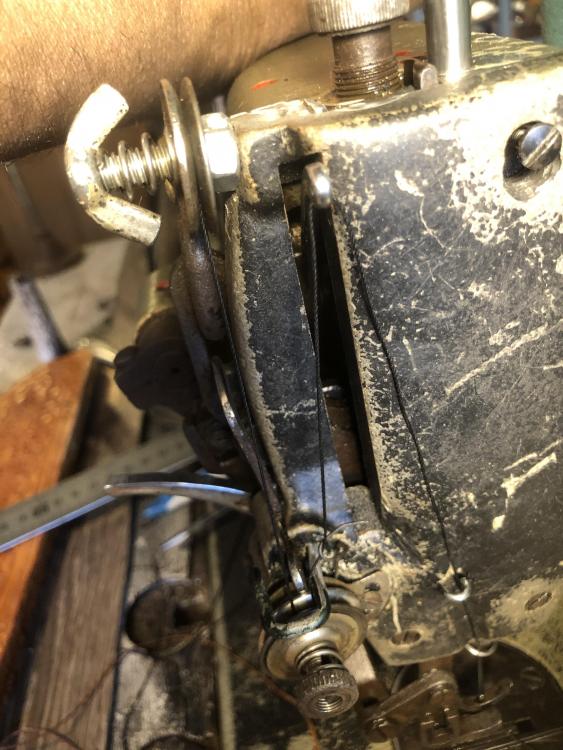
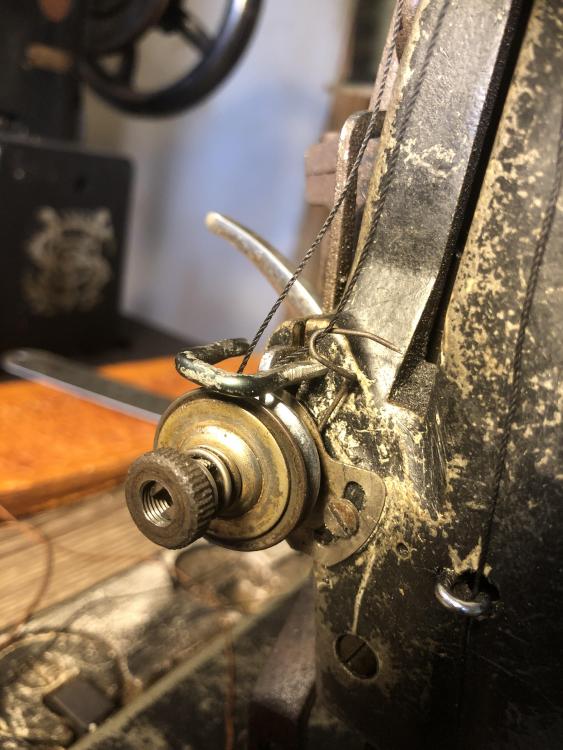
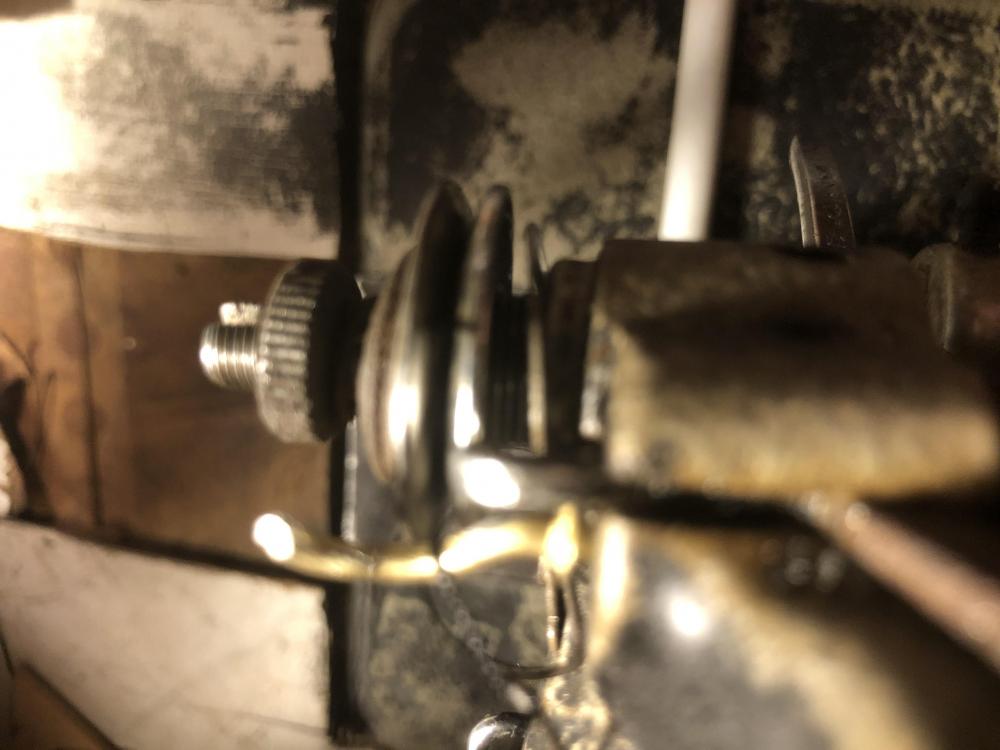
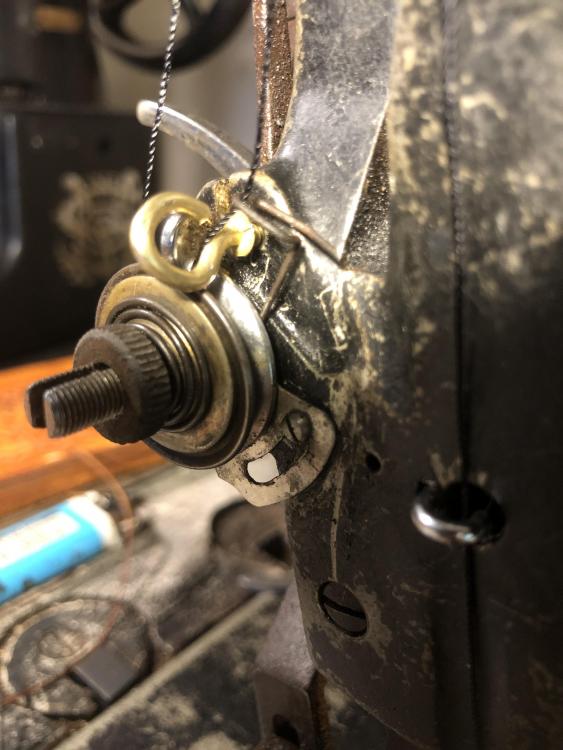
Installing the check swing tension helped out a lot, but I am having an issue with the adjuster fitting correct me if Iam wrong but the only thing holding the adjuster in pkk look ace is one set screw? My issue is the back side of the adjuster does not want to stay in the grove, it wants to raise up. This causes a gap between the rear disc and the tension release hook. It (tension release) wants to catch the adjuster
-
What is that word? Cobbled? lol. Well it is not factory specs it is cobbled together but it works I installled the check swing tension thingy I had to use a screw from a bobbin case spring . And s tea cup hook. going to need new springs, screws Most aggravating thing I have ever worked on. I had to use needle nose pliers just to hold that little sob (screw)
-
-
I have an itchy palm it may be the first signs of singeritis
-
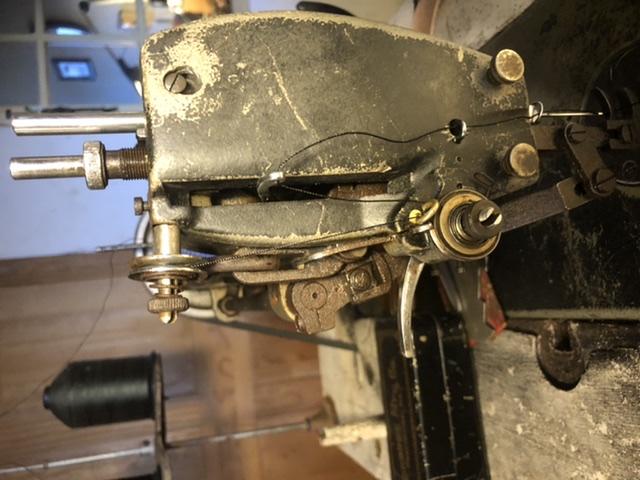
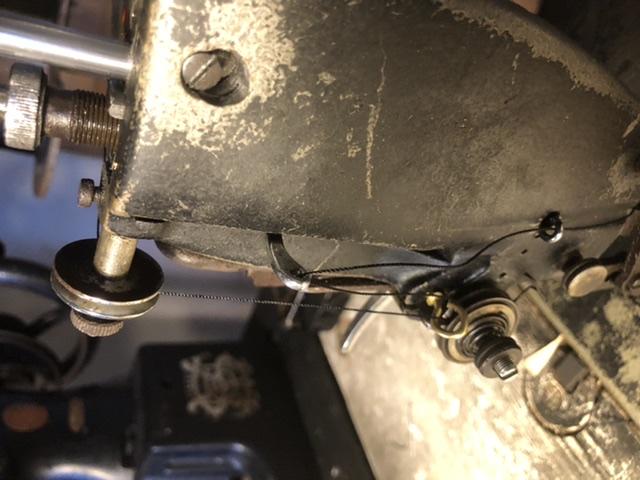
Thanks, How tight is to tight? it is as tight as Dicks hat band right now The thread exits the thread tree goes through the post on the rear of the machine up to the front it turns a 90 degree turn in a tension disc Travels down to another tension disc bwhere it contacts 90% ip to the thread take up down to the needle via 2 rings


