


Frodo
-
Posts
2,706 -
Joined
-
Last visited
Content Type
Profiles
Forums
Events
Blogs
Gallery
Store
Everything posted by Frodo
-
Some rifle slings I made (part 2)
Frodo replied to Garyak's topic in Gun Holsters, Rifle Slings and Knife Sheathes
Last picture the one on the left Looks like mahogany and gater. COOL -
Some rifle slings I made (part 2)
Frodo replied to Garyak's topic in Gun Holsters, Rifle Slings and Knife Sheathes
Fine. Fine Fine looking work you have done old son -
I see one thing wrong with this bag It is not mine !!! nice job, it looks good
-
Love your rose find some barb wire, that is what I use
-
I use a 8” C-clamp on small stuff And lead filled bags on the larger pieces https://www.harborfreight.com/search?q=pittsburgh&cid=pdp_brandLink
-
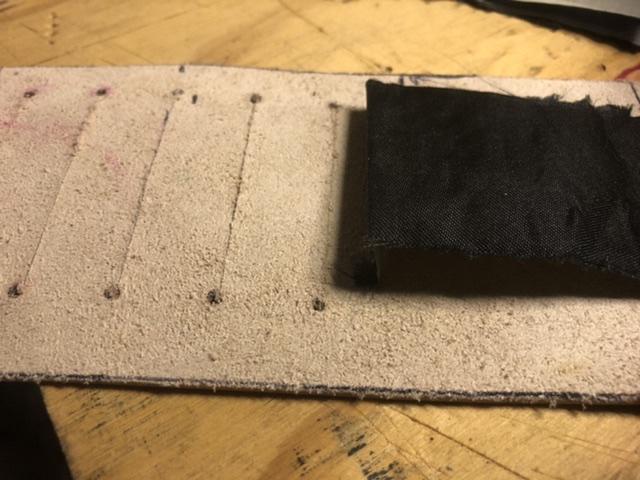
lay this stitch (—) line out 1”—3/4”—3/4”—3/4”—3/4”— 3/4”—1” the belt lop and snap go in the 1” space
-
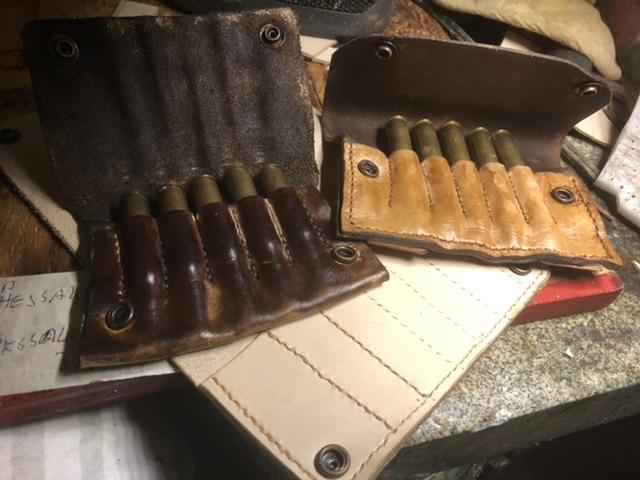
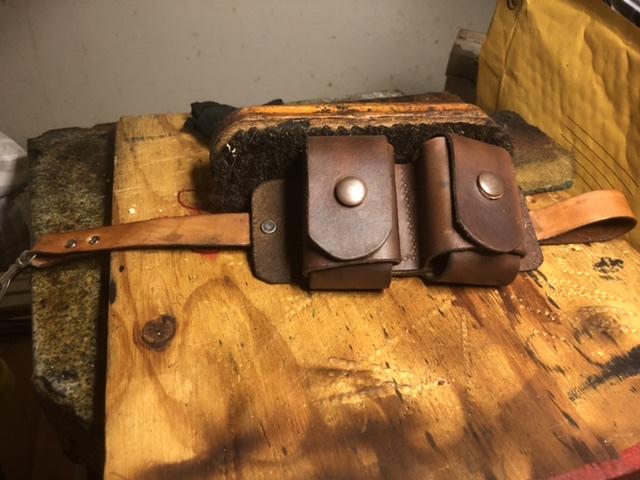
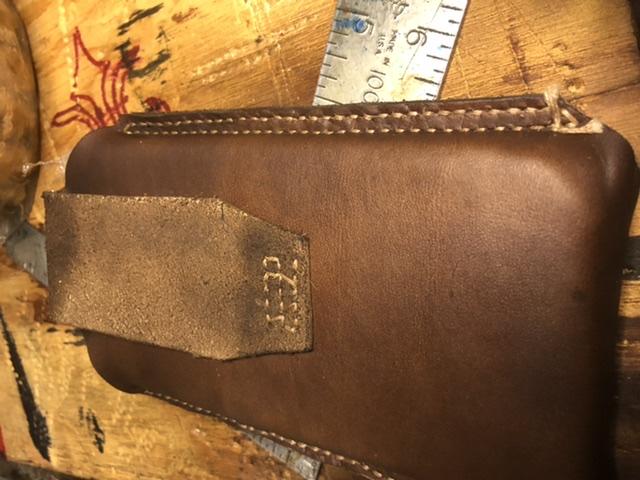
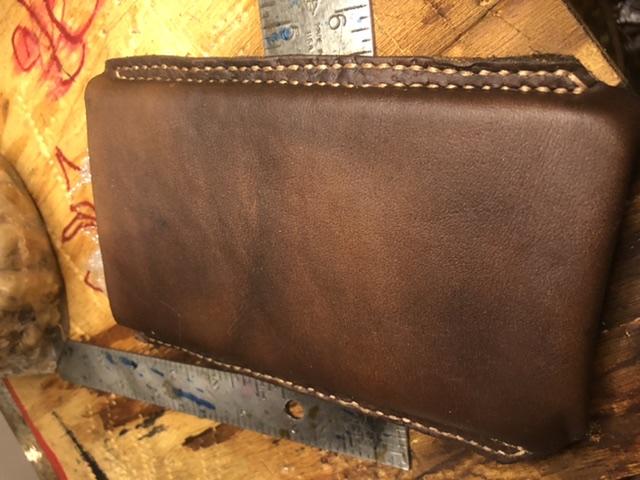
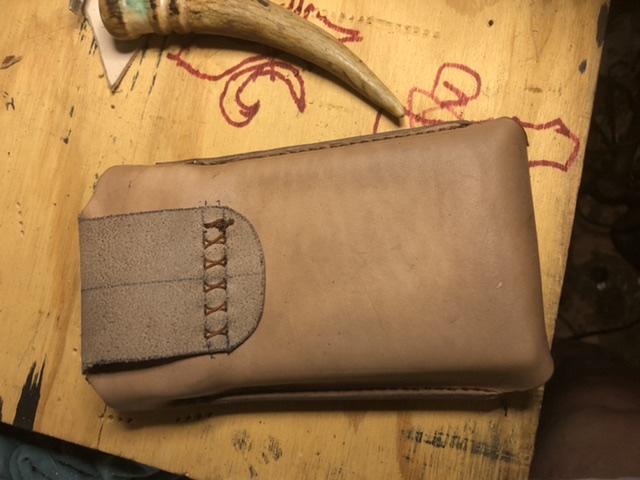
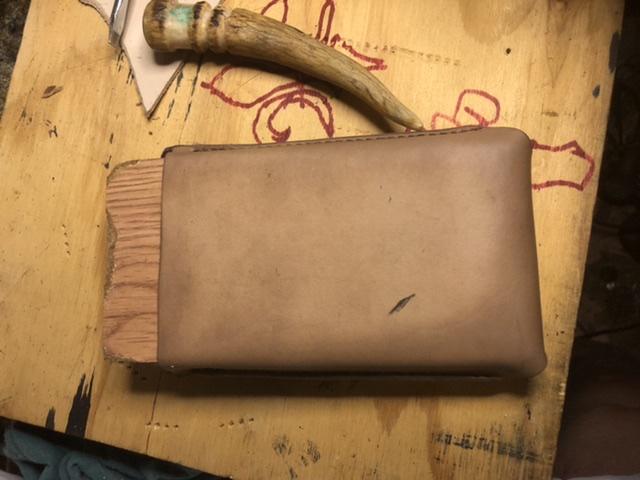
This started out as my own personal thing that I like and had no clue others felt the same way. I detest The cartridge loops on rifle stocks I have lost ammo in g to be woods so I made a simple ammo wallet that fits in my pants or shirt pocket. A friend saw it now a lot of guys want it The darker of the 2 is my personal 308 wallet, The lighter is for a friend it holds 30 06 The 3rd, being cut out is a 7mm ultra mag.

-
Yes, Yes I do bake cakes
Frodo replied to Frodo's topic in Gun Holsters, Rifle Slings and Knife Sheathes
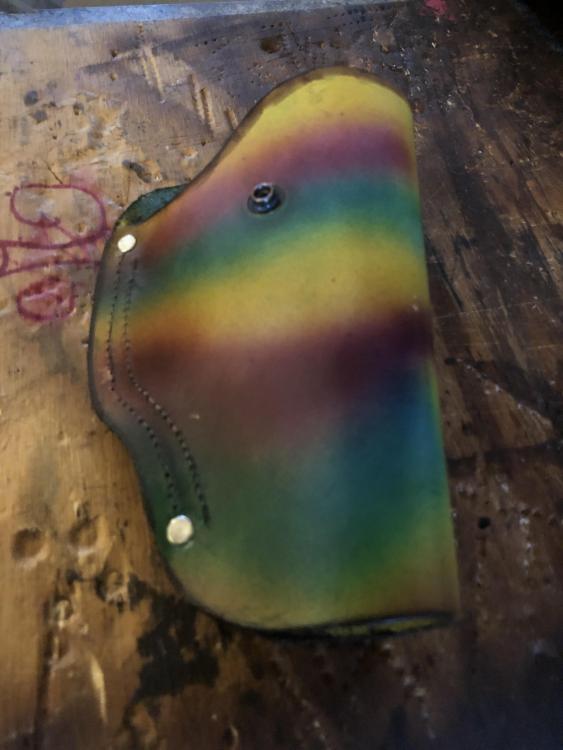
Amateur air brush job -
Yes, Yes I do bake cakes
Frodo replied to Frodo's topic in Gun Holsters, Rifle Slings and Knife Sheathes
Yes, I have a buddy that is going to like this for Christmas -
I watched his video and am concerned at his technique he is using 2 sided tape tjat us going to pull apart what haa add be your experienced?
-
Yes, Yes I do bake cakes. What flavor do you want?
-
“Come and Take (them)”

-
Sorry ArkieNewbie explaining “how to” in type is not easy for a guy with ADD and ADDHD. With out a Harley I start at the bottom slot sew it, Fold the free end. “Tag”. From the first. Slot. Up to the second slot. Fold over 1/2”, place under the card cut out place a second piece of card slot material inbeteen the fold. Sew that At that point you have a completed slot for the lower card. After you have all card slots completed run a stitch line. Around all the card slots like a picture frame, this will tie the individual stitch lines under each slot together
-
Edit, where is the edit button? remove the word “not”
-
I finds myself in need of a Fleur-de-lis stamp I not Need it to be 2” / 50.8mm tall Is anyone here making stamps?

-
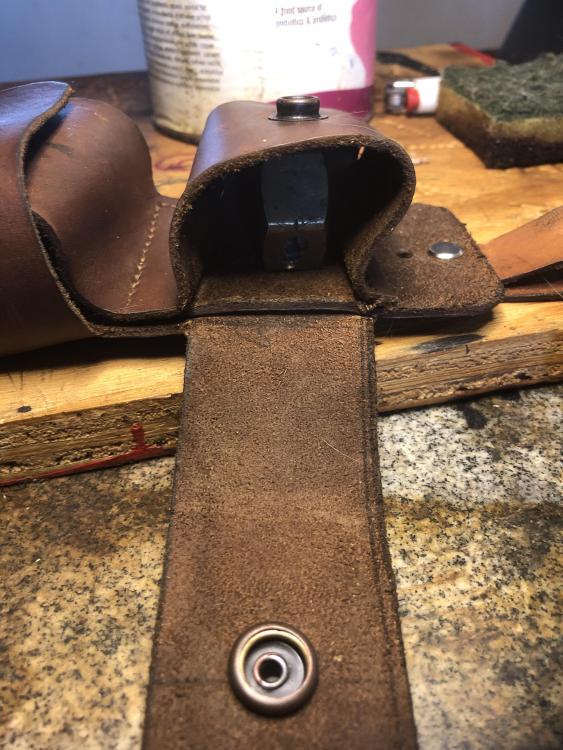
Yes. A speed loader, this is an addition to a guys shoulder holster
-
Advice on a Reichsrevolver holster
Frodo replied to JayB's topic in Gun Holsters, Rifle Slings and Knife Sheathes
You will never match the color of a new leather piece to the old. The value of the holster is zero. Don’t spend money on a holster that you can not sell and recoup your funds. Go buy another holster do you need any magazines? -
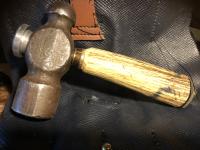
I used it this morning to install a snap
-
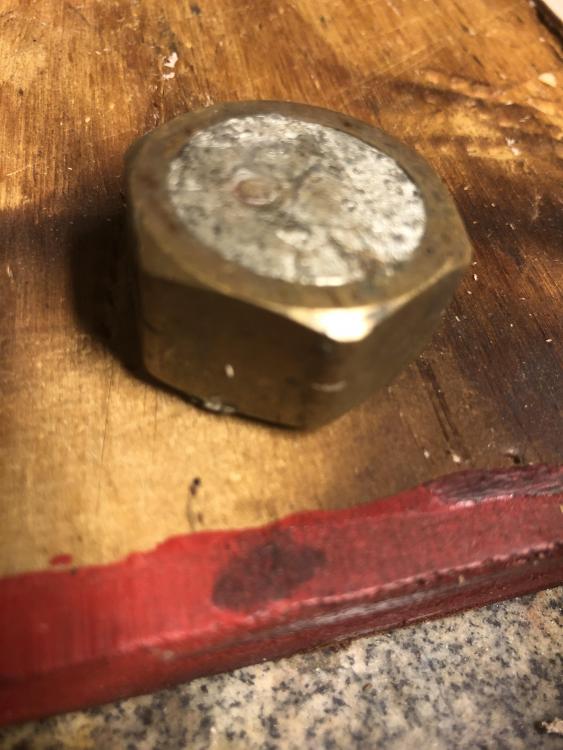
Set the nut on the ground Hump a little dirt around it any excess file in off with your file
-
I thought this might help others 1 1/4” (6.35 mm) Brass nut lead the nut can be easily found on any old faucet I use this as a small anvil to set rivets or snaps in tight spots. It can be laid flat or stood on its edge
-
-
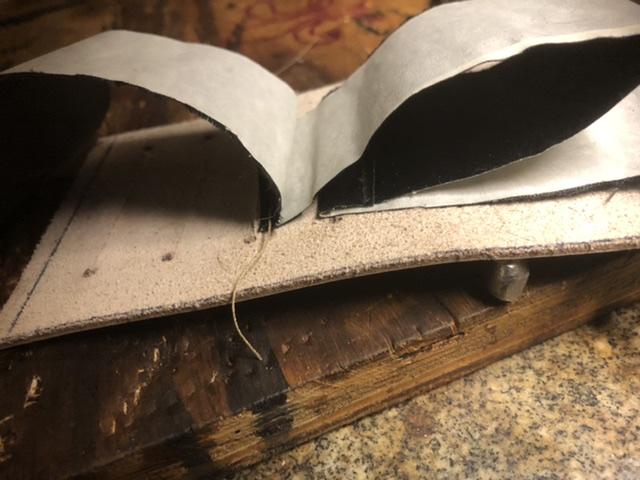
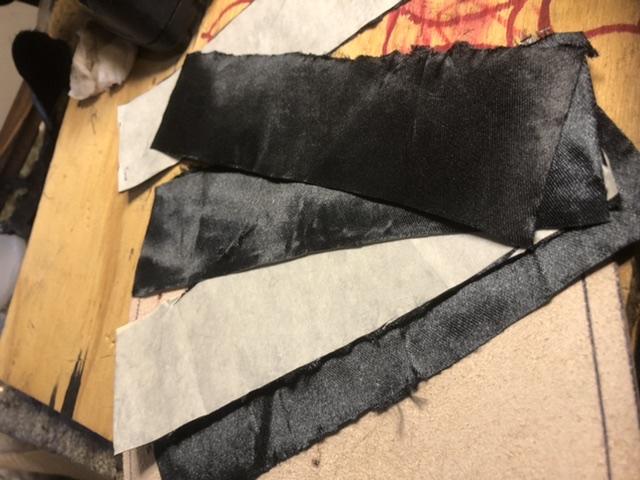
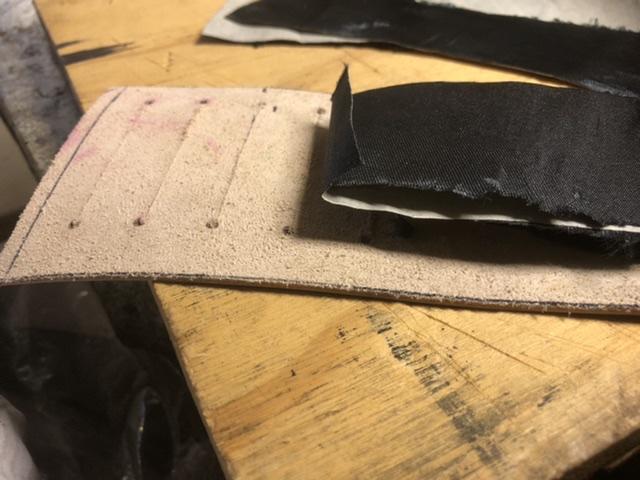
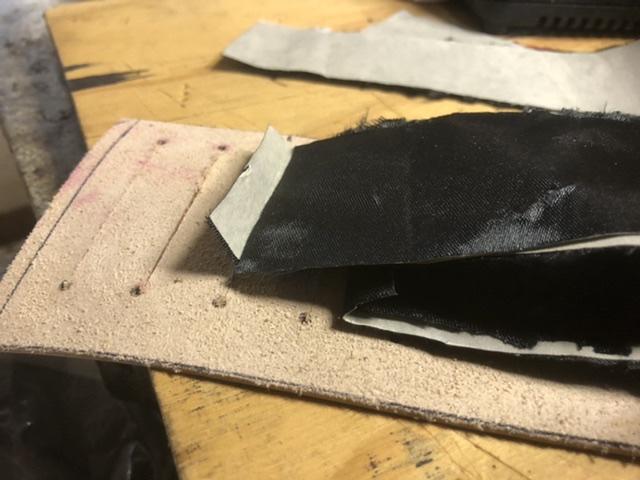
I have a different approach for card holders, I use a shear material for lining bags and this is what I use. I also use yellow masking tape, It makes cutting the material easier and will wear off over time place a stripe of tape on the material and cut 1- 2”x7”. Per card pocket On the bottom card slot, place your leather backside up and the material finish side up fold the material 1/2” and sew After sewing the first slot, fold the material over itself as shown, also fold as before 1/2” Slide the next strip of material between the fold. Sew Same on the next, till you get to the top tips and tricks, you can use 2 sided tape and the top one do not sew now, wait till you sew the 2 pieces of leather and sew it in between

-
Measurements for a holster Wet formed afterwards 1 piece of leather 161/2” x 4 1/2” measure and mark at 6”, 12” may the 6” Mark measure and mark 1” on each side of the 6” mark at the 6” mark . From edge towards the middle measure mark at 3/4” cut from the 1” mark on n angle to the 3/4 mark you should have a triangle that is 2” long x 3/4” cut the other sid same ssme fold the leather at the 6” mark up to your the 12” mark you will sew this with 1/8” from edge stitch line after you attach he belt loop measure from the 12” mark up 1” mark measure from edge to center mark from center mark 1” both sides of center mark nd cut this is the belt loop fold back and sew
-
Looks like I am good, for now Thanks for the helpful tips and tricks from everyone special shout out to a YouTube channel by Harry Rogers. The bobbin drop test saved my bacon I removed the tension spring from the bobbin carrier and found years worth of thread dust and dirt. Little wd40 and a q tip did the trick made a leather washer for the tension discs to sit on

-
I did not kno that I left the needle down and turned the foot 90 degrees


