-
Posts
456 -
Joined
-
Last visited
Content Type
Profiles
Forums
Events
Blogs
Gallery
Store
Everything posted by Littlef
-
My Latest little creation
Littlef replied to Dwight's topic in Gun Holsters, Rifle Slings and Knife Sheathes
I like it! I bet those belt loops give it a lot of stability -

Is baking soda necessary when using vinegaroon?
Littlef replied to redline's topic in Leatherwork Conversation
Baking soda is used to neutralize the acidity of the vinegar. It neutralizes the acid because its a base. I use it, and then I rinse it out. If you were concerned whether the end solution is a base, acid, or neutral, you could always use litmus paper, but I think that's probably being more anal than is necessary. I think taking a few seconds to flush the leather good with water when you're done is sufficient. -

Brown dye from household materials
Littlef replied to Nowandagain's topic in Gun Holsters, Rifle Slings and Knife Sheathes
another option would be to use a wood stain from a hardware store. -
Nice looking holster. That snapping turtle is just too cool. Living dinosaurs. Someday I'll have to pick a handgun out of the safe and make a holster for it out of snapping turtle.
-
You’re welcome sir. They seem to be way more fancier than what most people would use… but hopefully it gives you the dimensions you were needing.
-
That's really neat. I dig it. That started some gears turning for a future project
-
Tandy has a 1917 saddle bag pattern in their leather craft library. I tried to post it but its like18.6mb, and over the size limit. My email is capped at 10mb. this is the link. 1917 Saddle Bag Pattern Pack — Tandy Leather, Inc.
-
Thanks! I agree, I think a shoulder rig would be comfortable when seated, than a hip holster.
- 25 replies
-
- doc holiday
- val kilmer
-
(and 2 more)
Tagged with:
-
I have a big self-healing mat that covers my whole workspace that I cut on. Then, I use a cheap poly cutting board for punching holes and cutting straps, etc. Is there a difference in the fancy plastic from a leather store, versus what is sold for kitchen use? Probably. --- Does the exact type of plastic make a difference? Not that I can tell. The Tandy cutting boards are nice, but I don't know how they would yield better leather work, or make the process any more efficient than using cheaper options. They are typically thicker, but if I need a more solid subsurface, (when stamping), I have a 12 x 18 sample piece of granite I bought cheap from a granite counter top supplier. Perspective: Of course the salesman is going to say their product is better. The deeper question is what constitutes "better" and are you getting the right bang for your buck.
-

Brown dye from household materials
Littlef replied to Nowandagain's topic in Gun Holsters, Rifle Slings and Knife Sheathes
Something I heard of, but never experimented with is using walnuts shells or pecan shells. I found this youtube video of a guy talking about his process: -
well done!
-

Cartridge Belts: Curved or Straight?
Littlef replied to ZARDOZ the GREAT's topic in How Do I Do That?
lol, that you sir. With great knowledge comes great responsibility. -

Cartridge Belts: Curved or Straight?
Littlef replied to ZARDOZ the GREAT's topic in How Do I Do That?
wow, that's a slick simple solution to follow the curve. Thank you for showing this Dwight! -
Surfing around on etsy is good for brainstorming ideas.
-
Thats really nice stewart!
-
Thanks Fred!
- 25 replies
-
- doc holiday
- val kilmer
-
(and 2 more)
Tagged with:
-
Thanks y'all, I appreciate it!
- 25 replies
-
- doc holiday
- val kilmer
-
(and 2 more)
Tagged with:
-
Thank you very much!! I took my time on this to really work out little issues in the design. I think the extra time and effort paid off.
- 25 replies
-
- doc holiday
- val kilmer
-
(and 2 more)
Tagged with:
-
Thank you sir.
- 25 replies
-
- doc holiday
- val kilmer
-
(and 2 more)
Tagged with:
-
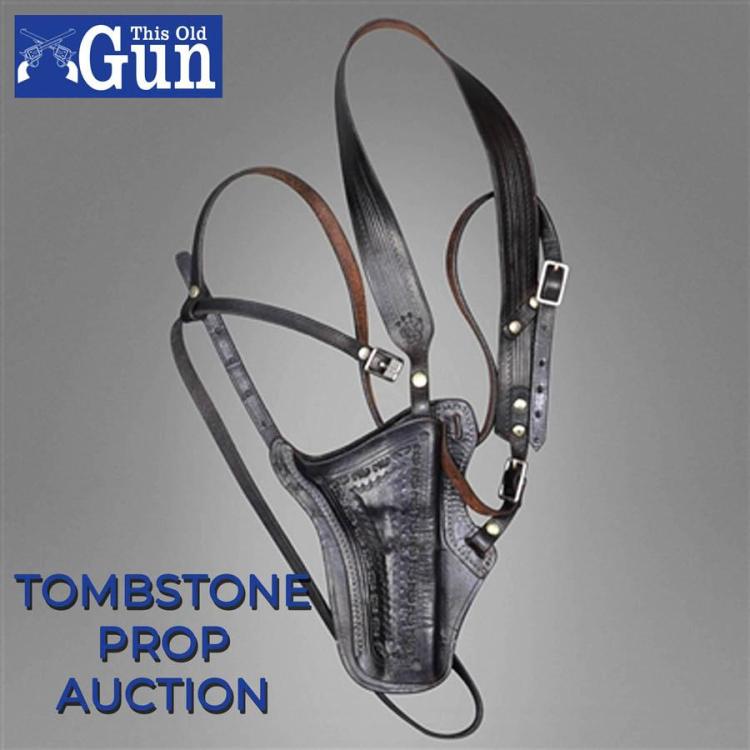
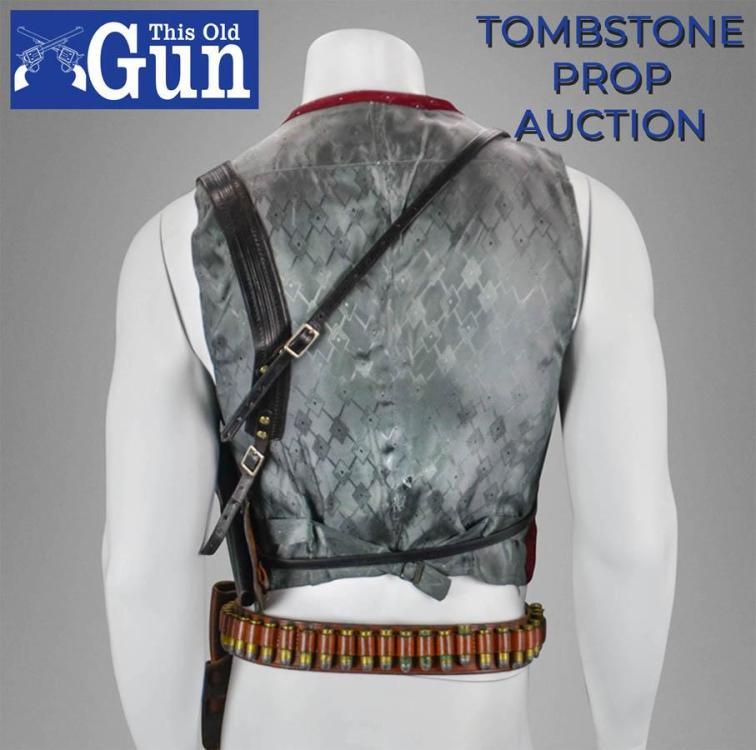
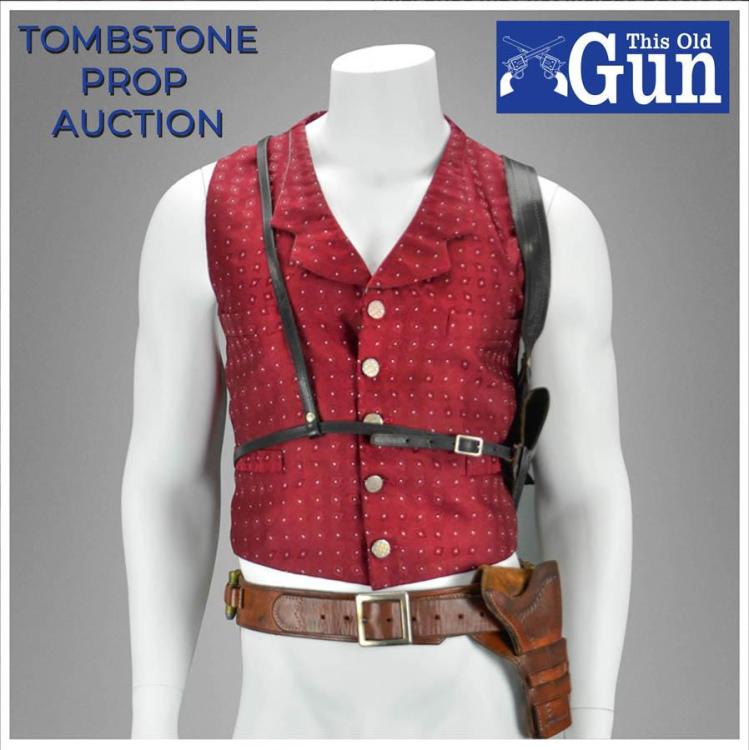
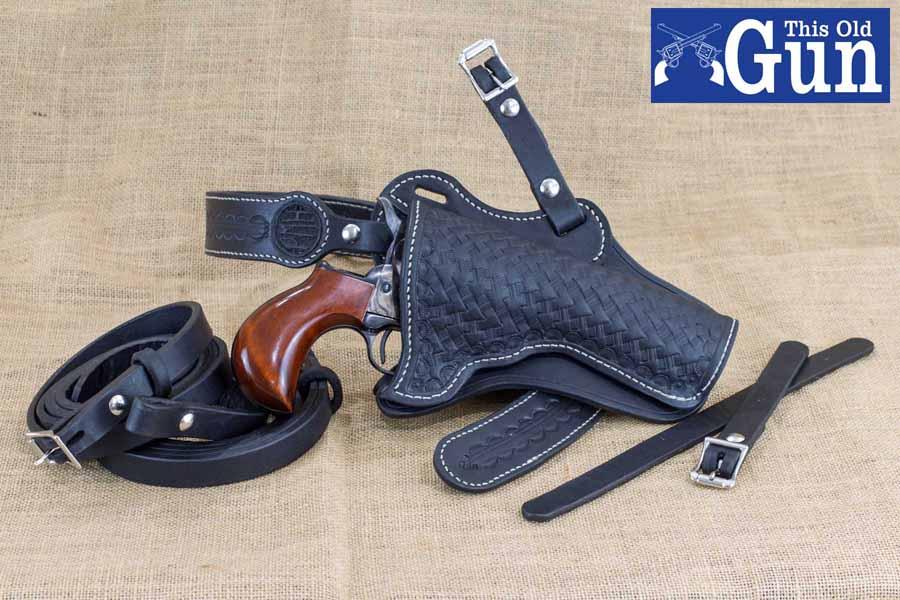
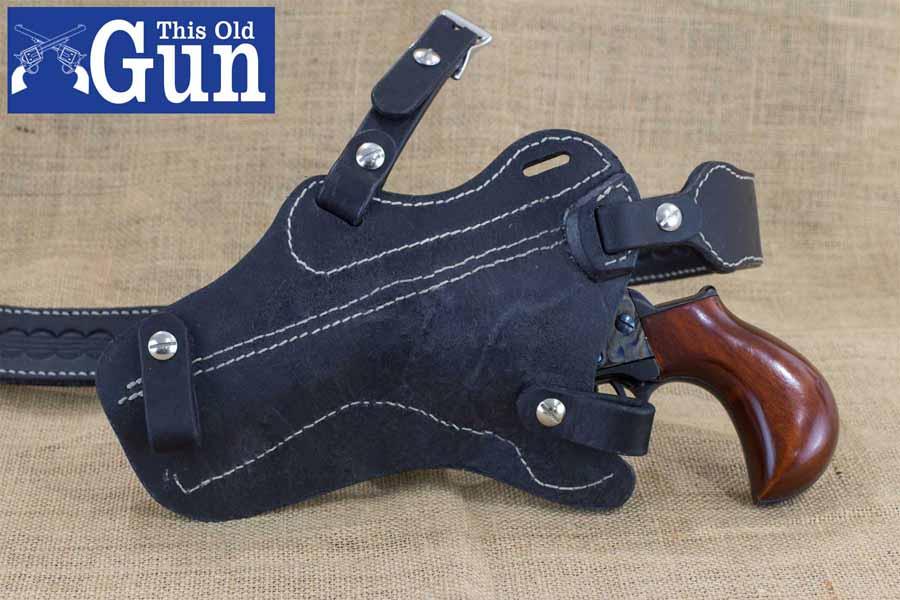
I made this shoulder holster for a friend of mine. It my interpretation of Doc Holiday's shoulder holster from the movie Tombstone, (with a few tweaks with my own creative license.) This is first time I’ve made something for someone else. It kind hurt to give it up, lol. I started with a pattern from London Jacks on Etsy. Then, I found auction photos of the actual holster, and I modified it enough that there is almost no part of the purchased pattern left. Also, Chakotay has a nice YouTube video where he makes his version. I used his idea of how to make the belt loops on the back. My friend picked up the holster over the weekend. He was thrilled, which was a good feeling.
- 25 replies
-
- doc holiday
- val kilmer
-
(and 2 more)
Tagged with:
-
Holy Mackerel those boots are incredible. - The purse is as well. I need to re-think my whole game.
-

RTC Resist turning pink and sticky on acrylic
Littlef replied to Seachel's topic in How Do I Do That?
I don't think RTC resist was formulated to go over the top of paint. Normally a resist is applied to unfinished leather to keep dye and antiquing from absorbing into the leather. I think both the acrylic paint and the rtc are water based, which is why its bleeding the red from the paint. Reds are typically pretty potent, and are challenging with bleeding. This is probably going to take some experimentation. I think I might experiment with an acrylic varnish on some scrap to see if you can achieve the needing sealing over the top of the paint. -
This is really an opinion question and not a true rule. You've made them out of 5-6 oz, so you know what those look like, and how they function. In my opinion, 5-6 is really light for an axe, that will get packed in an offroad vehicle amongst other steel tools. Its gonna get banged around in transport, and truly carried in the forest to clear trails. I've made plenty of 8-10 oz holsters, which would be suitable for an axe. Heavier leathers will be more durable over time. 9/10/11 would be even better for durability. I would not recommend going any lighter than the 5-6 oz you've already been using, and I think you'll find over time, the 5--6 oz will get beat up pretty quick.



.jpg.b6a3fb7426d8cad881713b9683f4299e.jpg)
.jpg.504248aaf1102545c32c5176bd33edce.jpg)
.jpg.77fb9a198daee1b7a1389efa25278c7d.jpg)
.thumb.jpg.a7289039f3577ccd7811262b0fc65640.jpg)
