Littlef
-
Posts
456 -
Joined
-
Last visited
Content Type
Profiles
Forums
Events
Blogs
Gallery
Store
Everything posted by Littlef
-
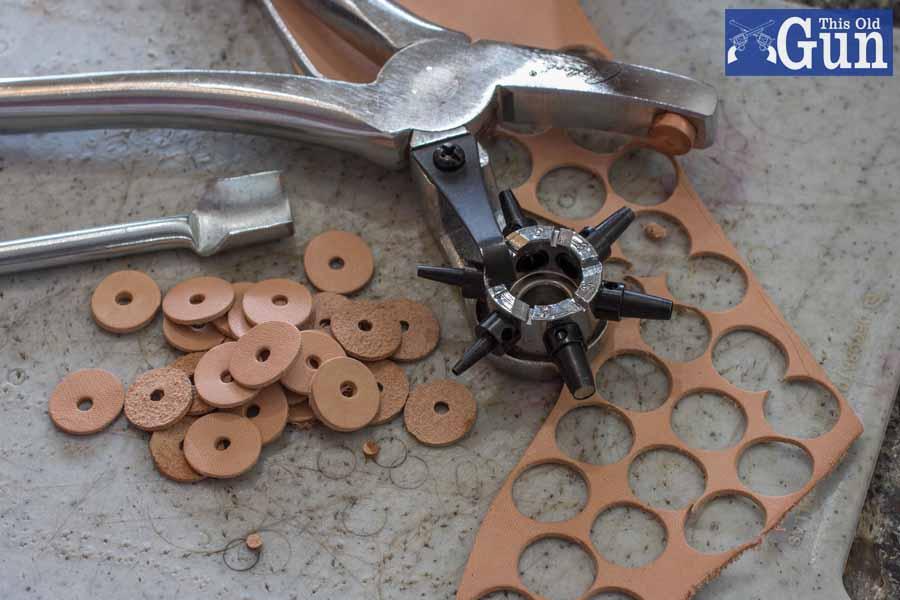
lol, I was just correcting a typo, I didn't realize it would just make a whole new entry. Oh well. I've always polished ball peens. If you don't, you just transfer the dings to whatever you're working on. Same applies to leather work. It definitely makes for cleaner work.
-
-
I think the terms you are using are two different things. You bevel the edges to round over the ends, to give the edges a more finished look. You skive a piece of leather, typically to transition two overlapping pieces of leather. ie you thin down the top layer to gradually blend into the bottom layer, instead of having stair-stepped angled layers. That being said, a lot of it, is watching very closely to keep the edge beveler held at the same angle, as you round curved parts. After I bevel my edges, I regularly look it over and make sure its all even. If I find a place that wasn't beveled deep enough, and just run the beveler over that section again to clean it up. Also - it helps to have sharp tools. If the beveler isn't sharp, its much more difficult to get consistent cuts, because you are having to force it through the leather,
-
Thank you sir. I agree, the psalm swell on that handle is what attracted me to it (and a low price for an old beat up hammer.) When I refinish wood, I try to leave as much original character as I can. I'm really happy with them.
-
Thank you sir. Yea, I have a feeling there were some kids/grandkids involved, playing in the garage and about beat that hammer to death. Someone was definitely pounding steel with it. They split the handle half the length of the shaft. But it’s back in business.
-
I agree. My hammers have a few pits also that I decided it wasn’t worth taking off that much material. - it’s really neat that was your grandfathers, and it’s still In use. Definitely an heirloom tool.
-
Thanks. I certainly enjoy using these tools with some history and character.
-
First inlay work
Littlef replied to Stetson912's topic in Purses, Wallets, Belts and Miscellaneous Pocket Items
That’s good clean work. It looks nice. I’m sure that was challenging, being an irregular shape with lots of little curves. -
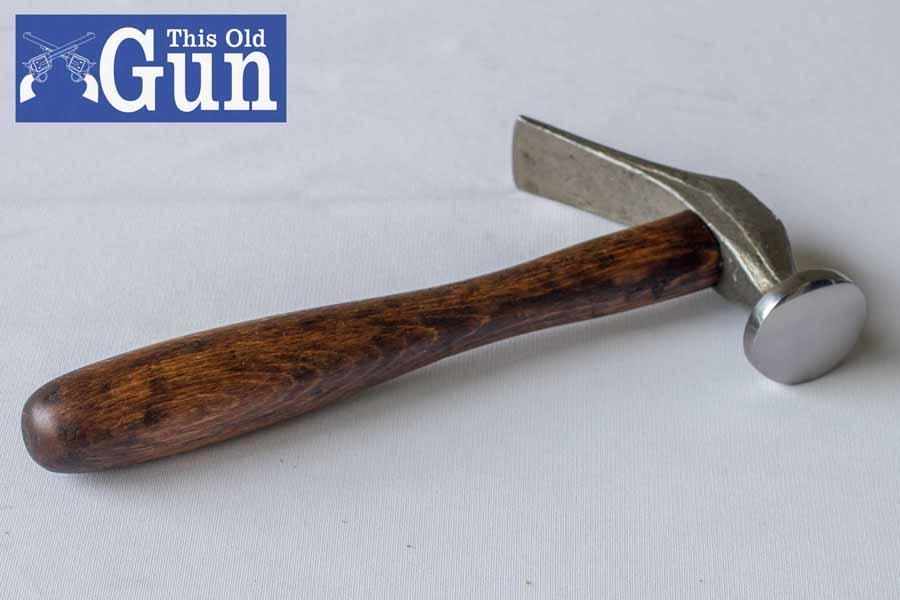
We were discussing cleaning up old tools the other day. I just added an old Cobbler’s hammer to the kit. Here’s what I did to this hammer – (and the other previous ball peen and tack hammer.) The heads were loose and rusted, so I pulled them off and soaked them in evaporust for a day. Then I took a metal file, and filed off all the gouges and pits from the working faces. I then sanded off all the tooling marks with 80- grit paper, and then worked through 120, 330, and 400 grits. I used my dremel and gave it a final polish it to a mirror, which is overkill. The handle had paint and grime, so I wiped on some paint remover, and washed off the paint splatter. The handle was split, so I pried the crack open to get some wood glue in there, and clamped it closed for a day. Then I sanded the rough gouges, and splintered parts with 150 and 330 grit paper (I was out of 220.) I put a couple coats of pure tung oil finish on the handle. The head has a steel wedge glued in place, so I just left it. I sawed a new channel next to the steel wedge, and I drove in a new wood wedge to secure the head in place. Two corners of the head/handle joint still had a little gap, so I cut two small square wedges and drove them in place. The head is rock solid now.


-
along those same lines, Another option: I don't have a bench grinder or a buffer, but I do have a handheld dremel tool, which has grinding wheels and buffing pads. Its sufficient for the "little" bit of occasional buffing and grinding I need to do.
-
While its hanging, I might try to lightly mist it with water using one of those fine-mist - continuous spray bottles. the little bit of water could help give it some elasticity, and the bit of added weight from the water might help pull and stretch to flatten some of the folds.
-
Nice, That's a good lookin arm guard!
-
Looks Good!!
-
Neck Knife Sheath
Littlef replied to Stewart's topic in Gun Holsters, Rifle Slings and Knife Sheathes
Nice looking neck holster. and a neat little blacksmithed blade -
Pink?
Littlef replied to toxo's topic in Dyes, Antiques, Stains, Glues, Waxes, Finishes and Conditioners.
I got nothing. That'd odd. I have a holster that I made with a usmc black exterior with an oxblood liner. Its vivid deep red. Normally I just use oxblood to mix with browns to bring out a reddish hue. -
Pink?
Littlef replied to toxo's topic in Dyes, Antiques, Stains, Glues, Waxes, Finishes and Conditioners.
paint and dye won't mix. Oxblood makes a very dark - very pretty red at full strength. I used the search parameters on this forum, and found a prior thread: it said, "You can also make pink by diluting red about 10:1 with denatured alcohol. 90% Isopropyl will work just as well." I'm sure It'll take a bit of experimentation to get the shade you are looking for. -
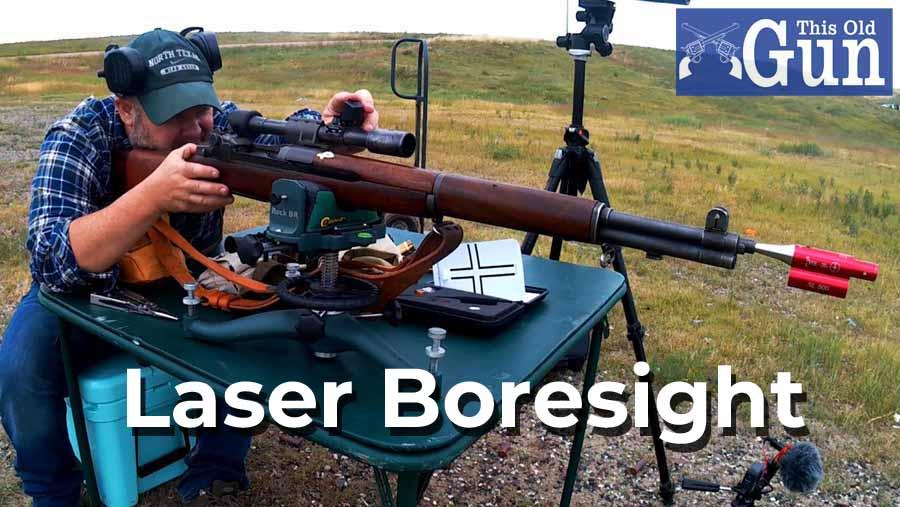
Shaded Reflector box for a Laser Boresight. (Barely Leather Work)
Littlef replied to Littlef's topic in Show Off!!
Thank you sir. Mother necessity at work. shooting out on the plains with flat land, and no shade. I just can't see the laser in mid day. Problem solved. -
Shaded Reflector box for a Laser Boresight. (Barely Leather Work)
Littlef replied to Littlef's topic in Show Off!!
Thanks Dwight. Thats not a bad idea. I might have to think about how to refine it to look a bit more professional. Its certainly really helpful having it. -
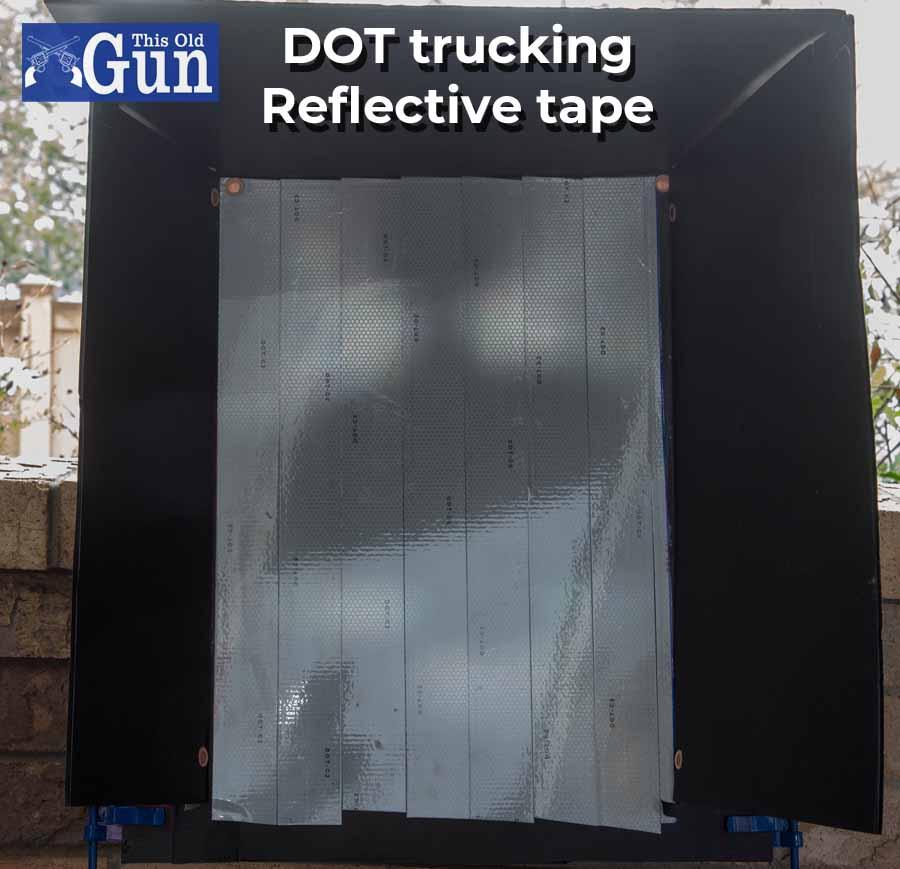
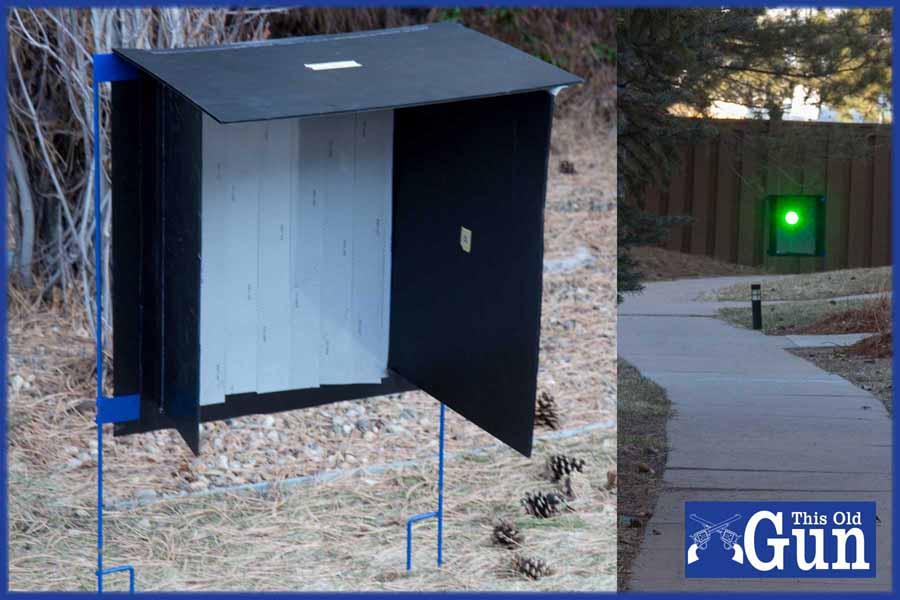
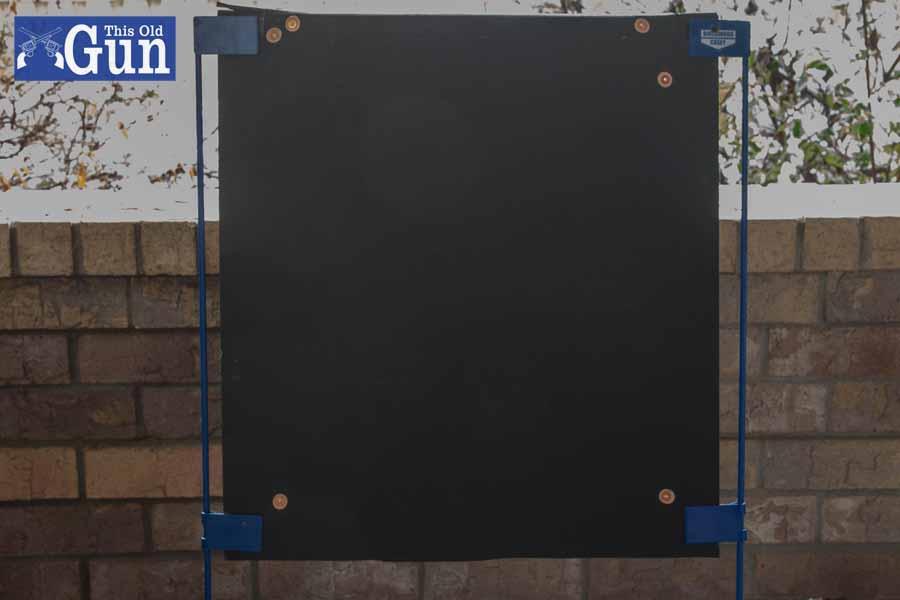
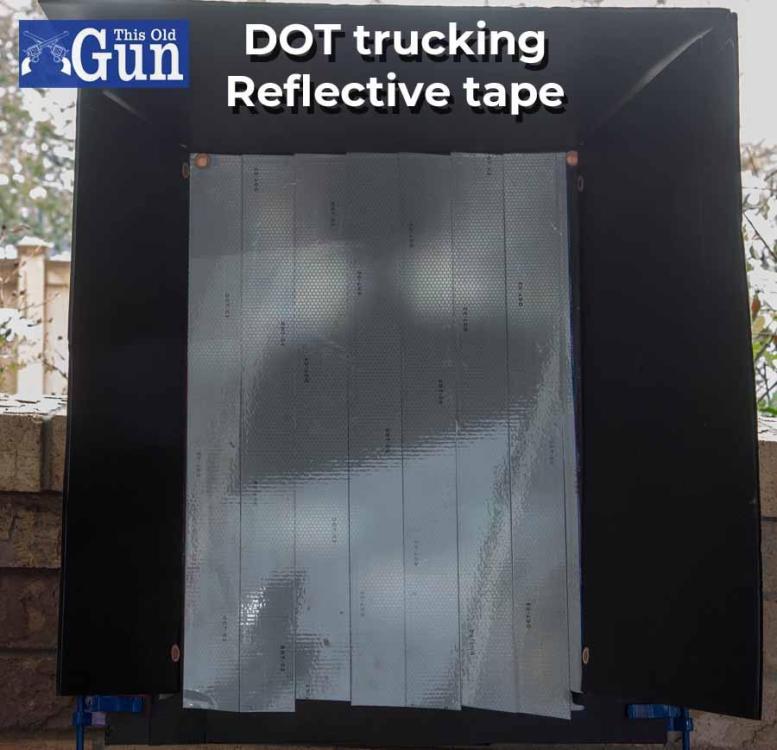
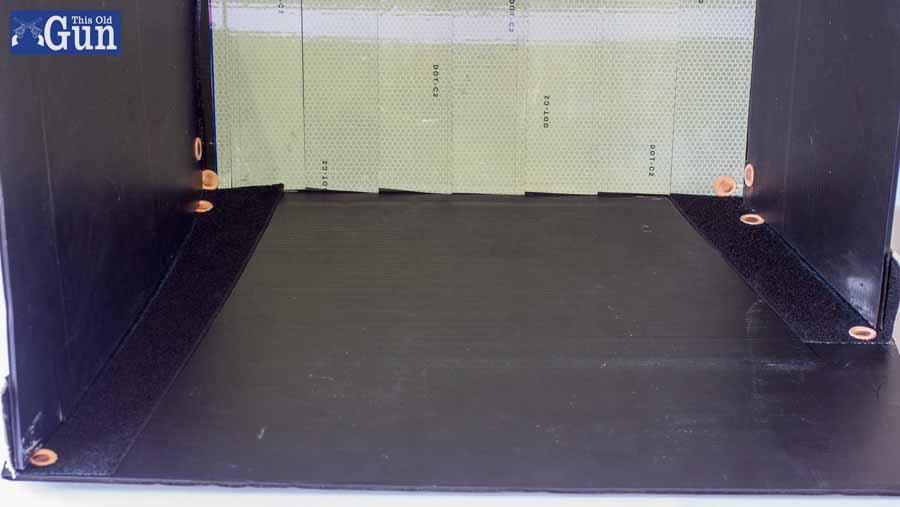
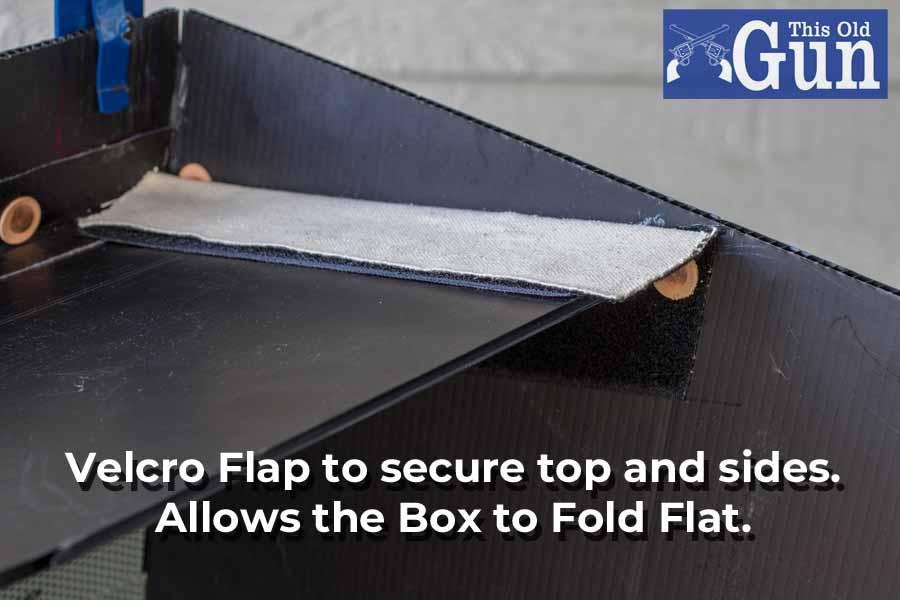
This barely even qualifies as leather work, but I was impressed how well it works, and thought I would share. When I go out shooting, its always out in the mid-day sun. If my sights seem to be off, I have a boresight that inserts into the end of the barrel, and I can check where the barrel is pointing versus where my sights or scope is looking. In bright daylight it's really hard (if not impossible) to see the laser. Solution: A shaded reflector box. I took black corrugated plastic to form the back, sides and top shade. I used vinyl/pleather to connect the top and sides, to form a hinge, so it can be folded flat during transport. I used barge contact adhesive, and then I put 2 rivets with leather washers on each side of each joint to keep it from pulling apart in the wind. I used a flap of velcro to attach the joint where the top and sides attach, so it can easily be set up, taken down, and folded flat during transport. I used DOT reflective trucking tape to make the reflector in the back. In the bright mid-day sun, I can now see the green laser at 300 to 400 yards out, without optics. This is a handy tool. I now just automatically set it up with my steel targets downrange. If anything needs to be checked, it just takes a few seconds to insert the laser, and see how it lines up in the shaded reflector. Then make any adjustments needed. Works pretty slick.

-
Good looking blade Chuck!
-
That's neat. I've seen similar patterns on etsy. It would make a fun Halloween costume.
-
I think I might be tempted to use a product like a Sno-Seal, used to waterproof hiking boots and other leather outdoor equipment; especially if it'll be worn for extended periods through rain and weather. Adding any product can change coloration (usually darkening), and could potentially cause leather to bend or flex, so it's always advisable to test it first in an inconspicuous place.
-
YEA, that's beautiful!
-
Looks like a good functional holster. that's do the job. well done.
-
Good Luck! - One thing on doubling the foam. What I was finding is the foam can fold and make almost a 90 degree turn, whereas leather makes a larger curved radius when folding it, which takes more material to round the bend. When I glued 2 foam sheets together its much stiffer, and makes a larger radius when folding it over. It was more a factor of how the dual layers bend and fold that helped me, versus just a matter of really how thick they are. Although when I make holsters, I'm using 8-10 oz weight + 2-3oz liner, so its pretty thick.