Search the Community
Showing results for tags 'backpack'.
-
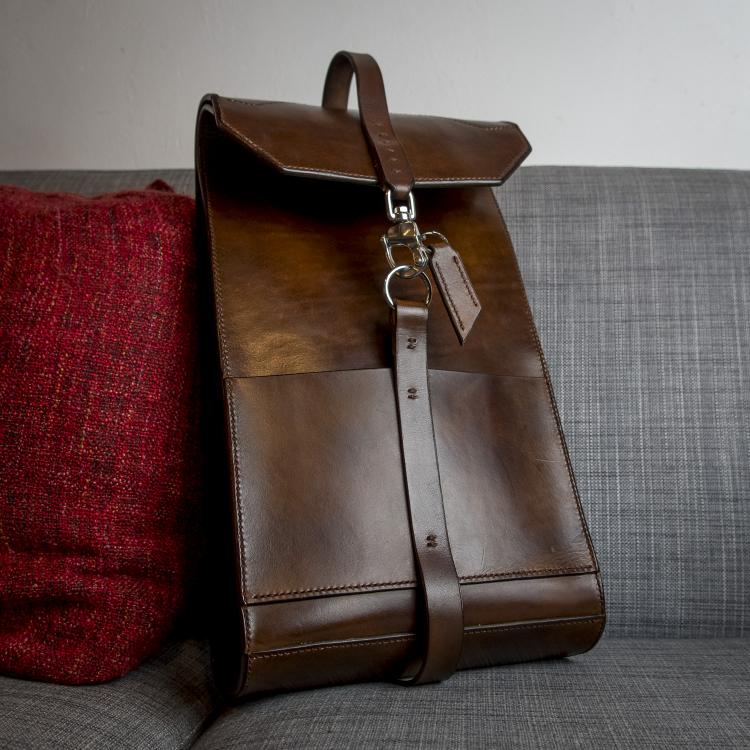
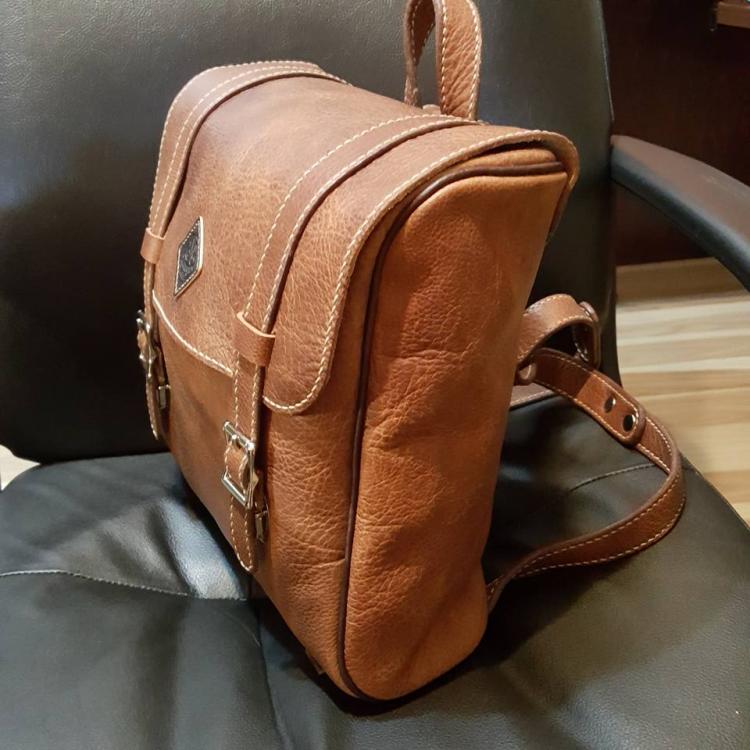
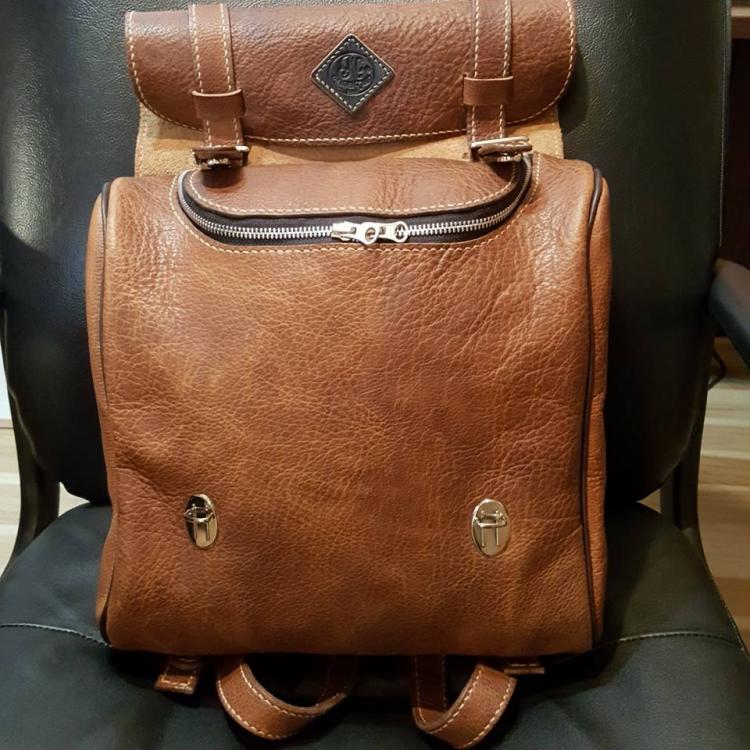
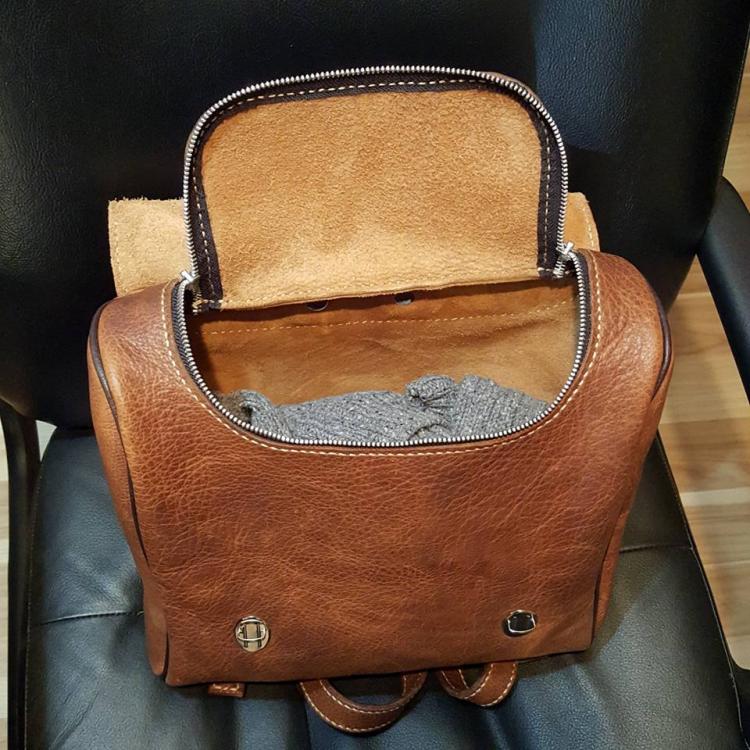
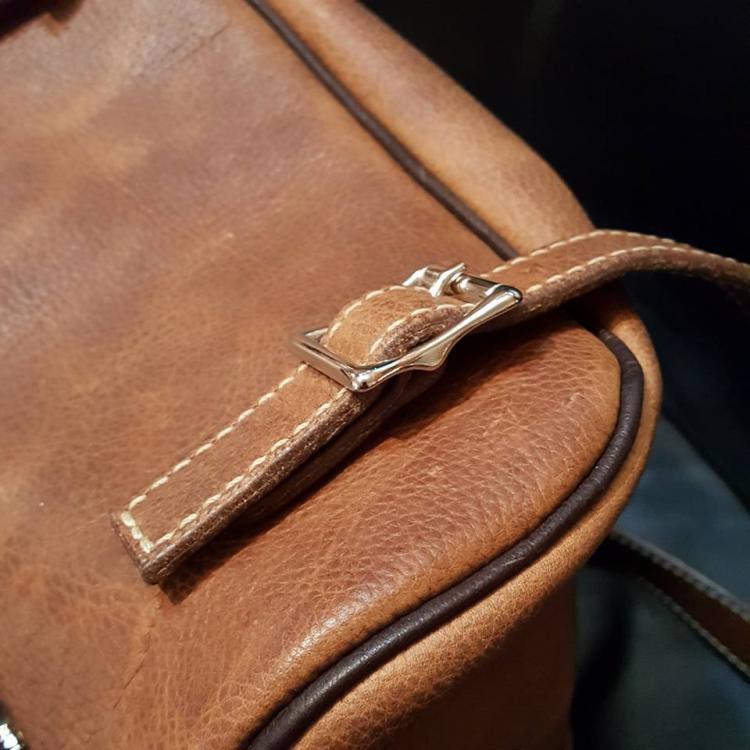
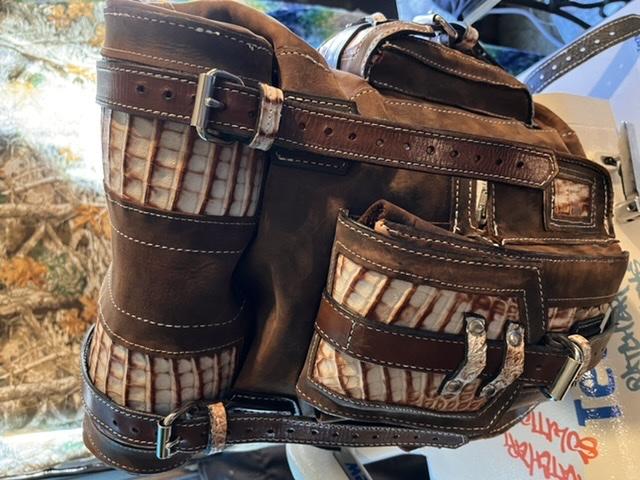
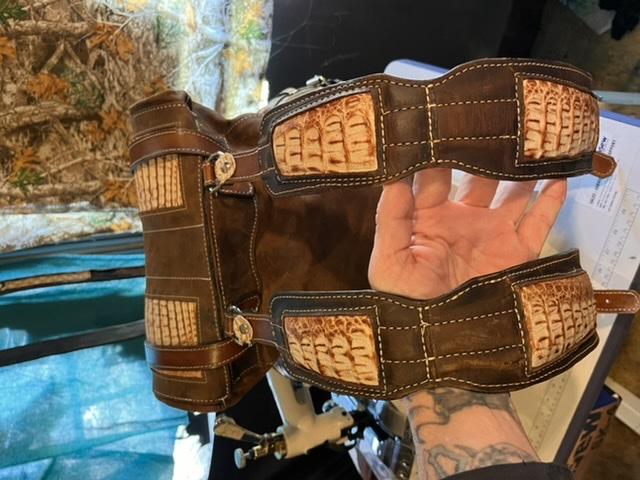
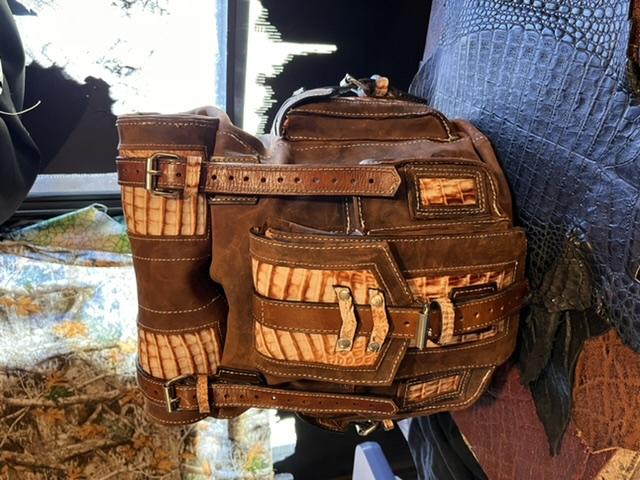
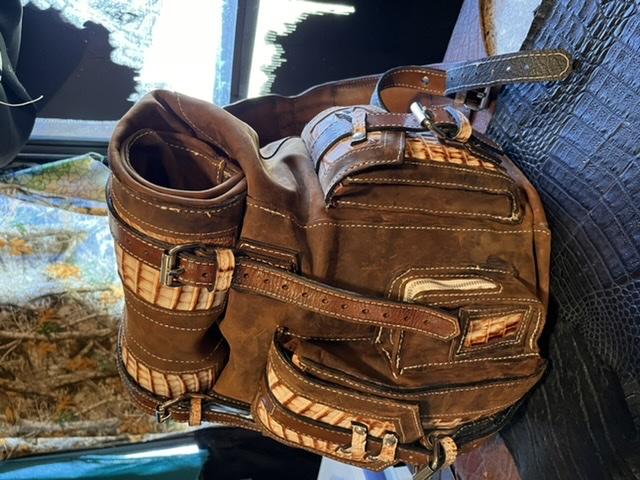
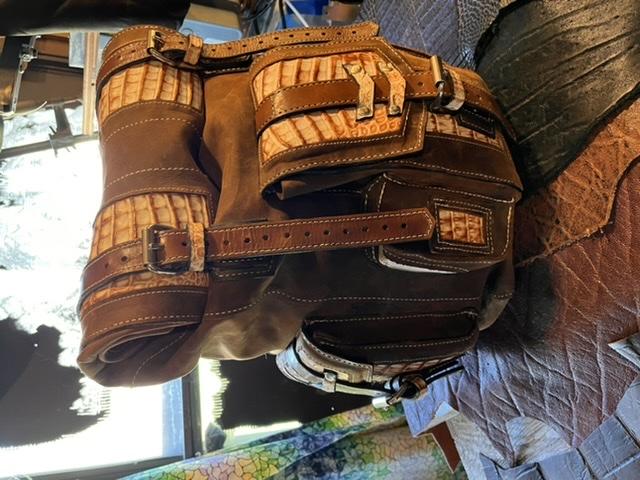
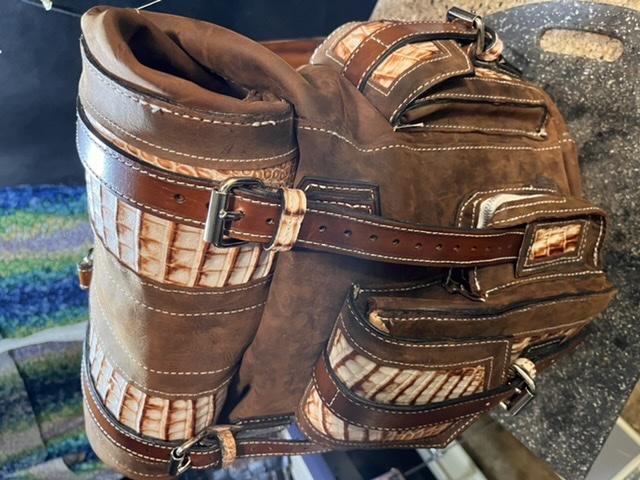
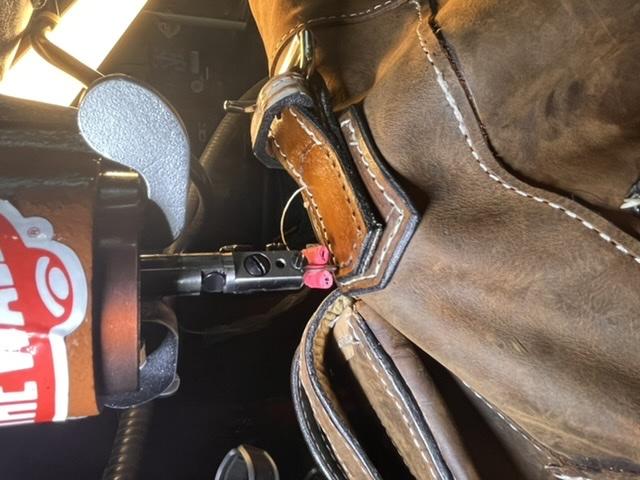
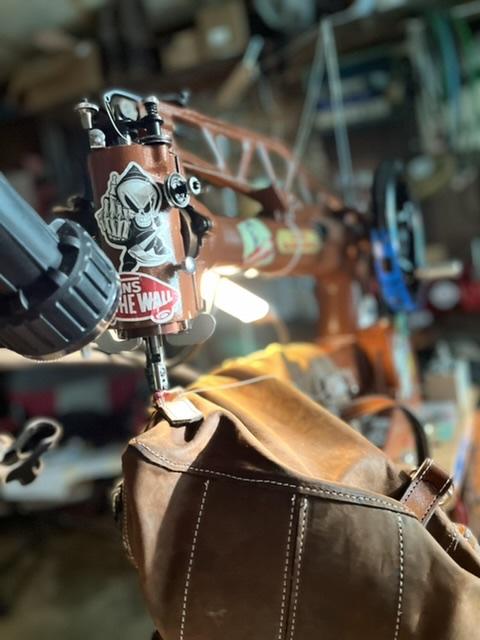
Finally finished up this Caiman/oil tan roll top backpack. Original pattern called for hand stitching the entire thing. No thanks. Stitched entirely on my 29-18 patcher.
-
Hello All, My next project will be a backpack and right now I envision making it a turned bag. Unfortunately, that will make it very difficult to add a divider so that there will be two (or three, possibly) compartments.If you sew the divider in first, the bag can't turn. Sewing it in after turning is a bit of a nightmare, in my limited experience. You can't see what you are doing, and your hands are always in your own way. All I can think of at the moment is to sew in a flap before turning - maybe something 1" wide that runs around the perimeter where you want the divider to go, and then after turning sew the divider to the flap you put in. I guess it might be slightly easier, but still painful/slow/irritating. So, I'm wondering if anyone here has a tip or trick for more easily sewing a divider into a turned bag? Many thanks for any help given.
-
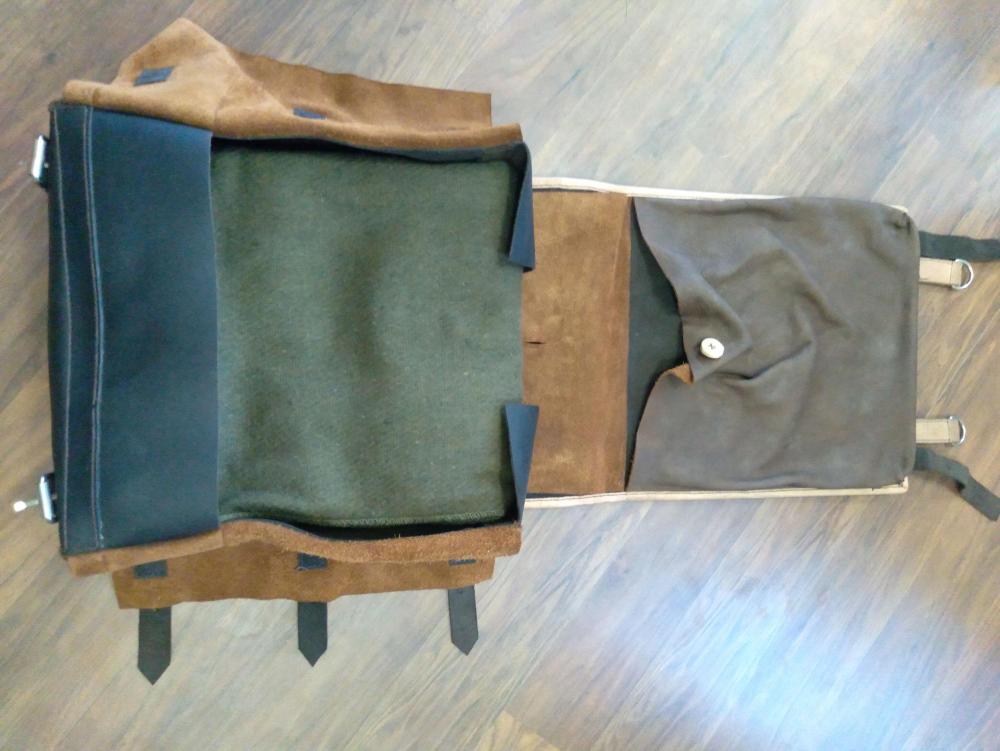
A utility weight leather backpack I made based off of ww1/2 tornister designs. Stitched entirely by hand.
-
Hello everybody, After many hours, of sweat, blood (needles into fingers ain't no joke) tears, and a considerable amount of swear words, usually after stabbing my fingers...I 've finished this backpack for myself. The leather used, is a waxy leather called "crazy cow" so hopefully it will be more water resistant. I have changed the original pattern a bit , by removing some of the decoration pieces, made padded shoulder straps, added an extra pocket to the left where it was supposed to be a water bottle holder, made an extra inside pocket, with a D ring to attach keys, added a "grab handle", and added some extra rivets to strengthen the buckle attachments I only started leather work in 2020, so I am still learning. This have been the most challenging project so far, but I am very happy about the results, although I would do some things differently if I get to make another one. Let me know what you think, and obviously any suggestion is appreciated. Cheers Alberto
- 12 replies
-
- hand stitched
- backpack
-
(and 1 more)
Tagged with:
-
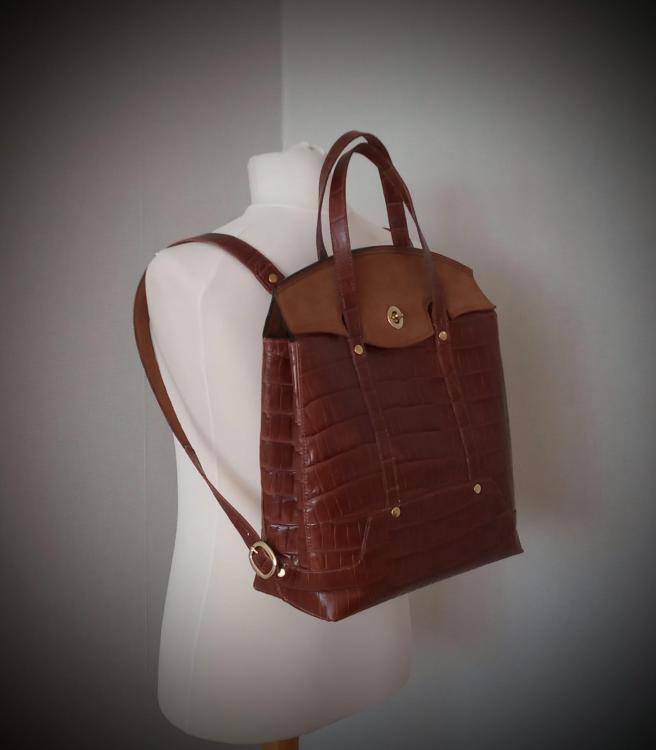
Hi from the UK, thought I would show off a recent project I completed for my wife. Hand stitched, mock croc and nubuck outer, lined with a taupe lamb leather, British brass fittings except for the turn button which came from buckle guy, not able to find natural brass finish turn buttons in the UK unless somebody knows better. I designed the bag myself and made up a paper and card prototype before cutting any leather, the bag is large enough fro a 14'' lap top
- 5 replies
-
- made in uk
- backpack
-
(and 1 more)
Tagged with:
-
Hi All, I'm hoping you kind folks have some insight to help. I'm looking for advice on lining. I have a complicated backpack-handbag convertible project I’m working on. There are pockets on both the exterior and interior so this bag is going to need a lining with some structure to it. The client had initially prototyped with a cork-faced fabric, but I found it flaking off. The exterior I think is going to be a 2-3oz veg tan, maybe thicker. Overall dimensions are 14”w x 16”h x 6”d. What kinds of linings would you all suggest? Thanks!
-
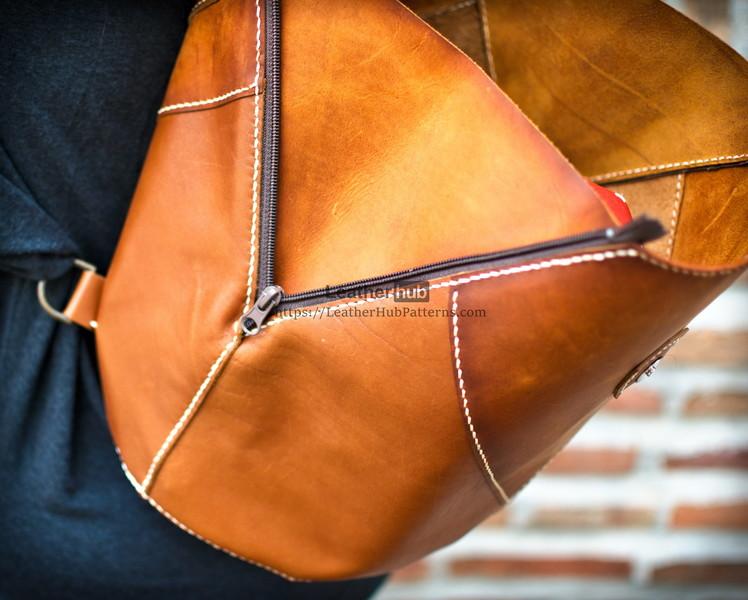
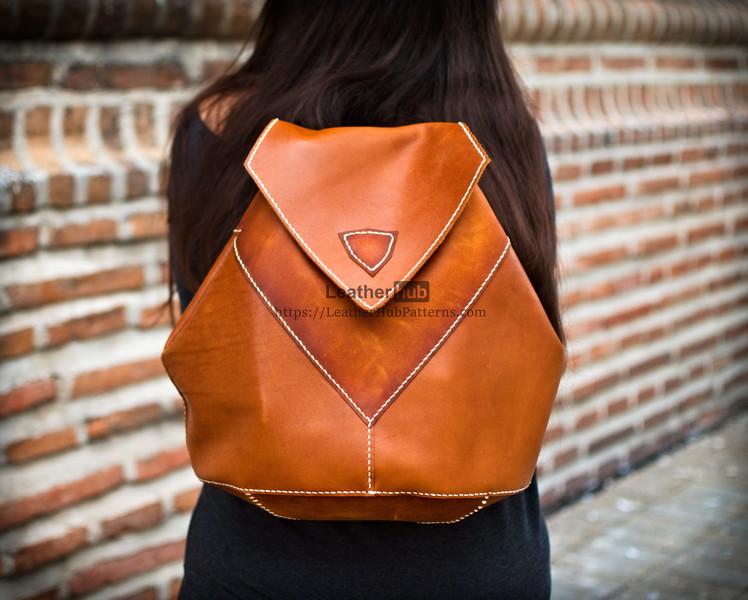
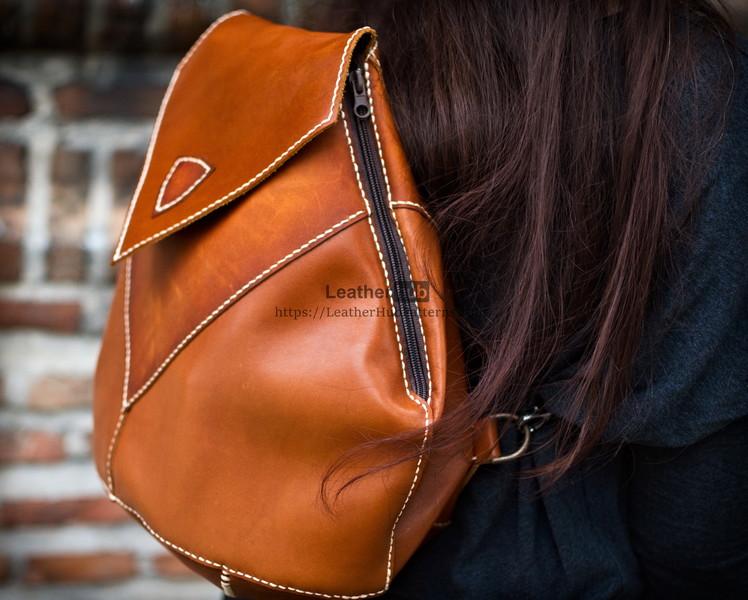
Hello! This is another backpack I made for my girl, you know ladies, they can't get enough of them. I was playing Metroid for two weeks ago and somehow after I finished this I found that the angles of the bag look a bit like Captain Samus's mask. The inspiration might have been unconscious or it may have been something else. Nonetheless here it is
-
Hello all leatherworkers, I was recently asked by a fellow member id I had a pattern for a backpack I made. So after putting it together for him I thought I should also share with the community. It's not a full size pattern, it is drawn on 1/4 inch grid paper so it will have to scaled up. I also added my construction process/instructions with the pattern. I hope it makes since. Let me know what you think. Here is a picture of the backpack I made. The link is: https://docs.google....dit?usp=sharing https://docs.google.com/file/d/0B880XxS2yBYDTnBQc3hIUEtiNms/edit?usp=sharing backpack pattern.pdf Backpack Construction.pdf
-
I am in the process of making a back pack, and I am going to make the top a cinch drawstring and a flap, like the picture below. I wanted to add a little flair to it by making the cinch drawstring a bolo tie. Has anyone done this before and did it work? Does anyone think this wont work? What i am worried about is that the bolo tie wont have enough tension to keep it closed. Thanks for the responses
-
This is my first leather backpack I made from 3-4oz garment grade & soft top grain upholstery leather, with each zipper pouch having a pocket inside. I used my Tacsew T-111 and my Cobra class 4 for the sewing, and brass rivets for reinforcement. 3/16" foam sheets for the padding in the back area, and the straps. I have thick skin so feel free to point out anything you see I can approve on! Thank you for checking it out
- 14 replies
-
Hi guys, After taking up leatherwork about 5 months ago, I'm now starting to get quite accustomed to making simple bags and small items like card holders and wallets. I'm really quite pleased with the way my latest project turned out and wanted to share it here for critics and advice as to things that could be improved in future projects. This is fully hand-made and hand-stitched from 2.3mm thick veg-tan leather (just under 6oz. leather) and 1mm synthetic thread. I used Fiebing's oil dye (walnut) on it as well as neatsfoot oil and gum trag for the burnishing. The leather is very stiff on the sides (gussets?) and I'm hoping it will loosen up with time.
-
Hi all Another question about this cursed backpack of mine. I'm currently sampling the straps and because of the stiffness of the saffiano, it's totally crushing the nice dunlop foam I've used to try to pad them a bit. So then I tried to add some footware foam that I bought but that is even worse. It's so hard that I may as well not have padded it. Plus the nice foam is pretty much non-existent again. Not to mention, when I use the thick foam, I get a load of really awful crinkling happening on the back of the strap. Because of the coating on this leather, I'm worried that it will crack and peel off fairly quickly, which won't please my client. Does anyone have any recommendations of what else I could try to use? I'm thinking some thick felt might not compress too much but I haven't the foggiest where to get some in Singapore. Might have to do a run around Chinatown or make some calls at lunch tomorrow to see if anyone will sell me a bit. Thanks again! Betty
-
Finished this backpack yesterday, it was a nice challenge with the welt and the eased zipper. Fully hand stitched with #277 bonded nylon thread at 5spi. Used a great hide called Sunset Rage from the Tasman Group (Acadia Leather) - soft, supple and durable with a nice top grain pattern, it has a great feel. Overall pleased with the result, and great skill builder and learning piece.
-
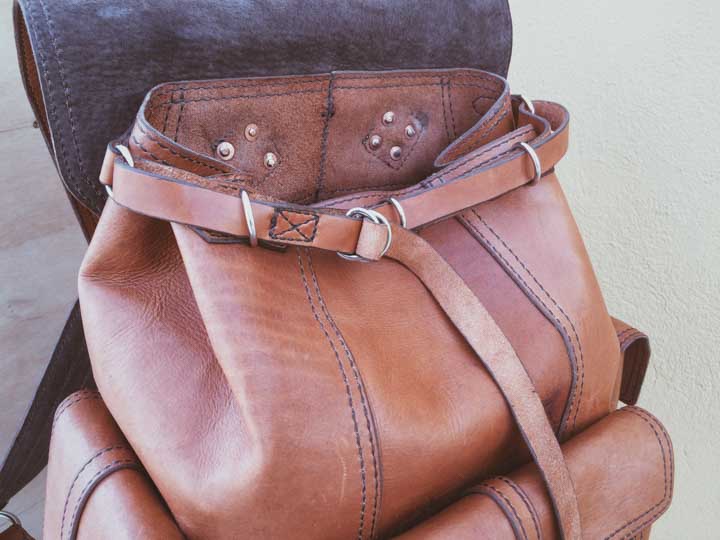
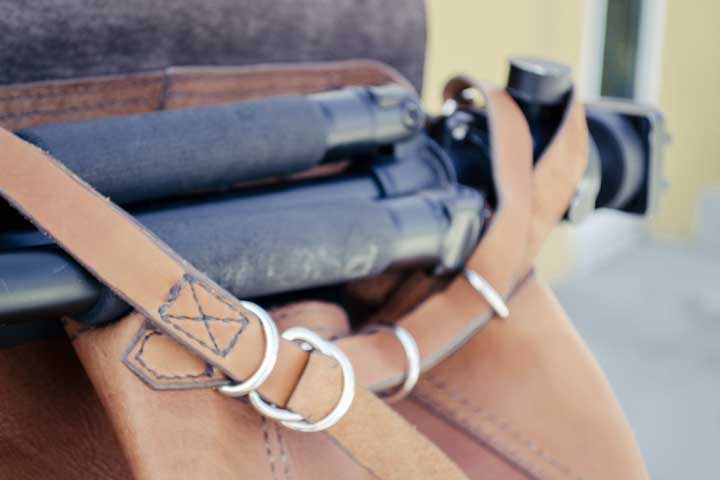
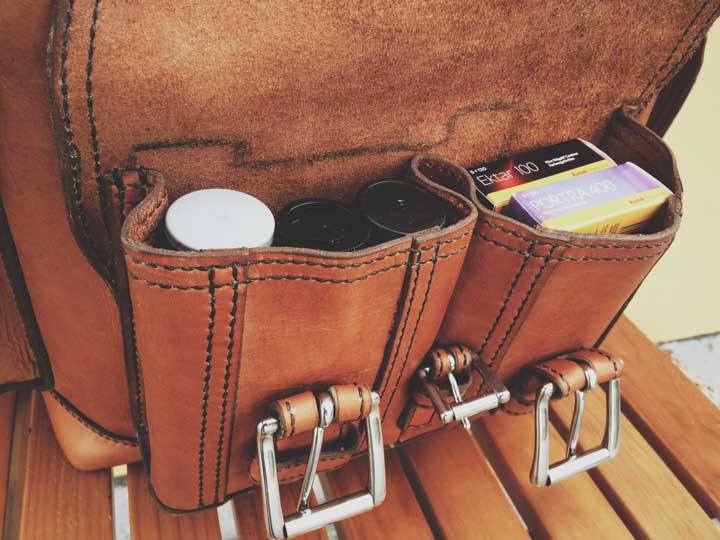
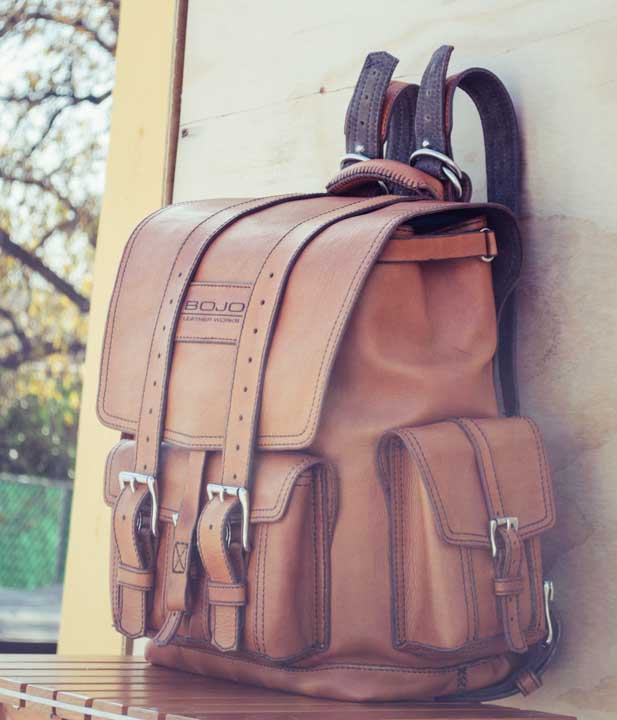
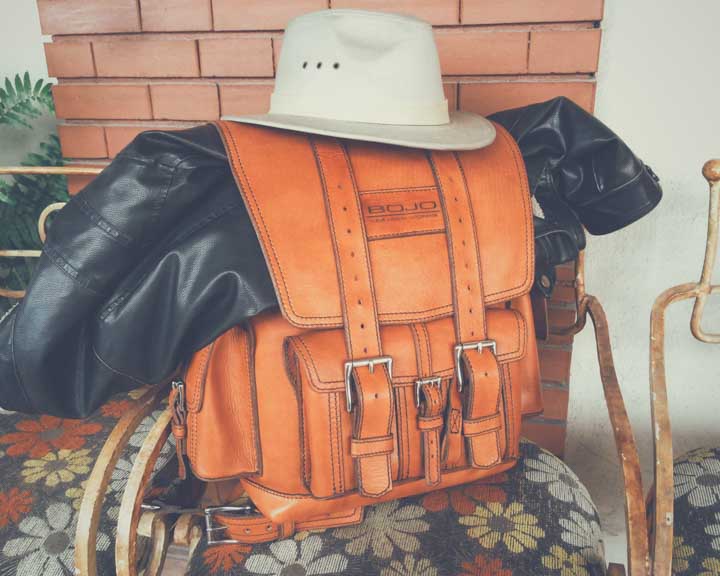
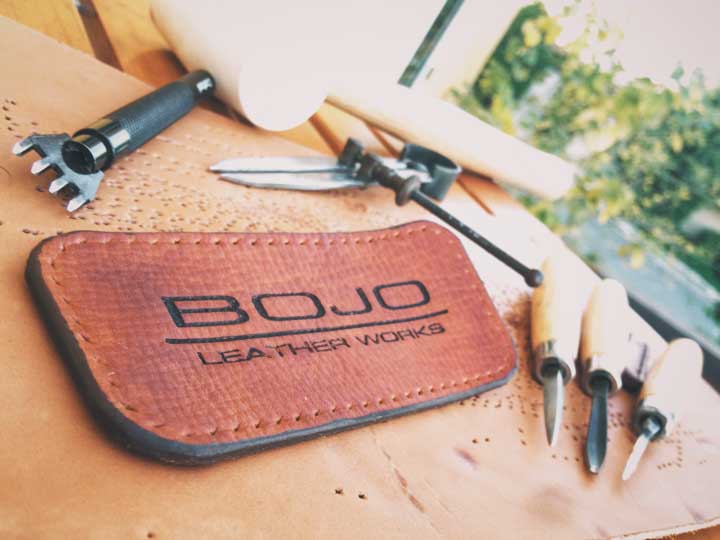
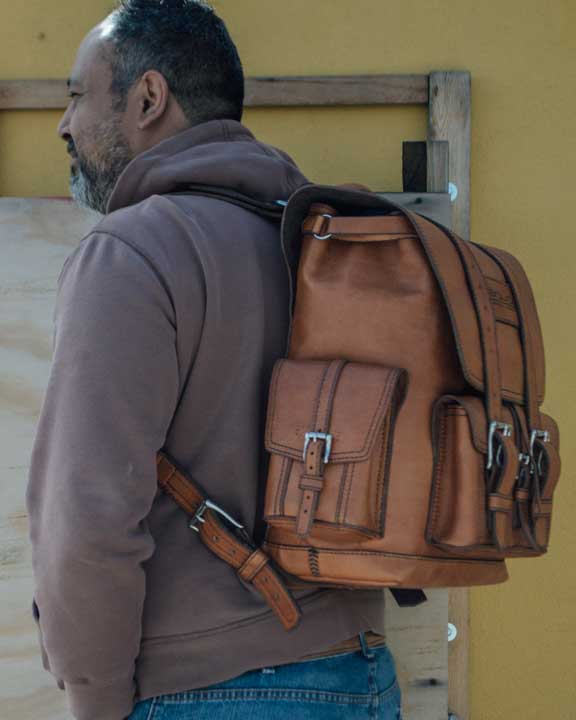
Hi, everyone! Efraín here, from Monterrey, Mexico. I joined the group because I've gotten somewhat serious on this as a hobby and want to learna bit more since I have some other projects in mind. I just wanted to say hi and introduce myself (and show off a little, to tell the truth). I'm a software engineer, with a very serious film photography hobby that led me into this other hobby of leather work. I started by wanting a vintage looking sturdy backpack for my cameras. The obvious choice was to purchase a leather bag, but the prices I saw for what I liked were out of my league. I tried to convince myself that the price was worth it, so I started looking in Youtube for reviews about Saddleback Buffalo Jack, Satchel &Page, etc... one thing led to another and soon I was watching at videos on how to do saddle stitching. I took the jump, purchased some tools and thread, built my own stitching pony and started practicing my stitches on some scraps as I went and made the pattern for my backpack with ideas borrowed from different models. Bought some leather and started the project. (I have the pattern drawn at scale and can share if you want, but I made modifications to the cut pieces once I started putting them together, so the pattern does not represent the actual, finished bag). The logo was made with a laser print, which I engraved by hammering a little screwdriver into the design after dampening the leather with some water. The leather I got for it is called "sillero" here in Mexico, meaning it's the one used for saddles... by Tandy's buying guide it's somewhere between 8-10 oz, so, you can guess it's a heavy bag!!. I'm sure it will be a blast to go through the forums and get to know all of you. Here are some pictures of my bag and the process (the color is a bit off in some of them because of lighting and filter process in the iPhone). I hope you like'em!
- 11 replies
-
- introduction
- newbie
-
(and 2 more)
Tagged with:
-
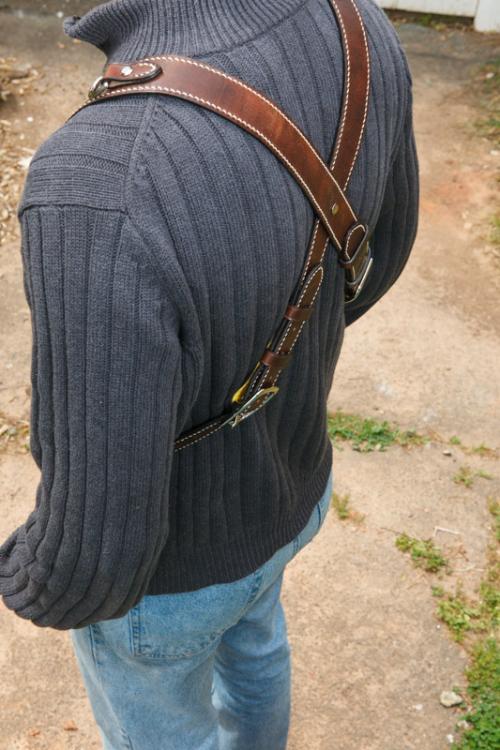
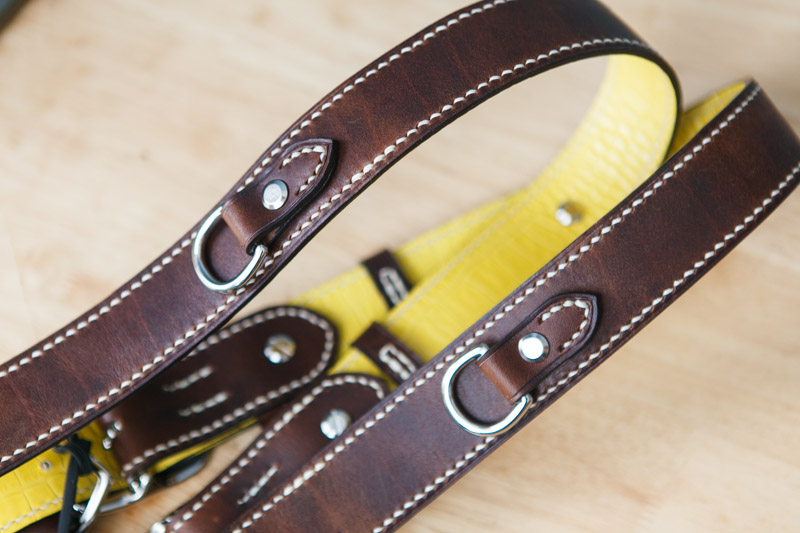
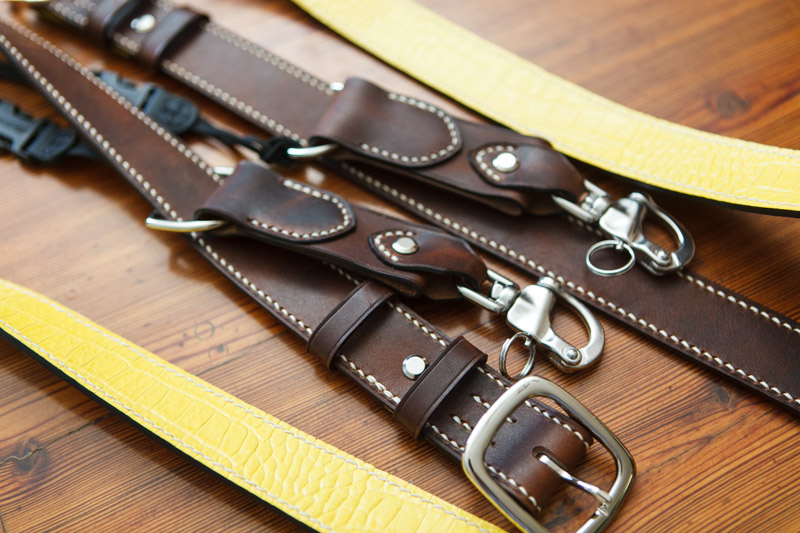
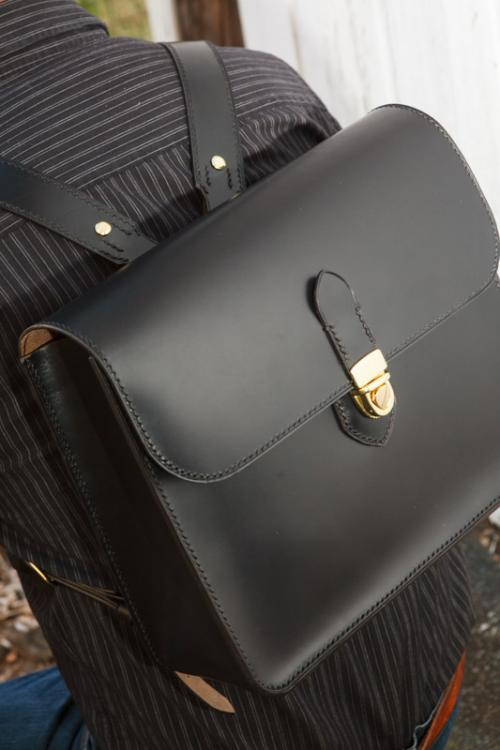
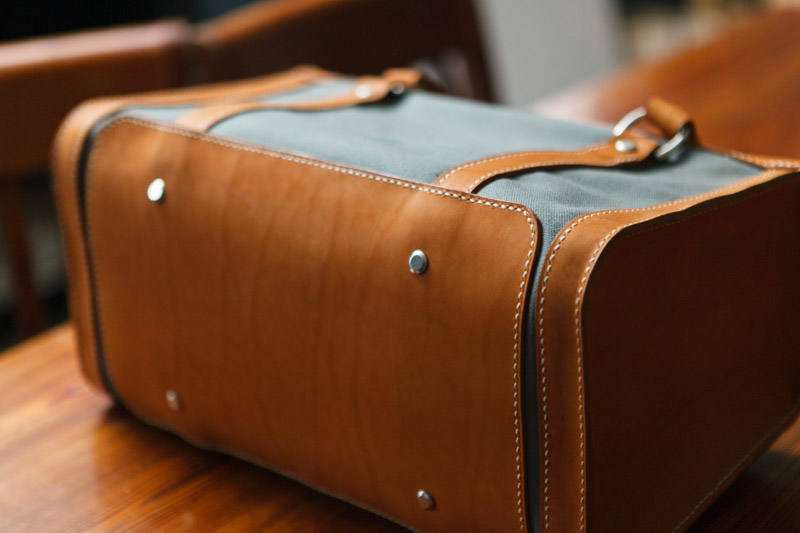
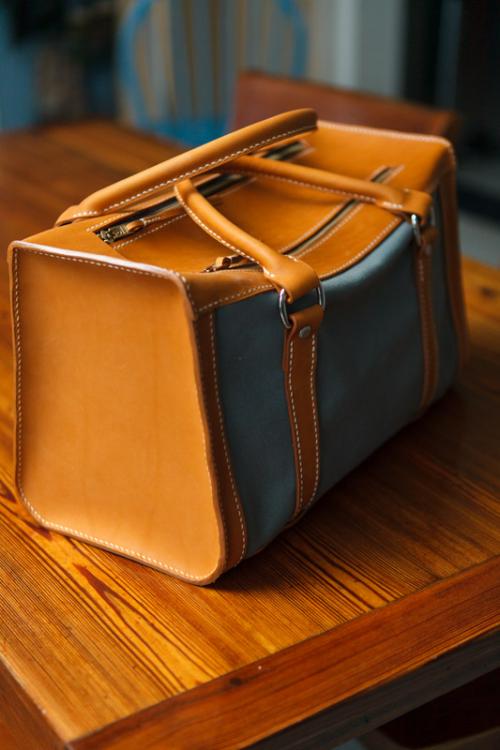
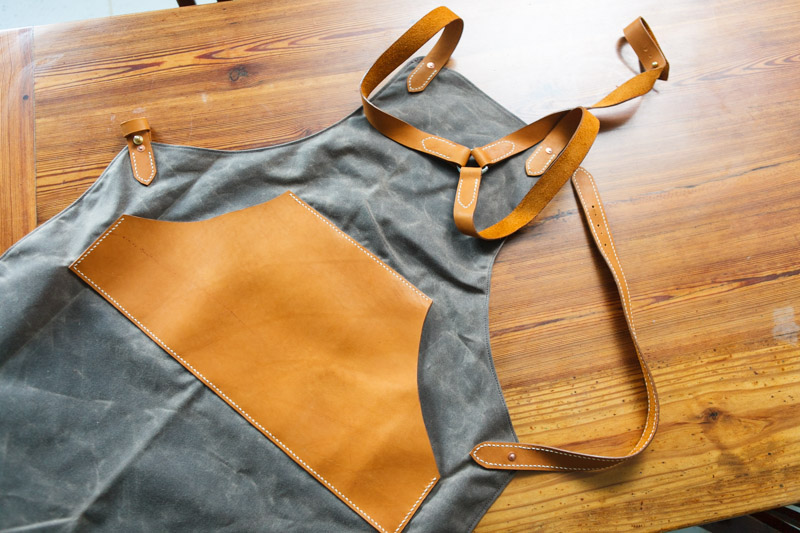
I haven't been on here much lately, because I've been occupied with buying a Singer 111w153 and refurbishing it. Okay, let's be real... I obtained the Singer because Ole South found it for me and made sure it was running, and then I watched my extremely helpful husband get it fixed up. I'm about to start ruining some leather and canvas with it as soon as I finish my current project. Most lately, I finished this camera harness, edge creased with my makeshift on-the-cheap creaser.* Horween Derby on the exterior, and croc-print from SLC on the inside, all hand-stitched. Chicago screws and most of the other hardware from BuckleGuy. Nautical clips from ebay. Before that, I finished up a black backpack made from Horween chromexcel horse hide. Practicing my minimalism, since I'm really bad at that. Before that, I made a small duffle protoype - the principle reason why I decided to get a machine. I want to make some of these, but they take so long to hand-stitch, and stitching the canvas by hand is harder than stitching leather. This one is marred principally by the zippers, which hardly work at all. :-P Also, an apron, pattern courtesy of Ole South again. *Maybe not the best solution for everyone, since it required threading the tips, but here are the links, for anyone who is interested: http://www.ebay.com/itm/Brass-Soldering-Iron-Tip-Edge-Marking-Creaser-tip-Leather-Edge-Decorate-DIY-Tool-/181724887923?var=&hash=item2a4fa5bb73:m:mrlRVXFxAGDiX0as75-SLPAAnd here's the handle:http://www.amazon.com/gp/product/B005WAXLPY?psc=1&redirect=true&ref_=oh_aui_detailpage_o03_s00 Criticism welcome, of course.
-
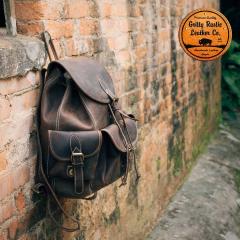
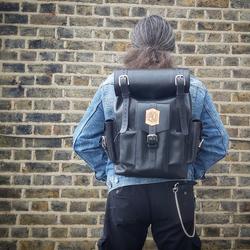
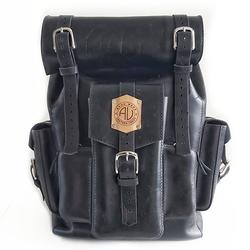
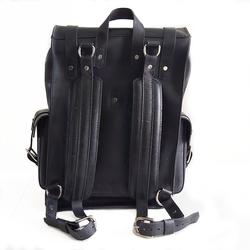
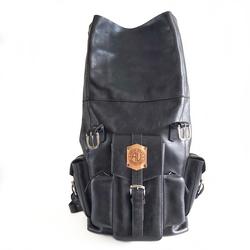
Dark cocoa classic style leather backpack
Grittyrustic posted a gallery image in Our Leatherwork Galleries
From the album: Gritty Rustic Leather Co. ~ Showcase
We took this shot with a Canon 7D Mark II at a very old rural village in China. 200 year old mason work red brick wall stained with moss, mold and other natural ageing coloration.© Gritty Rustic Leather Co. All Rights Reserved.
-
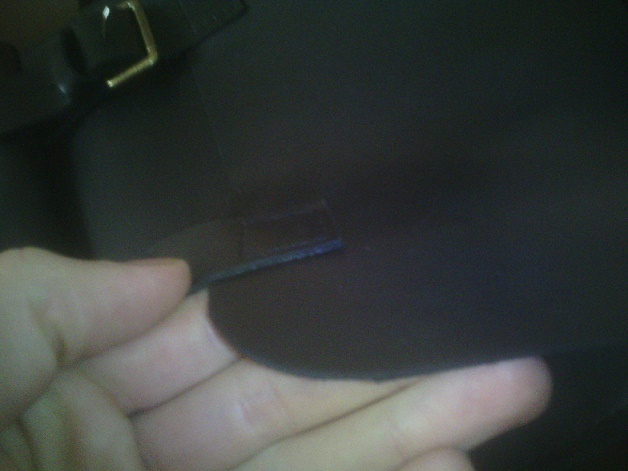
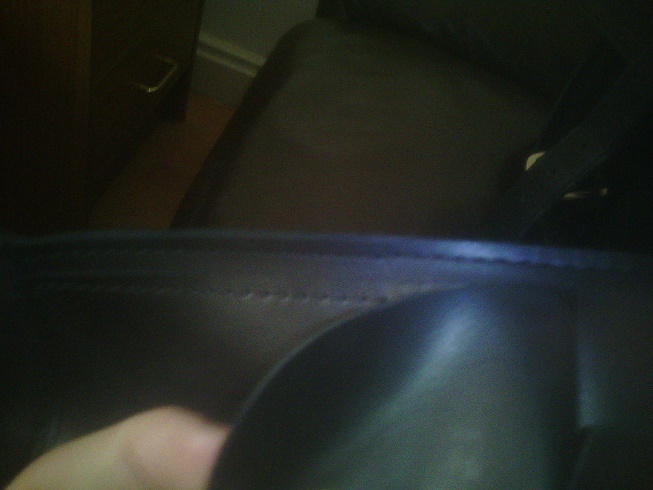
I am lacking expertise in leather making and would appreciate your comments. Exhibit A is showing the overall look of the bag. The whole bag is made of ~2 mm thick leather (easy to fold for storage). Shoulder straps are ~4 mm. Exhibit B shows the main problem with the front buckles: (i) they are too thin (~2 mm) and therefore bend (ii) they have no stitching on the edges further compromising the rigidity. It makes the buckle hard push through the loop, as it constantly bends, it also looks ... em "unfinished". Exhibits C and D also show "flaps" of the bag that have no stitching on the sides. Again, in my eyes, this makes the bag feel "unfinished", although I am not sure how functionally justifiable this intuition is. I am considering for asking for corrections to be made and would appreciate an unbiased professional opinion.
-
Hi, A friend asked me to make him a nice backpack with a draw string opening on the top with a fold over cover. Could anyone suggest to me where I might look for some patterns that might work? Thanks!
-
Hello, I'm looking at making some traditional heavy canvas canoe portage packs and am planning on using leather for some shoulder straps as well as some straps that cinch the pack down. The leatherworking aspect of this project I hope should be relatively simple which is good because I'm a total beginner with leather. The bit I'm feeling unsure about is what sort of leather should I be looking at for this sort of application? For anyone not familiar with portage packs, think short, wide, backpack that can hold quite a bit of camping gear. It *will* be subjected to some rough environments. It will get wet, it will be in the sun, etc. I'll need a handful of 3/4" wide straps that are 8-16" long, probably 12 oz leather. Shoulder straps will be a couple of feet long, ~ 2.5 inches wide, again likely 12 oz leather. There will also be a bunch of small pieces in the 2"x2" range for reinforcement where the straps and buckles attach to the pack. The reinforcements will be hand stitched to the canvas and then the straps rivited on. I know how to do basic leather hand stitching and that should be all I need for sewing skills (on the leather end). I don't have any real plans for any sort of tooling although if I get really motivitated I may cut out some small oval and carve a logo into it and stitch onto the back. I'm far more concerned with functionality and durability in the back country than looks. Anyway, any advice about type of leather (what part of the skin, tanning method, etc) and finishing of the leather (stains, oils, etc) would be most appreciated. As far as I know, the tandy about an hour away is the only "local" supplier I have (Atlanta area) but I could be wrong. Thanks -Dan
-
Hi all, I'm very new to leatherworking and am still finding my way around. I've made a couple of smaller items from offcuts, but am now looking at a larger project. I am hoping to build a backpack based loosely on the front pocket backpack from Saddleback Leather: http://www.saddlebackleather.com/frontpocketbackpack One of the main critiques I've seen of this particular bag is the weight, so I thought I would use Kangaroo Leather instead. As I live in Australia, it is fairly easily obtainable, and from what I understand it is quite strong. I'm just not sure whether it is right for this application or not, so I am hoping that I might be able to get some advice to make sure I'm heading in the right direction. Does anyone have experience with this leather, e.g. pros and cons, or has some idea of how it might go with a largish bag of this kind? Thanks in advance for your help! Daniel.
-
"Mother's Day-out" by Imadlak (logo embroidery done by my lovely wife Janint) =============== Hello to everyone, It's a pleasure to finally have something to show you guys after repeatedly returning here for guidance for my first leather projects! I'm Gergo, 28, from Hungary. I guess insterest in leatherwork came to me as to most of us guys here: to create something we can be proud of, with such a noble material, and to please and perhaps impress the women in our lives (please tell me if I'm wrong ). The first bag that I made - to my Wife - a beautiful Patent-Croc embossed evening tote, which I will upload shortly after this one, was the result of about a year's worth of "not knowing where to start" and watching 2-3 minute Youtube videos of Designer brands' crafting processes (at least the process they advertise to the public) eagerly trying to catch the techniques and methods from there, along with this forum, where a lot of my unanswered questions found a resolution. Then came second, the bag that I've been promising for years to my Mom, in order to replace the one bag (below) she's since completely worn out: (as you can see, it's torn and faded in places... and it has lost most of its elegance and beauty...) Inspiration: my Mom's original bag (as seen above), Gucci Vintage Backpack, Gucci Backpack with Woven Strap Materials: Body: Soft Torino Lambskin - brown (chrome-tanned @ unitedleather.com) Base & Trims: Crazy Horse Cow Skin - brown (veg-tanned @ unitedleather.com) Lining: French-style striped canvas burgundy-beige Zippers: Antique-brass double RiRi zipper (ouside) and Brass RiRi zipper with silk-tape (inside) Hardware: all Antique-brass hardware made from solid brass (@ buckleguy.com) Features: H-35cm x W-28cm x L-17cm Outside Double-zip pocket Drawstring closure with snap Inside Zipper pocket Snaps on inside to attach division compartment for custom organizing Design-process: Firstly I downloaded some pics online from various sources of the bags that inspired mine, and used my measurement needs with the help of Google SketchUp to scale the bag down and take measurements I used those measurements to make the cut patterns for the bag and the various pieces it is made of (about 30pcs + fabric lining + hardware) Using a handy tool for Sketchup, I printed out to-scale patterns for the pieces that were too complex to draw with a pencil and ruler Some thoughts and lessons: If I had one regret while making the bag is to have started way too late (I gave myself 2 weeks for its finition) and did not have enough time to finish the inside separation compratment and to attach our logo. It was a real gamble that all the pieces fit nicely and the end result looks and holds great as I did not have the time to make a mock-up before the real thing. Realizing and discovering how to put everything together along the way did make it extremely exciting for me, as even with initial planning of assembly steps, at times I found that I had forgotten about something. This project taught me a lot about basic skiving, stitching and braiding techniques, and very importantly about knife sharpening, which was a game changer once I got the hang of it. Some mistakes during construction I was able to fix while others are there to stay. I find I should have made the bag a bit taller and stiffer to give it more body. The stitching was inconsistent on the thicker parts as my machine is not really adapted for that kind of work. Also the studs look awful - I guess they are meant for thicker projects, and cutting the stems shorter didn't help too much. But my biggest reward was the look on my Mom's face when I gave her the bag Thank you for viewing and please leave your comments and feedback below! Gergo
-
A customer requested I re-make an old backpack with a new design. I advised against the soft leather, but they were adamant, so I went ahead and made it. I used antiquing for the veg tanned, and regretted it. I only used it because the one they wanted me to copy was antiqued, but I realized later they wouldn't have cared if I had used normal dye. Oh well. The antiquing was smeary, and I made a bit of a mess with it. I think it will mellow as the leather ages, however. And then secondly, I found I needed a gift with only three days notice, so I whipped this together in a couple of evening and afternoon sessions. I still haven't gotten a high spi iron, and I just got smaller thread and needles (yesterday, not in time to use on this project), so oh well. But at least I thinned the leather down considerably this time. I thinned the veg tanned to about 5 oz. I think I'll actually buy some 2-3 oz next time. I didn't have time to make nice pockets for the inside, so I just added two basic ones. It's not really technically a wallet, in that case. More like a pouch. But it was a fun project anyway. *edit - what's up with that pigskin from Springfield? It's so different from the stuff I got from Tandy, before. Can anyone tell me why?






.thumb.jpg.6e25cf47d6b302656512e953d6c6e97d.jpg)
