Search the Community
Showing results for tags 'handle'.
-
As suggested by @Tugadude, here's a bit more information about the knife leather handle project. I didn't want to put more pictures in the last post since it was technically a "show off" post, so this is more of a technical description including the few jigs I made in order to get it to work. 1) A lot of small patches, each 1" x 1.5" were cut out from some veg tan leather and some black leather that I had. 2) the patches were soaked in water for about an hour or so, then left in a plastic bag in the refrigerator overnight (casing) 3) A model of the tang of the knife was made. The tang on this knife was wedge shaped, so I made a similar one in steel. 4) A compression plate was made. This is a small square piece of steel with an elongated hole in it. It will slide over the model of the tang. 5) a small piece of pipe was cut to a length of approx- 1.5". 6) two anti-surface-marring discs were made. I used some old gasket material, but the important thing is to have something to protect the leather from the jaws of the vise. One of those discs have an elongated hole. 7) Holes were cut in the leather patches, to make elongated holes. length of hole depends on where on the tang the patch will end up. 8) the patches are stacked on the model tang. We tried to alternate the black and veg tan patches. The veg tan patches were put flesh side to one another, and then two sets of those were stacked (4 veg tan total) 9) The entire tang is now covered in leather patches. 10) The anti-surface-marring disc is put on the model tang and it is backed up of the compression plate. 11) The anti-surface-marring disc is put in the open vise, the stack is then inserted, the pipe is placed over the end of the tang and the vise is tightened. 12) We compressed to approximately 75% of the original length. And we left the stack in the vise overnight. 13) The stack was removed from the vise. Due to the wedge shape it was easy to gently hammer out the model tang. Now there is a basic leather handle. 14) leave the handle to dry at least a day, there is a lot of moisture in it still. Once dry start basic shaping with a knife or a chisel or whatever tool you like. 15) Our knife blades are not intended for this type of handle, so I had to cut of the end and make a small slit with an angle grinder. In this slit I silver soldered a 3mm (1/8") threaded rod. 16) the pommel is made out of two pieces of brass, each approximately 5/32" thick. I drilled a 3 mm (1/8") hole in one of them and a 10 mm (3/8") in the other. 17) those two pieces are silver soldered together. 18) the retaining nut is turned on the lathe, or you can do it with a file and a drilling machine as well. It is a piece of brass of slightly smaller diameter than the large hole in the pommel. A hole is drilled and the correct thread is tapped (the same thread as the small threaded rod that is silver soldered to the end of the tang). A slit is sawn using a hacksaw. 19) Shaping of the pommel is done using a file. When the leather is dry, you can mount it all on on the knife blade and finish the shaping. 20) We glued the pommel and the last piece of leather with a bit of contact glue to prevent it from turning in case the leather dries out even more in another climate. Finally the pommel and the retaining nut are filed/sanded on the bottom, so that the retaining nut is flush with the threaded rod and the pommel itself.
-
leather braid How to keep braided handle attached to wood core
Karburization posted a topic in Braiding
Hello, I am new to leather braiding and am attempting to braid a leather handle cover for a walking stick. I chose the "Six thong multiple braid" from Bruce Grant's encyclopedia ( Paracord example visual) but am concerned that the leather handle will move around if I do not glue or attach it in some way. I've read affixing the leather lace with nails could help but was wondering if anyone else had any suggestions. Any advice is much appreciated! -
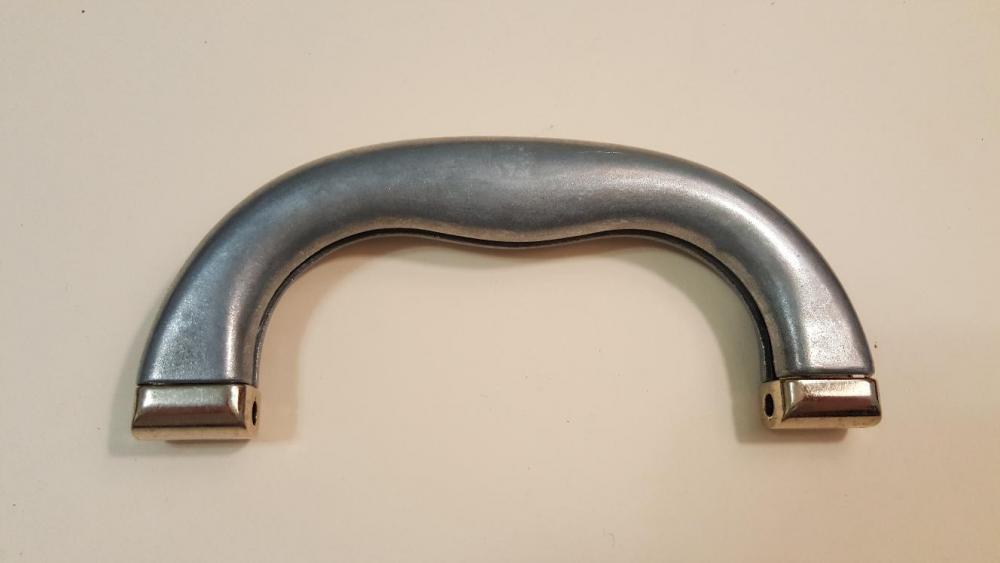
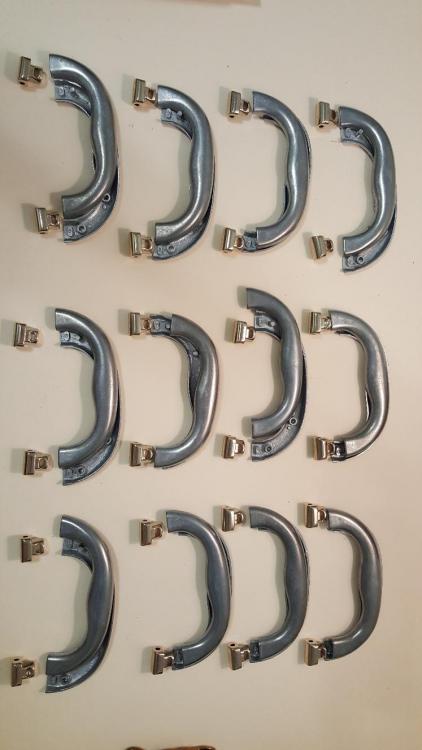
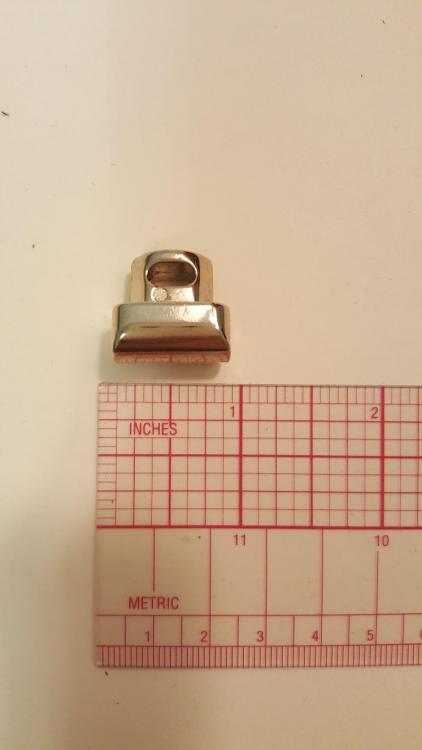
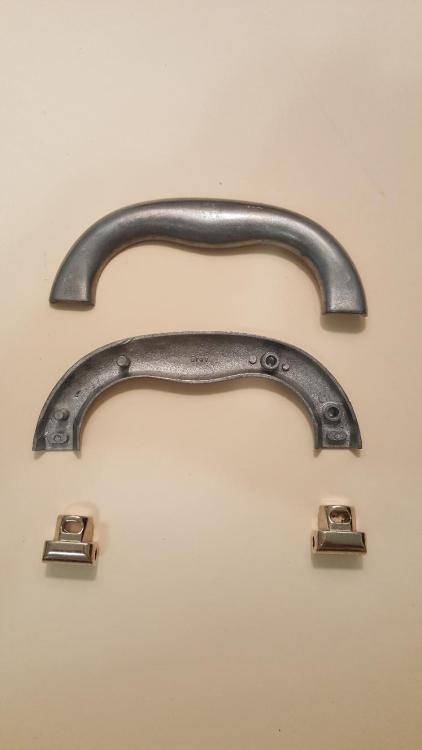
12 sets of handle hardware for briefcases/handbags. 4 pcs. per handle, 12 sets, 48 parts total. Made in Italy, new never used. Steel handle parts are designed to be wrapped with thin leather or fabric, these two halves are then force-fit together with the gold-finished handle attachments sandwiched between. Only the gold-finished end parts of the hardware will show when assembled. Attachment rings to connect the handles to the bag/case are not included. $75 plus $10 S&H via USPS priority mail, domestic shipping only
-
Main body 9 Oz + 3 layers of 9 Oz Veg Tan as filler External layer 2/3 Oz Veg Tan Lighten (a lot ) Fiebing's Saddle Tan Pro Dye & Resolene and Co. I'm quite happy with the result, but now, back to the hand stitching of the bag...
-
I was watching a video today on YouTube by my favorite leatherworker. He was using a metal roller on leather to depress the saddle stitching into a groove. I thought it was so cool. I grabbed my tin of antique sofa rollers, some wood for a chair I'm restoring, six metal ones and 3 hard plastic ones from the 40s. I dumped them in a pickle solution on the side of my cooker, and in about 30 minutes brushed them clean and buffed them, took some old wood handles for my round wood files, used the wood files to enlarge the holes a bit and put them in. I love it when I can find stuff around here to use that I need not spend money on.
- 14 replies
-
- antique
- leather stitching roller
-
(and 2 more)
Tagged with:
-
It started as a damascus blade blank from a local knife show (1095 & 15n20), 5" blade: Then I added leather scales (horse butt?): Then wrapped in alligator and fastened the scales, and started the sheath with 5.5oz leather: And N52 magnets: I designed the sheath so the knife could fit in facing either direction: Wrapped in alligator: And stitched together, attatch strap, and done: The strap is attached with a chicago screw and it swivels, so I can wear it IWB or OWB. Yes, it took a very long time, but if I did it again it would be much quicker next time, now that I have some clue what I'm doing. This was my first knife handle, and first sheath.
-
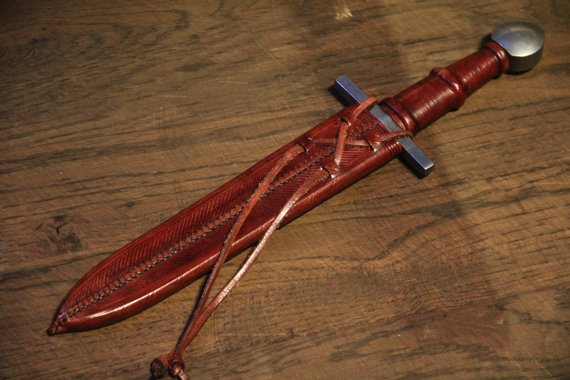
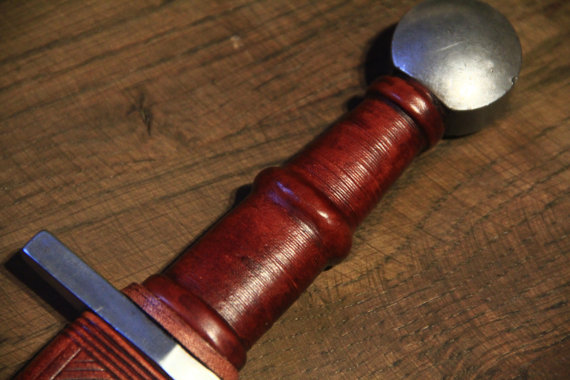
13th century dagger scabbard, 2mm veg-tan over a balsa wood core. This was a pain to get right, mostly because I forgot how to get the tip right on the pattern somehow, so I had to throw away a first attempt that was 4mm too tight and wouldn't close at the tip. Also the wood core was 'roughly' cut when it was given to me by the owner, I had to sand it down to its present form and its still not even, so the tooling looks a little wonky now it's around the core. The tooling is based on late 12th/early 13th century finds, applied using tools from the same period and is appropriate for a minor noble or professional soldier. Bit rough and basic, but no better or worse than a number of the surviving examples. The handle wrap is bound .8mm calfskin over leather and cord risers, I'd never attempted something like this before but I'm pretty happy with how it turned out. The risers feel present but not uncomfortable in the hand, comfortable in both forward and reverse grips. Got a few old swords that need refurbishing, so got plenty of chance to practice! Any feedback or critique is greatly appreciated!
-
From the album: Laptop Bag
Tried new method for burnishing the edge. Let me know how it looks...© YinTx
-
Hello fellow leather heads! Just wanted to share with everyone the process I use to producing a very nice leather handle for the product line I came up with. If you have any questions about my methods or what I produce, feel free to ask! -Alec https://www.youtube.com/watch?v=_SKv_9FICwM
-
From the album: Laptop Bag
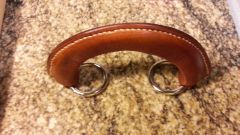
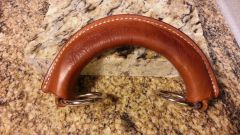
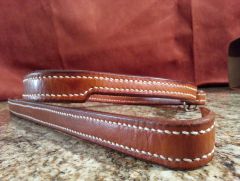
Started with a prototype handle, heavy duty. The thread is 1mm Tiger.© YinTx
-
From the album: YinTx DoppKitt
Working on the handles for the Dopp kit. Hand stitching gradually improving. Burnishing this leather is not working well though, rather nappy and squishy.© yints
-
- handle
- saddle stitch
-
(and 3 more)
Tagged with:
-
Im trying to figure out the math for widths of plaits. I have a 7/8" Diameter tube that I would like to braid. I would ideally like to have strand widths between a quarter and half inch. Is there a calculation that can be used to figure out my options?
-
Help! Quite some time ago i came across and article / topic on the subject of molding a handle from small bits of scrap leather and glue. I can't for the life of me find it now, I have tucked away the reference somewhere and, as to be expected, can't find it anywhere. The idea was to use shavings, scraps, dust and so on and build it up in layers, a bit like a concrete I suppose, till you got the required size and the sand it down to fit. Now I could go and spend a week trying out different glues or whatever and making a right mess getting it all wrong, or I could ask here in the sure knowledge that someone will know what I am babbling on about! Here's Hoping Claire
-
I'm about to spend a *lot* of money on a handbag with leather handles. The handle is made of good quality leather and comes nearly straight. It is supposed to mold to the wearers shoulder over time, but a lot of people have reported ripples on the underside of the handle. Is there anything I can do to my bag when I get it to avoid this problem?
-
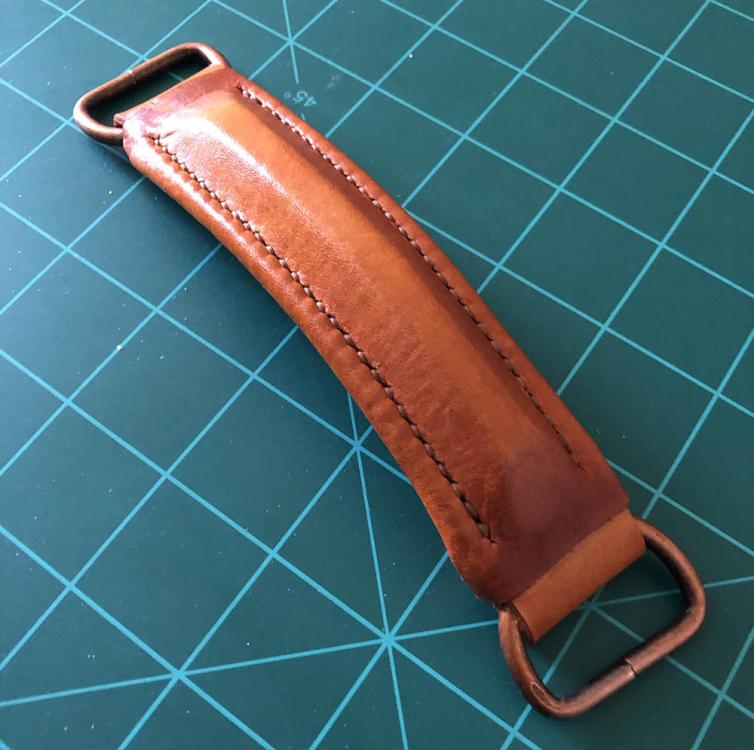
Terribly sorry if this has come up recently (I searched before posting, I swear I did), but I am trying to put handles on a bag that I just made (my first attempt at making something more complicated than a wallet). I'm pretty satisfied with it (it's a sort of Gladstone/Doctor's bag), but now I'm getting worried about screwing it up. I had planned to cut a bar of leather, fold it in half, stitch most of it to itself, and then stitch the rest into the bag, as is pretty common with purses and the like. However, this bag is a good 16x10x12, and I mean for it to be able to carry my books and lunch and whatever else I need. In other words, I need it to carry what I would reasonably carry in a messenger bag or smallish backpack. Should I be worried about the strength/integrity of the bag and handles using this method? Should I use an intermediate metal ring or loop between the handles and the body of the bag? Should I use rivets as well as stitching to make it extra strong? My stitching seems awfully strong usually, but I've never made anything that would get quite this much abuse before and am concerned. Thanks all!


.thumb.jpg.800d69b35e065540439e85edb2fd9a59.jpg)
.thumb.jpg.acdb94bea5ef5cb66d4881db5e0b4c6c.jpg)
.thumb.jpg.4941f21d57f1cdb6dc496fab9f8cf288.jpg)
.thumb.jpg.3feb9fe1b00783f4207d15f1e8fb2441.jpg)

