All Activity
- Past hour
-

Cowboy outlaw sewing machine
Thadrick replied to Carriesleatherworks's topic in Leather Sewing Machines
Everyone is so set on the boss I decided to try one. So far I've done several leather projects and I've sewn 112' of 4 duck canvas. The stitching looks the same as the outlaw but the pot metal sucks and the bobbin is smaller and more difficult to change out. I like the outlaw better even if it does cost an extra days wages. Just an amateurs prospective. If you decide to get a boss round the edges on the stainless table, it opened me up a couple times today and once yesterday. - Today
-
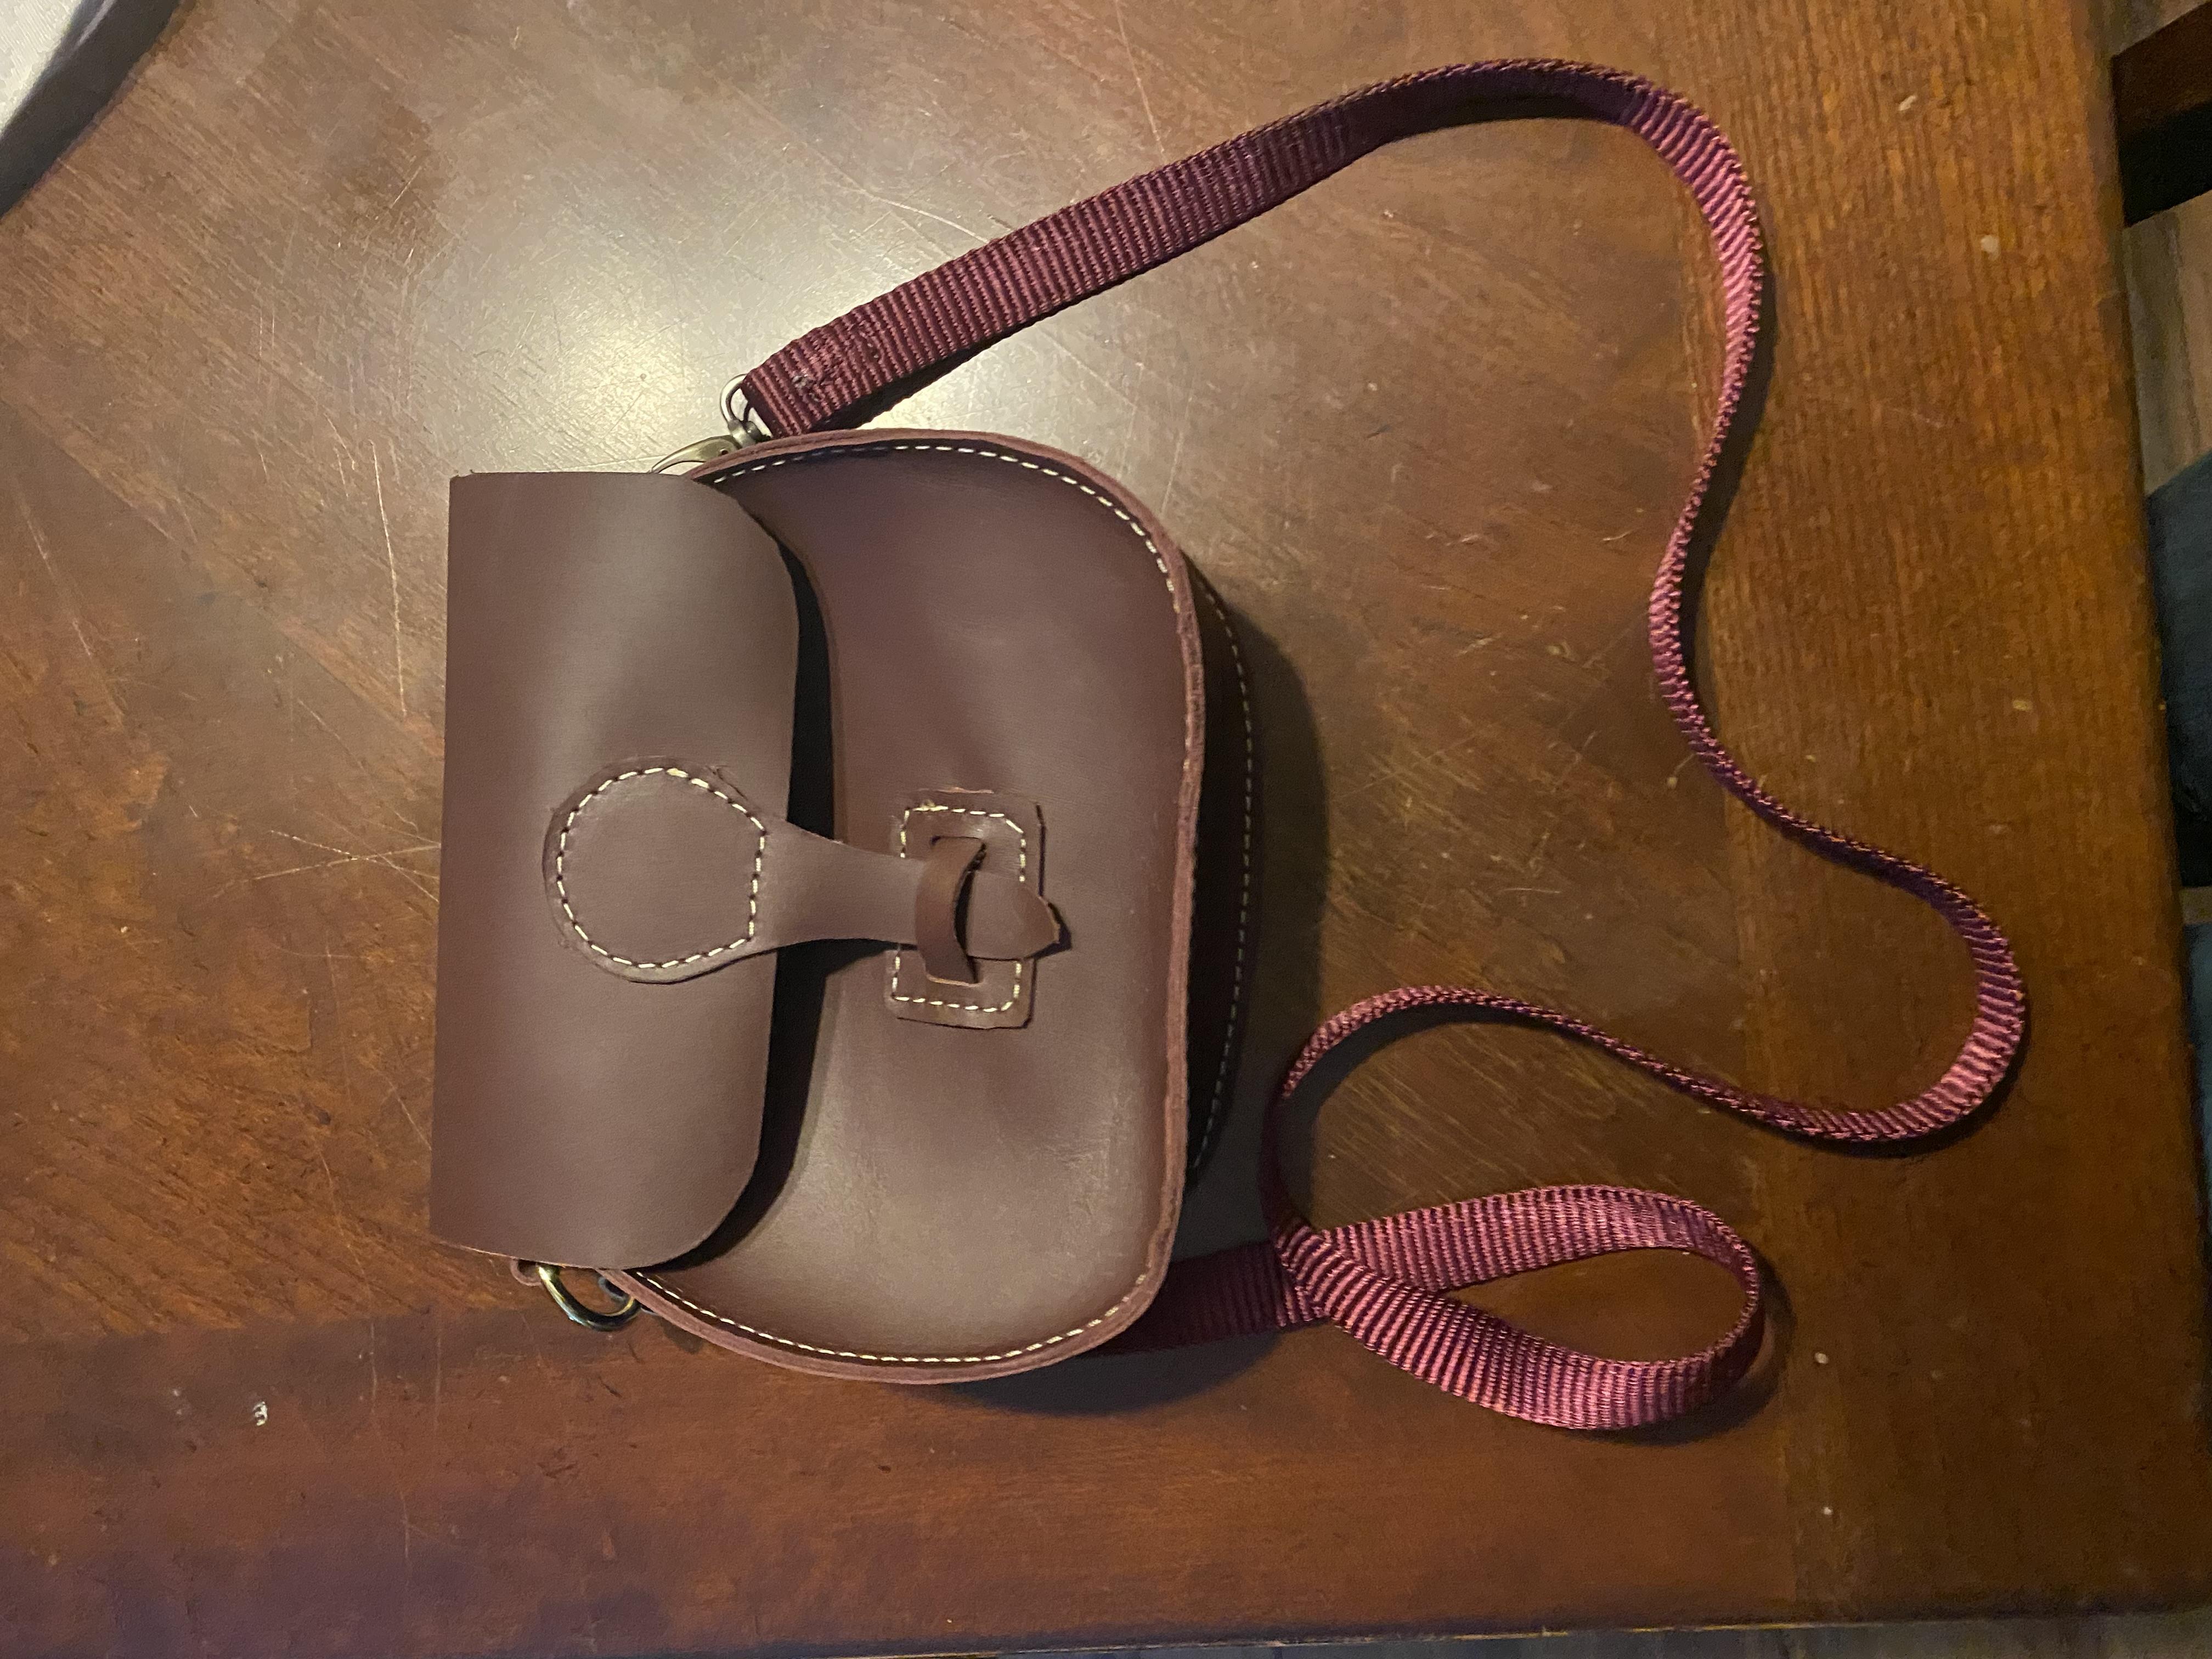
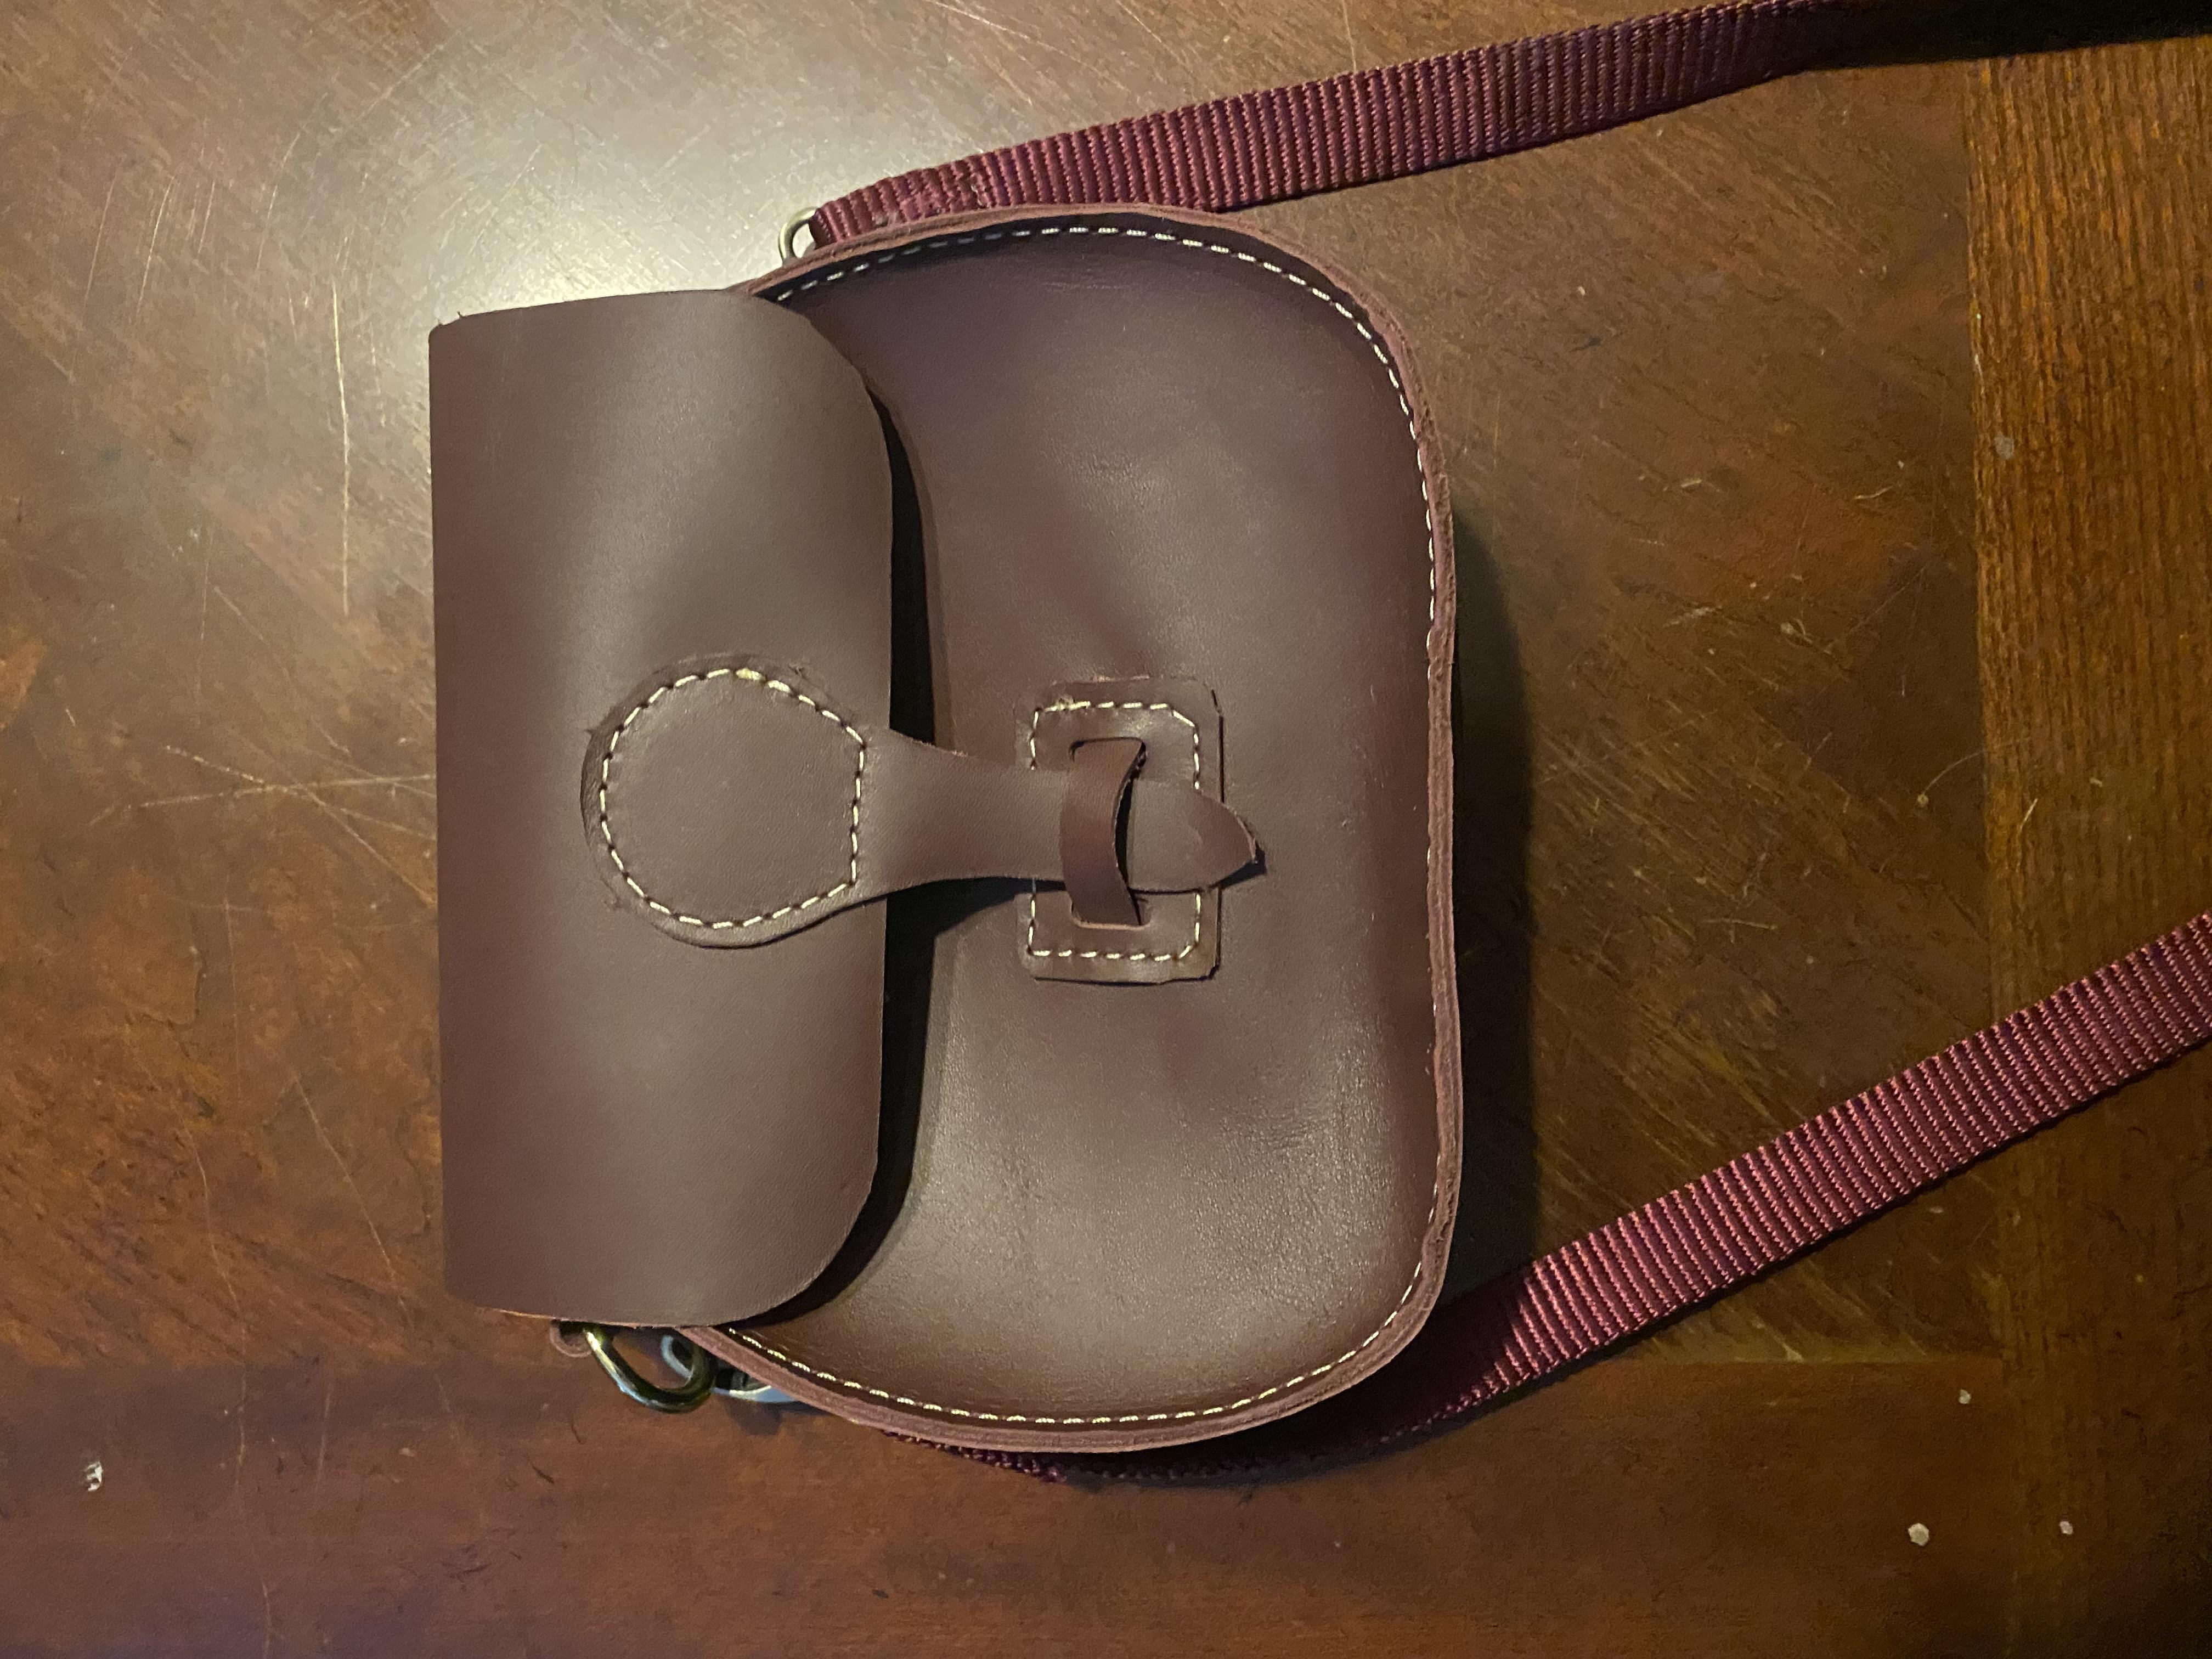
I second that the strap needs to be leather and front panel over the gusset. But overall a nice proto.
-
@Ola Bigbite Moved this to Leather Sewing Machines. Probably get more action over here. Welcome Aboard!
-
Finish as you would any other, the leather will darken naturally over time! faster if left in the sun.
-
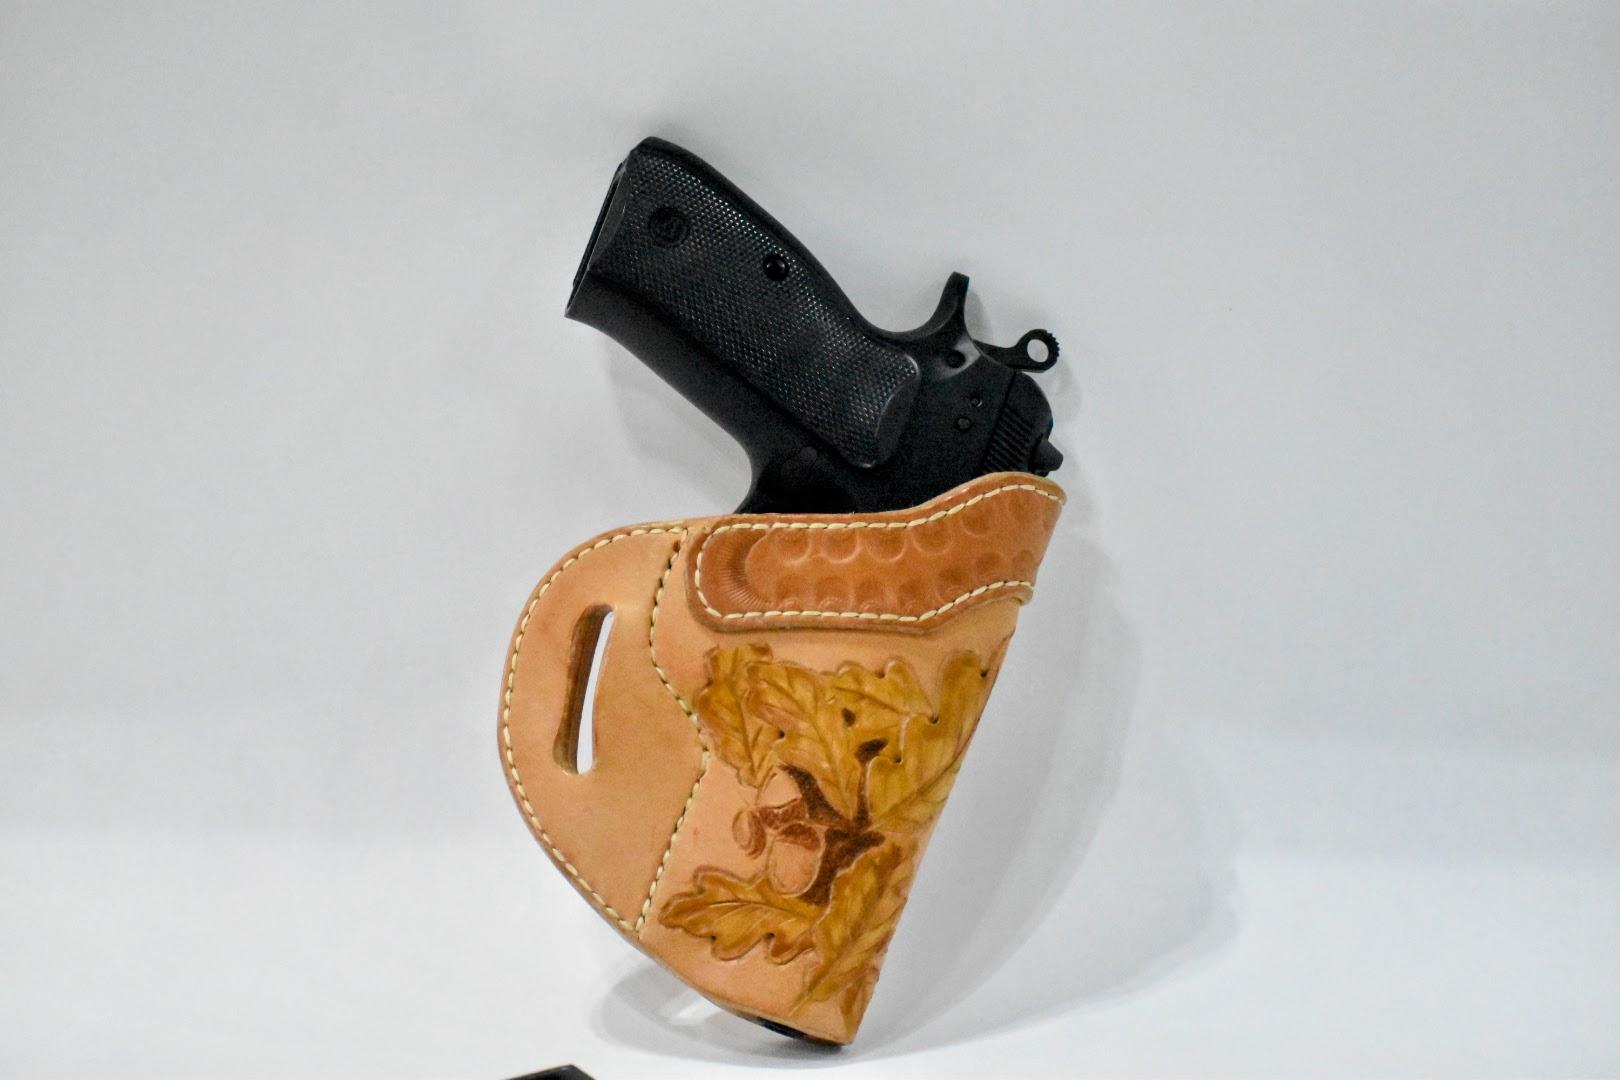
I will usually apply the neatsfoot just after it's been cut out. If dyeing, I dye it right after the NFO. If not, then I allow the oil to dry, then put the holster together, then apply sno-seal, or my homemade protectant made of beef tallow and beeswax. Seams to do the trick. This one has a little dye on the tooled portion, but the remainder is natural HO veg tan.
-
 Ola Bigbite joined the community
 -
Hi to All at leatherworker…, Please I require assistance to acquire a copy of an operation manual for my Viking 263 full size industrial sewing machine move searched everywhere with no luck! I would appreciate any assistance from you all at getting a copy, perhaps from someone who owns the same type of Viking 263 as I do, happy to pay postage and photocopy costs. Or perhaps a token gesture for a digital copy Please help: Kind regards Ola (I’m in Uk)
-
I don't see your note about whether you ship will ship and any restrictions as to where. Also question why your IP address says New Zealand and your profile says Ontario? Please update this thread else I will be locking it and archiving it.
-
Larry, beautiful work! Thanks for the tips. I tend to shy away from Neatsfoot, as my holsters are wet formed, and I don't want to soften them and lose that form. Al, thanks too - I looked at Leather-n-rich and it appears to be carnauba based, so I'm guessing my Atom Wax does about the same thing.
-
Specs in the opening post says foot lift is 13mm, about 1/2". So should be able to handle 3/8" thickness.
-
With the usual warning that on my best day, I'm a rookie, I've had great results with Blackrocks Leather N' Rich as the only finish I've mostly used. Hats, holsters, sheaths, whatever, rain just beads up and rolls off. On no particular schedule, I'll reapply it. It provides a decent sheen. The hat in the profile pic has saddle tan dye, a little antiquing gel and Leather N' Rich. It's been rained on at least a couple dozen times with no ill effects. Plenty of my stuff got no dye, nothing but Leather N' Rich. It all acts the same. And, it's a great hand lotion! Just what works for me.
-
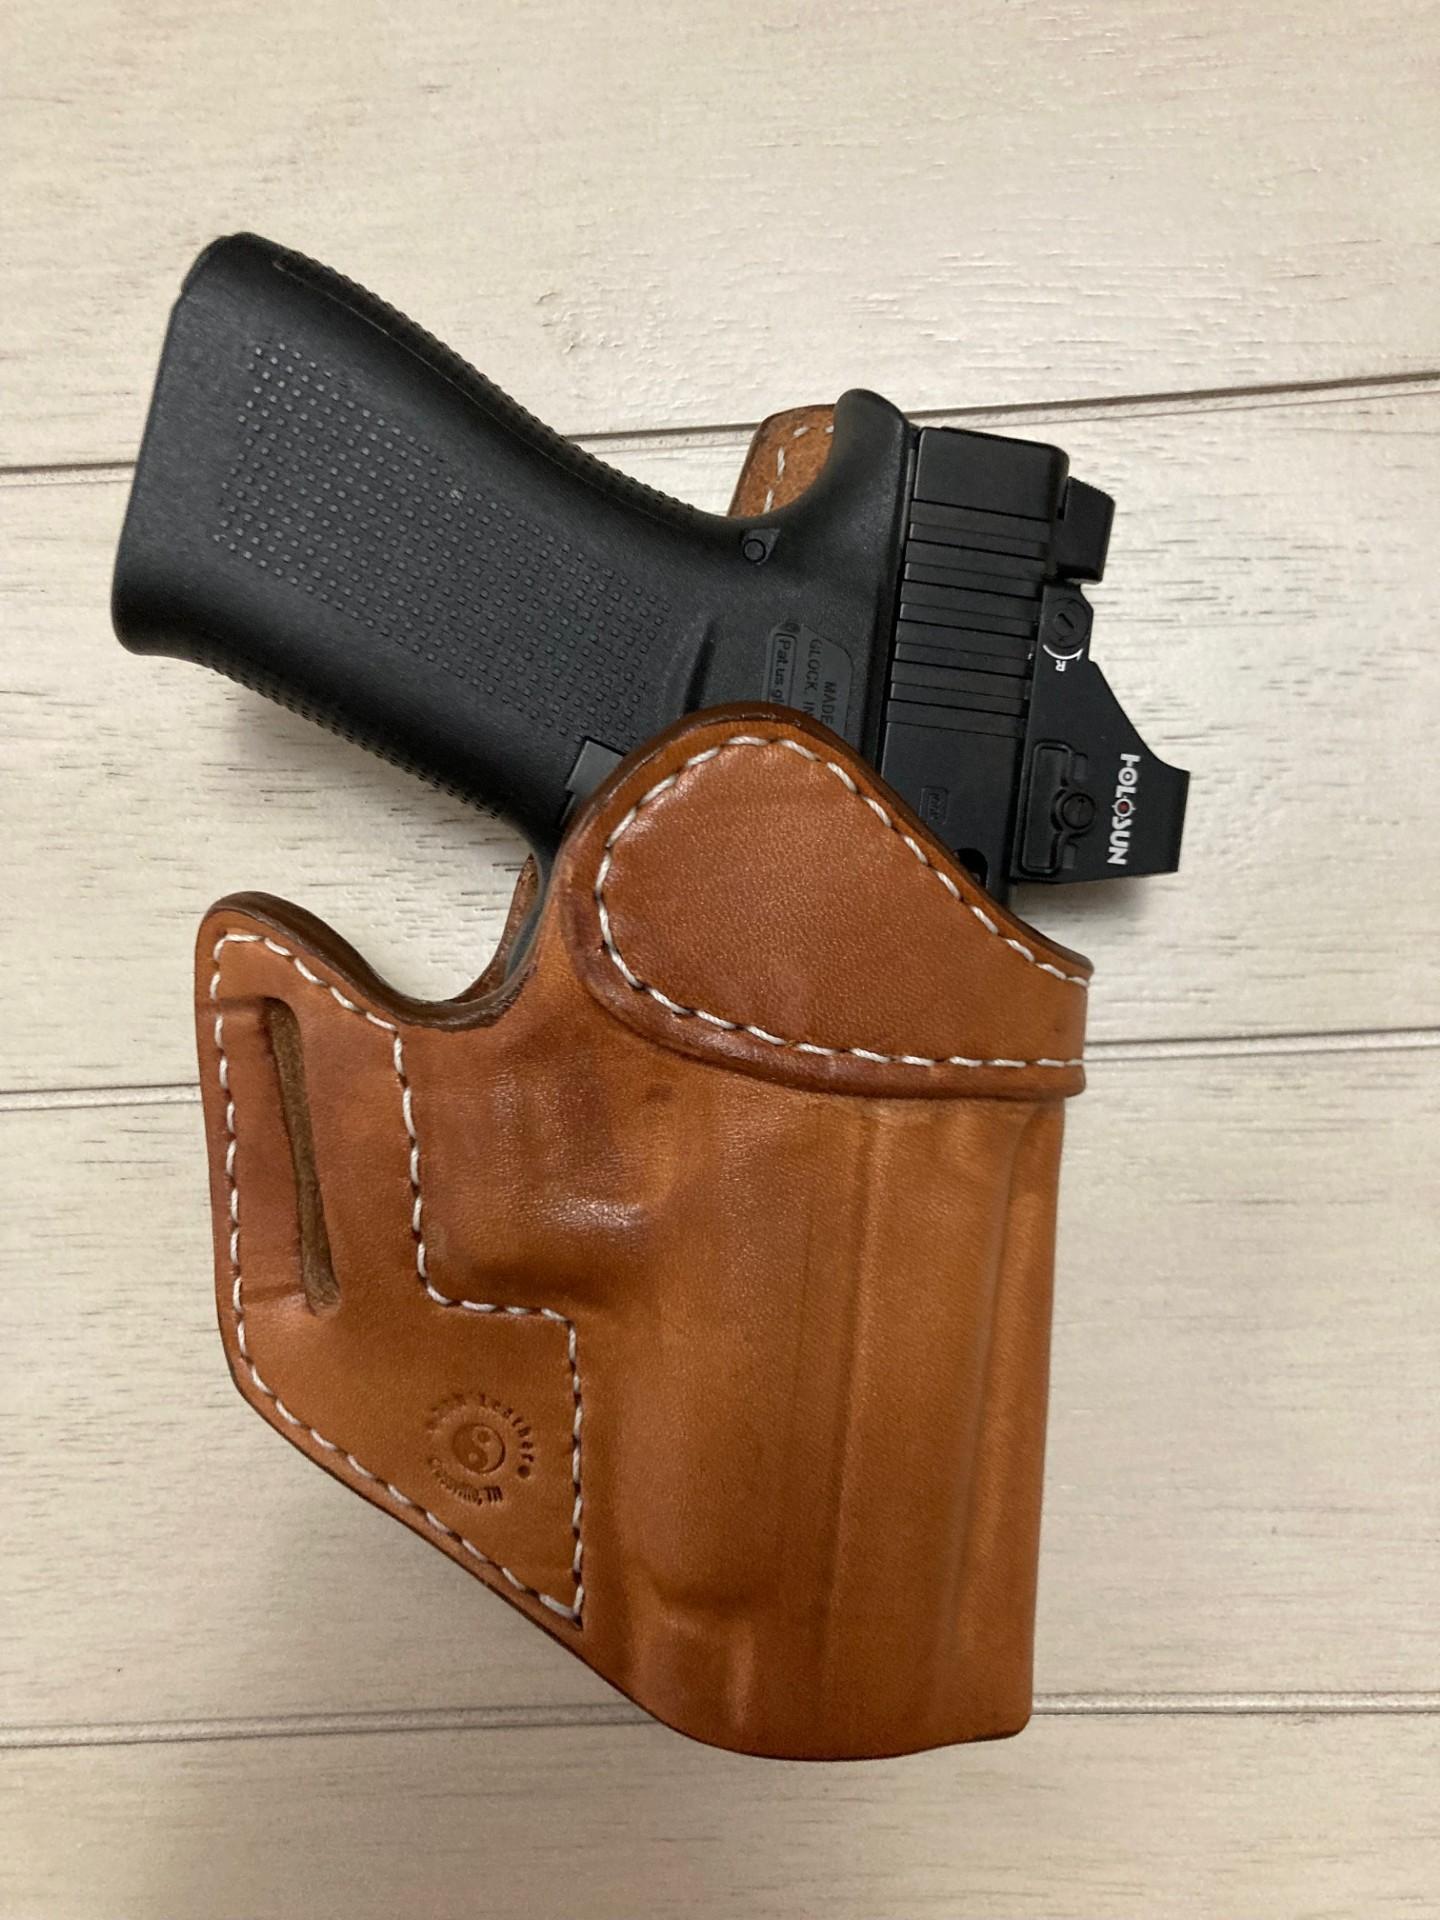
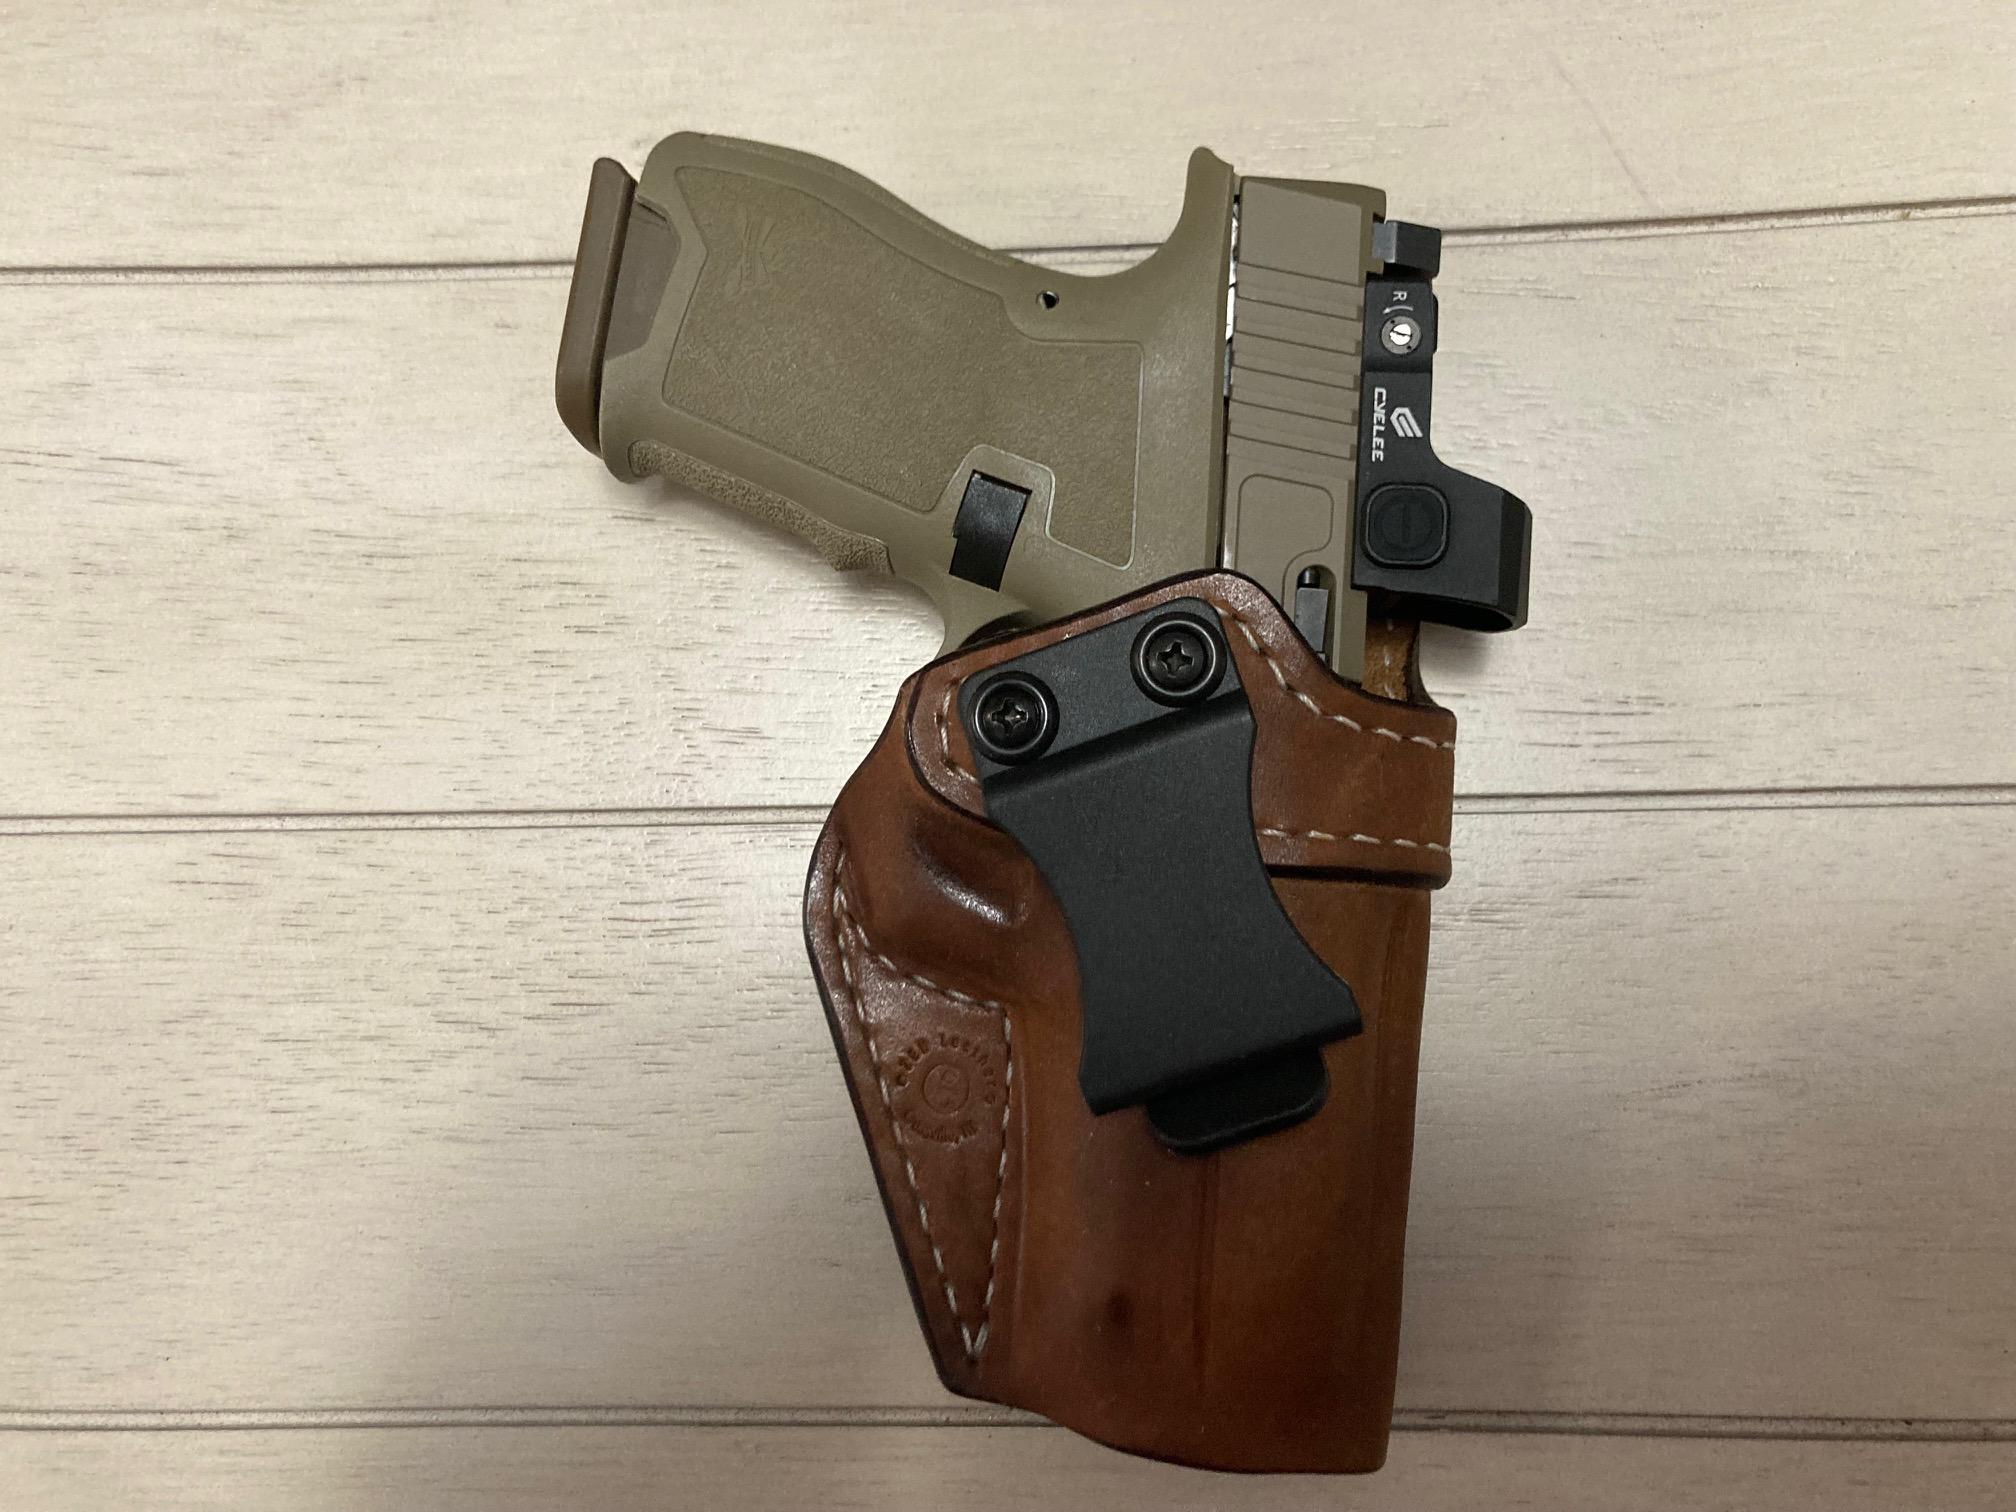
I'm no pro, so take this for what it's worth. When I do a natural holster, I typically apply neetsfoot oil to give it a bit of a 'tan', rather than the fairly stark white some hides show. Got to be careful not to apply so much it softens up, though. I will typically do the 50/50 M&G on something OWB, but just leave it at the oil for IWB and shoulder holsters. Since I only make these for myself, I have less concerns about longevity, and the uncoated leather seems more comfortable against the body (for me, at least.) Larry
-
Hi folks. I've made several gun holsters, and always use Fiebings Pro Dye in either English Bridle or Black. I'm considering doing one in natural though ... but I'm not sure what that really means. If I was going to finish a holster and retain the natural, non-dyed color, would I do any finishing at all? Any thought? My usual finish is Leather Balm with Atom Wax, and on a holster that will see lots of weather, I will top-coat with diluted Mop&Glo for an acrylic layer. Think I could just do the same with a natural color holster? What about beeswax? I hear some dip leather holsters in melted beeswax, is this right? Thanks, DeWayne
-
Thank you, what color and weight do you think I should have my strap as I don’t have to much of that leather left but I have a bunch of other sides I can use. And yeah I was thinking last night on what to do for a better closure wasn’t sure if a magnetic snap would be better or what.
-
Thanks for the ideas I was off and on about rounding it out but figured I’d see how it looked like this.
-
Just a suggestion, On the next one you might try putting the front panel OVER the gusset. Of course it's personal choice but this would give a more rounded look and open the interior rather than closing it.
-
Do you think this can handle 14oz veg tan leather? been thinking about picking one up but Im not sure if it can handle a 2 layer 9oz and 5oz belt.
-
 simon parrots farm joined the community
 -
Any Quality Production Saddles?
simon parrots farm replied to archer55's topic in Saddle Construction
https://simonparrotfarm.com/product-category/fertile-parrot-eggs/page/3/ -
 Store it in a cool, dry place with moderate humidity. Use a cotton or cedar garment bag, and stuff the sleeves slightly to maintain shape. Avoid plastic, which traps moisture
 -
davidmicheal joined the community
-
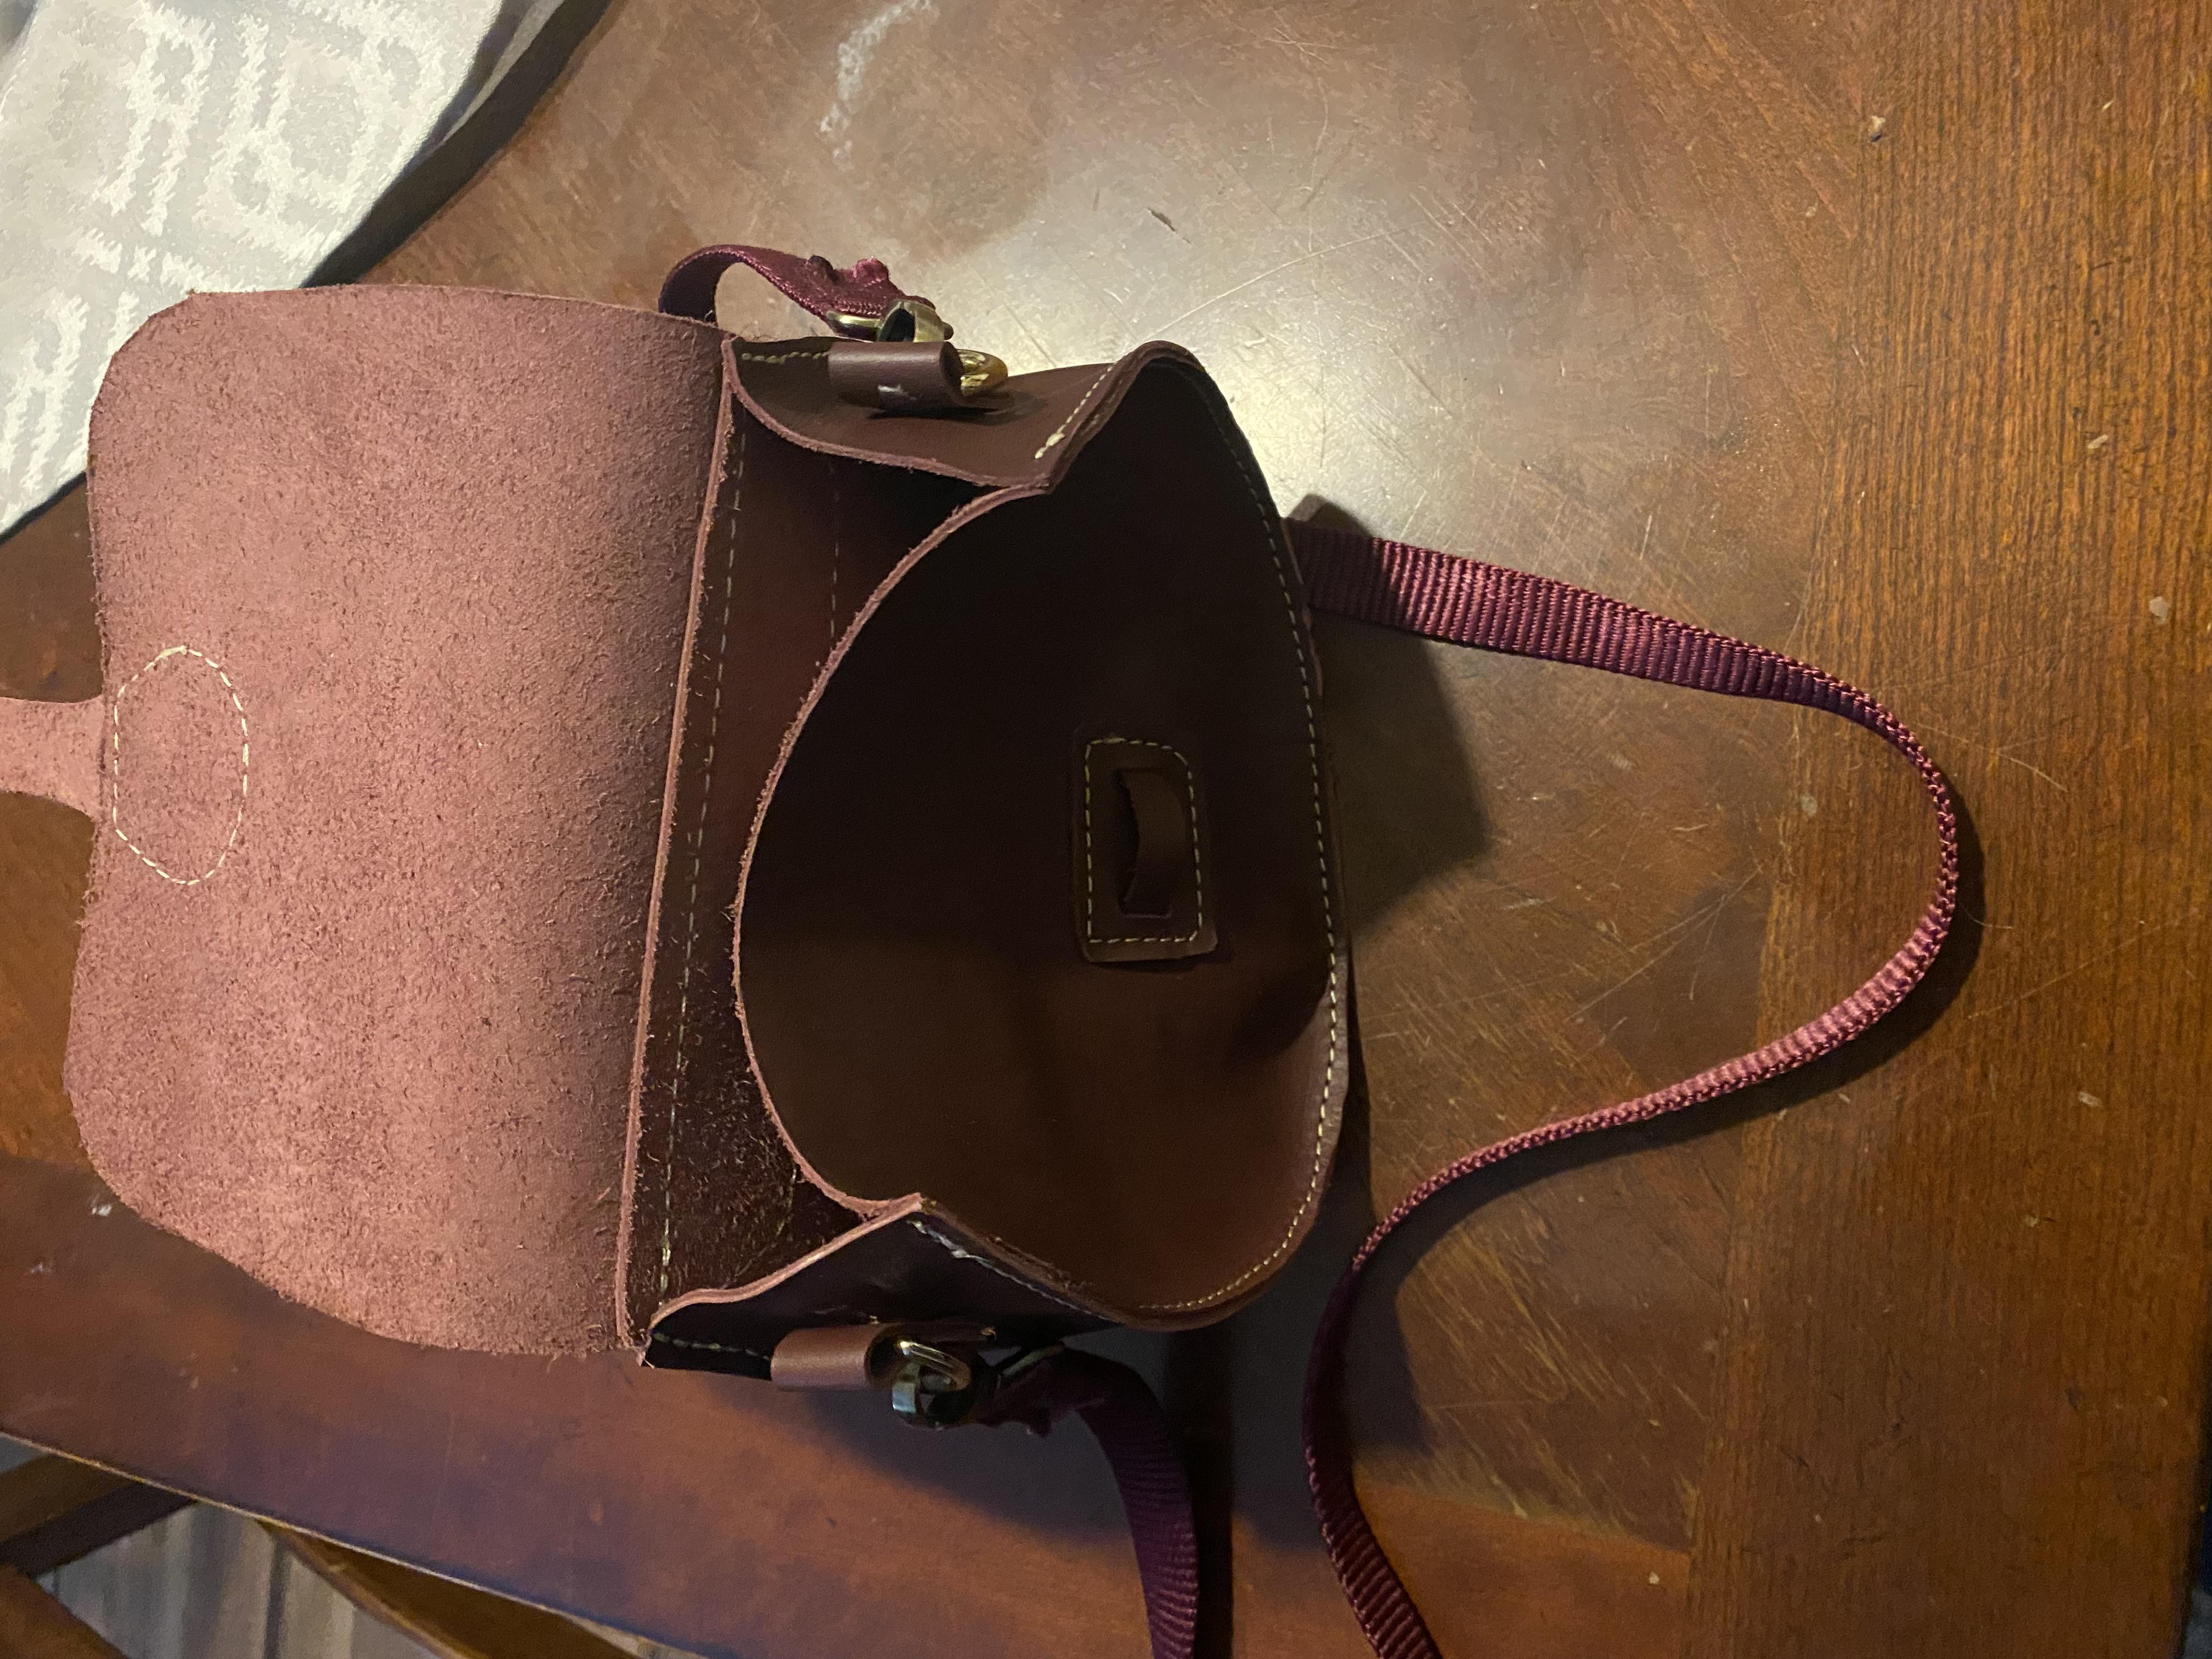
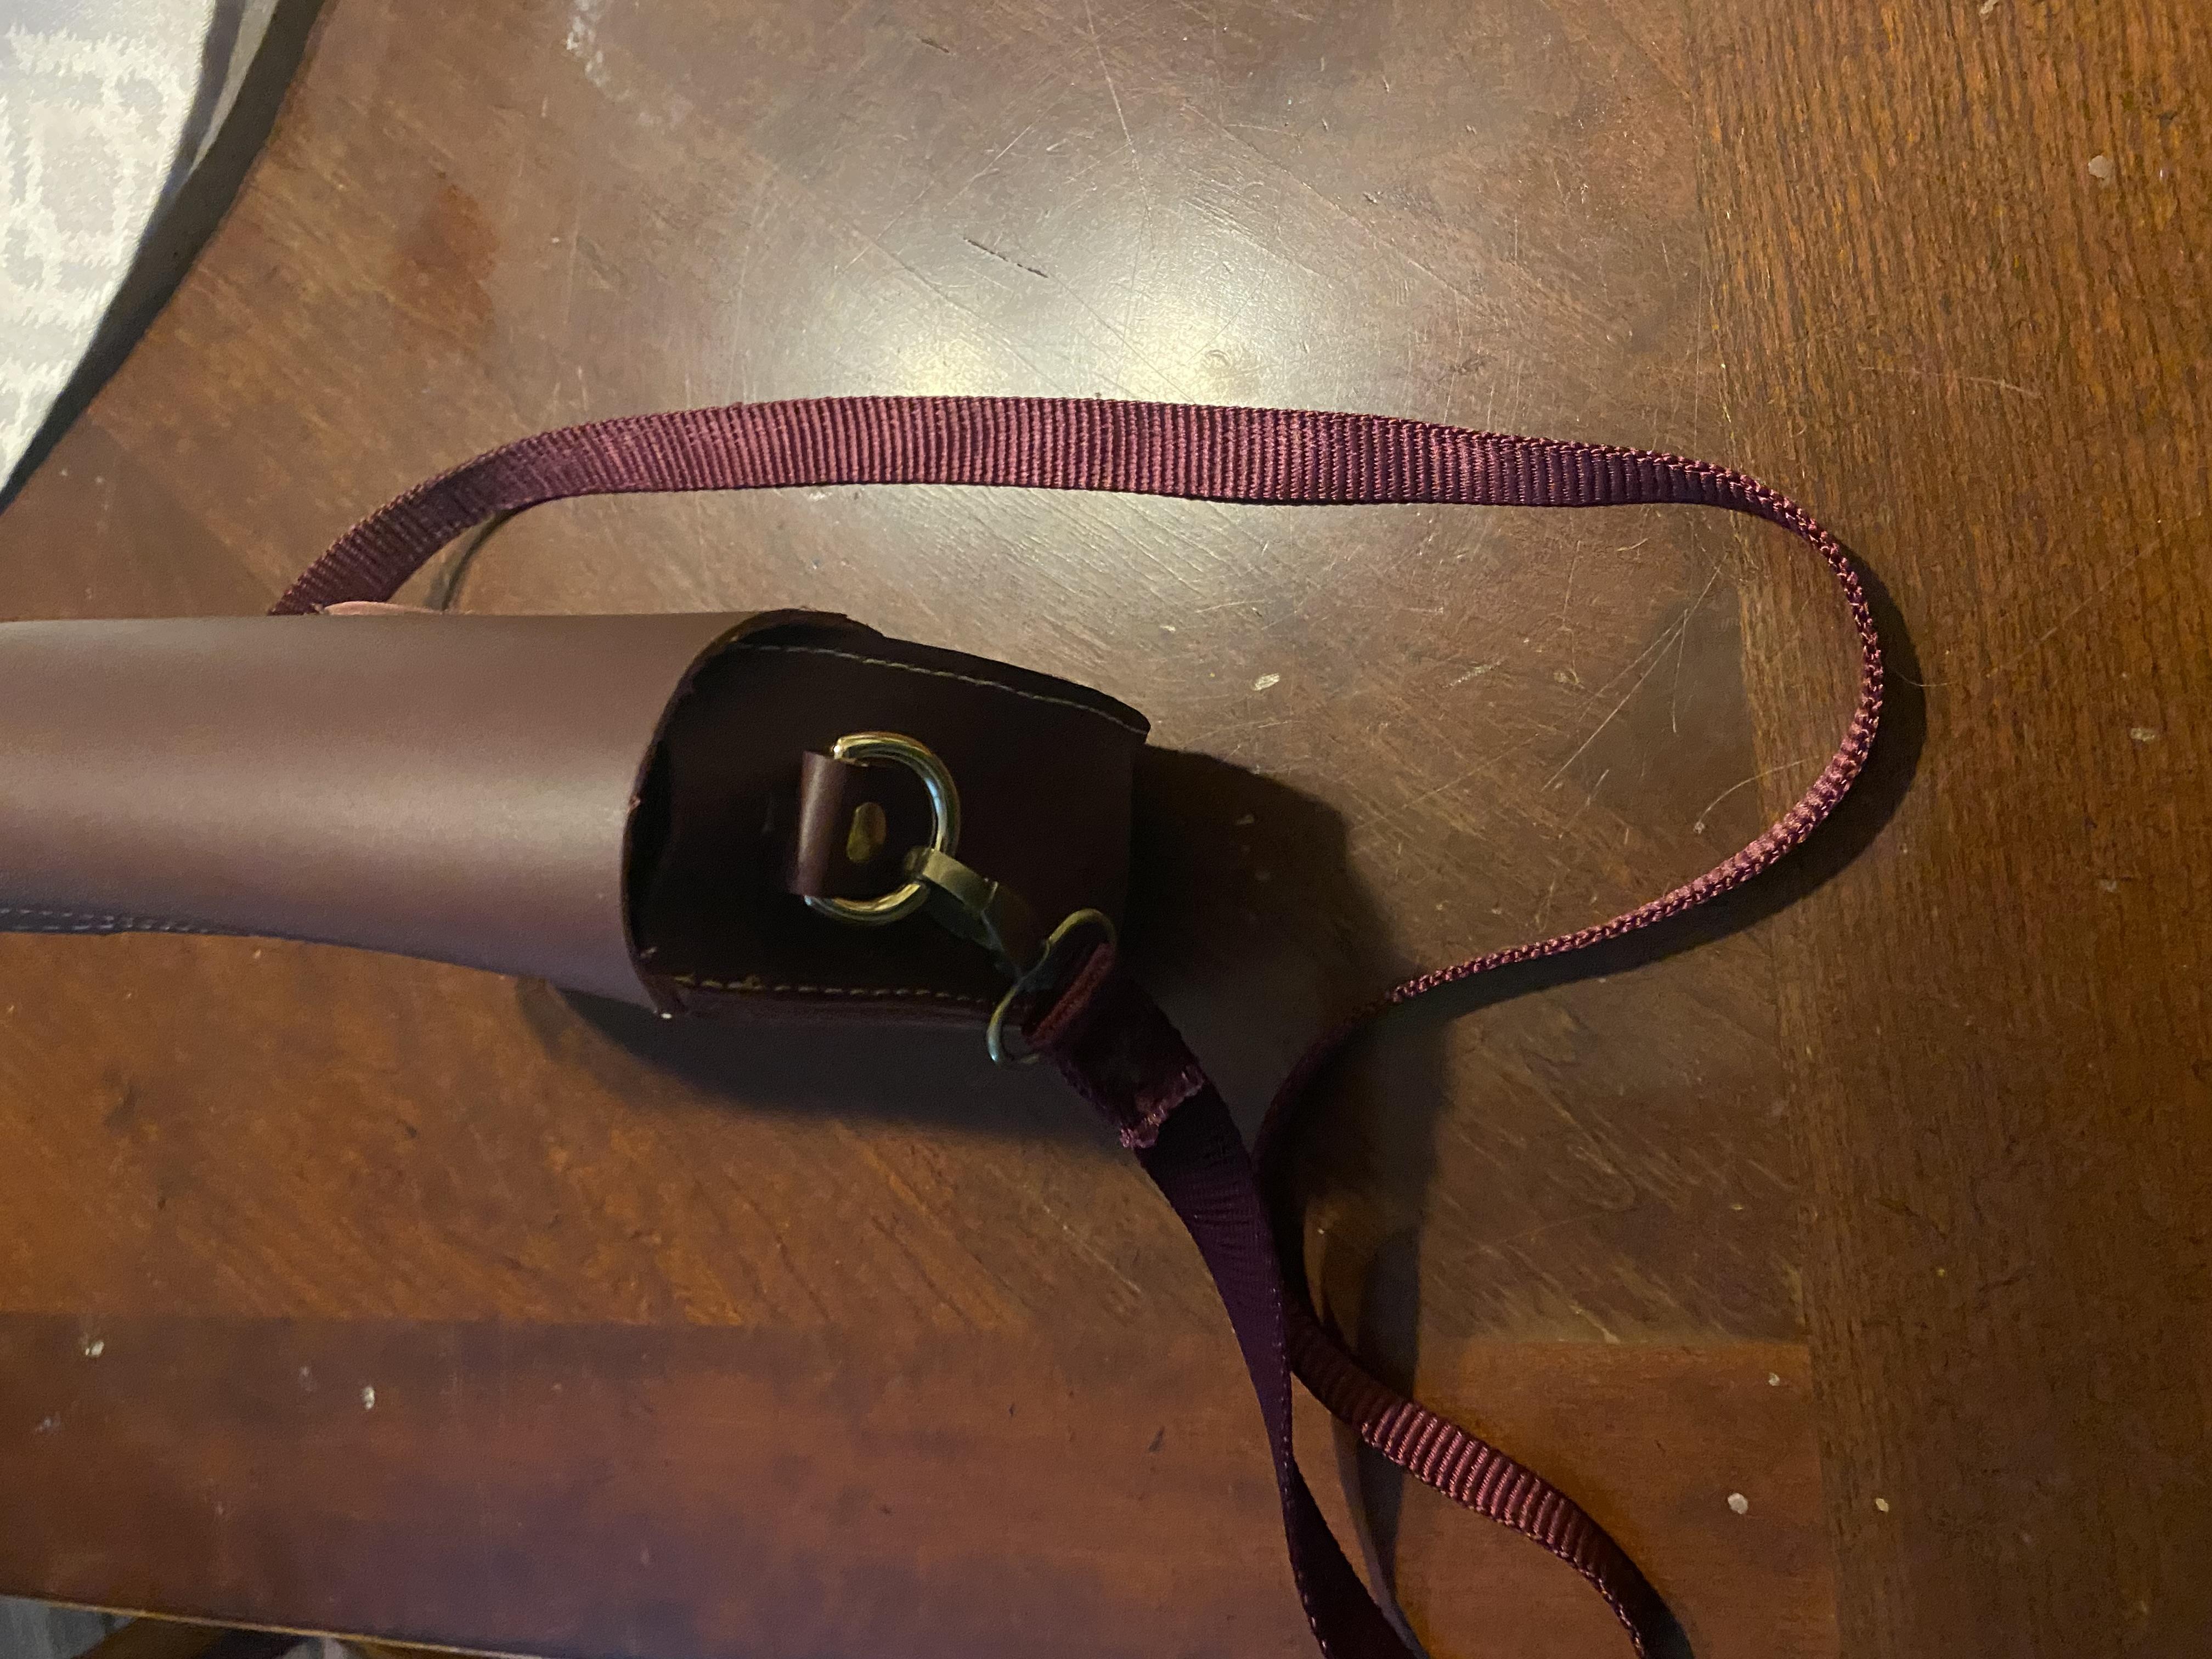
You have a good design on your bag. I would use leather on the shoulder strap and maybe put a small tab on the tongue of your bag closure that locks into the loop to help keep it closed in case of a spill. Keep up the good work.
-
Thanks for the tips. I like the felt idea I think I’ve got some pieces from a saddle pad where I cut a wither relief out that might work. Maybe I’ll take the plunge and get some tokonole next time I’m in town.
-
Hello my name is Holdyn Pilant from Plarcustoms, I wanted to know if people like the bag I have been working on I’m trying to perfect it but I just needed some insight and some tips.
-

Problem with leather splitter/skiving machines
Dwight replied to Coloradoguy's topic in How Do I Do That?
Uhh . . . yeah . . . reading it myself again . . . I don't know . . . brain out in left field . . . I guess I was just going as I usually do . . . as I always take the blade off . . . clean the grease off it . . . put it back on . . . then adjust the depth . . . as most of the time, what I did last time isn't what I need this time. And that is why the blade is not over the center . . . I just stuck it back on from the last use . . . after I greased it up. I actually used to use it a lot more than I have lately . . . as I've been taking a micrometer with me to see truly what thickness leather I'm buying . . . and it has cut down on my time on the splitter. Thanks for both points . . . especially the blade position as I know better . . . just didn't do it last time I put it back on. Glad someone is watching over me . . . May God bless, Dwight -
 TomRiva joined the community
 -
My favorite dye applicator is a small block of needled felt held in a clothespin. About 3/8" thick x 1-1/2" x 3/4". I bought the felt from Beiler's Manufacturing for a repair job and found it holds a lot of dye without dripping. Other applicators I have used are a block of Magic Eraser foam, and a regular wool dauber with the loose fibers removed by singeing in a flame. When dyeing an edge I hold the strap vertically so any drips tend to run down the edge. You might find it easier to dye the edge after an initial round of burnishing with saddle soap so that the applicator runs smoothly along the edge. I typically start with dyeing the edges, waiting a few minutes for the surface to dry then adding a bit of saddle soap and burnishing with canvas or a power burnisher. If needed, I'll do a bit of light sanding with 320 or 400 grit abrasive paper while the edge is still damp. I finish with tokonole or Martin's Edge Solution. Ron's Tools sells an edge rub solution that I have been meaning to try.
-

singer 211G256 worn inner foot presser bar
ledburner replied to ledburner's topic in Leather Sewing Machines
Has any one got any advise please? Singer 211G256? Thanks in anticipation Dan I'll try to post a video. -
Fred, love ya man. in a Bro man kinda way,


.thumb.jpg.6e903dd66163ad5672f00f144058c571.jpg)