All Activity
- Past hour
-
I used aluminium rivets on a few 'Viking' shields. They mainly held the boss on but also a hand-hold strap and also a carrying strap known as a guige. In use they were strong enuf for the shields to be flung about. In wet conditions the rivets corroded and left a blue stain on the leather. I changed to galvanized iron rivets. The aluminium rivets never failed despite the abuse the shields got The rivets were easy-peasy to set. I just peened them over using a ball-head hammer. I used ordinary brass washers on them
-

Accurately cutting "stretchy" leather.
dikman replied to Shadders's topic in Leatherwork Conversation
Yep, I've found one of those rotary cutters much better on softer material because there's no drag like you get pulling a blade. -
Accurately cutting "stretchy" leather.
JDFred replied to Shadders's topic in Leatherwork Conversation
What Fred said. -
Yes they would be hand set. It is a good point that the post might buckle with a glancing blow with aluminum being soft. If you have used them to hold billets onto a tree it the would probably be strong enough to attach buckles to a head stall. One day I will remember to modify my pattern before I cut it out to accommodate sewing in buckles. I usually remember about the time it is time to attach the buckle. However if I could remember the strength question is voided and I could use them as a solely decorative application. Thanks for the help.
-
I have been using Chicago screws, I always wonder if they are going to back off, so I put glue in them then I wonder if I’ll get them apart if I need to. Which I know is contradictory since rivets are hard to get apart. The other thing I really like the way rivet and burrs look which is what lead to this question.
-
Good thought about corrosion, I kinda forget some places actually have moisture. But sweat may cause problems.
- Today
-
Snaps for 1/4" (16 oz.) leather
Cumberland Highpower replied to DHauser's topic in Hardware and Accessories
I used to order some pretty long posts from DOT years ago. I think I remember some being close to 9/16"? A common trick to gain a little is to punch a larger hole for the snap to recess in. I can't remember how large it is exactly as I sit here, but something like 1/2" There are/were also the stud parts that were designed a little deeper in the center, allowing thicker leather. Did you check out DOTs' website? Not sure if they still have one, just assuming. -
Thanks man, Ive seen those. I have also "cheated" in the past and beveled/skived/semi-punched and cut/dremeled. Appreciate the ideas. Ive settled on my standard Sam Brown Studs which are 1/16"ish too short. Ive done a test with scraps and by counter sinking on the flap managed to make it perfect! Im really surprised how hard it is to find that "something odd" anymore. The days of the decent internet are long past. Thanks, Dave
-
For some reason today I watched this bag making video. Maybe these are common practices. I thought it was interesting that he made several subassemblies with double sided tape and glue before he got near any sewing. I'll be looking to incorporate this into my own process. It just never occurred to me, though I suppose I've seen it in a smaller scale. Also the way he edge guides as much as he can. I just haven't embraced the edge guide that much.
-

Accurately cutting "stretchy" leather.
fredk replied to Shadders's topic in Leatherwork Conversation
Heavy weights to hold down and a very sharp rotary knife. I use a 60mm diameter blade rotary knife -
Hello, After taking a rather long and unintended break away from leathercraft, I've returned to it, and completed a couple of basic wallets as my first couple of baby steps projects. I used Walpier museum buttero for the first and Badalassi carlo pueblo for the second. For the latter, I lined the note holder with napper lamb. I found the napper to be more challenging to cut correctly due to it's stretchines. Now, I've purchased some goat from Tusting & Burnett. I find that the goat has similar qualities when it comes to cutting it accurately. The line is not straight, even though I'm cutting against a cork backed steel rule. I don't think my blade is a problem, it's stropped enough for a good polish and shaves arm hair easily. I think the ruler could be a problem, the cork side is not flush with the rule, stopping ~1mm from the steal edge. I also feel my technique could be better, maybe inconsistent pleasure and/or angle. If there's anyone out there who'd like to share how they cut the more flexible hides, I'd love to learn from their experience please. Best regards, Shadders
-
Still getting my leatherwork room sorted. Its been a good opportunity to tidy it up and put things in proper places! and . . . I found an ice cold bottle of Newcastle Brown Ale on the bottom shelf of the fridge It ain't there no more !
-
Necchi 840 - Custom Large pulley 3d printed
Moti replied to marinicarlo's topic in Leather Sewing Machines
Nice -
I used to make and sell some leather goods, but I got out of the game before COVID. Now I'm restarting the company and I'm looking for a solid veg tan to use for wallets, journals, and small goods that won't break the bank. I realize that no quality veg tan will be cheap, but I am trying to land on the frugal side of quality if that makes sense. Does anyone have any suggestions? Thanks.
-
Looks good - congrats
-
Michaelmis joined the community
-
Thanks guys. I'm getting pieces of good knowledge from each of you and it's helping a lot and with my engineering background I've no doubt I'll get there but what would really help is to know what sort of folder you use and for what purpose. I can see where I'd like a leather binding on a handbag say or maybe a herringbone tape to tidy up the inside of an inside out tote or maybe a canvas bag. @nylonRiggingI'm certainly not averse to a bit of cutting and grinding and it was interesting to hear you say everything needs to be close up. I'll bear it in mind.
-
The PDF manual I typeset is attached to this post.
-
Jonas, Thank you for your response and I'm sorry for the delay in replying to your comment. My friend retired from his boot repair business and sold out his equipment several years ago. I might just have to bite the bullet and purchase one. I'm most interested in trying the welt roller along the edges of layered and glued leather belts. I will keep investigating and will keep an eye out for one on the used market. Thanks again for your response.
-
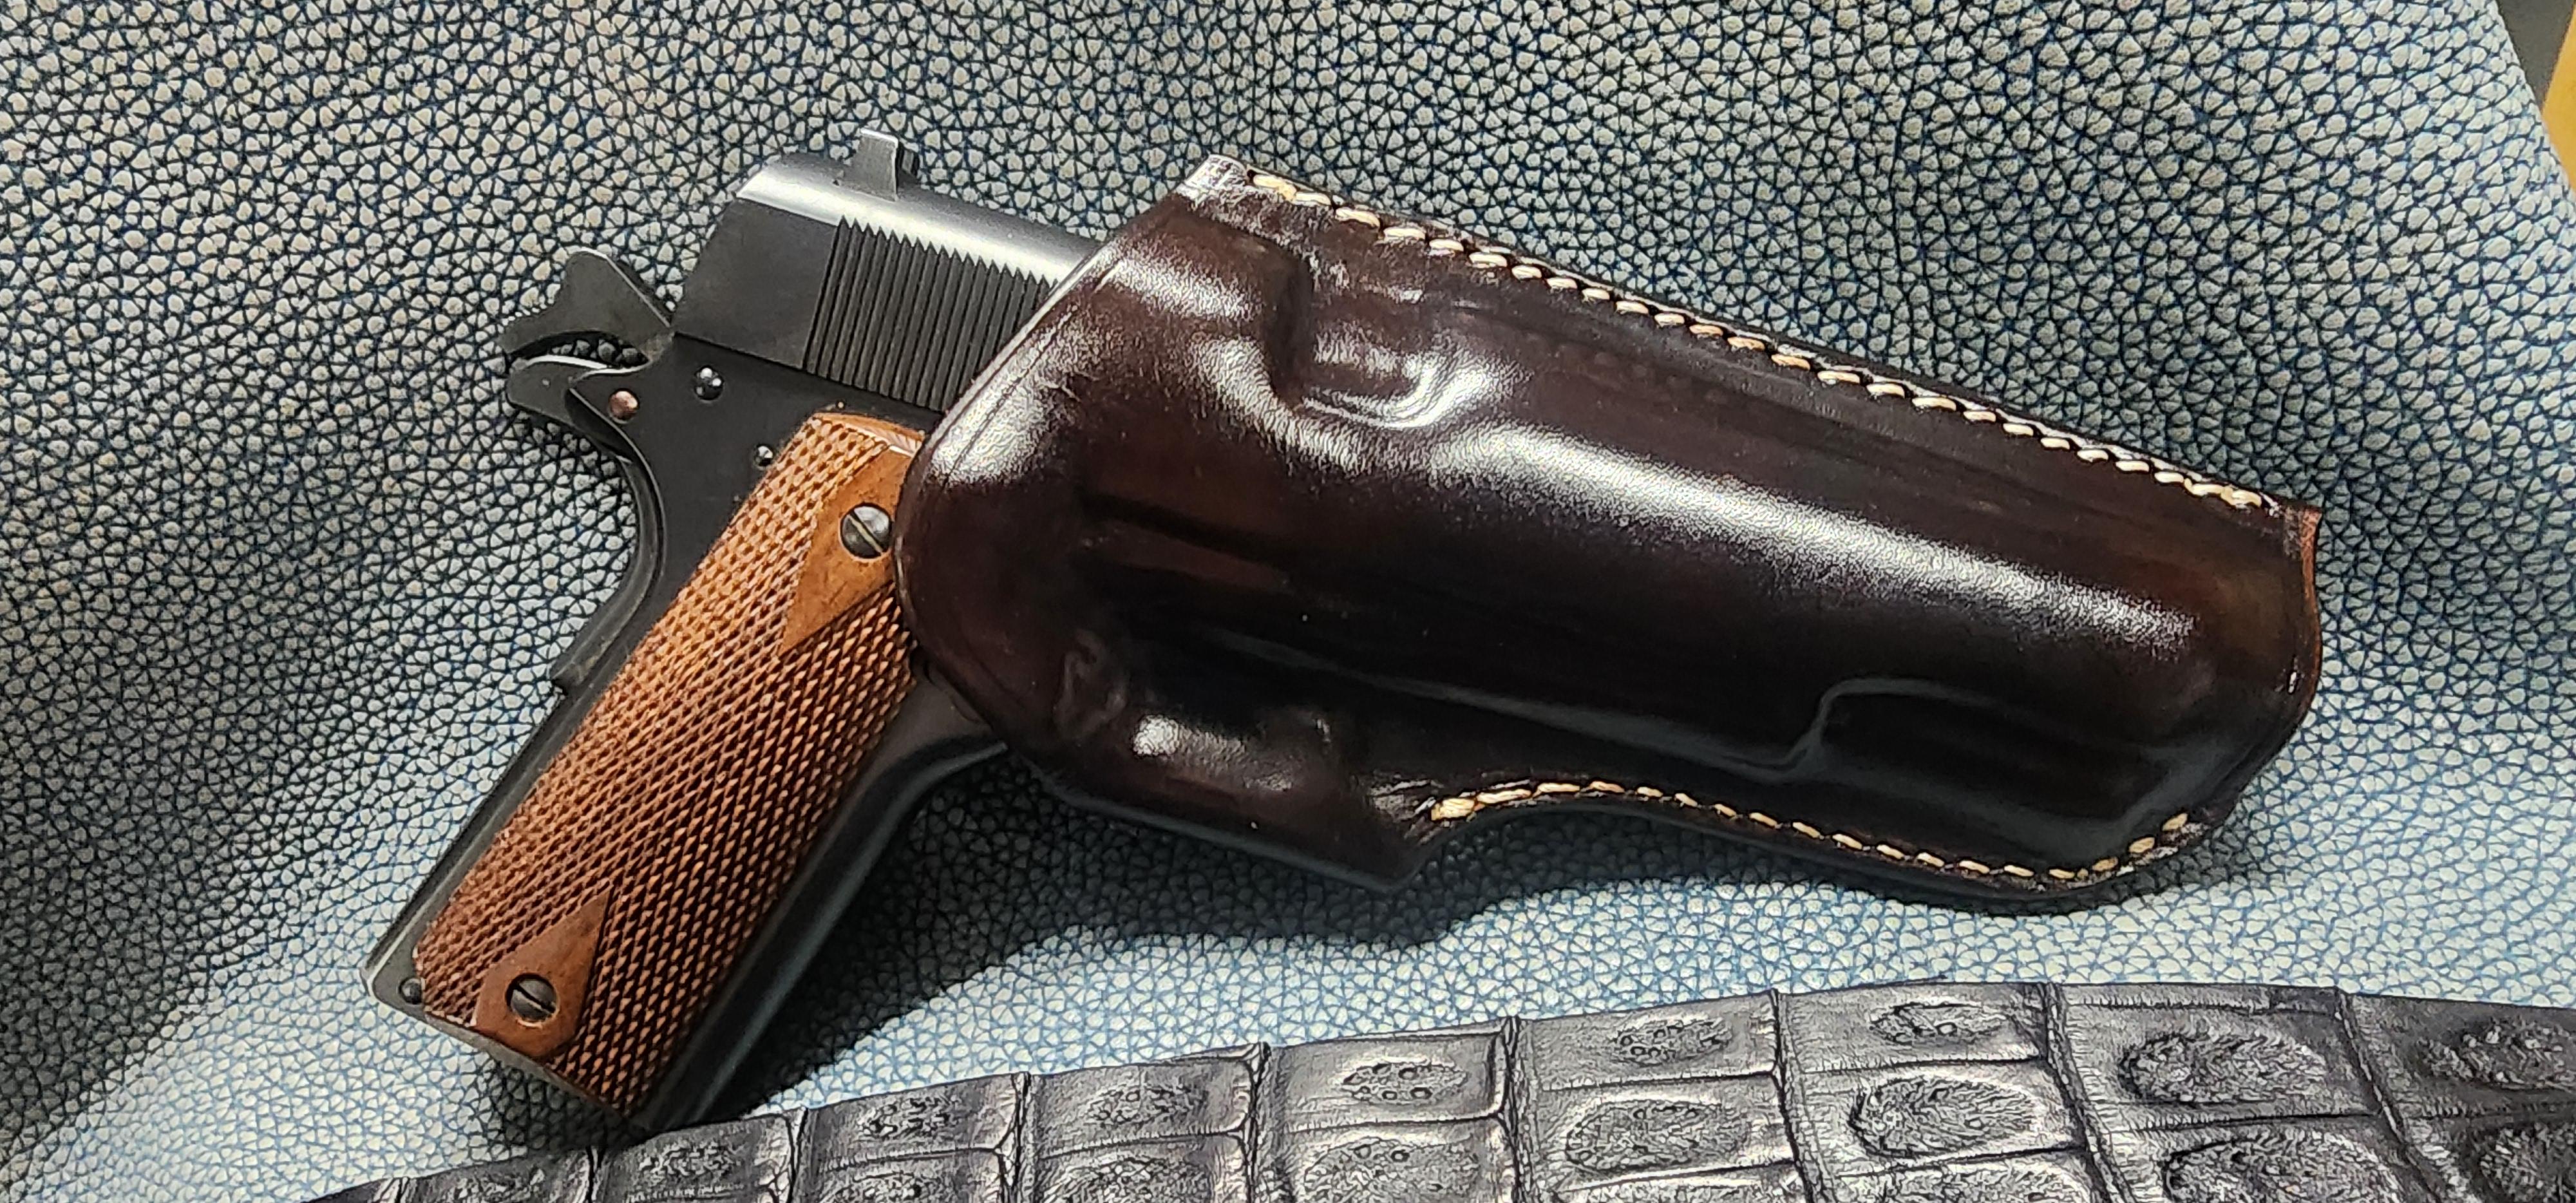
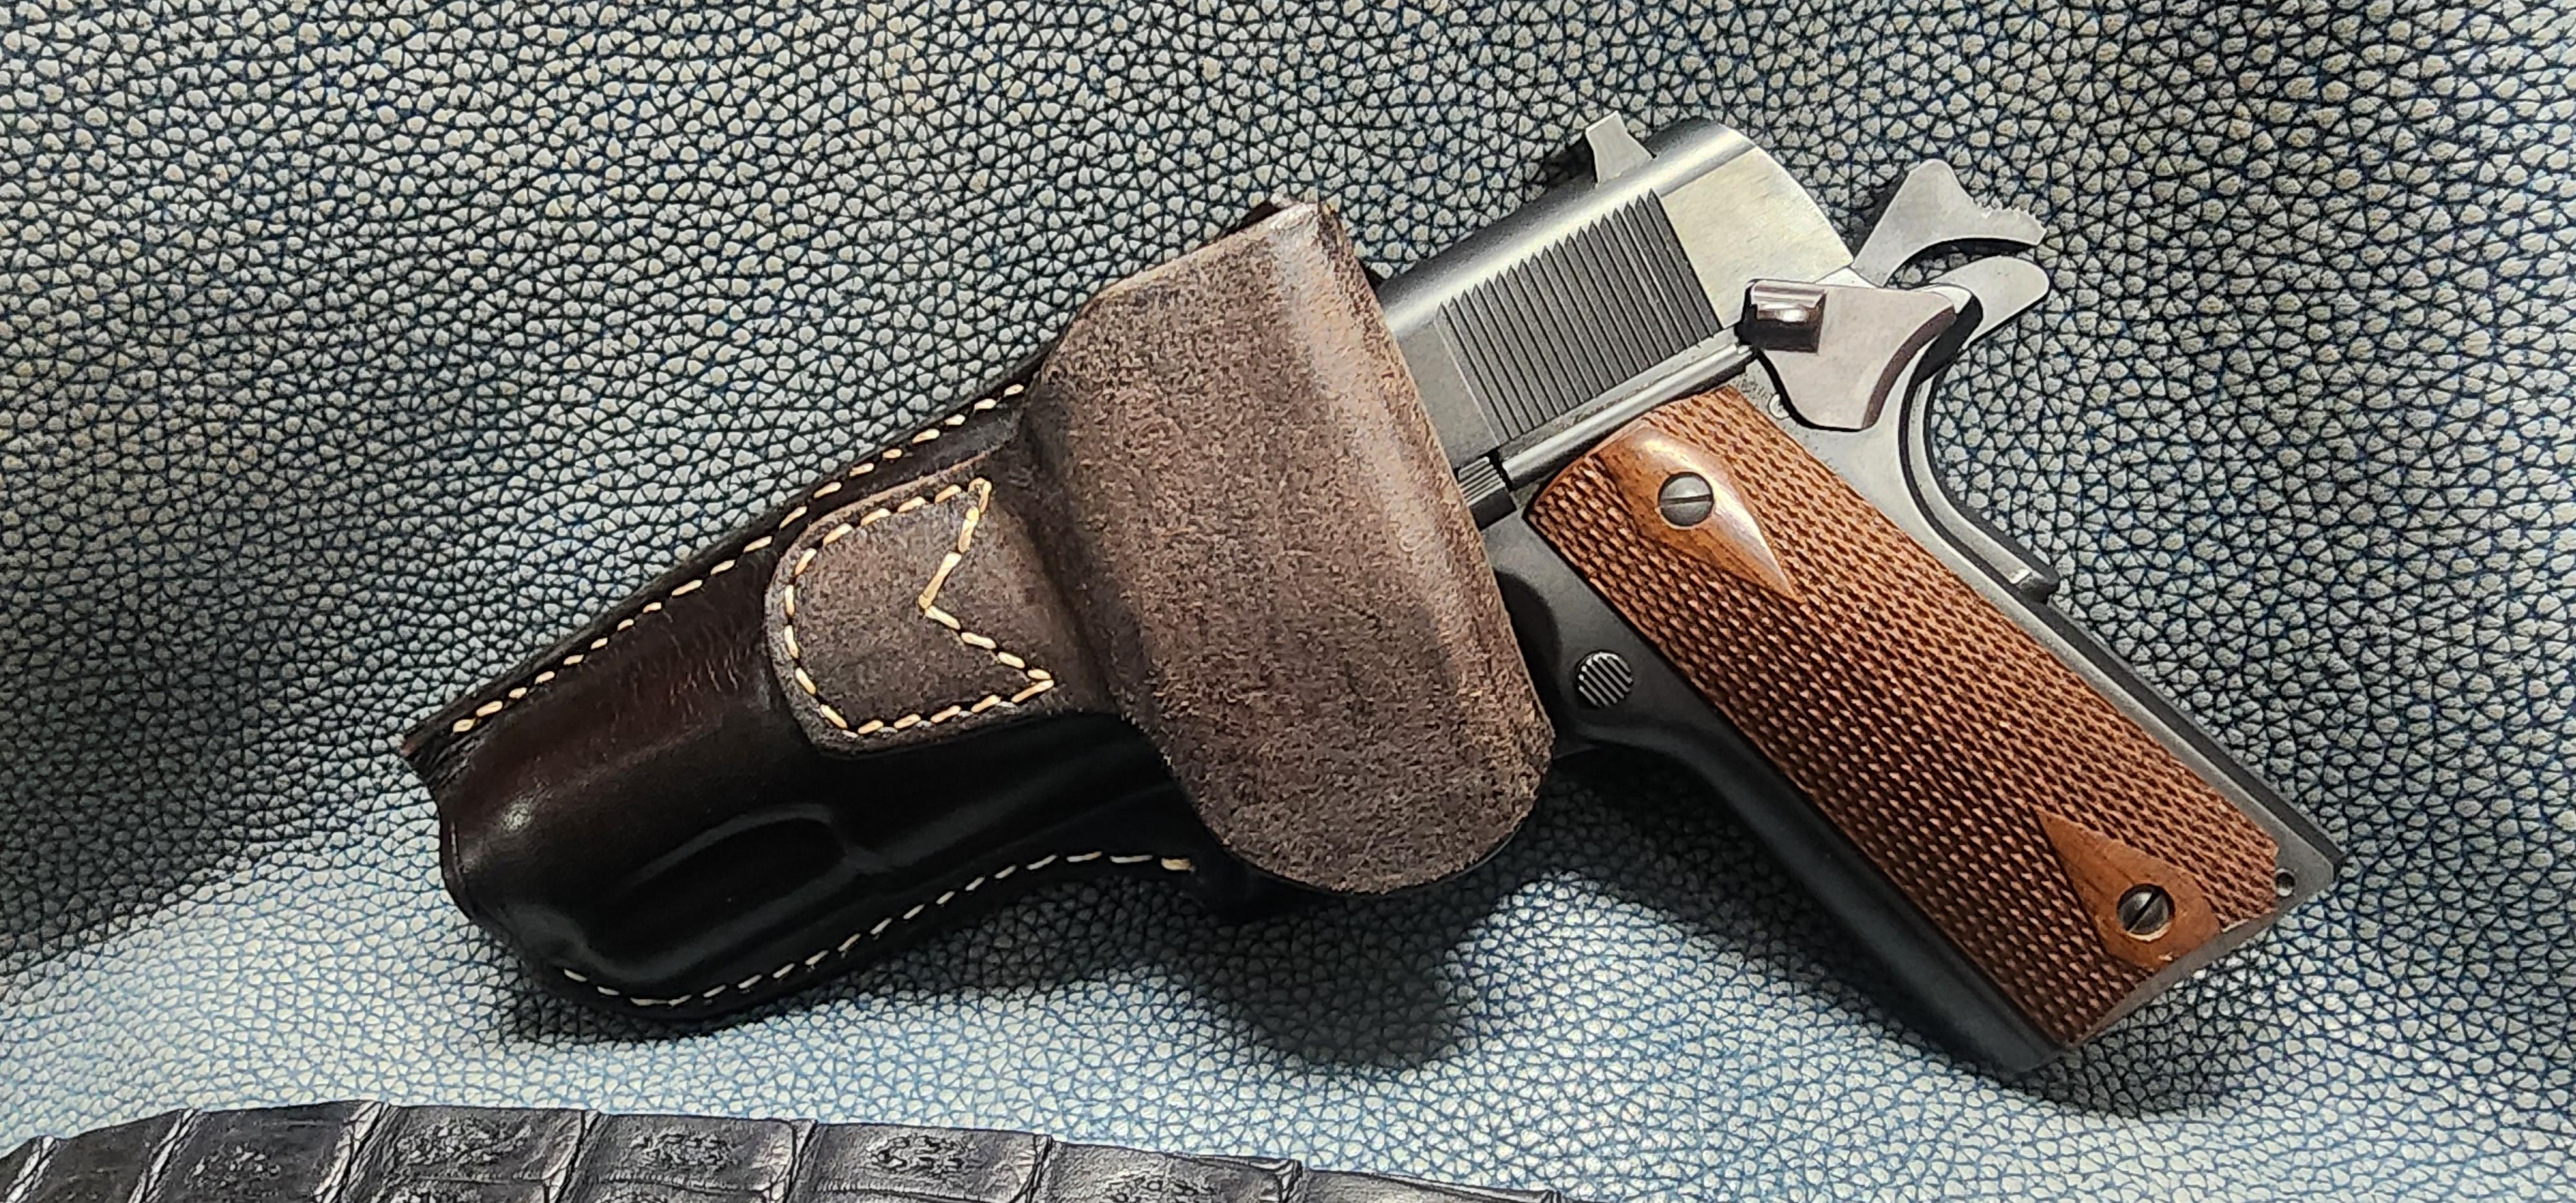
I like how this came out. Simple design but kind of unique. 1911 rhodesian holster in show brown. This leather is heavier than i like at about 9 oz. But it still works.
-
No offense taken. This job requires a sense of humor and I love working outdoors, except during a heat dome or polar vortex.


