All Activity
- Past hour
-
The seller of these has put a 55mm on amazon at my request. This is the only other size avail.
-
not sure what I would do with 50 yards of this webbing, but just on the historical part of the find, it's pretty cool. And olive drab. I haven't heard that color description in... well, since 19-longtimeago...LOL!
-
did you look here?https://fiebing.com/blog/
- Today
-
I also have the same machine, redone by me with help from others on this forum. I am not near it and won't be for a while. My first thought is the main pinch screw (the big-headed one) in the exposed linkage on the back let slip. Not common, but it does squeeze a clamp, so unwanted rotation is possible. Next thought is lubrication dried out if it has sat for years. Another possibility is something moved in the internal feed eccentric that also adjusts the two feet and their movement and relationships. I did find the military manual I have pretty useful. On YT, search for Uwe Grosse and his videos - not all specific to Singers, but also the other machines of nearly identical design. I found this very good.
-
I generally put a coat of NFO on and let it set 24 hours before dying. I finish with Resolene diluted 1:1 with water and have never had a problem. I use a wool pad for the NFO just putting enough of a coat on to see the color change, I am not soaking it with the NFO I think you can over do it and make your leather too soft. Todd
-
and I did a little better on my stitching this time
-
I use NFO before dyeing, it helps carry the dye more evenly and makes it more pliable when it dries. I let the NFO sit for a least a few hours I have done NFO after dyeing and used Resolene/water 1:1 ratio and it comes out fine. One trick I do after the leather dries, in this case a belt, I work the belt into a coil in both directions and inside out to make it pliable before adding the Resolene mix.
-
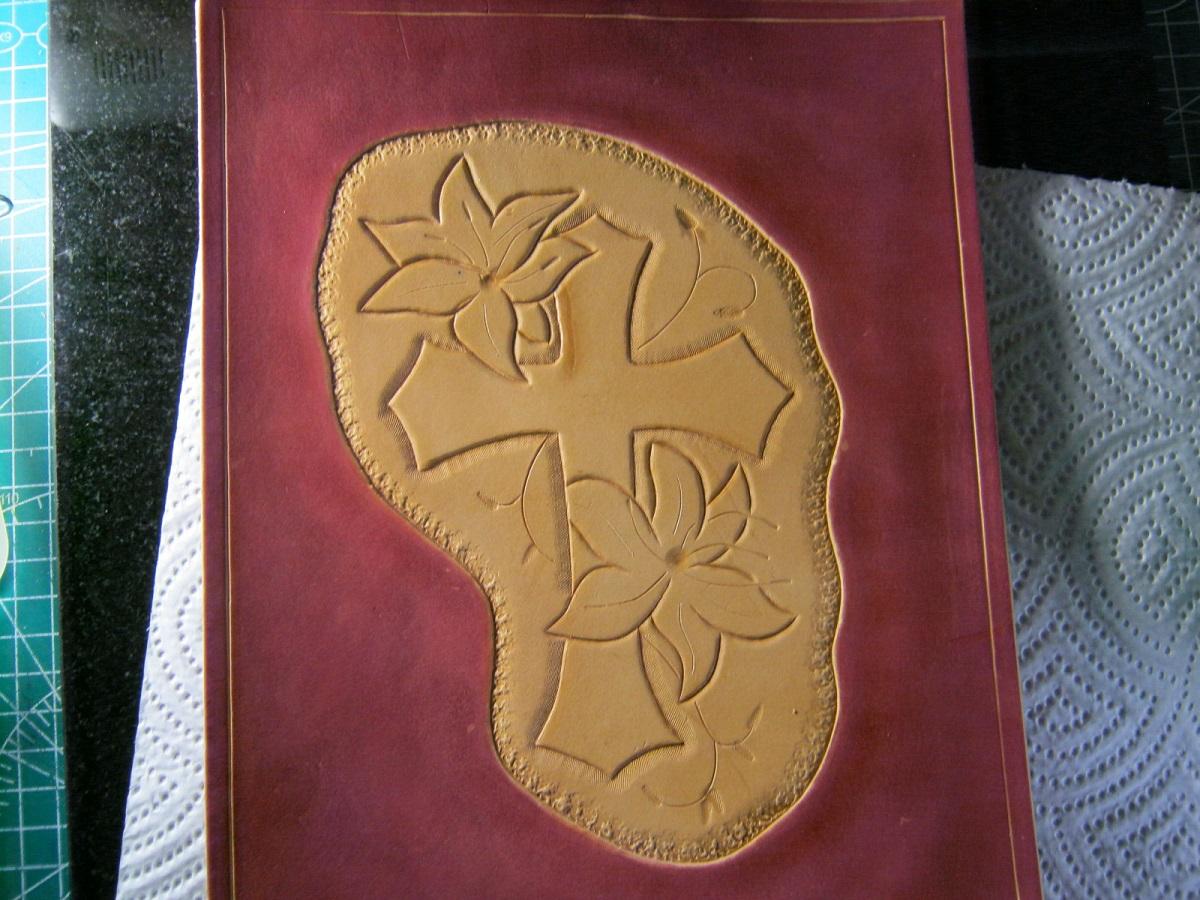
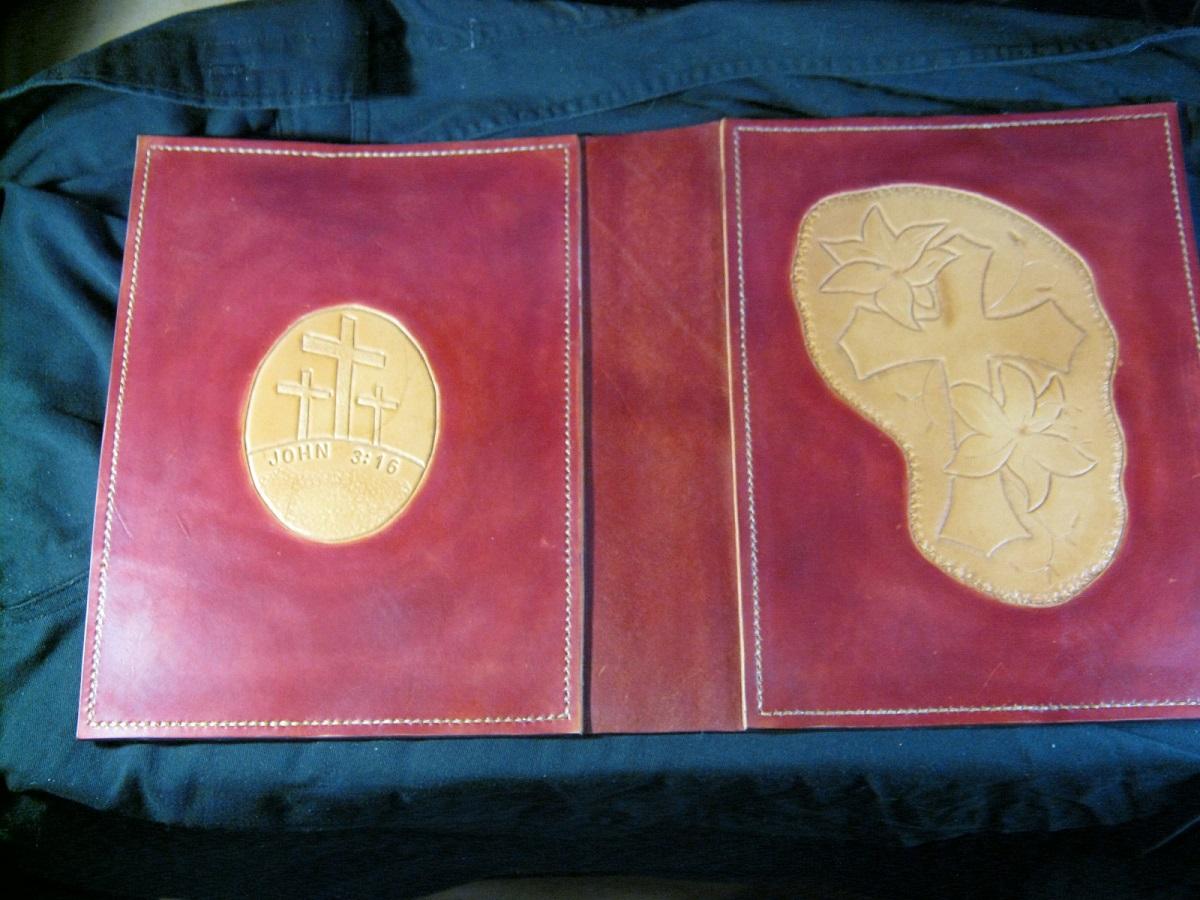
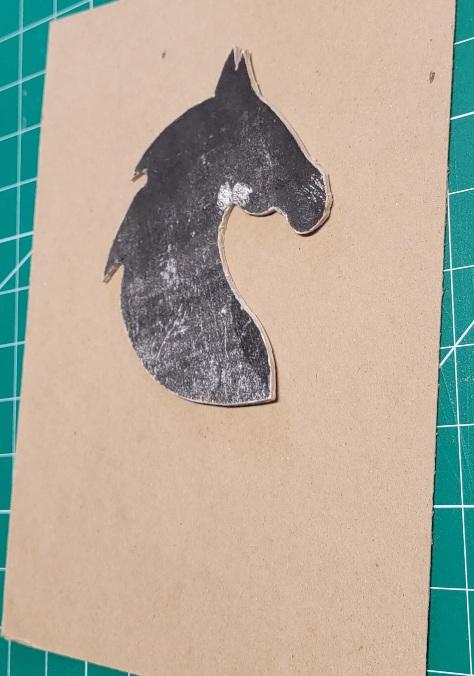
Thanks! For the inlay I used a second piece of binder's board in the shape of the horse head. I formed the inlay leather to that shape. That second binder's board raised the leather up to be just a little higher than the outer leather otherwise it would have made the horse flat. When I made the inlay I extended the leather all the way to the left, right, and top so you don't notice a seam line. For the bottom I skived the edge to minimize the seam line. Thinking about it now I should have extended the leather all the way to the bottom to save me the headache. lol It looked something like this before covering it up. In this image the back board is .6mm but in the actual one I used 1.8mm board, just like the horse head.
-

will juki 1341 accessories fit this Typical tw3-343?
kgg replied to TakashiOkada's topic in Leather Sewing Machines
I use an office chair with caster on all my machine without any difficulty. I have seen the foot lift to be more difficult then the using the rear presser foot lift lever for two reasons. 1) a missing washer on the pivot point of the the foot lift lever at the rear of machine and 2) the point of contact of the foot lift lever at the head needed to be adjusted / oiled where it made contact to lift the presser foot. You should check and see if the knee lift shaft is binding which maybe contributing to the hard lift when using the pedal to lift the pressure foot. Also: 1) The location of the cable to the foot pedal should be mounted to a bracket that is mounted to those two rear holes in the pedal. The closer you move that cable to the pivot point of the pedal the more difficult it is to operate. 2) Since you like using using a knee lift there should have been one come with the machine and it bolts to the shaft extending out of the base of the machine. 3) You should check and see if the knee lift shaft is binding which maybe contributing to the hard lift when using the pedal to lift the pressure foot. kgg -
As a suggestion try doing a test piece and compare the result with your present method. Test piece i) Oil the top side of the leather by airbrushing (above 34 psi) first and then lightly oil the backside after letting the topside sit for a few minutes. Let the leather sit for 24 hours to soften and let the oil spread the leather fibres. ii) Then airbrush the top side of leather with the dye (50/50 mix at an air pressure of above 34 psi). Then lightly airbrush the dye to the backside. Let sit for 24 hours or longer then to allow the dye to spread and darker slightly. Then a final light coat of oil. Compare the result with your present method. kgg
-
Stapler! Not the office type, the plier type. Use anywhere the holes are not seen. Simply remove after they've done their job. Office/Work/Home Stapler - Foska Plier Grip Stapler ST0512 - Black | eBay UK
-
Right then, Hand-sewing in zips. This really does get under my skin. I do them, but it brings me no pleasure. The problem surrounds the gluing in. I have tried contact glue as well as PVA. Neither of these adhere to the zip material. Ok, a wee bit. But I found the zip moves, which creates an non-straight zip. I have been using a double sided tape for the past couple of years. This does work well keeping the zip in place; however, the adhesive is all over my awl and needles. Urgh! Now I have to wipe the residue from the tape off my awl and needles about every five holes. The residue and tape also do not allow the awl or needles to move smoothly through the leather. There has to be a better method. Some type of adhesive that will keep the bleedin zip still and won't smear adhesive all over the tools. Ideas? Cheers!
-
I use 100% of Fiebings products for dying, staining and finishing leather, I don't use any other - although it's more expensive than others that I've tried, but it's the only one I'm satisfied with so far. This is not a commercial for Fiebing's, I'm just explaining myself. I use Fiebing's Pro Dye to dye the leatherwork (then applying acrylic resolene with airbrush. I dip-dye belts and for everything else I use airbrush. But after dying (mostly after dip-dying) belts are very stiff - so I would consider using Fiebing's Neatsfoot Oil and then Resolene - would it work? Would it even be reasonable to use Resolene after Neatsfoot oil? And another question: After tooling leather and dying it with Pro Dye - is okay to use Antique Finish? And after that, I would use Neatsfoot oil and then Resolene for the finish - would it work or am I using too much preparations for leather? Thanks for any help!
-
Very nice. I've not seen using binder's board as a core on the insert. Did you tool around the edge before sewing?
-
My response was a bit short I guess. Well, we have not seen the machines but I would assume that the 211´s are old factory machines that probably have been stored for maybe decades (we do not know, do you?). You for sure will need a new motor (Servo motor + maybe a speed reducer for better speed control) and depending on the wear you may need a new hook and maybe a new timing belt. Replacing a timing belt on a 211 is no fun work IMO due to the shaft bearing on the hand wheels end. So if you are able to replace the parts by your self. And since we have not seen the machine it may need some more bits too. You may need $100+ for the motor + maybe $150 for the speed reducer (if needed) and maybe $50+ for additional parts (all guessing) and your time for repair and adjustment work. So a lot of guessing here. Pictures of the actual machine(s) may help. The machine it self could probably sew what you what (as AlZilla already said) but it is meant for flat work and not really for sewing over thicknesses. There are for sure better machines for leather work. Triple feed machines are a lot more versatile than needle + drop feed machines, especially when it comes to accessories like presser feet and so forth. My 2 cents.
-
 Introduction Are you struggling with hot foil stamping problems like patchy impressions, foil peeling, or burnt leather? You're not alone – over 65% of leathercrafters face leather foil stamping errors in their first year. This guide systematically diagnoses foil stamping failures and provides actionable fixes, whether you're using manual brass molds or hot foil stamping machines. Leather Foil Stamping Problems & Solutions Cheat Sheet Problem Possible Causes Tested Solutions Pro Tips Blurry/Faded Impression (Leather foil not clear) • Low temperature • Insufficient pressure • Dirty mold/leather • Increase temp by 5°C increments • Add silicone cushion under leather • Clean with isopropyl alcohol Use harder brass molds (≥3mm) for sharp details Foil Peeling Off (Hot foil not sticking) • Wrong foil type • Dwell time too short • Moisture on surface • Match foil to leather (see table below) • Press for 3+ seconds • Pre-heat leather at 60°C for 10min Peel test: Wait until foil cools to room temp Burnt Marks/Holes (Foil stamping overheat) • Excessive temperature • Pressure too high • Thin leather • Reduce temp to 120-150°C • Decrease pressure to ≤3Bar • Use thermal barrier paper For burns: Sand + leather dye blend Misaligned Stamping (Foil stamping misalignment) • Manual positioning error • Loose mold fixture • Install laser guide ($25-50) • Use magnetic positioning jigs • Overstamp with metallic paste Design with 5% bleed area to hide minor offsets Partial Transfer (Uneven foil adhesion) • Uneven surface • Worn silicone pad • Foil tension issues • Level leather with glass plate • Replace silicone pad every 500 impressions • Adjust foil roll tension Quick fix: Use spot-heating pen for missed areas Foil & Leather Compatibility Guide Leather Type Ideal Temp Range Vegetable-Tanned 140-160°C (285-320°F) Chrome-Tanned 130-150°C (265-300°F) Suede/Nubuck 110-130°C (230-265°F) Oily/Waxed Leather 150-170°C (300-340°F) Synthetic Leather 120-140°C (250-285°F) Exotic Leathers 125-145°C (255-295°F) Common Foil Stamping Failures and Solutions 1. Blurry or Faded Foil Impression Problem: The stamped text or design appears blurry or lacks sharp edges. Possible Causes: Temperature too low to properly transfer foil Dirty or oily stamping die surface Insufficient stamping time Uneven or unprepared leather surface How to Fix: Adjust the temperature to the recommended range (110–130°C) and test accordingly Clean the die surface with alcohol or a soft cloth before stamping Increase stamping time to 1–2 seconds depending on leather type Use a flat backing plate or prepare the leather surface for even contact 2. Foil Peeling or Not Sticking Properly Problem: The foil flakes off easily after stamping. Possible Causes: Using foil not suitable for leather materials Insufficient temperature or pressure settings Stamping time too short for proper adhesion How to Fix: Switch to leather-specific foil with proper adhesive coating Increase pressure settings as per machine specifications Extend stamping time to 2–3 seconds for better adhesion 3. Burnt Edges or Leather Damage Problem: The edges of the stamped design show burn marks or the leather surface is scorched or even punctured. Possible Causes: Temperature set too high Sharp edges on the stamping die concentrate heat Using thin or soft leather without adjusting settings How to Fix: Lower temperature settings to between 100–120°C Smooth and round off sharp die edges to distribute heat evenly Shorten stamping time and reduce pressure for delicate materials 4. Misaligned or Double Impressions Problem: The stamped pattern is shifted, duplicated, or misaligned. Possible Causes: Lack of proper positioning tools during manual operation Leather or work surface not fixed securely Loose stamping die or machine vibration How to Fix: Use positioning aids like clamps or laser guides Employ jigs or templates for consistent placement Ensure die and worktable are securely fastened; control machine operation carefully 5. Excessive Indentation or Leather Damage Problem: The stamping leaves deep impressions or damages the leather surface. Possible Causes: Excessive pressure applied Using dies with deep engravings unsuitable for the leather thickness No cushioning layer between die and leather How to Fix: Reduce pressure gradually and test for optimal depth Use shallower engraving dies for softer leather Add silicone or leather padding beneath the die as a buffer How to Prevent Foil Stamping Failures Always perform test stamping before production to find the optimal temperature, pressure, and time for your leather type. Regularly clean dies and stamping plates to ensure even heat transfer. Choose foil specifically designed for leather materials. Store leather in a dry, stable environment to maintain surface quality and adhesion. Frequently Asked Questions (FAQ) Q1: Why does foil stamping effect vary between foil batches? A: Foils have different adhesive bases depending on material and manufacturer. It’s best to test and use foils from the same batch and brand for consistency. Q2: What if my machine’s pressure setting is inaccurate? A: Use pressure test paper to calibrate or rely on trial impressions to find the right pressure. Consult your machine’s manual or supplier for recommended settings. Q3: How long do stamping dies last? A: Brass dies can last a long time if properly maintained. Replace dies when details wear down or affect the stamping clarity. Conclusion Foil stamping failures are common but manageable with proper analysis and adjustments. Using high-quality equipment and materials combined with standardized procedures will greatly improve your product’s finish and consistency. If you encounter challenges you cannot resolve, feel free to contact our technical support team for personalized assistance. Welcome to Share Your Stamping Details! More Guides & Tutorials Which Maxita Hot-Foil Machine Actually Fits Your Bench?,2025, Jinglin. The Ultimate Guide to Maxita Hot Foil Stamping: Master Your EC-27 & EC-17, 2025, Jinglin. Maxita EC-17 vs. EC-27: Which Leathercraft Machine Is Right for You?, 2025, Jinglin. Maxita Hot Foil Stamping Machines Comparison: EC-17 vs. EC-27 and Holder Types, 2025, Jinglin. 3-Line Foil Stamping Guide: Maxita EC-27 & EC-17 Tutorial, 2025, Jinglin. Detailed Causes & Solutions for Gold Stamping Failure: Guide for Leather Hot Stamping Users, 2025, Jinglin. Hot Foil Stamping Machine FAQ: Common Issues and Practical Solutions, 2025, Jinglin. Maxita Hot Stamping Machine: Leather Craft Embossing Guide, 2024, Jinglin.
 -
Looks real nice. Great work. Simple but elegant.
-
 Thank you.
 -
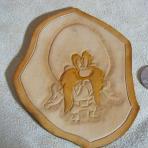
.thumb.jpg.6e903dd66163ad5672f00f144058c571.jpg) I moved your post to Marketplace > Items For Sale > Books/Patterns/Periodicals/Videos Here are the marketplace rules https://leatherworker.net/forum/forum/70-announcements/
I moved your post to Marketplace > Items For Sale > Books/Patterns/Periodicals/Videos Here are the marketplace rules https://leatherworker.net/forum/forum/70-announcements/ -
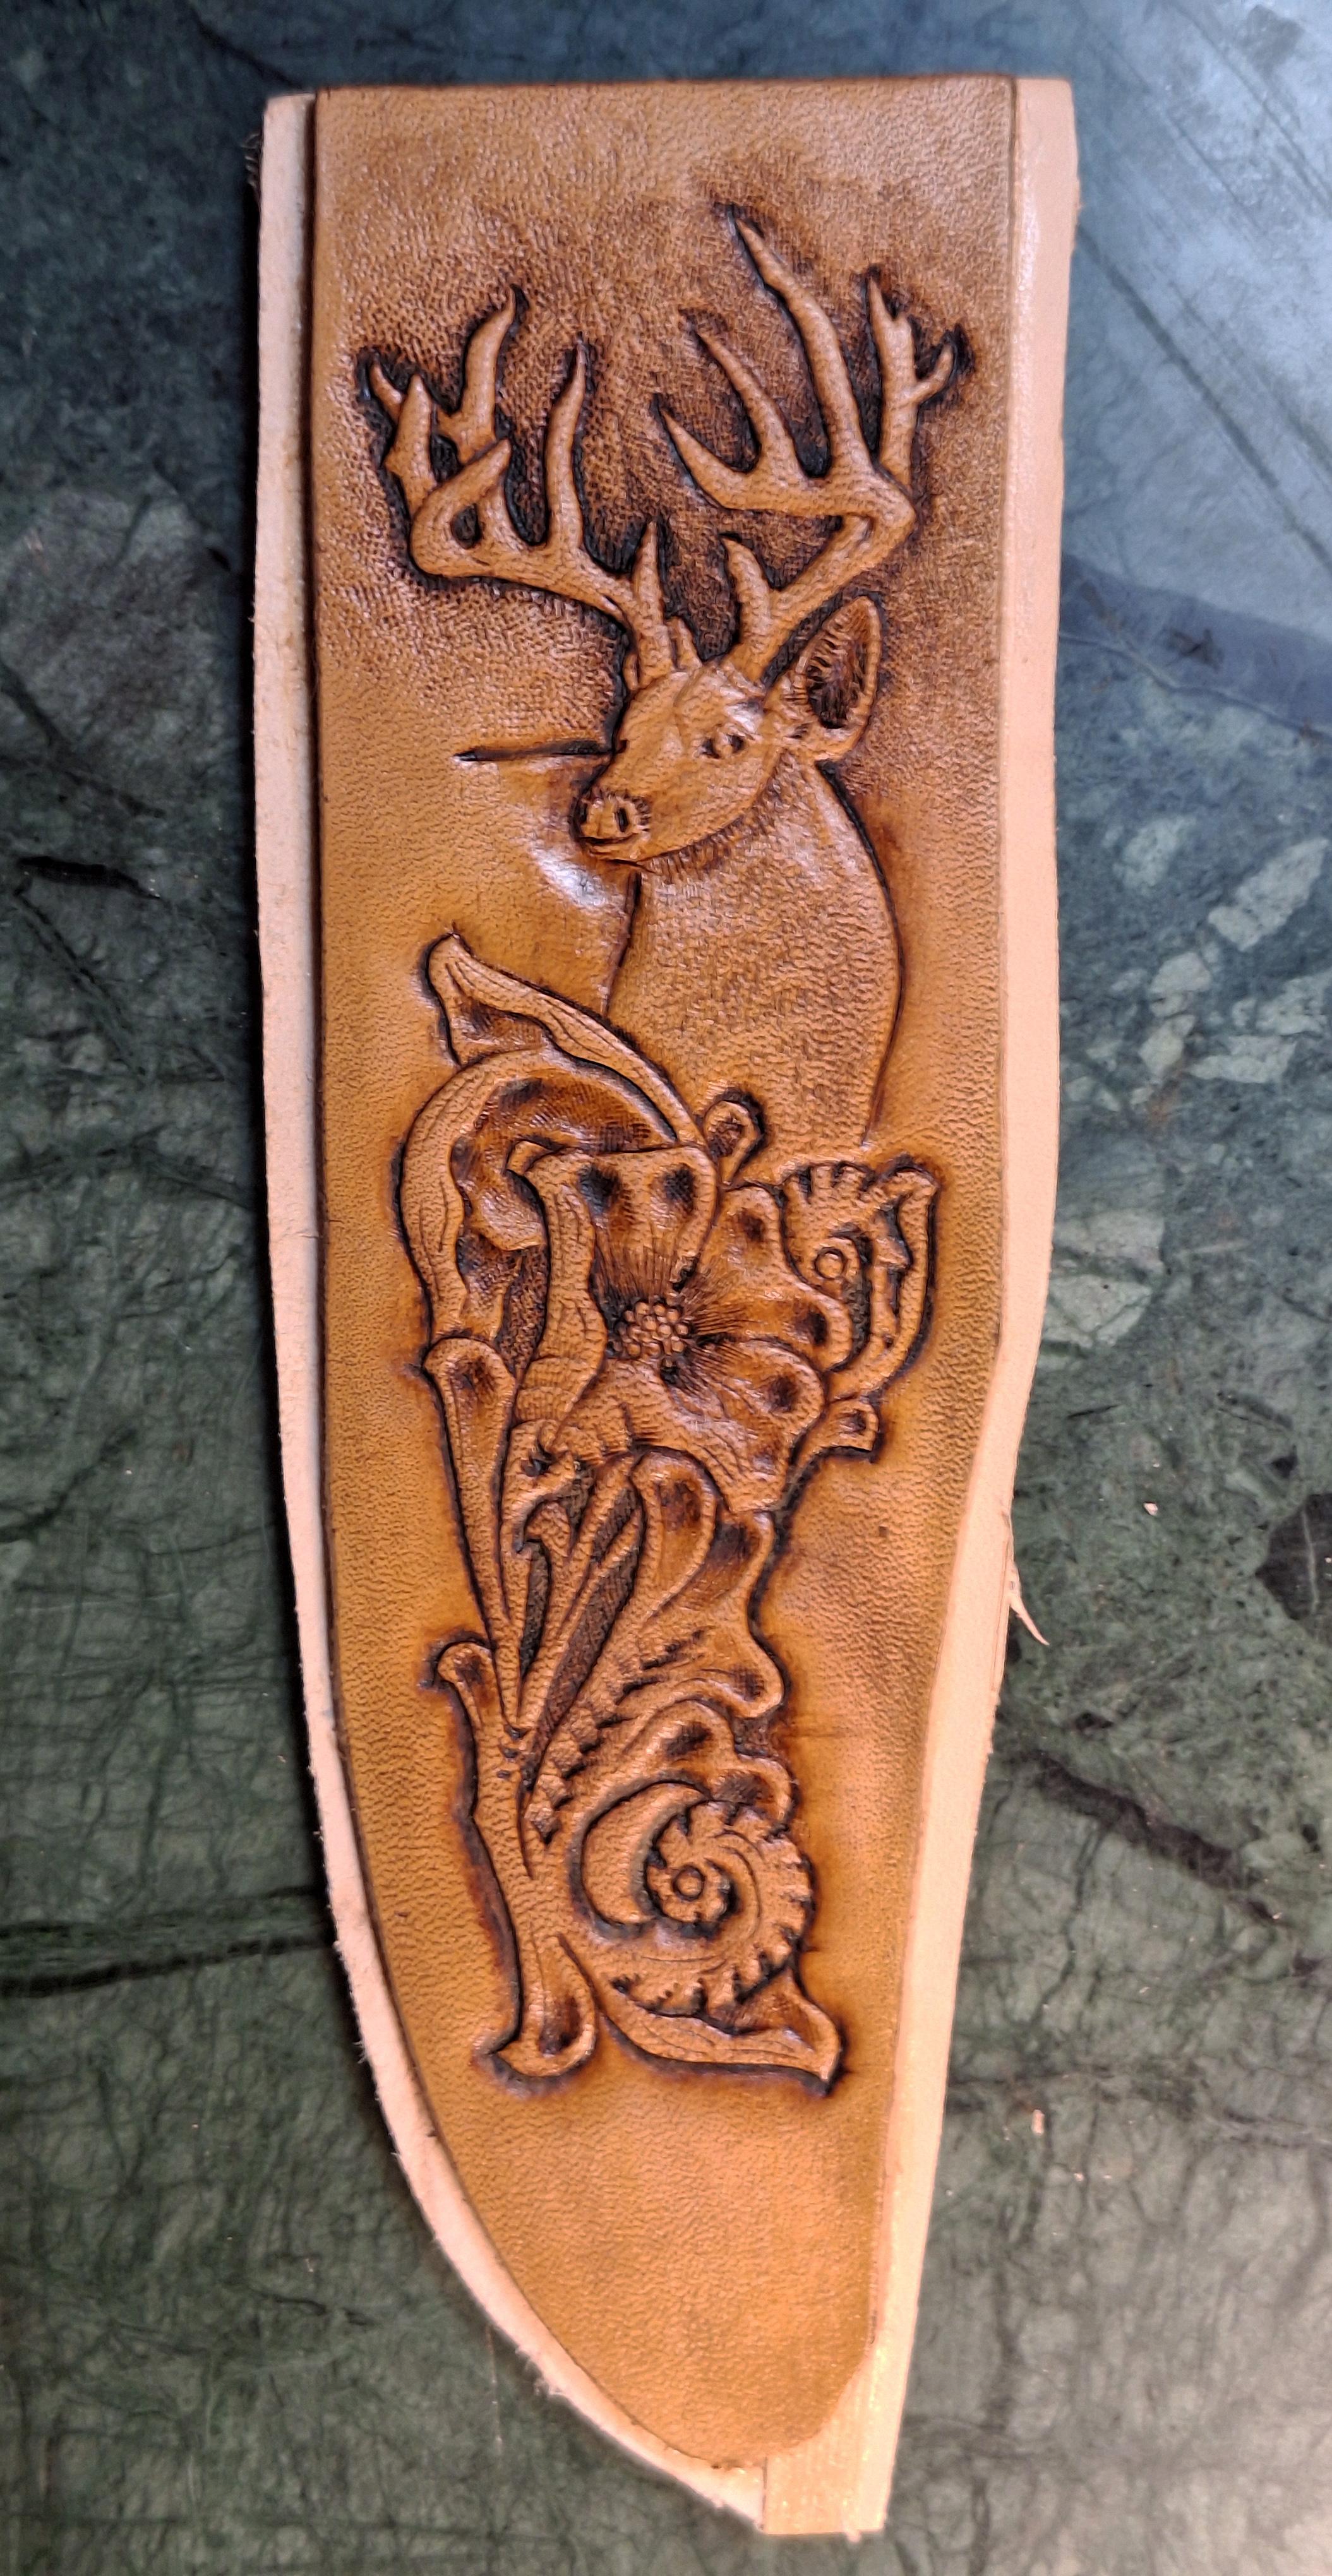
Deer seasons comming up, fitting to start a deer themed sheath.
-
 Dan_IN_MN joined the community
 -
I have my late dad's Singer 111W155 commercial sewing machine. He purchased it new in the early 50's. It's sown a lot. One day it wouldn't stitch. Needle wouldn't go through the hole in the feed dog. In fact the needle bar and feed dog don't move together. Broke the needle. I'm the only one who uses the machine. I've looked the machine over for something loose or broken and didn't find anything. The timing belt is in time and in good condition. The military manual hasn't been much help. Some of the pictures are messed up. I made a short video attempting to show what happening. Thank you for your thoughts! Dan_In_MN Link to video. https://youtu.be/tBfok3Zu-Vk?si=d66XIaR5rbtZs0Af
-
Based on what Constabulary says, it's like my 111W151 and I agree with his assessment. I like my 151 and it might work for what you want (I've done small leather goods w/o trouble). The lack of reverse is not a big deal until you get to small leather goods. The backstitch with larger thread becomes important from a visual perspective. There are a couple ways to do the back stitch but they take a little learning curve and practice and you'll still fluff it once in a while. For not much more money you should be able to find something with reverse and *know* that it actually works. Besisde, 300 bucks for a run of the mill machine that might work? Even if you know what you're looking at, it's still too much.
-

will juki 1341 accessories fit this Typical tw3-343?
friquant replied to TakashiOkada's topic in Leather Sewing Machines
You can stand behind the machine and press down on the lever with your hand to check how smooth it moves without the pedal being in the way. You may need to grease the part that slides up and down near the presser foot. Cool! The bobbins on my jianglong 341 are 20mm. -
 HeathHeathen joined the community
 -
its a needle feed + drop feed machine w/o reverse. you find some main information in the service manual (1st google hit on my end) I would not buy it. Singer 211W151.pdf
- Yesterday
-
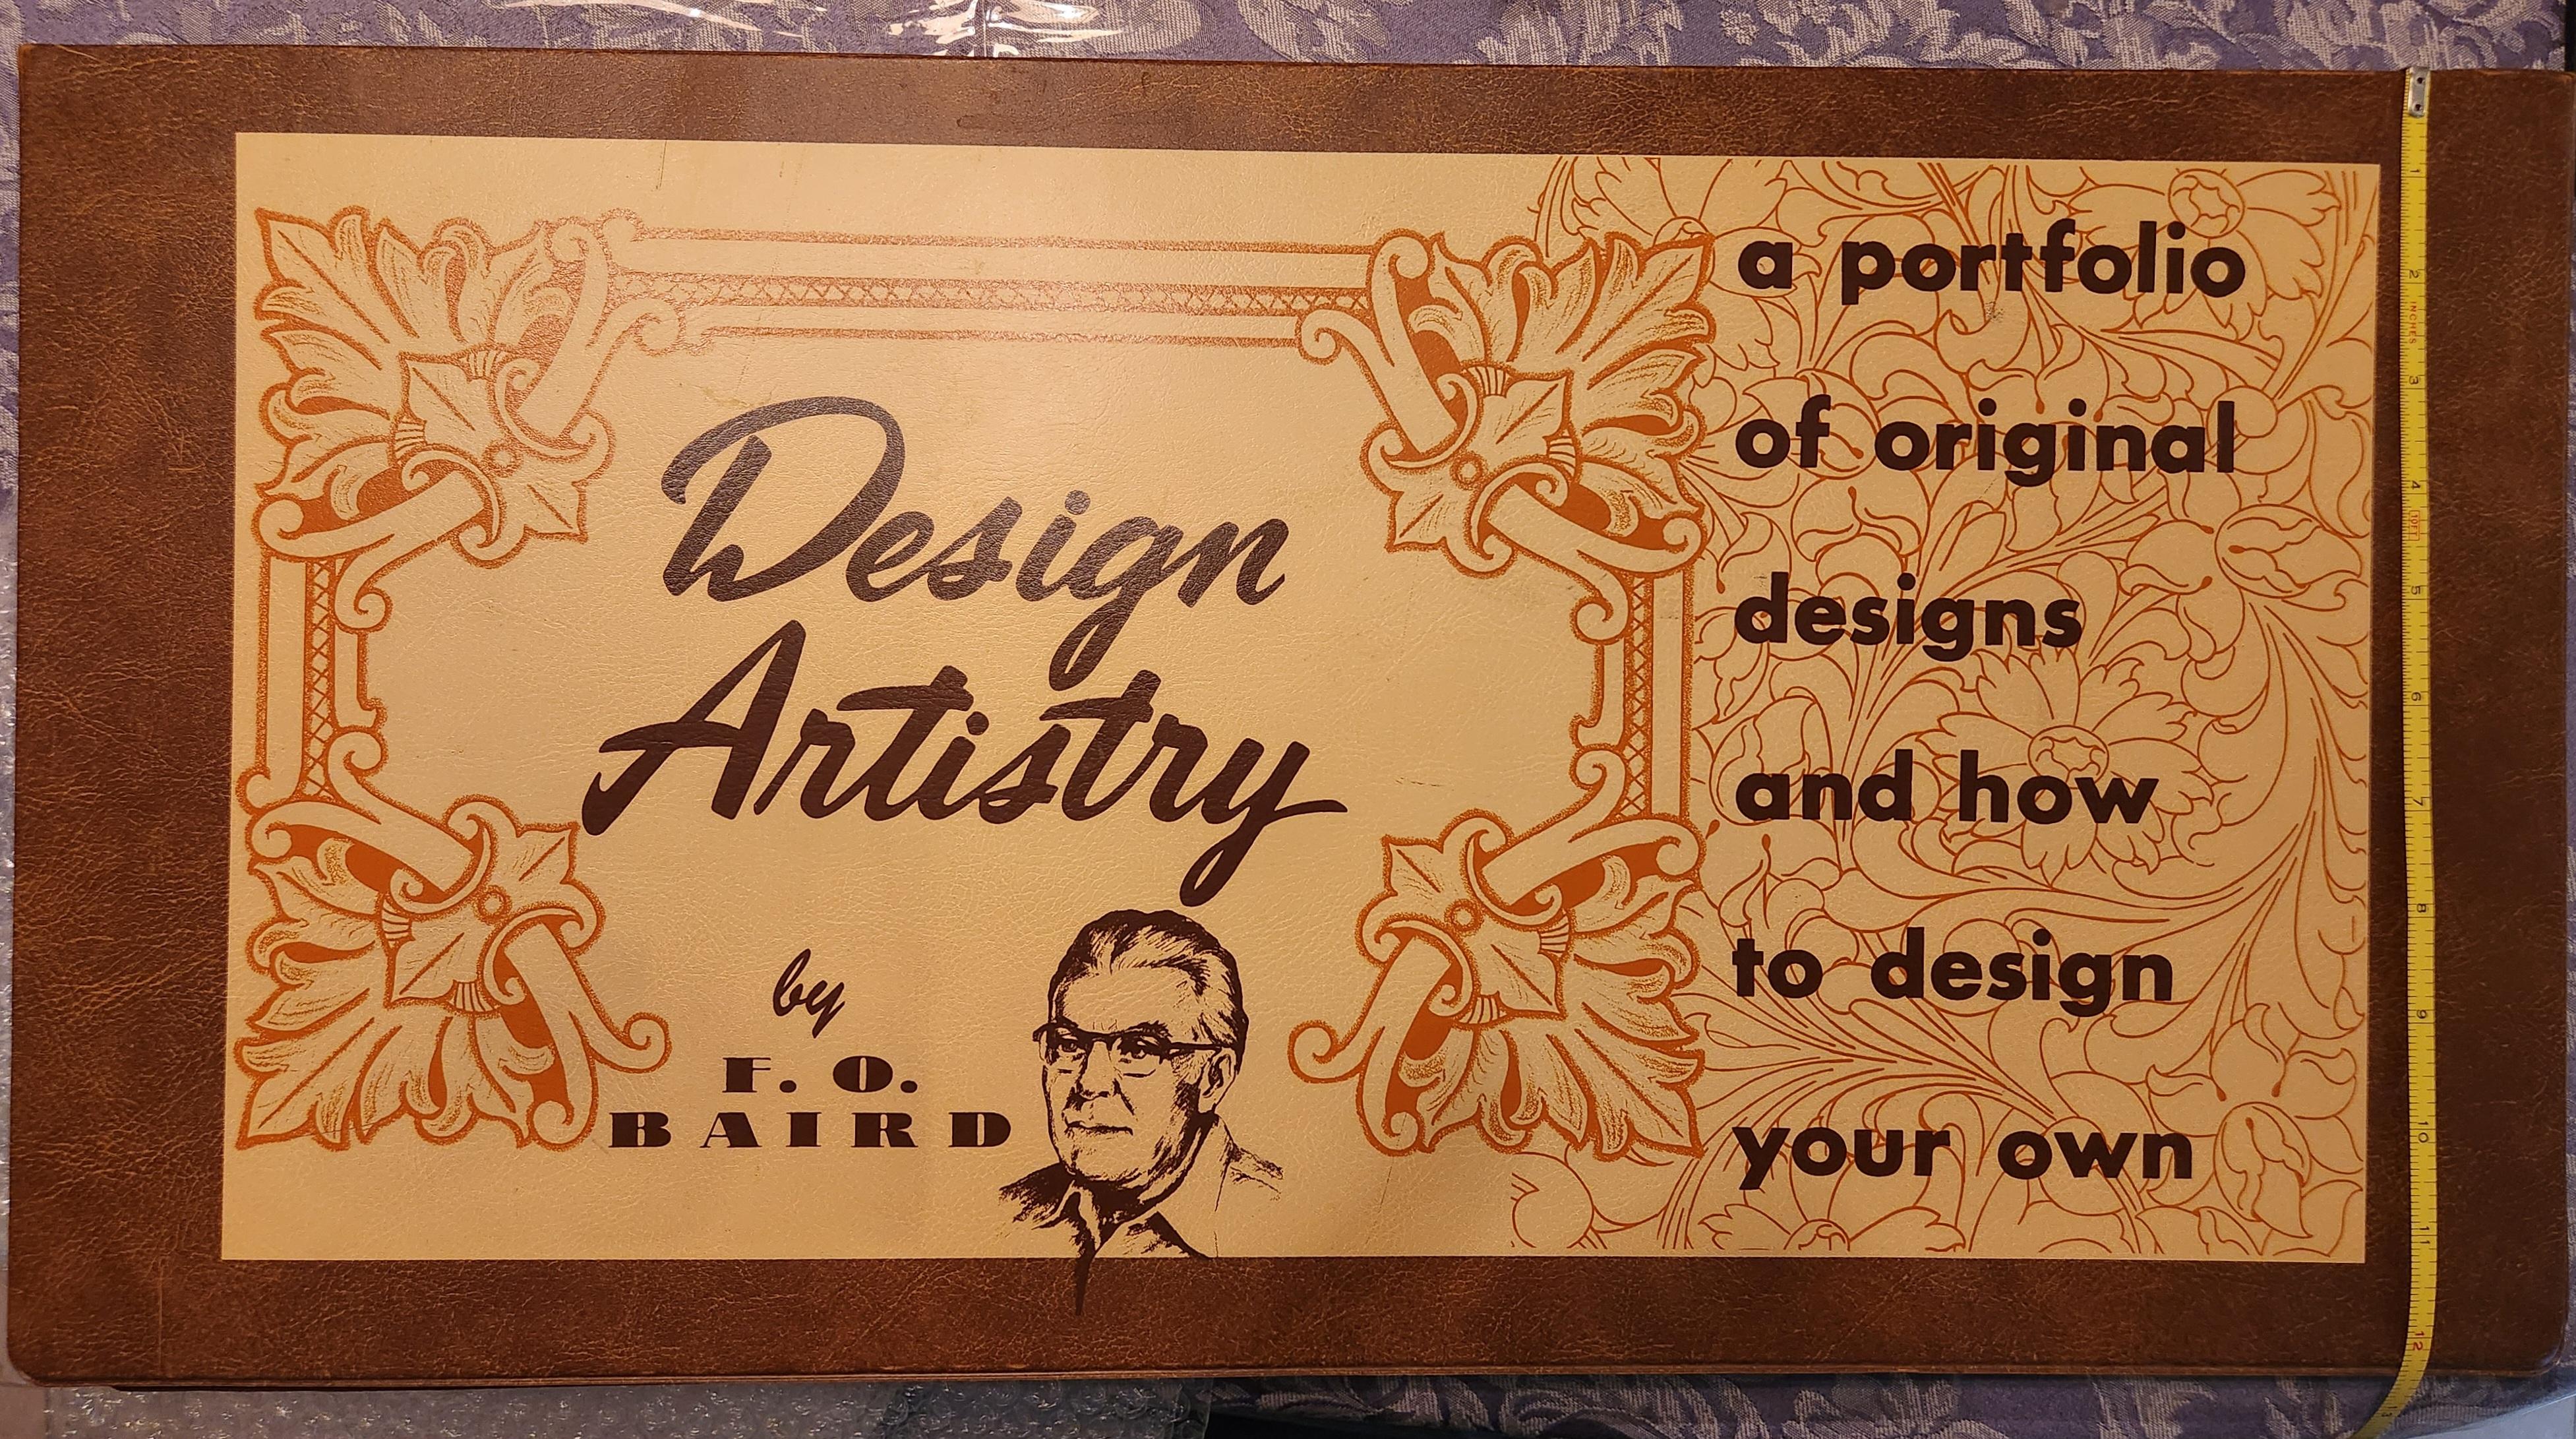
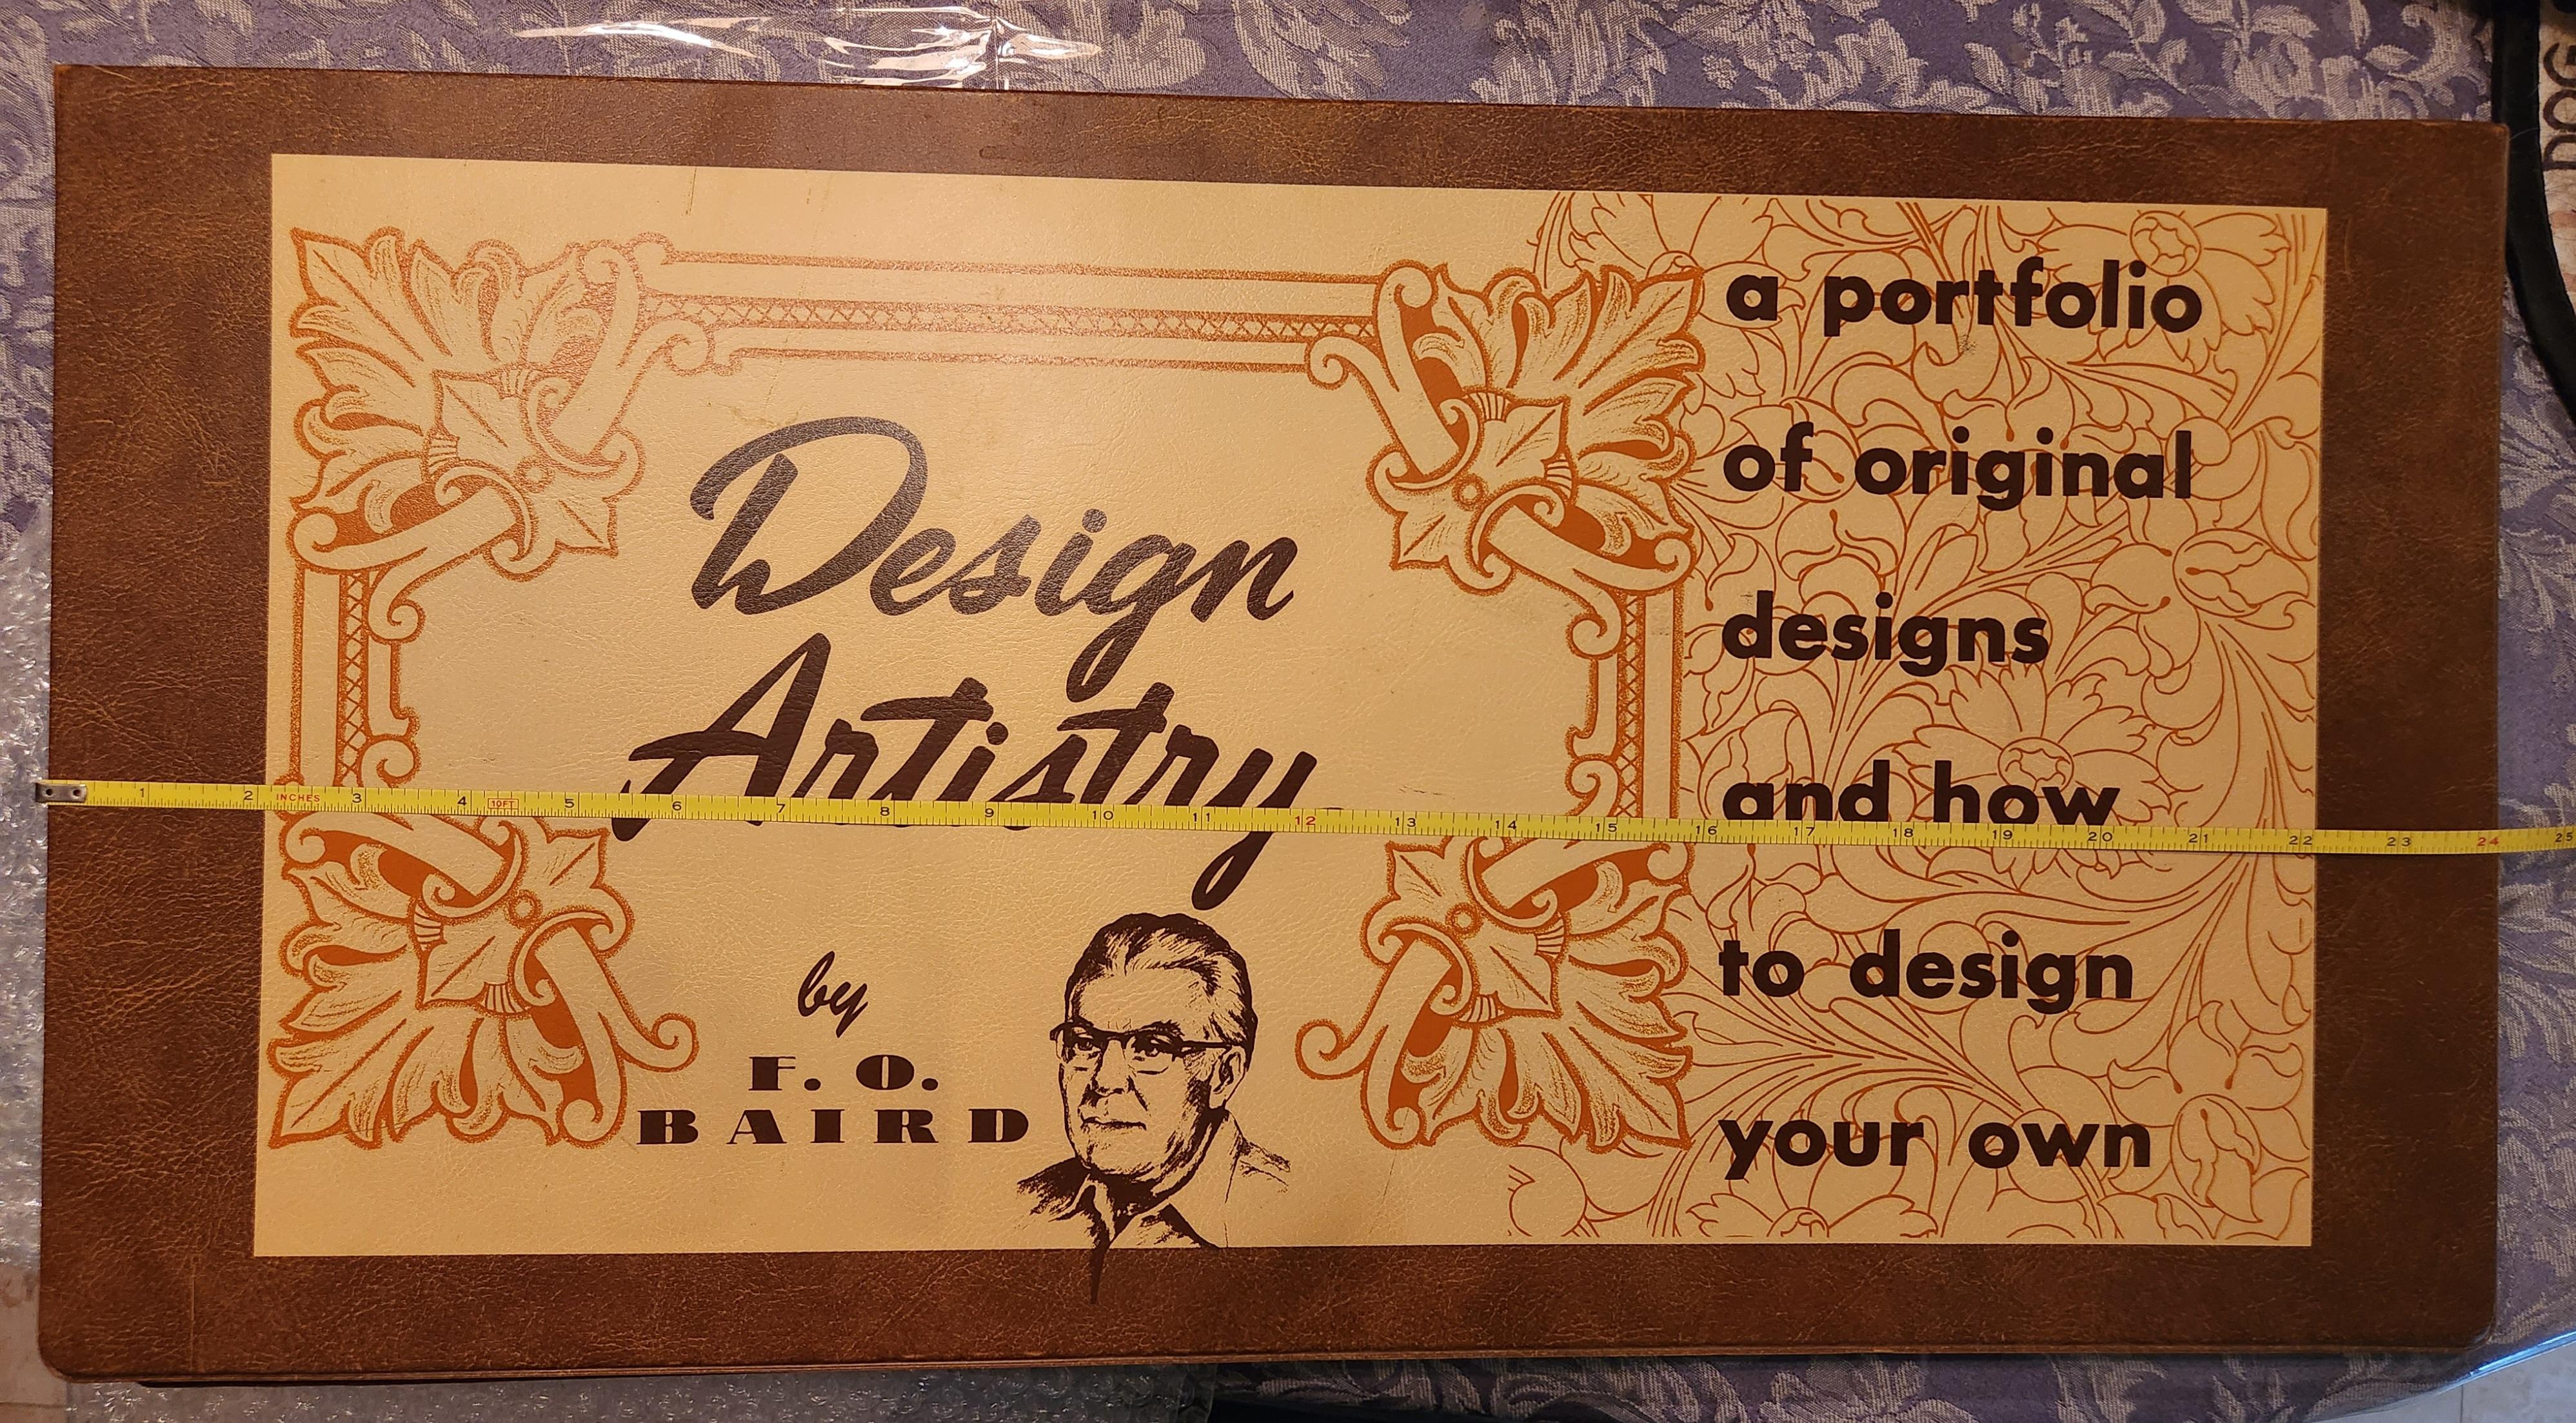
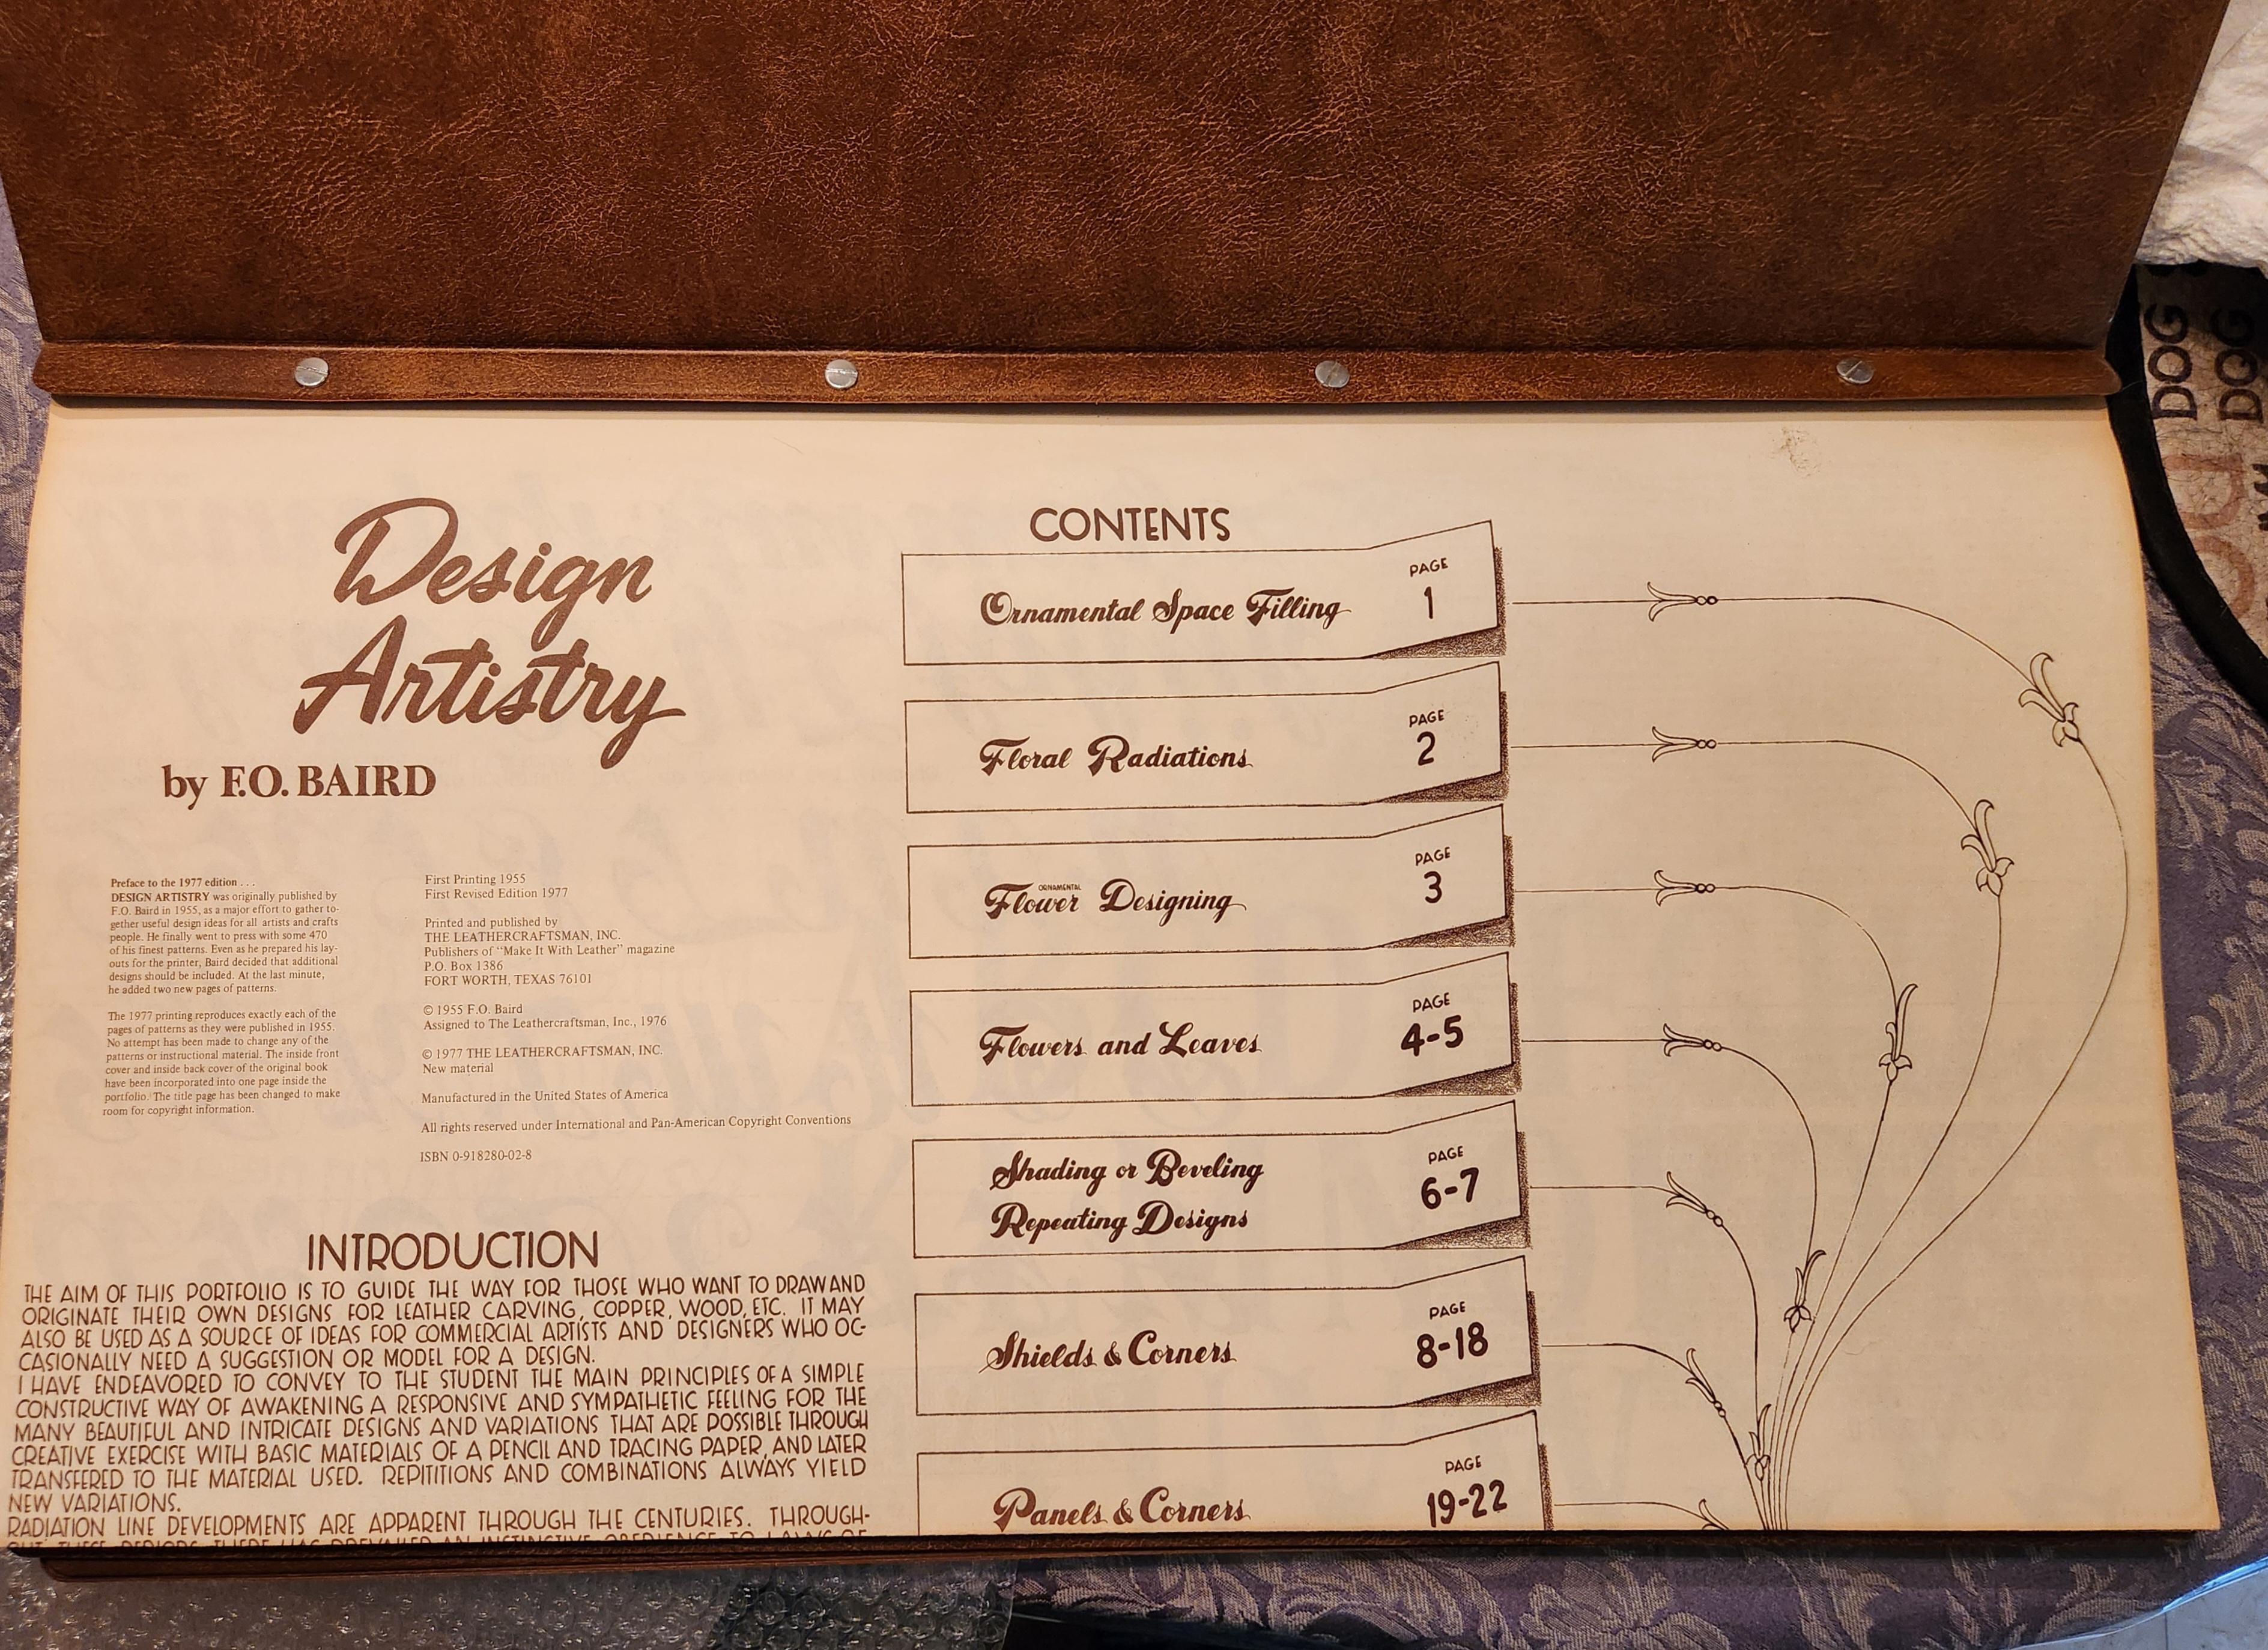
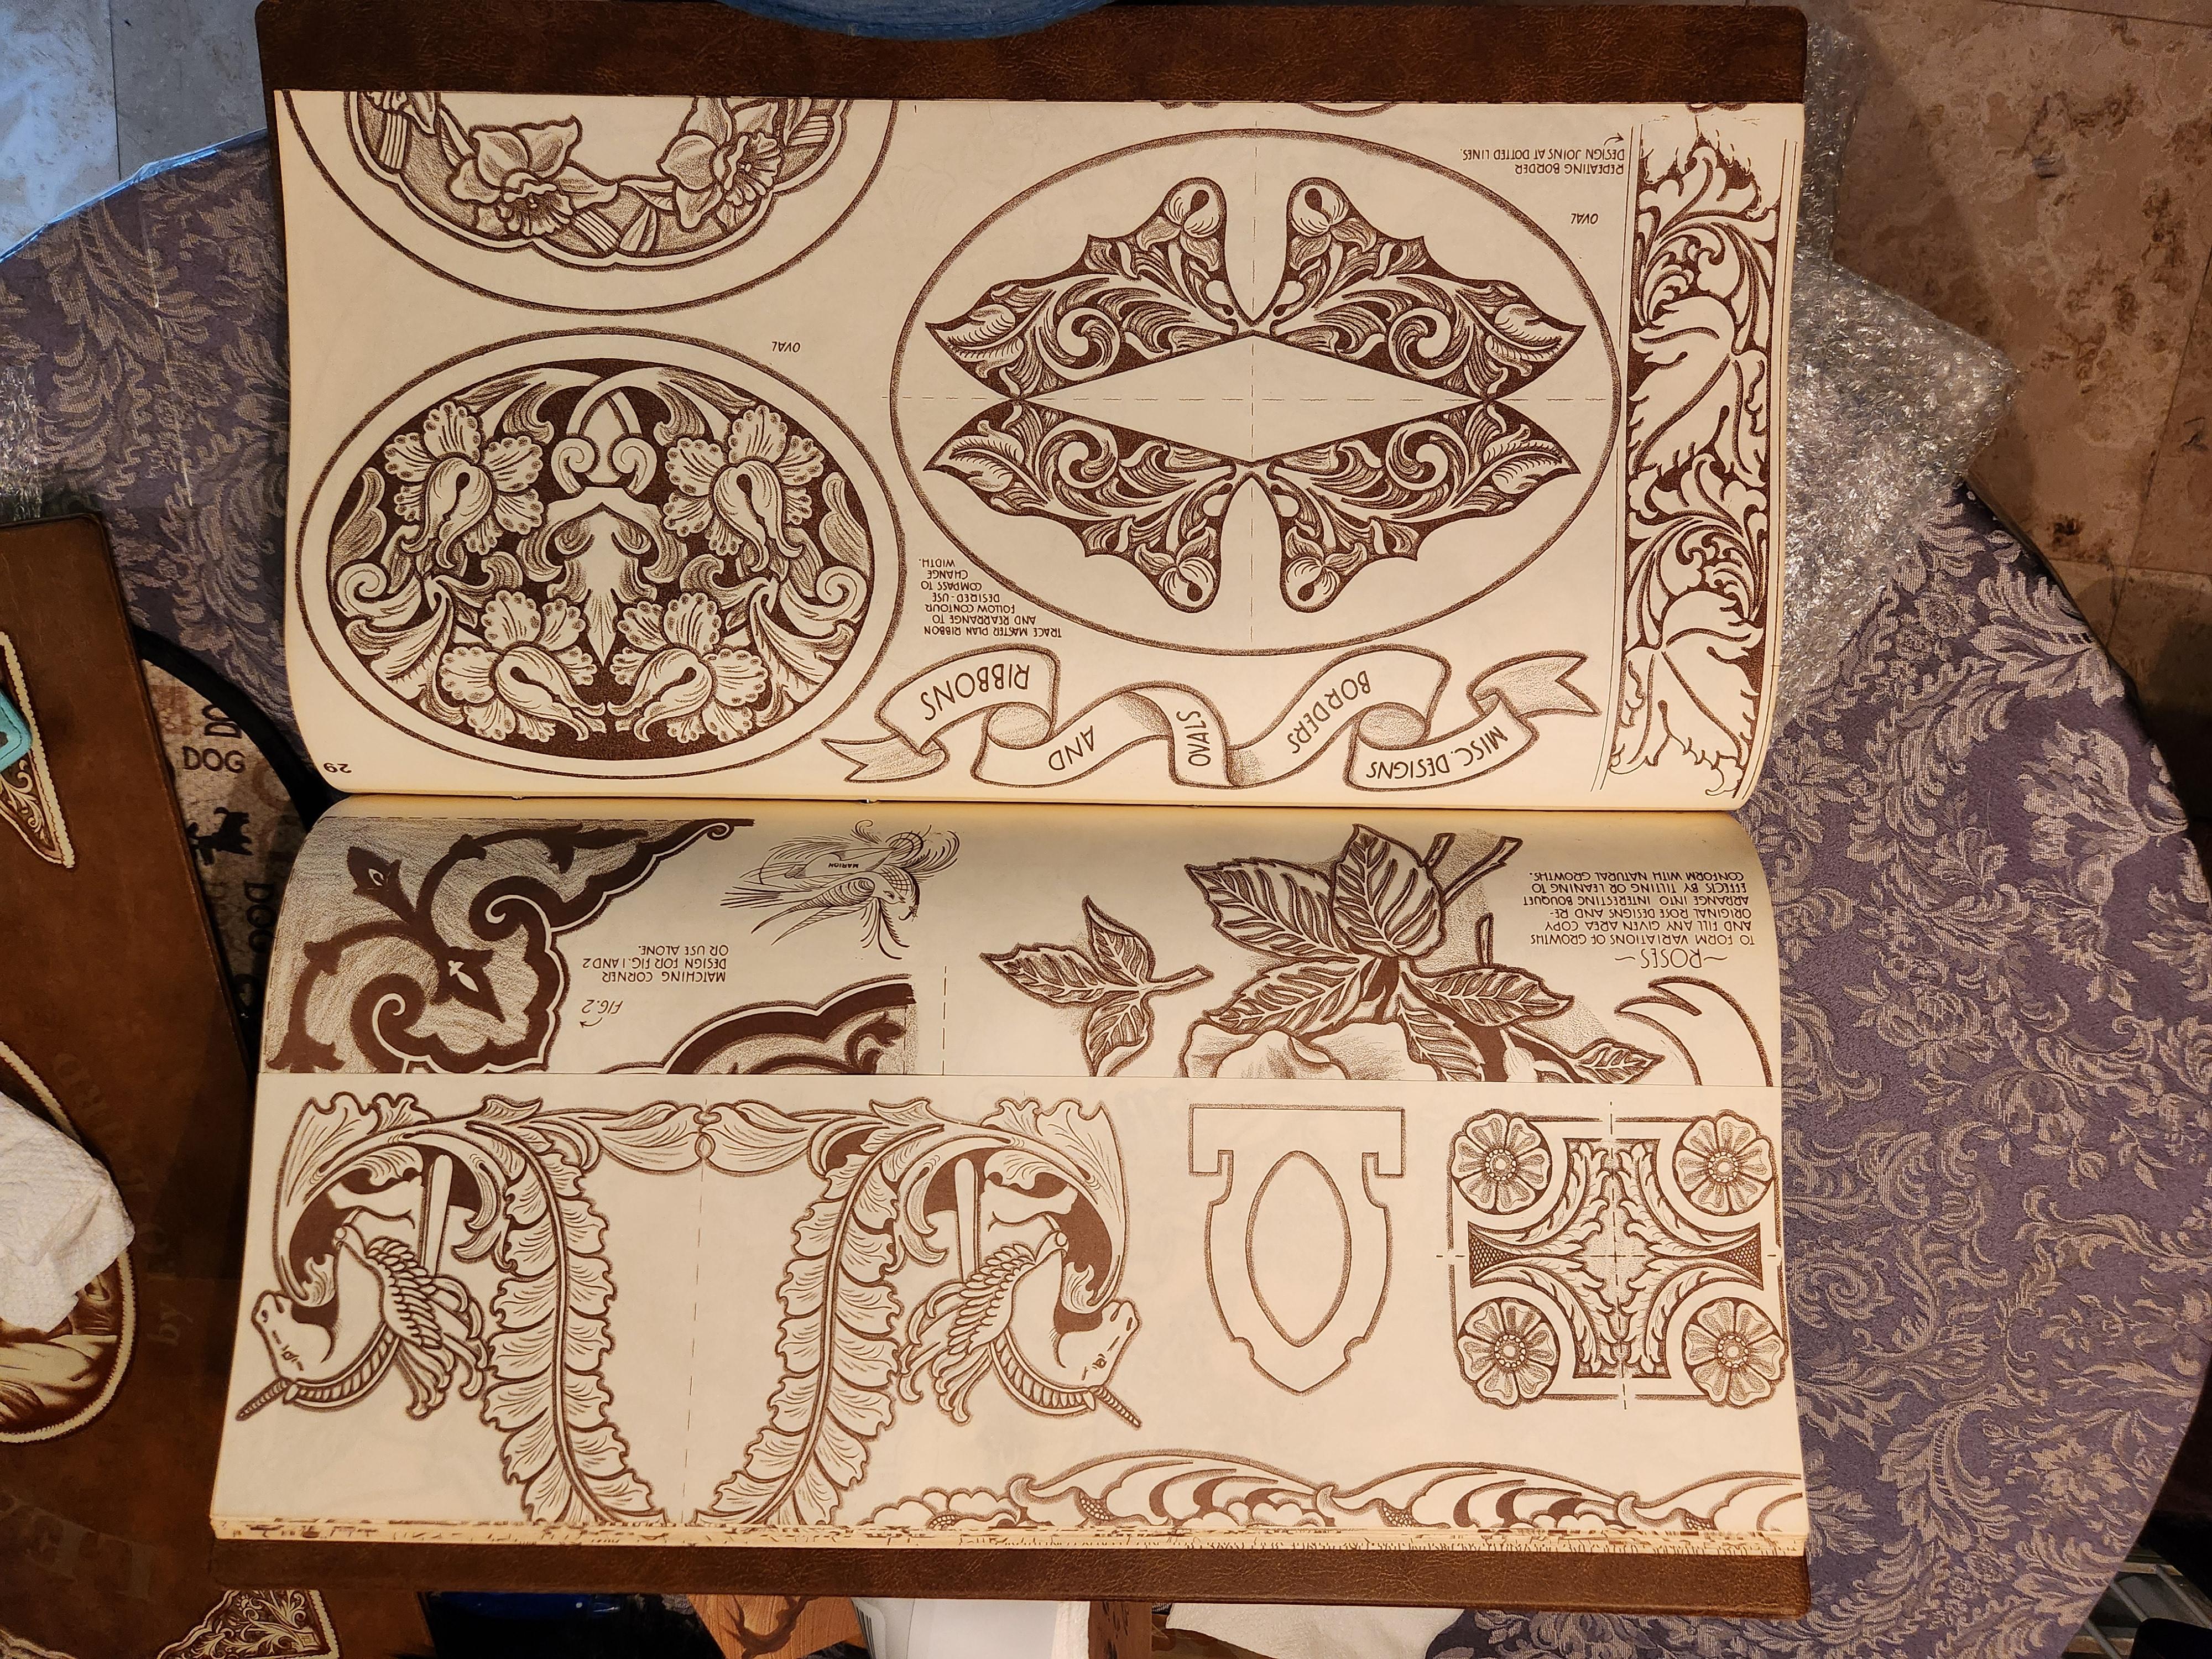
I have a very good copy of the large Design Artistry book by F.O. Baird. All pages are in excellent condition. There are a couple of hardly noticeable scratches on the front. The book has pages that can be removed to be used as patterns. Will ship to US only. $300 plus shipping to be calculated at sale.