

All Activity
- Past hour
-
HS, I saw the article about that on FB today! The whisky brand that the racoon drank is using the event as an advertisement! Unfortunately, I can no longer find that link, but here's a video from Fox News:
-
To start off. i) Which clone?? ii) What are you trying to sew, Fabric or Leather and how thick? If the machine has a walking foot then the simple answer is a roller foot will Not work. Can you give a little more explanation of your curve / turning woes. A couple of photo's of your setup would help considerably. Also what thread and needle combo are you using??? kgg
-
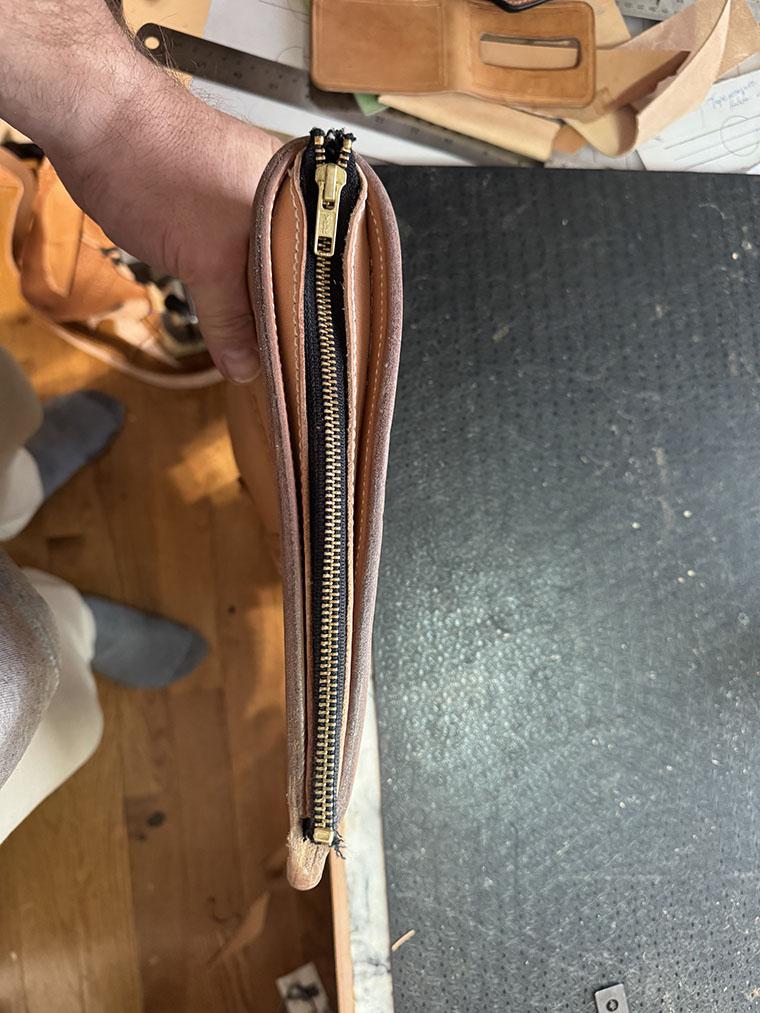
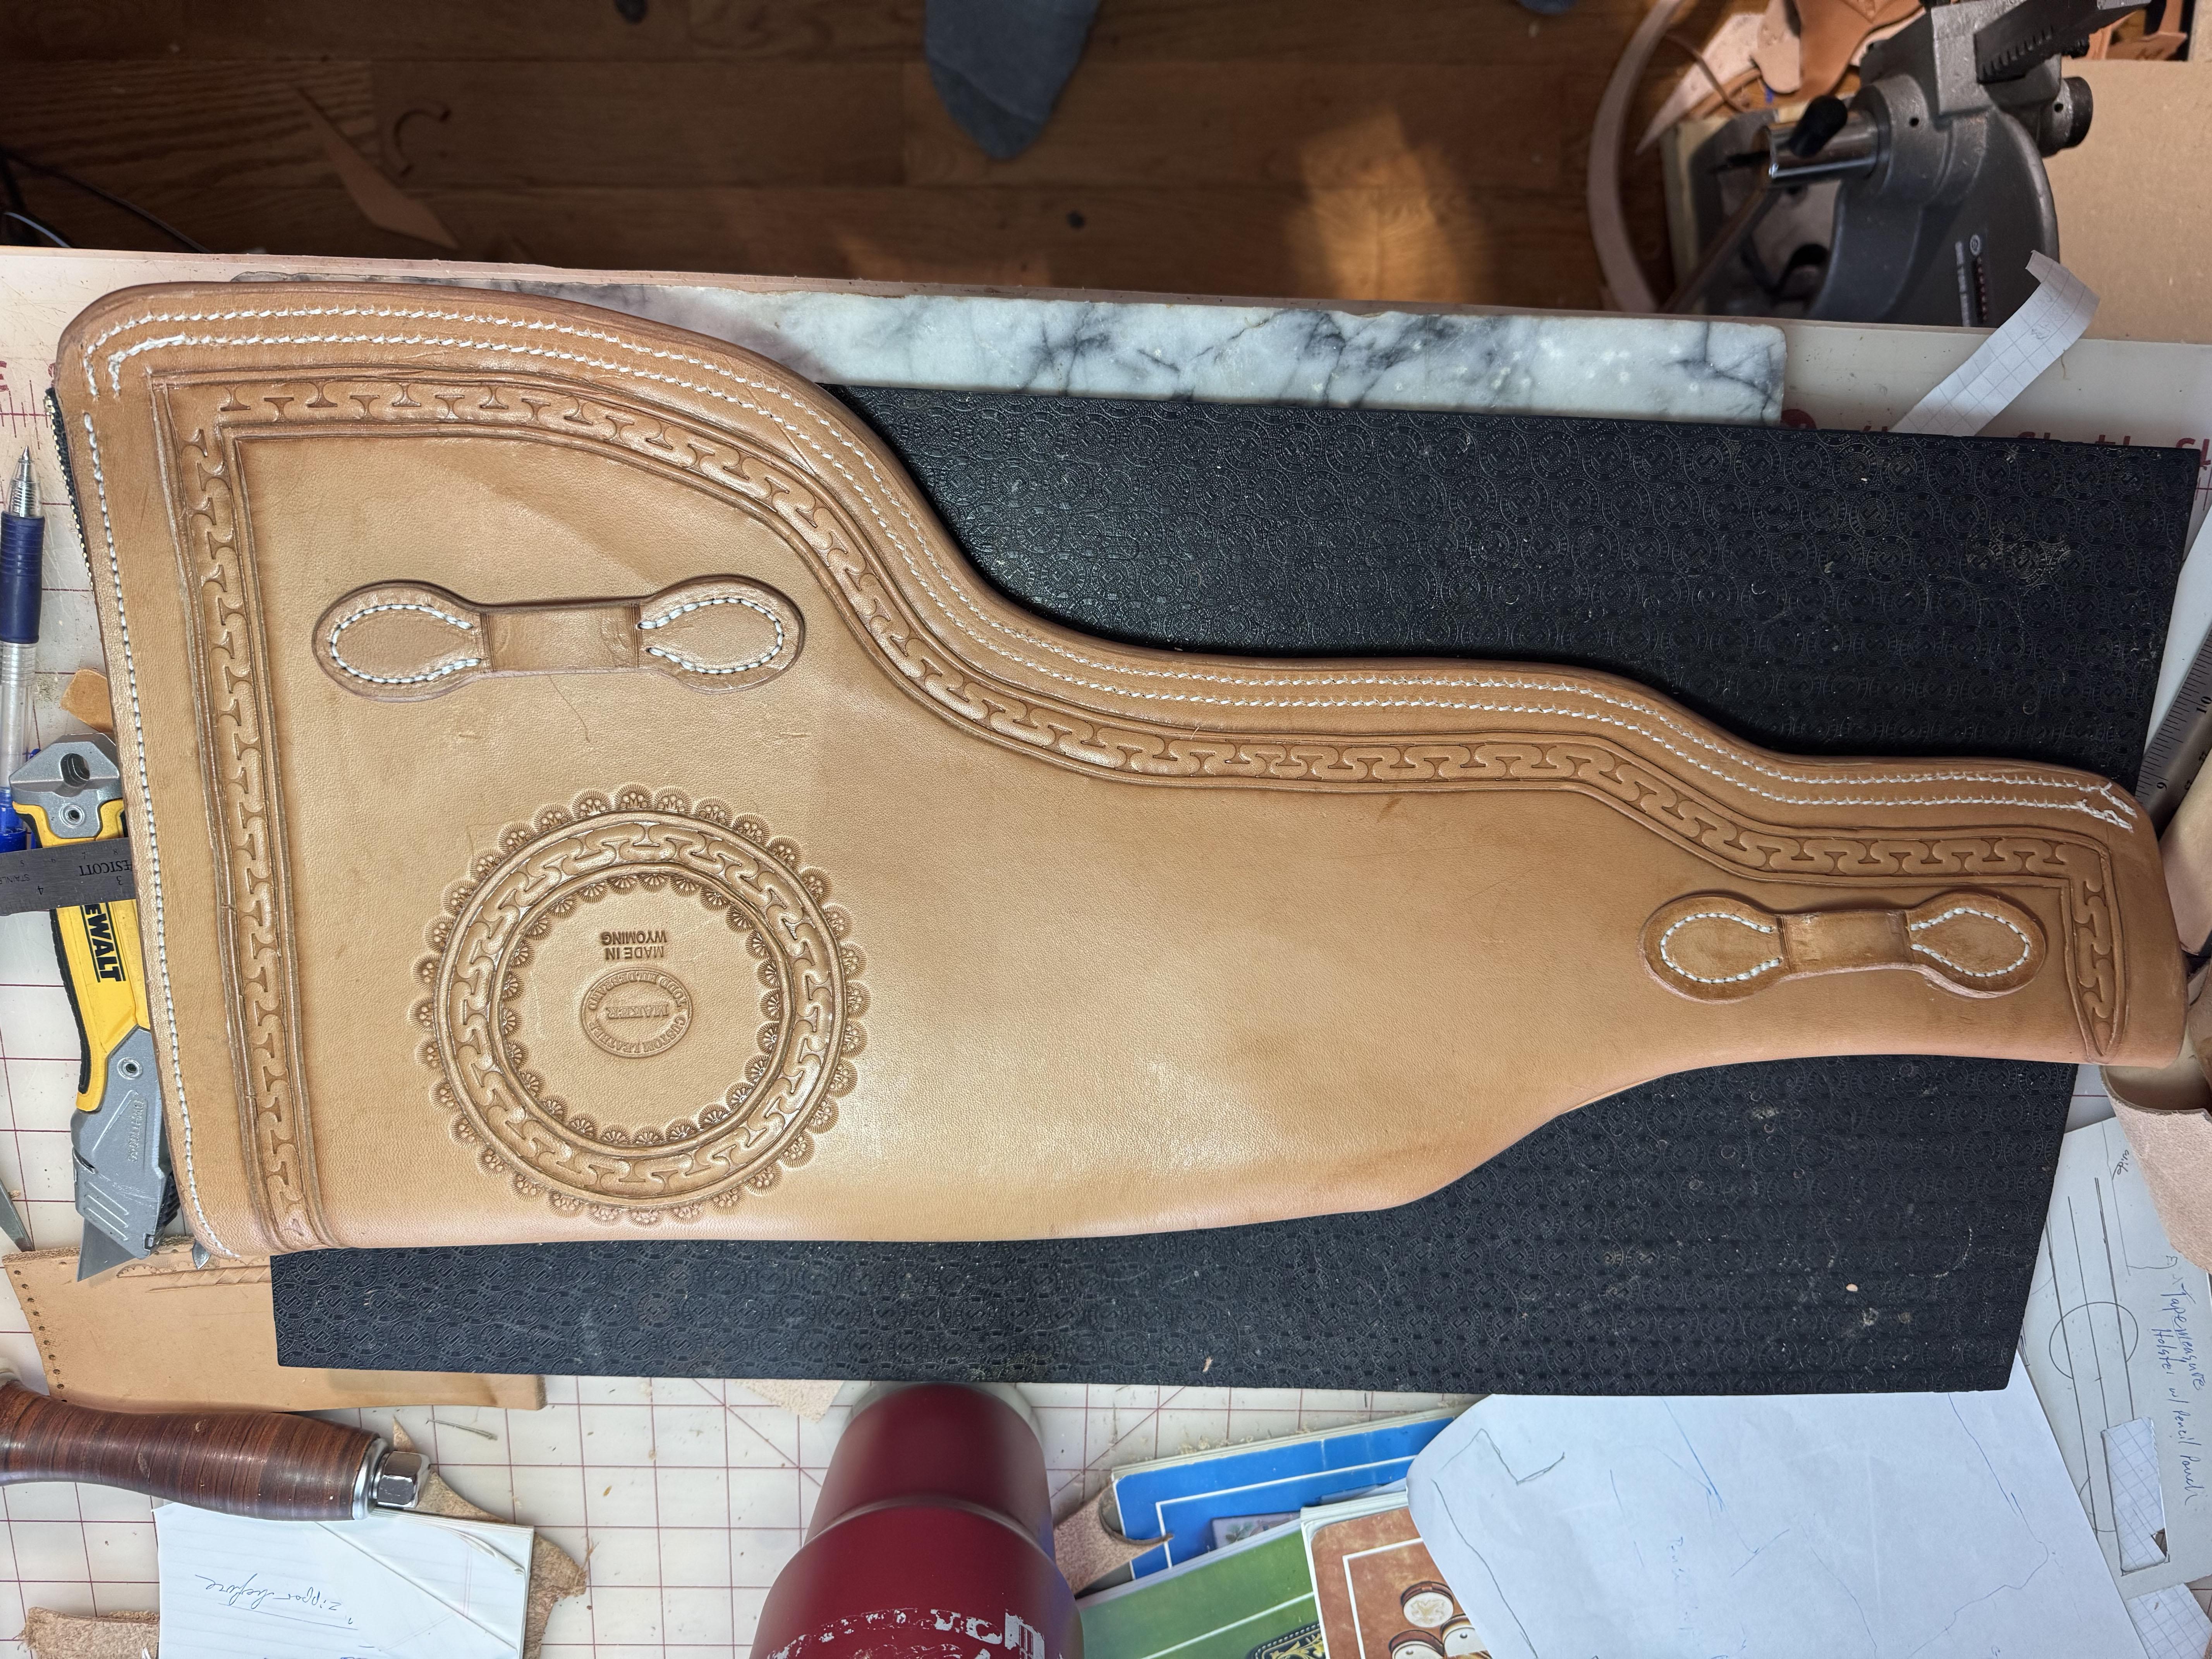
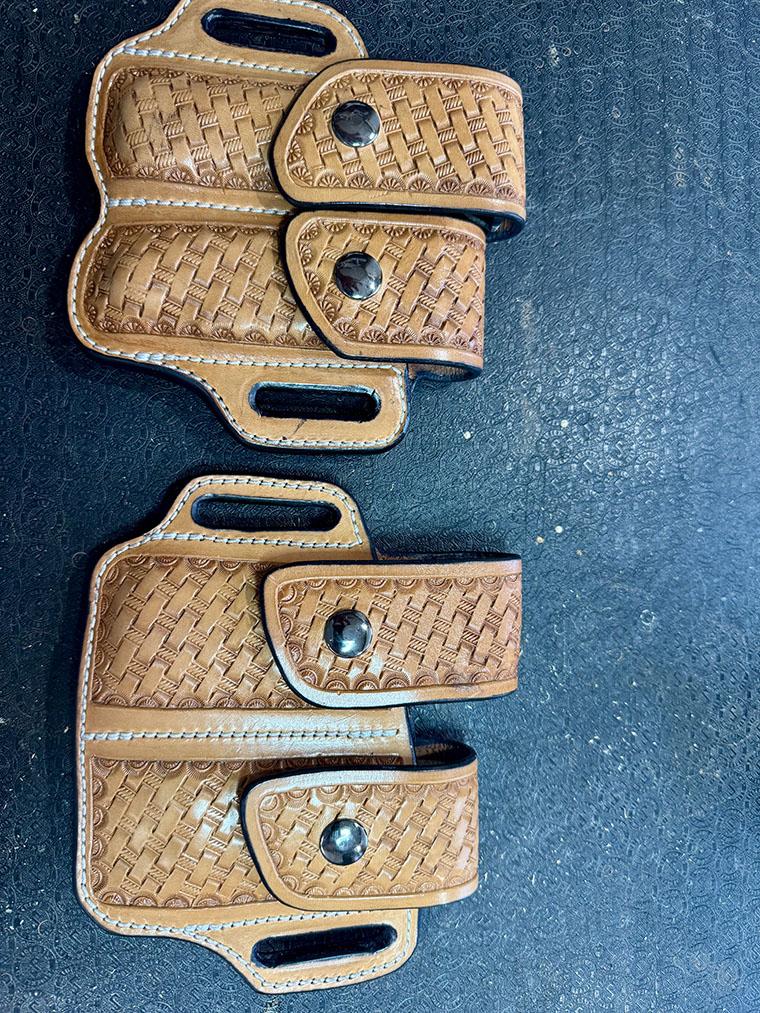
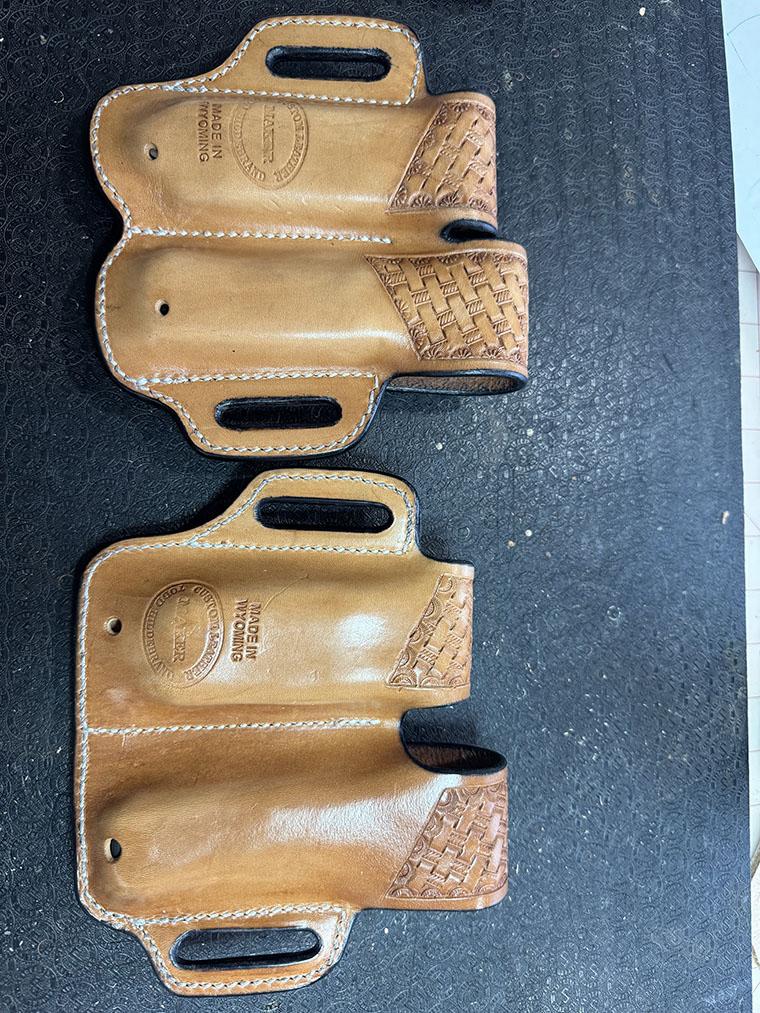
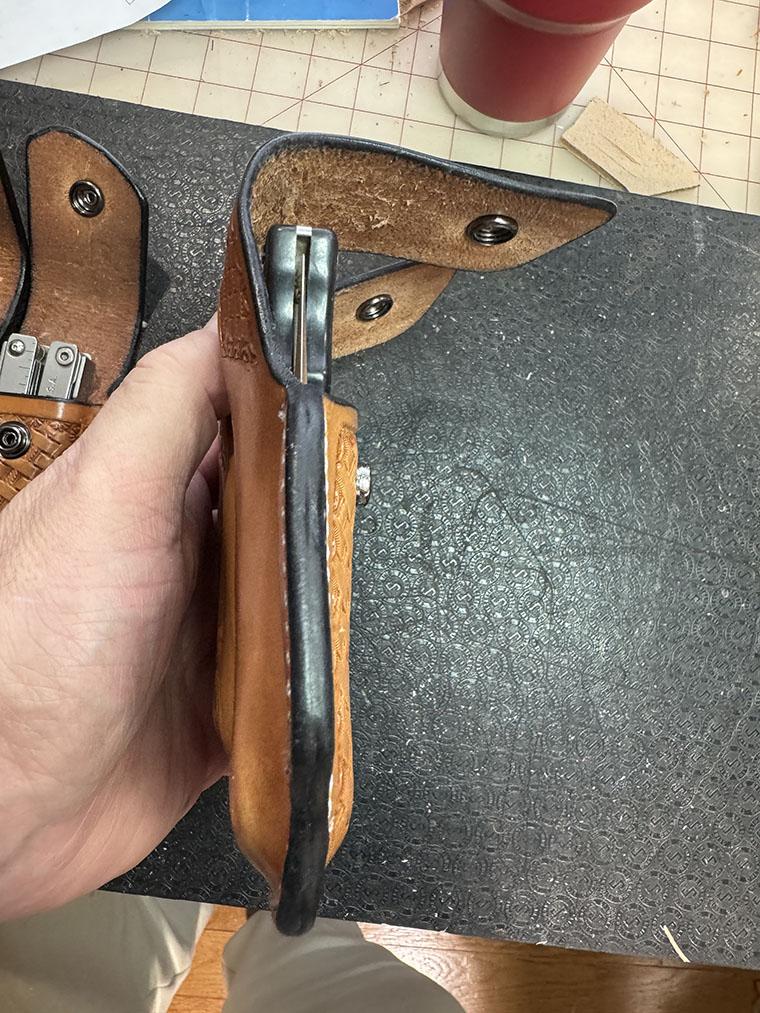
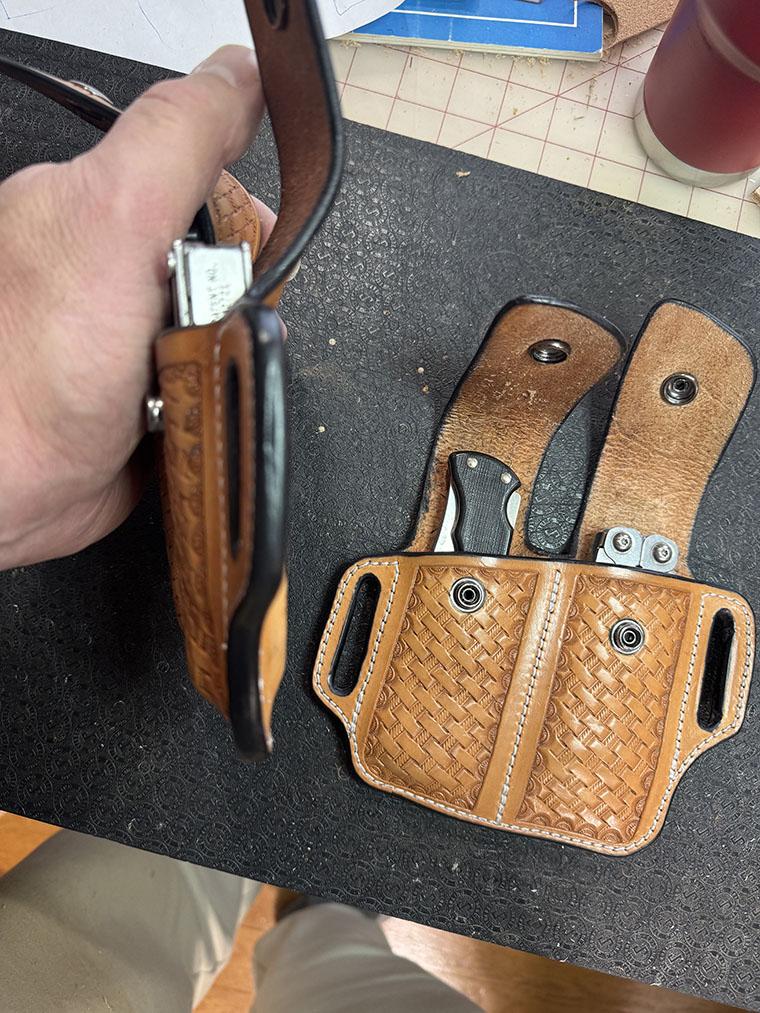
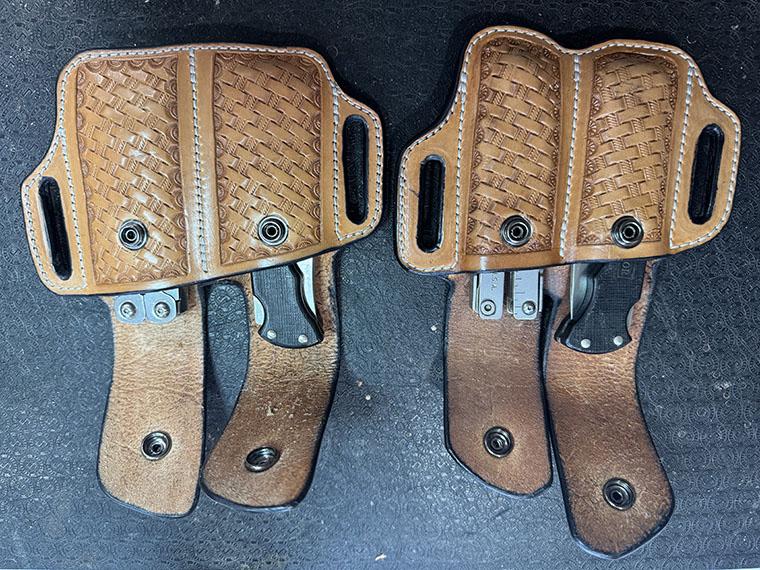
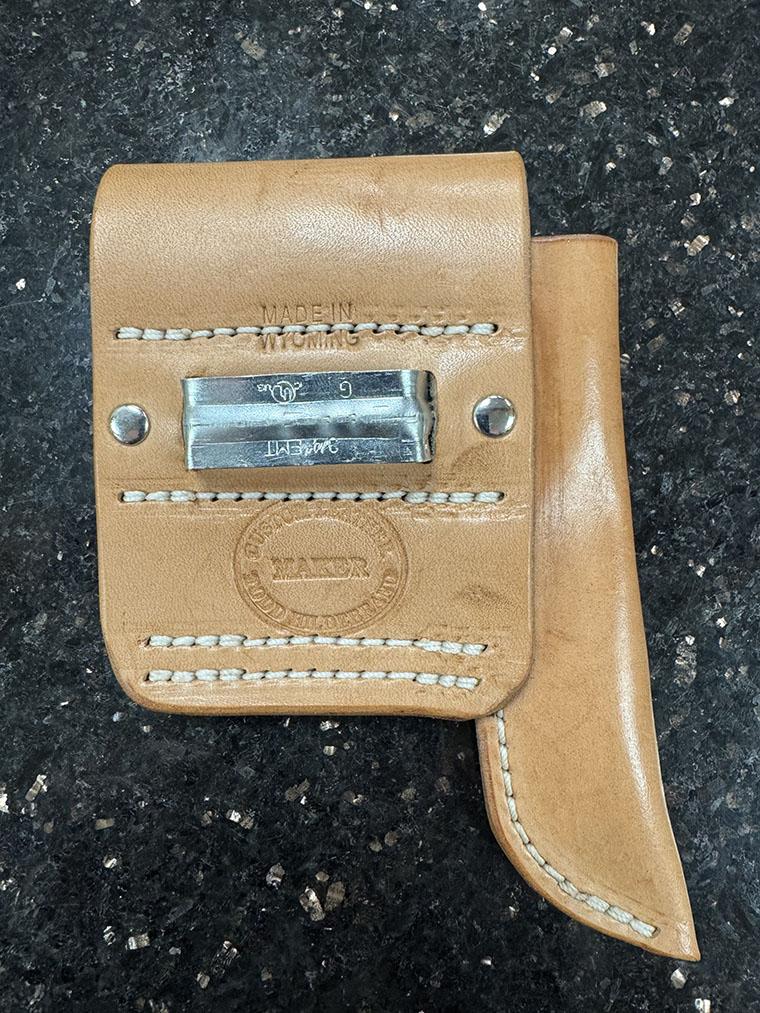
 I usually carry a knife and leather man combination when I am working outside or camping/hunting/etc. I have 2 sets one stays on the work pants the other moves depending on what I am doing. Both needed new leather so I took the leather man pattern from the Leather Crafters Journal and modified it to hold both. The scabbard is to carry a single shot pistol in a backpack, you could also carry it on a saddle but I don't have any stock so backpack only. The zipper keeps it pretty weather tight. It is based on the scabbard build in The Art of Making Leather Cases. Todd
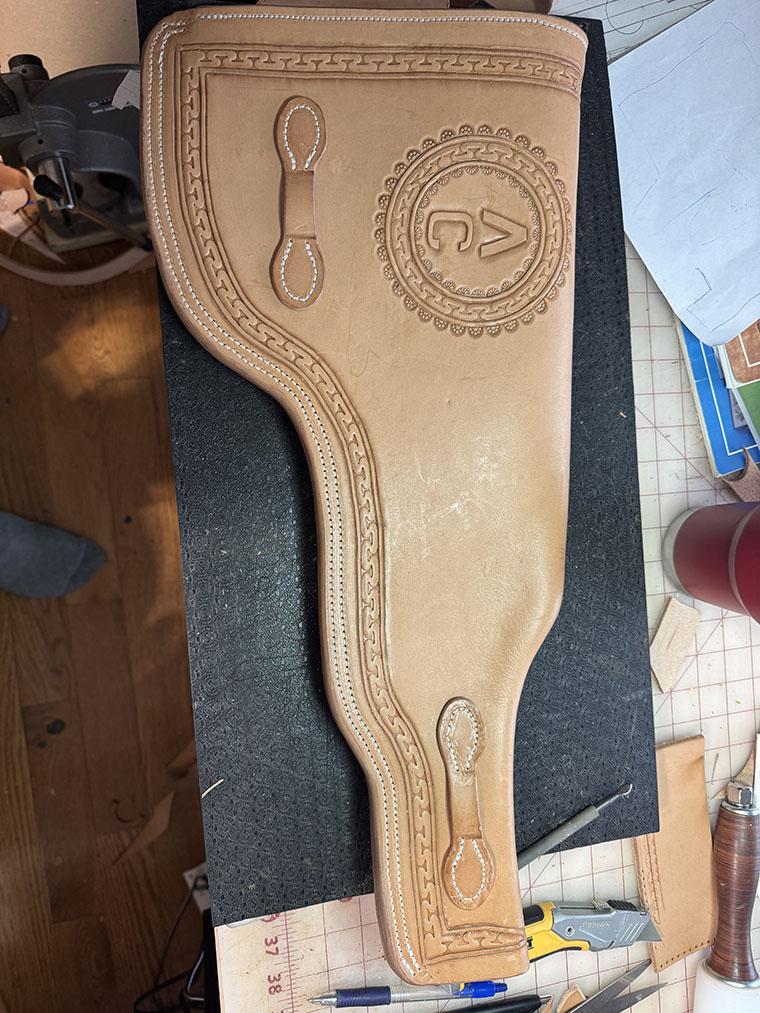
-
Fergettit! Walking foot machines are not candidates for conversion to a roller foot. That is pretty much limited to straight stitch machines that have a single foot and bar coming down. Yours is a walking foot machine with two bars to deal with. The first obstacle will be finding a roller foot mounting bracket that will fit into the slot in the center of the presser bar. Most of them are designed to attach to the outside of a round presser bar that may or may not have a flat edge on the left side. The inside foot would have to be removed. Lastly, the feed dog is centered under the inside foot. A roller foot usually sits out on the left of the feed dog. If the roller is too far from the feed dog, it may not be able to feed the leather without the bottom assist. Your only drive would be the moving needle. You are better off buying a straight stitch machine to convert to a roller foot. A large roller has smoother operation and is good for most edge sewing. A smaller wheel is better for sewing designs, or intricate stitching. If you are able to find a roller foot that does fit into the back presser bar, keep the edge of the roller as close to the needle as possible. This will keep the leather from lifting with the ascending needle. The greater the distance from the bottom of the roller to the left side of the needle, the greater the likelihood that you'll get skipped stitches from lifting leather.
-
This topic comes up frequently where to buy the metal portion of the clip to hold the tape measure. I made a holder recently, this one has a pencil pouch also, and decided to try just getting a conduit clip with 2 holes in it and bending it into the right shape. It worked great, they are cheap and easy to bend with just 2 pairs of pliers, I was ready to put it in the vice but they are really pretty soft metal. Todd
- Today
-
CI have a Juki clone machine with basic walking foot set up. I watch too much you tube and I keep seeing people using a roller foot on leather projects. One area I really struggle with is curves and turns on my machine. I have a servo motor and changed pully which slowed it down considerably but I still am terrible on corners and turns. What would be the pros and cons of switching to a roller foot and then small or large roller? Thanks in advance.
-
 If it were my project, I may not clean the medallion at all but if I did, I would try a step-by-step solution. First would try dish soap and water with a toothbrush. That may be enough to keep the "heritage" look but not look so rough. If I wanted to go further, I would try to hit just the high-spots using toothpaste (a mild abrasive) on a layer of cotton cloth in my palm and using my other hand to work the medallion around without pressing too hard. This would highlight the letters and the edges of the medallion while leaving darker areas around the lettering and make US stand out. If that wasn't enough, then use buffing compound on a wheel. Nick
 -

spring flowers and good food
Darren8306 replied to chuck123wapati's topic in All About Us and Off Topic
Thanks man. Great looking boots, by the way. If I had a local cobbler, I would probably be sold. As it is, I still might... One of the retailers is also an artist, who sits on a board making grant decisions. I've known her for years, and was talking with her about how I figured costs on this batch. explained that my price had enough room that I can buy some more leather, and even some tools if most of this batch sells. She immediately told me about the grants, and said I was more prepared than many applicants. (knowing pricing, time per unit, plans for expansion etc.) Grant money would leave me feeling like these leather goods weren't good enough on their own. I didn't want to leave an 'artist bio' at the store either...to me, if the wallets aren't good enough without my handsome face or story, then they just aren't good enough. I'm not deciding immediately, but I'm leaning toward keeping grant money out of my life. I can't help but think they would eventually require me to put a 'made in canada' label, or 'inclusive and diverse', or 'government approved'. Bureaucrats can't help themselves. Poor things. -
Source for 12-14 oz quality belt blanks
wizard of tragacanth replied to wizard of tragacanth's topic in Suppliers
I don't want to buy a side because I only want to make this one belt, for myself. I am about at the end of my leather "career" and do not want to stockpile any leather. I have a Tandy handy and could layer two of their blanks but I do not have a sewing machine. I said HO because if I am ordering sight-unseen. I want good leather and HO takes some guess-work out of the equation. Thanks guys. Nick -

Need recommendations for steel bar plate for work bench
bruce johnson replied to desullivan's topic in How Do I Do That?
not marking your leather or prone to rust - Stainless. The late Phil LeDuc used stainless as a tooling surface instead of granite. Thickness depends on what you are going to do with it and if it need to be flush in the gap between benches. My flat bench plates/anvils are 1" thick, but not stainless. good solid weight for light riveting and knocking out rivets. -

Need recommendations for steel bar plate for work bench
fredk replied to desullivan's topic in How Do I Do That?
I'd go for at least 6mm (1/4 inch) thick aluminium. No chance of corrosion / rust ruining leather. About 4 inches wide and about 15 to 18 inches long. Counter-sunk brass screws to hold down. Should be able to cope with most projects -
 Looking for any recommendations on steel bar plate to put on top of my work bench. I have separate anvil but want to integrate a strip of steel in a gap between two of my benches. Any specific info is very helpful like thickness, steel type and of course any feature to look for so I do not mar leather or have it be prone to excessive rust. Thanks for the help!
 -

Source for 12-14 oz quality belt blanks
DieselTech replied to wizard of tragacanth's topic in Suppliers
Why not just buy a side of Hermann oak saddle skirting & cut your own belt blanks. -
When I started my leatherworking course at school, they offered a small kit containing a snap-off knife, silver pen, a sharp needle, an awl, a glue brush and a glue spatula. Except for the brush, these are all things I use very often (for gluing larger surfaces I use an old credit card for a spatula). To this set I added stuff on an as-needed basis: lighter, steel ruler, cutting mats (I started with an A3 size, but A2 is more convenient), two sizes of saddler's needles (of which I only use one) and a rotary hole punch. There is lots of other stuff you can buy, but you should first have some idea in which direction you're going. I've added some larger equipment pretty fast: a spindle press for setting rivets and an industrial cylinder-arm sewing machine (Adler 69), both second-hand. With all of these tools I now feel confident making small to medium items like wallets, belts, purses, handbags, and clothing. Once you're starting to get the hang of things, the most difficult aspect of leatherwork (imo) is designing things, creating patterns, and getting the idea in your head to a practical execution. When you have a pattern and know in which order all the parts fit together, the rest is just a matter of cutting, glueing and stitching. It helps if you have guidance from an experienced teacher: they can offer practical approaches and solutions that have a track record of use in the industry. Once you know in which direction you're going, you probably want to add other equipment to the base set: If you want to make shoes or boots, you'll likely need more specific sewing machines to stitch hard to reach parts. If you want to make stuff using very thick leather, you probably need a sturdier sewing machine. If you want to tool and/or color leather, you'll need a hammer, punches, a solid base, dyes, etc. The number of tools and machines you can buy for leatherwork is only limited by your budget, but in the end all leatherwork is very similar: you cut up a hide into pieces and then you combine those pieces again into something you can use. So the most basic tools you need are things for cutting leather (a knife) and things for combining leather pieces (needle and thread, glue). For visual appeal, add some stuff to make things beautiful (dyes, paints, tooling, ...).
-

spring flowers and good food
Handstitched replied to chuck123wapati's topic in All About Us and Off Topic
@chuck123wapati well done and well deserved . They look so good and will polish up nicely. There are times when we just love to treat ourselves. I'm contemplating buying a new( stetson style)hat for myself for Christmas. The brand/ company i would normally buy from has now been bought out by a mining squillionare . They can go and jump. So I'm going to support another Aussie made company instead, not owned by a mining company, a bit pricey, but so what ! My current hat is around 10 years old, stained badly, smells. and worn out and has holes in it and was a prezzy from a former flame and not a good look at the markets. Time for a change 👍 Enjoy your new boots 👢 👍 HS -
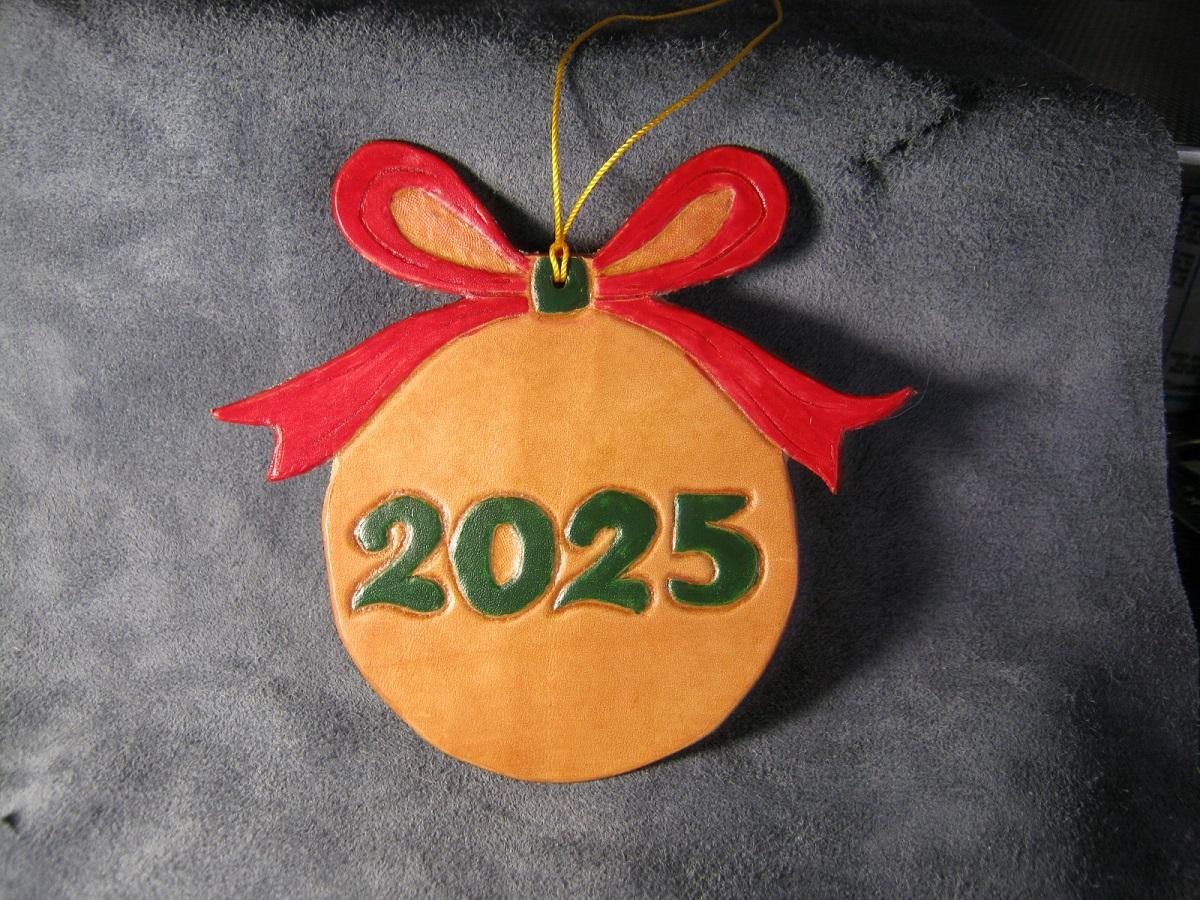
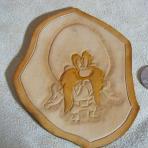 I made a " fat mouse " ornament by accident
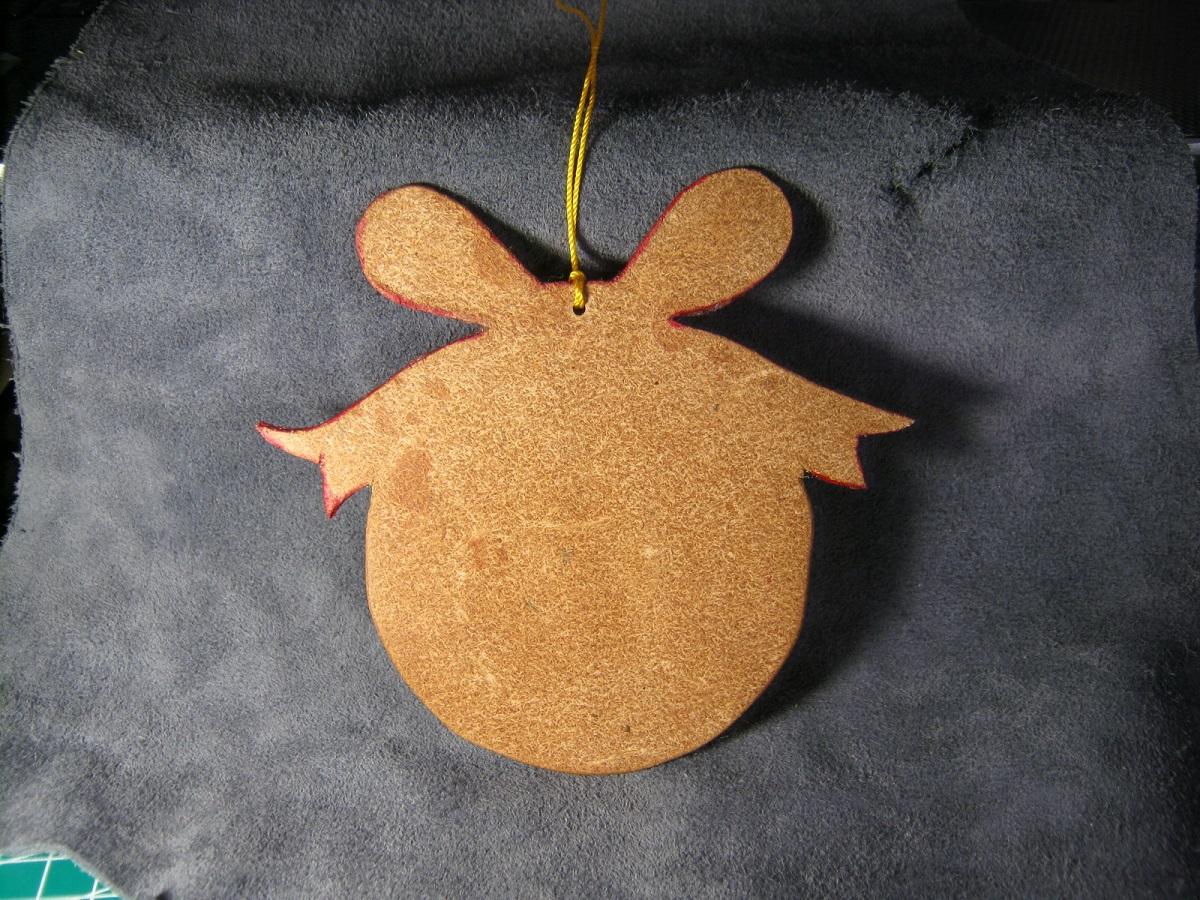
-
Interesting Holster Project
Gezzer replied to MarlinDave's topic in Gun Holsters, Rifle Slings and Knife Sheathes
Loose cotton buffing wheel and red rouge -
Great info in that attachment. Thank you!
-
thanks again more knowledge
-

spring flowers and good food
chuck123wapati replied to chuck123wapati's topic in All About Us and Off Topic
I finally bought some real boots. It's been years since I have owned a pair of boots or shoes that were actually built by people, and those were heavy work boots. The last couple of pairs I've had were pretty pricey but just murder on my feet. So anyway, I got on the old YouTube and computer, spent about a week of looking at all the options that I could afford and finally saw a pair that resembled the boots my grandfather wore way back in the 60s and earlier. They were a very light boot, more like an ankle-high shoe, but they were the standard footwear for old farts back then lol. The ones i chose are highly rated on the net and are reasonably priced at 235 bucks. Yeah I freaked out on the price of good leather resolable boots, some way over 500 bucks, the ones I used to buy for about a 100 bucks, so I am giving these a try, and so far they are friggin awesome!!!! Nice and light, and after a week, they fit like a glove. My feet haven't felt so good in over 20 years. My wife was telling me her granddad wore only wool socks with his old fart boots, so I tried that out as well, and wow, nice comfy warm dry feet all day long. I've got to say those old farts knew their stuff when it came to having happy feet. Thursday shoe company Heritage captain boots rock!!!!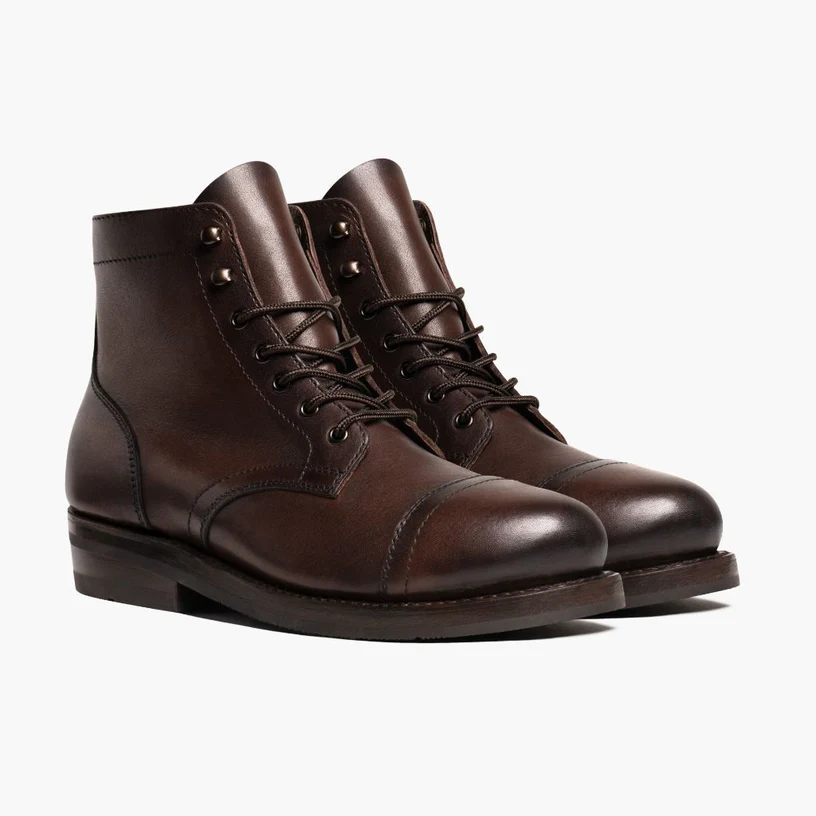
-

Interesting Holster Project
MarlinDave replied to MarlinDave's topic in Gun Holsters, Rifle Slings and Knife Sheathes
Thanks. I will give that a try. He said he wanted the button cleaned up. Maybe Brasso? -
-
spring flowers and good food
chuck123wapati replied to chuck123wapati's topic in All About Us and Off Topic
heck yeah your on your way lol. It just takes some time to get noticed, then you won't be able to get any relaxation.. -
I have never seen a raccoon break into a bottle shop ( liquor store) in Virginia, get absolutely sh*t faced and pass out on the toilet floor, and wake up with a massive hangover . I wonder if he had a kebab ? He might need rehab. HS
-
 husnain joined the community
 -
Interesting Holster Project
chuck123wapati replied to MarlinDave's topic in Gun Holsters, Rifle Slings and Knife Sheathes
Not really a patch, but a leather concho like you see used on saddles. Attach the button to the concho attach the concho to the holster.


