

All Activity
- Past hour
-
In multi layers or thick leather move up one size from the needle size recommended. EX for V138 I normally use a #23 but in thick I would go #24. kgg
-
 That would be amazing. If you do please let me know, and how much you are asking for them
 - Today
-

ammo holder
Cumberland Highpower replied to Thadrick's topic in Gun Holsters, Rifle Slings and Knife Sheathes
Long ago I used to make Shotgun shell belts (20ga only) and I did a similar thing. On mine the loop was essentially "closed" and the shell had a stop of sorts that way. The bottom looks pretty similar, although with 2 slits showing per shell rather than your 1. What I used was a die that cut a piece for 5 shells at a time and stitched them to the belts. Usually a total of 4-6 and then I would stitch a flap that would cover the 6 and secure with a stud when folded down over. Basically fully enclosed from the elements. I got the pattern idea from a Russian shell belt 20 or 30 years ago. If I stop at my old shop sometime soon I'll take a photo. There's a 30 year old prototype still hanging on the wall....!!! EDIT: I guess I have the die that I used here at the new place: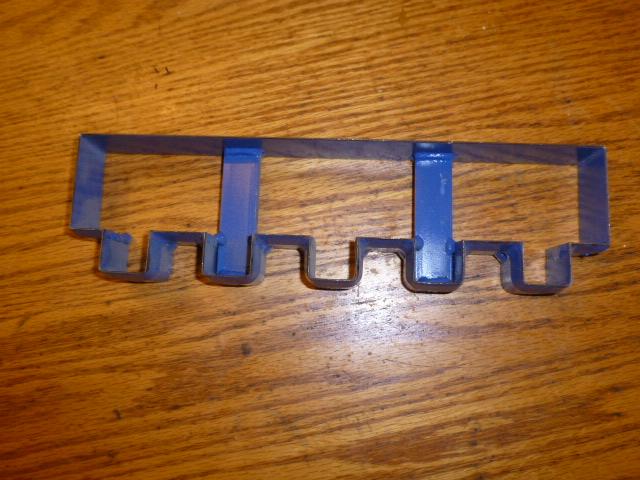
-
Oh wow!! I've only been doing this for 6 years and I learn something new every day! Looks like I need to get some overstitchers. After you asked yesterday about the needles I started googling and read and I ended up ordering some new needles as well. My Class 26 takes 135x16 and I got DP tips. I noticed when I got home a lot of the needles I had were 135x17, which I read weren't the leather needles but for nylon and such as you mentioned. Thank you for sharing your knowledge!
-
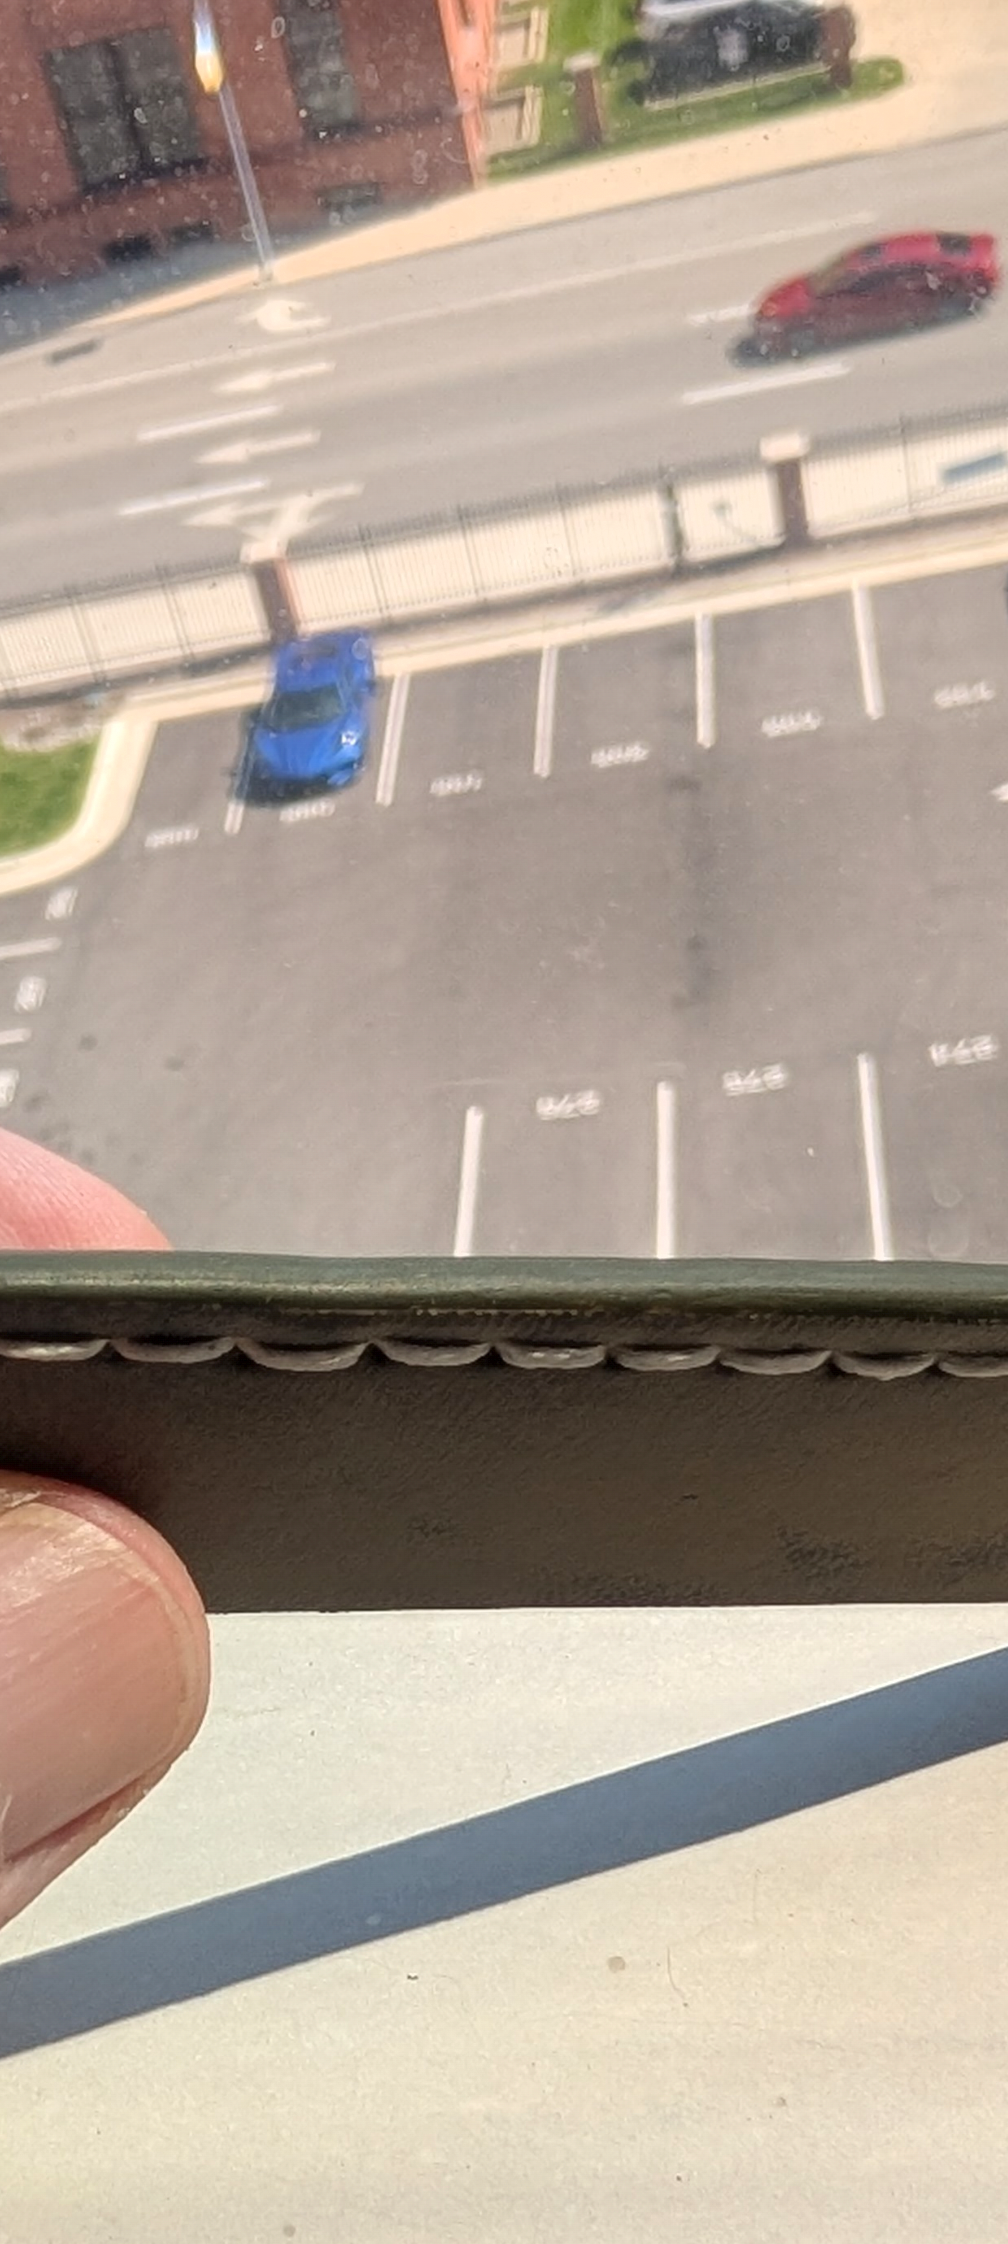
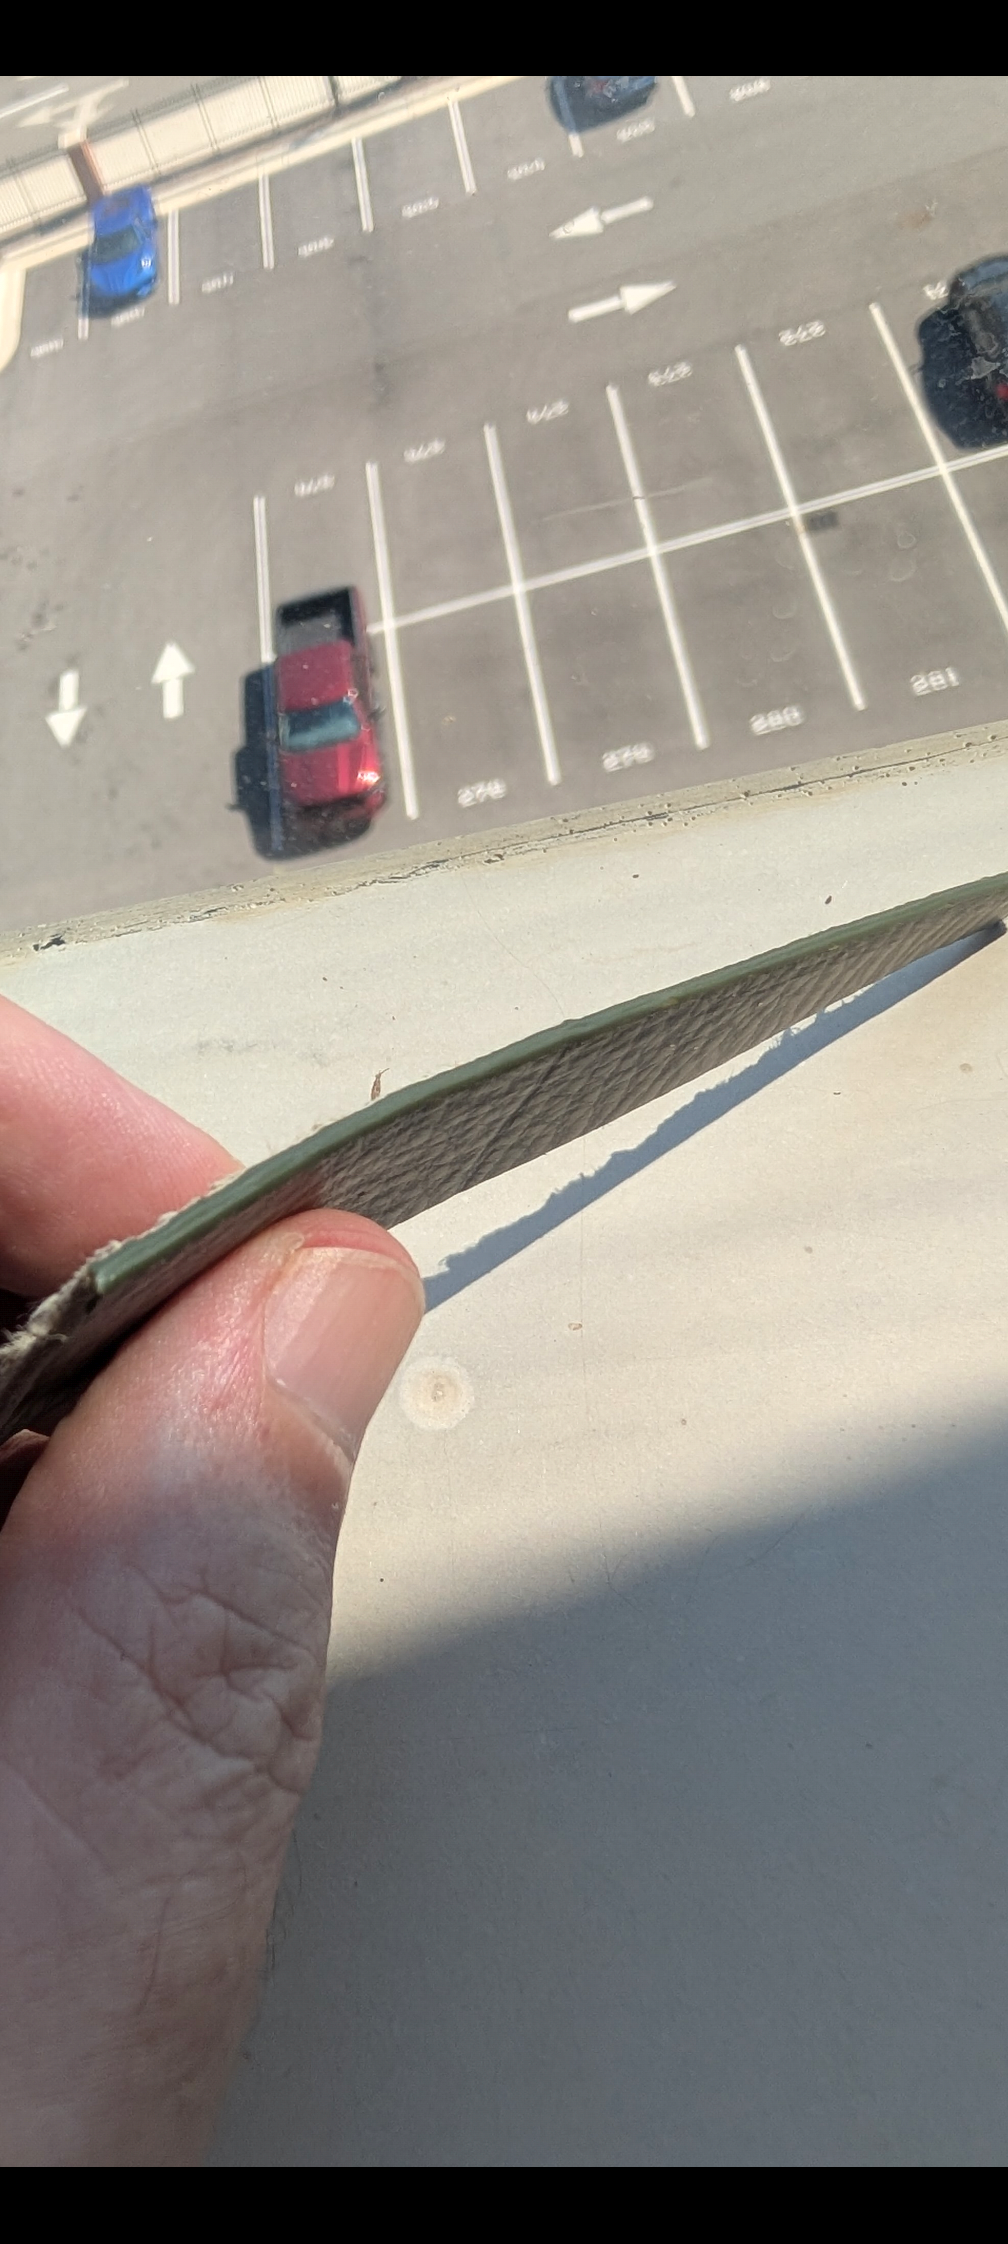
I bought some Uniters paint and primer and followed a step by step process I saw online with heat and sanding. On two test pieces, I have results I'm happy with. It took 4-5 coats, sanding, and heat to get there, but it looks professional. My previous project was edge painted with bad results. I just smeared it on and it looks far from professional Now that I can do this level of work, I'm much more excited about working with chrome tanned leather going forward. These are my first two attempts. One with two pieces and the other single. I don't feel like I have to hide the edges if I can do this good of job.
-
So the second oil is to draw the dye into the leather a bit more? Then finish? And thank you for that post, it's always good to hear how other people do certain aspects of leather work.
-
What you describe is exactly what I'm planning. My chrome tanned leather is floppy/spongy so I'm going to add a stiffener between the leather and the micro suede lining. I'm planning to terminate the lining edge on the outside edge of the stitching holes. This way the stitches will cover the edge of fabric and not be in the edge painting. the stitches going through the microsuede will probably keep all the fraying contained. I'm shooting for Hermes results with very little experience. I've spent a lot of time planning and will start the project tonight with gluing the stiffener to the leather.
-
 Circle C Custom Leather joined the community
 -

Adler 67-gk373 upper tension assembly replacement
Numby replied to Numby's topic in Leather Sewing Machines
Do you have any pictures off the pfaff on the 67? Thanks. -
Darn it! Now thanks to you guys, I have to get off my lazy butt and make myself a tobacco pouch. Thanks for the inspiration.
-

Shoe Repair Machinery for Sale in Covina, CA.
Shoe repair daughter replied to Shoe repair daughter's topic in Used
HI @AlZilla thank you for this info. Should I make a new post or modify the original post? -
I wrote the European distributor. They contacted the maker and said, "The manufacturer states that the thread is "M10", I hope this helps." She did not specify the thread pitch.
-

Singer 29k60 front hand wheel installation
Constabulary replied to Dlane's topic in Leather Sewing Machines
post some pictures. I once bought front shaft for my 29K71 restoration from College sewing in the UK and I remember the gear was very tight on the shaft but it worked. But I had the OEM gear. -
 chachawoo joined the community
 -
Please post a good clear picture from front and and back of your machine .
-
 MagnumChristo joined the community
 -

Adler 67-gk373 upper tension assembly replacement
Michiel replied to Numby's topic in Leather Sewing Machines
Adler 69 should be the same and i once made an tension assembly of an pfaff 145 fit onan adler 67 Adler 67 68 69 167 168 and 169 all have the same tension assembly -
I split this off an old topic since it really doesn't match up with that thread. Better to not mix topics in the same thread, especially old threads.
-
Thank you, this very helpful. do you mean that when sewing multiple layers of upholstery leather I should use a larger needle than the chart recommend? Thank you Ok thank you
-
Hello, Recently acquired and old adler (chandler) 67-gk373. The tension assembly on the front of the machine is a mess, to say the least. To get the original part (0067 000224) it's about $400 canadian. Ouch. Are there any alternative replacements that might work? There is an adler 69 assembly available from Amazon, but unsure if that would work. I tried searching here but couldn't find anything. But that could just be my incompetence at searching. Lol Thanks for your time!
-

Wallet in progress
KillDevilBill replied to KillDevilBill's topic in Purses, Wallets, Belts and Miscellaneous Pocket Items
2/3 oz "peanut" Bison inside, 4/5 oz veg outside. Fancy edge at the top will be "chocolate" gator -
Numby joined the community
-
 pinson joined the community
 -

Wallet in progress
AlZilla replied to KillDevilBill's topic in Purses, Wallets, Belts and Miscellaneous Pocket Items
That's going to be a nice wallet. Is it chrome tan interior and veg tan shell? I just can't get a nice wallet. Functional, but nothing special and the pockets are always too tight. -
Thank you. Should be able to improve the looks with a little more time than an hour also? Winters coming so maybe lots of time to expand on the idea.
-
Me neither, I have however had luck carrying them open on a sling (two side by side lengthwise). Its also something that might be able to incorporate into a scabbard. Putting them on a butt stock causes a lot of snagging.
-
Wow, very nice and impressive work. Tweak the dimensions and this should work for any cartridge.
-
Thank you. I have a tendency to agree if the dye isn't applied with the proper air pressure to drive the dye into the leather. From what I have seen on youtube people are using pressure settings in the sub 20 lb pressure range and the dye is basically a top coating. Probably because most people are painting model figures/cars/nails/cakes/etc. I use a 30 lb pressure setting when applying the dye with multi coats in different directions to get a more even dying which I apply after the oiling process. My basic process is oil/dye/oil. Thank you. The shaker part is probably not necessary, just an added feature. Many, many years ago the father while trying to teach me some basic bodyman techniques always said to shake the paint when I refilled or changed to a new cup on the gun. I guess it just stuck. kgg
-

ammo holder
chuck123wapati replied to Thadrick's topic in Gun Holsters, Rifle Slings and Knife Sheathes
Good job my friend, you got it!!! I've never had luck carrying tapered cartridges in a buttstock type holder so I quit even trying open type holders of any kind. You will have to let me know how it works on the trail. -
I don't know if a dye shaker is a need or a want, lol. But you have built a really cool setup, and you can learn to paint in your off time.


.thumb.jpg.6e903dd66163ad5672f00f144058c571.jpg)

