Spinner
-
Posts
1,373 -
Joined
-
Last visited
Content Type
Profiles
Forums
Events
Blogs
Gallery
Store
Everything posted by Spinner
-
Wednesday, 8/31/2011 marks the last day I'll be doing "turned to order" burnishers. My family needs more of my attention so one of the hobbies has got to go!

- Show previous comments 3 more
-

It happens, and when it all boils down you've got to look after #1.
-
Seems like there is never enough time for everything we want to do - family definitely comes first... BTW - I love mine too!

-

I really like my burnisher thanks chris. Glad I got one!! Family is always numero uno!
-
Looks good Mark. What did you use for the black design; paint/dye, printing or laser? The braiding is nice & tight as well. You mentioned mexican round braid, I'm assuming you did it with "overs only" to get the chevron pattern, right?
-
Hybrid Kydex/leather
Spinner replied to TwinOaks's topic in Gun Holsters, Rifle Slings and Knife Sheathes
I haven't laughed so hard in months Mike, thanks! -
Hey Nick, I use both and have found that it depends on the application. First of all, get rid of the daubers for dying anything larger than an edge. They don't maintain enough dye to apply it evenly for more than 2-3 strokes. Use some wool scrap and trim it down to 1/4" or so. The wool can be saturated with dye and will hold quite a bit of it. This also allows you to use more natural 'buffing' motions vs. painting motions which will help the arm & joints. USMC will be a darker black, as it has a heavier pigment so it tends to harden as it dries which is what gives it it's great shine but also makes later coats not penetrate as deep. With the Pro Oil, it has two additional ingredients, which while I don't know what hey do exactly seem to help keep it from drying as quickly so it can penetrate farther. This also why it appears lighter but is more colorfast, the color is further down in the leather. FYI - the two dyes don't play well with each other on the same piece...don't ask me how I know. For the majority of my work (motorcycle accessories & gear) the colorfastness is priority. My pieces spend a good amount of time in the sun and elements so the color needs to stay in the piece long term. If a client asks for "blacker than midnight on the far side of the moon" black, I'll break out the USMC. This generally is the case when I'm making a piece that butts up against a black vinyl piece already on the bike like a factory seat. The other thing I like about the Pro Oil is it doesn't dry out the leather like USMC does. The leather stills feels supple and pliable after multiple coats and dryings whereas the USMC dyed pieces tend to feel drier and stiffer and usually require more neatsfoot to get back to a natural feel. Just my 2 cents... Chris
-

From the album: Three Mutts Customs pics
© © leatherworker.net
-
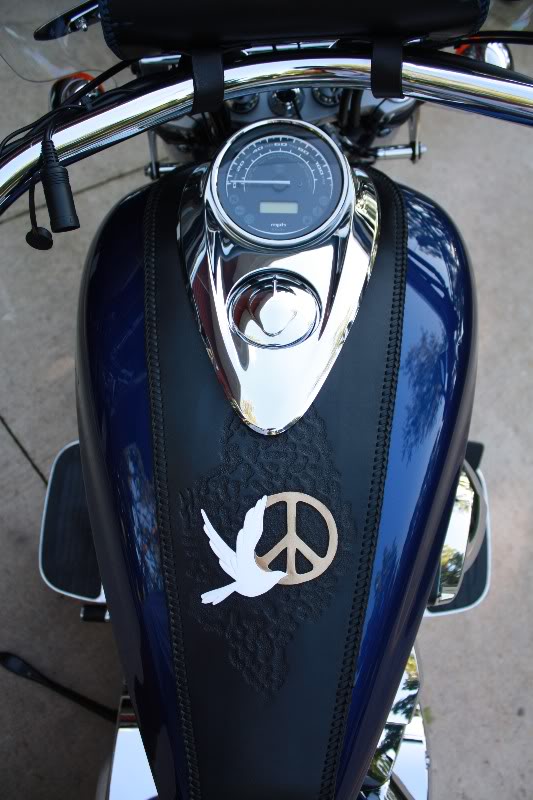
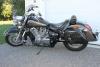
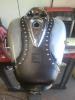
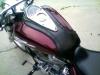
2008 VTX1300C Whaletail Tank bib with chrome spots & VTX logo tooling
Spinner posted a gallery image in Our Leatherwork Galleries

From the album: Three Mutts Customs pics
© © leatherworker.net
-
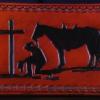
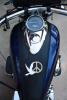
Got pics back of one of the bibs today, I love how they look against the red gas tanks just makes the lines pop! This whaletail bib is shown on a 2008 VTX1300C:
-
Thanks Sam!
-
Yep, a tank bib I did for a bike that was the same as mine. Funny thing is, I am not or have ever been in the Navy but it just came out so cool I was willing to overlook that fact. I did end up sending it out and the poor guy high-sided his bike, totaling it, 2 weeks later. The bib now hangs from the wall in his house, he liked it so much he pulled it from the wreck - his only memento of the bike.
-
Thanks benlilly, that's not the half of it...literally. I have 3 more bibs on the bench and another reviewing his invoice now. It's been a busy month for sure!
-
It's definitely not the norm for established galleries that know their clientele. Typically you'll see a rent structure with shops that are either new and don't know how sales will be but want to make sure they make their own rent payments or simply don't know the product(s) and can't gauge how well they will sell. Again, it's about incentive to sell your goods, if they're already making more in rent than in sales why would they want to sell anything? A good, well established gallery will generally be able to mark your items up 100% above what you want for them and still make the sale and do it on a consistent basis. This is why they can command 50% consignment fees. Past example: October '07 a local gallery on the West Side (L.A.) loved my salad bowls, wine stoppers and Xmas ornaments. They called, I came in and we talked and I gave them my 'retail' prices. A week later they had the amount of stock they wanted, doubled all my retail prices and sold out by Christmas. They got their 50% consignment fee, I got my retail price and everyone was happy. At the end when I stopped doing those kinds of pieces, they had become my biggest "client" for three years running but it had taken me 4 years to get their attention. Long story short, take your time and find a good place to show your work and in the meantime build a rep through custom work. Entering judged and/or juried exhibits is a great way to gain attention as well.
-
I have to agree with Bruce on this one. Back when I was producing woodturning "art pieces" I dealt with several galleries around the US, some consignment and some commission. As I learned the ropes I found that the ones that sold my work the fastest and for the best prices were the ones that made the most commission percentage. Places that want to charge a "consignment fee" aka RENT, literally have no incentive because they make more by storing your pieces than by selling them. They'll usually write in a 30-90 day rotation clause as well meaning items that don't sell need to be swapped out periodically. They do this so it LOOKS like they are selling & getting new stock in even if they don't sell a thing. All the while they are making their rent and you have inventory locked up in a dead space. Average commission for a consignment shop will range between 25-50% and they should have someone on staff that knows your product or they should ask you to educate one of their sales persons specifically. They should also have a good idea of what their target market will bear for certain types of items and be able to help you set prices so both sides still make money after commissions.
-
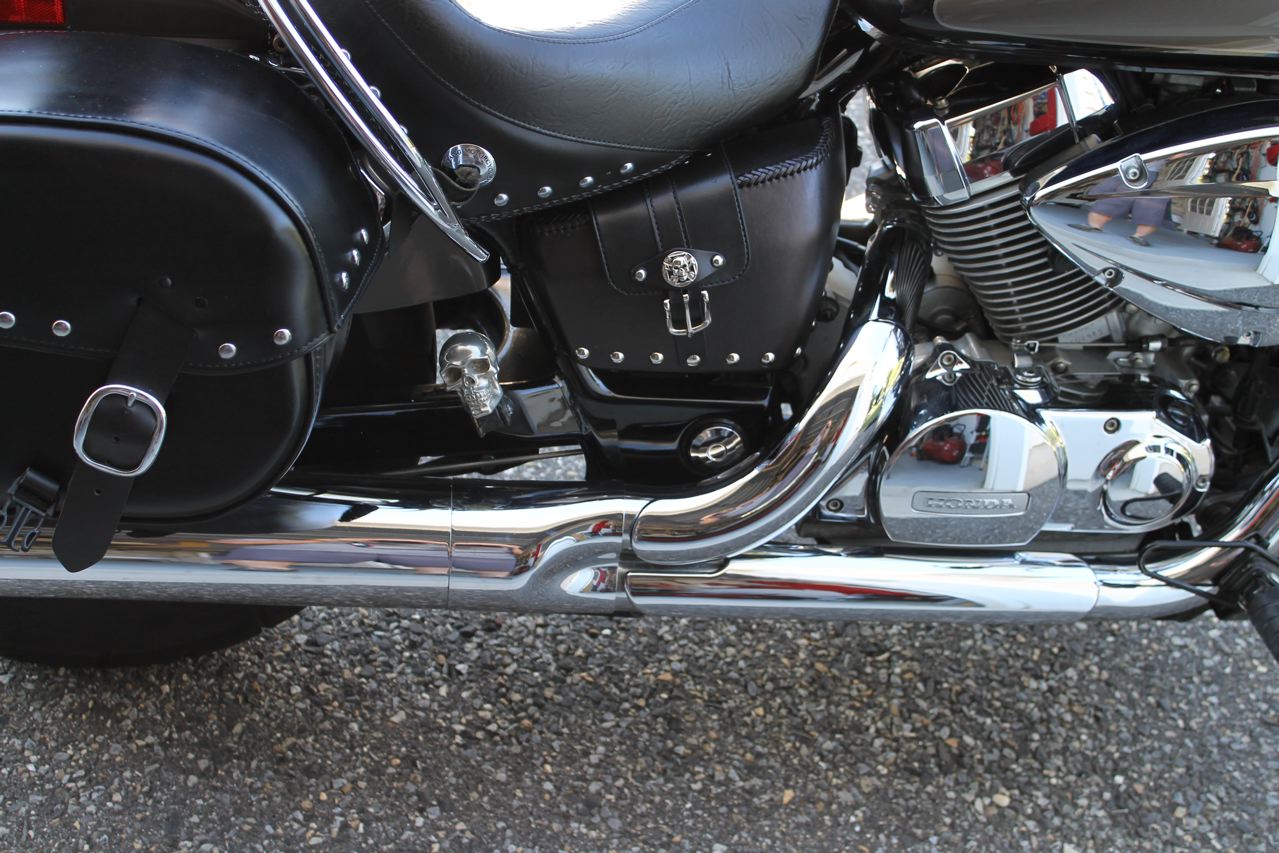
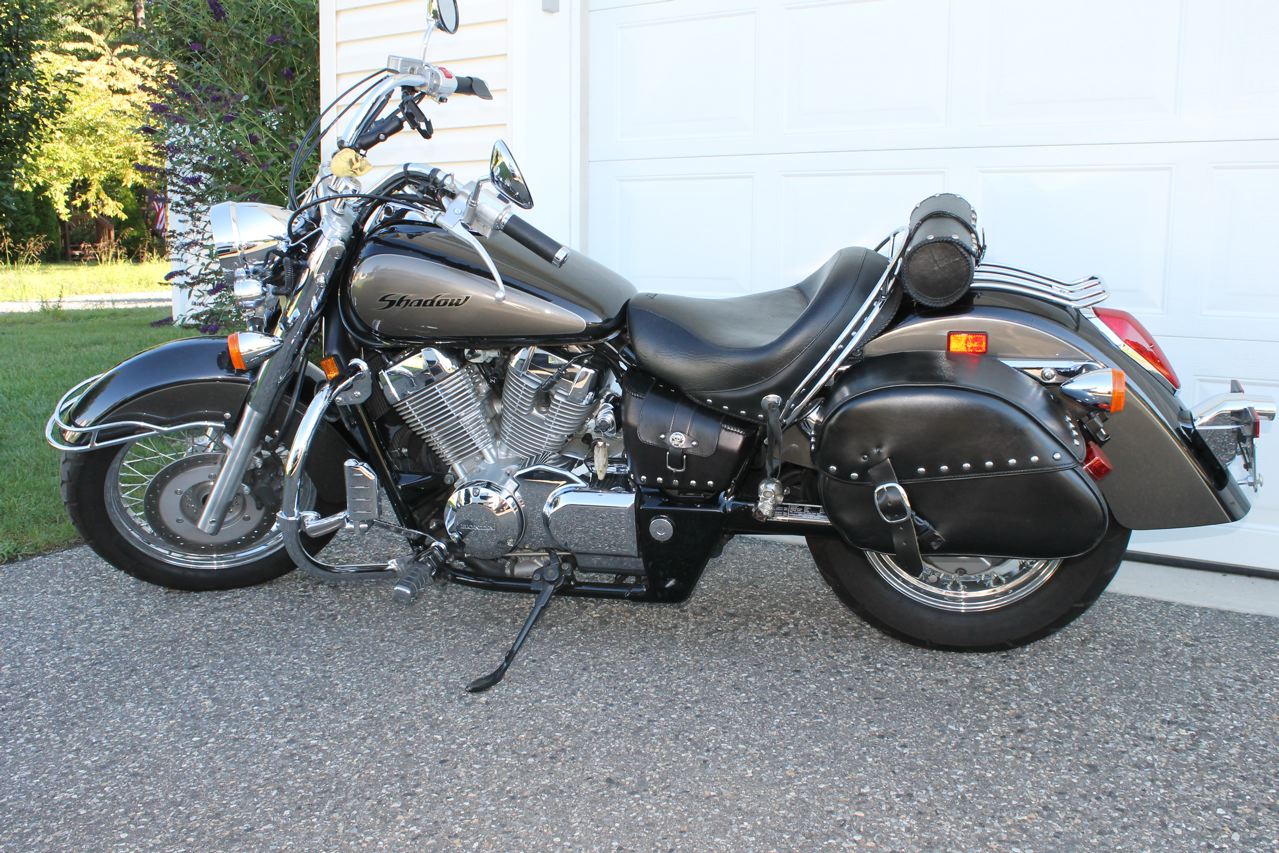
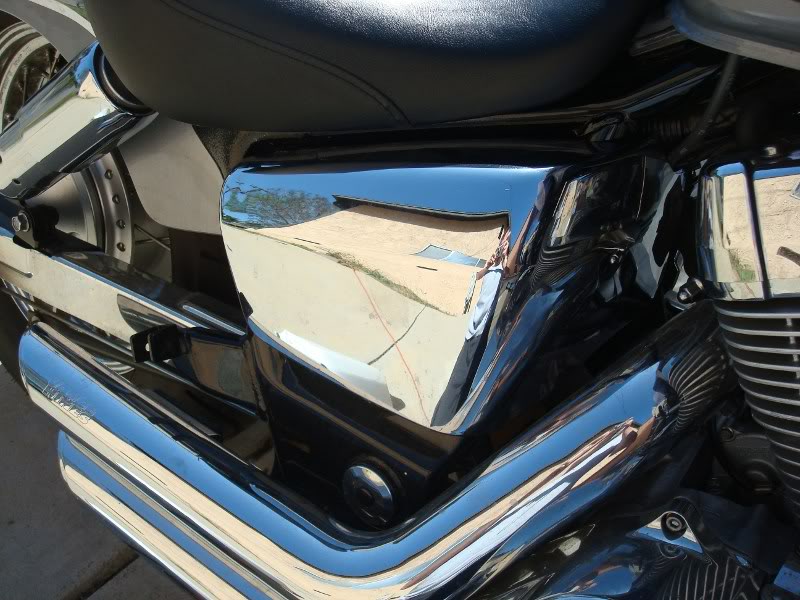
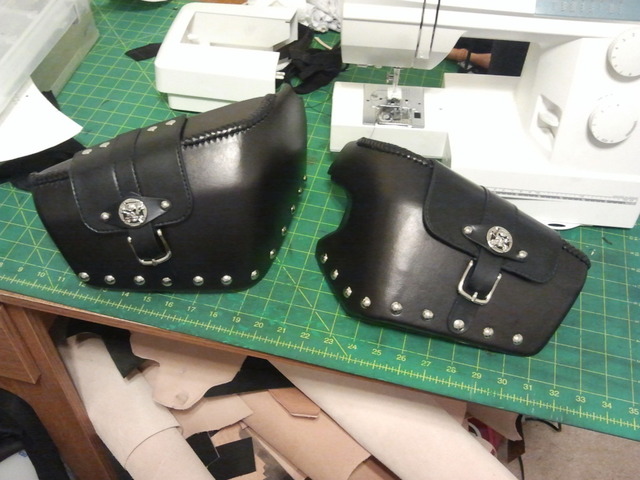
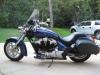
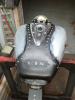
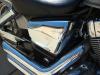
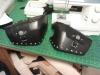
Thanks Ramrod! Funny, leatheroo said they look like bike vests on the last ones I posted. Great minds, eh? Received a couple of pictures today of the side covers installed on the clients bike that I thought I'd share. They definitely fit the theme!
-
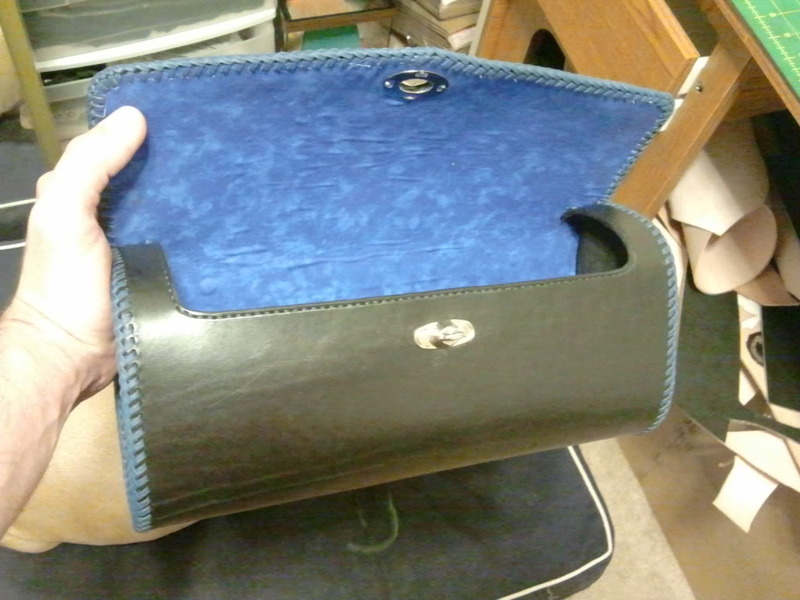
Biker Wallet
Spinner replied to reddevil76's topic in Purses, Wallets, Belts and Miscellaneous Pocket Items
Looks great Reddevil. All the little extra touches and the lines & stitching are top notch. Nice job on the burnishing too. What ounce leather did you use for the interior? Also, on the snakeskin it looks like that is attached to a piece of cowhide, correct? -
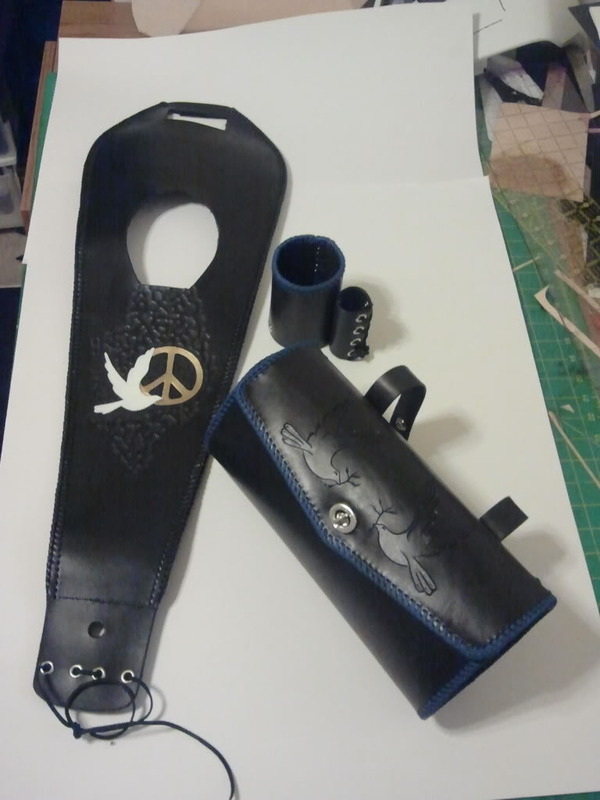
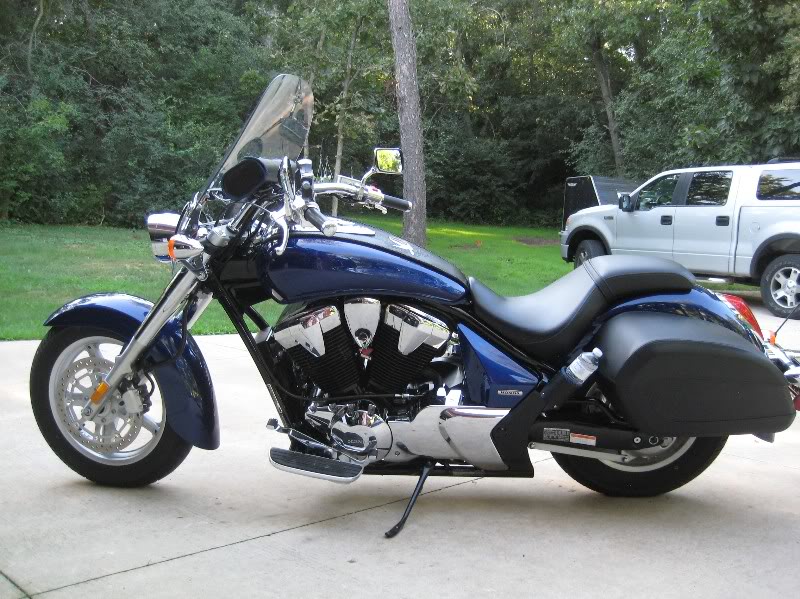
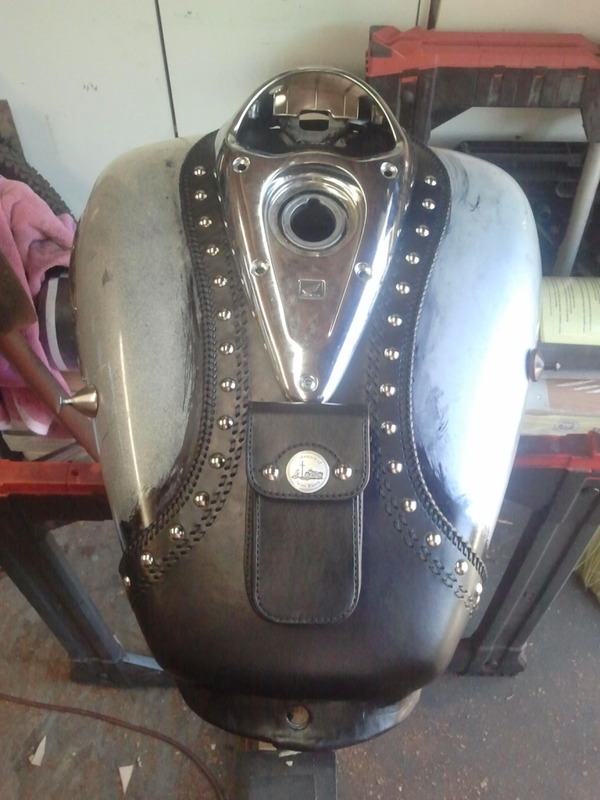
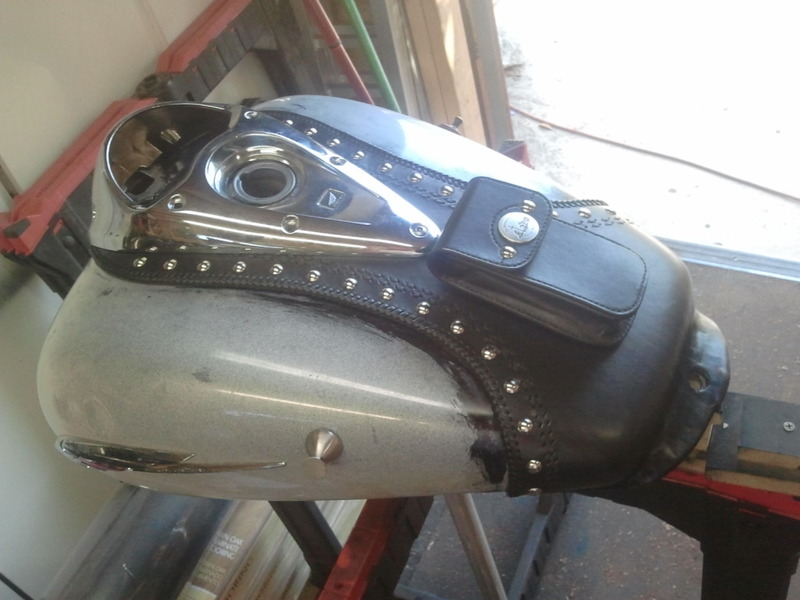
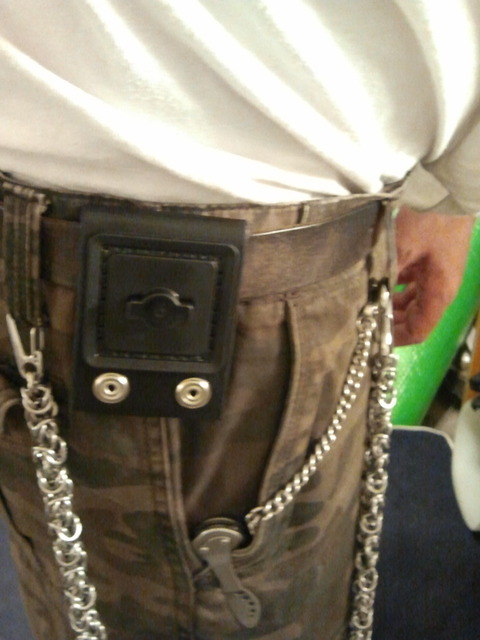
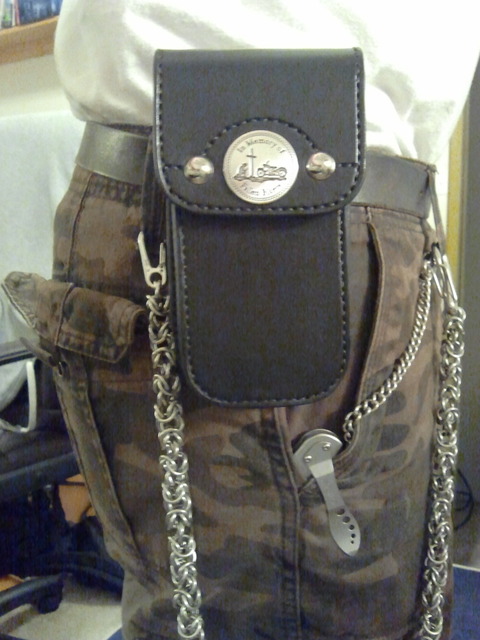
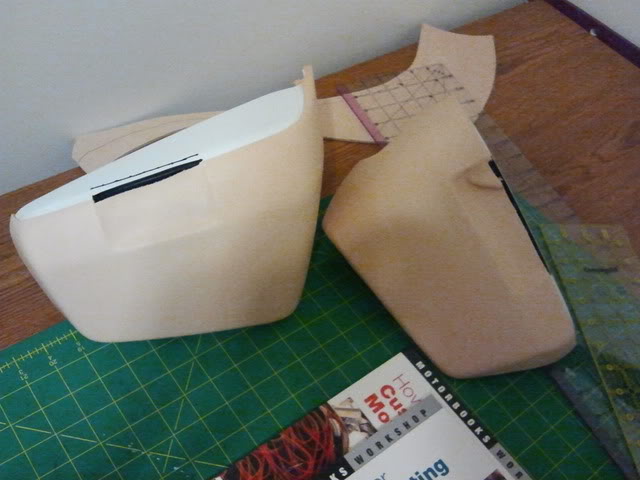
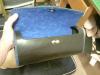
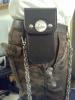
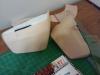
Here are the most recent projects to leave the shop this month bound for client's bikes: Bib, bag and water bottle holder set for 2010 Honda VT1300CT: Next up whaletail bib for a 2008 Honda VTX1300C: Then a whaletail bib with removable pocket for a 2004 Honda VTX1300R. I also made a belt clip for the pocket using the same twist lock system so the owner doesn't need to unload the pocket when he leaves the bike. Simply twist off the bike, twist onto the belt and go. And last piece(s) is a set of leather wrapped side covers with pockets mounted into them. Here is a series of pics from untouched, factory covers through completed. The flaps open to functional pockets and inside the right side cover, the back of the pocket as a zipper installed so the client can run battery tender wires to plug the bike into a trickle charger without having to take anything apart to access the battery.


-
Finally got a picture of one of these bibs installed on the client's bike:
-
Latest Holster
Spinner replied to kid terico's topic in Gun Holsters, Rifle Slings and Knife Sheathes
Very cool, that definitely looks like it took some time to assemble. -
Ideas For Shotgun Holster
Spinner replied to Shooter McGavin's topic in Gun Holsters, Rifle Slings and Knife Sheathes
That was a good movie! Here's something similar to the holster he had...shoulder strap for single carry and straps to attach to a rucksack. -
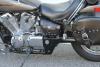
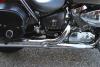
V&H pipes come with a heat shield installed over the pipes already. It still gets hot enough to melt a rubber sole but as long as she's wearing proper attire (jeans or chaps) it shouldn't be an issue even if her leg actually rubs the pipes. If her leg is laying against the pipes when stopped then it's more of a bike height issue and lowering the backend would be a proper fix (lower stance would allow her legs to bow more naturally) and if her leg is resting on the pipes while riding/moving then it's a peg placement issue or it has the wrong pipes on it. Back to the immediate question though...the main problem I see with this is the leather itself will either A) flop around when riding causing it to whip against her leg if not secured if secured, the combination of heat & friction will end up marring, charring and/or stretching the leather over time if it is secured top & bottom. Not to mention the possibility that the leather once dried out from the heat would end up marring the chrome on the pipes from rubbing against them constantly (wind turbulance, vibration, etc.) Your best bet is to check the possible issues/fixes above or make her a set of leather gators for riding. There was a good article two issues ago in the Leather Crafters & Saddlers Journal specifically on making them.Here's a website that makes them with some decent pics: http://www.leatherlegs.net/
-
Hey Paul, If you tell me what areas to measure I'm sure my 8 week old daughter wouldn't mind me taking a few measurements for the infant section of the pattern project. Chris
-
Help With Paint
Spinner replied to cstephens's topic in Dyes, Antiques, Stains, Glues, Waxes, Finishes and Conditioners.
Additional note - I recommend spraying the sealer/protective coat on due to the fact that any color or dye that a rag could pick up when wiping on a finish can transfer to other areas, quickly ruining hours of work. Don't ask how I know this... -
Help With Paint
Spinner replied to cstephens's topic in Dyes, Antiques, Stains, Glues, Waxes, Finishes and Conditioners.
I have had good luck with Resolene thinned 50/50 with water then sprayed from an airbrush and with Tandy's Super Sheen in the spray can. I prefer the resolene more as it seems to be slightly more durable. It does take a bit longer to dry (I usually wait 24 hours to apply any top coat dressing) but once dry it tends to resist water better. -
Help With Paint
Spinner replied to cstephens's topic in Dyes, Antiques, Stains, Glues, Waxes, Finishes and Conditioners.
I use Golden Fluid Acrylics that are avialable from Dick Blick art supply. They cost a little more but have great adhesion and UV resistance. I use them on motorcycle tank bibs and have for awhile now. No issues with chipping, scratching or fading and some of my client's bikes are exposed to some decent weather conditions (not to mention gas spills, etc.) I use the Golden Airbrush Medium to thin them when painting, usually 50/50 and then layer the color. The problem with chipping you mention is usually due to trying to apply the paint in 1-2 coats. The thicker the coat, the less opportunity the paint underneath has to dry and adhere. By thinning it down (acrylics are thinned with either an acrylic medium or water) and then layering the color in thinner coats it will adhere better and be more flexible. -
New Saddle For A Softail Custom H-D
Spinner replied to pellegrino's topic in Motorcycles and Biker Gear
The seat looks great, I especially like the detail and shadows you did on the banner & lettering up top. -
Like Radar mentioned, Sorby makes some great turning tools (over half my collection is Robert Sorby) and some of the older ones are really nice so I would suspect that the head knife is equally as nice once cleaned up.