artycpt
-
Posts
181 -
Joined
-
Last visited
Content Type
Profiles
Forums
Events
Blogs
Gallery
Store
Everything posted by artycpt
-
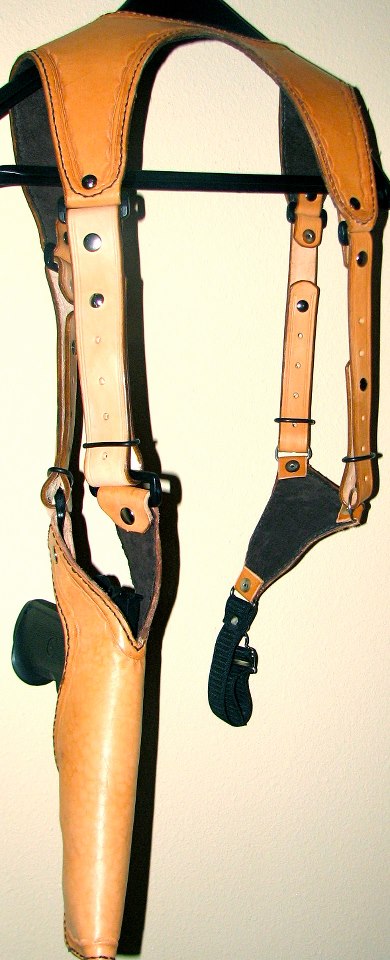
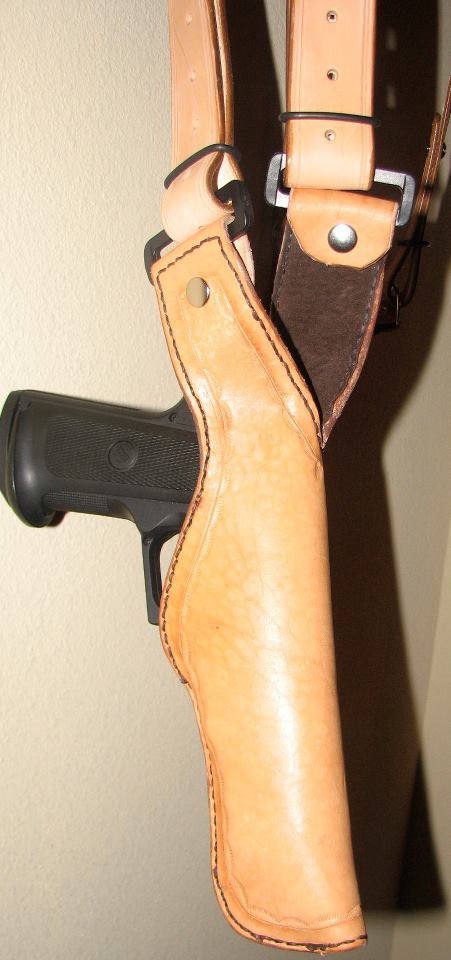
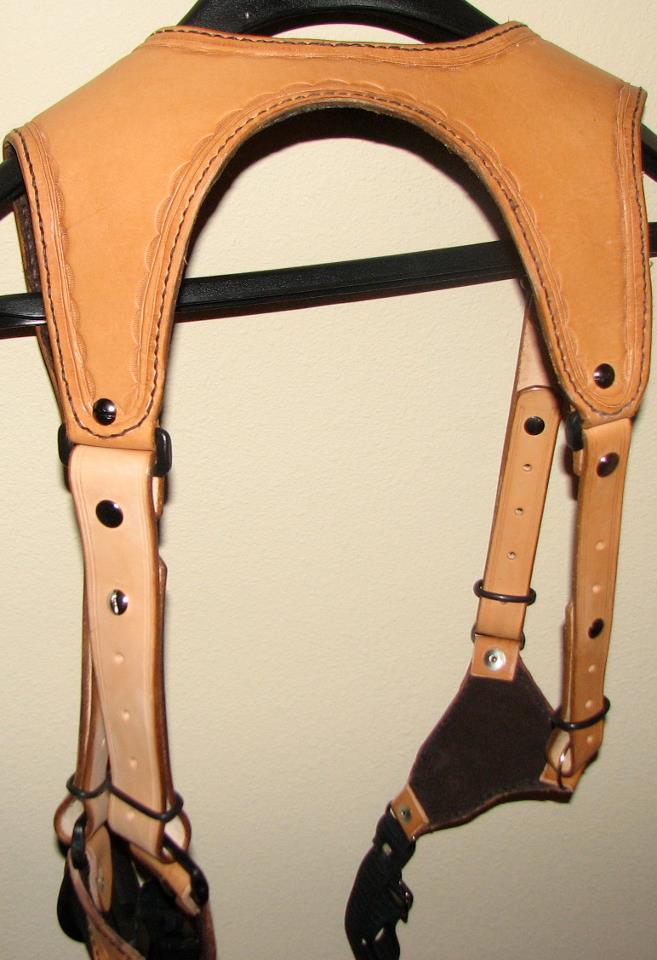
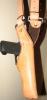
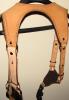
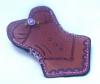
I don't make a lot of holsters but was commissioned by a friend for this one. He wanted a verticle shoulder holster for his 1911 that he could wear comfortably. He specifically asked not to have mag pouches so I opted for an elastic attachment on the non gun side to counterbalance the whole thing. Made everything pretty much modular so any piece could be replaced as necessary or changed out. I went with a non traditional style back piece to get something that was comfortable to wear for long days on the range. Figured I would share it.

-

Question About Making A Templet
artycpt replied to RichLee's topic in Books, Journals and Photo Albums
It depends on the thickness of the leather you are using. A general rule I follow is that my stitching will be 1/8" from the edge with about another 1/8" on the inside of the stitches so I general add about 1/4" to each of the sides. I also adjust the overall length depending on the thickness of the leather so that it will open and close without issue. What fits tight when the book is open may not close properly. It also depends on whether or not I am making a three peice cover where the front back and binding are all seperate peices or if it is a one piece. Try taking the book and making a template out of poster board then add a little to each side to account for the different thickness of the cover material. It is always a trial and error with me and if I make one and it is too snug I remake the pattern a little bigger and try again. -
I know you want to sell this as one lot but if you ever get the urge to break it up a little, let me know what the smallest group you might be willing to sell off. I do see some of those that I have been looking for. I know you want to sell this as one lot but if you ever get the urge to break it up a little, let me know what the smallest group you might be willing to sell off. I do see some of those that I have been looking for.
-
This is a littel tedious but for the gold like that I have used either a gold sharpie paint marker with a fine tip, gold metallic sharpie, or other type of paint marker (some made for scrapbooking and some for scale model building) In regards to the lighter green in the stamped areas, I am oinly guessing but it may have been the result of block dying and only allowing a small amount of green to get into the depressed areas. Potentially there could have been some sort of resist hand brushed into those areas as well so that the majority of the green would wipe off.
-
I do this a lot. It does take longer. Are you punching your holes ahead of time or as you go? I found that without a pony, if I punch the holes ahead of time it saves a step when stitching.
-
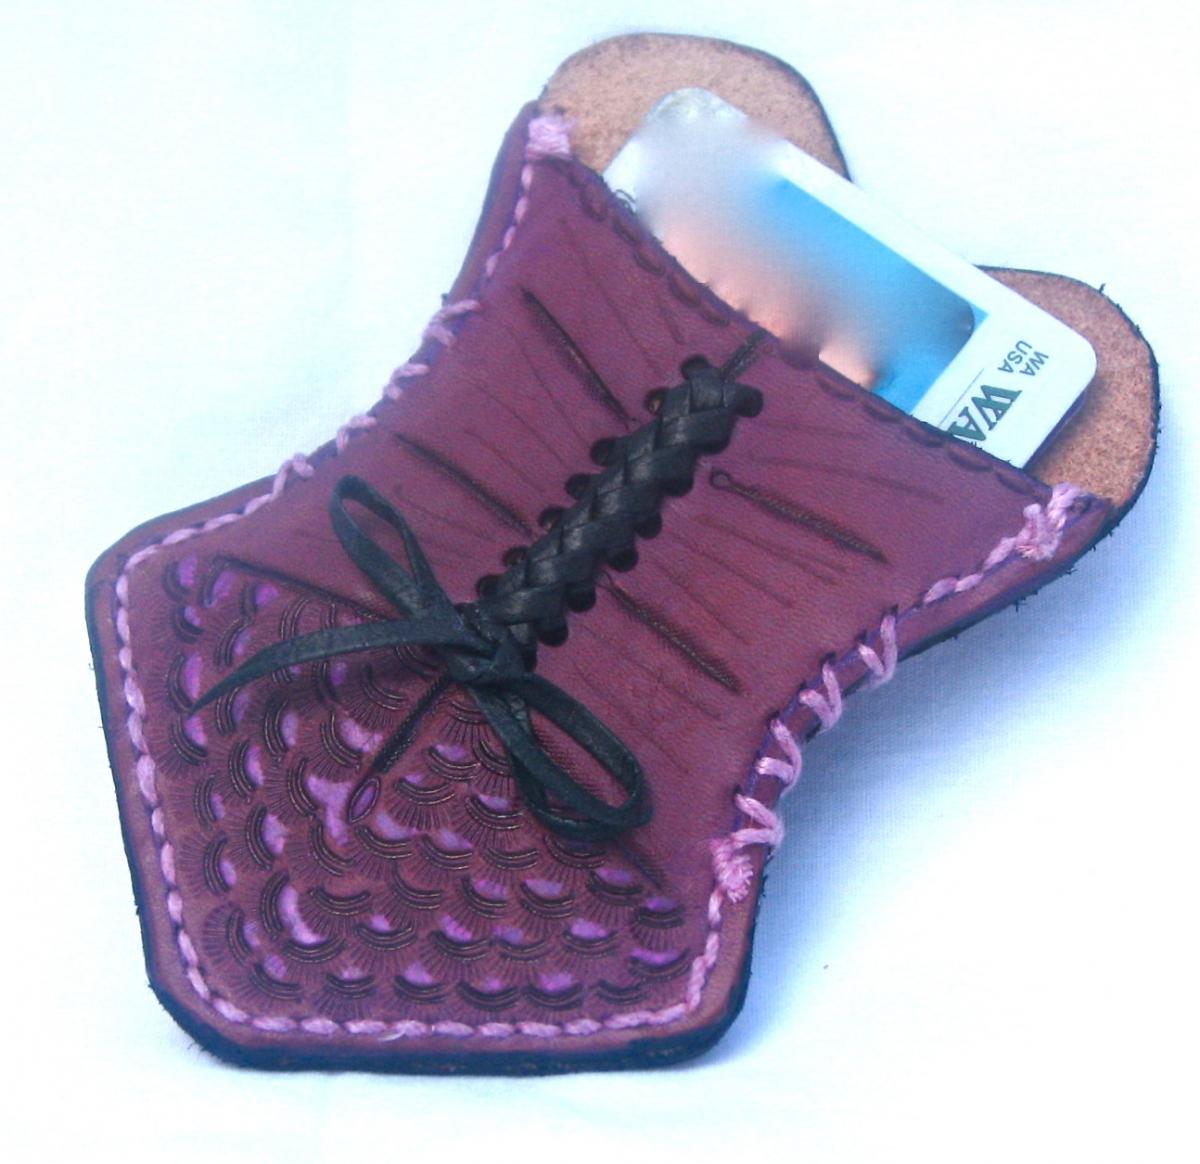
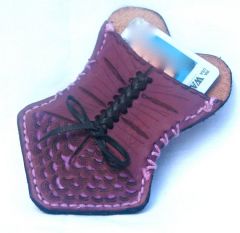
I came across some little sewing patterns the other day and thought that I could modify them and create a cool little card wallet out of the basic design idea. There are so many options and creative ideas I have for the tooling and adding of lace and such to this that I am kind of excited about it and hope they are liked enough that I get to make a bunch of them. This is a picture of one of the two I have done so far and have put up for sale. Will see how it goes.

-
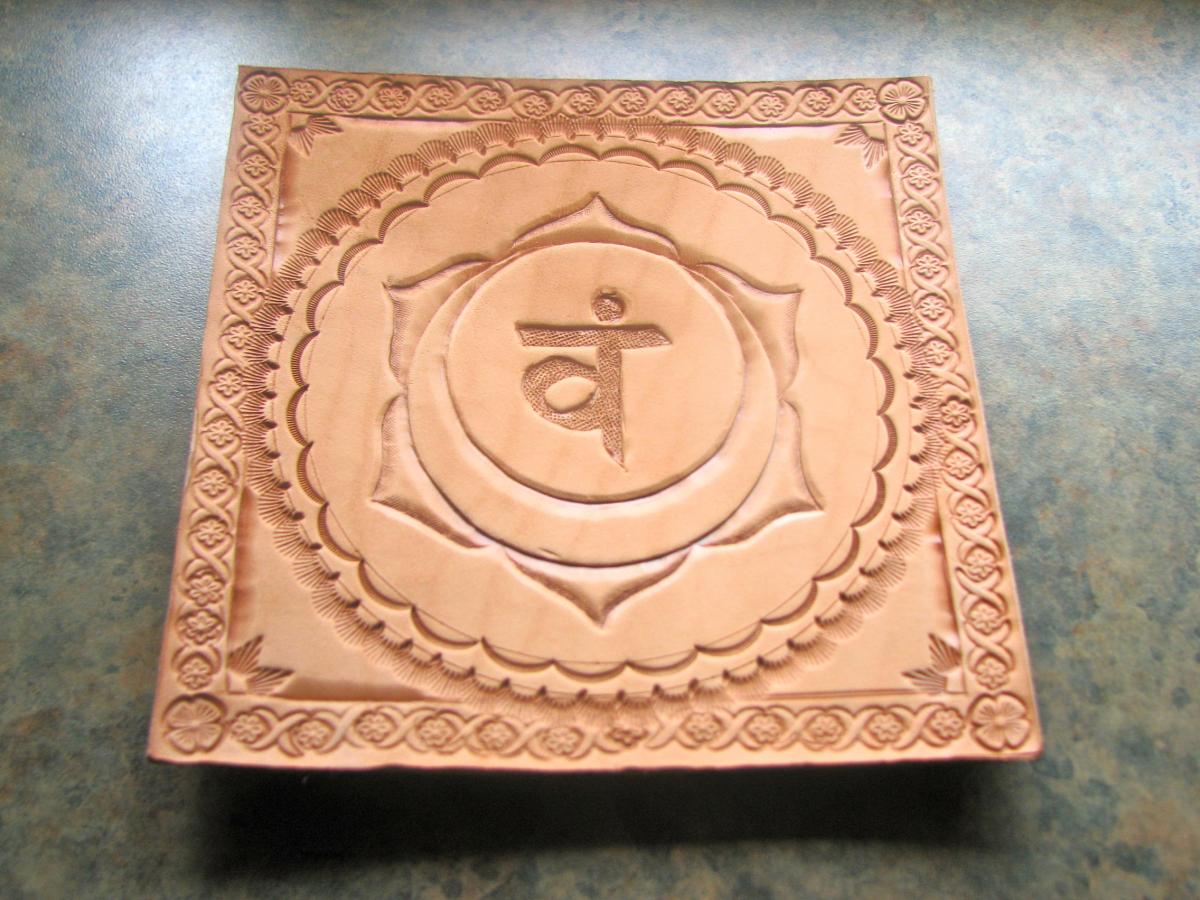
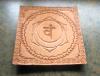
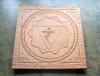
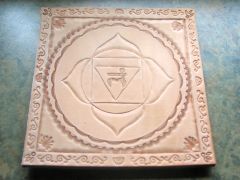
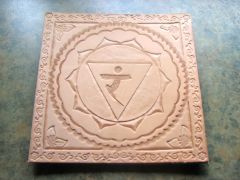
Starting working on creating tooled representations of the 7 chakras for my wife to hang on the wall of her office. I have three tooled so far and decided I would tool them all before starting to dye them. (my mind is always subject to change on short notice though...) Each chakra is represented by a specific color so I will use those colors for the dying of each. Will try to update as I complete more. and one more

-
From the album: projects in progress
Hand tooled leather art of Muladhara, the root chakra, prior to being dyed -
From the album: projects in progress
Hand tooled leather art of Manipura the solar plexis chakra prior to be dyed. -
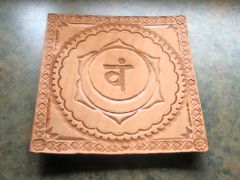
From the album: projects in progress
hand tooled leather art of Swadhistana, the navel chakra. Before being dyed. -
corset shaped small card/ ID wallet
artycpt commented on artycpt's gallery image in Gallery- Our Leatherwork
 Thank you! There are all kinds of possabilities here as well. Going to work with some lace type embossed leather and some actual lace trim as well. I have already been asked if I could make a cell phone case like this too.
 -
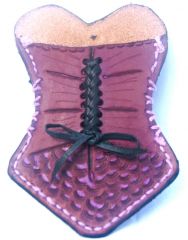
From the album: from the workbench
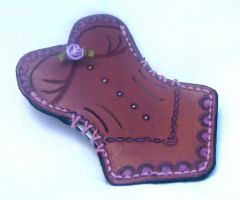
Thin ID/card wallet or holder that holds approximately 6 cards and is shaped liked a corset. Back veiw showing decorative lacing -
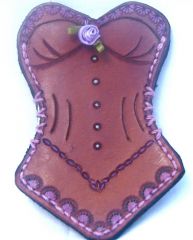
From the album: from the workbench
Thin ID/card wallet or holder that holds approximately 6 cards and is shaped liked a corset -
From the album: from the workbench
Thin ID/card wallet or holder that holds approximately 6 cards and is shaped liked a corset -
From the album: from the workbench
Thin ID/card wallet or holder that holds approximately 6 cards and is shaped liked a corset -
I created a similar affect my dry brushing and layering the dye. first overall dye of the light color, then taking a rag I put some dye on it and rubbed most of the dye off on a piece of scrap. From there I feathered the nearly dry rag from the edges to the middle. Add more dye as needed so that the rag remains with just enough dye to get the affect you want. I then took the lighter dye color again and used the dry brushing with a rag technique to blend the edges where the lighter and darker met. Airbrush is a lot quicker but I was happy with hte results.
-
I honestly don't even remember which one I used. It basically just takes my Etsy shop and posts is all on my facebook page as a "shop". I definitely don't utilize facebook to the full potential and end up doing a lot of custom work that comes from direct contacts so I haven't really noticed anything helpful about having this on facebook and haven't made any sales from items I have in the shop. Overall I don't do much of anything with it or to maintain it. It just shows up so I didn't need a tutorial or anything. I am interested to hear what other people use though.
-
From the album: from the workbench
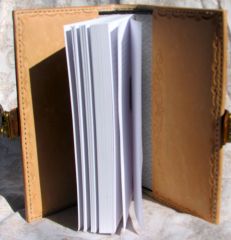
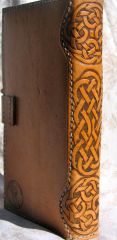
hand tooled leather journal cover with monogram and celtic knotwork. border tooled interior -
From the album: from the workbench
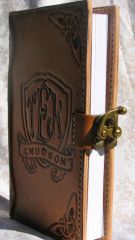
hand tooled leather journal cover with monogram and celtic knotwork. Antique brass colored clasp -

From the album: from the workbench
hand tooled leather journal cover with monogram and celtic knotwork. -
From the album: from the workbench
hand tooled leather journal cover with monogram and celtic knotwork. -
Thanks for the input everybody. I think I found the technique now. Ended up finding some obscure youtube video (that I can find again but remember the process). @electrathon: If I ever get the chance to head to Portland I will definitely try to meet up with you guys.
-
depending on the size of the leater you want to add the clasp to, you may be able to use what is called a "ribbon clasp". They are small clasps that you crimp down and come in various sizes. Usually also found in the "findings" area.
-
I know I have seen it explained around here somewhere but my ninja search skills are failing me. does anybody have a good explanation for how to do a douple loop lacing with two different colors of lace woven together??
-
What I Learned About Carbon Fiber
artycpt replied to artycpt's topic in Purses, Wallets, Belts and Miscellaneous Pocket Items
Thank you. Overall it is kind of a cool material with lots of possabilities. Once you get a light layer of enamal or acrylic on it you can shape and form it kind of like kydex. It would probably work really well for a different look and style for holsters or auto or motorcycle accessories. May have to experiment with it more...