Steve75
-
Posts
197 -
Joined
-
Last visited
Content Type
Profiles
Forums
Events
Blogs
Gallery
Store
Everything posted by Steve75
-
I started out with the lace maker, and recently acquired the Australian Strander. Of the two I prefer the Australian Strander. I feel like I have more control over the cutter as I cut the lace. The more I use the strander the better I get at controlling it and getting the results I want. The only other strand/lace cutter I know of is the Osborne No 1000 Lace Cutter https://osborneleathertools.com/product_details.php?pid=439.
-
 Thank you for posting the finished holster. That turned out really nice. Good job! I am curious, where did you find a pattern for the tooling or did you recreate it yourself?
 -
Chest rig for a revolver
Steve75 replied to Josh Ashman's topic in Gun Holsters, Rifle Slings and Knife Sheathes
Excellent execution! -
This should be made into a pinned thread for newbies looking to get information on maker's Mark's. There is an incredible number of stamp makers listed here with recommendations and examples of their work.
-
Dressing up the ugly duckling
Steve75 replied to Treed's topic in Gun Holsters, Rifle Slings and Knife Sheathes
That rig is nicely executed. -
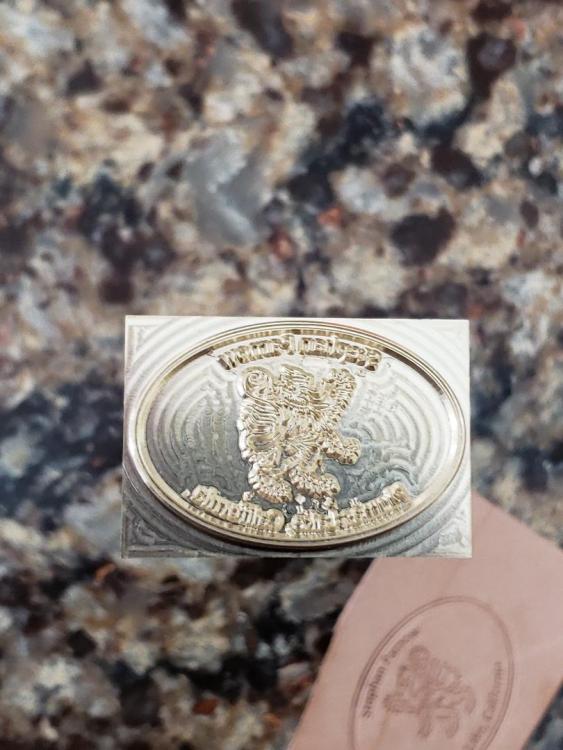
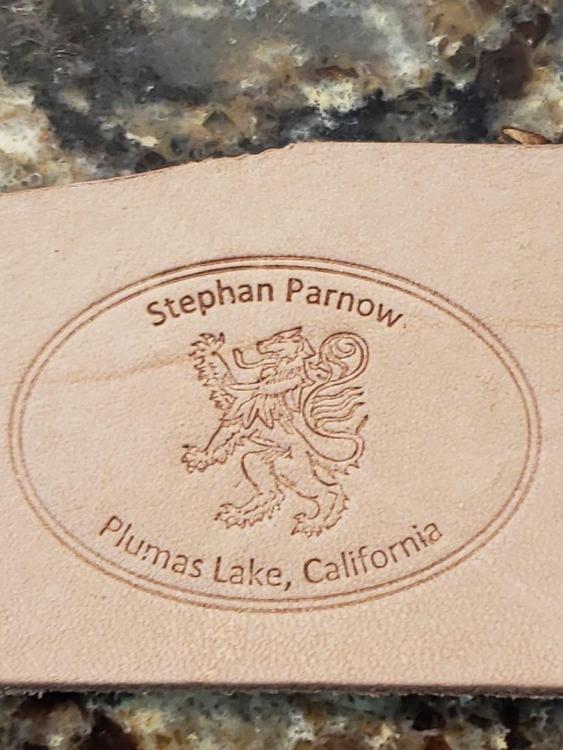
I had my maker's mark made by LeatherStampMaker.com. They did a good job. Quick turn around time. https://www.leatherstampmaker.com/?gclid=CjwKCAiA0O7fBRASEiwAYI9QAo2dEXnlxRJFeC8TeBSoFnBLI5oNsp6xuK86fQNz92zu2JFLZUEaFhoCB6wQAvD_BwE

-
So I thought, “Why don’t I just make a better one for a fraction of the cost?” I think a great many of us in leatherworking got started with that very sentiment. Nice baldric.
-
Tombstone, Johnny Ringo's Holster
Steve75 replied to Forester's topic in Gun Holsters, Rifle Slings and Knife Sheathes
Nicely done. -
Thanks for sharing chiefjason. I appreciate the insight.
-
Chief Jason and Ed in Tx I have been looking at Pro Edge Burnishers and was wondering if you guys would mind sharing which burnishers you use for your various projects. My apologies for high jacking your thread aroh99.
-
How did you get into leather work?
Steve75 replied to Rolandranch's topic in Leatherwork Conversation
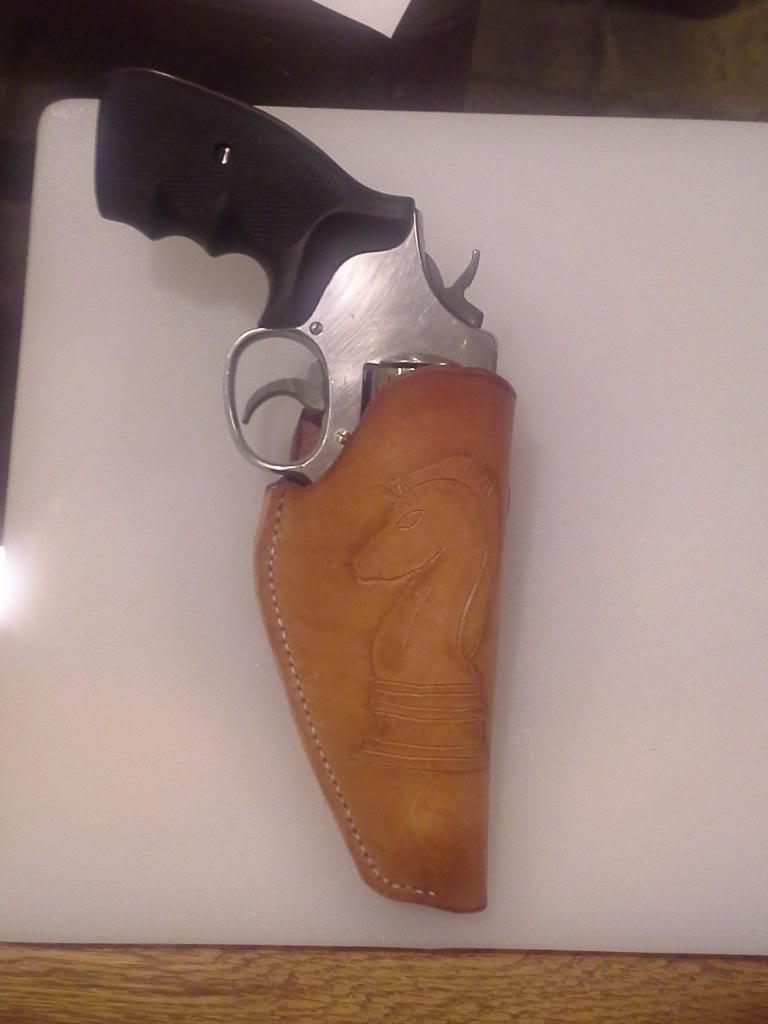
My adventure in leather began when I saw how much it was going to cost get a holster I wanted. I told my Dad I was interested in trying to make a holster, so for my birthday back 2012 he bought me a Tandy Deluxe Leather Kit. I invested in a copy of Stohlman's How to Make Holsters book, and never looked back. I gave my Dad the first holster I made. I used one of the patterns in Stohlman's book to make that holster. I made the holster I wanted not long after that.
-
Nicely executed.
-
Rose & Cross on Lefty Threepersons
Steve75 replied to Josh Ashman's topic in Gun Holsters, Rifle Slings and Knife Sheathes
Nicely done. -
Thank you for taking the time to explain how you layout your border. The holsters are awesome. Good job!
-
I have liked the San Carlos border since the first time I saw one of your holsters all tooled up. I have since made a few holsters with that border. Your work is nicely done, and I look forward to seeing these holsters completed. Thank you for sharing.
-
Packing Iron book
Steve75 replied to dikman's topic in Gun Holsters, Rifle Slings and Knife Sheathes
Good job dikman! The best investment anyone aspiring to make historically accurate holsters could invest in. I was stoked when I got my copy. I also got Cowboy and Trappings of the Old West. Both books are great resources for pictures of old west related leather. -
Well done.
-
Good job on the tooling.
-
A Pair of Slim Jims for my 1860s
Steve75 replied to Steve75's topic in Gun Holsters, Rifle Slings and Knife Sheathes
Thank you for the compliments Eddie Q and Josh. -
GP100 Field Holster
Steve75 replied to Josh Ashman's topic in Gun Holsters, Rifle Slings and Knife Sheathes
Nicely done. -
A Pair of Slim Jims for my 1860s
Steve75 replied to Steve75's topic in Gun Holsters, Rifle Slings and Knife Sheathes
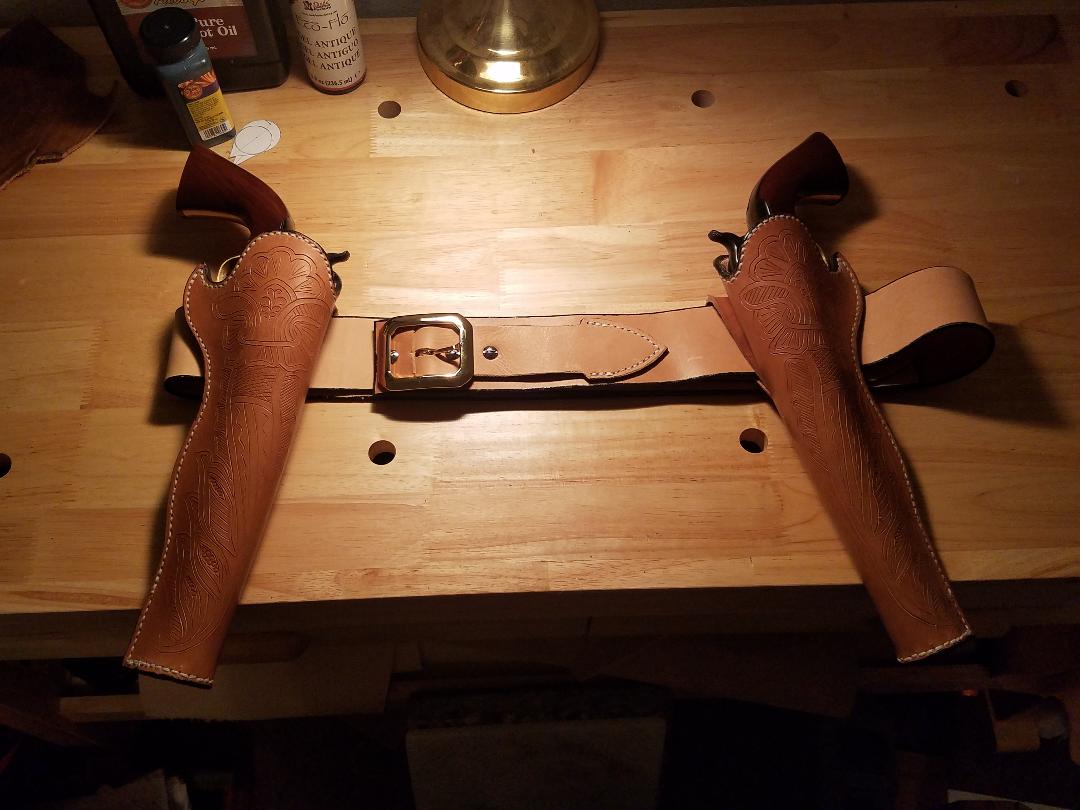
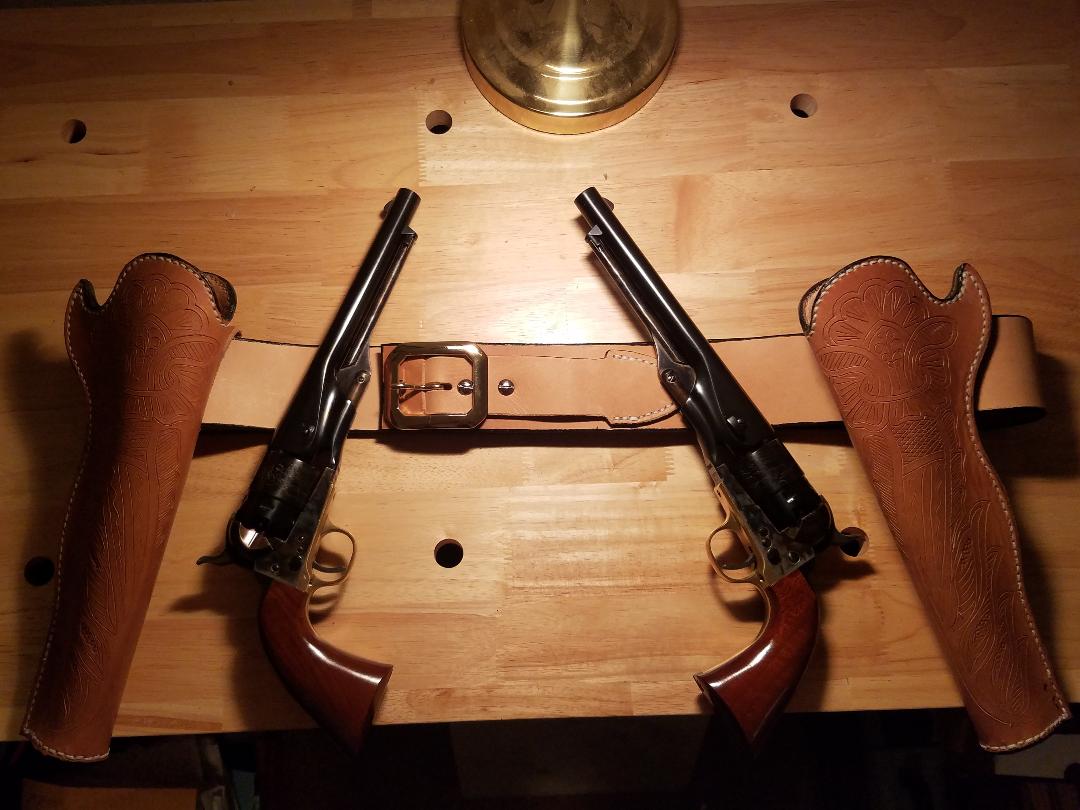
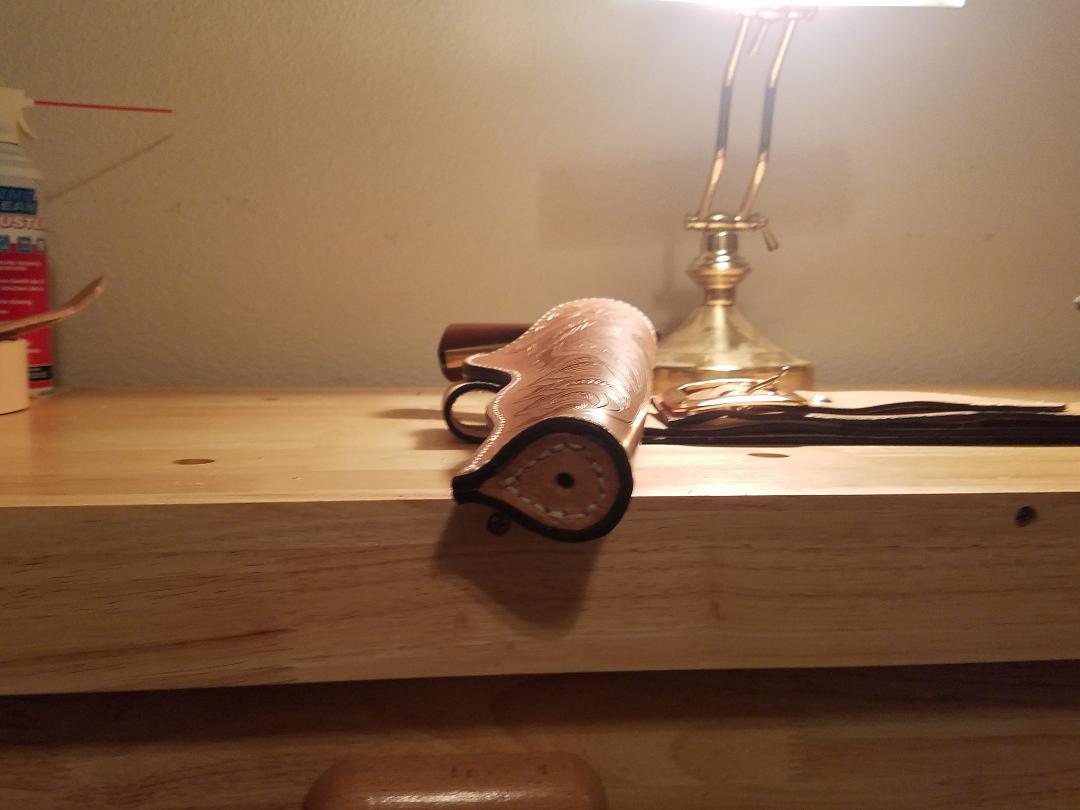
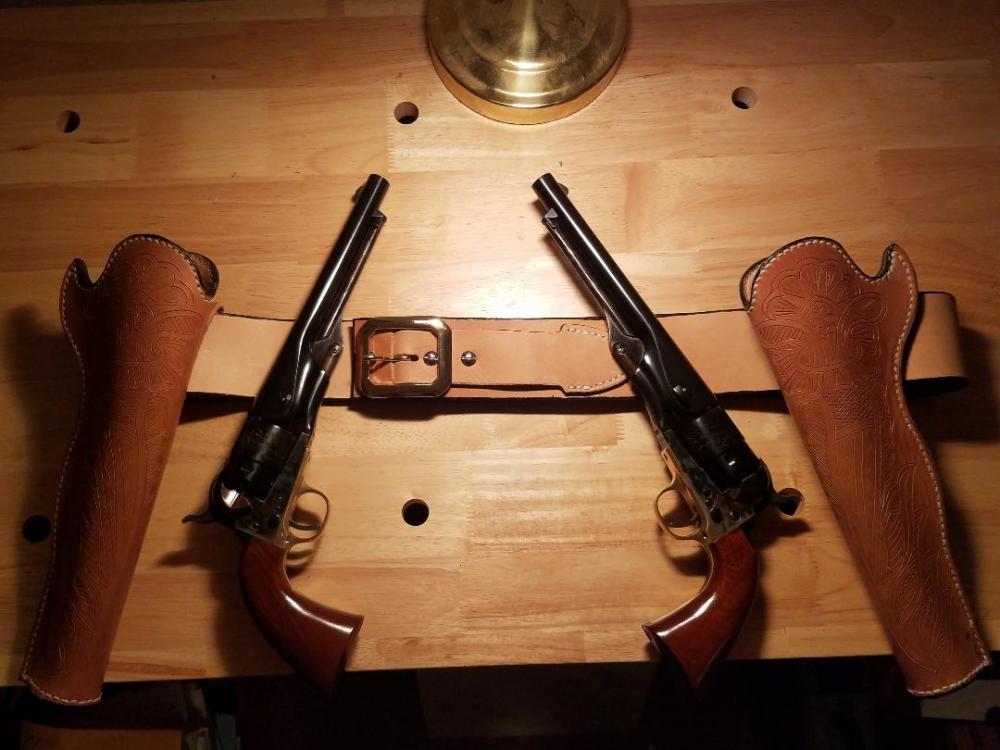
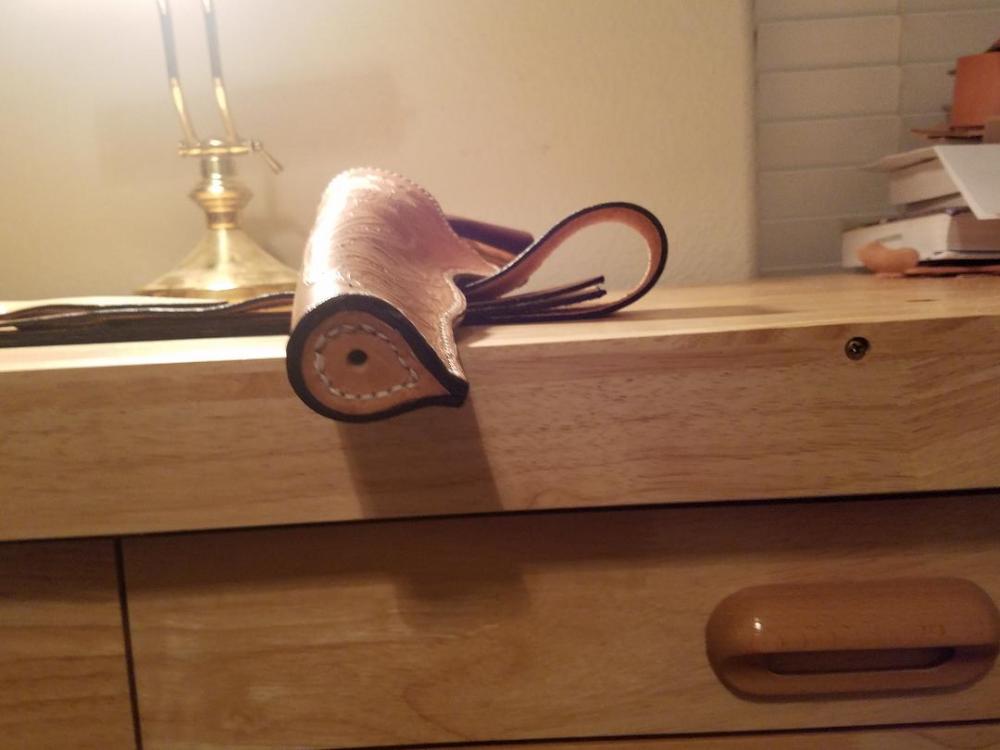
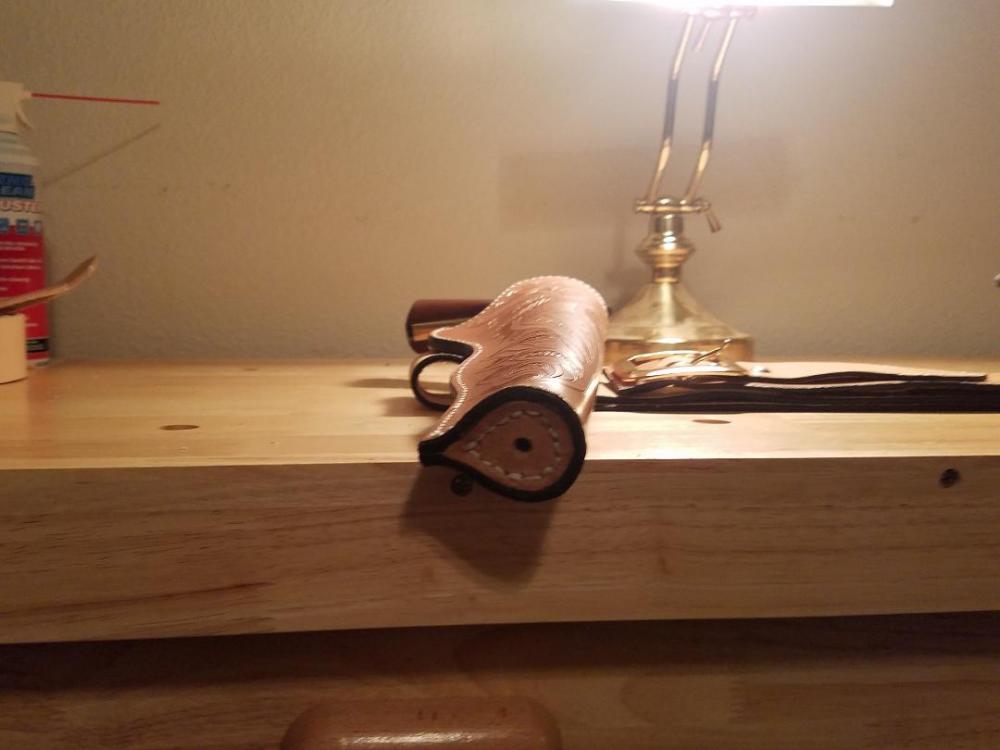
Thank you for the compliments. The entire rig is hand stitched. The rig has only been treated to two light coats of Neatsfoot Oil. The holsters had been exposed to sunlight while waiting for me to sew them up, which resulted in them being darker then the belt. I may remedy that by putting the belt on the patio table on a sunny day which should get the belt close to the same color, or I may leave it as is. I am happy with how they turned out, and appreciate the feedback. -
I finally got around to completing this project. The holsters are 8/9 ounce leather lined with 2 ounce pig skin and the belt is 8/9 ounce leather. Jim Simmons shared the cut pattern on Leatherworker. I ended up sewing in toe plugs which provided an interesting challenge. I applied a light coat of Neatsfoot Oil for a finish, and used Fiebings Edge Coat on the belt and holsters.

-
I have used vinegaroon to dye a couple holsters. It is a great way to create a black piece which will not transfer color to a garment. I used the article from CAS City Forum to guide me through the use of the vinegaroon. It has recipes for a couple of old time dyes. The slurry of baking soda is used to neutralize the vinegaroon. http://www.cascity.com/forumhall/index.php/topic,11991.0.html
-
Sheridan belts and holster
Steve75 replied to kammomile's topic in Gun Holsters, Rifle Slings and Knife Sheathes
Nice work. The color contrast on your projects really catch the eye. -
John Wayne El Dorado Gun Rig.
Steve75 replied to Forester's topic in Gun Holsters, Rifle Slings and Knife Sheathes
Nicely executed.