-
Posts
874 -
Joined
-
Last visited
Content Type
Profiles
Forums
Events
Blogs
Gallery
Everything posted by Rossr
-
Gary they are a type of die set. steel rule die set in a board you put the leather down then the die set and press the clicker press. Then you have that shape cut out. I dont know much about die sets but I know there are all different types Ross
-
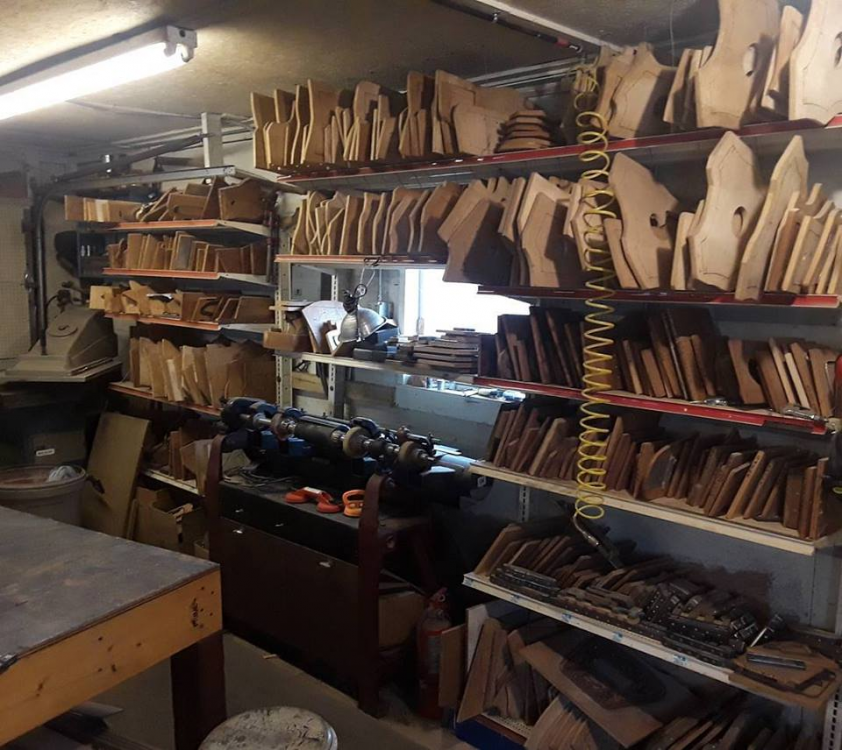
Ok so I figured it was only fair I snap a shot of the clicker and its dies....so ....this really is the only other leather parts of my shop..
-
I used two pieces of scrap that came to a point in the center. cut them out separate of course and then contact cemented them in place. so one left one right. If that make sense. both 1/2 inch width give or take. Thanks for the compliment as always too! Thank you Battlemunky. yea if you look close or blow it up some you can see it. I thought it was a neat pattern. Now i just have to try and not keep doing it all the time..i tend to like things and keep doing them Ross
-
Wow. that great you spread the wealth around.....karma coming you way !
-
Thanks...long way to go yet in my opinion....but little by little
-
Yep there are always deals out there if you watch craigslist ebay etc.
-
I have to back up Souix here. you tend to accumulate tools if you keep looking and buying out leatherworkers etc. You just sorta end up with extras lol.....and there are some great deals out there on buying a full lot of tools vs just buying one tool!
-
yes but first you take the deer skin and lay the good side(skin side ) to the tooled side of the leather. Then run a stitch across the top . Then you put on barge or in my case weldwood contact cement to the back side of each and then pull it over the back and glue it in place. Then trim the excess off and when you put the sheath together it gets stitched again around the sides. There is a bit more to it but thats the gist of it. Again Paul long I learned it from his videos, I make a fair amount of knife sheaths so the video was a good investment for me Ross PS: The stamp design seems tough but again I guess watching Paul do it. made it fairly easy ...hard to describe though
-

Set of Beer Growlers
Rossr replied to garypl's topic in Purses, Wallets, Belts and Miscellaneous Pocket Items
In the picture I think it looks fine.. but I like a darker look personally. R -

Set of Beer Growlers
Rossr replied to garypl's topic in Purses, Wallets, Belts and Miscellaneous Pocket Items
Looks real nice. I like the carving work on them! -
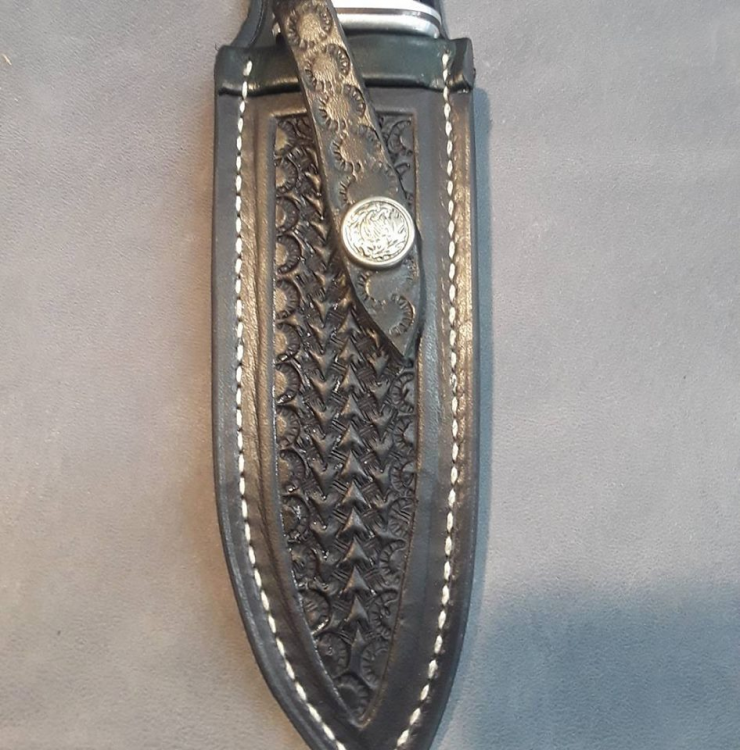
Gary, I have to give credit to Paul Long. I bought two of his sheath tutorials and that is where I learned the arrow head pattern. Its actually a basket weave stamp. you basically draw a line up the center and then you angle the basket weave stamp and then the one leg of the stamp overlaps the other and the other leg hits the line. Then you run the opposite to make the arrow shape coming back down and reverse it going across. Not sure that makes sense?? IF you look close you can see it. The arrow head it self is what is left from stamping the basket weave left and right of it. This might also be why they seem a bit off. I dont have the technique down perfect just yet. Weight lets see the back is 6-7 ounce and the front is 8-9 ounce range. The front came out of the scrap bin I had a hunk large enough. Hence the different weights. Normally I would have used the same. The Step is for a inner lining. It is deer skin, Hard to tell but its a dark green color. It got stitched to the outside so you cant see the stitch and then i glued it and flipped it over the back. Again I have to credit Paul Long and his video for trying that. Seems to give a nice fit for the knife with the deer skin in it and adds a bit of flair in my opinion. Really cant say enough about Paul Longs videos, I do not know Paul at all but I know he is on the forum here and I really enjoyed and learned from his videos. Just my opinion! Ross Lol....Glad to know. You will have to make one for your own knife now!
-
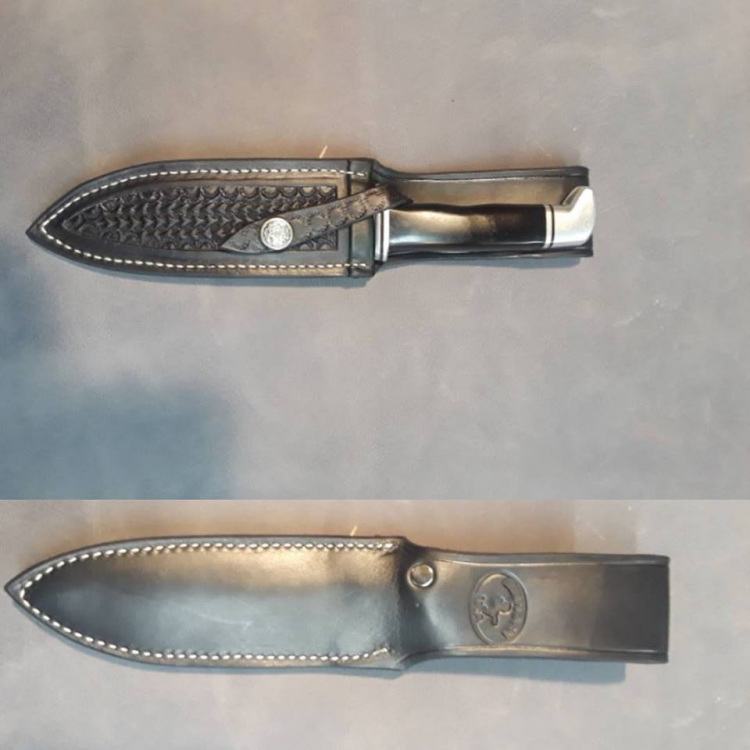
Buck knife needed a new cover...so a new sheath it now has.......for seemingly simple things sure is a lot that goes into each sheath. Amazed at how much you learn with each new one. Happy crafting folks Ross
-
No worries, I just noticed your response. Best wishes in your leather working adventures. Folks, Make me an offer...time to get this one out of the shop. If you have any questions let me know, its a new year so lets get this one into a new home Ross
-
what you meant to say was you havent tried to make boots shoes or clothes. You will be living once you get things set the way you want!! Cant imagine how long it took yo to amass all those machines and tools
-
Well big souix....that is one heck of a lot of machines and shop you got there, I suspect you could make just about anything you could dream!
-

Knife Sheath for Esee 6
Rossr replied to Firewalker's topic in Gun Holsters, Rifle Slings and Knife Sheathes
Rouge stitch we see nothing. Thanks for the backside photo. real nice hand stitch too!!- 23 replies
-
- tiger thread
- air brush
-
(and 6 more)
Tagged with:
-
Mike If I understand correct they heat the roller and then lay down gold leaf or something? Roll it on that way. I would guess you keep it straight by laying a ruler or some template down? Curious if you know how.... Glad it helped.....amazing what is out there on the net and how much information we all have at our fingertips...:)
-
Perhaps it was an embosing wheel on the edges the non gold part? https://www.csosborne.com/no459.htm https://www.tandyleather.com/en/product/craftool-embossing-wheels These are on a book binders tool site...not sure they can be used on leather but maybe those? No idea how they are used http://www.talasonline.com/Decorative-Brass-Wheels-and-Pallets Ross
-

Knife Sheath for Esee 6
Rossr replied to Firewalker's topic in Gun Holsters, Rifle Slings and Knife Sheathes
Nice looking sheath. Curious as to the back side and also if this was hand or machine done. Great work Ross- 23 replies
-
- tiger thread
- air brush
-
(and 6 more)
Tagged with:
-
I appreciate the compliment! But I am mostly self taught thanks to this forum, You tube and lots of reading. So to me I am still very much an amateur. But your comment about my work is very humbling. Thats a good question on the welt. For me I usually make a pouch sheath for this style of knife so the welt has always been on just one side. I have then welt molded the whole sheath to the knife in the past. You can do this by wrapping the knife up in plastic wrap to protect it while you wet mold it around the knife. I am guessing you are wet molding the front piece of leather around the knife and then once dry stitching it on the back part. So this makes it interesting because adding the welt after that would not give you the same wet molding. hmmm.....Not sure I have a good answer here....perhaps someone else can chime in on it. you could welt all around sew it and then wet mold maybe....but not sure you would get as clean a result. Keep up the good work..I enjoy posts like this cause we are all learning. Ross
-

A Couple of Christmas Gifts
Rossr replied to garypl's topic in Purses, Wallets, Belts and Miscellaneous Pocket Items
Like em both , but the growler caddy really caught my eye. Are you stitching on machine? If so what machine? -

Damascus, Antler and Leather......My oh My.
Rossr replied to Rossr's topic in Gun Holsters, Rifle Slings and Knife Sheathes
Thanks Roland...best part is it is sold -
They look nice! Just a couple thoughts. Add a welt for sure. This is a piece of leather that fits in between the front and back piece maybe 1/2 inch wide. this protects the stitching from the knife cutting it. My other thought as I look at these the wet molding is real nice, but I wonder does it need to come up the knife a bit more? seems like it should to hold them in better. In regards to making knives go for it. Lots of ways to do and it and tons of information on the net about how to go about it. Its fun and how many folks can say they made their own! The stone handles are neat too.....I know you need special tools to work them. Keep up the nice work Ross
-
Good to hear.....after my good experience with the first one I know I will be looking at the others as time goes along I also learn by watching. and doing!! R


