toxo
-
Posts
2,245 -
Joined
-
Last visited
Content Type
Profiles
Forums
Events
Blogs
Gallery
Everything posted by toxo
-
The logical/practical side of me says the shape takes up valuable holding space but boy! That was worth it. Awesome job. I wonder if the wife will get fed up with being stopped in the street. Well done.
-
Great job. I'm a big fan of practical projects. Someone's gonna love that.
-
Is there a better way to end your hand stitching?
toxo replied to DeWayne Hayes's topic in Sewing Leather
There are times when the locking stitches can come through between the layers. Not tested but maybe there's an answer using what I'll call the fishing rod whipping end technique where a separate length of thread is doubled over and previously laid between the layers so that the main thread can be pulled through to be finished elsewhere. Don't know if I've explained this sufficiently. No doubt someone can do a better job. -
A taperfit pulley is what you need. I put a 270mm pulley on my Adler 69 for a fraction of the cost of a "speed reducer" and along with a servo motor does a stitch at a time. Search on here for my posts. Come back if you can't find it.
-
Just seen this on F/B marketplace. Gotta be a good deal for someone. https://www.facebook.com/marketplace/item/273358162060675/?ref=search&referral_code=null&referral_story_type=post&tracking=browse_serp%3A315c7bac-dd1b-4eb4-b5bf-b7ba4e4fd251
-
Go on YouTube and subscribe to a guy Called Cechaflo. An absolute maestro with a sewing machine and a piece of upholstery. English is not his first language and he never says a word but somehow makes everything so clear. You'll thank me later.
-
Don't think anyone mentioned the one that makes my blood run cold just thinking about it, someone stupid enough to get a necktie caught in a buffer or even worse, a grinder.
-
Shopping cart security tokens
toxo replied to Klara's topic in Purses, Wallets, Belts and Miscellaneous Pocket Items
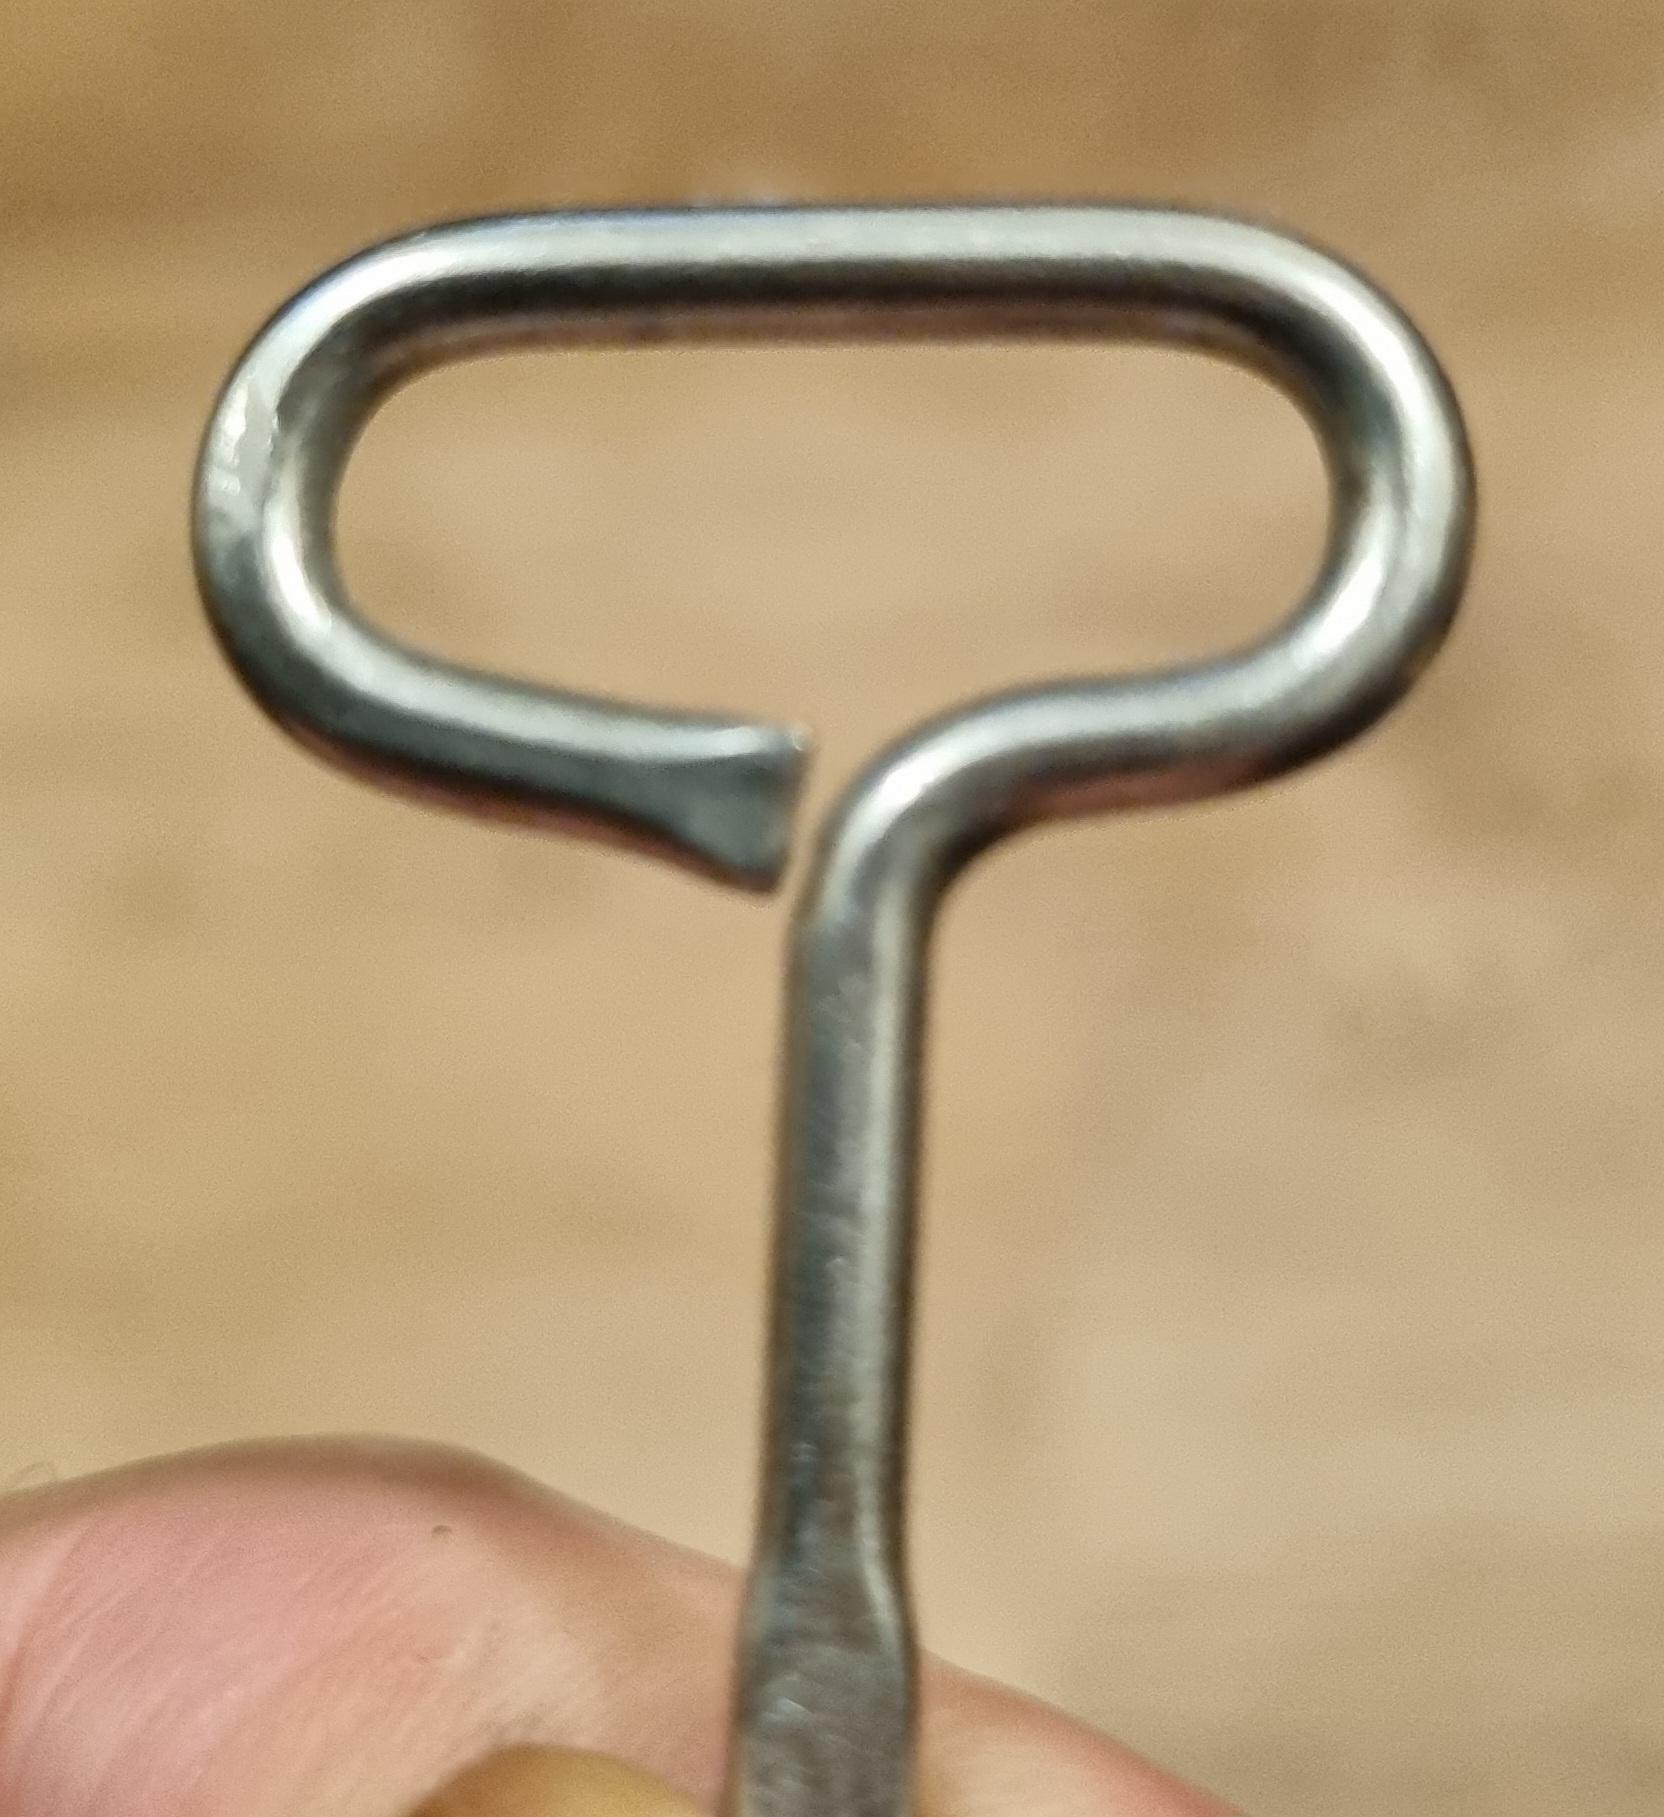
The key on a tin of corned beef. You just push it in the slot. Maybe wiggle it depends on the size of your coins. -
Shopping cart security tokens
toxo replied to Klara's topic in Purses, Wallets, Belts and Miscellaneous Pocket Items
Not the answer to your question Klara and maybe not much use to you but this will open any shopping trolley over here. Haven't had to worry bout a pound coin for a couple years now.
-
Hand tool for setting rivets w/burrs in awkward locations??
toxo replied to ValkyrieEquine's topic in How Do I Do That?
I often use a solid bar poking sideways out of a decent vice. -
Made I larf that did.
-
I spend half my life looking for stuff. I normally put it down to the poltergeist but I've recently worked out that if what I'm looking for is even partially covered by something else it becomes invisible to me. Needless to say I'll find it when looking for something else.
-
In the past I used some see through window stuff from a gazebo.
-
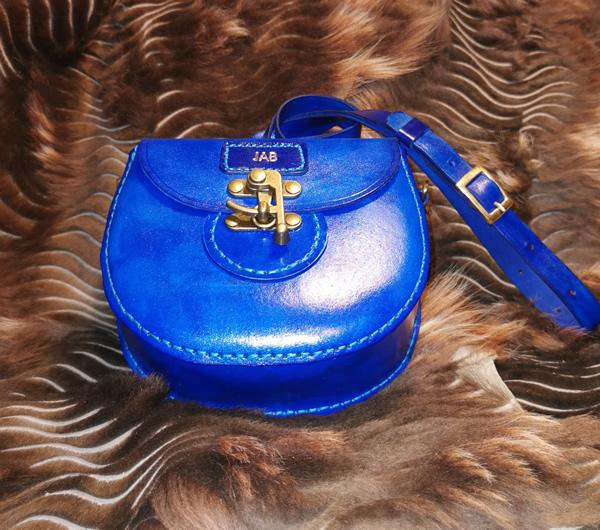
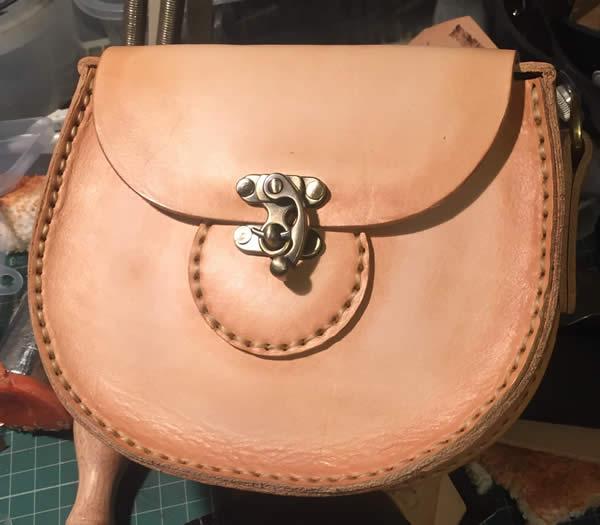
This first picture has the two parts together and sewn through like yours' This gives a dished effect. This pic shows the front panel over the top of the gusset and sewn through giving a more rounded look. Same pattern, same holes just a different look.
-
Nice job Frodo. If I had a nitpick I think the look would be better and more rounded if the front panel went over the gusset. same holes just a different look.
-
Forgive my ignorance Aven but I'll never be too old to learn. Never seen these before, how are they used?
-
Very nice Yin. Very clean and well done. I also, when it comes to Sheridan/Western, think less is very much more.
-
Check out this thread.
-
Has anyone managed to pour dye from a Feibings bottle without spilling any? You would've thought they would have helped us out by now with a pour able design. I don't think it's rocket science.
-
Almost done with briefcase
toxo replied to Simplejack1985's topic in Satchels, Luggage and Briefcases
Thanks. My daughter still uses the owl bag every day for work. -
Almost done with briefcase
toxo replied to Simplejack1985's topic in Satchels, Luggage and Briefcases
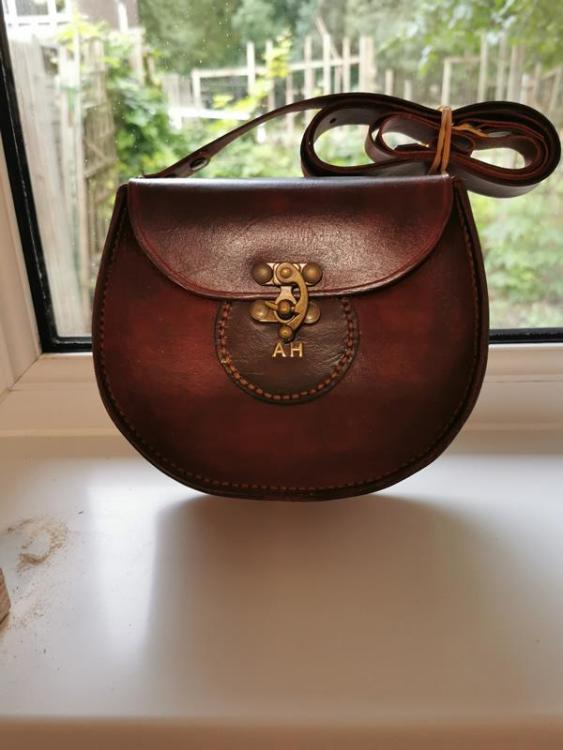
A few bit's Including this one. And maybe this one. I think I still have a piece of it somewhere.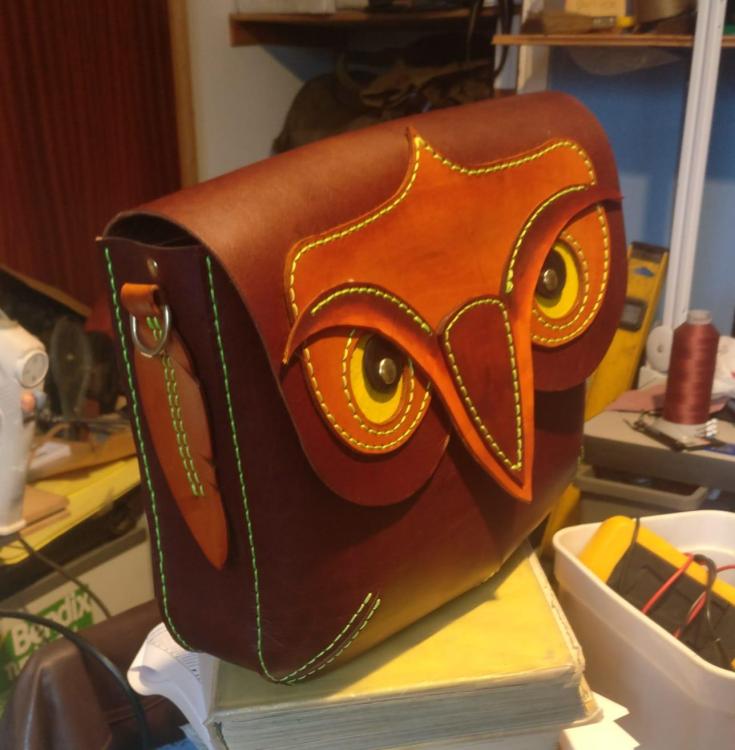
-
How about make it in the flat, do whatever to make the partitions, bring the two edges together and use a fringe all the way down to hide the stitching. Or use laces to join the two sides and make a fringe at the same time. Not everyone likes fringes but I do.
-
My first thought was the plastic tubes that go inside golf bags but if you don't want plastic you could make the tubes from thin leather, just sew em inside out along the edge on the machine and turn em right side out, stitch em together top and bottom and insert as one piece.
-
Whilst we're on the subject I did find this which might help not making em dull in the first place. https://www.ebay.co.uk/itm/111749803736
-
Wish I'd had a decent sized "yard" to explore. You guys take that sort of thing for granted, over here there's far too many people for the amount of land hence the "portions" are smaller. Also, whenever someone buys so much as a garage they put a fence around it. That's the only thing I envy you guys for is the space and the freedom. You should cherish it cos someday some arsehole will try to change it.