toxo
-
Posts
2,263 -
Joined
-
Last visited
Content Type
Profiles
Forums
Events
Blogs
Gallery
Store
Everything posted by toxo
-
It's not about the wallet though is it Chuck! I could buy a wallet but I'm a leatherworker so couldn't entertain that idea. Never done one but i'll make sure it's as good as I can get it. I bought the skiver because it opens up a whole range of stuff I couldn't do before, well not easily anyway. It cost me too much money to sit there not working properly. Conversely, when it is working properly it's gonna be great knowing for certain what's gonna happen when I put some leather through it
-
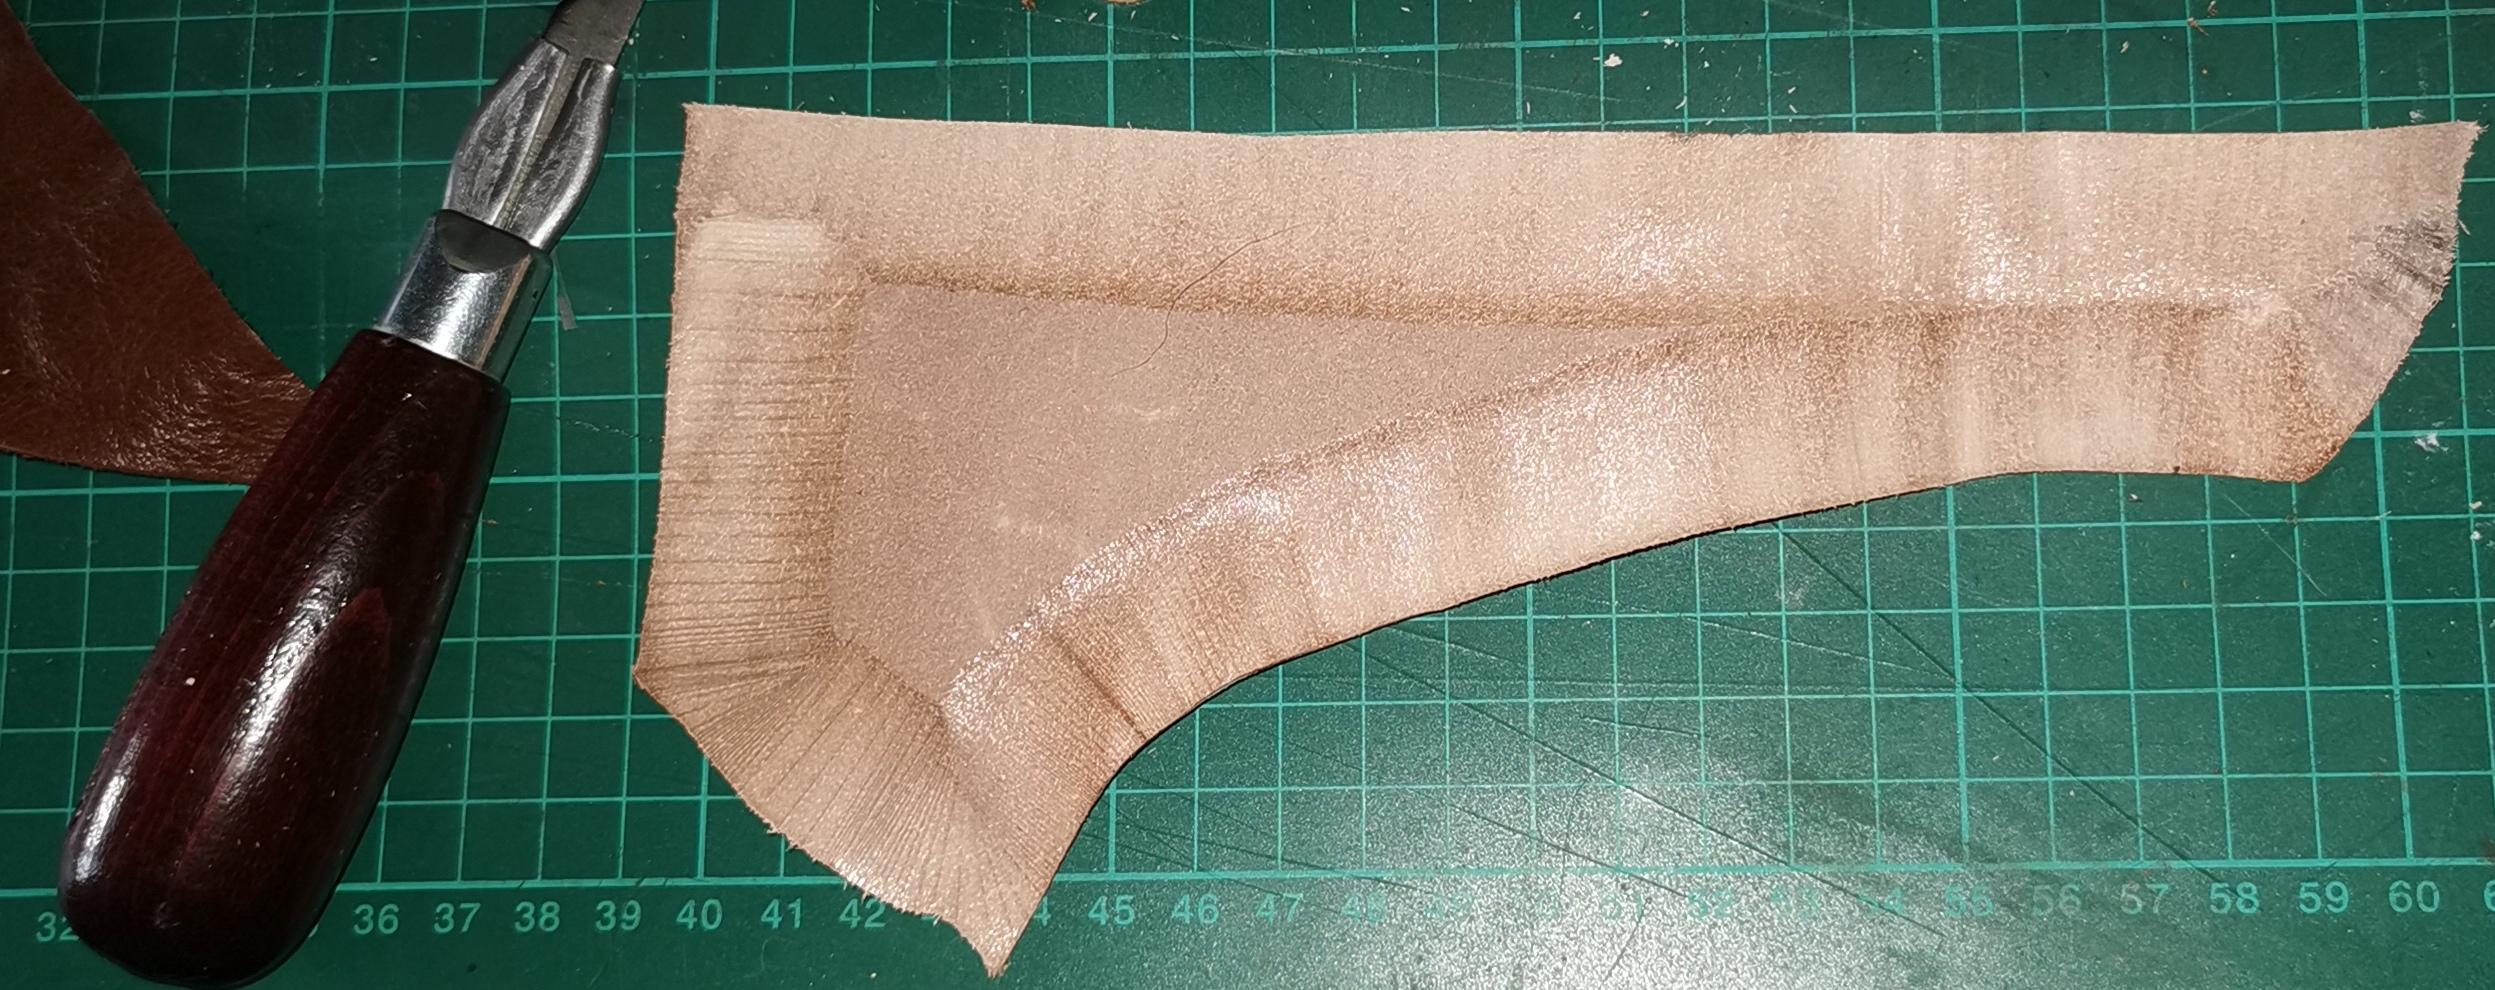
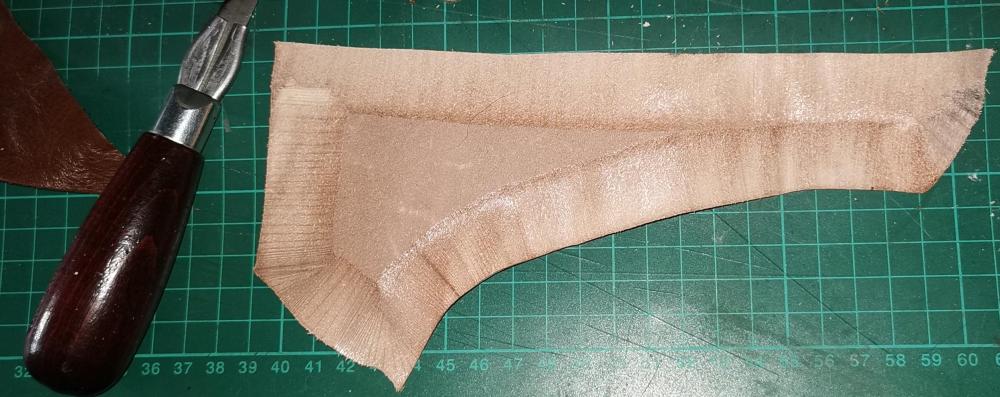
Thanks @Garyak I know it can do it but getting there is proving to be a problem. Brian, I got the knife closer to the foot but didn't improve so I backed it off a little. I moved the stone back and increased the bevel on the knife edge by about1 1/2mm. I was careful when I did it and had a water soaked dauber on the edge the whole time. The roller wasn't as effective as the standard feet. Still not where I need it to be. When I tried with 3/4mm veg tan it was proper apart from being wavey. I'll show a pic. This was 2.5mm veg tan and I did it in one controlled pass. The waves might suggest a slight wobble on the knife? Doesn't always happen though. Now I'm suspecting the bearings on the knife. Another thing that's not right is the skive versus speed. I have just the one motor for both knife and feed roller and have no idea if the ratio between the speed between the two is right. Could it be that one of em needs to go on a different pulley? I think I'm over thinking it now.
-
Thanks Brian. I've tried to do all that but the knob that advances the bell doesn't seem to be working properly. Looking down the side of the presser foot I can't get the bell any closer than about 1 1/2mm. Don't know if the bell is worn out or something wrong with the worm gear. I think that's making the knife edge steeper than it should be and so not as sharp. Is that making sense? I've done the sharpie bit and ground it back till it disappears. Is there a standard size of bell that I can measure against to eliminate that? I have a rough stone feed wheel on at the moment but have a new metal ridged wheel I can put on if I can rule out the size of the bell. Unlike all you lucky sods with all the room in the world, my "shop" is the spare bedroom and although the skiver is on wheels it's still a job to pull it out so I can lift it up to check the worm gear but I will get it done. I'm gonna love having the kind of control that you guys have when they're working well.
-
My wallet has been falling apart for quite a while now and I've lost count of the times I've said "I must make another". Problem is I've never done a wallet. - I've got some nice 1mm Brown which I like and I know I can make a wallet out of that but when I dissected my old one most of the leather is around 0.8mm so I tried to take some off the 1mm but it's quite soft and the skiver keeps telling me it doesn't like it. I've got some bits down to 0.4mm (not intentionally) but absolutely no consistency. Question? Am I flogging a dead horse or am I missing something? Since we're only dealing with small pieces, could I stiffen it up somehow just to get past the skiving stage?
-
You can get mono nylon monafilament (fishing line) in any thickness or colour Sheila.
-
I think you know what I meant but to be clear, many people are "Antis" of some kind these days and a great many will not entertain real animal fur in ant form. They don't stop to investigate where the fur comes from.
-
This was many years ago. Don't know if it was pure asbestos or some kind of mix. That cloth is very thick. I think it was coated with something because there is usually an advert on it or it simply said "Safety Curtain" I would hope the mix has been changed by now but it's not something that shouts out "Asbestos" and even in my day some had been in place for many many years.
-
I worked for a time in theatre stuff and one job involved maintaining the safety curtains for insurance. Not generally known but the curtain separates the stage area from the auditorium where folk sit in case of fire. It weighs tons. The bit you see is asbestos cloth. Behind that is a wall of RSJs (girders) to which is bolted sheet metal from top to bottom. This is hauled up and down by five stainless steel cables almost an inch thick. They go a long way up to the grid, then across to the wall and thence to a motor and counterweights. When those cables had to be replaced you knew you were in for a long night.
-
Good idea Fred but not just for pistols. Soft leather, felt lined, able to sew inside out would work for a lot of items. A more expensive idea but a good one. I did a bespoke one for him a couple years ago.
-
A very good friend runs a successful website selling mainly scopes and night vision. He's now in the process of opening a facility where people can try before the buy which, considering many of the items he sells cost £1000s I think is a very good move. In time he wants to expand it into a full fledged gun shop and he's asked me to make some custom stuff to go in it. As well as custom built cases for some of it, there must be lots I've not even thought of after cartridge belts, pellet/bullet cases etc. I don't want to list more until I've heard what would be on your wish list. This guy already has a big following. He's such a nice guy that he used to design night vision and then sell the components AND then tell everyone how to make em. He had to stop doing it because he was constantly inundated with phone calls.
-
Years ago I sandwiched a thin stainless steel cable between two layers to make a strap for a daughters work satchel so no-one on a scooter could slice through it and make off with her bag. Don't suppose your thread is thick enough for that but maybe multiple strands for a smaller security use is something to think about.
-
Welcome neighbour from Chatham, Kent. There are a few of us on here though not many. Ask away Ian, that's what forums are for.
-
I've found that finding the right size head/shaft/colour can be a bit of a challenge. I have thousands of the things and it always takes a while to get sorted. The most important bit is the shaft length. If it's too long it will just bend and the top cap will end up some distance away from the bottom cap. I've found shaft length just protruding above the leather surface is about right. Firmness of the leather can also play a part, soft leather will allow a slightly shorter shaft because the top cap will sink into the surface.
-
Just listed this on Ebay for anyone making their own dies. 3pt CLICKER DIE RULE STEEL FOR MAKING DIES FOR CUTTING LEATHER | eBay
-
A 1 ton Arbor press does all I need in the way of em/debossing. My regular "handle" is longer than the standard one and if that's not enough I put a longer tube over that. Of course the size of the stamp comes into it but before spending more money I'll dampen the leather to get a deeper impression, or if you make sure it doesn't move you can walk around it as has been mentioned already. If your stamps are brass you can heat them up some which will "brand" the leather or most other things also which will give a nice deeper impression with much more contrast.
-
I know it's been asked before but I can't find it. Anyone got the answer, How?
-
Quick sheath for a buddy
toxo replied to Garyak's topic in Gun Holsters, Rifle Slings and Knife Sheathes
We don't go as strong for big knives over here but you gotta love the quality of that one. Well done. -
Thanks Matt. There's nothing like 1st hand knowledge.
-
OK guys, here's where I am. I spoke initially to Tysew and potentially, they will deliver the Tysew 3001-C and take away both the Durkopp 239 flatbed and the Adler 69 in part exchange. I was getting quite excited about getting the whole job done so easily but then @Matt S mentioned "moderate quality Chinese clone" which made me think again. I found Juki 246 and the 3141, both within budget but each with compromises and now i'm leaning towards the original deal again because; Getting a new machine and getting rid of the other two on the same day is really appealing. Comes with a 12 month guarantee It won't be getting any heavy usage Both Geordie and Harry Rogers (YouTube) use them (maybe because of sponsorship?) And have featured them on Y/T. What's holding me back slightly is wanting to do wallets eventually and I don't know if the Tysew can get down that far. Will one of Brians @RockyAussie needle plate doohickkies fit this machine? Would this be a big mistake guys? Talk to me please
-
Thanks Matt. To be honest I rarely sew bigger than 2.4/3mm leather but just trying to get a look at what's out there. A 2 inch cylinder doesn't worry me either. I've just had a look at Geordies Tysew, they're just up the road from you so I can drive over there if necessary. It looks like a capable machine with large bobbin and affordable. Couldn't justify the 246 on my output. Take a look, what do you think? @Northmount Why didn't I think of that? I have a great brain but it's completely linear. Can't think sideways. Can't do a cryptic crossword to save my life. Thank you. Tysew TY-3600C-1 Cylinder Arm Walking Foot Needle Feed - TY-3600C-1 -
-
Thinking about upgrading my Adler 69. Can you guys please tell me what cylinder arm options I have in the UK that have a bigger bobbin, will easily sew 2 layers of 6/8mm veg tan and preferably has a lock on the reverse?
-
This dual belt sander arrived today from Germany. A week earlier than expected. All seems well. Will update when I've had a play, with maybe a short video. Once I've sorted which grits are best I'll probably buy on the roll cos all the offerings seem to be mixed.
-
Or to be sure (without a template) maybe leave the outside (folding piece) over long and cut it to size when folded over.
-
Having just bought a buffing wheel thingy, what compound blocks are we all using and for what purpose?
-
IIRC you can apply solvent to silicone sealant to achieve a similar result.