-
Posts
1,642 -
Joined
-
Last visited
Content Type
Profiles
Forums
Events
Blogs
Gallery
Everything posted by garypl
-
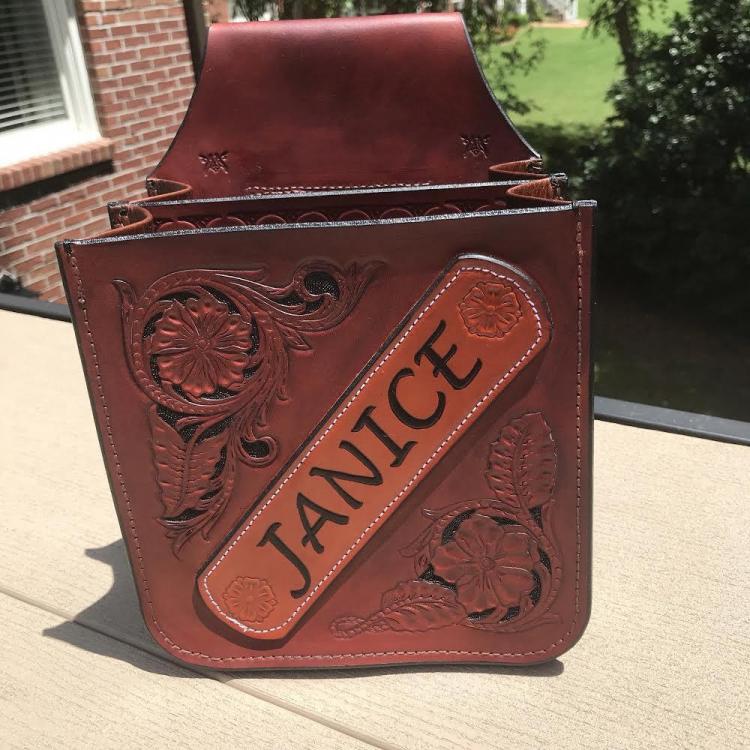
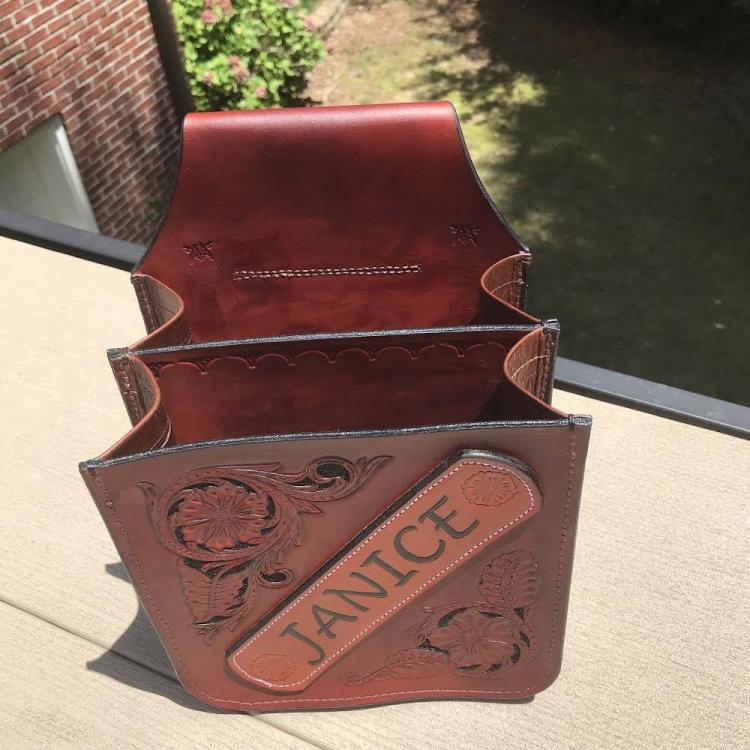
Thanks for your comments Chuck, Battlemunky and rleather! One of my mistakes was when I initially carved the name directly onto the front panel and it was crooked. Rather than start over, I decided to put the name on the extra piece and sew that to the front panel. I also made a set of gussets and decided they were too narrow, so had to redo the gussets. Got to create fixes and most of the time the maker is the only person who would ever know! Gary
-
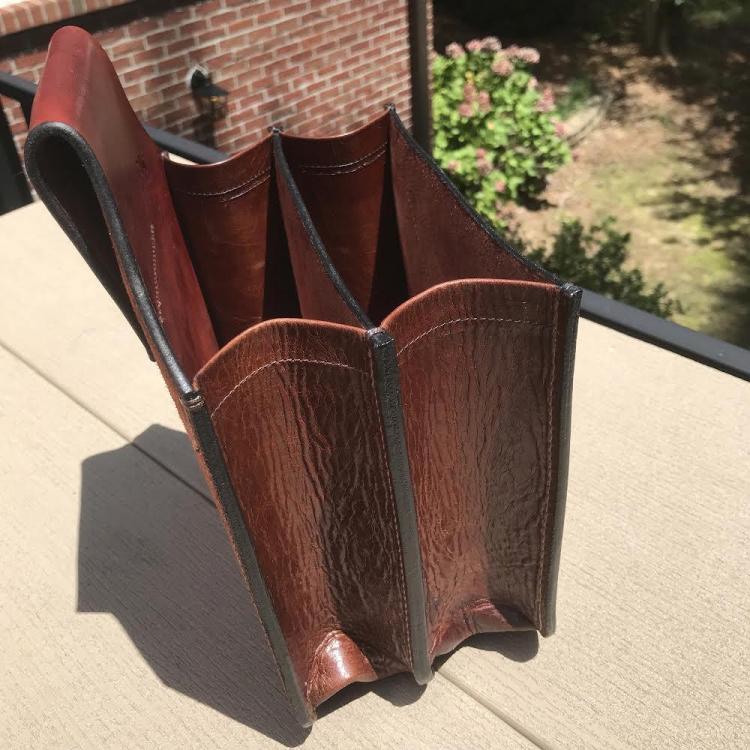
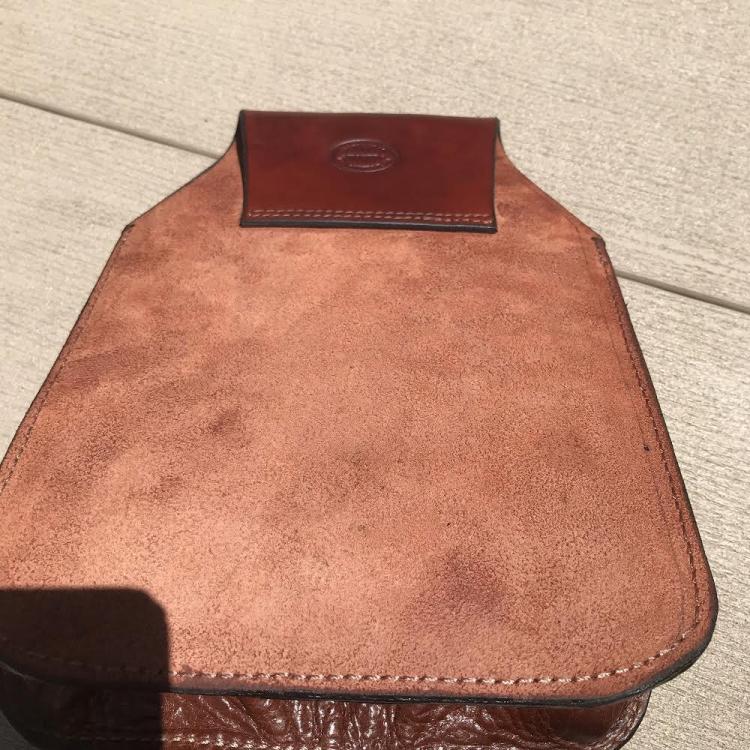
So a friend asked me to make a shotgun shell pouch for his girlfriend, and I just finished this. A couple of hiccups along the way. My first attempt at carving the name ended up crooked and I didn’t want to trash the front panel that I had spent a few hours carving, so I decided to put her name on a separate piece of leather and try to make it look like I did it on purpose by using contrasting leather and white thread. She loves the look! Other mistake I made is that I didn’t put more bar grounding around the leaves. In hindsight, I think they would have stood out better, especially the lower right carving. Good news is that I had freedom to design anyway I wanted, so they didn’t really have any expectations on design. I used Wickett & Craig 7-8 oz Russet veg tan for the main sections of the case. For the gussets I used some 1-2 oz chrome tan I had laying around and I doubled it up because it felt a little too light and I was concerned about strength of the gussets. I always struggle sewing the gussets on pouches and try to use the lightest leather that will hold up to the job. Sewed everything on my CB4500 using 207 bonded nylon and for the double layer gussets I used 69 thread on my Consew 206. Manually sewed reinforcements at the top of the gussets for extra strength. Finished the front panel with Mop N Glo and the rest of the pouch was sealed with my homemade leather balm. Edges dyed and then I added a coat of Giardini black edge paint. On to the next project! Gary
-
Portfolio and Takedown Gun Case
garypl replied to garypl's topic in Gun Holsters, Rifle Slings and Knife Sheathes
Thanks for the compliment dikman- much appreciated! -

Portfolio and Takedown Gun Case
garypl replied to garypl's topic in Gun Holsters, Rifle Slings and Knife Sheathes
I would not use 207 size thread if total weight of leather is 3 oz. Knots would probably be visible on top or bottom. What are you making and what is total weight of leather? -

Portfolio and Takedown Gun Case
garypl replied to garypl's topic in Gun Holsters, Rifle Slings and Knife Sheathes
Sorry, but don’t have any photos while I was building it. It’s based on an original Savage case for the take down rifle/shotgun. I worked off of a photo from the internet and kind of winged it as I went along trying to figure out the best way to make it. -
Thanks! Stamped the initials and carved the oak leaf .
-

Learning tooling and carving 1st lesson results
garypl replied to SamG71's topic in Floral and Sheridan Carving
Looks like you are off to a great start - nice work! -

Few friends, food, laughter good times
garypl replied to Frodo's topic in All About Us and Off Topic
My neighbor brought me a pig's ear sandwich a month ago, but he pressure cooked it somehow and it was a slimy mess with little taste! Now I think he didn't know how to cook it properly! Luckily I had a cold beer on hand to quickly wash it down -
I thought I remembered someone posting one, but couldn't remember when!
-
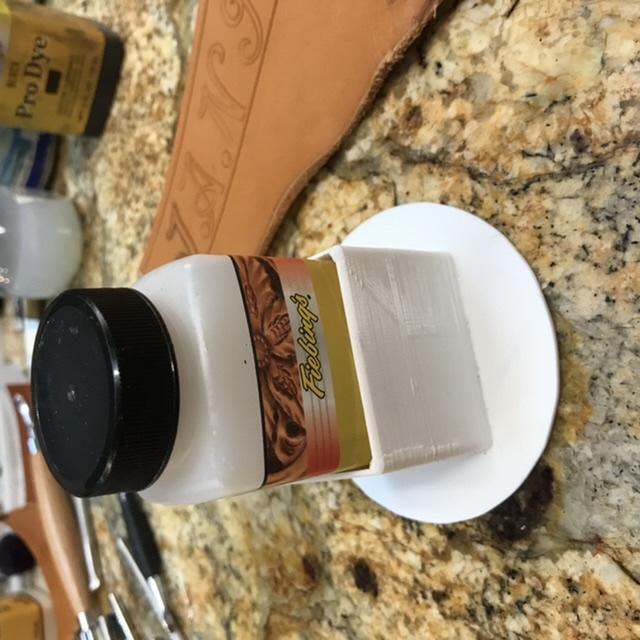
For anyone interested, here is the .STL file for the bottle holder Gary Dye Holder2.stl
-

Filagree Belt
garypl replied to Tim Schroeder's topic in Purses, Wallets, Belts and Miscellaneous Pocket Items
Beautiful belt Tim! -
After knocking over a bottle of Fiebing’s dye I decided to print a simple holder. Small bottles are a nice snug fit and now are very stable on the bench. I’ll post the .STL file tomorrow when I get back on the PC. Took almost 4 hrs to print. Gary
-
I use manila folders - very inexpensive and you can tape them up to make a bigger template.
-

Help needed with tension issues on 441 clone.
garypl replied to Watts's topic in Leather Sewing Machines
I've had issues with needle thread fraying on the upstroke when I had top tension too tight. I generally set bobbin tension so I can pull the thread out fairly easily by hand, then adjust the top tension for the leather you are sewing so the knots are pulled up into the leather. Some really hard leathers are just plain difficult to sew. I had one holster that had a spot that was so hard the needle bent. I ended up drilling a hole in that spot to allow needle to cleanly penetrate the piece. The rest of the project was no problem - go figure! -

Help needed with tension issues on 441 clone.
garypl replied to Watts's topic in Leather Sewing Machines
Try going up one size with your needle. -
Glad you liked it! Tip: The longer blades can stick out from the strap cutter arms by @6mm when fully up or down in the arms. I made a small cover of leather to slip over the blade end that is sticking out to keep from cutting myself (again) when reaching for the strap cutter!
-
Injector razor blades are really cheap and work great. They are longer than the strap cutter blades and will protrude further from the cutter, but they also allow more cutting edge that you can move up and down to reuse the blade. You can buy them on Amazon
-
100% agree - sharp is essential!
-

Getting good straight cuts and issues with stitching.
garypl replied to rckt1rcn's topic in How Do I Do That?
Only concern I would have using abrasive tape is scratching the leather if you inadvertently move the ruler while it’s on the leather. -
I’m no expert on round knives, but I do have several small and large knives and I normally use the smaller knives for skiving - just feels more comfortable and seems easier to me. I think you should try both to see which you prefer. Maybe someone local in your area could let you try a large knife.
-

Getting good straight cuts and issues with stitching.
garypl replied to rckt1rcn's topic in How Do I Do That?
I put gaffers tape on the bottom of steel rulers. It’s thin but has enough texture to keep the ruler from sliding around. Available on Amazon. -
I did it on one of my machines and works fine. Like you said, makes it easier to see exactly where the needle is going to hit.
-
Looks like the water caused the stain or antique to run. Did you use water-based stains? I don’t know what you can do to get rid of the stains without causing other problems. Hope someone has a suggestion!
-
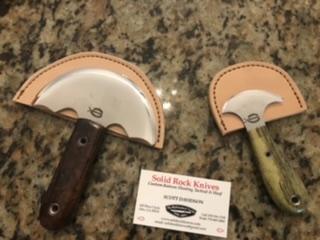
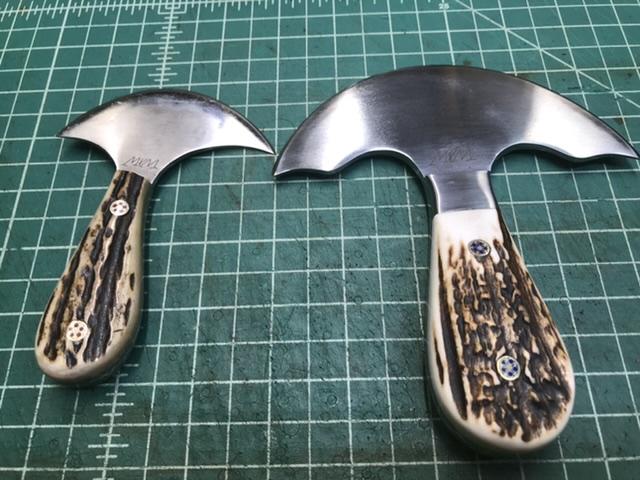
That's the exact set I bought so many years ago. We should be able to pass these along to our children!
-

Uncle Henry and Friends
garypl replied to YinTx's topic in Gun Holsters, Rifle Slings and Knife Sheathes
I really like the light carving on the dark leather - nice job Y! Gary


