Halitech
-
Posts
1,229 -
Joined
-
Last visited
Content Type
Profiles
Forums
Events
Blogs
Gallery
Store
Everything posted by Halitech
-
basically they are relying on the glue holding the inside strips to not let go
-
maybe it's the soap, I just use water when burnishing and most of the time, I dye before I burnish. So it's sand, dye, burnish, beeswax
-
make sure you are gluing right to the edge and put lots of pressure on them until dry. What kind of glue are you using? Are you going over your edge with sandpaper before burnishing?
-
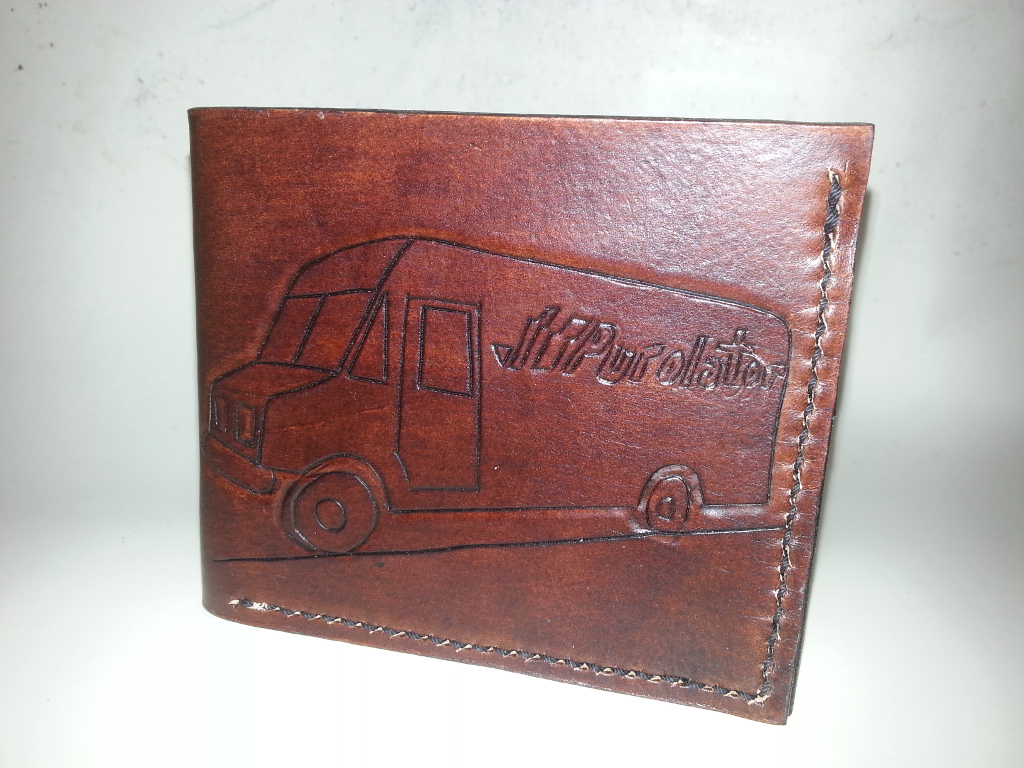
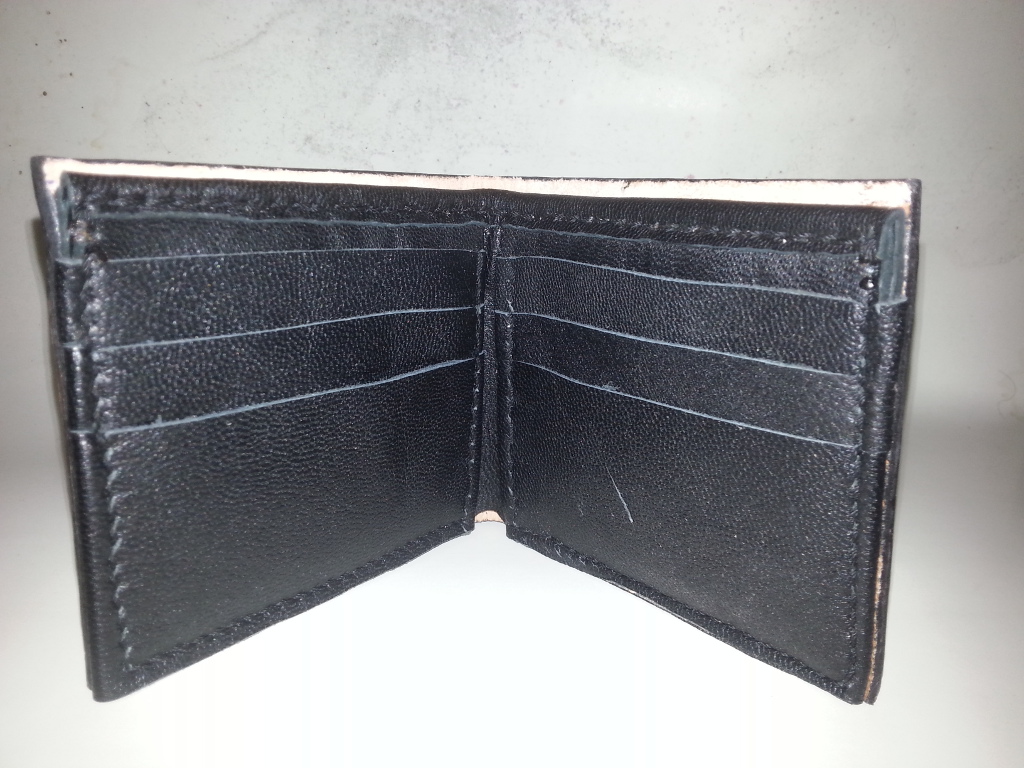
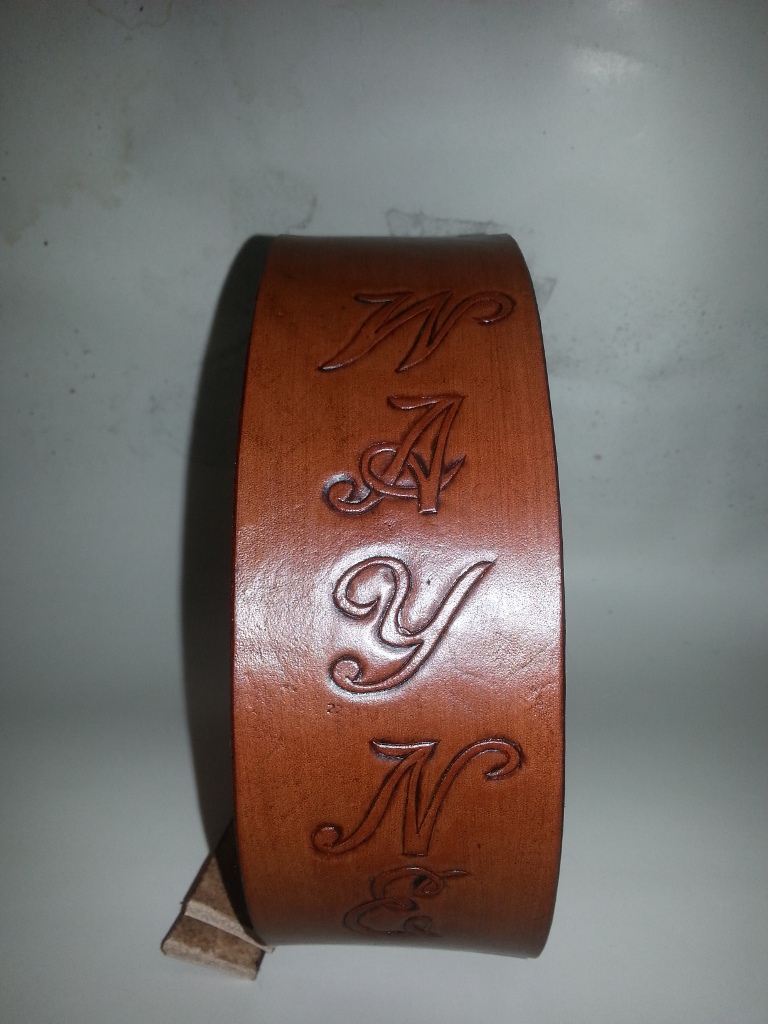
Had a customer contact me after one of the shows I attended and wanted a wallet and guitar strap for her husband for Christmas. The wallet is 4oz veg tanned for the outside and goatskin for the inside. I used the standard T Slot pattern for the slots and wrapped the edges around the outside to give it a more finished look. It's dyed Timber brown with medium brown antique and finished with 2 coats of resolene. The guitar strap is a single layer of 9oz veg tanned, dyed tan with tan antique. The top is finished with 2 coats of resolene and the backside is finished with snow proof. Since it's for a guitar with the attachments both on the body, I also made a strap to accommodate attaching to the neck in case he ever changes his guitar and the next one doesn't have the hook on the body. Both items are hand sewn with waxed linen thread and the edges are burnished with beeswax.

-
great tip another trick is coat it with something like snow proof, leave it thick in the crevices then go over it with a hair dryer. I found this out by accident
-
Here is a lot of info that will help make your belts the right size http://leatherworker.net/forum/index.php?showtopic=60344&hl=%2Bdress+%2Bbelt#entry389049
-
I wasn't able to actually sit in and take a full class from Gary but I've picked his brains a few times when I was there to pick stuff up, he knows what he;s talking about. I look back at some of my early work and go wtf was I thinking of. It all comes with practice and screwing up. Those 45s can be tricky but what helps is to leave everything at a 90 then once you have it in place, use a really sharp knife and cut both pieces at the same time. We all have those last minute ideas that change everything but again, it's something that will come in with time and experience on how to cover those "oooppsss" moments. Keep up the good work and I look forward to seeing your next projects
-
I like the work you did with the bus pass/card case but just a few ideas on it. 1. I would have put a rolled leather edge on the bus pass window. It would give a more finished look. 2. I know it's hard to judge but I'd also move the stitching out closer to the edge and make sure all the sides line up instead of having those 2 stitches heading to the bottom that you don't have on the top corner. 3. On the inside where the edges come together at the corners, angle them at a 45 so they look smoother. On the comb case, if you are going to line it, line all of it and sew right around the entire edge. Also, on the corner where you sewed it, cut that on a round and it won't get so banged up as bad. The mask and the belt looks good
-
Made My First Holster!
Halitech replied to Memorymode's topic in Gun Holsters, Rifle Slings and Knife Sheathes
Overall I like it. good detail on the wet molding but I'm curious about the reasoning behind the thread pattern under the trigger guard. -
Howdy neighbor I feel your pain, it's not a cheap hobby to get into but it can be relaxing and satisfying turning a side of leather into something useful and beautiful. And I'd love to see some of your work
-
Adjustable Leather Strap Size Question
Halitech replied to erniethemilk's topic in How Do I Do That?
I haven't heard of any standard sizing but personally, I would keep the buckle end down to no longer then 6" just to make sure the billet end is hanging down regardless of the overall length of the strap. You could also make 1 template or get a clicker die to cut them out to make things faster without having to have 3 or 4 different ones -
just my luck :/ although I was doing them in 2" and 3" size so this stamp wouldn't have helped me anyway
-
Oh sure, where were you last week with this when I was doing 5 of them by hand lol looks good and if I needed them for a belt I'd order one
-
It takes some work but it does work and it's just a small 1 1/2" plane that I picked up at Rona. Doesn't work as well for anything thicker then the width of the blade but it is usable and better then using a disposable knife
-
I know it will sound strange but a small block plane works a lot better then the super skiver or any kind of knife. But for a really nice job, pick up the High tech splitter, one pass and done with uniform thickness. I know it's not in everyone's budget but I picked one up on Friday and it is great for smaller jobs
-
Another good day at a craft fair. 1 more for the season and hopefully it will be my best yet
-
From the album: misc stuff
© Halitech
-
From the album: misc stuff
© Halitech
-
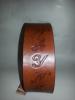
wasn't as hard as I thought it would be. I cropped and sized the original image the customer sent to me then copied it to the leather and I just made sure I was beveling the right edges which was the hardest to keep track of
-
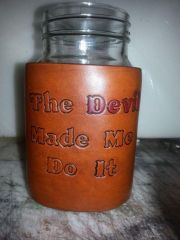
I tried talking him into a liner but he didn't want one so no, it's not lined
-

From the album: Custom requests
© Halitech 2015
-
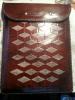
Let me firstly say, the design on the front was not my idea but it took the customer 5 days to finally decide on something so I didn't have the heart to say no. Besides, the money was pretty good. Overall measurements are 14.5x11" and it's made from 6-7oz veg tanned leather. I used 1/8" lacing (28' +/-), finished in timber brown and black antique. 2 coats of resolene on each side. 2 line 20 black snaps. I did a light wet molding on it with a piece of 3/4" plywood cut out slightly larger then then actual laptop. He didn't want a handle or strap on it so that's why it doesn't have one. Only thing he did want that I couldn't easily figure out with doing the lacing was a hole in the side to connect the charger since the model has the charger almost right on the corner.
-
thanks Matt, found a few there that would work but they require orders of 500+ and I only need maybe 50 to start out. I know the prices are cheap enough but I don't really want to store 500 or a 1000 when I may never use all of them
-
Have a customer that is interested in getting keyfobs made but would like to get this type of set up if I can find a supplier without needing to buy a few thousand of them. I've tried searching google but my google-fu is letting me down. Any ideas?
-
Another Belt
Halitech replied to mpluc1's topic in Purses, Wallets, Belts and Miscellaneous Pocket Items
that's why I don't use the edges to line up my letters. I take a piece of cardboard and tape it to the leather then line up the edge of the letter itself with the edge of the cardboard, gives me a better fit and I can adjust the spacing by eye better