rawhide1
-
Posts
1,063 -
Joined
-
Last visited
Content Type
Profiles
Forums
Events
Blogs
Gallery
Store
Everything posted by rawhide1
-
crow That turned out real nice. I really like how you have the solid black on the bottom half. And then the interweaves contrasting colors look great together. Great job!! Mike
-
rawhider Nice looking bosal Mike
-

What are you drinking right now?
rawhide1 replied to JustWakinUp's topic in Leatherwork Conversation
I'am at work so sweet tea Mike -
8thsinner Welcome to leatherworker.net. Nice work! Mike
-
crow If ya could make it a eight bight knot I think it would fill that narrow part. I just don't know if ya can get another bight on there. You could make your strings a little wider and that should work also. Or you could also cut your strings a little narrower to open it up and get the next interweave through easier. I'm not sure how tight your strings are but it would be nice if you could start at the bottom with your next interweave. It will be dang tight but you my be able to make it work. I think it would be worth a shot before cutting the knot off. I would make sure to grease my strings up real well. Keep after it you'll get it. Mike
-
crow your welcome I hope ya show the finished product! Mike
-
Ian Thank You for posting this link. Everybody should watch this and remember. Mike
-
I've said it before and I'll say it again a big THANK YOU to everyone for keeping the site up and running and in order. And for answering my ?'s from braiding to computer stuff. Like Billy P says ya don't know how much ya miss this site until it goes down and ya start getting the shakes. Everyone have a wonderful day! Mike
-
crow I'm not to sure of the ?. Going up follow the string to the left going down follow the one to the right. But if it is your first interweave just follow the standing part up with a o1,u1 sequence and when ya get to the top to make your turn go under two(x) go back down with a o1,u1 sequence but when ya come to parallel strings split them( so you will be going over two when ya split a pair of strings) It is the same way you would do your interweaves on a regular pineapple knot (1x knot). But since you went around the core more times (longer knot) you will have to split pairs sooner. So whether it is your first interweave or more you have to build parallel strings first and then split them when you come to them. Hope this helps and makes sense Mike
-
HorsehairBraider Thanks I had to do the wear leathers that way because I didn't have any pieces of rawhide to use. So I'm glad it worked out. I'm just not to sure how long they will last. Hedge Thanks for the tip I'll have to give it a whirl in the future. Mike
-
crow somehow my pictures moved around on me. The last picture should be under the first picture as it is the third step. I'm not sure which one didn't show up. The next picture just shows coming under one and the last picture shows the end of the knot. Anywhy see if these are of any help. Mike
-
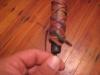
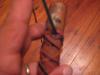
crow It looks like your on the right path. In looking at the knot I can see where you have three strings going over one towards the bottom of the knot. You should only have two strings going over one. So back your string out till you get back to the bottom. When you make your turn you want to go over two (the x) to form a nother bight. It looks like your string is on the right path but when you get to the top you should be coming under the next string up. It's just like increasing the bights in a regular pinapple. The only differnce is you have the o2,u1,o2 sequnce to make up for the extra turn.Here are a few more pic. I backed the string(green) out to start the last pass. If these dont work holler and we'll keep trying. I'm on duty tommrrow(Tue.) and wont be able to post any more pics until I get home Wed. Going over two(x) going under one and continue up o2,u1,o2,u1 wich is the next picture and then o1,u1 which is the next pic. and continue down o1,u1ect... until you reach the end. Mike

-
Rob Thanks a lot for taking the pictures. It will be nice to have a another source to go back and look at when I attempt to build one. Mike
-
crow I confuse myself most times. I mean when you get to the top you go over the bight and then turn and go under the next bight. On the second pass when ya get to the top and make your turn and start going down this will be the first time you start going under another string. The under standing end is just a reference point and over one to finish off that pass. I'm not sure this clears it up. If ya still have trouble just holler again and we'll get it worked out. And if anybody out there can explain it better jump on in ya wont hurt my feeling any. I haven't had time to look at that knot as were off to the state fair. Good Luck Mike
-
superchute nice looking pair of chinks! Mike
-
steveh Thank you . She hasn't had a chance to try them yet due to the weather. But they feel good just holding them so hopefully they work. If not the dog will have a chew toy that took me a lot of hours to build. LOL Mike
-
Rob The few times I've used the multi string I've done like it's showed in Bruce Grants book. Are you braiding this down and then making your bights at the end and then coming up and making pairs. And do you met in the middle with both ends. One more ? how do ya figure your length of strings for this. After I finish this headstall I'm working on I'd like to try making a bosal. So this is a great topic for me and the pictures are worth a thousand words. Thanks for taking the time. Mike
-
last two pics. I know this isn't the best instructions but maybe their good enough to get ya by this knot. If ya need me to clear something up just holler. Mike
-
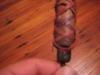
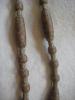
crow Here are some pictures of a two turn four bight knot. I'm not very good with the camera or directions but here goes. I've used a different colored marker for each pass. And I showed a picture of the front and back for each pass.The first pass is out of natural go around twice forming to x's on the front and one on the back. 2nd pass going up. purple string wrap around again when you get to the top go o1,down turn and go u1o1u1o1u1(standing end)o1 turn up red string u1o1u1o1u1turn going over two down u1o2u1o2u1 turn o2 green string going up u1o2u1o2u1o1 turn down u1o1u1o1u1o1u1o1u1o1u1o1 turn u1 next to standing end.


-
Barra Thats pretty cool. I'm glad ya found it. Mike
-
Heather,Rob Thanks for the compliments. Rob if I have that happen again I'll have to give your suggestion a whirl. As to the color of the rawhide when I ordered it I asked Bill Confer to send me some dark stuff if he had it and thats what he sent. I'm fixing to order some more so I can build a headstall to match so I hope he has some on hand. Mike
-
crow I'll try my best here! When I build a knot I build it right on whatever I'm covering. And as far as bights go I just keep adding them until it looks right or gets to tight to add another one. When doing a tapered knot you will have to add interweaves on the bigger part. Like on the reins (thanks for the complement) I used a two turn six bight knot for my foundation and then done my first interweave, and since that didn't cover I went with a second interweave and a third interweave. So here is another tricky part which I'm trying to figure out. Which is depending on your #of bights is how your interweaves will work out. I was told that a eight bight foundation would have more allowance for interweaves. I'm not to sure as how to explain the directions for doing a two or three turn or greater knot. If no one else chimes in maybe I can try to explain it. I do know that it is shown in Mrs Houghts book on rommel reins. I probably made this as clear as mud for ya. But I hope it helps a little bit.Good luck and keep after it. Mike
-
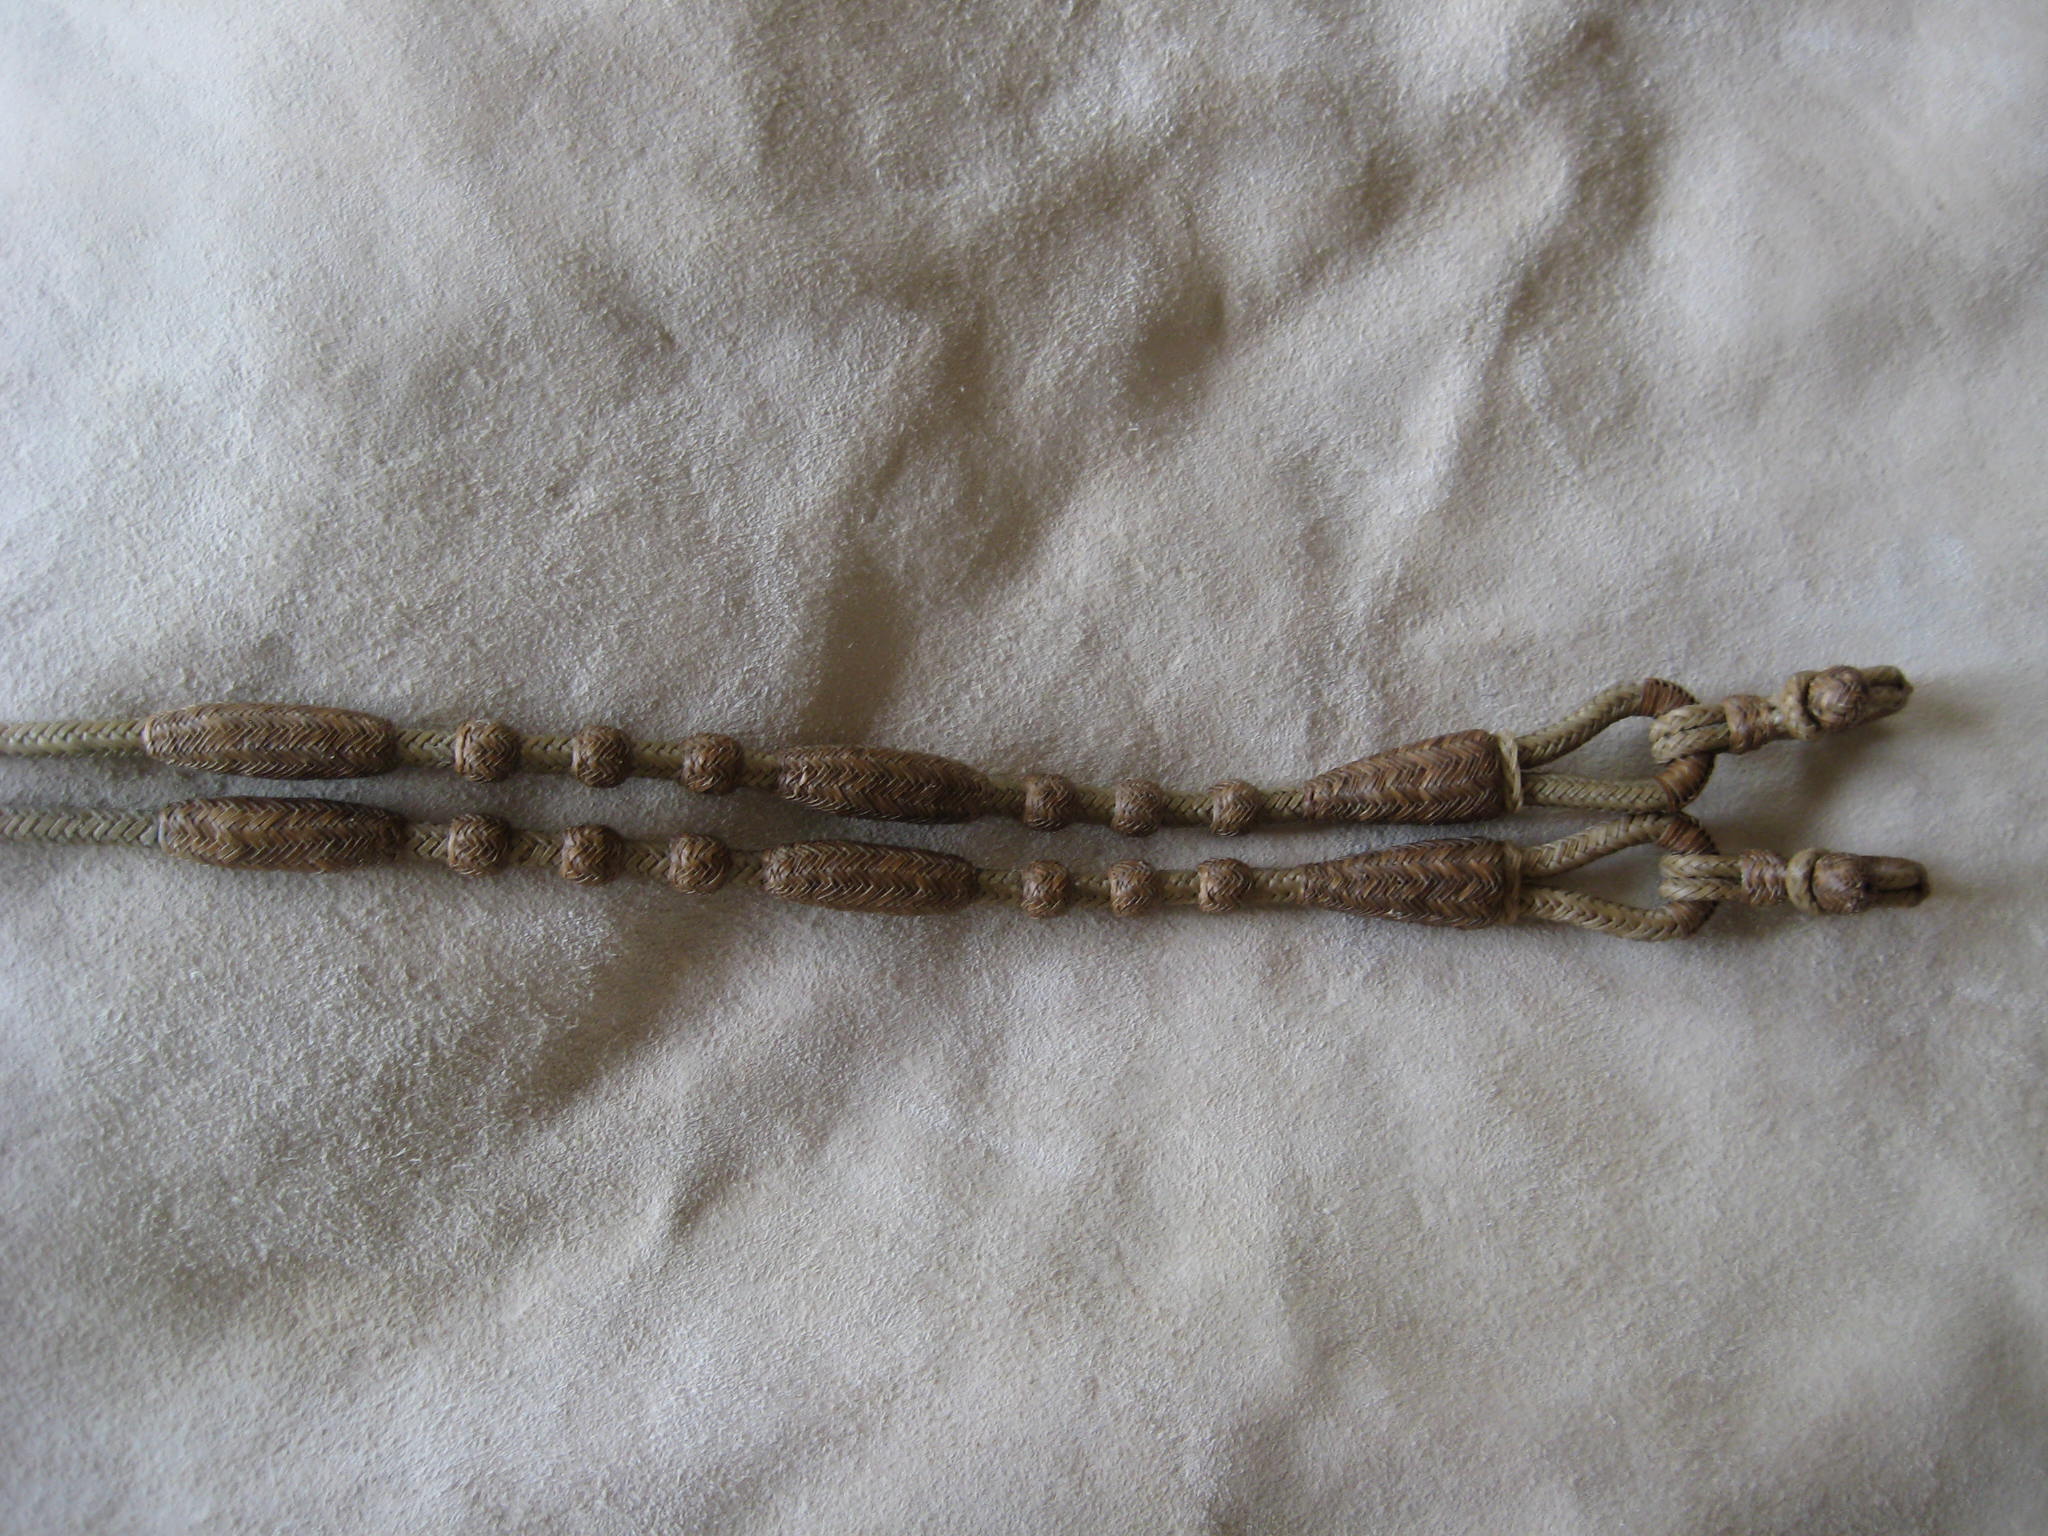
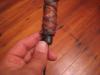
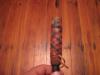
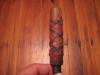
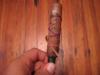
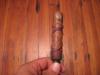
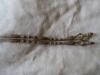
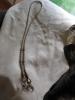
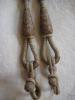
Howdy all I just finished these reins for my 9y/o. They are seven feet long without the rein connectors and braided over a 3/16 leather core. I should of cut my strings a hair bigger. I was pretty happy with how they turned out. My daughter was tickled to death with them and so was the wife. With that being said I know there is room for a lot of improvement. I would greatly appreciate any pointers on what I could do for a better looking job.Thanks Mike
-
crow I'm not sure I can help. As I haven't got the interweaves whupped yet. But maybe if ya can show a picture and tell how many bights the knot has and where ya want the interweave. I can see what ya got and so can everyone else. Mike
-
Tina To adjust the depth ya twist the handle just as Shelly said. There should be a set screw on the handle side. Once ya decide on the depth just set the screw. To adjust the blade just loosen the to bolts on top they should have a hole in each one ya can stick a awl in and loosen or tighten. I've been real happy with mine. Hope this helps. Mike