-
Posts
2,221 -
Joined
-
Last visited
Content Type
Profiles
Forums
Events
Blogs
Gallery
Store
Everything posted by Uwe
-

Juki LU-563 - reverse stitch keeps breaking needles
Uwe replied to Thatone's topic in Leather Sewing Machines
If two mechanics sitting in front of the machine couldn't figure it out, you'll have to give a little more to work with than just text. A close-up video of your hook showing a hand-turned, very slow reverse stitch would be a great start. Prop your smartphone on the machine and lock the focus on the hook. Can you elaborate on what you mean by "press it"? -
Here's a link to a US based vendor for a brand new Durkopp Adler 267 for $1,840 with free shipping: https://store.keysew.com/catalog/product/6890ef49ffbd4d54b0f7841c46f156be You're also close to Nick-O-Sew in Herculaneum, just south of St. Louis. Having a local service resource is priceless.
- 5 replies
-
- adler
- sewing machines
-
(and 1 more)
Tagged with:
-
Not sure which side of the pond you're on. Some of the links below may not be local to you. The Adler 267 is a great design and a desirable machine if it's complete and serviceable. Many wear parts are readily available (https://www.college-sewing.co.uk/store/Durkopp-Adler-267-Sewing-Machine-Parts) and not very expensive. Durkopp Adler still sells the DA 267 brand new for around £1390 pounds. The machines are now made in China, but with good quality control that should not really be a problem. A new machine may be a better starting point if you're new to industrial sewing machines. When looking at the used machines, make sure they're complete (take some printed photos for reference), it should turn over smoothly, all levers should work. Check thread tension release when lifting the feet (Tension disk should separate a tiny bit). The needlebar/rockerbar-frame should have very little play when wiggling it. Check the hook for a nice, smooth and pointy tip - if the hook tip is broken or worn flat that's $200 negotiation room right there. If possible, take the belt off the hand wheel, remove the thread and lift the feet. Then give the handwheel a good spin. Nice machines will spin easily and keep spinning for a turn or so after letting go of the handwheel. If it doesn't spin easily, that's negotiating fodder, but may only need oil to resolve. Ideally they can demo the machine sewing. If it doesn't make a stitch, that's worth $200 in adjustment work for negotiating purposes.
- 5 replies
-
- adler
- sewing machines
-
(and 1 more)
Tagged with:
-
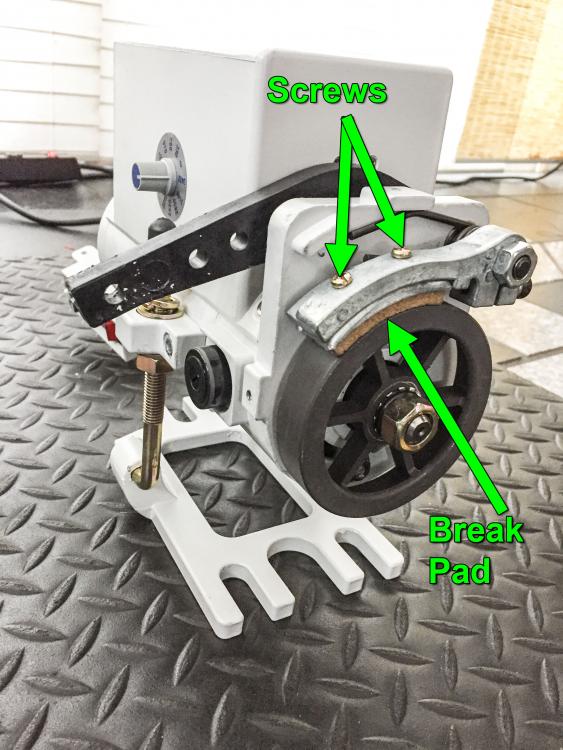
Looks like you got yourself a nice machine there! Those motors usually have a simple speed dial knob. Try turning it down, but not all the way. It may improve low speed control and starting speed. The brake pad on those motors is annoying and replaceable/removable. Personally I hate those brake pads and I remove them. I thinks it's dangerous to depress the pedal just so without starting the motor while you're doing detail work and have your fingers near the needle. The machine will stop just fine without the brake pad. Aftermarket feet for the Pfaff 1245 are readily available, I have a few left in my online store. You can also order them directly from Kwok Hing. The knurled foot you have is probably fine for automotive leather, and definitely good for vinyl. The hook on this Pfaff series can be removed without changing the hook timing, which is a really nice feature to have. The hook design is almost identical to the Adler 167 series. You shouldn't be afraid to remove the hook when you need to do a proper cleaning, at least not on this machine. Who really wants to take a machine to a mechanic everytime thread gets stuck under the hook? I made a video on how to remove the hook on an Adler 167. The Pfaff 1245 steps will be nearly identical. I don't have a full video of the Pfaff hook removal but I have a video snippet for the last few steps on a Pfaff 145, just to show how similar the hook designs are.
-
I managed to make my DA 205-370 sew reliably using size 90 Kevlar thread sewing a 2mm thick leather binding tape (1mm thick tape folded once). It also stepped from sewing just the tape up to the 10-14mm thick stack of material for actual binding and then back down to only the tape, all without adjustments. It wasn't easy but that's my real world experience of lower sewing limit and stepping up/down limit of the Durkopp Adler 205-370. I think there's really a fair amount of capability overlap instead of a gap between the Juki 2810 and the DA 205-370.
-
The best heavy duty synchronized binder machine with a cylinder arm and enough "oomph" I've seen is the Durkopp Adler 205-370. Kwok Hing still makes the 205 binder kit consisting of a KH205 binder and a KH205B support sheet (each around $100) and you can buy it directly from http://khsew.com Durkopp Adler stopped making the 205 a decade ago, but clone manufacturers still make and sell the DA 205-370 design. Cowboy 205-370 is one example for around $3,500. Some 205 clones lack the access hole on top of the arm that you need to install the binder. Here's a video of the Cowboy 205 binder setup: I made an installation video for the 205 binder kit some time ago: Here's my binding demo video with various materials:
-
Ouch. Sounds very much like a dead Juki to me. At the very least it will never be the same again. Who knows what got bent out of spec as the main shaft got forced sideways.
-
Check your entire upper thread path starting from the thread spool. Upper thread path issues can cause all manner of problems, including the symptoms you describe. Watch how thread unwinds from the spool as you sew (keep your fingers away from the needle!) You may find it snagging or jerking for some reason. The thread guide hole in the thread stand must be directly above the spool. Some threads are springy and fall off the spool and then get caught under the spool - a thread net may eliminate that issue. Here's a ten year old topic with more details on that:
-
Can you elaborate on that? Your check spring does not move at all when the thread wraps around the hook now? What adjustments did you make to the tension unit?
-
Make sure you actually read the manual for this machine. I'm not sure what manuals come with the Cobra 26, but it's a clone of the Juki LS-341. Here's the manual for the Juki LS-341 (Juki LS-341N InstructionManual.pdf), which nicely explains correct needle orientation, proper thread path and a whole bunch of other things you cannot afford to ignore.
-

Cobra Class 4 - Adjusting to sew thicker materials
Uwe replied to luckyclover's topic in Leather Sewing Machines
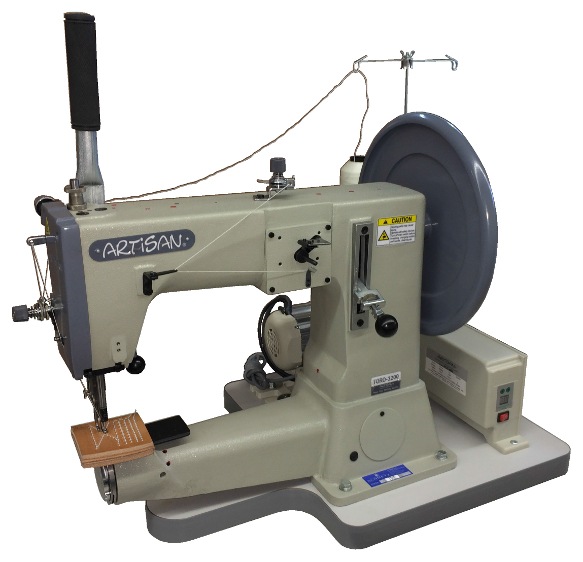
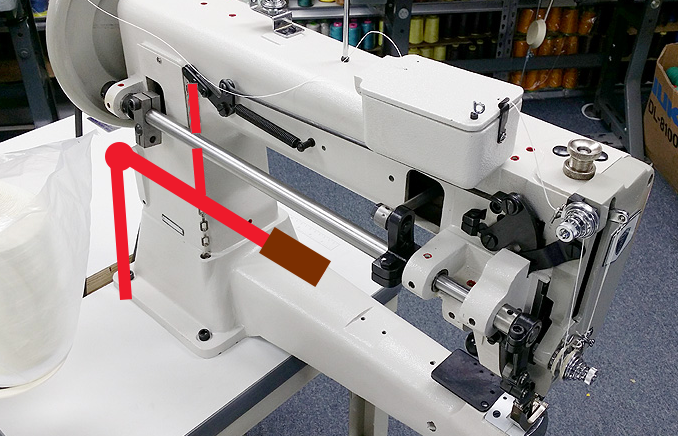
On the 441 class of machines, the manual foot lift lever operates by means of a small eccentric cam inside the head that lifts the presser feet. The size of that lifting cam determines how high it can lift the feet. There's nothing to adjust here. Your only real option to achieve maximum foot lift is to use the foot lift linkages on the back that normally is operated via foot pedal and chain. That's how most people operate the foot lift linkage. If you're unable to install or use a pedal for some reason, perhaps you can install a secondary custom manual lever that operates the linkages. The Artisan desktop version uses a secondary manual lever like this: Here's another manually operated concept: -
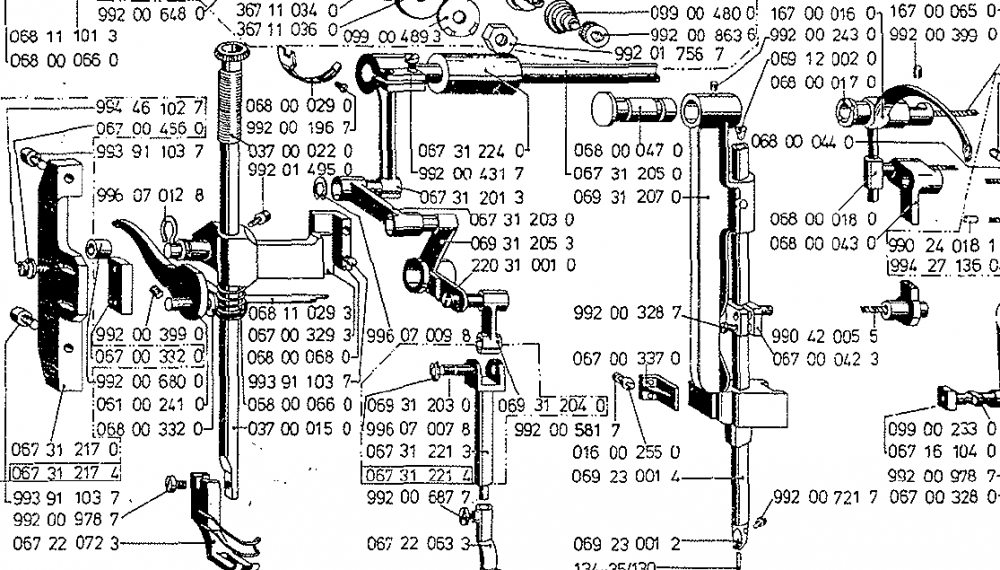
Edit: I just realized you're in Australia - some of the sources mentioned below may not be the best choice for you. There may be resources in Australia, but I'm not familiar with them. You can order the take-up lever Part No. 167-00-016-0 from MJ Foley (http://www.mjfoleyco.com/) for around $87 plus shipping for a generic part. OEM part is not listed at MJ Foley. If you need OEM parts you'll need to call DAP North America in Georgia (https://www.dapamerica.com/) - they can order parts if they still exist. Replacing the take-up lever is doable, but not exactly trivial. In order to get access to remove the take-up lever, you'll have to remove many of the parts shown to the left of the take-up lever in the parts diagram ( Adler 169-373 Parts Diagram.pdf) If you pay a skilled mechanic to do it, the repair may end up costing more than what you paid for the whole machine in first place. Perhaps not what you want to hear - sorry!
-
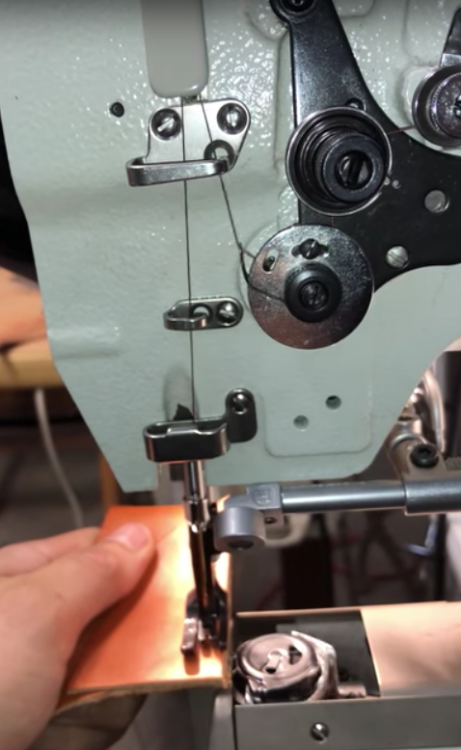
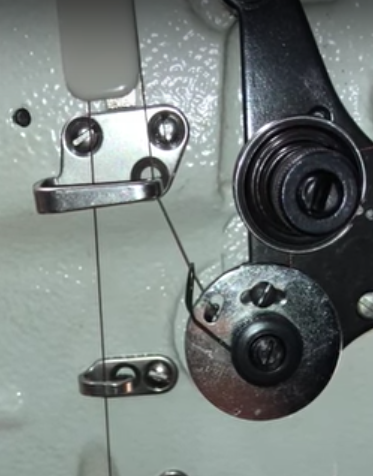
As slow as the machine is sewing, it's still hard for me to see the critical moments during the cycle. A very slow hand-turned stitch may be helpful. I think the still frames below tells the story best, at least for me. In the first still image, the thread is wrapping around the farthest point of the hook. The check spring is engaged and applying tension to the thread, but the check spring is not pulled up to the limit (note the thread still has a slight bend where the check spring touches it - the thread is not a straight line.) This tells me that the spring is applying the tension at that moment and that no additional thread is being pulled from the spool. I have a strong feeling this is exactly as it should be. The spring may jump slightly at this point as the thread makes its way around the bobbin case finger, which changes the length of the thread path ever so slightly. Later, when the take-up lever reaches is highest point and the knot is pulled tight, the check spring is pulled up to the max (the thread is straight line, completely overpowering the check spring) and more thread is pulled from the spool. This is the still from the moment when that happens:
-
You have my sympathies trying to follow those instruction in the manual. Juki generally writes good manuals but this isn't one of them. It reads as if they're deliberately trying to confuse you even if you know what you're doing.
-
A link to the manual you're using would be helpful. It's not clear what the manual actually says and what you actually did. You'll have to elaborate on that and be more precise in your description. We can't see your machine.
-
That's not a simple task. The closest thing to a video is this one (https://youtu.be/TIxQViDgL1c) showing the procedure for a Singer 111W. On your Juki LU-562, you also have to remove your reverse handle bar. If you're new to sewing machines, I'd recommend paying a capable mechanic to replace the belt. If you're mechanically inclined and you can live with the machine being down for a few days or weeks or forever, you can start exploring.
-
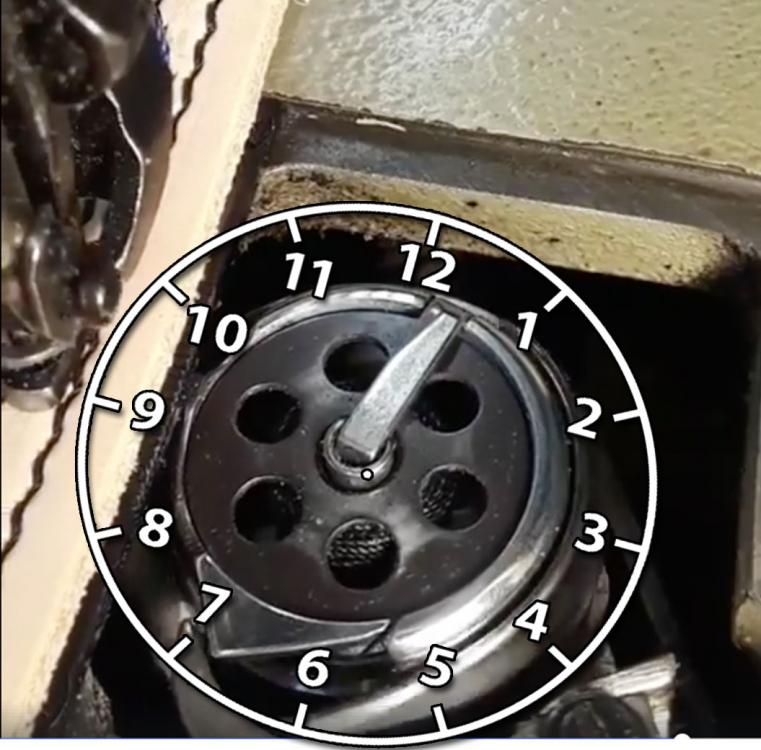
The timing belt position and synchronization of top/bottom shaft mainly affects the timing of the feed movement, which is important, but really has nothing to do with how the thread wraps around the hook. You can adjust the hook position to time properly with the needle movement no matter where the timing belt is set (especially if feed motion is set to "0".) It's possible to have perfect hook-to-needle timing and very wrong feed movement timing. My Juki LS-341 also has two thread holes in the take-up lever (intended for double needle versions.) If your take-up lever has two holes, use the lower of the two holes. It may provide an extra millimeter of thread slack when it counts. For moving beyond the science of adjusting by the book to the art of buttery smoothness, I'd recommend ignoring the needle rise figure for hook timing. I personally stopped using needle rise figures for hook timing a while ago. It's a pain to measure and often not very precise. I now use hook position at needle bottom dead center instead to time the hook. Make a note of the hook tip position when the needle is a bottom dead center (after adjusting by the book.) It very likely will point at 7 o'clock (needle is at 9 o'clock.) Advance the hook tip to be at 7:30 o'clock on the clock face at needle BDC. Adjust needle bar if needed. Experiment with subtle hook position adjustments. With a little luck, this may be all that's needed to avoid thread snapping around the hook. Ideally, the check spring alone would provide a small amount of tension as the thread wraps around the hook. Later designs have a separate adjustment to control the thread-round-the-hook slack and allow the check spring to determine thread tension somewhat independently of hook timing. We had a topic relating to these newer adjustment devices recently. Your 341 class machine lacks that device, but the topic will help you understand why they eventually invented it - because they were struggling to avoid thread snapping around the hook! Here's a picture I made a while ago to illustrate the imaginary clock face concept.
-
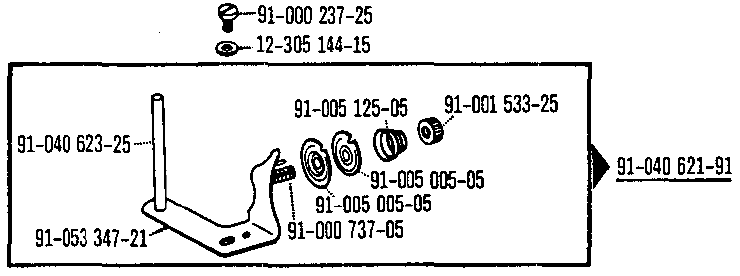
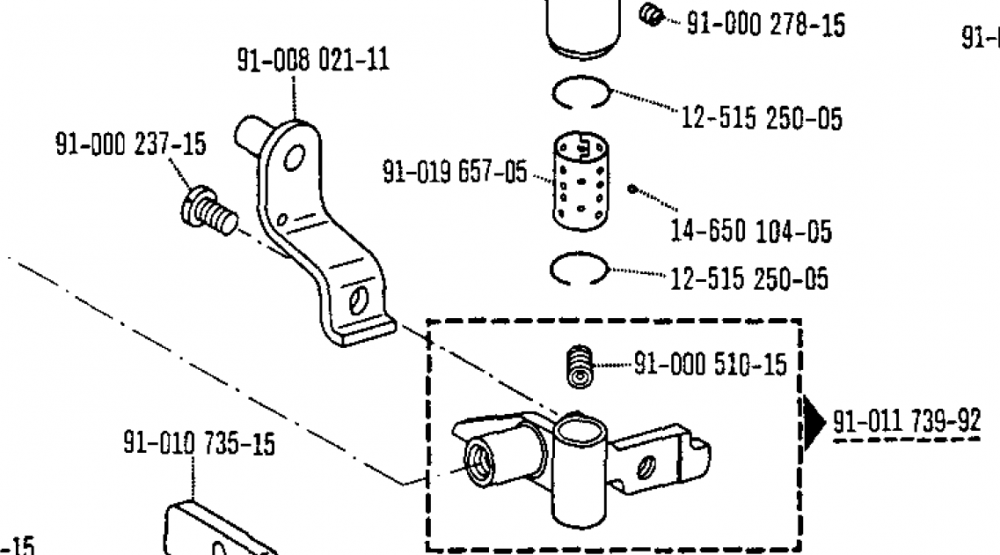
Not sure where you found the 91-000 237-25 reference - in my Pfaff 545 parts book ( Pfaff-145-545-Parts.pdf) that number is only used for the bobbin winder. My parts book does show the 91-000 237-25 screw in three places, two of them associated with the 91-008 021-11 lift bracket. In any case, that 91-000 237-15 screw on my Pfaff 545 appears to be a 3/16"-32 (3/16"=4.762mm, 32tpi=0.79375mm), which is almost identical to an M5-0.8, but an M5-0.8 does not thread into the hole on my Pfaff 545, the diameter is a tiny bit too wide. The 3/16"-32 (and the M5) is also very close the common #10-32 (.190"= 4.826mm) available at most hardware stores. You may get lucky with this one. All three screws have the same pitch for all practical purposes, but the thread diameter increases a small amount from 3/16" (4.762mm )to #10 (4.826mm) and to M5 (5mm). A #10-32 will usually thread into an M5 hole, but not the other way around. A #10-32 may also thread into a 3/16"-32 hole.
-
Great find on thee service manual! It's nice to know they still add documentation for vintage machines. Here's the Adler 220 Service Manual PDF file for LW archival purposes (I have a bigger upload limit): Adler-220-Service-Manual.pdf
-
I have two documents in my archive that may be of interest: Adler 220 Brochure: Leaflet_Adler_class_220 (1).pdf Adler 220 Parts List: Adler 220 parts.pdf
-
The third pedal is for reverse.
-
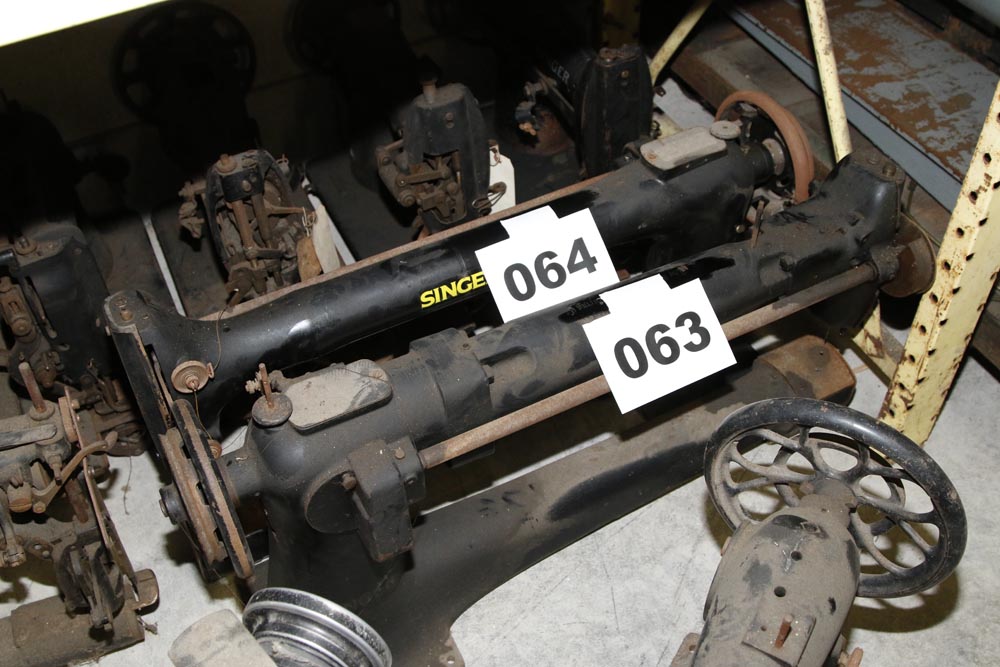
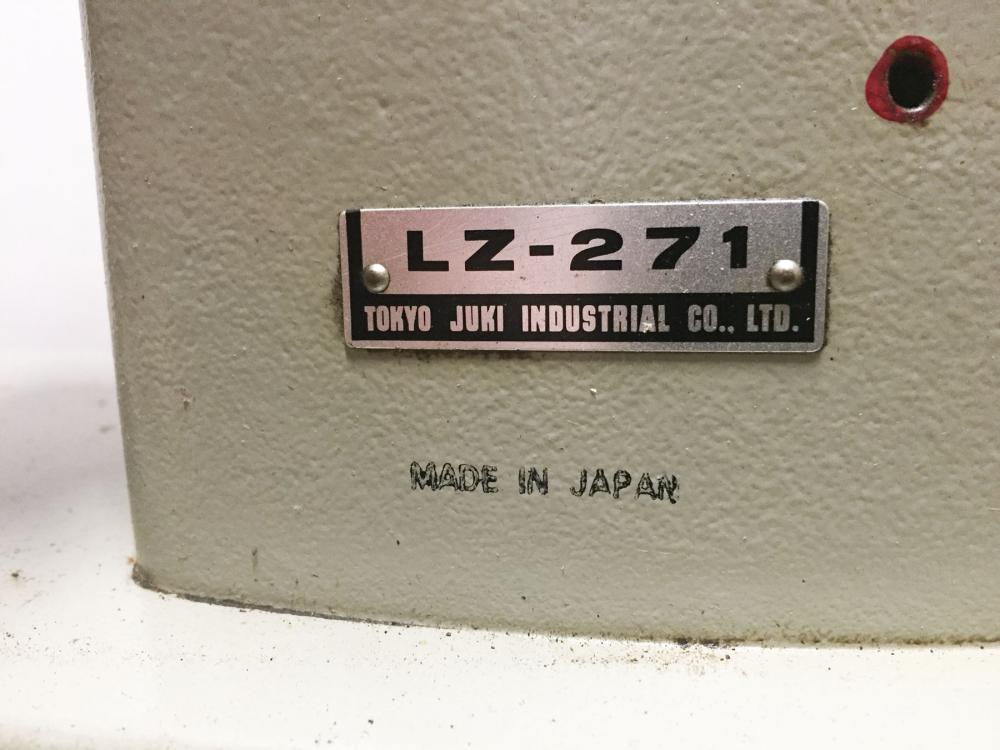
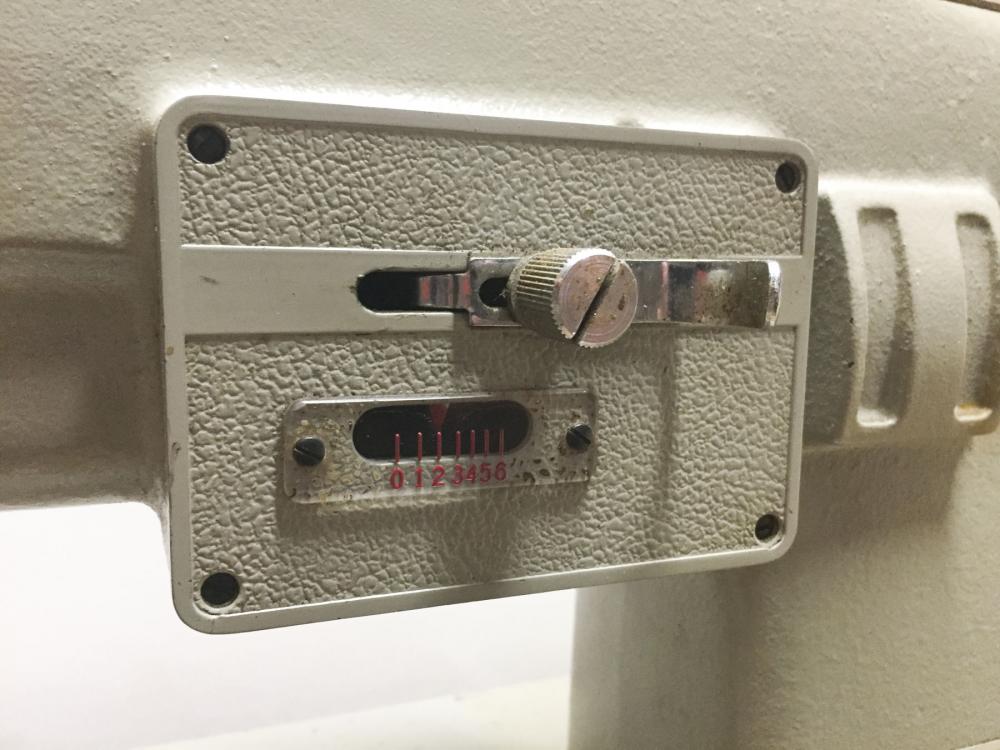
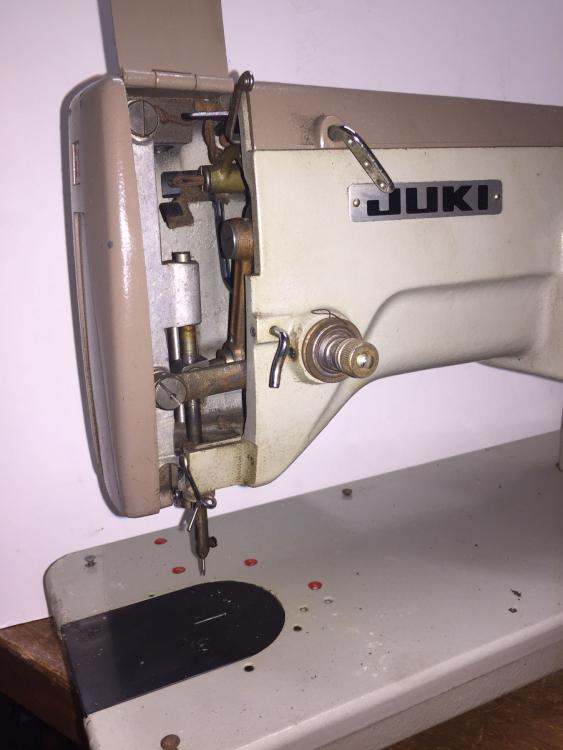
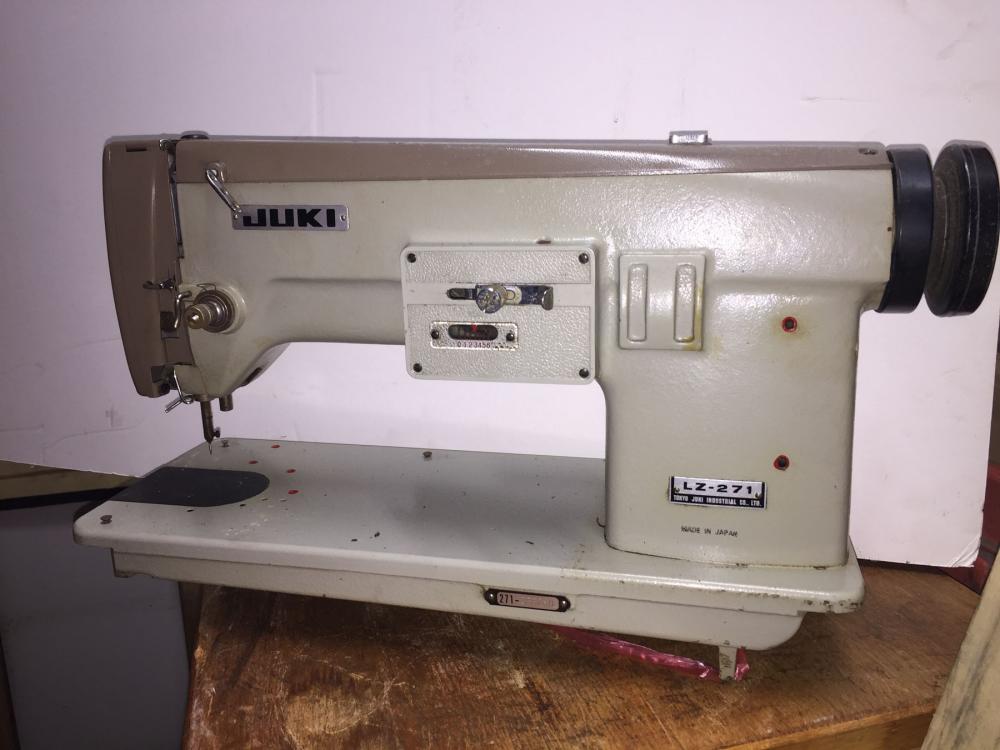
If you want bragging rights among you darning friends, I have two Singer 133 cylinder arm darning machines ($1,500 for the pair): On the lighter flatbed side and not among your preferred brands, I have two Juki LZ-271 (brochure: lz271.pdf ) - $350 for one, $500 for the pair. They're officially a zig-zag embroidery machines, but if you set the zig-zag to zero, it's a normal darning machine. Of course zig-zag darning can be useful, too.
-
The price difference likely is due to the realities of manufacturing economics. Development and tooling cost for a low volume niche product tends to increase the per-unit cost drastically. The reason it only costs $7K and not $17K is because they can re-use engineering and tooling from the high volume flatbed heads. I for one am grateful that there are companies who innovate at all. The sales to the LW demographic do not sustain the OEM companies. Those sales get lost in rounding errors in their annual report. But we get to enjoy all that innovation after the patents expire and clone makers take over.


