Uwe
-
Posts
2,221 -
Joined
-
Last visited
Content Type
Profiles
Forums
Events
Blogs
Gallery
Store
Everything posted by Uwe
-
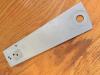
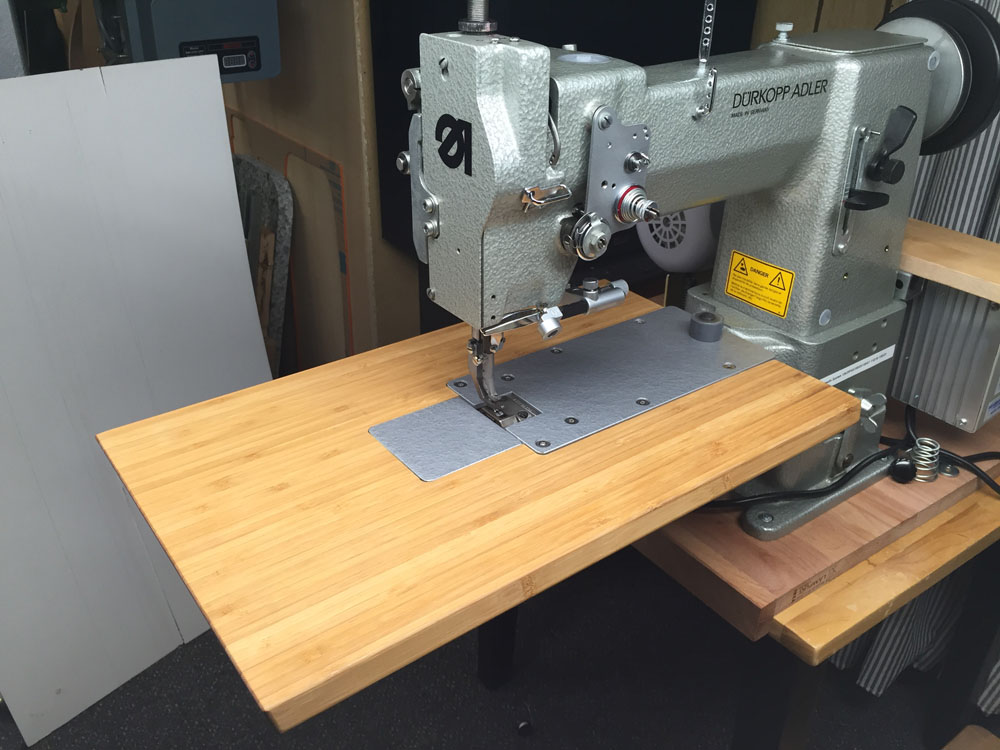
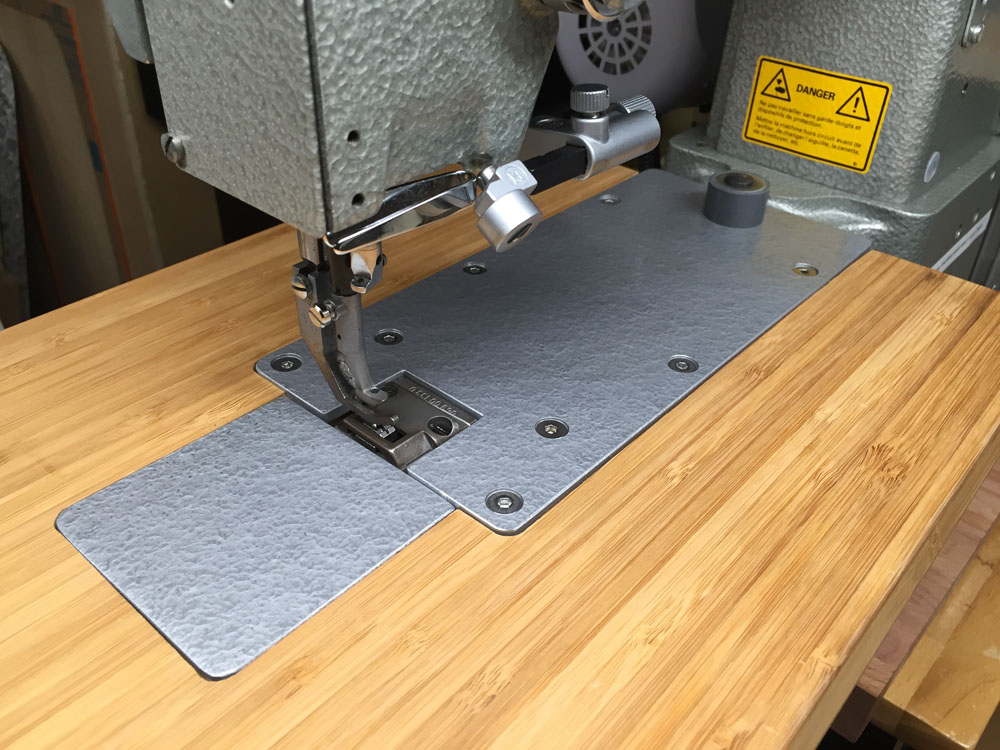
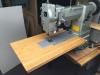
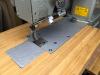
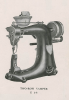
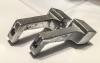
Here's a quick sneak peek at my Adler 69 version of the flatbed table attachment. Proper glamour shots to follow later this week.
-

Contemplating A Puritan Stitcher: Vamping, Staying, Fairstitch ?
Uwe replied to Uwe's topic in Leather Sewing Machines
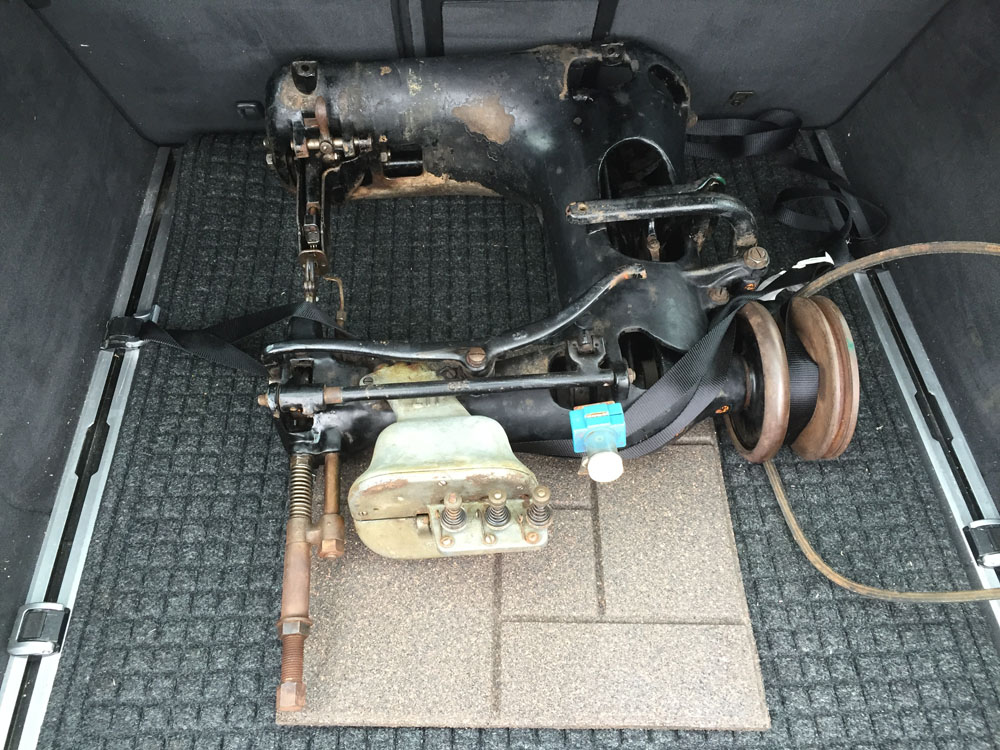
Well, I survived Ohio and I'm happy to announce my new arrival. I'll update with more details and photos in coming days/weeks.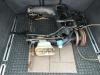
-
Contemplating A Puritan Stitcher: Vamping, Staying, Fairstitch ?
Uwe replied to Uwe's topic in Leather Sewing Machines
Thanks for all the sillyness and comic relief! In an unexpected plot twist, the deal is on again and Karma points may get restored. I'm off to Ohio - wish me luck . . . -
SARK9: Nice and simple - I like it! I'd love to see what your hammertone powdercoat looks like. None of the ones I've seen come even close to the original Adler texture.
-
Contemplating A Puritan Stitcher: Vamping, Staying, Fairstitch ?
Uwe replied to Uwe's topic in Leather Sewing Machines
Turns out the "family heirloom concern" was really a mild case of greed. For some reason he had no takers on his initial CL listing and lowered the price. After I agreed to buy it, his wife started googling Puritans (has anything good ever happened after "let me check with my wife"?). He now wants thousands of dollars instead of hundreds for the machine. Oh well . . . -
Contemplating A Puritan Stitcher: Vamping, Staying, Fairstitch ?
Uwe replied to Uwe's topic in Leather Sewing Machines
I know it's only a matter of time, now that the thought of owning a Puritan has taken hold in my mind. -
Contemplating A Puritan Stitcher: Vamping, Staying, Fairstitch ?
Uwe replied to Uwe's topic in Leather Sewing Machines
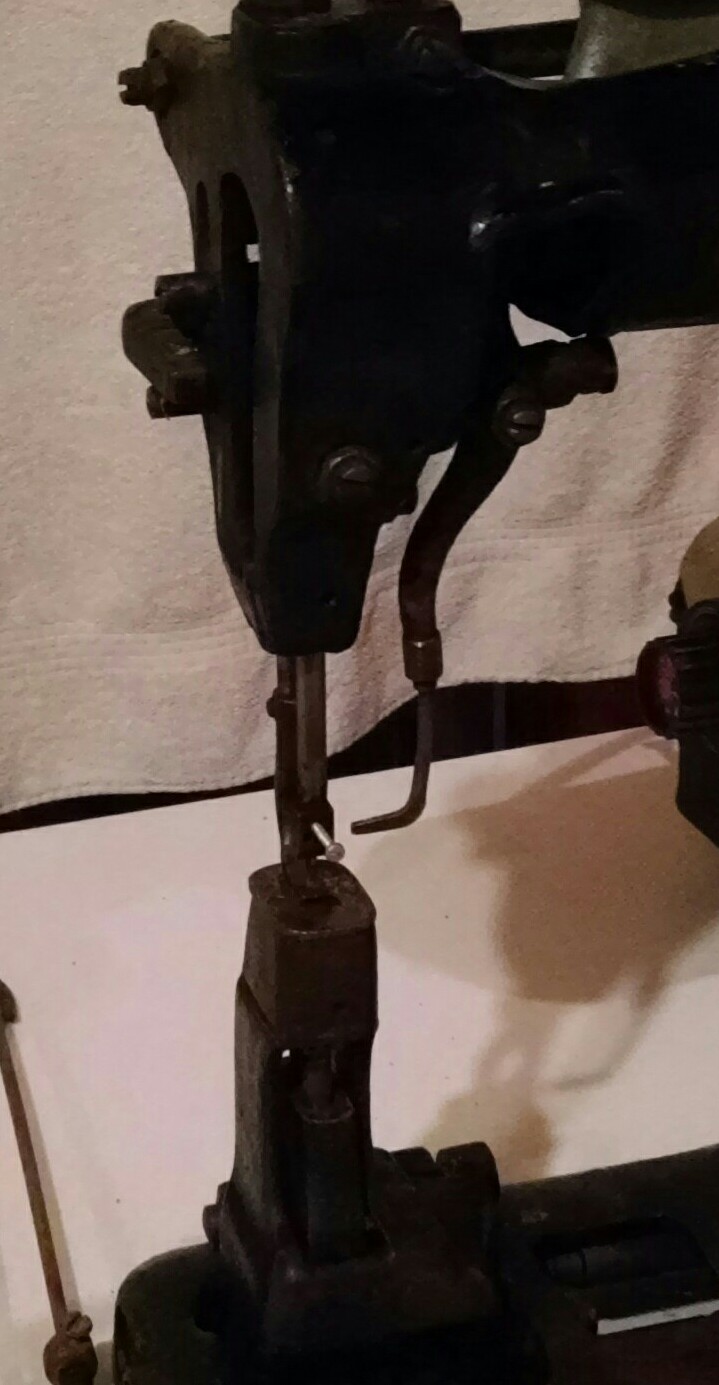
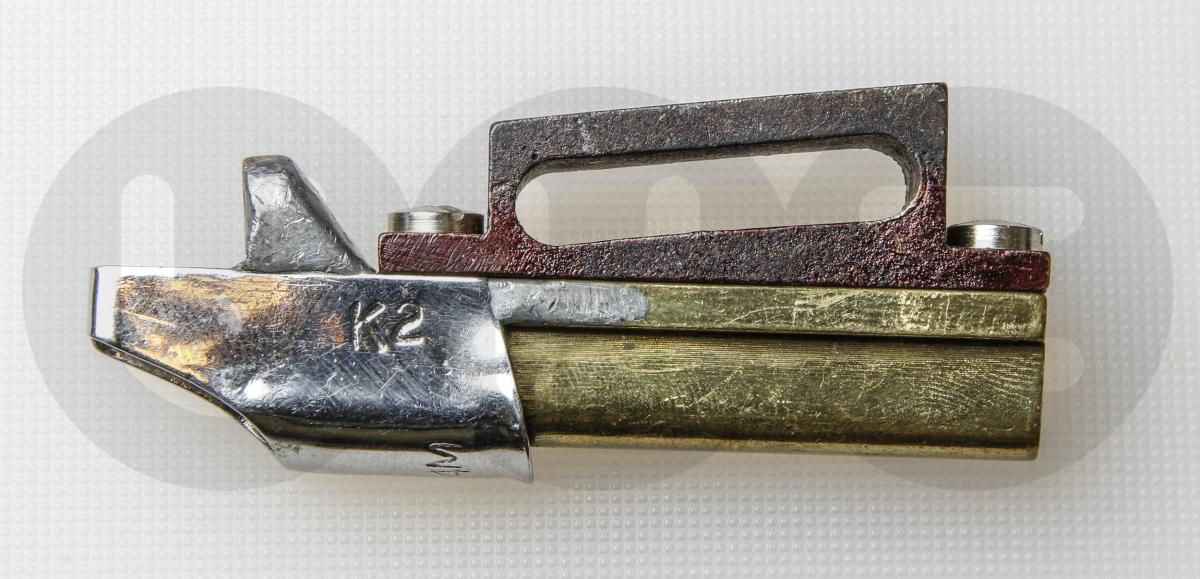
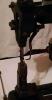
Thanks guys! Alas, it seems it wasn't meant to be. We had a deal and shook virtual hands on it, but then he backed out citing family heirloom concerns. Now all I can say is that I came very close to owning one of these beauties at one time. Just for the archive, here's the close-up of the what appears to be currently single needle, but ready-for-triple-stitch setup.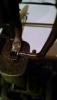
-
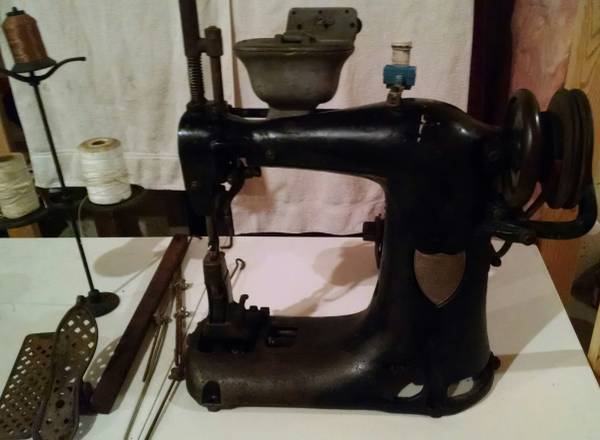
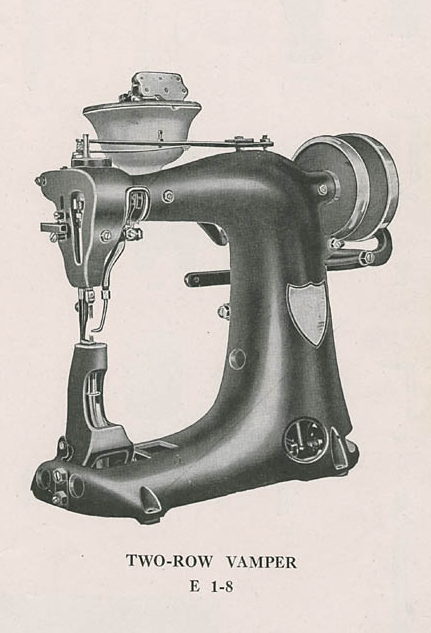
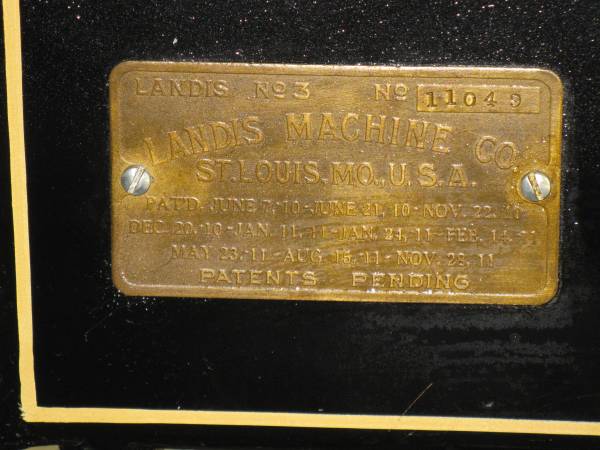
In a moment of weakness I'm contemplating getting a Puritan Stitcher. The problem of sorts is that I have no idea which exact model I'm actually looking at and the guy selling it doesn't either: It kind of looks close to this "Vamper" model: Does anybody know how to positively identify a particular model or where to find the model markings? I'm waiting for some close-up photos of the needle/awl area. The guys says it works "flawlessly". It's a looong drive to go pick it up so I'm trying to do a little sanity check before I committ. My other concern is that the only real Puritan Stitcher documentation I found was at the Smithsonian (which hasn't figured out how to make a PDF yet.) The manual talks about Vamping, Staying, and Fairstitch - I've never even heard these terms before! Is there a glossary on what these sewing terms mean? I know they're all chain stitch machines, but I don't know these variations on the theme. There is precious little information available about these machines other than the manual and that glowing Redwing Shoes video which made me want to own one of these machines in the first place. Can these models really be "easily converted" between 1/2/3 needles modes as the Puritan website states? They say they have all parts in stock and ready to ship - has anybody successfully ordered parts from them? Is the Ceroxylon liquid lubricant the manual talks about just plain Palm oil/wax or is there a modern-day equivalent available from a vendor? Is that wax pot heated somehow to melt the wax? Lots of questions, sorry. I hope some sewing machine savant will just know many of the answers and/or have some actual experience with these machines.
-
My Consew 225 is my test bed for anything I want to try out or figure out. It's been fine-tuned and upgraded with new parts well beyond its market value. I've been meaning to sell it but I just ordered even more parts to try out the big-hand-wheel-pulley-speed-reducer approach. These are great machines to learn with and work on to figure out the mechanics of sewing machine operation and maintenance. Manuals and parts are readily available and parts are cheap (e.g. new hook around $35, needle plate + toothed feed dog + smooth presser feet set for under $30, etc.) I don't have a smooth feed dog, but it didn't bother my veg tan really. The Juki 562/563 are nice machines. $700 is an okay-but-not-great price for a workable 562 with servo motor. Essentially identical Singer 111W155 and Consew 225/226 can be found cheaper on occasion. That is if you have time to wait for one to pop up locally. Sometimes you just have to go make a move and then make it work as you learn. Try to talk the seller down a bit to have funds for new parts. The value of these used machines doesn't change much. If you take care of it, you'll be able to sell it for about the same amount a few years from now. When it comes time to moving the thing, I'd recommend lifting the head out of the table and transporting it separately. Trying to move the entire setup in one piece is very hard/topheavy/awkward and more likely to cause injury/damage to the machine or you.
-
You can buy smooth-bottomed presser feet and feed dogs without the ridges to avoid marking the leather. Certain leathers mark more easily than others. Veg Tan leather is notorious for showing marks. Garment leather is more forgiving. I've never made a shoe. Not sure a flatbed machine is the ideal tool for that - most shoe makers use cylinder arm, shoe patchers, or post bed type machines.
-
Make sure you spend some quality time with the manual for your machine: http://www.consew.com/Files/112347/InstructionManuals/225.pdf Your United is the same as the Consew 226R-1, as far as I can tell. You should not need to loosen any set screws to adjust the stitch length, just depress a button in the bed (page 5 in the manual.) That set screw is there to allow calibrating the numbered wheel to match to actual stitch lengths. Make sure you buy some new needles of the correct system 135x17 and size you plan to use. Check hook timing against specs (probably close to Consew 225 hook timing specs, but verify).
-
That 562 does not have reverse. Don't expect the machine to be perfectly adjusted, but it should be able to make stitches. Things should turn smoothly without binding when you turn the wheel by hand. I'd look for signs of abuse or excessive wear - like feed dog or needle plate that shows major battle scar from the needle hitting them when it shouldn't. Are things loose that shouldn't be? ( e.g. can you wiggle the needle bar by hand or is it firm?) Is the timing belt inside clean or worn? The picture in the CL ad looks reasonable good, actually. Most wear parts can be replaced and are not too expensive for this machine. Watch my Consew 225 Hook Adjustment video on youtube (https://youtu.be/1wNBPX8i524). The Juki 562 is nearly identical and you'll probably need to do some of the things I do in that video to make it work really well. Having a sewing machine tech do those things for you will get expensive quickly. The sooner you get comfortable working on the machine yourself, the better.
-
The DDL8700 and the Juki 562 class of machines may look superficially similar, but they're VERY different machines. That's mainly because the DDL has only bottom feed (the needle and upper foot don't help to move the material) and is mainly designed to be FAST. The Juki 562 has triple (aka Unison=Bottom+Needle+Upper) feed and is built for accurately moving multiple layers of heavy material, but not necessarily fast. You'll find DDL 8700 class machines at your local dry cleaner to repair pants, shirts, dresses etc. The DDL 8700 is like a racehorse and the Juki 562 is the horse that pulls the Budweiser wagon. Neither will do particularly well in the other's role.
-
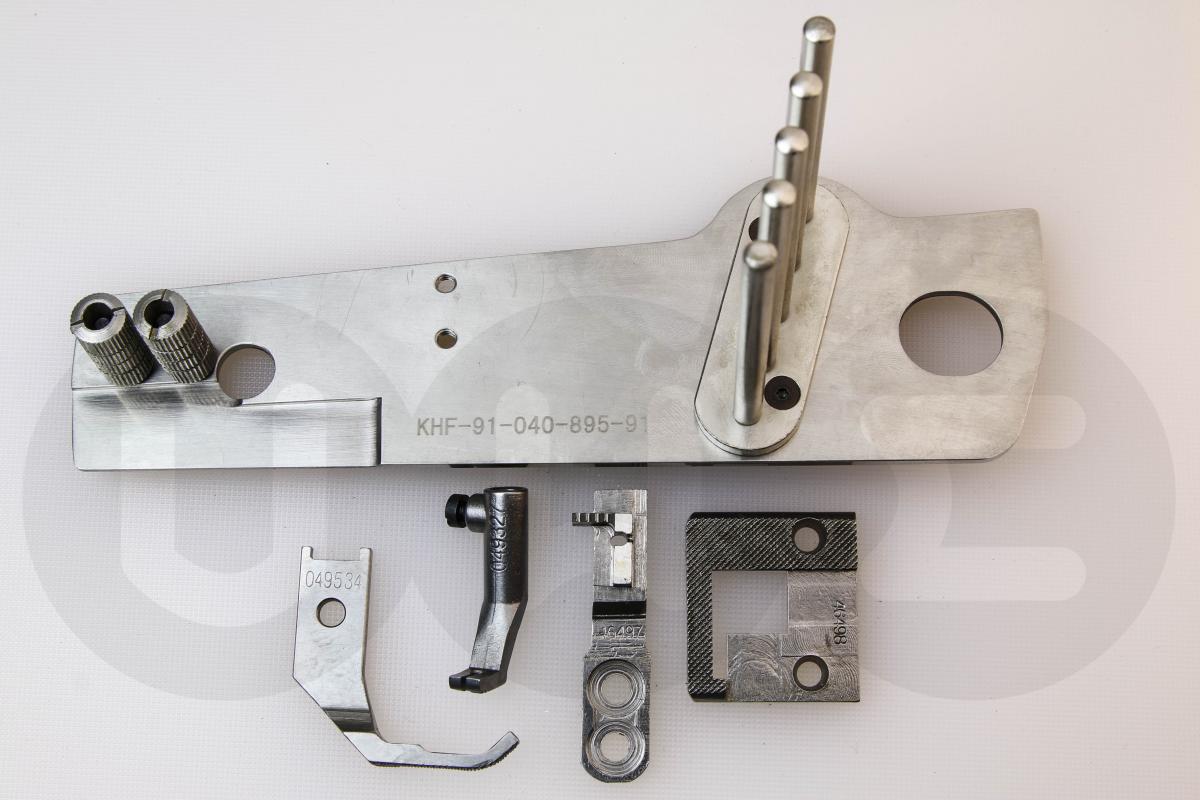
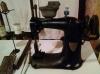
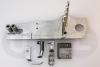
In terms of Kwok Hing parts the items you'll need for the Adler 69 is the KA-69 (aka KHB-69) arm cover you were looking at, plus the KP-269F binder foot set, plus the KH-69F needle plate and feed dog. The Pfaff 335 binding setup has corresponding Pfaff versions of the same parts to turn it into a binding machine. I had the Pfaff 335 binding setup once, so I have a picture of it: Pfaff actually has a document that shows which parts go with which subclass. The 6/01 is the normal setup, the 17/01 is the binding setup: Pfaff 335 Subclass parts.pdf Binders (tape folders) for various tape sizes are extra and somewhat interchangeable/universal:
-
The simplicity of this approach is compelling indeed. This ebay seller has a nice selection of zink die cast pulleys all in one place in his listing: http://r.ebay.com/qtGSU9
-
Looks like Toledo Bob has a similar 441 style presser foot here (item #10):
-
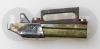
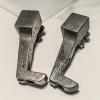
Here are some pictures of the harness presser feet with the ridge at the bottom, just behind the needle hole. The ridge helps press the thread into the leather as it makes a stitch. The pictures show Adler 205 style presser feet. The same may be available for the 441 style machines, but I'm not sure.
-
In addition to the needle style, the inner presser foot design (with bottom ridge or without) also plays a role in how deep the thread is embedded in the leather. I did a short test video using a ridged presser foot a little while ago:
-
Doing the math on cylinder volumes for bobbins, the U-style bobbin has, somewhat surprisingly to me, more than twice the volume of the G style bobbin (.5 vs .227 cubic inches). It doesn't look that much bigger to me visually. Alas, the U-style bobbin should hold about twice the amount of thread (even if you subtract the same size center hole). Dang, I need an Adler 167/267 after all!
-
Usually it's the other way around, larger thread in the top (needle), one size smaller thread in the bobbin. This is done because the bobbin thread path starts freaking out before the upper path does (things are just way tighter down there). You generally can get away with larger thread in the top path than in the bottom. I've never heard of somebody purposely using large thread in the bobbin and small thread in the needle, that's just backwards and doesn't make sense, really.
-
The Juki 562 seems like a perfectly good starter machine to me. Don't let the bobbin size alone rule your decision making. The only difference to the Juki 563 really is just the slightly larger bobbin as far as I know (similar to Adler 69 vs. 169). The 563 will run out of bobbin thread, too, just a little later. Whether you change bobbins four or five times during a project is not a huge deal to me. I owned a Juki 562 for all of one day, when I was trying to sell my Consew 225 about a year ago. I had taken the Juki 562 in a trade for a Singer 29. The lady who came to look at my then-for-sale Consew 225 offered me considerably more for the Juki 562 which needed some adjusting, so I kept the Consew.
-
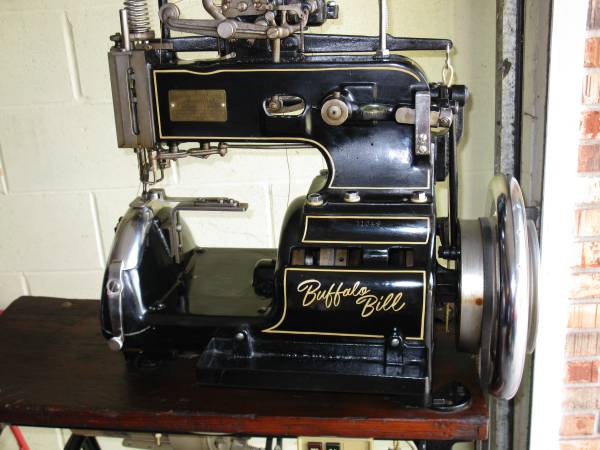
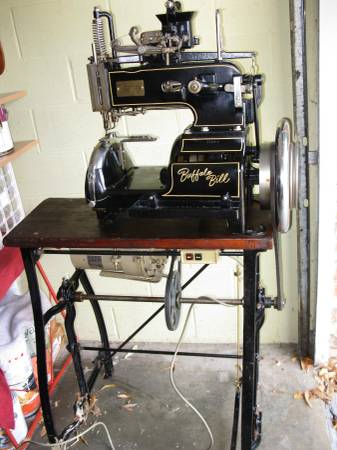
Here's a link for those who don't want to spend ten minutes finding it: http://omaha.craigslist.org/hvo/5269239783.html It sure is purdy and the asking price is $2,900. Here are some pictures for the archives, since CL listings have a tendency to disappear rather suddenly:


-
I'd recommend leaving the walking foot machine set up for the very heavy work and get a lighter duty machine better suited for clothing. If you don't need the walking foot at all, trade it in for these two: I got a Pfaff 130 for $60 and made it sing with just a good cleaning and some TLC. There's one available on Craigslist almost every time I look. It's an amazingly sturdy little machine that I've used for light curtains to fixing jeans to making sunbrella shades. The zig-zag comes in very handy. I've seen it mounted in a table with a servo motor and it looks right at home there. People also use it as a portable machine to repair sails and such. My other oldie-but-amazing Craigslist find was a Viking 6570, which can be bought on occasion for very little money (mine was $80), especially if the control knobs are all seized up. This machine cost nearly as much as a new Volkswagen Beetle when it came out! A little cleaning oil and a warm breeze from a hair dryer loosened things up quickly and now it hums along nicely. It has amazing features like a gazillion stitches I'll never use, but most importantly (to me) it has a built-in speed reducer and a REALLY good needle positioning system with a simple Up/Off/Down switch, depending on where you want the needle to stop.
-
Love me a good hack! It seems like a viable alternative to pricey speed reducers which I can't bring myself to spend $130+ on. Amazon has nice 1/2-inch bore 8-inch OD TB Woods cast iron pulleys for around $50 shipped to provide a bit of flywheel punching oomph or lighter aluminum pulleys for around $30. I've used TB Woods pulley on a few occasions before and they're very nice quality and nicely finished. My Consew 225 has a 1/2 inch shaft and just over 3" pulley on the hand wheel. An 8-inch pulley would slow things down significantly. With a nice powder coat finish, even the aluminum one might look pretty enough to not be embarrassed about it. I'm so tempted to give this a try. Can't really think of a reason not to.
-
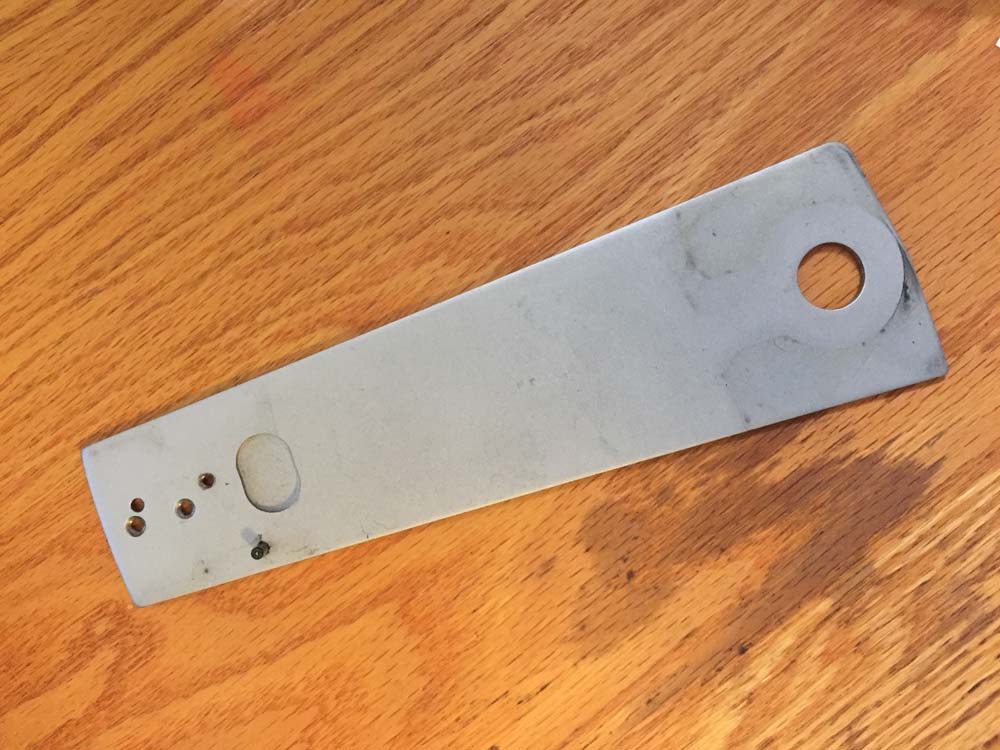
Yup, my cover plate is different. It's held in place by a little pin that goes into a hole in the arm. The cover plate does not move when I sew (you can see it a little in my power usage test video): Yours is similar to this Kwok Hing cover plate: