.jpg.d60258221c476480a6e073a8805645bb.jpg)


Uwe
-
Posts
2,221 -
Joined
-
Last visited
Content Type
Profiles
Forums
Events
Blogs
Gallery
Store
Everything posted by Uwe
-
 I've made another how-to-time-your-hook video. This one stars my Consew 225, which represents a class of machines that has a lot of surviving members in the wild. I don't even want to admit how much time I spent on this, haha. It may be a while before I do another one. Here's the video for your entertainment and education:
 -
The Chandler 406rb1 and the Consew 206rb5 appear to be identical except for label sticker and price, according to CowboyBob's website pages. Both have surprisingly wide range for material/needle/thread handling specs and that makes them versatile in that sense. Many machines have a much narrower design specification range. CowboyBob carries both machines and may be able to shed some light on the difference beyond labels and suitability for your particular purpose. Generally I'd say a cylinder arm machine is inherently more versatile than a flat bed because it's easy to turn a cylinder arm machine into a flatbed, but turning a flatbed into a cylinder arm is going to involve a plasma cutter.
-
How-To Video For Timing The Hook On An Adler 67/167/267 Class Machine
Uwe replied to Uwe's topic in Leather Sewing Machines
Thanks guys! I do hereby promise to make a hook timing video for any serviceable industrial sewing machine donation that shows up on my doorstep, haha! Eric, my needle and bar had rotated slightly when I was adjusting its height. After fixing the needle rotation, the hook no longer touched the needle at all. Alas I didn't notice the rotation and slight touch until I was editing the video footage on the big monitor. At that point I was out of energy to re-shoot that segment and just made a little text annotation instead. I'll step up my precision a notch in the next hook replacement/timing video for my Consew 225. -
There's no mistaking that pop! You're good to go.
-
I see. I was just going by the drawing and deducing how it should work. I was wondering why they didn't just offset the two ball orbits slightly and it turns out they did! So at this point I don't know why the check holes don't line up when you have the clutch engaged. Perhaps they actually do and we're not seeing it. From the drawing it looks like the check pin would never go all the way through the clutch. Perhaps the check pin would just go a little deeper if the clutch was engaged versus disengaged. Watch the check hole as you turn the clutch and see if anything else goes by as you turn especially just before it pops into place or right as you disengage it. Somebody who has an actual 267 in front of them will be in a better position to figure that detail out (that person may be you!) It may not matter all that much. If the clutch is engaged, it's engaged. As you said you know it's engaged because you turn the clutch until it REALLY pops into place. We may be overanalyzing the check hole thing. The check hole may only be of use to check if the clutch is engaged without having to actually disengage the clutch first and then re-engage it. Disengaging and then re-engaging may be the better check. I would feel comfortable at this point to time the hook and sew. You're in a MUCH better state now than you were when the clutch was frozen. After doing the timing on my machine it seems more likely that the large gear inside the gearbox under the hook slipped on the shaft a little rather than the set screw at the clutch end of the shaft. You may have to adjust the two clutch spring screws if the clutch lets go too easily as you sew.
-
Nice job of getting the clutch to work - yay! Obi-Wan Kenobi would say "This is not the hole you're looking for." The hole that you see at the bottom of the viewing/check hole in your video is not the check hole, but rather the hole the little ball pops into when the clutch engages. You're turning the clutch exactly 90˚ from the "pop" to showing up in the viewing hole. The main difference between your clutch and mine is that mine has only one ball and matching hole - it will engage only once every full rotation (360˚). When mine pops into place it's in the right position. Your clutch has two opposing balls and it will engage every half turn (180˚), or twice every full turn. Only one of the those two pops per full 360˚ turn is the correct one. So the clutch engages either in the correct position or exactly 180˚ off. The point of the viewing/check hole is to make sure it is in the "correct" 180˚ position. Keep turning the wheel until the clutch engages and the check holes line up. You were exactly 180˚ off in your video. All is well, really, just give it another half turn.
-
I made a how-to video for timing the hook on my Chandler/Adler 67-GK373. The original post is deep inside another thread, and since the video may be of general interest, I decided to make a new top level topic for it. The instructions and details are taken from the service manual for the Adler 67. Hook timing steps for Adler 167 and Adler 267 class machines are nearly identical. Here's the video:
-
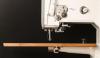
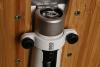
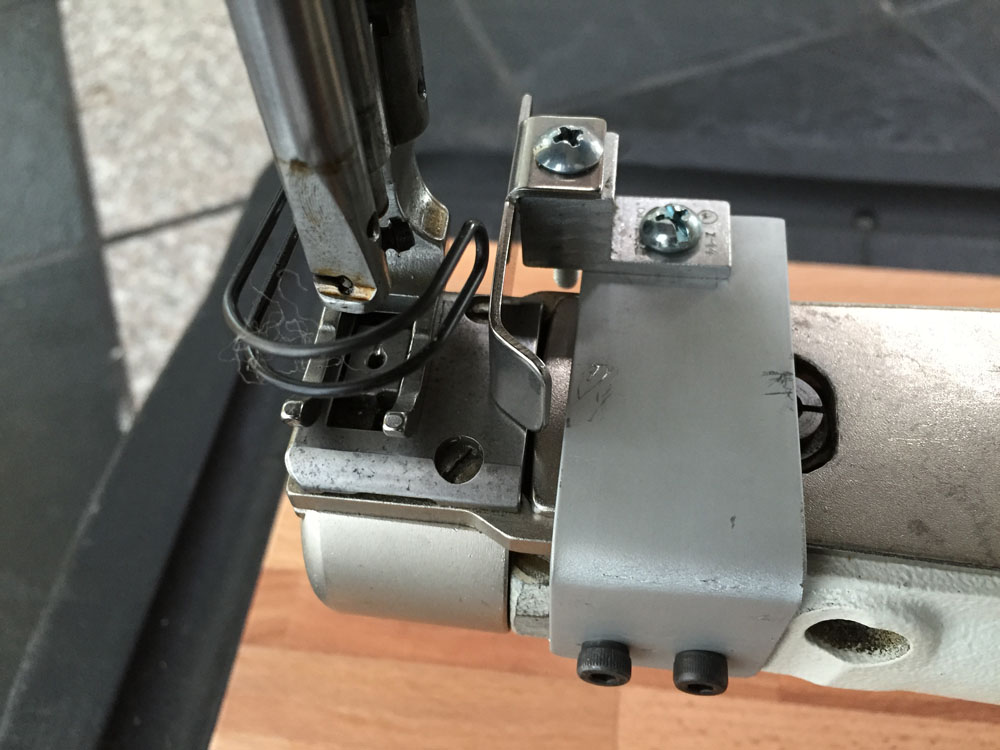
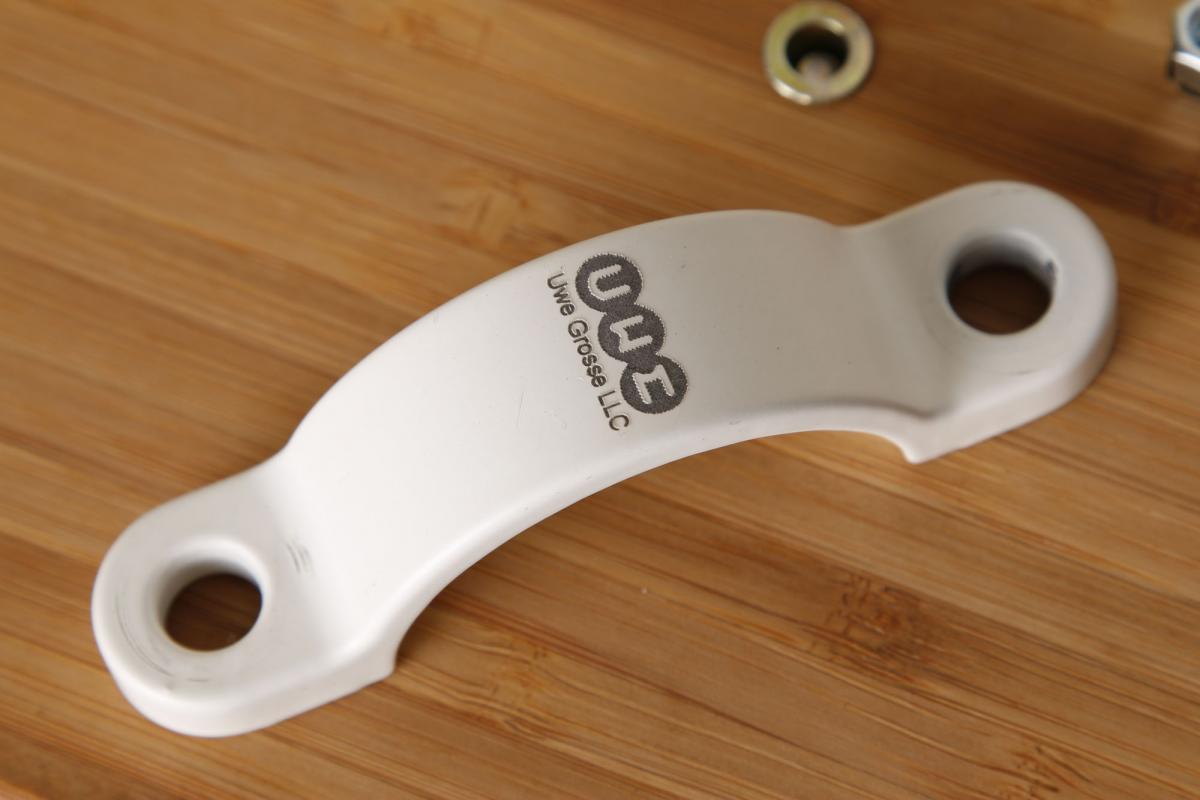
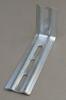
So I made one since my last post, just because I had to get it out of my system and because I have issues with procrastinating on work that actually pays my bills. Time: 2 hours. Materials: $8. The problem is that I value my time and to sell this would cost you the same as a commercial swing down guide. So just to offer one potential home-made solution, here are some pictures of mine:

-
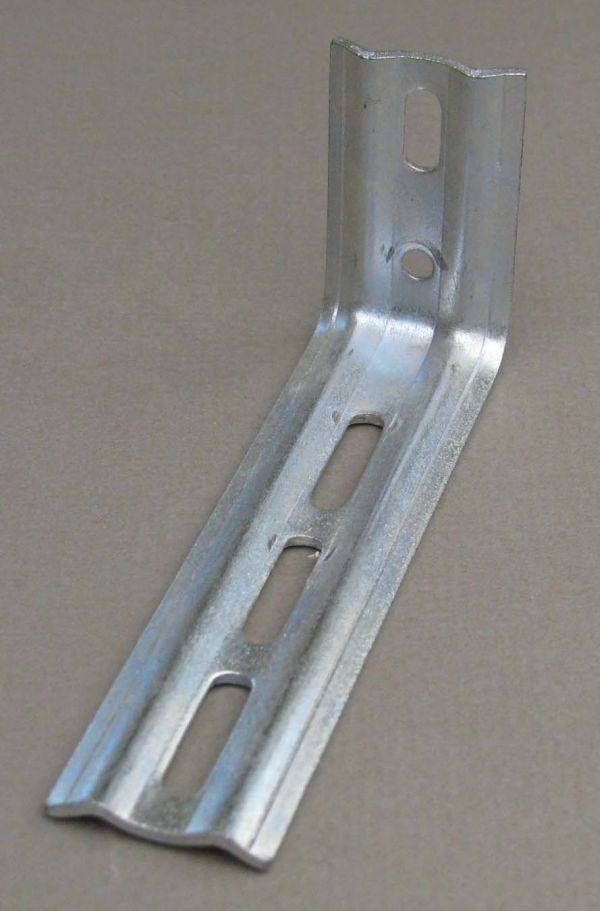
If you want it cheap and time is not important, just make one yourself from a scratch piece of aluminum. Cut the shape you need out with a hack saw, drill two mounting holes and then bend it in the right place. $5 in materials and perhaps a day fussing with it. Make a bunch more and sell them on ebay. Or start with something that's close, like a suitable angle bracket with a slot and modify it as needed. If you google "slotted L bracket" images, you'll see candidates like window blind mounting hardware etc. Go wander the aisles of your local hardware or hobby store and look for suitable brackets to modify. It'll take some tinkering, but it seems doable.
-
I finished my how-to video on timing the hook on my Adler 67. I believe the only real difference to the 267 hook timing procedure is that the 267 has a different safety clutch and that the needle bar rise should be 1.8mm instead of 1.75mm (good luck dialing in that extra .05mm!) I could not move my hook shaft bearing, the screws are totally seized up. Moving the hook shaft bearing to adjust distance from hook to the needle is not often necessary. I have a feeling mine has never been changed since the machine left the factory. In any case, here's the video - enjoy! Nice bike seat design, by the way! If you're gonna sew that thick top vegtan piece of leather to the quilted bottom part, that may be stretching the specs of the 267 a little. I'd be reaching for my Adler 205 to sew that piece. All the more reason to have a working safety clutch! I'll have to try that special penetrating oil thing Tejas mentioned, since I could not loosen those two hook shaft bearing screws on my machine no matter what I tried.
-
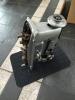
The 0216 00052 screws were the right ones to loosen in order to turn the safety clutch more easily. Since that didn't help, I'm thinking the two clutch part are somewhat rusted or "glued" together. The two set screws deep inside those threaded holes are what holds the clutch to the shaft. They are probably tightened pretty well. I have a strong feeling these set/clamp screws rotated/slipped on the shaft when the clutch didn't release. This is not a good thing in the long run as it will damage the shaft by creating circular grooves around the shaft. The point of the clutch is to keep this from happening. Here's what I would do next: take the machine out of the table and put it on a piece of carpet so the hand wheel stick up in the air like this: Then get some WD40 or similar rusted-bolt-loosener liquid and put some along the edge where the clutch cylinder meets the clutch "cup" all the way around. Use the little tube that attaches to the spray can so you don't get the stuff all over the place including the timing belt. Let gravity and capillary action pull the liquid into the space between the two clutch parts and loosen the rust/corrosion. Let it sit for a few hours or a day. Then use the hairdryer to warm things up and hopefully the clutch will move. If it moves, add some oil and move it to loosen things up. Ideally, you take the clutch out and apart and clean it properly, but that's a major undertaking. If the clutch moves you're good for now. You can disassemble the thing after your motor show. If it doesn't move, pack the machine in a box and ship it to me for proper disposal :-) I looked at my Adler 67 and it is pretty much identical in the hook gear area. The hook timing adjustment process is the nearly the same as for the 267. I'm gonna make a little how-to-time-your-hook video for my 67. You should be able to follow it closely to time your 267. It's not hard to do from what I've seen and done so far. Don't try to get the timing belt off the toothed wheel. It's somewhat fragile, quite expensive and REAlLY labor intensive to replace. Re/Moving the timing belt is NOT part of the hook timing procedure. While you're at the hardware store to get your WD-40, also get a few tools like some super short and some very skinny screw drivers, and a set of hex wrenches with T-Handles for your clutch set screws. I have screwdrivers and hex wrenches that I only use for my sewing machines and nothing else. Having the proper tool makes all the difference with some of these screws. If you strip that clutch-to-shaft set screw deep inside that threaded hole you're, well, screwed.
-
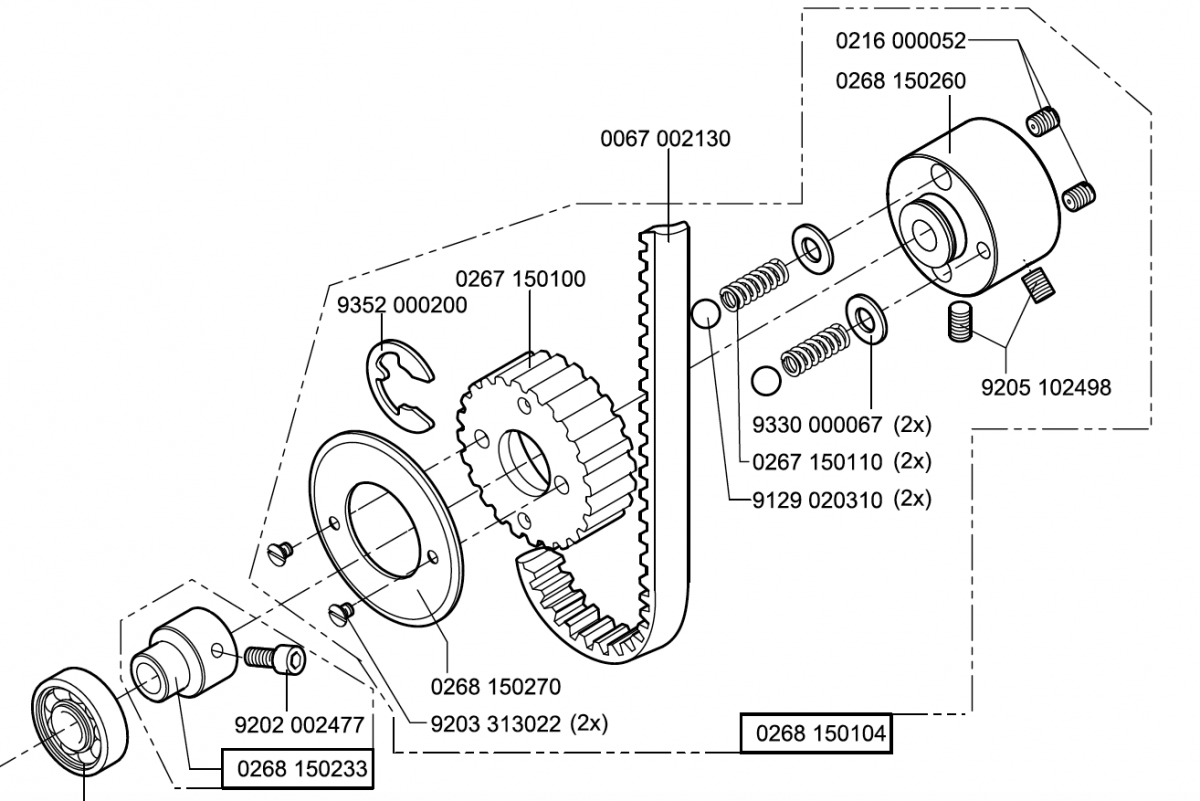
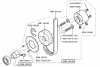
I found a nice Adler 267 Parts manual for your machine that shows how the safety clutch pieces fit together in great detail. So the main two clutch parts are the toothed outer "cup" (267150100) and the solid cylindrical part (0268150260) that fits inside the cup and is supposed to be able to rotate freely inside that cup. The only intended connections between the two are the little spring loaded balls. Perhaps the toothed outer cup and cylinder are ceased/glued together on their overlapping surface by some varnish left over from evaporated old oil. That edge looks little brown and wet in your picture, almost like it was rusted a little. Perhaps some moisture wicked into the crevice some time ago. I've had two sewing machines I worked on that had totally ceased together in certain parts due to oil that had evaporated into glue. The "high tech" solution both times was taking a hair dryer and warming up the parts well and gently applying twisting force until the varnish softened and the parts started moving again. Once they start moving, you can get some cleaning oil and it will absorb or dissolve/expel the varnish. So try using a hair dryer and warm up the whole clutch assembly - it may work and can't do much harm. Try not to get oil on the toothed timing belt - it's not supposed to be slipping and sliding. That screw and collar you pictured looks like it is not part of the clutch assembly but rather holds the shaft steady against the ball bearing. If the clutch is ceased together your timing may have slipped because the two set screws (9205102498) that hold the clutch to the hook drive shaft twisted a little. Often there's a groove in the shaft that one of the set screws goes into, but I'm not sure if your shaft has a groove. Without a groove the set screws can twist on the shaft given enough force. The set screws look like they have a flat tip, which indicates no groove (usually the set screws for a grove have a pointy tip, the ones that go on top of the shaft have a flat tip). If the clutch is truly and permanently ceased together you have two options: 1. Ignore the clutch and treat it like a solid, permanent connection between your timing belt and the hook drive shaft (Since you didn't know you had a clutch in the first place you may not miss it all that much.) Just go through the hook timing steps as if the clutch was in its proper engaged position (which it is as it appears). 2. Take a photo of the machine with some dried fish and a case of Tor's favorite beer or wine and try to lure him to your office.
-
How Do You Adjust Stitch Width Singer 111G From Under Shaft Cover
Uwe replied to Jfrancis's topic in Leather Sewing Machines
The Singer 111G manual on page 12 has the same steps for changing stitch length as all the other 111 type machines I've come across - pressing a button in the machine bed and turning the hand wheel. Are you saying your machine does not have the button in the bed you press to change stitch length? It's seems very inconvenient having to get out the screw driver every time you need to change stitch length. The basic task is to shift/slide the two halves of the connector dovetail groove to change the offset between the two. A few photos for context and detail might really help in figuring this out. -
If you're lucky enough to live in a metropolitan area with industrial sewing machine dealers, it's worthwhile checking them out. There's value in being able to see a machine in person and trying it out before you buy it. The Dallas area has Sunny Sewing and Dema Sewing Automation for example. No harm in spending an afternoon checking them out and see if you get good vibes from them. Even if you end up buying remotely from the LW vendors, it's good to have local resource for repairs and parts. I don't know much about the Dallas area companies, but they seem to have a reasonable web presence and an interesting selection of new and used industrial sewing machines.
-
I still think the safety clutch may be involved. Perhaps the safety clutch does not move easily like it should after the machines sitting for a long time. I checked the safety clutch operation on my Chandler/Adler 67. The safety clutch design on the 67 is different from that on the 267, but the concept is the same. Because I'm in major procrastination mode, I just finished making a little video that shows how my safety clutch works and how to verify hook timing on my machine: You should be able to disengage and re-engage the clutch similar to what I did. Hold the hook drive shaft carefully with a wrench (don't be scratching up that pristine piece of machinery!) and turn the hand wheel. It's didn't take all that much force on mine to pop the little ball in and out of its seat. The safety clutch is supposed to let go before something gets bent or damaged. If you can't move the safety clutch at all, it may have slipped and/or bound up for some reason. If the safety clutch is indeed engaged and working properly then you need to go through the hook timing procedure. That still wouldn't explain how you can slip/jump the timing this bad while sewing - the only way to do that is if the hook drive gears skipped a few teeth while sewing and that seems very unlikely.
-
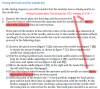
Yup that's what it sounds like to me. The english in the manual is a bit rough in spots. (The German language manual for the Adler 267 isn't all that much better and even gets the image numbers wrong.) Image 15 in the back of the manual shows the clutch with the two screws "d" to adjust clutch release torque and the hole "n" (the manual calls this "n/15" in the text on page 13.) You use this hole "n" to check if the clutch is engaged or not. If it is engaged, meaning the two clutch disks are aligned, the hole labeled "n" should line up with a hole in the back disk of the clutch. You should be able to stick a little pin or hex wrench all the way through the clutch when the holes are aligned. Take the pin out again after you check! Image 21 in the back of the manual shows the shaft labelled "G". This shaft connects the clutch to the hook gear. If the clutch is disengaged, it should be fairly easy to hold the shaft "G" with your left hand fingers and turn the handwheel towards you until the spring-loaded balls inside the clutch pop back into their little dimples/holes to engage the clutch again. Once the clutch is engaged, It'll take a good amount of torque to make the clutch disengage again - I'm guessing you can't hold the shaft strong enough with just your fingers to make the clutch disengage.
-
I don't mean to burst your bubble, but I don't think any of these machines are made in America. It's more about American reseller working with the better of the Chinese factories for their customized products.
-
Nice little video! Your timing is off by more than just a little bit. The hook tip is nowhere near the needle when it needs to be - it's way late. Are you sure your safety clutch is engaged? It's hard for the timing to "jump" if you have gear driven hooks. It's fairly easy for the safety clutch to pop loose if you hit something hard or things get bound up due to thread knots. Page 7 in the service manual goes through the steps to set proper hook-to-needle timing. The first thing it tells you is to make sure your safety clutch is engaged. Page 13 talks about how to check and re-set the safety clutch. With a little luck, all you need to do is re-set the safety clutch again and you're back in business. Full DA 267 service manual can be viewed and downloaded here: http://www.manualslib.com/manual/461620/Duerkopp-Adler-267.html
-
Sun Protection Factor, got it.
-
The Cowboy 3200 may be fine for what you want to do. If anything, it may not like to sew with fine thread and small needles. It should be great for bags and belts. Get a flatbed attachment to do wallets. There's a new 3200 for sale near Cleveland in our for sale forum. Of course Cowboy Bob will be happy to set you up with a new one in Toledo.
-
I'd say it's a great machine for wallets, okay for bags (a cylinder arm might be better suited), and not ideal for belts (soft dress belts are okay, but hard veg tan leather belts may be problematic). The Chandler/Adler 67 is a very nice machine and parts/accessories/manuals are readily available. I'm very happy with mine (until I come across a minty Adler 267, haha.) The price seems right and it looks to be in reasonably nice condition. You'd probably pay considerably more if the machine actually said "Adler" on the front (it should say Adler on the back name plate). It's the same thing under the hood - they were made by Adler and then imported and re-badged by Chandler, thus forever lowering resale value and creating relative bargains for folks who are not obsessed with name badges.
-
Whats The Correct Bobbin For Highlead Gc22618-8B? Please
Uwe replied to caba's topic in Leather Sewing Machines
I once found a handy bobbin reference chart (See attached file) Comparing your bobbin's measurements to the chart should allow to determine which bobbin style to order. At least the manual tells you the take-up lever stroke with 1/10th millimeter precision, lol, which seems like super useless info compared to bobbin size. Some thread suppliers also have a bobbin reference. The Thread Exchange has a bobbin reference chart for pre-wound bobbins - the dimensions should be very close to the real bobbins. Here's the bobbin style chart which you can print to scale and then just lay your bobbin on it to find your bobbin style: Bobbin Selection Information.pdf -
Upon further review it turns out my reference manual contained an error and I was adjusting the hook timing very precisely using the wrong information! After adjusting the hook timing using correct information, buttery smoothness ensued. I had printed out page 12 from the US Navy manual from Keystone Sewing manual some time ago as a reference and never really questioned or cross-referenced the information on it. Alas, it turned out to be a bad reference in one tiny but important aspect. The Keystone manual page states twice that the needle bar should be raised "three sixteenth of an inch" from the bottom when aligning the hook. After doing further research it turns out that just about all other manuals and resources require the bar be raised by exactly half that amount - 3/32" - to set proper hook timing. This made all the difference in the world for my Consew 225 hook timing. Having a nice, clear PDF manual created for military use seemed like a good idea at the time. Most sewing machine techs probably have that 3/32" number burned into their brains and never refer to a manual for it. Doing it "by the book" tripped me up. Lesson learned: make sure the book you're using is a good one. Here's a picture of the Keystone manual page in question:
-
I installed a new Hirose hook in my Consew 225 and went through the Navy Manual hook adjustment and timing procedure several times just to learn, practice and get as precise as possible. While the hook-to-needle timing seems very accurate and the machine makes a nice stitch something's not quite right. There's a thread popping sound with every stitch. I investigated and found what seems to me like the thread getting pulled a little too tight and too early. The thread gets pulled between the bobbin basket and the race for a brief moment. It almost seems like the pull-up level is a tiny bit ahead of everything else. I've checked my threading several times, too. I'm attaching a little video that will hopefully show what I'm talking about. I'm not sure how to resolve the issue. Perhaps one of you sewing machine whisperers have seen this before and will just know what to do. Any help is appreciated. Here's the video link: https://www.youtube.com/watch?v=cOo80Eenvuw
-
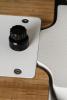
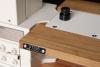
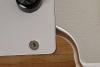
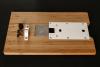
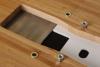
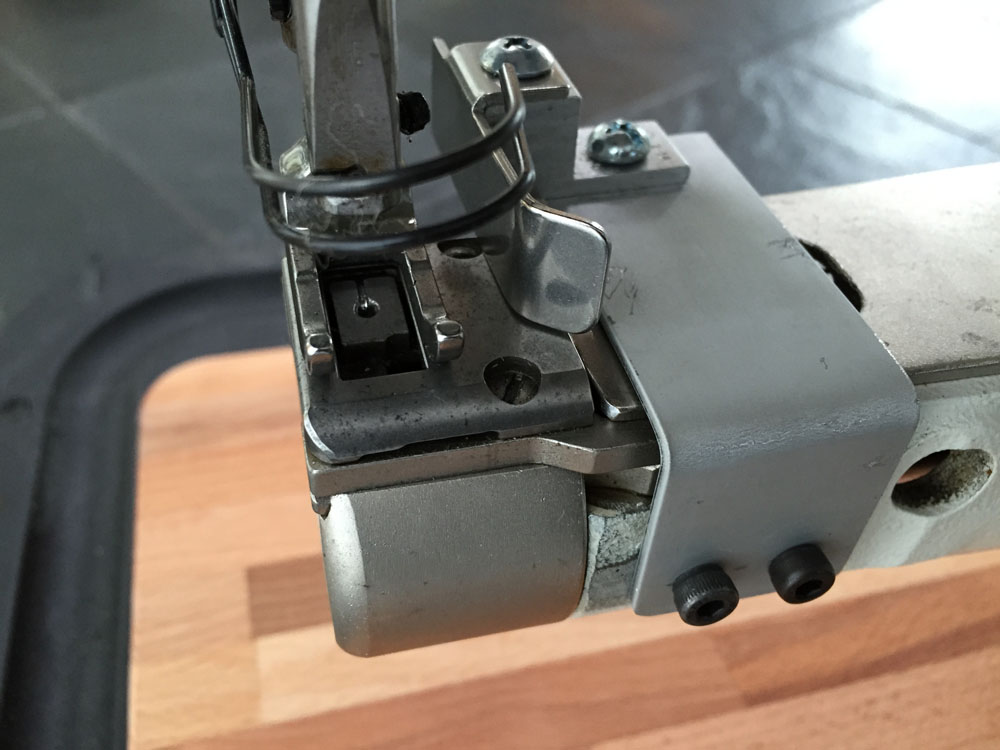
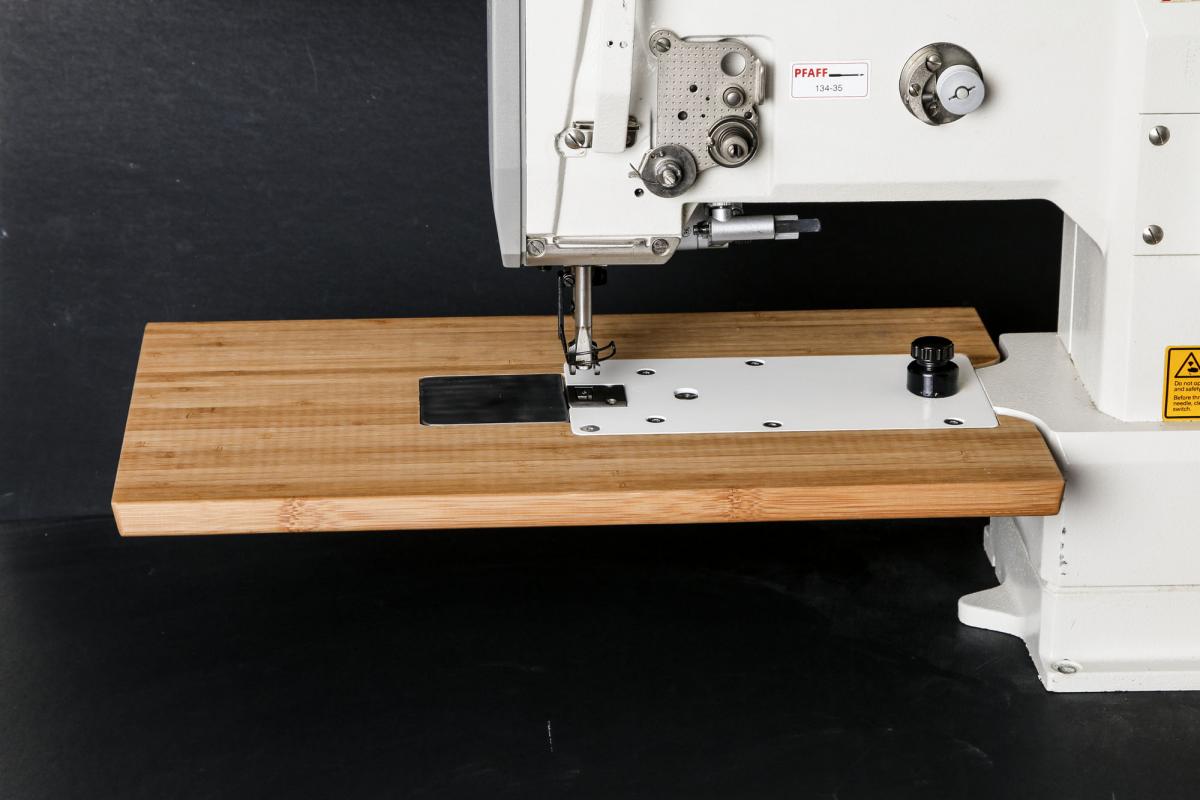
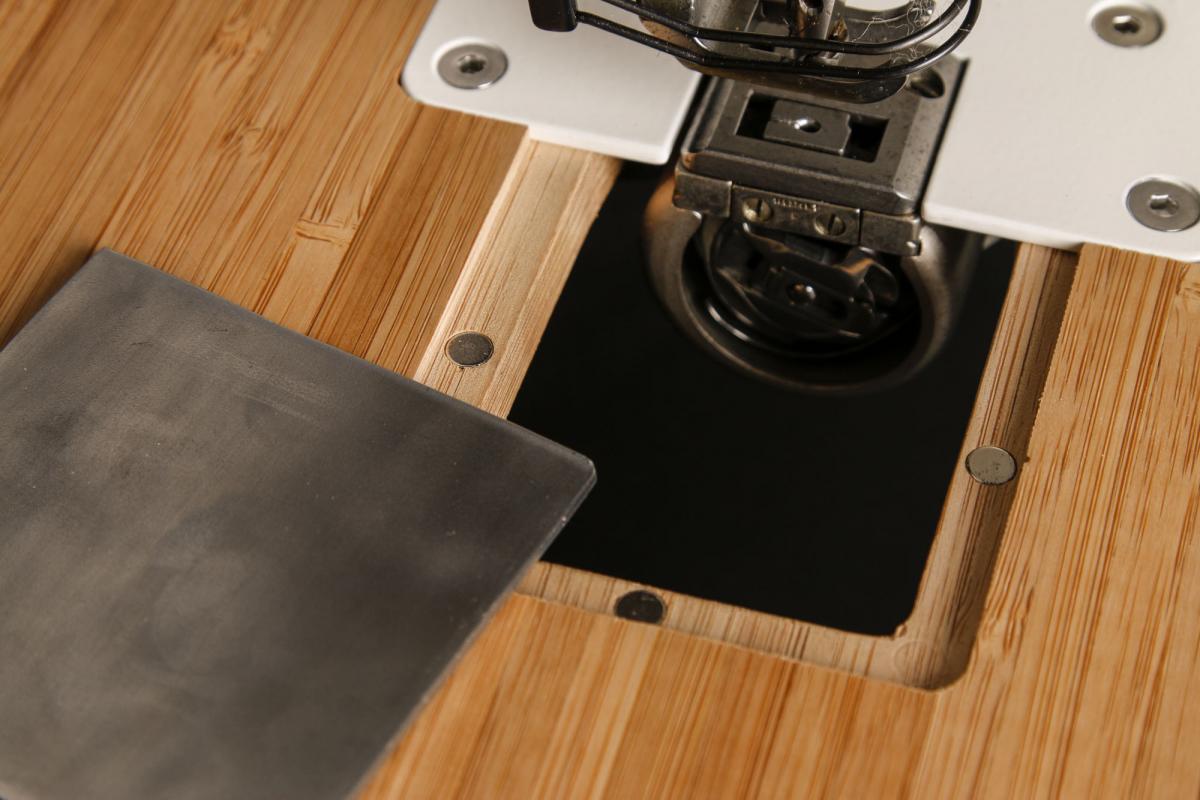
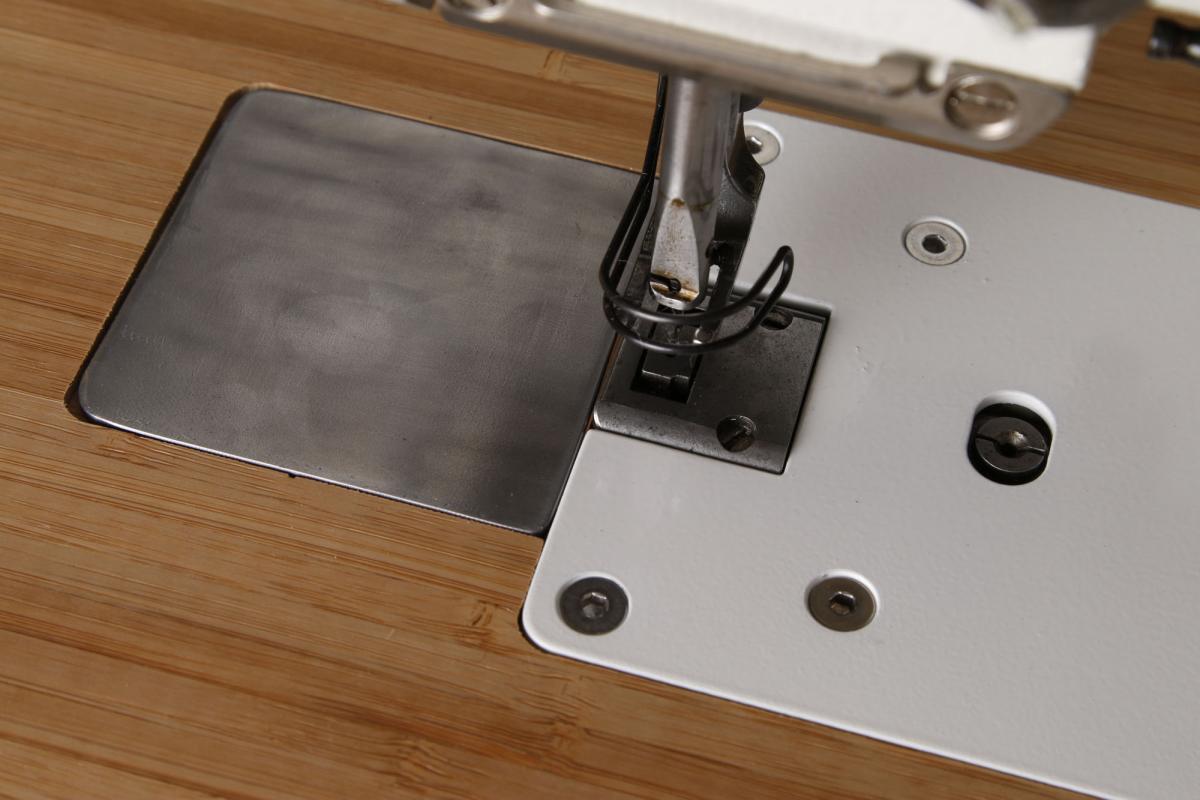
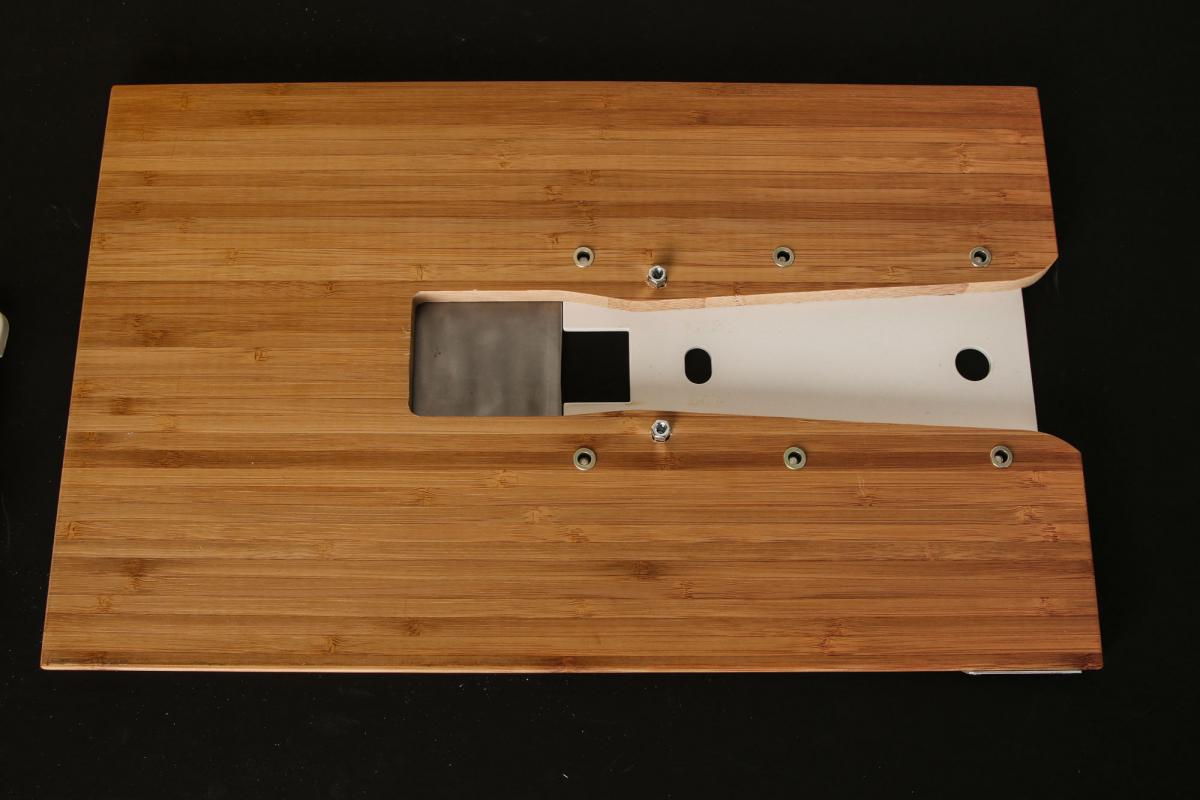
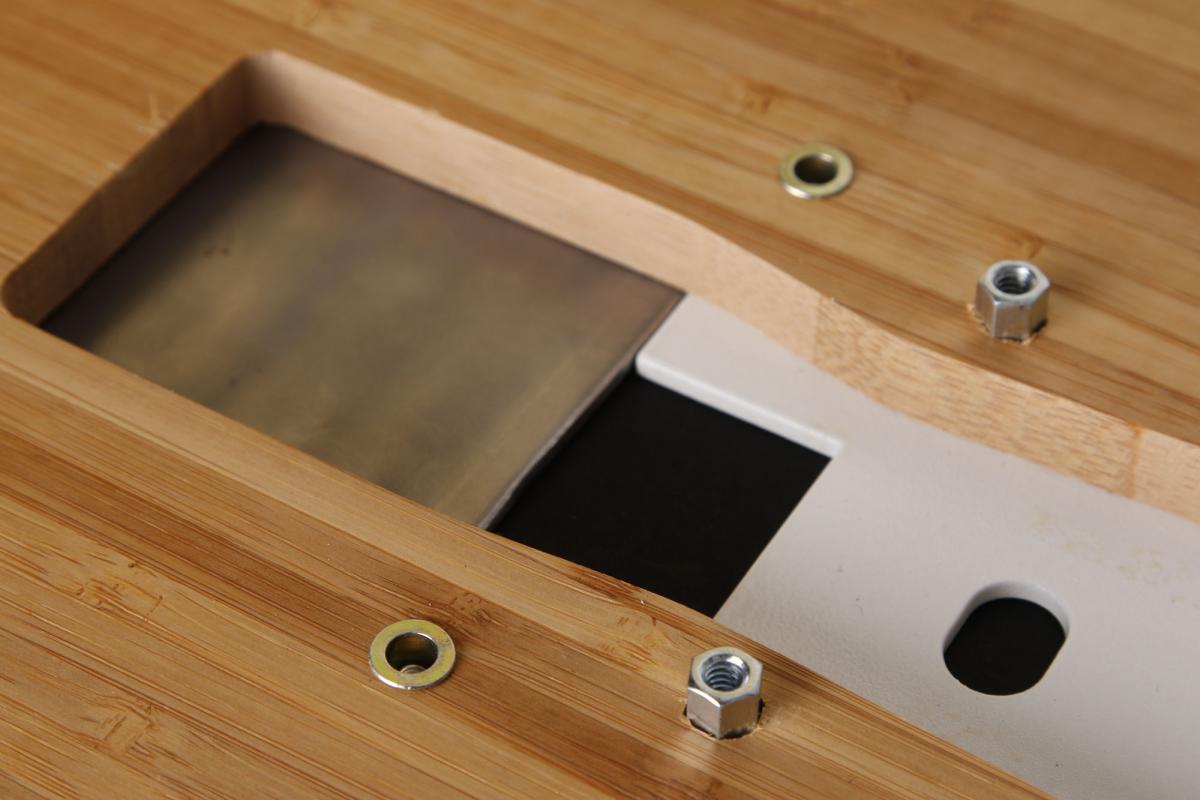
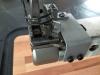
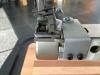
I finally finished fine-tuning the design of the table attachment for my Pfaff 335 and I wanted to share some pictures here: