MADMAX22
-
Posts
3,201 -
Joined
-
Last visited
Content Type
Profiles
Forums
Events
Blogs
Gallery
Store
Everything posted by MADMAX22
-

Purse for my Grandmother :)
MADMAX22 replied to KatieG's topic in Purses, Wallets, Belts and Miscellaneous Pocket Items
Great looking purse, you didnt sneak any anime in there did you:red_bandana: -
Another Christmas present finished
MADMAX22 replied to BearMan's topic in Books, Journals and Photo Albums
Amazing work Ed. -
Tooled belt
MADMAX22 replied to MADMAX22's topic in Purses, Wallets, Belts and Miscellaneous Pocket Items
Thanks Troy, I hope so as well. -
Tooled belt
MADMAX22 replied to MADMAX22's topic in Purses, Wallets, Belts and Miscellaneous Pocket Items
Thanks for the compliments and advice. Gotta start expanding my tool inventory. -
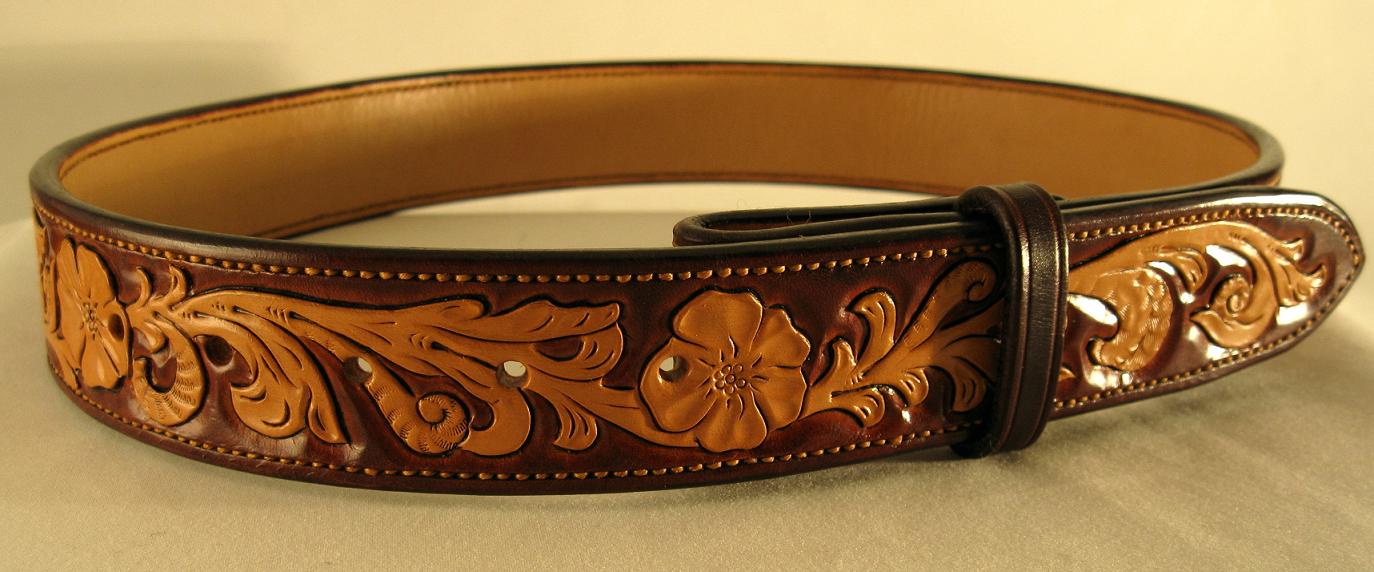
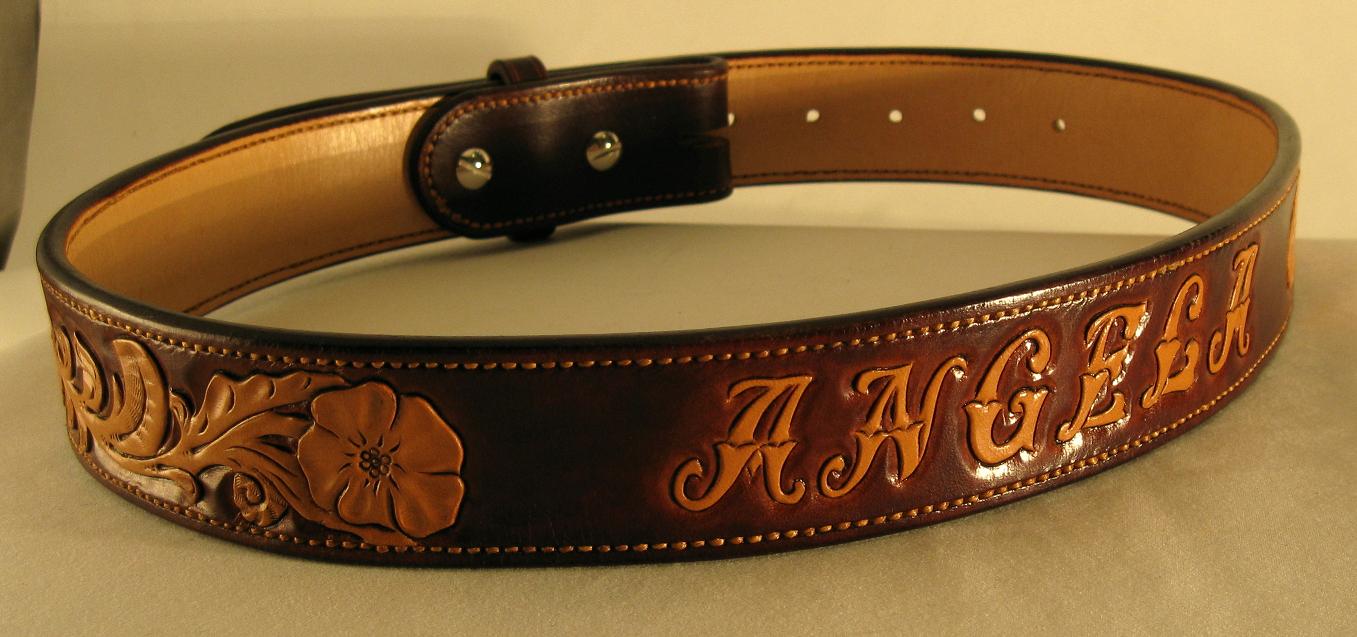
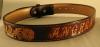
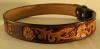
Well I finally finished this belt. Guy at worked employed me to make a belt for his daughter for Christmas. Wanted something for her while she was doing her horse shows to go with her fancy buckle. Took me 3 times to get the tooling and dye correct, first one I screwed up on the tooling and second one I was happy with but messed it up doing the finish which really was a kick in the butt. Made the design up myself and must admit it looked better on paper. I still need alot of work on my sheridan style both in design and tooling so this was alot of good practice. Belts double layer with HO on top. Dyed dark brown for the back ground and left natural for the design. I oiled then applied neat lac, antiqued just enough to show the tooling a bit and then neat lac again. Edges are dyed with cordovan and the stitching is natural linen dyed saddle tan and waxed using my rosin/wax mix. First time using true linen unwaxed and doing it myself so that was a little different. Good stuff though. Comments and critique welcome.
-
By chance what tools do you have? Patterns are allways hard for me but google images is a good friend. Do a search for Iris (saw alot of nice pics) and find one you like, save it and resize it to the size you think you want. If you have a printer print it out and trace over it with a black finetip sharpie or similer. This will give you all your lines you need to cut. Now trace this onto your transfer film and transfer that to your leather. Keep you picture and your outline pinned up by you somehwere so you can look at it while you cut and shape your leather. Implement styles of your choice and get as detailed as you want. Hope this helps.
-
Indiana Jones theme satchel
MADMAX22 replied to Indy's topic in Purses, Wallets, Belts and Miscellaneous Pocket Items
That is a cool piece. Very good work with the center piece and overall. -
couple more card / wallets
MADMAX22 replied to dscott's topic in Purses, Wallets, Belts and Miscellaneous Pocket Items
And I share with many others a love of the reptilian skin on all kinds of projects. Now if I could just find a dragon I would probably try doing some armor. Anyways looks good. Construction is great. Nicely done. -
Thanks a bunch, oh and the best advice usually is the free kind.
-
OK so how do you guys decide what thread color to use in your projects. (for hand stitching) I know its usually either natural/brown/black unless you dye your own. I just seem to get stuck alot of times wondering if white/natural would look best or black would look better, would having the stitching hide be good or have it stand out and add to the project. Or do you guys just wing it and call it good
-
Out of basement into the light
MADMAX22 replied to JDRamsey's topic in Purses, Wallets, Belts and Miscellaneous Pocket Items
I missed this one but wanna say your stuff looks really good. If you want some frank criticism put your stuff up in the critique section asking for such. People will give you alot of good pointers to help you improve. -
Pics are allways welcome. Something about round knives, once you use them you tend to want more of them lol.
-
Those look real nice Troy, thats alot of stitching.
-
Nicely done, great carving and lacing. Is this seat gonna be staying natural, if so thats way cool probably one of the few.
-
Lexol is a great conditioner but its not a sealer per say. Everyone will be slightly different in how they do it and what they recommend. What I like to do is Once the leather is tooled and dyed if thats what your doing I then oil with neatsfoot one good coat. Let this sit over night. Then I like to use some sno-seal and put a coat of that on and that usually takes a day to absorb in. Then I usually do a few coats of leatherbalm with atom wax as the finish.
-
Combining my 2 loves
MADMAX22 replied to Spence's topic in Purses, Wallets, Belts and Miscellaneous Pocket Items
Look good, Ive gotta start trying some different braids and such. -
Looks great, interesting combo with the aligator and classic sheridan style. He will be flashing that all over the place.
-
Thats a cool idea. You could even encorporate a butt stock cover with where the sling attaches at the bottom. Only thing at the top is depending on what type of rifle he has and what type of sites the leather strap at the top could possible interfere with his site picture. So make sure you find that part out.
-
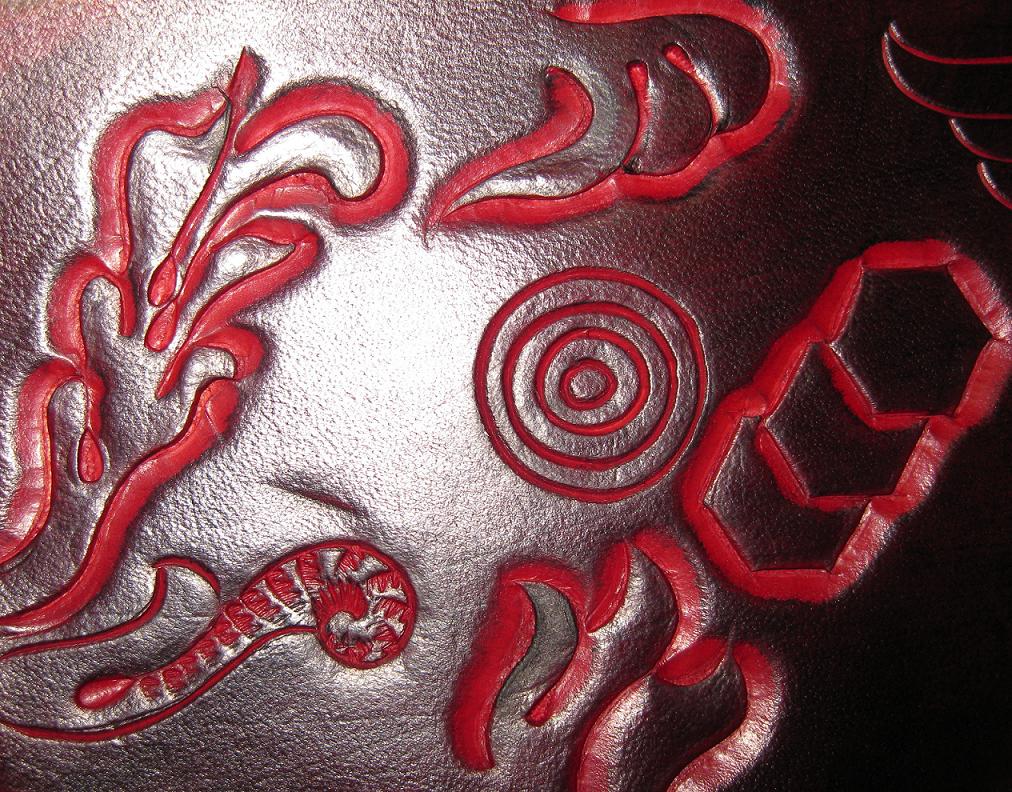
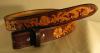
Something that looks really cool and I like it better with browns then anything but looks good with black and red is dye the underlying lighter color then use the cotton shirt stuffed with cotton balls to take a darker color dye and skim over the top. When I do this with browns it usually is a saddle tan or tan underlayer and then a dark brown over layer. I have played with this with the red and black (actually ox blood and black) where the red went down first and then the high areas were black. Looks pretty slick. Heres a pic of a practice piece that I played with. Just getting a feel for the colors. Could of used a couple more layers of black but just wanted to see how it would look. Sorry about the crummy pic but you get the idea.

-
Great tutorial, that really shows how much work goes into making this project. Im positive this will help alot of people trying to break into making armor. You should see about getting your tutorial pinned in this section.
-
Great carving and love the color. Looks really good
-
Some impressive work for sure. I agree the embossed one looks really good, brings out more for this particular project.
-
Great looking seat. No clue what color it needs to be, I say saddle tan because thats one of my new favorite colors lol.
-
Look in our holster section.
-
I like all but that last bag really catches my eye. The black with the silver latches and the two tone braiding really is a good combo.