Tugadude
-
Posts
2,656 -
Joined
-
Last visited
Content Type
Profiles
Forums
Events
Blogs
Gallery
Store
Everything posted by Tugadude
-
 I understand what you mean about the edges, but the edges on the opposite side show on your wallet and don't look bad to my eye. Maybe burnish a bit is all.
 -
Just a quick thought. What about wrapping the roo around first and then gluing the pockets on top of it? It would then effectively cover the termination of the folded edge. The pockets would still be inset a bit from the edge and protected from wear.
-
If you don't care about the angle of the stitch, perhaps a lacing chisel would work? Straight holes might be more prone to tearing, but depending on how much stress your item will get it may be a non-issue.
-
Critique My Basket Weave
Tugadude replied to AEMcClain's topic in Gun Holsters, Rifle Slings and Knife Sheathes
Josh, that is a great tip! I don't do much stamp work, but your post is forcing me to now! Beautiful work. And to the original poster, looks like you are on your way. A little finesse here and there and attention to the right amount and timing of the casing will help. -
Well they look very nice!
-
Yes, looks to be rough vegetable tanned leather. Looks like the backside you frequently see on cheap veg-tan belly.
-
I use the Tandy permanent double sided tape and love the results, but I only hand stitch, so it might be different with your machine. Love your work in the two pics. I assume it is custom made for camera bits?
-
Beautiful looking and a great idea. You could also use it as a pony for stitching, I'm sure.
-
Perhaps bill clips to hold bills in a bifold wallet?
-
Yes, the line is in the middle with the iron straddling it. Nigel Armitage covers this in his videos, I believe. If you can still see the line, perhaps your thread is too small? Also, it is a reference line, not supposed to be super obvious or deep, a light scribe is all that you want.
-
+1, achieved by running the belt through an embosser.
-
That is something to be treasured!
-
Tandy is a good start as is Springfield Leather. There are others, but that is what I am familiar with. Springfield sells by the foot on most leathers which is helpful. They also frequently have specials on sides. Call them. Good way to get big pieces for practice. On tools, both Tandy and Springfield have good options for reasonable prices. Check out their websites. Good luck.
-
I think some of it depends upon what leather you use. Is it stiff, or soft and flexible? I did a double gusset with 4-5 oz. buffalo and was very happy. The buffalo, Cullata from Springfield Leather is very firm and smooth. I used same weight for all.
-
Testing Laptop Bag Pattern
Tugadude replied to JGray's topic in Purses, Wallets, Belts and Miscellaneous Pocket Items
Very nice. The edges on the radius of the pen holder looks awesome. That is not easy to do in my experience. -
If that doesn't work, try Springfield Leather. They have similar ones on their website.
-
The blocks
-
Get a small piece of beeswax, rub it on the surface to be smoothed. Heat with hair dryer if need be to help it absorb into the leather and spread evenly. Rub briskly with a tool, could be as simple as a butterknife for this purpose. Many craft stores sell bone folders, even places like Michaels, but you don't have to go that route. Use what you have. The friction generates heat which along with a smooth tool helps the leather fibers lay down. Good luck!
-
I have had great luck with the bracelet connector. The way I use it, I make the bracelet the same width as the connector. I cut a notch on each corner to allow a tab to slide into the connector. Makes for a smooth look and it is quite comfortable.
-
Take a look at Tandy's page here...
-
I understand. What you might try is a bit of gum tragacanth on the inside surface and rub it with a bone folder. It should get the fibers to lay down, effectively smoothing it. Not sure how long it will last, but it might be a solution. Good luck!
-
Welcome and enjoy the ride! Ask questions as there are lots of nice folks to share their accumulated knowledge.
-
For a more permanent and smooth solution how about lining the interior? A smooth fabric or the finished side of some thin pigskin or kangaroo would do the trick.
-
New To It All And I Have Some Questions.
Tugadude replied to BlayneBurner's topic in Getting Started
Just my $.02, but you can do leatherwork with no tooling, but the other skills, cutting, stitching and edging are critical. That's where I'd start. Lots of threads here to search with tips on burnishing edges, stitching, etc. youtube videos are also helpful. Try Nigel Armitage. He teaches how to cut, round corners, edge and burnish and his stitching videos are great. And by all means, post your progress! You can get lots of constructive feedback. We all started from zero and all of us are still learning. I know I am. -
New To It All And I Have Some Questions.
Tugadude replied to BlayneBurner's topic in Getting Started
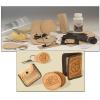
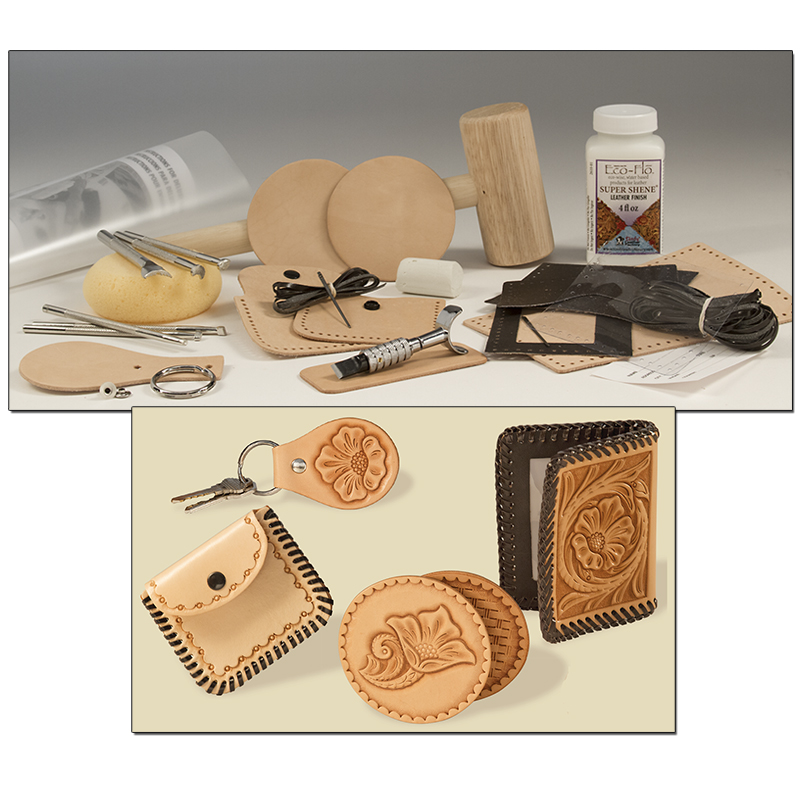
Tandy sells basic tool sets that can get you started on the cheap. $50 will get this kit which has various tools along with some projects and instructions. For cutting, you might have tools already, razor knife, straight edge, square, etc. For stitching, a diamond awl and a stitching chisel. Tandy or Springfield Leather are excellent sources. Good luck!