-
Posts
525 -
Joined
-
Last visited
Content Type
Profiles
Forums
Events
Blogs
Gallery
Store
Everything posted by Chief Filipino
-
Hello All, So I am not sure quite how to word my question but it is something that I haven't been around long enough to know the answer to. As my leather goods that I make age, is there something that will prevent a customer from using saddle soap and other products on the item? ... I guess what I am asking is what advice I should give them for the care of their product over the years. Is it the same for all leather finishers/sealers or does it change for each one? I mainly use acrylic resolene, some super shene, and on a few items I use carnauba creme. Is the method for caring for items the same for all of these or is it different?
-

New Projects
Chief Filipino replied to Chief Filipino's topic in Purses, Wallets, Belts and Miscellaneous Pocket Items
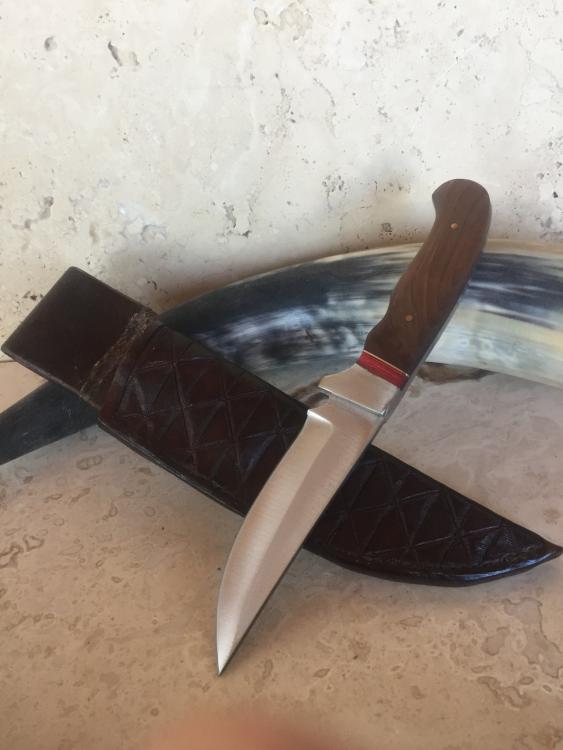
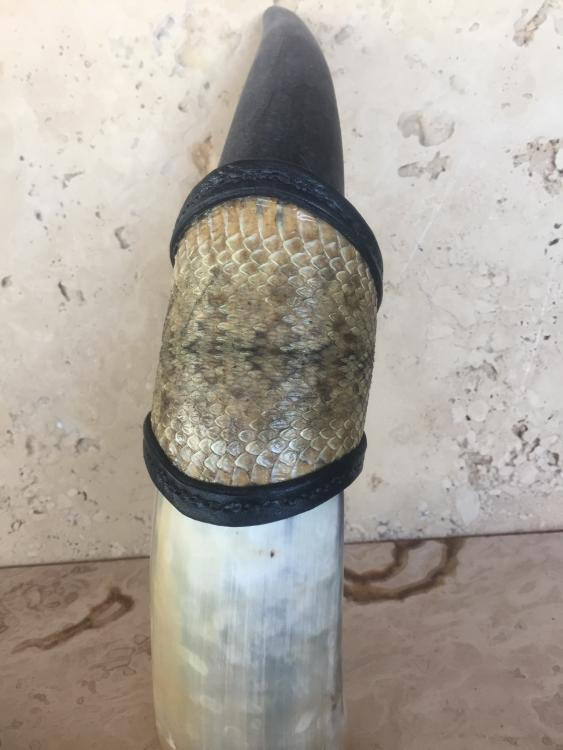
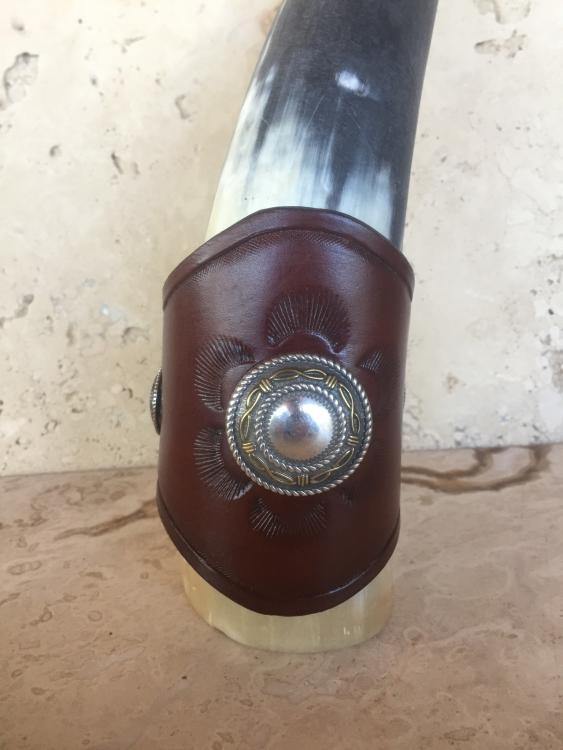
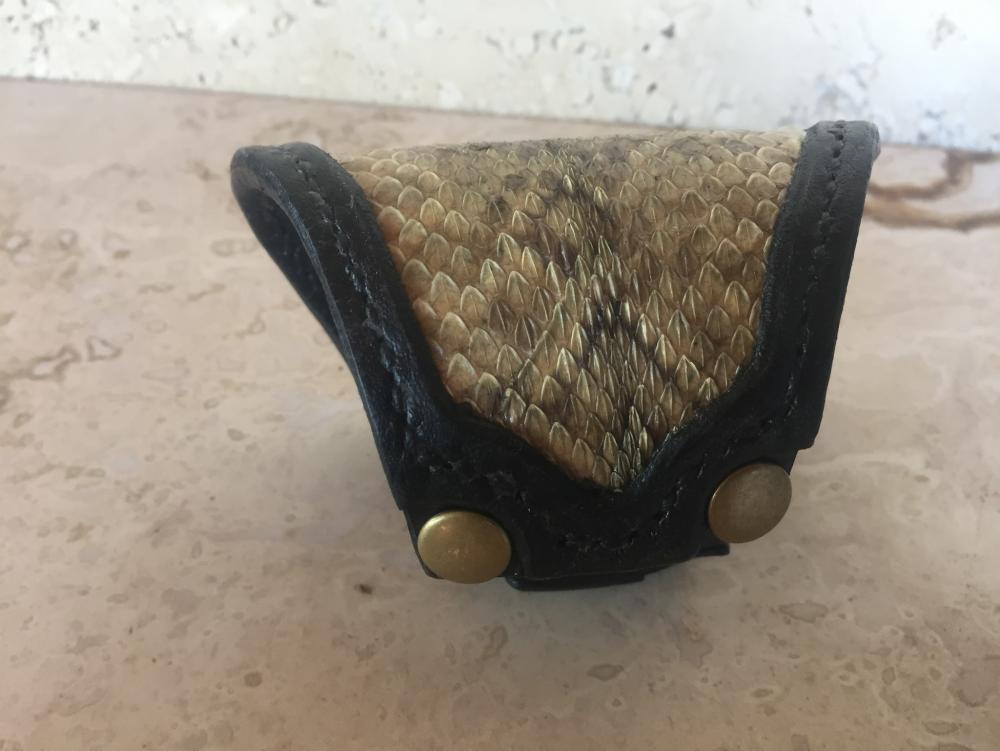
That actually is a great idea that I didn't think of! Hahahaha this is actually a bracelet. I haven't figured out how to make the drinking horns just yet. It is on my list of projects to do soon! Did the link to the moccasin tutorials work for you? I wasn't sure if it worked. -
Oh.. Hahaha I've been using contact cement too much and stayed up way too late... I didn't realize that was a video lol... so ignore my earlier comment about the pens. Nice work
- 13 replies
-
- leather pen case
- kings county leather
- (and 2 more)
-
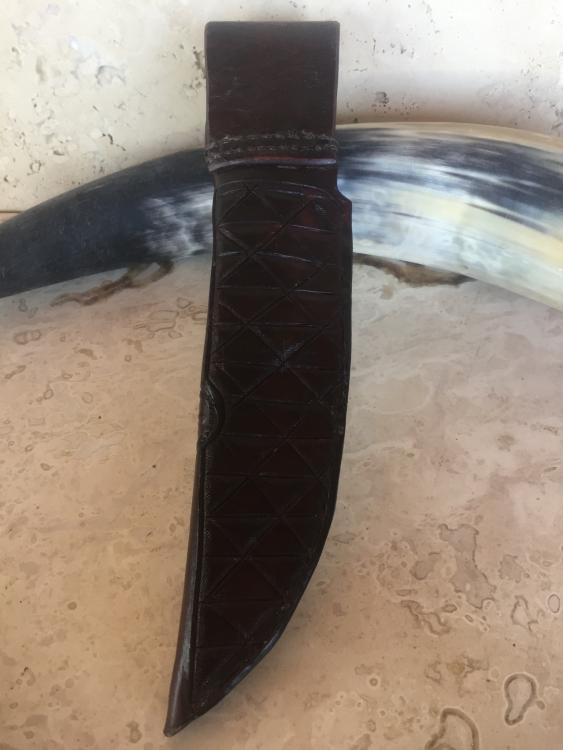
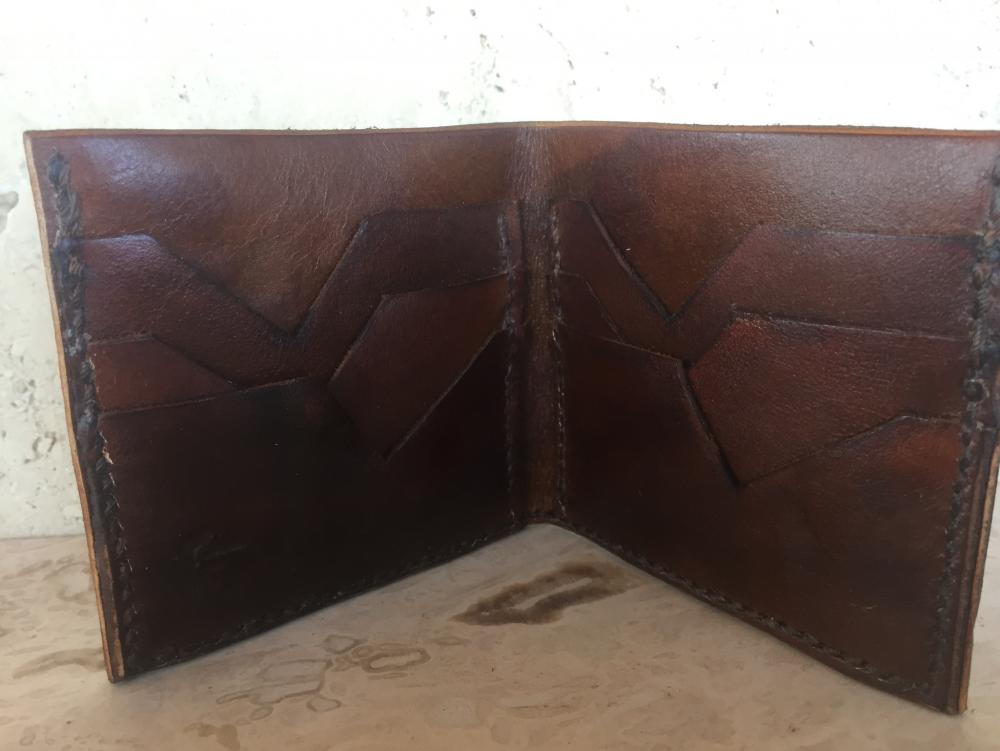
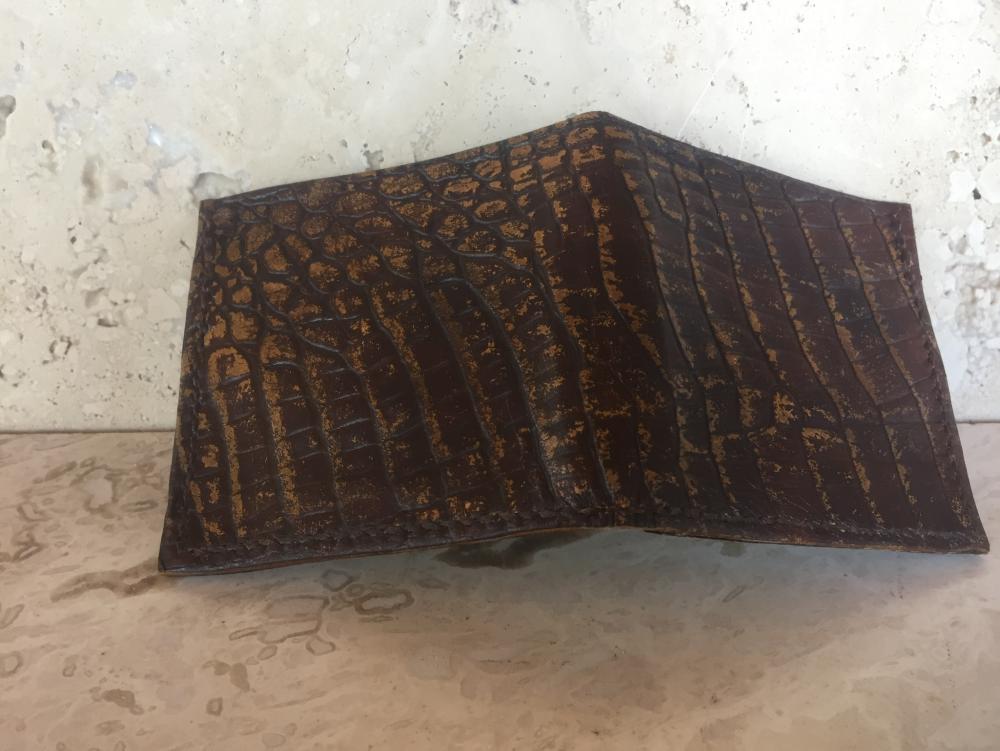
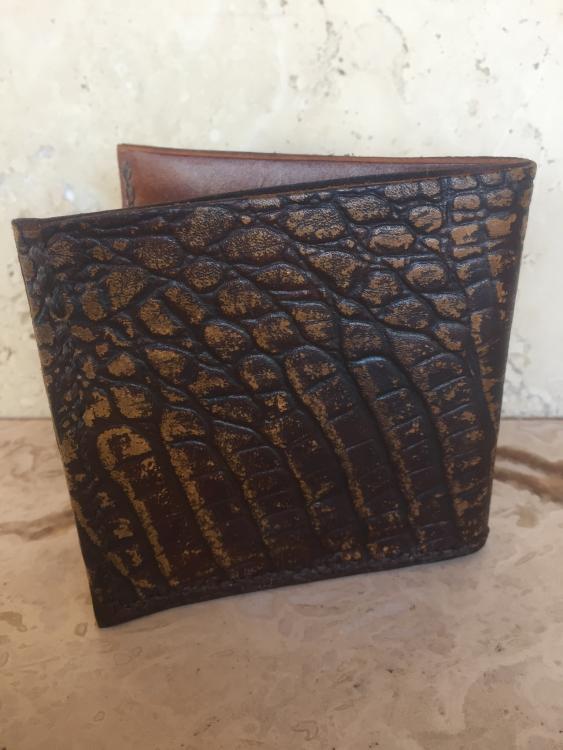
So I've finally taken some pictures of my projects. I've been a busy beaver My favorite by far is the embossed alligator wallet. I made one for myself as a tester and for some reason the embossed gator feels so amazing in the hand! Thanks for checking it out. There are several things that I know I could do better on each, but if you see something you would like to critique feel free
-

Watch strap
Chief Filipino replied to Petewon's topic in Purses, Wallets, Belts and Miscellaneous Pocket Items
Beautiful! What did you use for the green "lining" on the inside? -

New Tumbler Sleeve
Chief Filipino replied to Sofaspud's topic in Purses, Wallets, Belts and Miscellaneous Pocket Items
Nicely done! -
Welcome! I would love to see your brother's work in addition to your nice pen case.
- 13 replies
-
- leather pen case
- kings county leather
- (and 2 more)
-
Bienvenidos!
-

Old dog and some new tricks.. 'bout time to share
Chief Filipino replied to Subterra's topic in Member Gallery
Awesome work! That's a great idea for using the scraps! Do you mind if I use it? I have a footlocker full of scraps that I need to get rid of sooner rather than later.- 17 replies
-
- leather art
- sculptures
-
(and 1 more)
Tagged with:
-
Welcome!
-

Medium minimalist wallet
Chief Filipino replied to Bolanca's topic in Purses, Wallets, Belts and Miscellaneous Pocket Items
Nicely done!- 6 replies
-
- wallet
- minimalistwallet
-
(and 1 more)
Tagged with:
-
I wish I knew too! That's crazy! Do you remember who the builder is?
-
Here is the tutorial I followed. The only modification I made was for a split toe.
-
Did I share the video tutorial I followed and modified?
-
I've tried a few times but was never successful. I think that it is possible with wood because of the way wood grows and how the glue is able to get in to hold onto that structure. With leather I don't think that it's structure is built to be able to do that, it is very flexible. The times I have had contact cemented only one side has torn apart. The cement held, but it just tore apart the leather on the other side, and in some cases it tore from both leather pieces I was trying to bond. I agree with Nstar, if you are making a piece that will just sit and not see much use you could probably get away with it.
-
The hardest part I've found with flip flops were the strap length. When I made mine I basically just took my old rubber pair and used it to make my template, then took it apart to get some measurements for the "thong". I made mine a little too big and they stretched a touch so they are a bit too loose. They are still comfy but a little loose for my liking. Oh and make sure that you stitch the thong in! I busted my flip flop when one side came out. Luckily I could just slide it back in and sew it. I used three layers the top two to sandwich in the thong and the bottom one as a sole. I wanted to make my sole replaceable. I'm just about to replace them after about a year and a half. My next sole will be made with sole bends, I only had 7-8oz when I made mine.
-
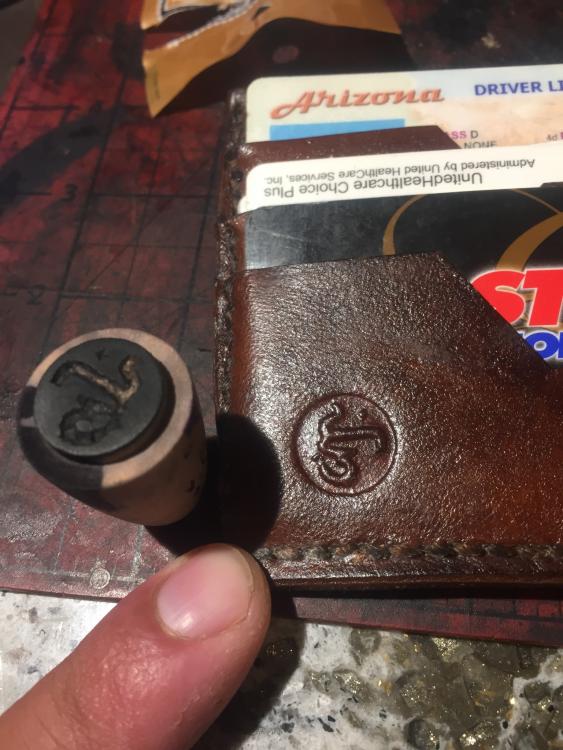
I am by no means a professional, nor an expert, but I had a similar question I was asking awhile back and the information I got was that basically anything that is harder than the leather can make a mark. I played with several ideas for my mark and so it would have been very costly for me if I went gung ho and spent money on one of my earlier designs. I went down to my local art store and bought a "wooden people" doll thing from their wood craft aisle. I cut off the spherical head part and just carved my logo in the bottom. I also have a square one that I carved out of a square wood block. It seems to me like it works. I use my arbor press to stamp in my mark. I have a belt that I wear a few times a week for the past... I think two years and the mark is still clearly visible. I think if you put it in a location that won't see much wear and tear that it will do just fine. The picture is of my EDC wallet. Ignore the black dye.... I had a clumsy moment and spilled half a bottle of my precious dye
-

celtic belt
Chief Filipino replied to sharkeyfinn's topic in Purses, Wallets, Belts and Miscellaneous Pocket Items
Great job! I love the belt keeper design! -
Ya I hear you on the lack of space/money. I think I will use this dye for small jobs and jobs that are just quick small items that don't require a lot of precision/long lasting.
-
Thank you!
-

Has anyone ever turned a charm into a concho?
Chief Filipino replied to JerseyFirefighter's topic in How Do I Do That?
I have experimented with making conchos out of quarters. I used "Alpha fry" non electrical repair solder and flux kit. I domed the quarters, brushed flux on it, cut off a tiny bit of the solder into the quarter, torched it, let it melt, then stuck the chicago screw in. It seems fairly sturdy though I haven't had a project to put it on as of yet. I may just try to tear it apart and see how much force it takes. I'm definitely not an expert though. -
You could also try a stitch groove on the next project, that may eliminate the wrinkling issue. Doesn't help you on this one though
-
There is a reason why this question keeps popping up. Have you tried to search for something on this website? A simple keyword search brings up the thousands of threads with that word in it. Then you have to try to sift through that to figure out the answer you are looking for. I have done research for many things and after going through a lot of the threads and still not finding the answer I find it easier to ask the experts. If you have any tips on how to refine the search to make it easier and more efficient since time is a precious commodity, I would greatly appreciate it.
-
Thank you! Thank you! The motorcycle masks are held on with velcro that goes around the base of the skull. The helmet straps help secure it vertically.
-
How deep does it go with the light spray of water? I tried that but seems like I still have to put on a ton of coats. I almost want to get a tray and just soak the piece in it.


