Rolandranch
-
Posts
489 -
Joined
-
Last visited
Content Type
Profiles
Forums
Events
Blogs
Gallery
Store
Everything posted by Rolandranch
-
Thanks! I did hammer the bleed knots down a bit but I think I used too heavy material for strings. Or maybe I just needed to bevel more like you were saying. Ryan
-
Thanks Ron for your comments! I would really like to enter a saddle in the Prescott saddlemaking contest. Right now I'm seriously debating if I should let my little siblings use this saddle now and make another saddle and enter #2 in the contest or if I should enter the first one. I don't think this kid saddle would place but I'd still really like to get critique from some of the best saddlemakers. The handhole isn't quite as small as it seems in the pics. I have a somewhat large hand and I can fit it easily in it. I bought a ranch saddle and the handhole was cut too small and it's quite annoying so I made sure to make this one larger. You are right about the cantle binding. I will pay closer attention to that when I build #2. You seem to have a good method for blocking the skirts. I'll definitely make some shot bags. Thanks for all the information! Ryan
-

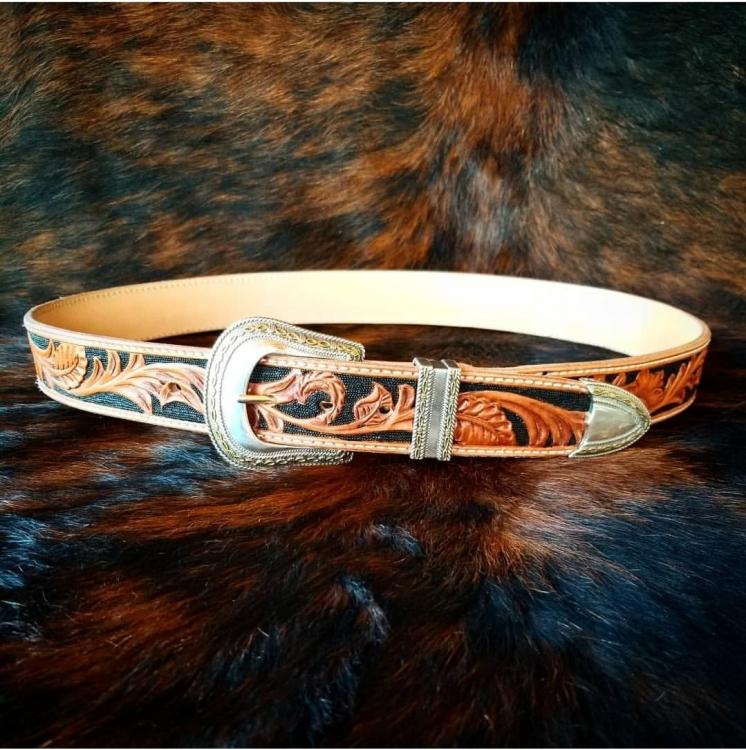
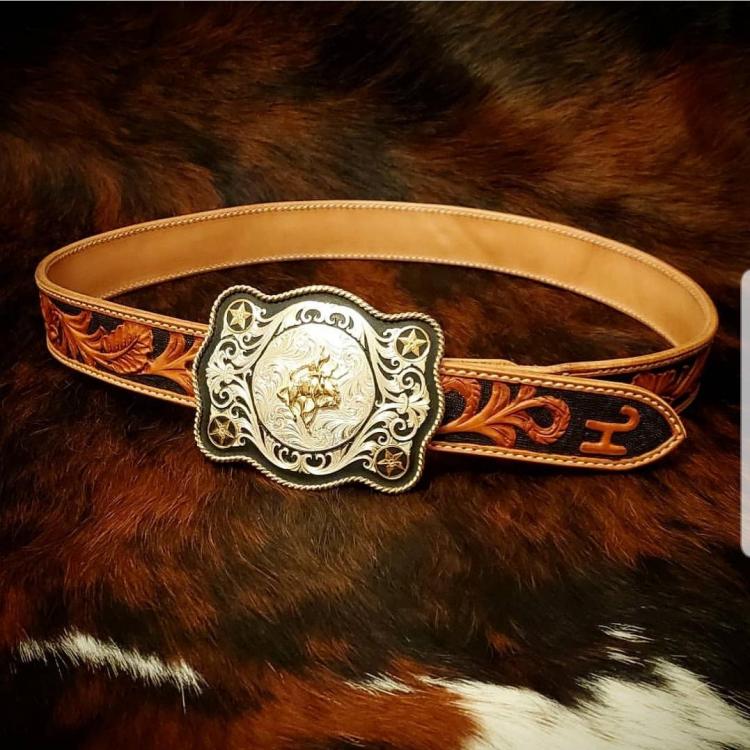
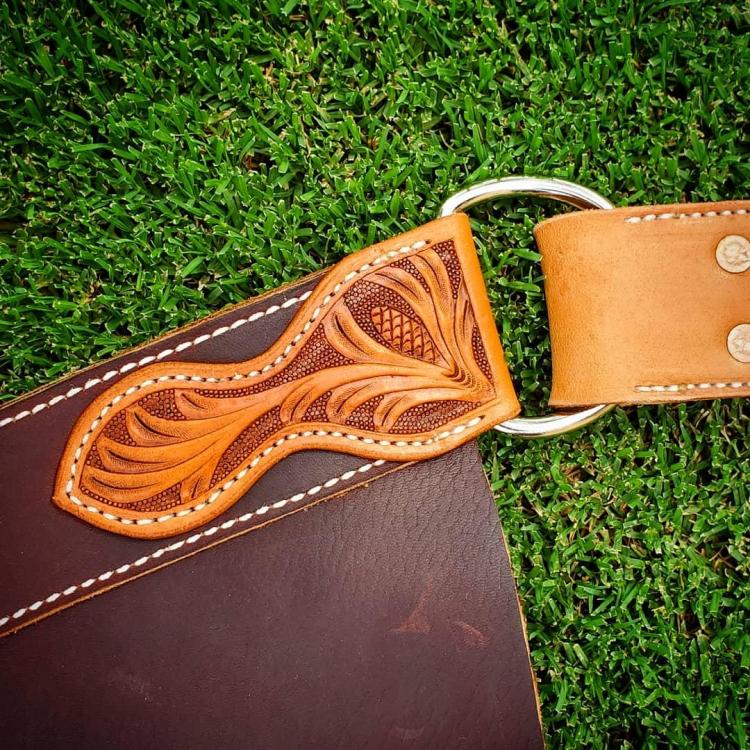
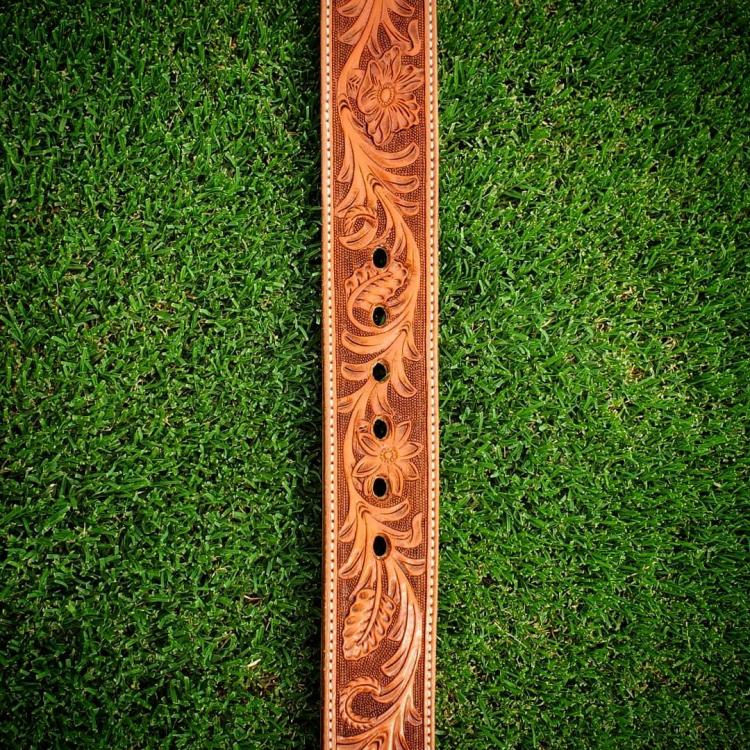
Couple tooled belts
Rolandranch replied to Rolandranch's topic in Purses, Wallets, Belts and Miscellaneous Pocket Items
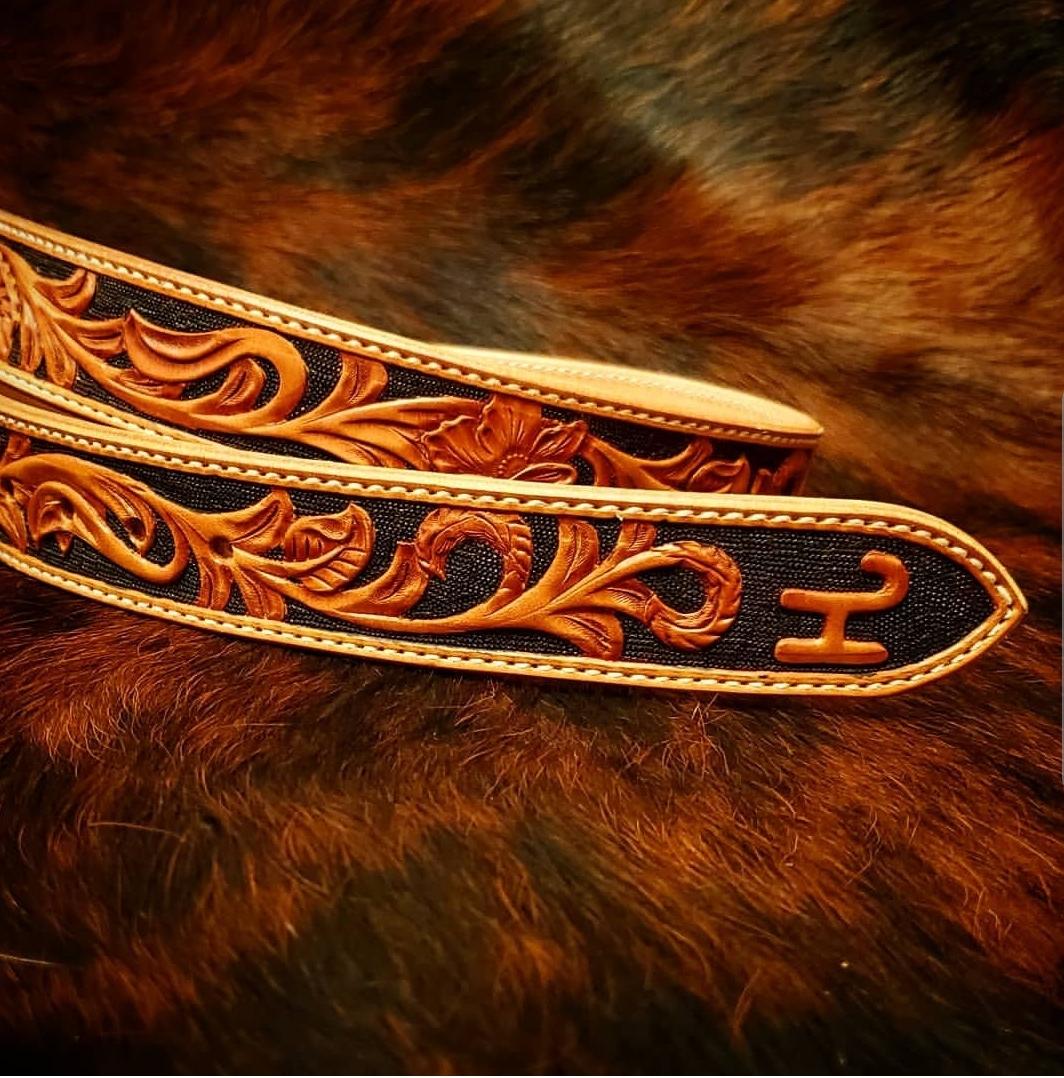
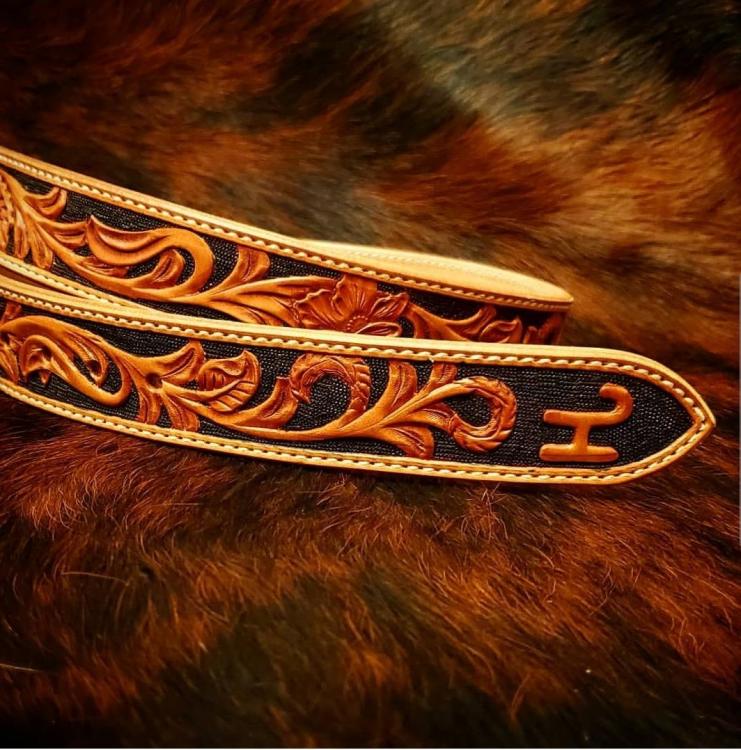
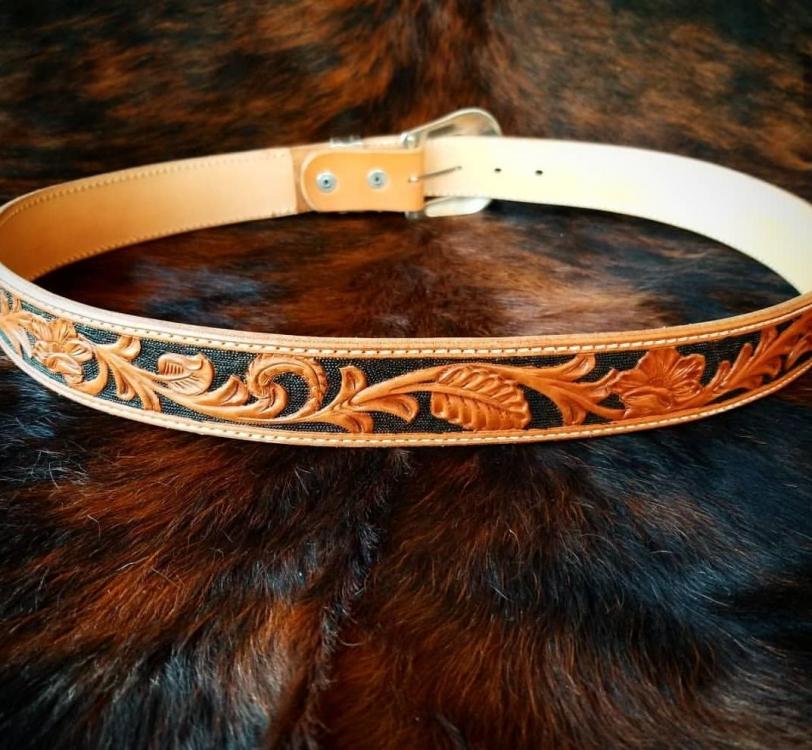
I agree it is background heavy. It's weird, when I draw the pattern on the leather it looks like it's fine, but when I carve it I notice there's more background than I wanted. The heavy background stood out even more when I dyed it. Yeah, I wasn't quite sure on how or where to end the liner. I guess I didn't want the fold to be too bulky even though I split the fold area a couple oz thinner than the rest of the belt. Thanks! Don't forget you also know how to use his hide. -
Couple tooled belts
Rolandranch replied to Rolandranch's topic in Purses, Wallets, Belts and Miscellaneous Pocket Items
Here's me practicing my roping with that steer.
-
Hey all! Here's a couple tooled belts I did. I used Thoroughbred's golden skirting and split it. Filled in the background with a paintbrush using fiebings usmc black dye. Lined them with 3-4 oz veg tan. The one with the brand I made for a friend in exchange for a roping steer so I thought that was a pretty good trade! I'm still new to tooling belts so if have any advice on the floral design I'd love to hear it. Comments/critique more than welcome.
-
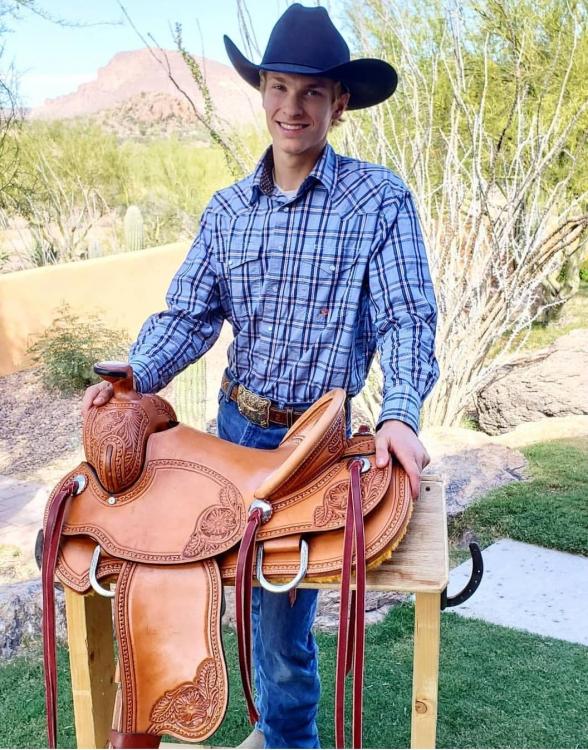
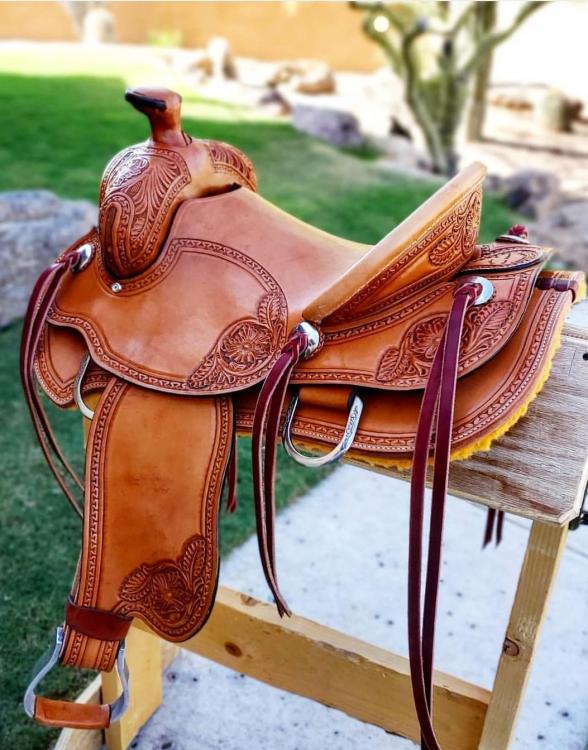
Thank you for your comments and critique! I really appreciate it. The gap between the jockeys and the skirts was my biggest disappointment. I think I needed to block the skirts a little more and I also think I lost some of the form when I installed the plugs. You're right about the skirt edges. I didn't dye them because of the other thing you mentioned, the shearling needs to be trimmed more. My electric trimmer broke so I had to trim the shearling with scissors which didn't do as good of a job. When I dye edges with poorly trimmed shearling, it's too easy for the shearling to absorb the dye and looks messy. So I decided to hold off on dying the skirt edges until I get new trimmers. Good point about the horn. Looking back, I should have trimmed the horn a little closer to the stitching. It turned out a little bigger than I wanted. I cut several practice holes in scrap leather to see how small a hole I could cut and not have it tear. I followed Stohlman the best I could for the horn but I think I pulled the swells on and off a few too many times because it was my first go at swells. That probably made the hole stretch a little bigger. I owe you a couple cokes I did a big no no on the swells. I trimmed one welt too close an exposed a stitch or two. Thank goodness I didn't cut any stitches! I glued a shaving over my mistake burnished it and antiqued. It's still a mistake and it's still there but not as noticeable. Oh well, live and learn I guess. Thanks so much! Ryan
-
Haha thanks Jeff!
-


-
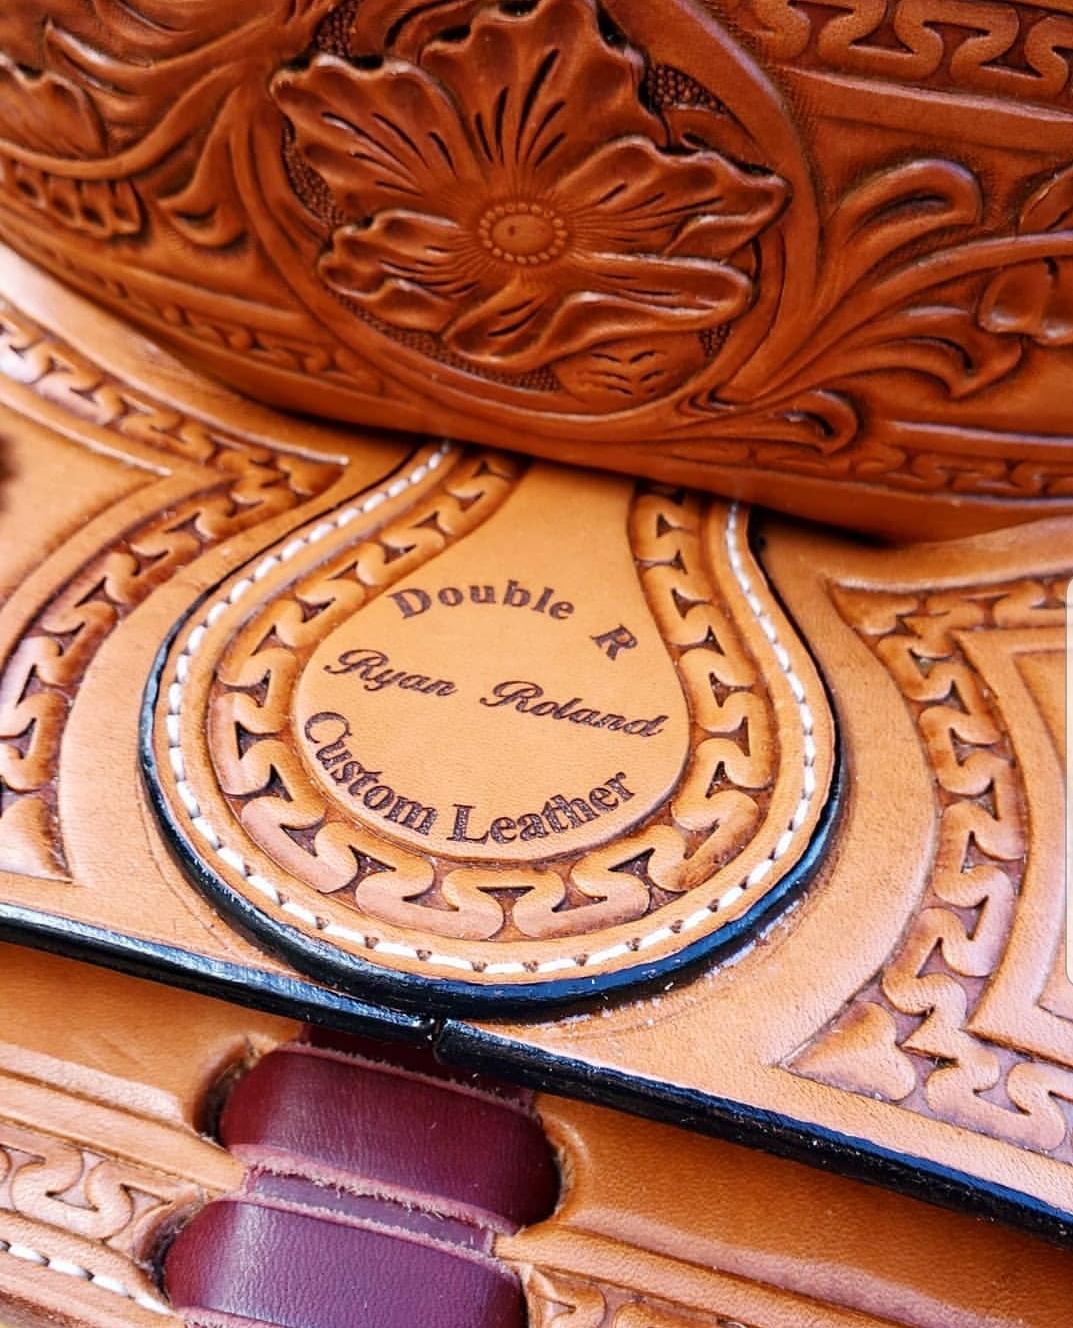
Hello all! Here is my first saddle build. It's a 13 inch youth saddle for my younger siblings. (I figured my first saddle should for kids who wouldn't mind all the mistakes.) It took me 20 days from start to finish on this rig. I used thoroughbred leather. It's far from perfect so if you have any critique I'd love to hear it! Thanks! Ryan
-
Fender Tear Repair
Rolandranch replied to steven1's topic in Saddle Identification, Restoration & Repair
I have repaired fenders both ways. The only time I glued and stitched a liner was because it was my own, the tear was much smaller, and I was trying to save a dime. It's still holding up fine but like I said, it was a much smaller tear. I would do what Randy said and build new ones that look similar. It'll look nicer and it'll be a lot safer for your client. You definitely don't want an accident to happen because of a poor repair job. The saddle maker I apprenticed under always told me to do the best quality work and not take shortcuts because others will look at your work and judge your ability based off of what they see. Before I got into leatherwork, I had a saddle repair guy fix my torn fender and he lined and stitched it. He charged me a fortune and the fender tore again within a week. You don't want to be that guy. Anyways that's my 2 cents. Take it for what it's worth. I've only repaired a bunch of saddles and helped make a few but haven't done one on my own yet. -
Wow very nice!
-
Oh, come on now. Seriously, Tiny Again?
Rolandranch replied to YinTx's topic in Floral and Sheridan Carving
I thought so. Clever! -
Sheridan tote bag
Rolandranch replied to Rolandranch's topic in Purses, Wallets, Belts and Miscellaneous Pocket Items
Thanks! I sold it for 800 but considering the time it took and material cost I'd have to charge more next time. -
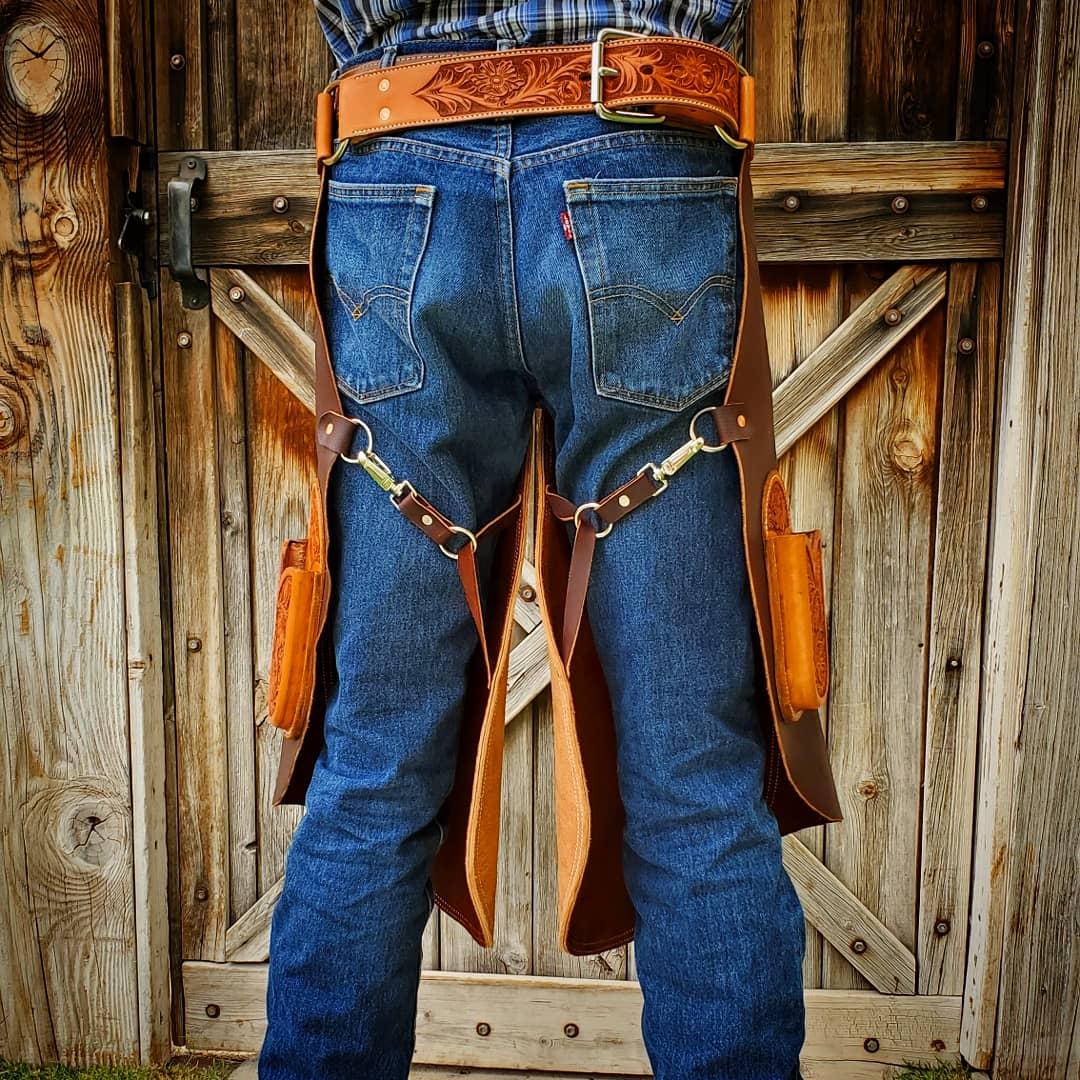
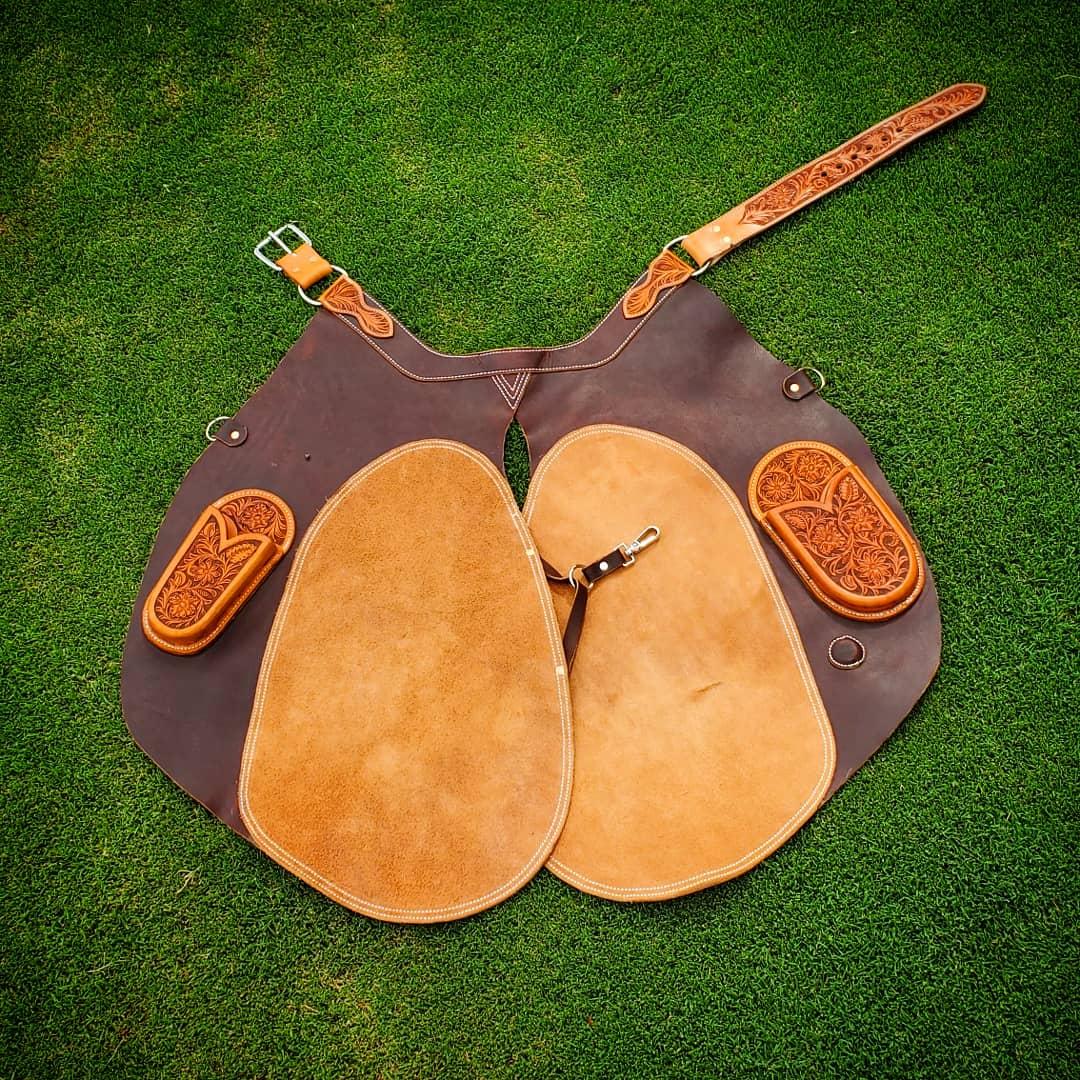
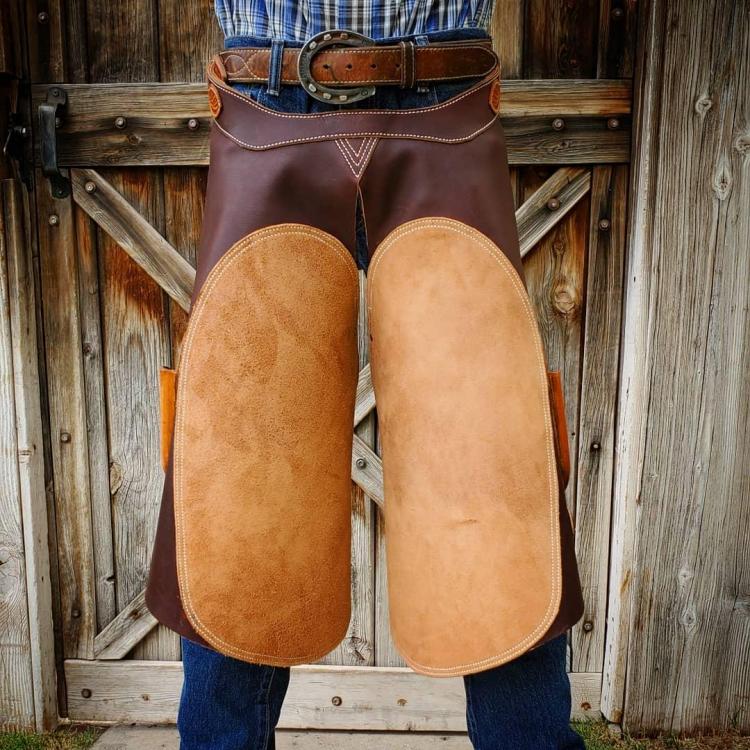
Fancy Farrier Aprons
Rolandranch replied to Rolandranch's topic in Clothing, Jackets, Vests and Chaps
Thank you so much! Thanks! I appreciate it Ferg! -
Oh, come on now. Seriously, Tiny Again?
Rolandranch replied to YinTx's topic in Floral and Sheridan Carving
Is the flower center a modified backgrounder? Ryan -
Working Chaps (Bison)
Rolandranch replied to Rolandranch's topic in Clothing, Jackets, Vests and Chaps
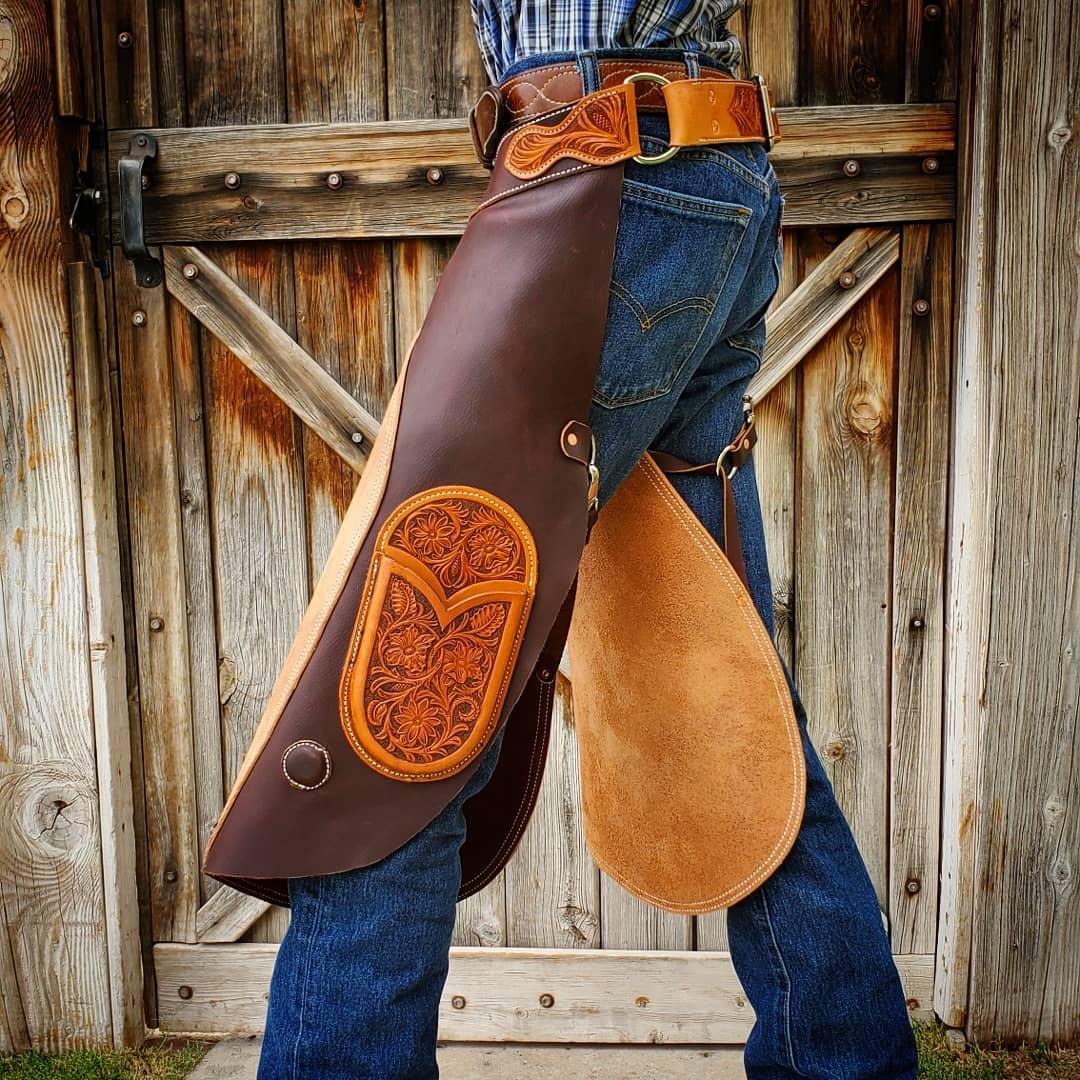
Thank you! He says he's been riding hard with them and they hold up really well. That's good news. I kinda want to make a pair for myself now lol. The pockets sure come in handy since it makes it easy to get to your phone and you can't get to your pant pockets when wearing chaps -
Fancy Farrier Aprons
Rolandranch replied to Rolandranch's topic in Clothing, Jackets, Vests and Chaps
Thanks! Lol after all that work I sure hope they get used a lot! -
Fancy Farrier Aprons
Rolandranch replied to Rolandranch's topic in Clothing, Jackets, Vests and Chaps
Thanks for viewing! -Ryan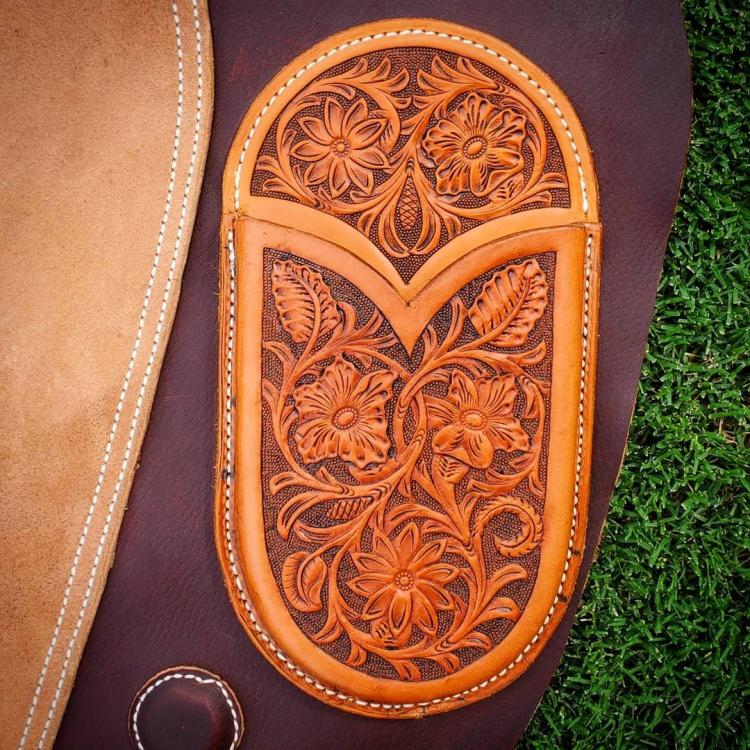
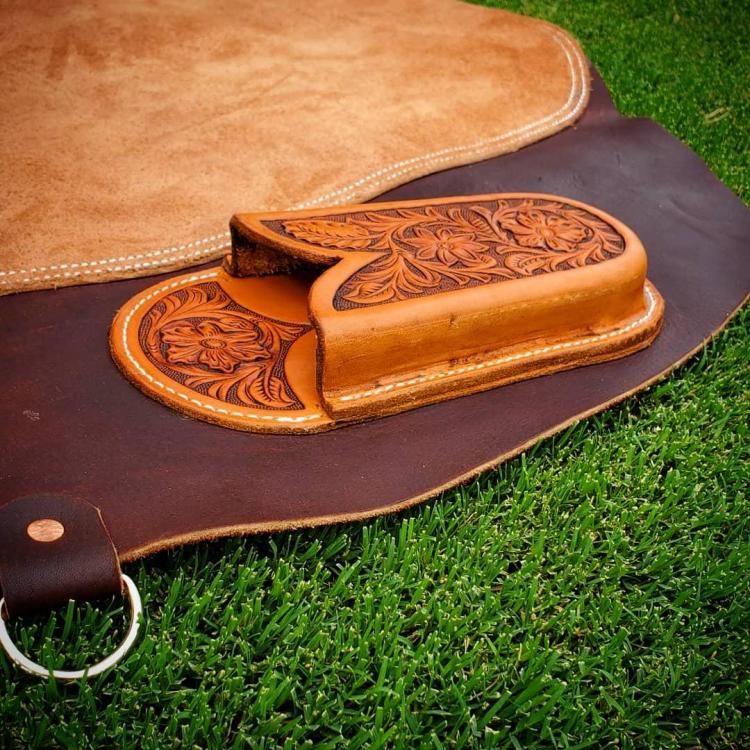
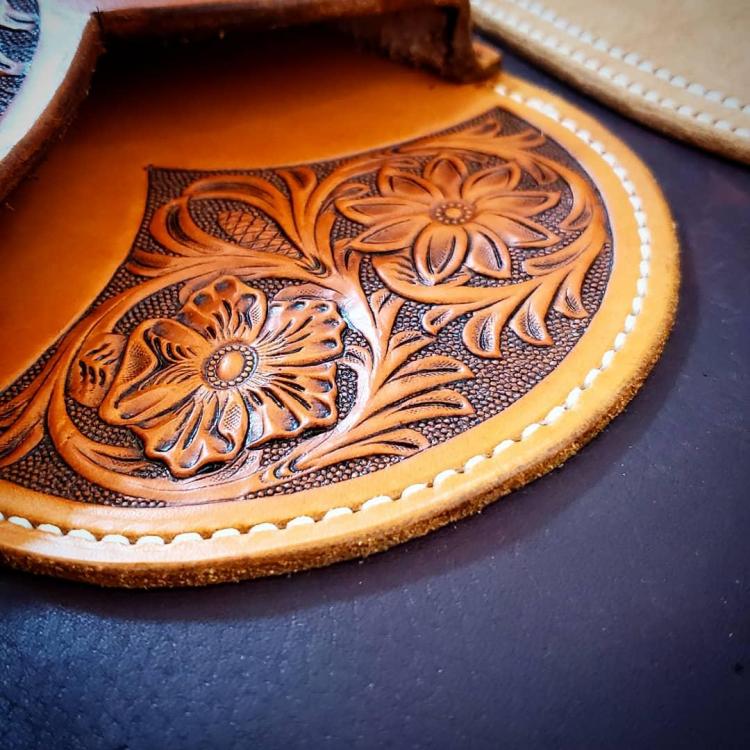
-
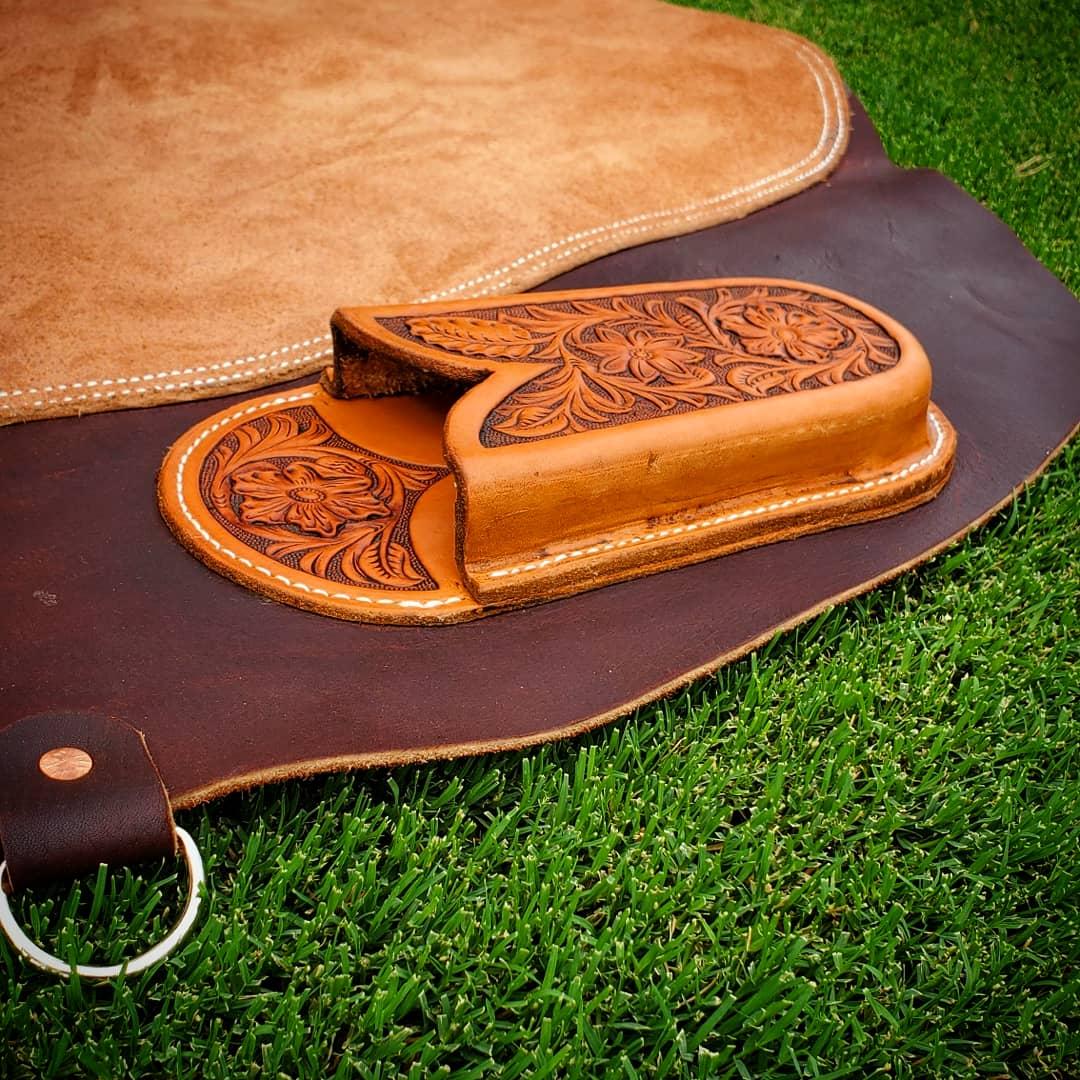
Hi all! It's been a little while since I've posted. Here's the latest thing off the bench. This is also my first time free-handing sheridan-style carving. Let me know what you think. Comments/critique always welcome.


-
Working Chaps (Bison)
Rolandranch replied to Rolandranch's topic in Clothing, Jackets, Vests and Chaps
You sure can but sometimes its really close so if you pick a side out yourself, get the largest one with the fewest holes. -
Sheridan tote bag
Rolandranch replied to Rolandranch's topic in Purses, Wallets, Belts and Miscellaneous Pocket Items
Thanks! It was the customer's idea lol -
Unfortunately, these wackos are my generation. That's why I like hanging around the older folks rather than my peers.
-
Did a mobile app ever happen? Ryan
-
Sheridan tote bag
Rolandranch replied to Rolandranch's topic in Purses, Wallets, Belts and Miscellaneous Pocket Items
Thank you! Sorry for the late reply. Hardware probably would have been better, but the lady wanted it this way. I glued and stitched the ends of the braids to the panel, then glued and stitched the shield cover over it. I did a practice piece and pulled on it as hard as I could and it wouldn't budge. So as long as she doesn't carry gold ingots in the bag I think it'll be alright. -
How did you get into leather work?
Rolandranch replied to Rolandranch's topic in Leatherwork Conversation
That's great that you enjoy leather work over video games. Most of my friends would rather play video games than making something. My family does not have a TV so everyone's usually busy making something. God certainly does provide. I'm very blessed to be able to do leather work! Congrats on graduating! I'm 17 so college is just around the corner. I'm probably going to get a degree in business and then go back to my many hobbies, including leather work, and be an entrepreneur.