ryano
-
Posts
411 -
Joined
-
Last visited
Content Type
Profiles
Forums
Events
Blogs
Gallery
Store
Everything posted by ryano
-
Tools, tools, tools and more tools!
-
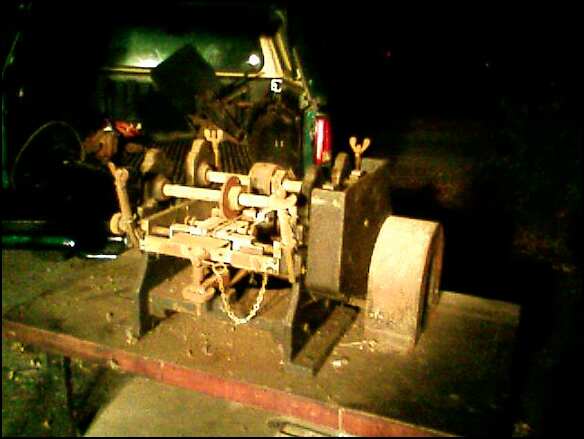
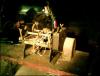
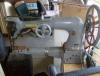
Here are a few of my leather working tools when I first got them and before I cleaned them up. The big machine is an edger that edges all 4 sides at once.

-
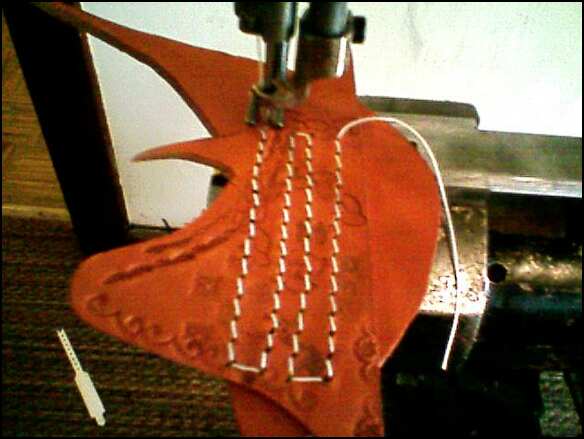
It stitches very nicely. Here's a pic of it sewing 2 12oz pieces together with 277 top and bottom thread.

-
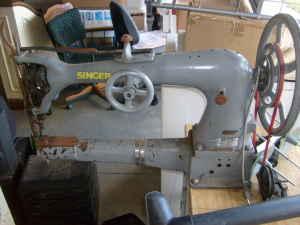
I must be a glutton for punishment. I just bought another old huge Singer to play with. Why, why, why! lol Thanks!
-
Did ya get your machine going yet? Let us know.
-
Help i have streaking
ryano replied to TinyL's topic in Dyes, Antiques, Stains, Glues, Waxes, Finishes and Conditioners.
I guess it maters what company brand of deglazer you are using. Weavers(Leather Coatings Inc.) and Angelus deglazer "are" denatured alcohol. -
Oh by the way, I am going to run Landis I needles in my machine. They are a little long, but they will work fine with a little modification. I just do not want to step down to a 794 needle.
-
Thanks guys! It was a sweet challenge! I have rebuild a lot of machinery from robots, lathes, to CNC mills and the sewing machines are the most challenging. Well Mr. Peterson I would like to know the part number of the foot you would like. They are listed in the 97-10 parts manual. I am assuming a left and right foot. Once I have that I will get started on it for you.
-
Well thanks again for all your help. I got it up and going finally. I had every nut, pin and bolt out of it. I am now a 97-10 expert! lol I just need to adjust the tension a little.
-
Allen, I would stay away from those two machines. They are too much for one, also they are not walking feet machines. For that kind of stuff a Consew 226, Juki 563(big bobbin), Juki 562(small bobbin) will all work fine and all have reverse and are walking feet machines. They also have 1/2 in. lift. A Singer 111w155 will work fine also but does not have reverse.
-
Help i have streaking
ryano replied to TinyL's topic in Dyes, Antiques, Stains, Glues, Waxes, Finishes and Conditioners.
Denatured alcohol is the same thing as deglazer. They have it at ace and w.m. -
Let us know what you need so we can locate the parts for you. Or make them if needed.
-
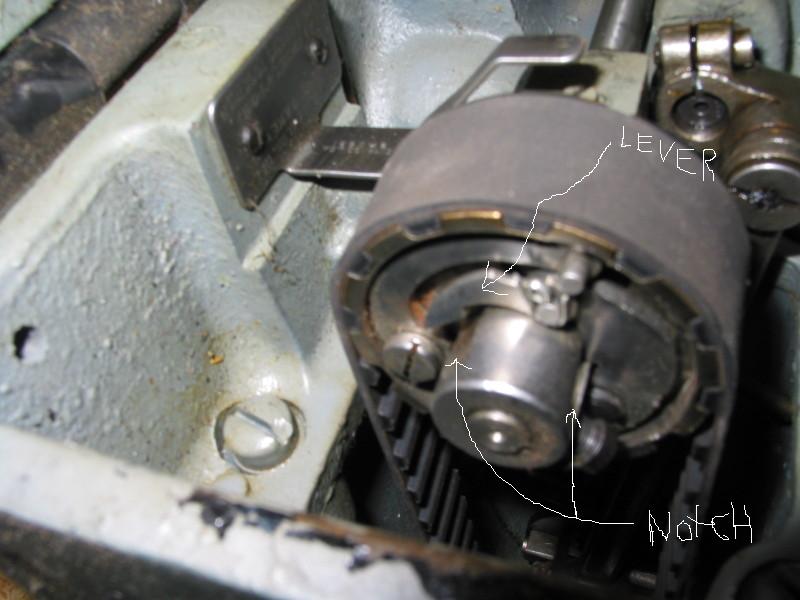
The lever needs to be pushed down and locked into "one" of the notches on the main shaft. There is more than one notch. The feed dog is the part, with the teeth, that the needle goes into that grabs the material on the top part of the machine. Sense there is more than one notch on the main shaft, you need to know which notch the lever goes into. If the needle does not line up with the feed dog after you push the lever into a notch, try another notch until the needle lines up with the feed dog. That's it. I hope this helps. Good luck!
-
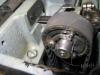
Hello! I see the safety lever is not in contact. It is the arrow looking piece to the right of the top screw in the bottom picture. Make sure your needle lines up with the feed dog and take a screwdriver and push the safety lever back into the groove. It should snap right back in. Good luck.
-
Glad you got your wallet back. Ya better not charge him for the one you're going to make him now.
-
Wow that is super! Great job!
-
Great thread! Too many cops though! lol Well lets see, at the moment I am a Singer Sewing Machine technician. I do a little machine work, welding, leatherwork. I have been making obsolete sewing machine parts at the present time, welding a floor in a 57 chevy and a 56 chevy conv. Oh yeah I almost forgot, I am a degreed Industrial Engineer who designs manufacturing machining processes, machine design and plant layouts. I just like turning chicken crap into chicken salad.
-
The supply book has the prices in it.
-
Cementing leather during holster assembly
ryano replied to Lobo's topic in Gun Holsters, Rifle Slings and Knife Sheathes
Tanners bond smells just like Elmers glue. -
Well I think a may know a little more on whats going on with this machine now buy studying your pictures. It will take me a bit to get the machine up and going again. I'm working in the dark with no light, so to speak. I have no prints, nothing to refer to as far as measurements. I now see 3 parts that have been replaced with parts that may have been made in a "local" machine shop. Hat's off to whomever made these parts(I think). A few things I that I see are wrong are that non of the corners have been chamfered causing binding in the corners because of lack of clearances. I will not let this machine beat me!
-
Thank you so much! You are a life saver! You just earned yourself a stirrup plate at no charge! I can see part number 58735 is home-made in mine. Do you have a part number for the foot you would like made so make sure we are on the right page with that? I will be studying your pics for a while. Thanks again!
-
That's what I needed and mine is in correctly. Just can't seem to figure it out right yet. Thanks for taking the time to take and post the pictures. I greatly appreciate it! Can I ask you of you another favor? Can you please take off the cover plate in the front of the machine, where the needle bar is located, and snap a few pictures of that? Thanks in advance!
-
The first set of pictures disappeared. Your pictures are helping me out a lot! Thanks!
-
Great pictures! Thank you! Great museum too!
-
Did you get a machine yet?