Sinbad395
-
Posts
42 -
Joined
-
Last visited
Content Type
Profiles
Forums
Events
Blogs
Gallery
Store
Everything posted by Sinbad395
-

Tipmann Boss, Cowboy Outlaw, Weaver Cub
Sinbad395 replied to thenrie's topic in Leather Sewing Machines
Don't know if it will make a difference to you...but when you buy the Cowboy Outlaw it comes with all the accessories, including an edge guide and RH & LH footed half shoes for close in edges and a couple of extra bobbins, which are fairly large. While it may not be as fast as the flywheel driven Weaver Cub, I find mine to be easy to set up,decent instruction guide, and very consistent with minimal practice. As far as back or reverse stitching, I have found it more consistent to leave the threads long at the ends of the run and hand sew the backstitches. Don't know how well that would work on saddles, but there are ways to go about that using the machine. -
Which Hand Operated Sewing Machine works Best?
Sinbad395 replied to MarshalWill's topic in Leather Sewing Machines
I recently purchased a Cowboy Outlaw. I really like it. It came with attachments in the box and a few small spare parts and bobbin. Its built very sturdily and seems to do what I want it to. The manual with the machine is ok, could use some more detail but informative. It will, as with all machines take adjustments for type and weight of materials being sewn to perform at peak. That part is pretty straight forward and covered reasonably well in the manual. Not sure you can call this a professional machine, but in my world as a hobbiest, this thing is built like a tank and is very reliable and consistent with a small amount of practice. -
Joe Mehling UTube video Improve your tooling in 30 minutes Its an excellent technique demonstration
-
thanks for the heads up on that
-
Great work and I love the color also...might have to get me some
-
Those are so cool.
-
That is one awesome piece of work. The details are so precise.
-
I probably should have mentioned the wallet is only half done. I like to do my dyeing before assembly and edge finishing. I'll post a pic when I've got it completed--installing a black pigskin interiaor
-
well I tried to remember that... guess I was just getting carried away at that point Thank for looking Thanks for the suggestion. I will look into that one---not a huge investment there.
-
Thanks for the feed back---been kinda looking for new background tools- just haven't made up my mind Never thought about the 3 lines--now that you mention kinda out of place should have filled in that space Sheridan Style Steel Steep Angle Checkered Beveler Stamp Set include numbers SKB701-2, SKB702-2 & SKB936-2. Craft Japan Tool Sheridan Style Steel Steep Angle Checkered Beveler Stamp Set include numbers SKB701-2, SKB702-2 & SKB936-2. Craft Japan Tool
-
The underside of a table perhaps?
-
Thank you thank you
-
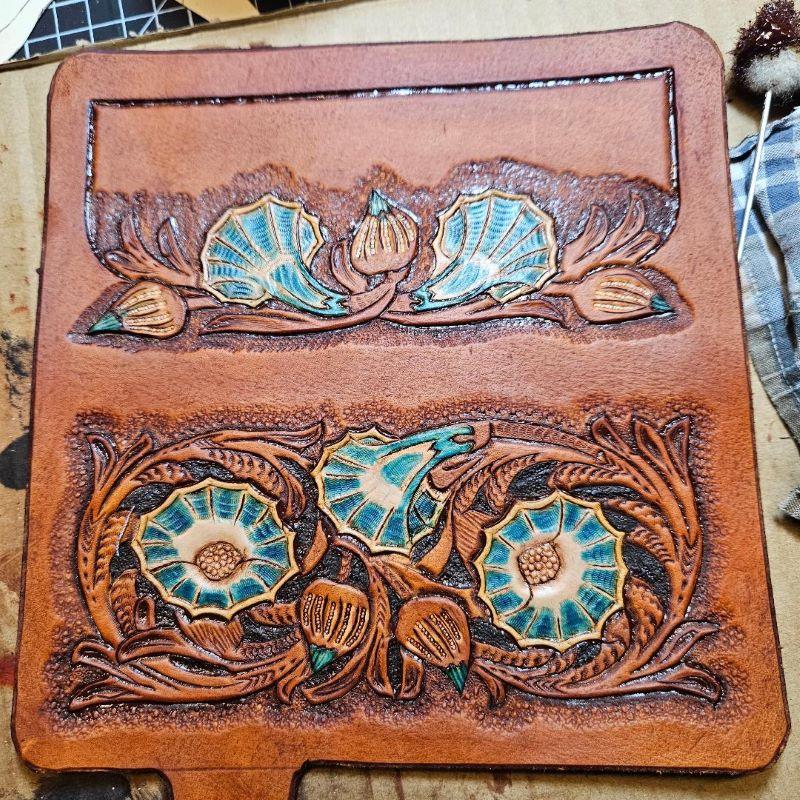
This was an attempt to improve my skills....new set of steep angle bevelers and thumbprints from Pro Leather Carvers, new 1lb maul vs 12oz mallet (Tandy) and first time with Fiebings antique paste. Also used Tandy Canyon Tan, Deep Evening Blue, Fiebings Pro Yellow on 5-6 oz veg tan. Loved the bevelers---maul needs practice but I like it and will look for upgrades as I spend more time with it. Thumbprints were a nice add to what I had, but need refinement. Watched a Joe Mehling? video. I think I might have liked to resist the vinework before the antique to give it more of a 3 tone look. PS I will not be offended by any comments made here.. I love the dialogue here and have learned so much about different techniques, it makes my head spin. So fire away---what do you see?

-
That is really slick!!!!
-
Looks like it has potential to turn out real nice...when I do something pancaked I edge bevel the front panel before I glue and stitch. Both sides across the opening and all around the front panel. Makes it easier to blend the edge where front and back meet.
-
love the creative solution and the clean looks
-
Sorry you had a learning curve like that. I just purchased an Outlaw last weekend and am loving it. The Tandy salesperson (who has their own leather shop) and a Tipman Boss (similar machine) was very careful about explaining all the functions and adjustments. It took me about 3 tries to figure out what they meant about holding the thread out the back for the first couple of stitches, but then it was a matter of adjusting stitch length for the project and learning how to follow my stitch line. I have to work on back stitching some--but that will come with experience. Good luck to you and keep at it.
-
You go Frodo!!!!! PS thanks for the description for your procedure on this. But (and I may be mistaken here) it seems you are still having problems with the new air brush. Are you thinning the dye? The few times I've used mine, that got me the best results for even color. Also had to play with the nozzle setting to get a wider spray when trying to cover larger areas.
-
A tip of the hat to your out of the box design. The execution is outstanding.
-
the detail in this is pretty amazing...how did you go about making the feathers on the body of the bird if I may ask. out standing work
-
a little dryer before you bevel....and you can touch up with a modeling spoon to level out the surface. I have even used a spoon instead of a beveler on some small areas. If the casing is just right you can get that burnish with a spoon. Start very lightly and make progressive passes with firmer pressure til you get the full depth of the cut.
-
Have you thought about these? Sandwich in leather--pre drilled holes for snaps or rivets https://tandyleather.com/products/thumb-break-stiffener-10-pack
-
super clean tooling nice work
-
just purchased the Springfield Leather 4mm set. they seem to work reasonably well for a reasonably priced set.
-
Thanks for the compliment----I had run across your post mentioning this before and saw your picture-excellent job of finishing it. Unfortunately I don't have a drill press. I should have pre punched all the layers separately and lined them up with with pins as you have mentioned. But I was too excited and impatient to keep moving forward, that I thought I'd just give the old awl a shot. Lesson learned--slow up--take a breath and take a practice run at it. Every piece is different and I do very little repetitive work. Keeps things interesting