Gezzer
-
Posts
1,033 -
Joined
-
Last visited
Content Type
Profiles
Forums
Events
Blogs
Gallery
Store
Everything posted by Gezzer
-
WELCOME !!!!
-
Recent Tool Bag
Gezzer replied to Hook57's topic in Purses, Wallets, Belts and Miscellaneous Pocket Items
Nice work !!!! -
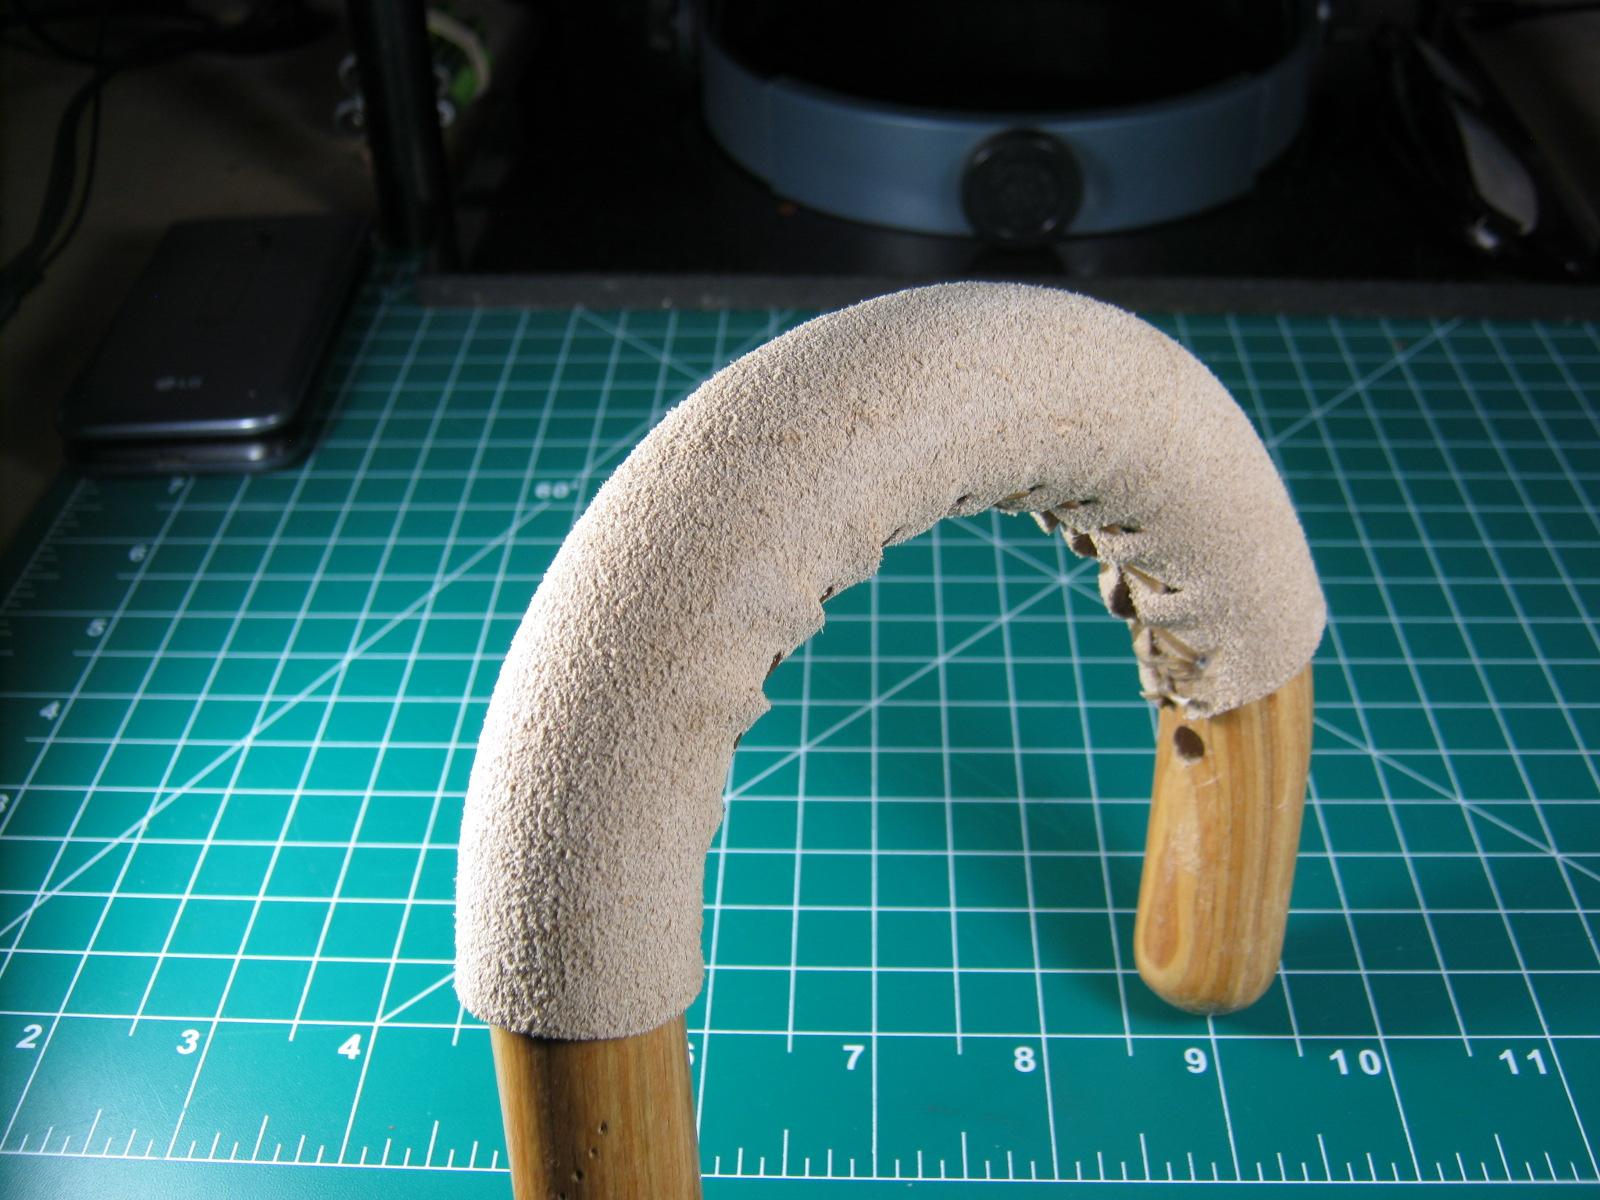
Another non-slip option is split or suede or roughout veg tan .
-
Snakeskin wallet
Gezzer replied to Fraulein's topic in Purses, Wallets, Belts and Miscellaneous Pocket Items
OUTSTANDING !!!!! That looks awesome . -
I won't be much help , as a carpenter for most of my life I can only tell you add no more weight than you have to . For me the best thing they ever did was add the clip on the side of drills , no more need for a holster. Electricians may have other needs ? Good luck
-
Nicely done !!!
-
Phone case for retired Fire Fighter
Gezzer replied to YinTx's topic in Purses, Wallets, Belts and Miscellaneous Pocket Items
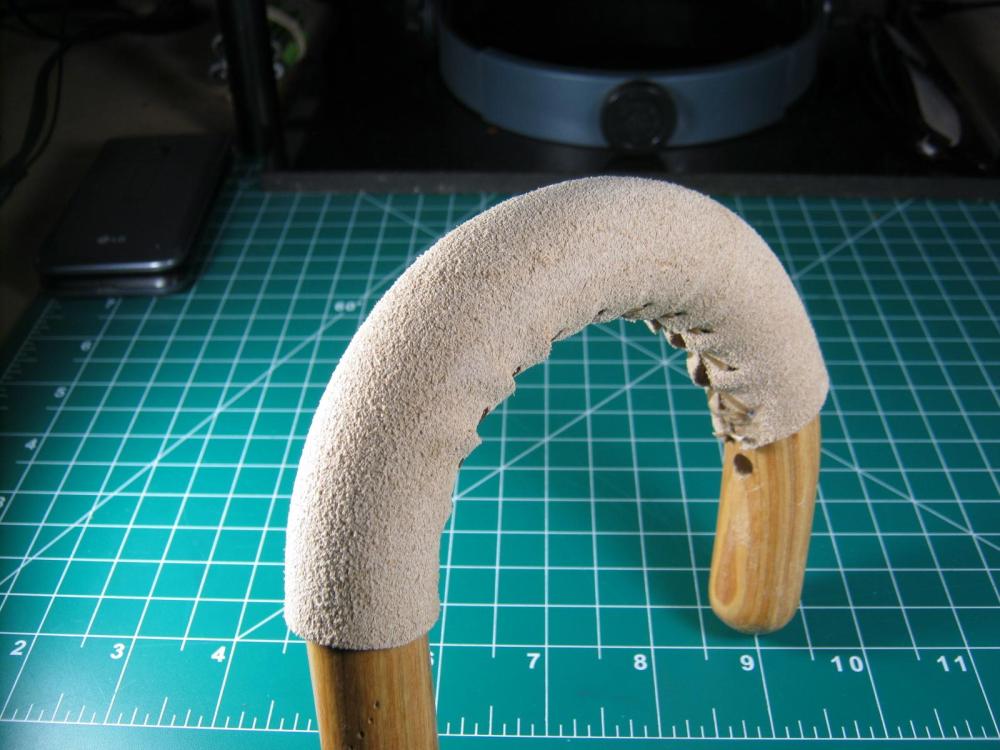
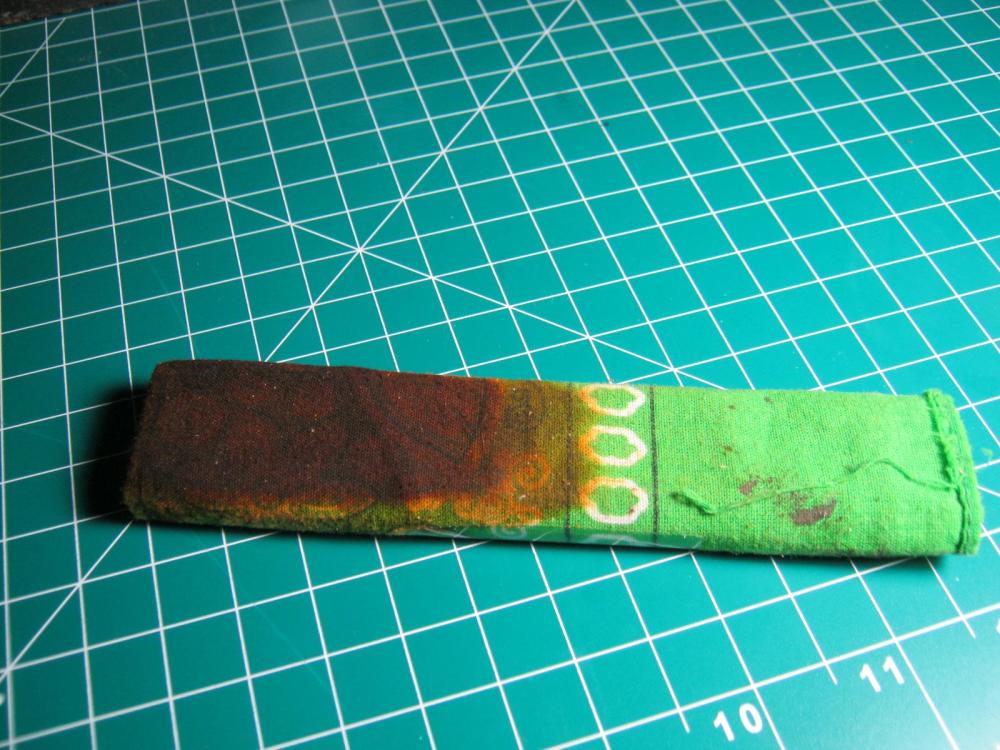
Looks good and should be easy on the joints -
For 2 tone I would brush the lighter color on all of it and then using something like this hit the high spots with the black . Be sure to dab the black off onto paper towel before going to the hide , you can control the amount better. This is just a small piece of hardwood wrapped inside . If you want the ( secondary knobs ) lighter like I understood you to begin with , I would use a very small brush and resist them before applying anything , them same as above . This is how I would go about it but I haven't ever done one
-
I had look that up to .
-
Searching for a natural, stiff material
Gezzer replied to SeaCitadel's topic in Leatherwork Conversation
Just a thought but canvas coated with clear epoxy might work ? The epoxy might be too far from natural for your needs . -
That is very nice !!!!! She should be well pleased , good luck to the both of you at the market !!!
-

-
Nice tooled Belt
Gezzer replied to Handstitched's topic in Purses, Wallets, Belts and Miscellaneous Pocket Items
Looks very nice ! Also looks like a LOT of hand stitching -
Thanks and my money is on you , I am betting you'll give it a go Thanks , I am the same ( not that anyone would want to copy something I did ) way in fact . I figure if somebody does , I may learn a better way to do it .
-
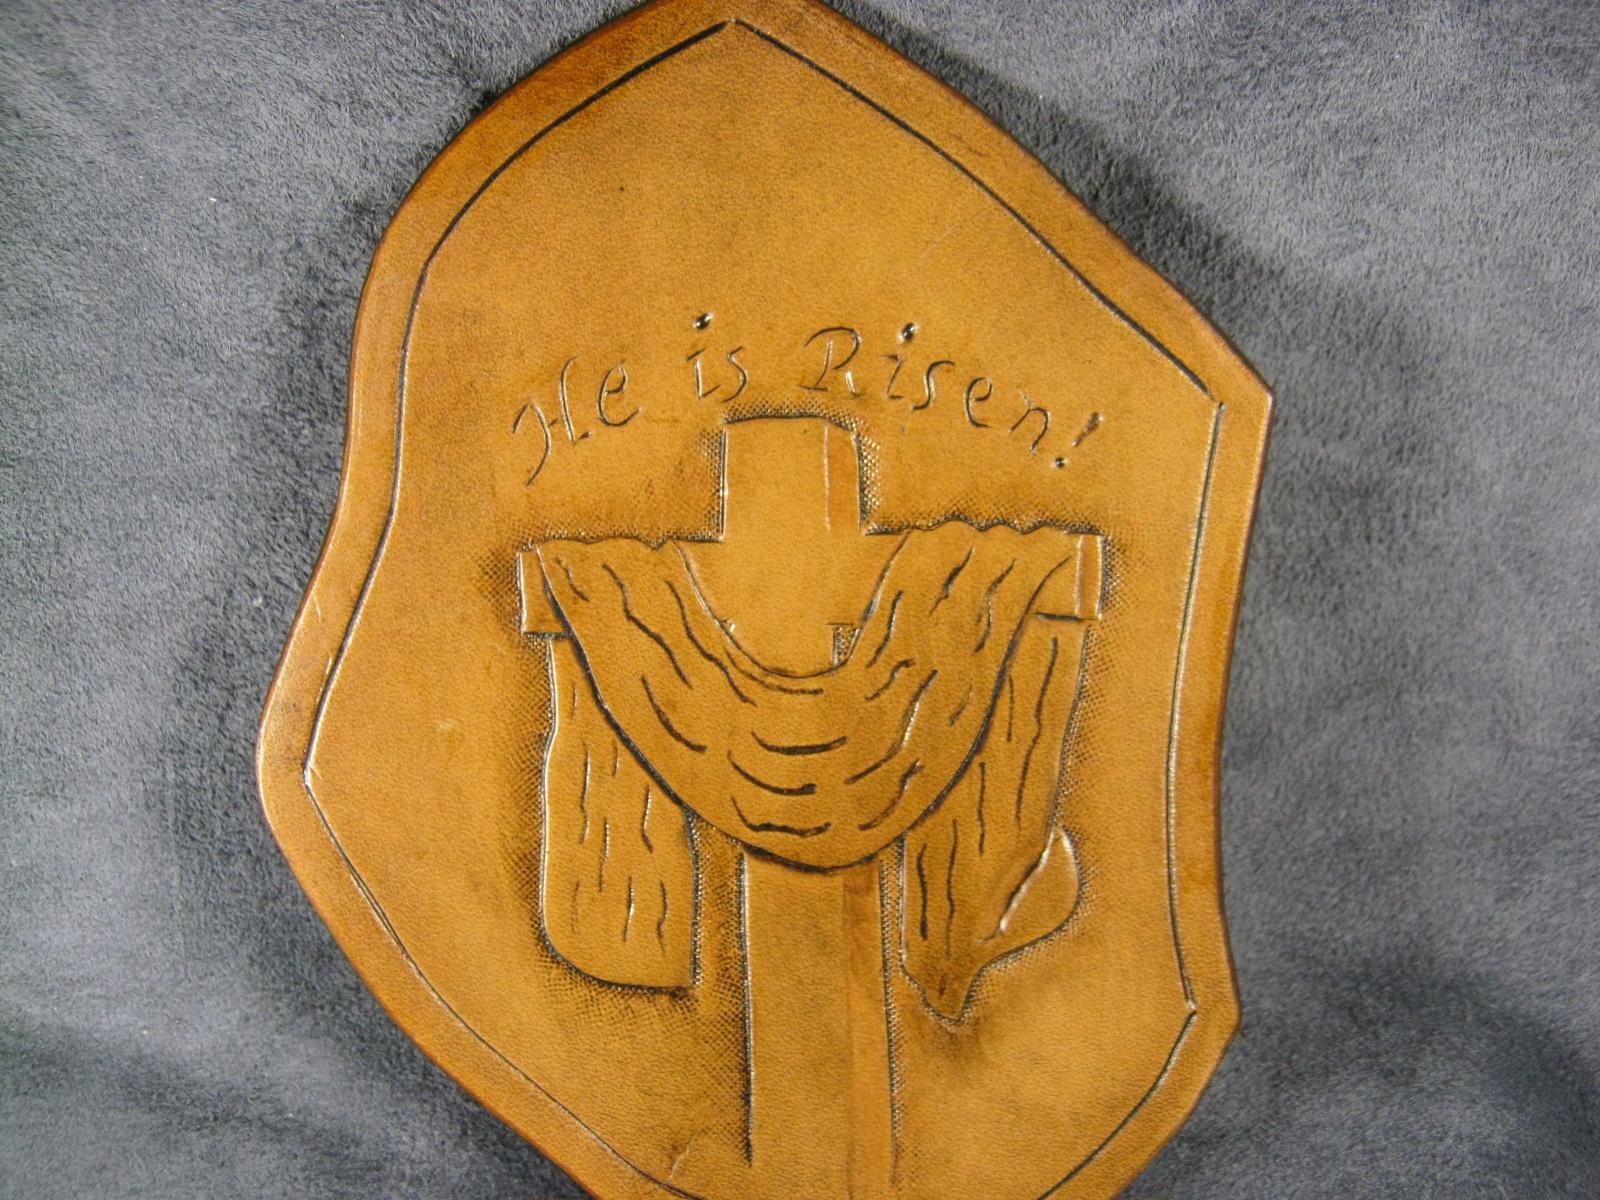
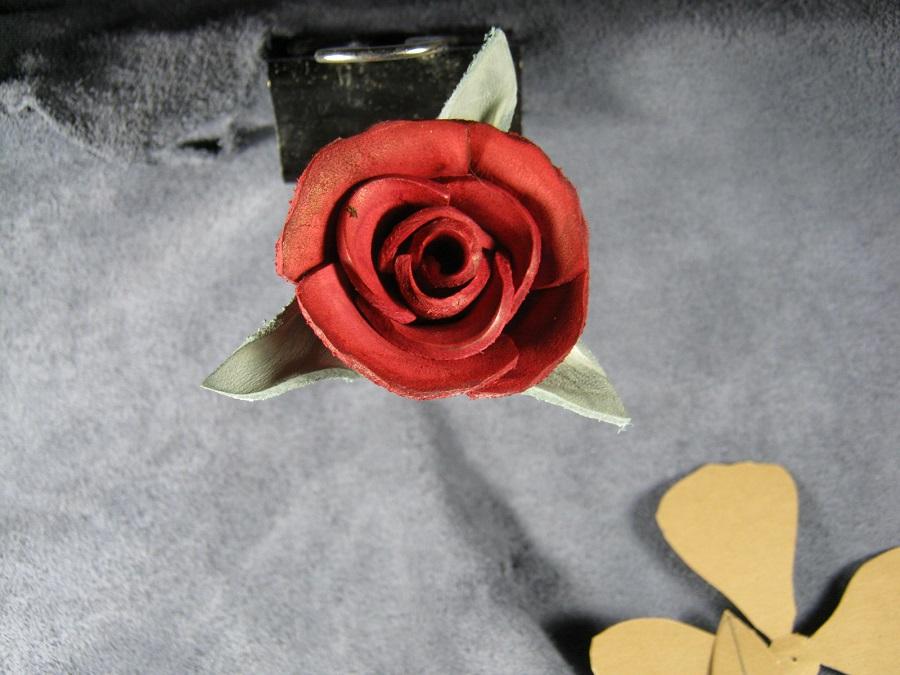
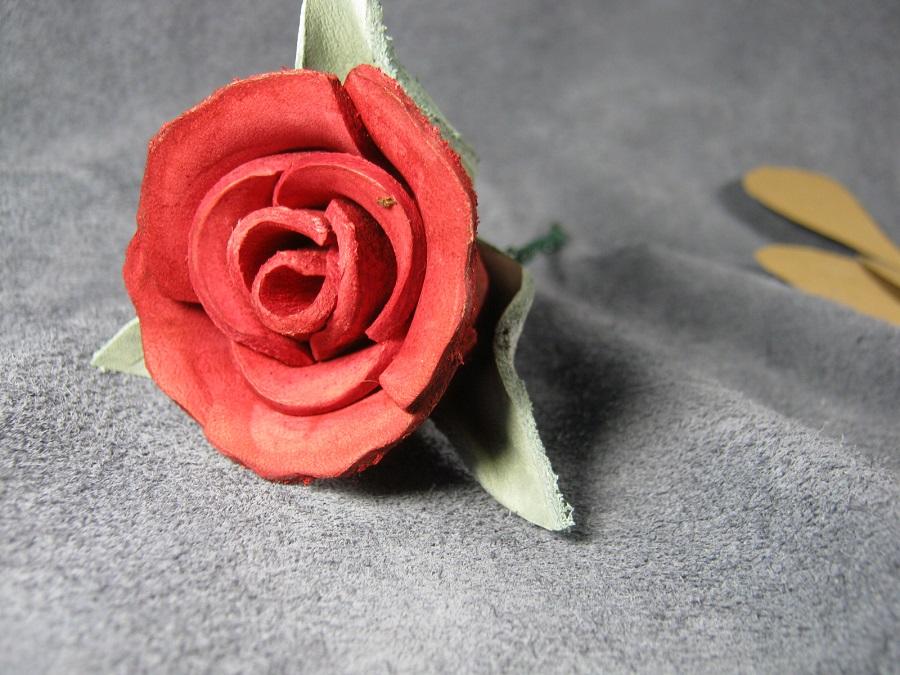
Well , Chuck's roses inspired me to try this but I am almost afraid to post it after todays discussion on copying others ideas ( but I did make my own pattern from scratch ) Nowhere in the same ballpark as Chuck's but it's a start . I think that brown stuff is dried dip that I didn't see before I took the pics....... Please excuse
-
Braver than me , I won't hardly click on a link but I am old and untrusting
-
Flashlight is like your pants .... don't leave home without it I use the pocket clip BUT yours is a great idea !!!!!!!!!!!!!!!!
-
I looked at the link and read the same but I did see a contact number a person could call and maybe get info on where they are made . I am like you from just reading it was not clear to me .
-
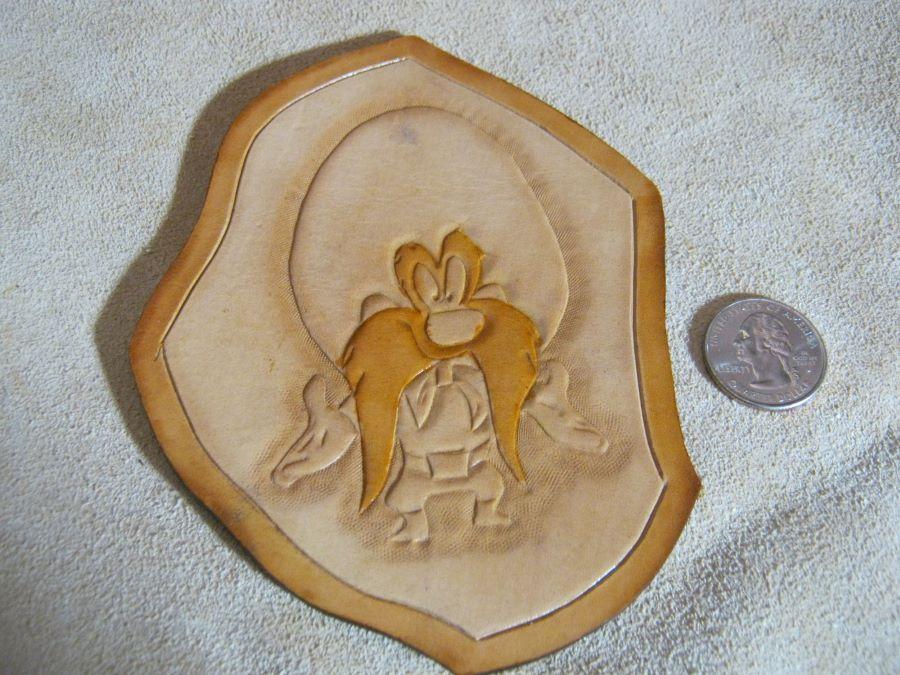
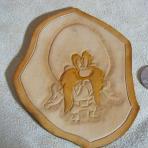
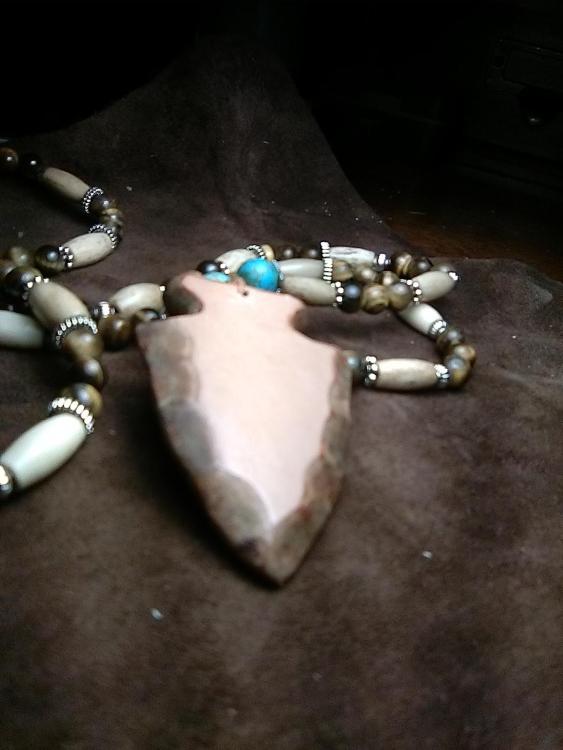
Not in the same ballpark but when I make these arrowheads , I glue the blanks up and then when dry work the edges like Chuck said . Cut, shape , sand, and burnish . I am betting the the edges up top sre done much the same . my $ 00.02
-
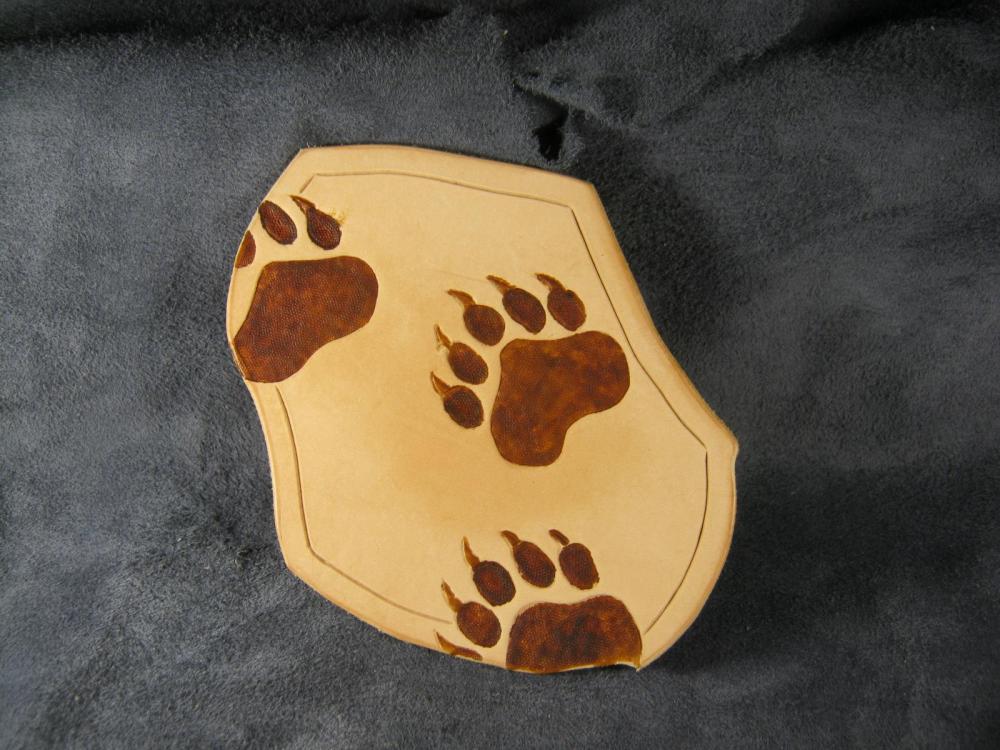
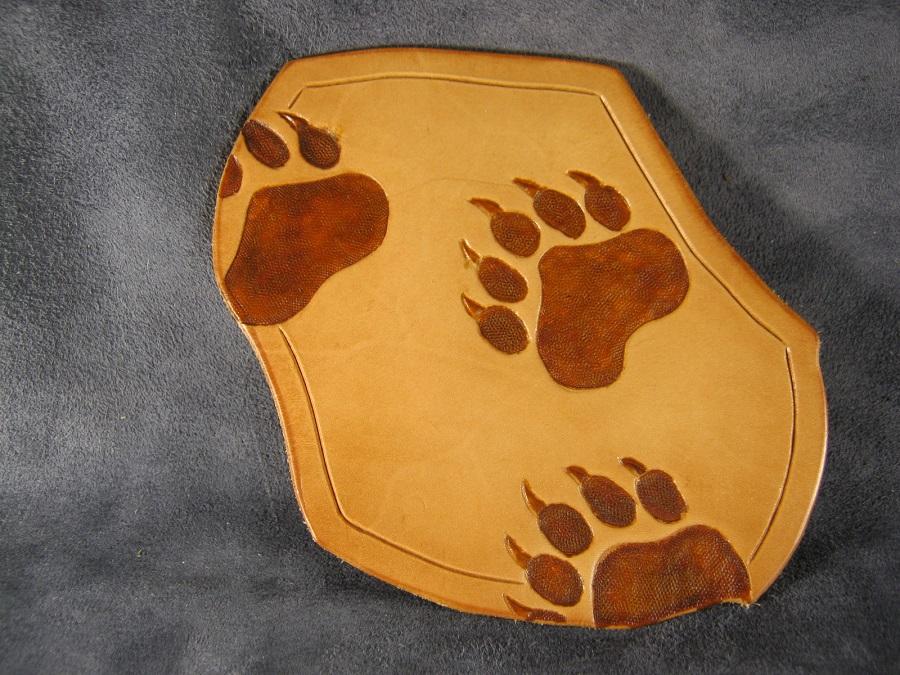
Playing around some more . It's a different look .....

-
Yes Sir , that covers it really well . I searched J D sewing machine tractor and then clicked on the image tab ...... unreal !
-
Bullets ,feathers , and snake skin ................................................ my kinda hat band
-
Colt .38 4" barrel
Gezzer replied to Bawarrior's topic in Gun Holsters, Rifle Slings and Knife Sheathes
Very nice ! -
If only they had used " yellow " on the wheels That is 9.5 outa 10 on thinking outside of the box !!!!!!!!!!!!!!
-
Knife sheath: Simply not simple!
Gezzer replied to YinTx's topic in Gun Holsters, Rifle Slings and Knife Sheathes
Looks great , I bet retention is quite good also .