All Activity
- Past hour
-
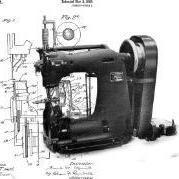
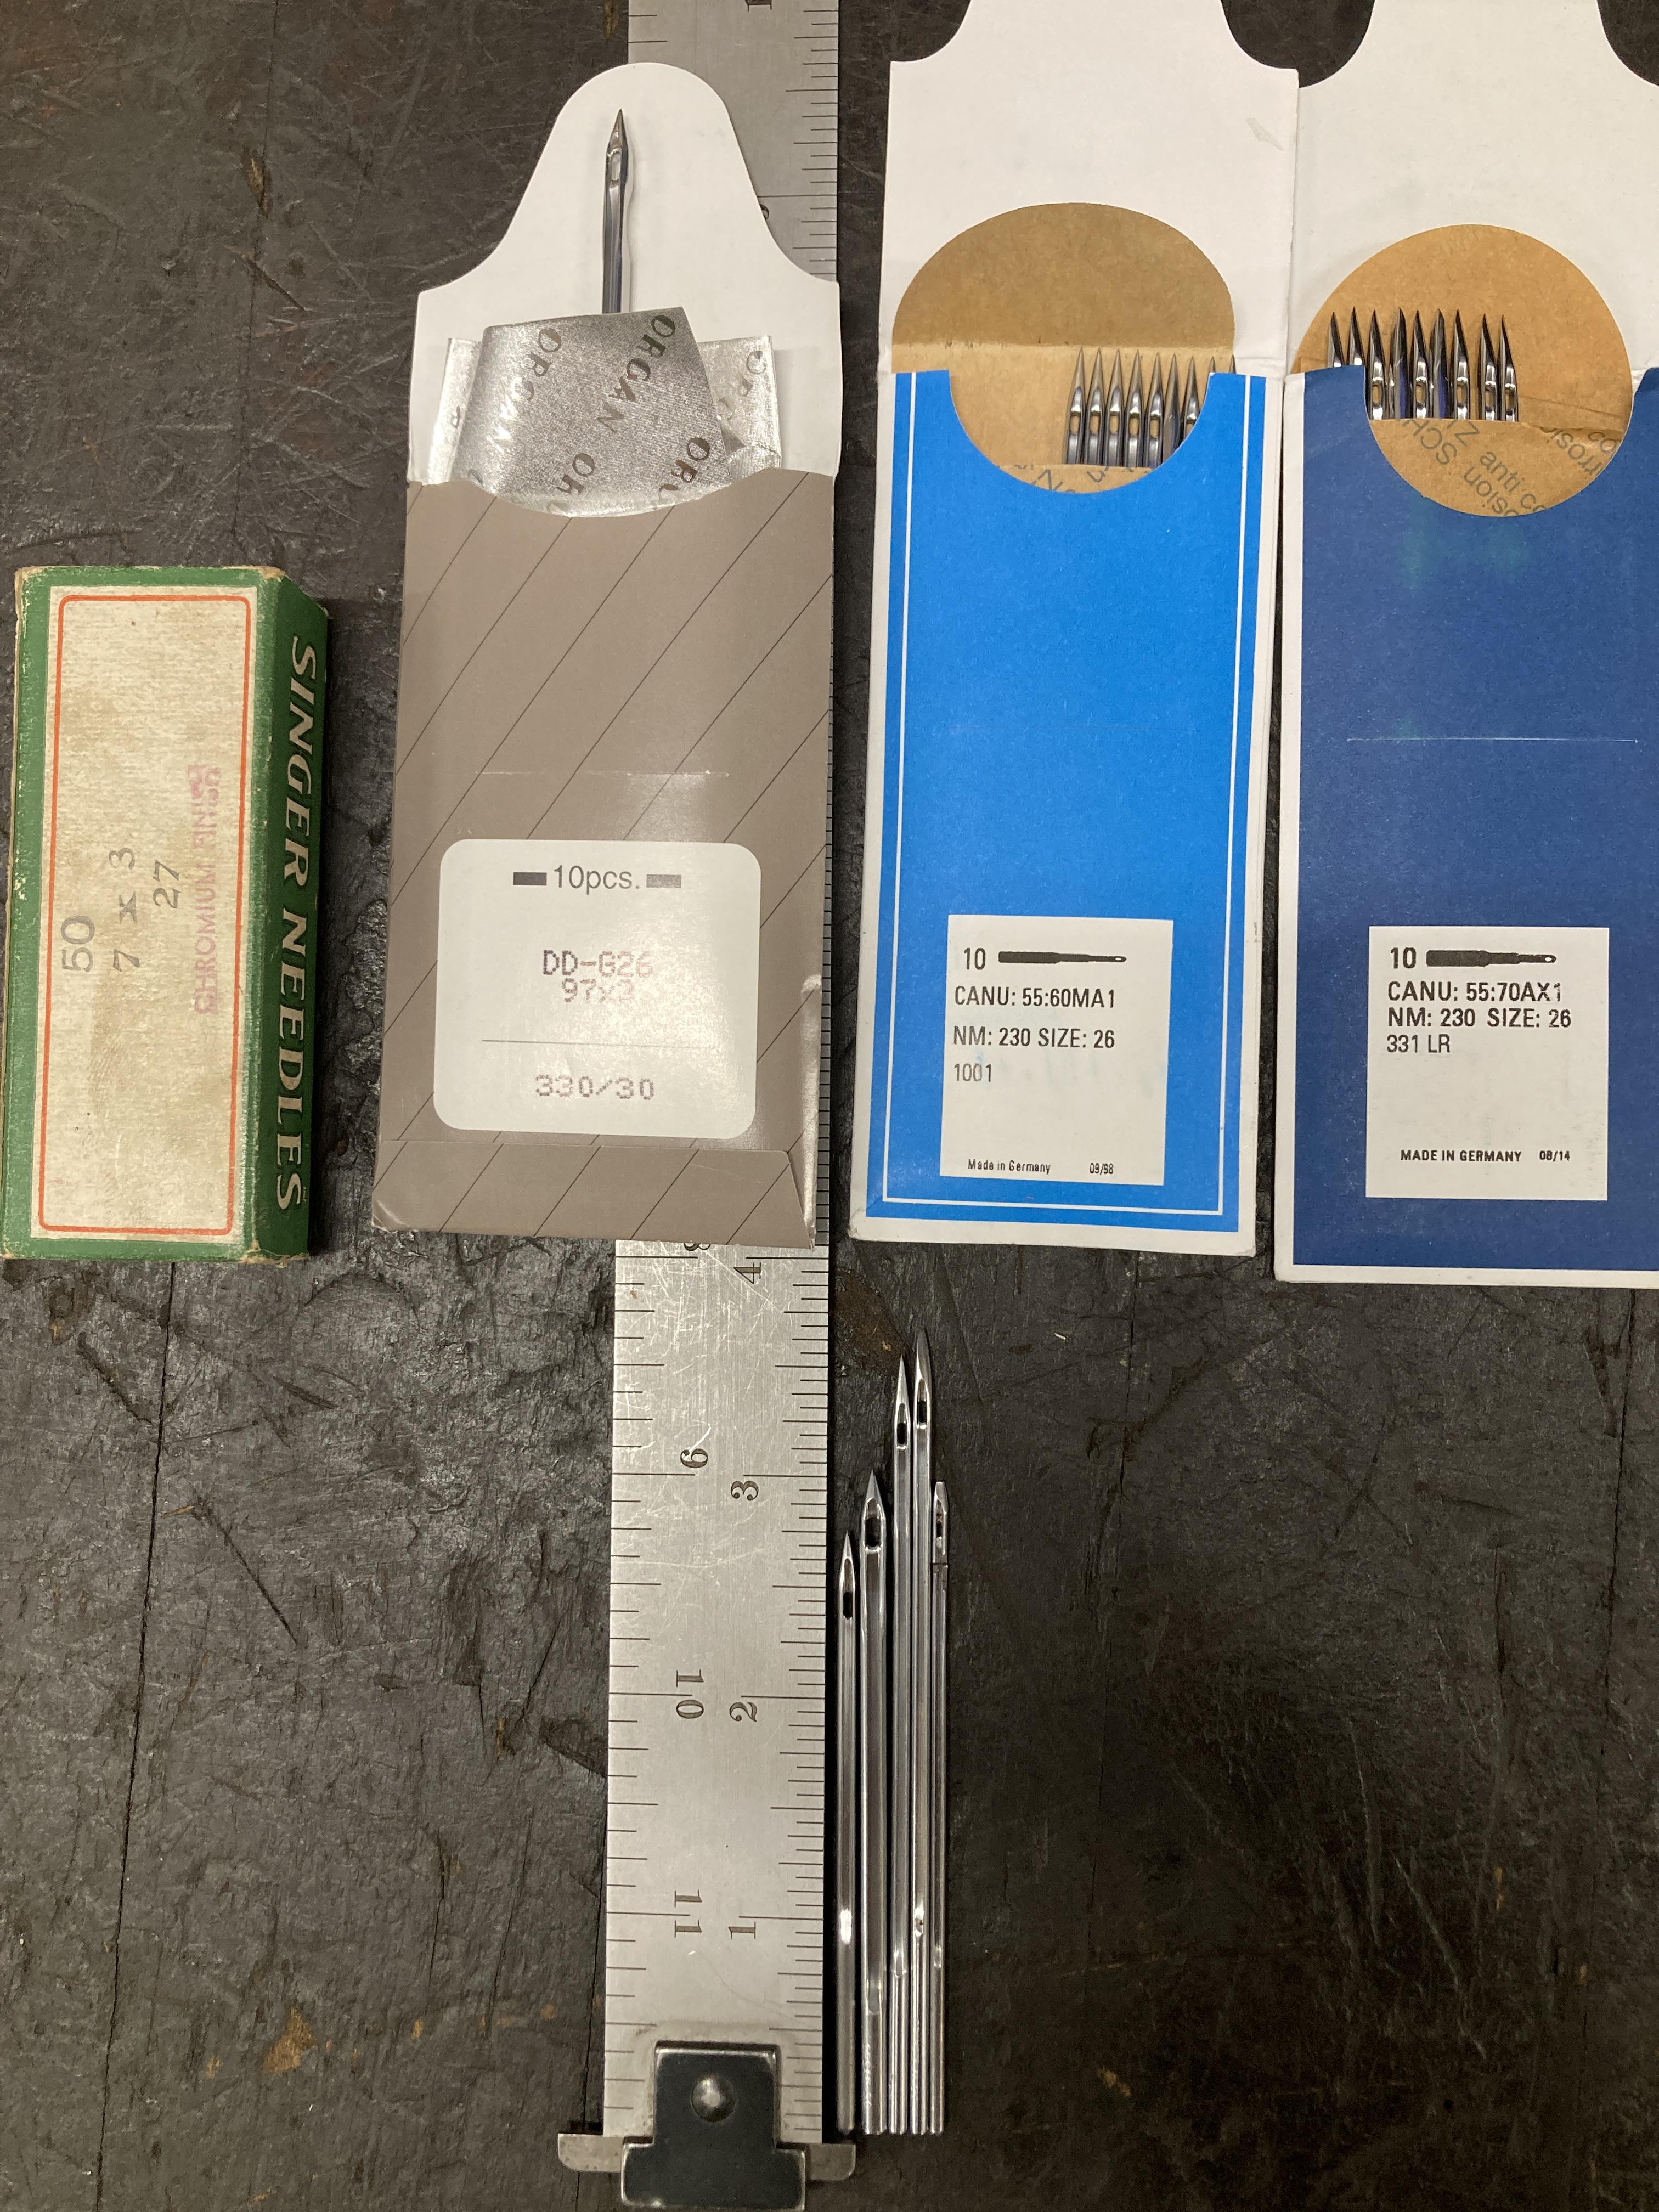
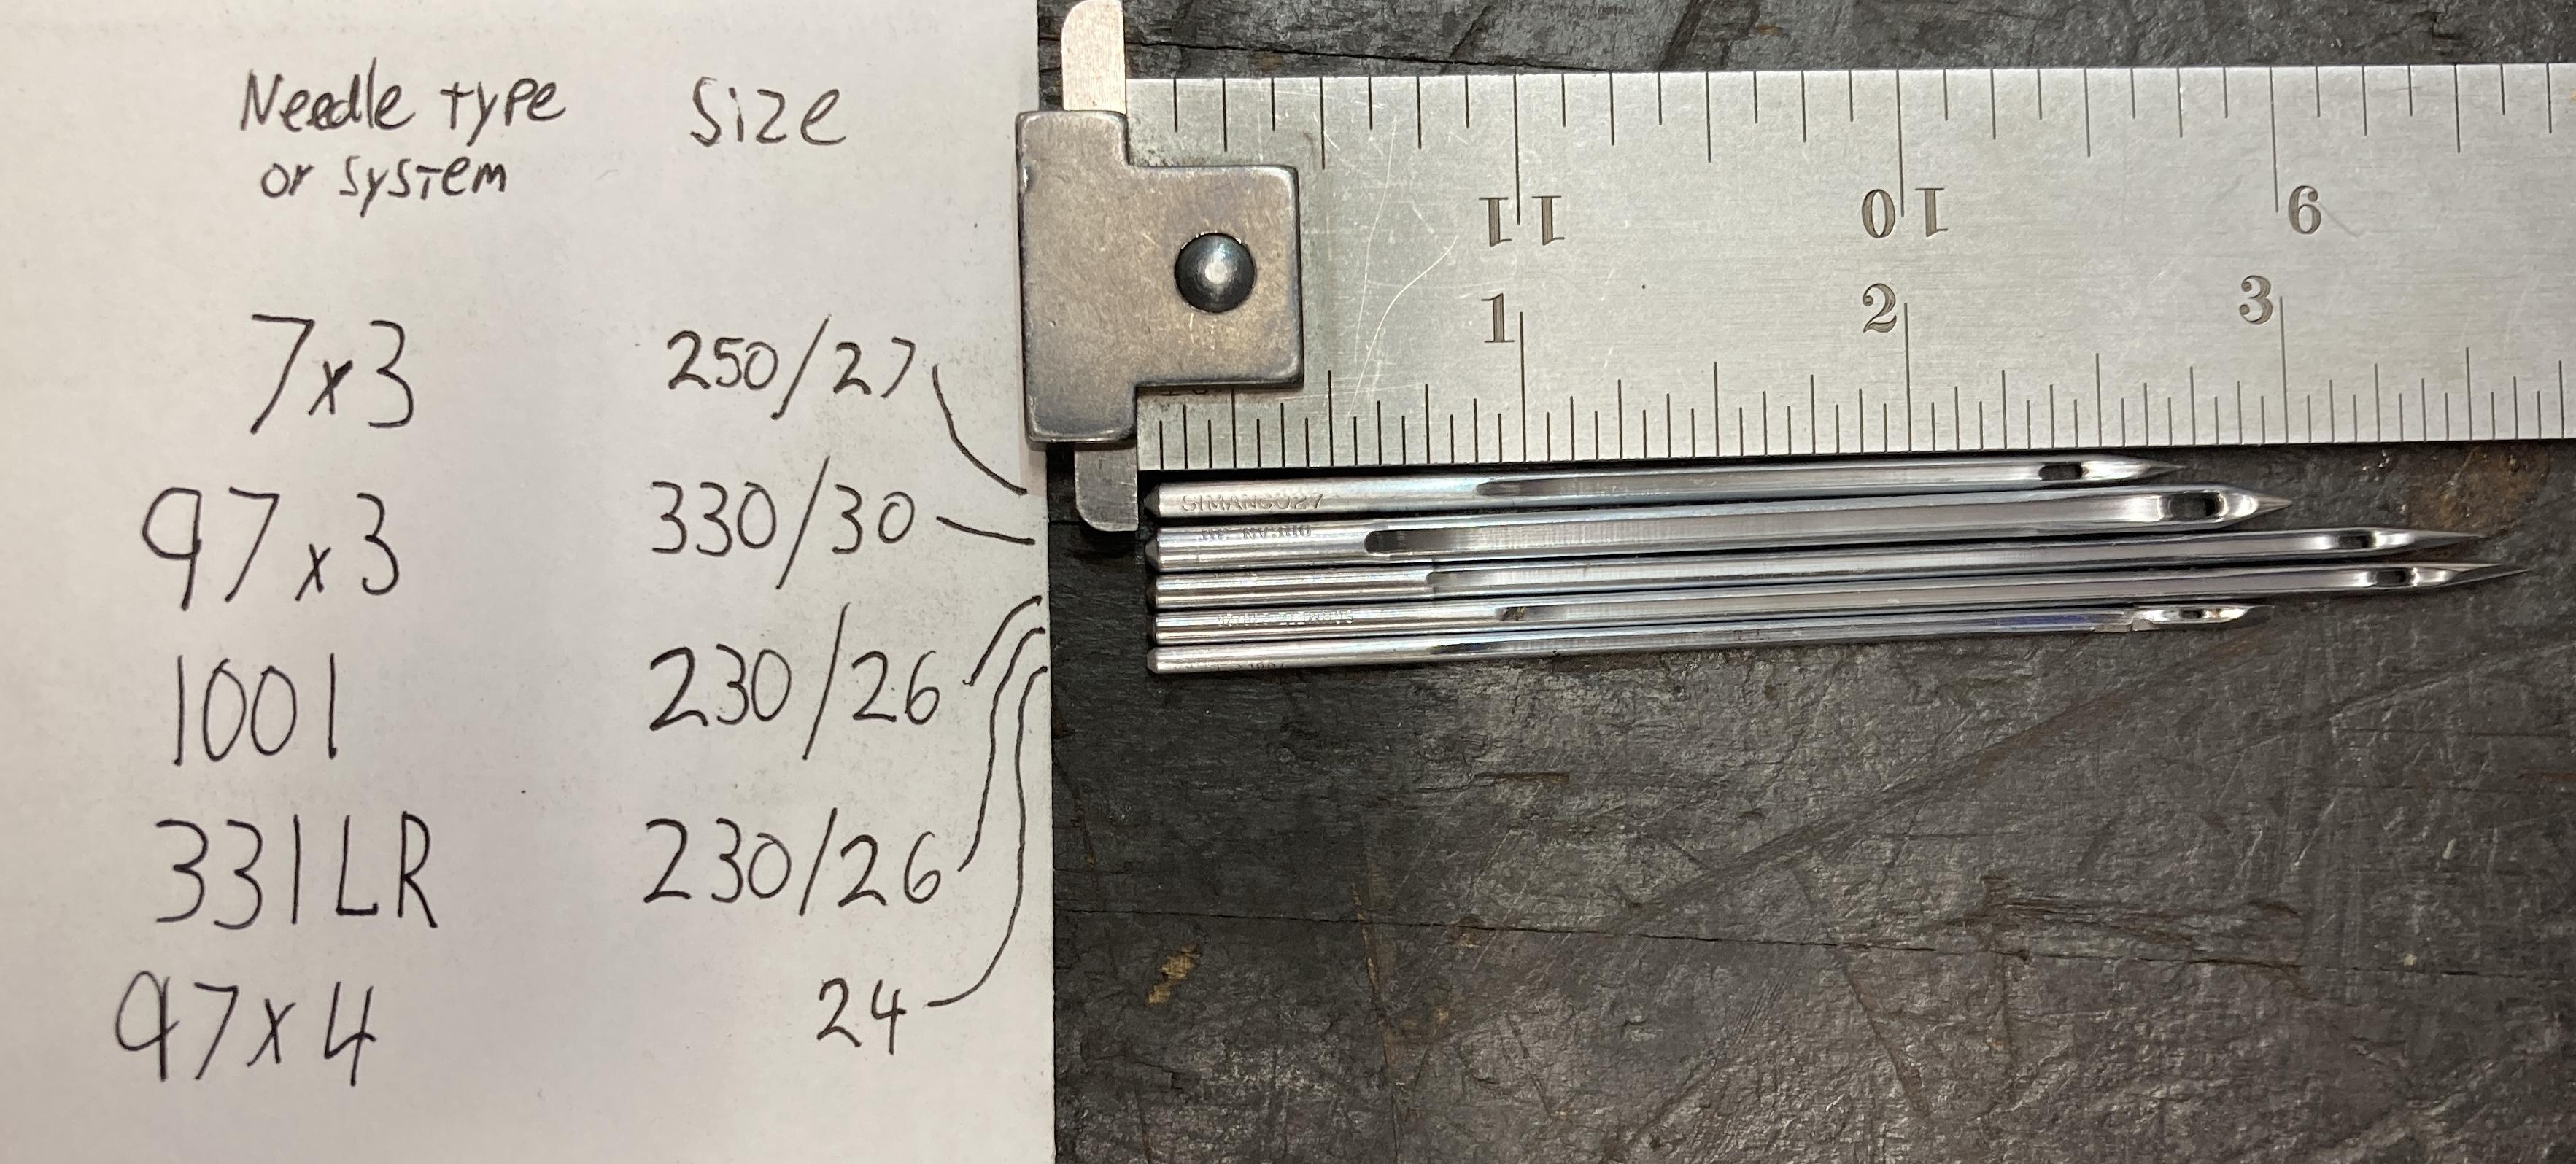
I recently picked up a 97-10 Singer harness sewing machine and have found some info and I'm still looking for more information. There is also much to read in older threads. The Army technical manual TM 10-3530-202-24 might have the most useful info in one place, and includes info on several other Singer machines. https://archive.org/details/TM10-3530-202-24/page/n1/mode/2up Includes instructions on how to disassemble a lot of things, unfortunately the "Assembly and Installation" that follows is simply "Reverse procedures above". No real adjustments or timing info that I've found yet, though I haven't read it all word for word. The corresponding parts manual TM 10-3530-202-24P (I've ordered but haven't yet seen inside this manual) Singer Parts list Form 18301 Revised (640) https://site.singeronline.com/ssl/instructions/SINGER_97-10.pdf or https://www.supsew.com/download/Singer/Singer 97-1, -10.pdf I have a similar original Singer paper parts list that came with my machine. It has the same form and revision numbers but is only the pictures (no list or text) from the above PDF list, and the pictures appear to have been copied a time or two, a little less clear. I also have an original Singer "Instructions For Using singer Sewing Machines of Class 97" Form 8348 Revised (139) It is helpful but very limited; descriptions of the different models of 97, how to thread it, basic operation, and oiling, nothing more. I'd like to find an adjusters manual, does anyone have one, know of a PDF, or even what form number it is? Needles are kind of hard to find. 97x3 (round point) and 97x4 (leather point) I have one original Singer (now broken) 97x4 size 24 that was 3.000" long and about 2.8" from top end to bottom of eye. I was able to find new Organ brand 97x3 size 30 which is 3.030" overall, and same 2.8" from top end to bottom of eye. I believe the original needles did not have a scarf but a long and a short groove. The new Organ 97x3 size 30 also includes a scarf. From previous threads people mention using the shorter 7x3 or 7x4 needles from the Class 7 by lowering the needle bar and settling for reduced foot lift and sewing capacity. I already have a 7 class and the attraction of the 97-10 is it's larger sewing capacity, thus I'm not interested in using shorter needles. 7x3 needles however are readily available, also as type 794 H. Also mentioned were 1000, 1000H, 1001, and 331LR needles, all longer than necessary, so they would be cut shorter. They all also have a longer point to eye length than the original 97x3 or 97x4, may or may not need to grind the shuttle for clearance, I'm unsure if any other issues arise because of this. All of these needles are also hard to find, can be expensive, and I was only able to find a couple sizes I've purchased some 1001 and 331LR needles and will try shorting and using them. Needle guides, one each upper and lower, are an issue too. I haven't found any anywhere, and they ought to be changed to suit each needles size you use. Mine came with size 28 upper and 27 lower, and they can be used with that size needle and smaller, but obviously doesn't support a smaller needle as well. The parts manuals I've browsed do not show needle guides large enough for size 30 needles, which is the only size of 97x3 needle I have found to buy. So without making or modifying guides, or removing them, those needles aren't very useable. Also looking for a few used parts, does anyone know of someone with one of these 97 machines for parts, or perhaps a source of new parts?
-

were to buy woolie material in canada
halt replied to halt's topic in Clothing, Jackets, Vests and Chaps
Thankyou - Today
-
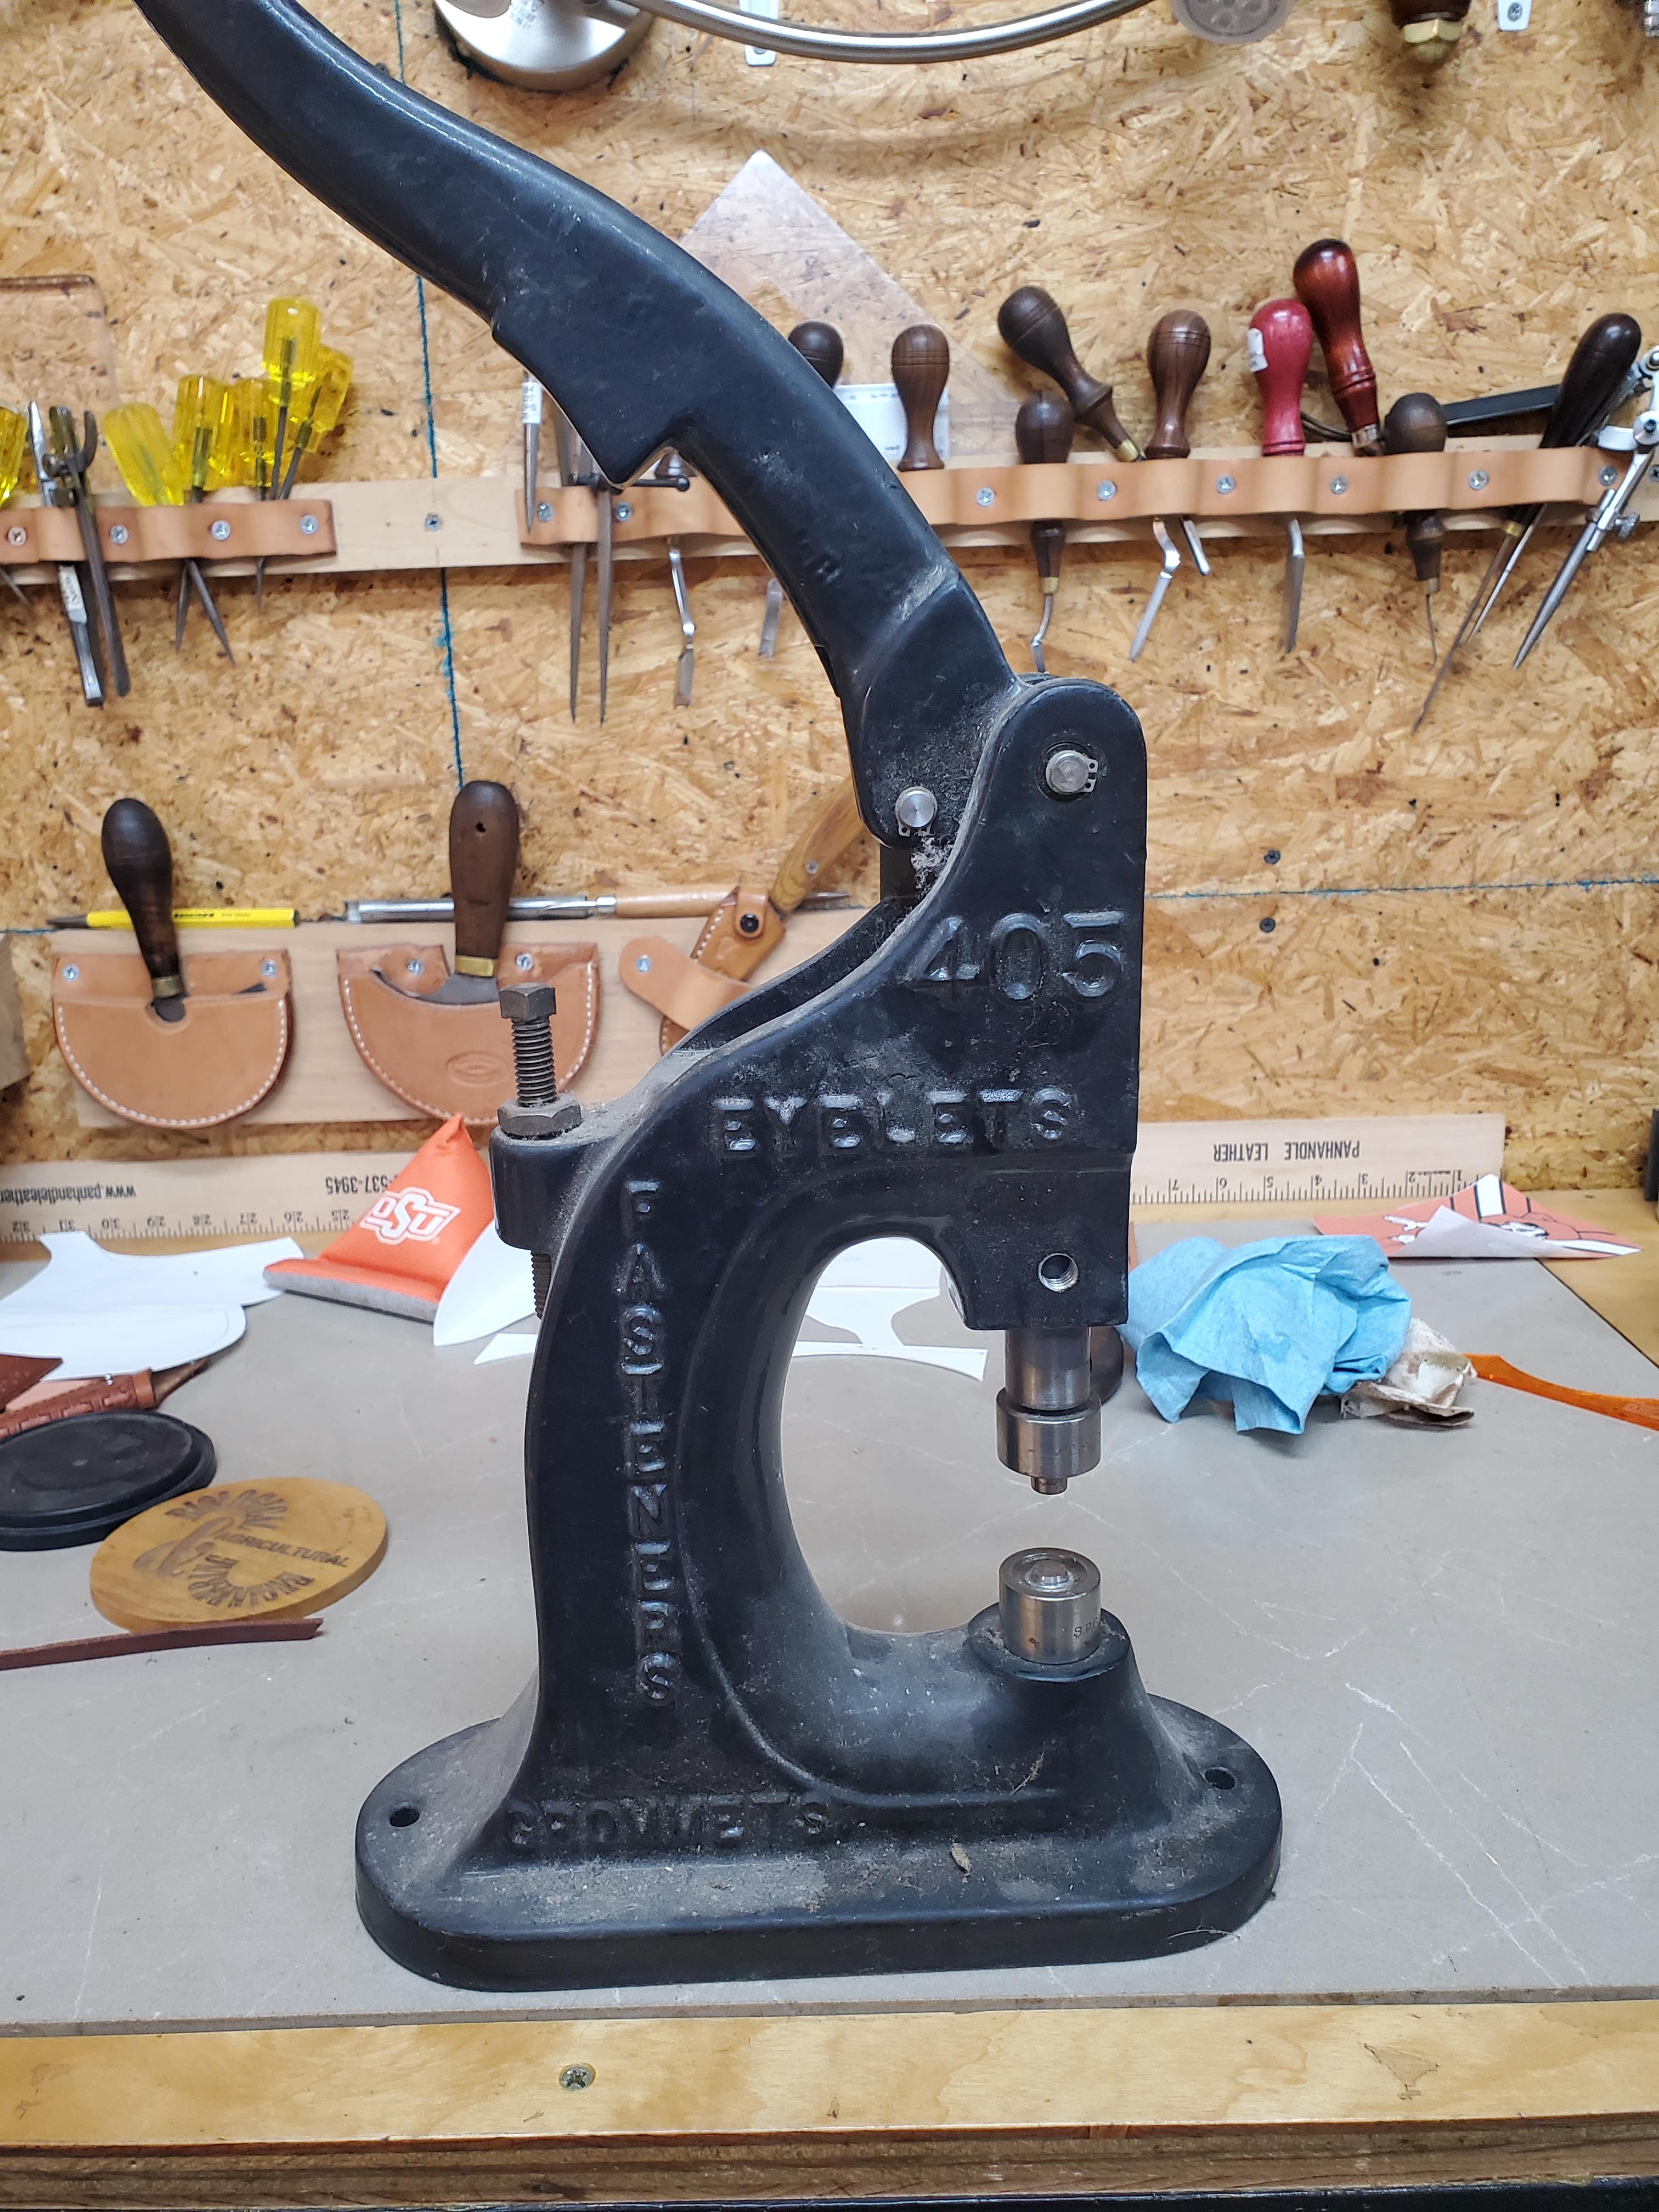
It might not be as hard as it sounds? 25 years ago when I was first getting into leatherwork I set up for snaps/etc. I bought some surplus arbor presses (US made) and bought snap setting tools from DOT. I bought a variety of the tools, some for the hand squeezy deal, some for other machines. It wasn't hard to work out how to use them on arbor presses. Most US tooling of this type has a shank that is on some kind of standard. 5/16 7/16,3/8 1/2" I don't know what the shank diameter of your riveter is, but it's probably one of those. You might just get lucky and buy setters that bolt right up. I feel like DOT brand setters for snaps are 3/8" as I sit here, I'll have to check later if I remember. Weaver tends to just copy what's industry standard, or whatever was most popular/common.. For example I have a big foot powered Judson Thompson loop stapler that's 100 years old and I Bought a Weaver anvil for one of their machines and it dropped right in and fit perfectly. If not, how hard can it be? You can work out sleeve bushings from the hardware store if your new tooling is for example 3/8" and your tool takes 1/2" shanks. I kinda don't see a need to hire a machinist to make adapters. --I just watched a min of a video on YouTube showcasing a Stimson 405 out of curiosity, looks like the lower tool is a 1/2" shank, the top looks pretty slender, maybe 5/16"? You could probably just bore the ram out to the standard of whatever tooling you wanted to switch to, if you actually wanted to do that. It also appears that 405 tooling is readily available, snaps, eyelets, gromets, etc. Seems like you likely have a non-problem? Grommet Setting Tools Grommet Installation Machinery |Stimpson Web Store
-

were to buy woolie material in canada
AlZilla replied to halt's topic in Clothing, Jackets, Vests and Chaps
Moved this to the sub-forum where they talk about chaps. Let's see if you can get some help. - Yesterday
-
Thanks for the comments. I have a local machinist who works for beer so the adapters should be easy (at least for me). I currently don't have dies, so I was wondering if anyone has made a similar adaptation. The Weaver dies seem affordable, but I haven't priced others. I want to make use of the tool, but I don't know much about it and want to invest wisely. Randy
-

Development of best servo motor for leather sewing machine
dikman replied to CowBoyOUTLAW's topic in Leather Sewing Machines
Yep, that's not a "modern" clutch motor, which Wiz is likely referring to, it's what Singer fitted to their older industrial machines. It's a separate motor connected by a belt to a pulley stack with a clutch in it. -
I agree with @DieselTech talk to someone that does basic machinist work and have a couple adapters made. Pretty simple stuff. Also get them to make an adapter with 8mm internal threads in the top adapter so you even use the inexpensive dies that the Chinese type presses use like punches, etc. kgg
-
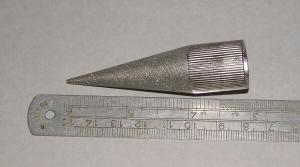
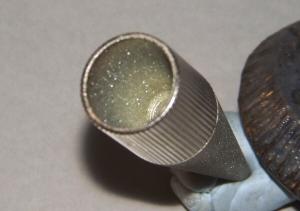
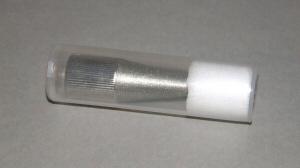
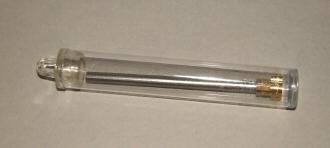
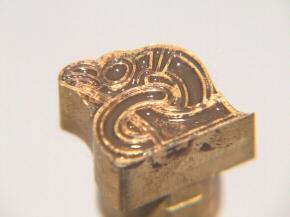
Two things arrived in the post today 1. From Temu this hole punch sharpener. The outside cone to sharpen the inside edge of punches and the tool has a hollow part to help sharpen the outside edge. Comes in a protective plastic box. This should help me keep my punches sharp 2. From texasleathertools a handled stamp. He took one of my Viking eagles and made a stamp. And is it tiny! Only 12mm (1/2 inch) across the base. Made in machined brass with a steel handle. First class workmanship. It came with its own plastic protective case. Now I need to find a project I can use it on I put some paint on the design so you could see it clearly - remember this only 12mm across the base
-
I think that would be the best way and maybe add a couple more to give it a little extra character. kgg
-
Try, very, very carefully, dabbing and rubbing the spot with cellulose thinners
-
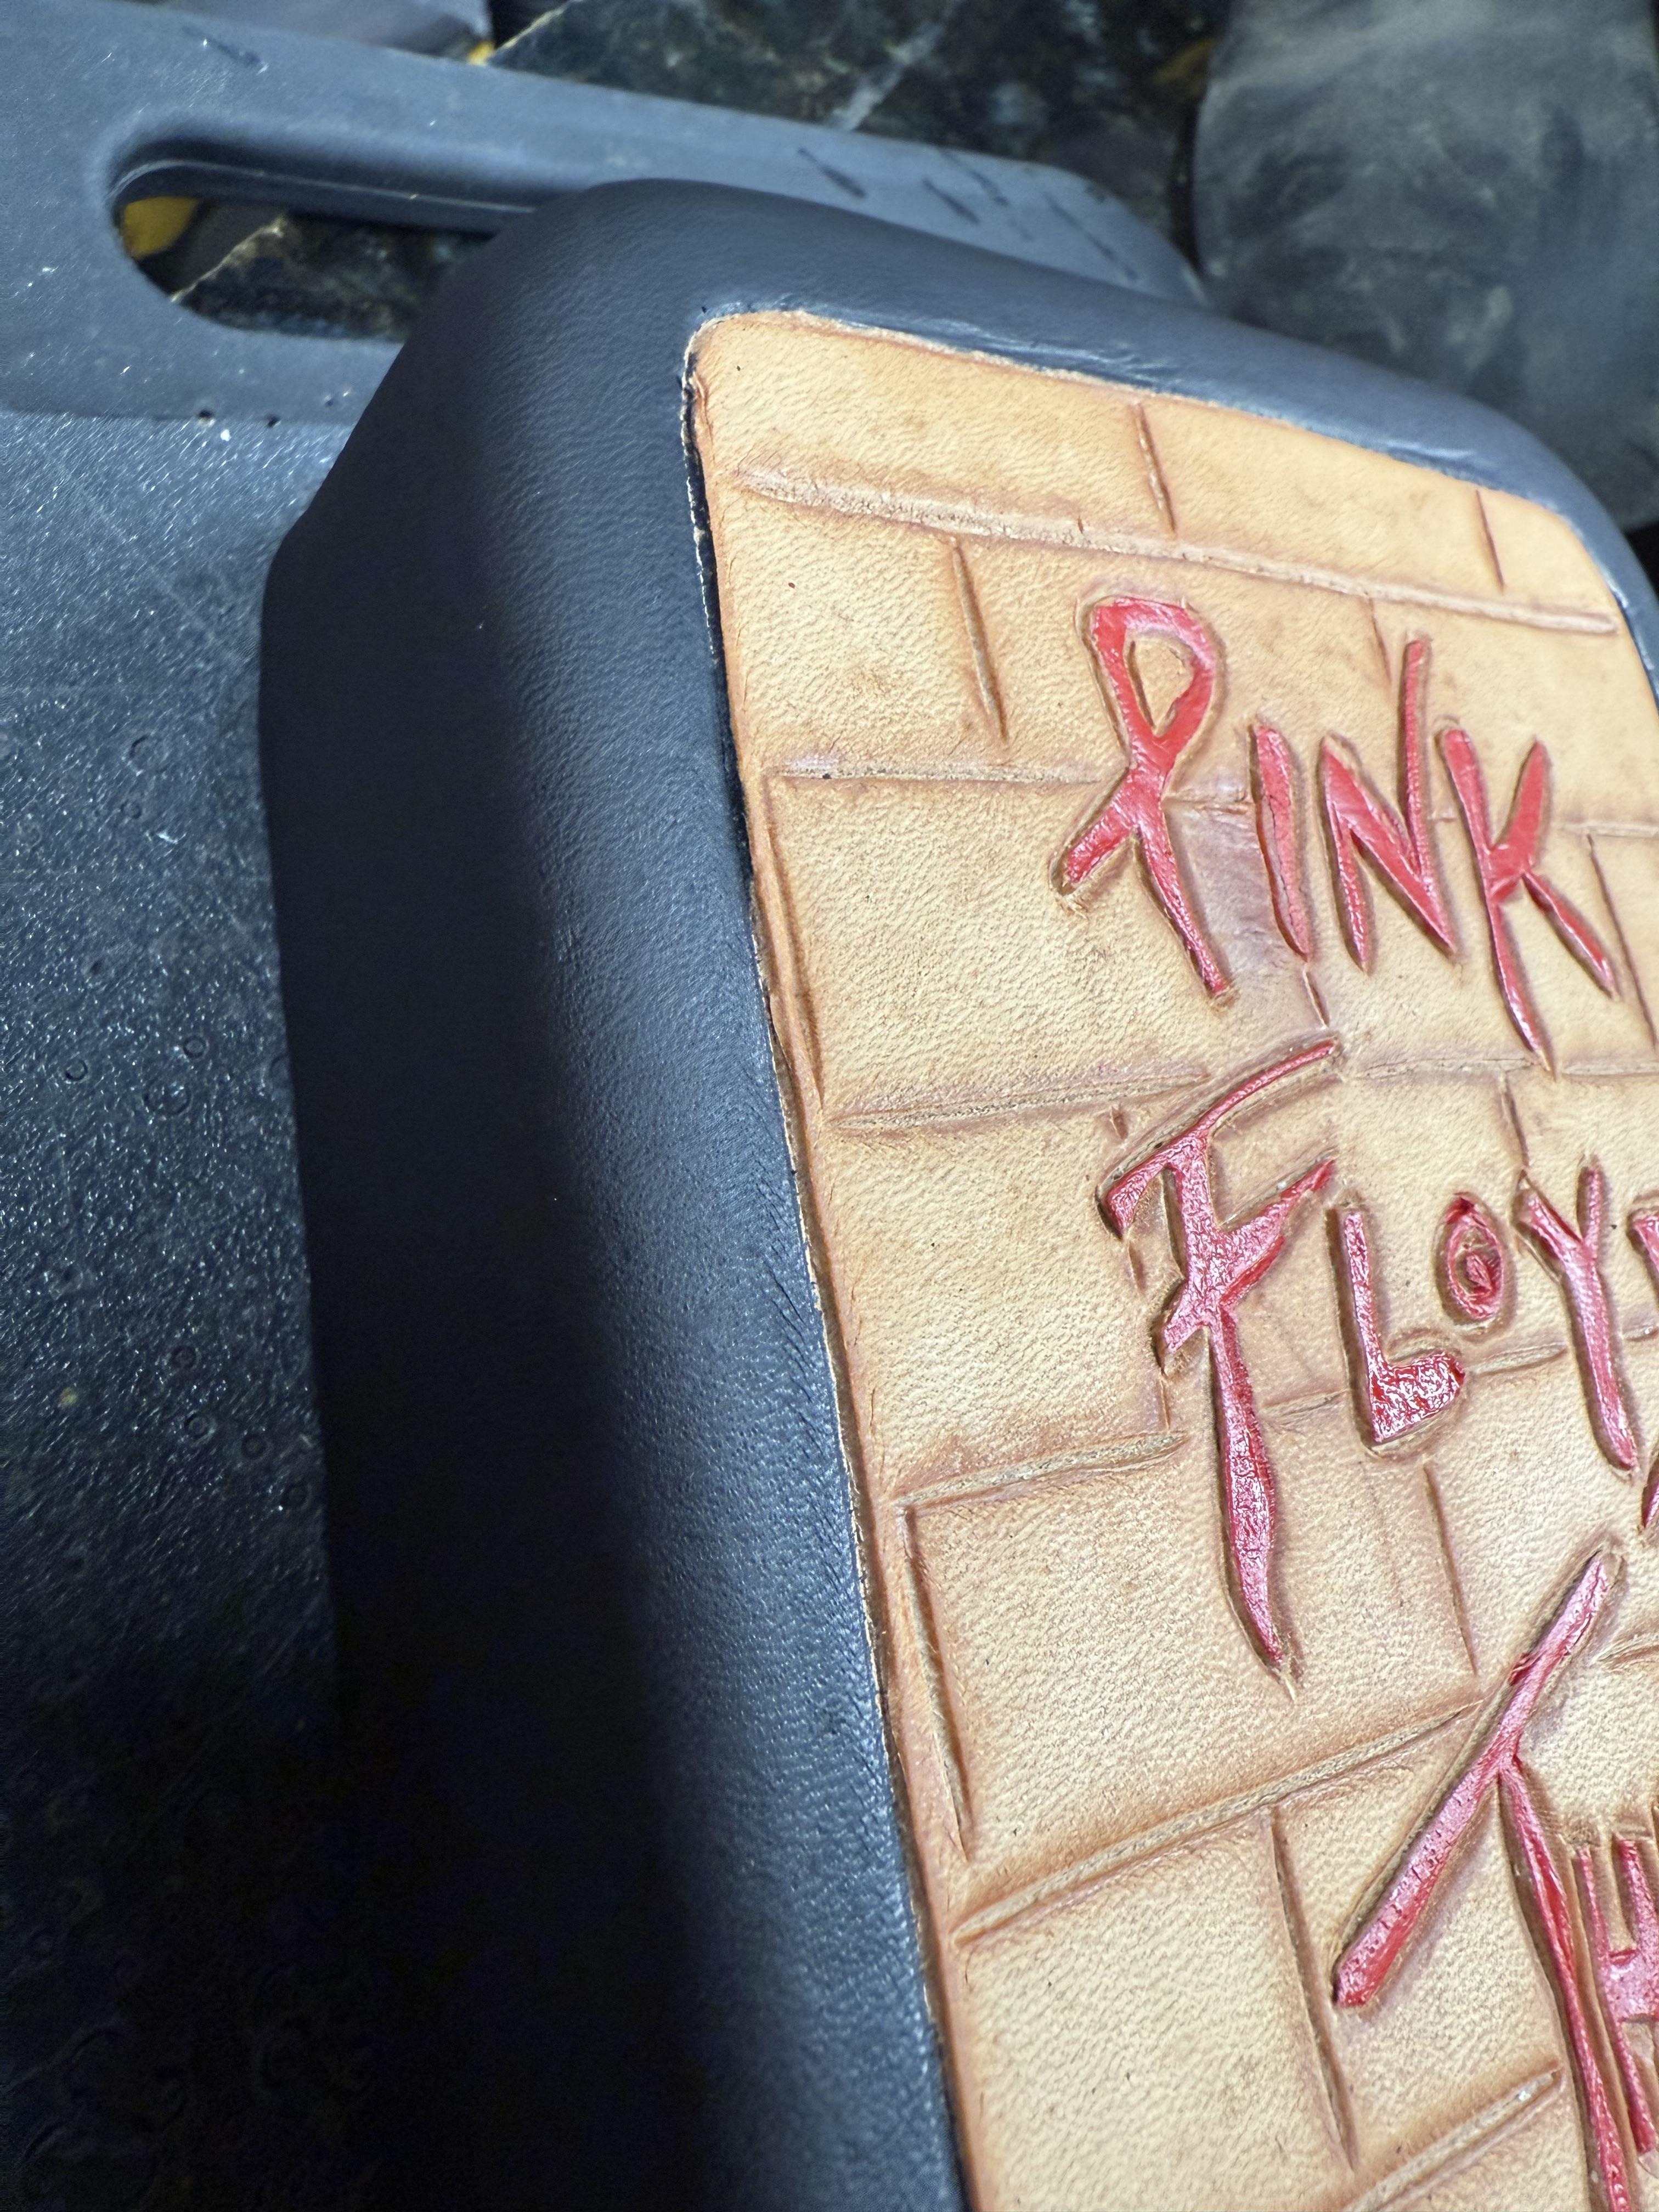
Yes. Between the P and the I. It’s such an eyesore. I’m hoping once the drop of oil soaks in overnight and it is what it will be I can then scrape it maybe and re-oil??? Maybe? It’s a diabetic test kit for my brother. I’m hoping to remove it but if not, well, it’s my brother. lol.
-
Is it the area in between the P and I? Antiquing may hide it. It looks like it got a little burnished so if it doesnt work the first time try slightly roughing up that area and try antiquing again.
-
Thank you. No seriously. Lol. It’s a friggin pink spot in the word pink! Ra help me. Lol
-
Ah! I think i finally spied it. I think if you antique it, then top coat it. It will no longer be visible.
-
Lol is this a joke? Cause I am not seeing the bad spot you mentioned. BTW that looks great! Nice work.
-
How do I remove this spot? I got a bit of paint on it and I tried acetone. Then I added a drop of oil. Now it looks pink. What do I do? I also plan on antiquing this. Maybe it will cover it up a bit???

-
Not sure if anything is available off the shelf, but bear in mind that Stimpson didn't sell hardware generically. In other words, you couldn't just buy dies and than fit them to any machine. They had different die systems for different machines, and each application had a different stroke, arm configuration, pocket mechanism, etc. 3/8" diameter hardware is more common though. At least if it was for the regular C-1 series rivet machines and for the 489 and similar series grommet machines (which were the foot and electric powered versions of that hand operated press). It wouldn't be a hard job for someone with a metal lathe to make an adapter to at least get the hardware to fit in the hole. You'll also need to consider how you'll hold your fasteners in place. Most of these machines relied on special pockets to do so which the driver would push the rivet or grommet through and they are really not meant to have the hardware swapped out frequently. You'd set it up for one job and a different machine/press for another job. Some drivers have a rubber sleeve or a magnet to help hold the fastener in place, but you'll need to consider it when choosing your hardware. Because it's a hand operated press, you only have one hand to hold the material and fastener in place as you set it. Grommets are often pre-punched, so you can set the fastener in the hole and then crimp it without any pockets, which is likely how that press was made to work, so I think it would do better sticking with grommets.
-
If adapters are not available. Then talk with a machinist to make you adapters for whatever brand dies you got or want.
-
My local Turkish barber has been arrested for drug dealing I've been a customer of his for over 12 years and never knew he was a barber
-
As above.
-
 SylrXIII joined the community
 -
I recently acquired a Stimpson 405. The driver and anvil are for grommets. Has anyone adapted one of these rivets or snaps? How about converting to another brand like Weaver? Thanks, Randy
-
Thanks for all the tips. I know 3 stitches are a lot and I don't have this problem all the time. I think some of the issue is thread. I have thread from different suppliers and its certainly different. Regardless, I have started back stitching 2 and then going forward. Randy
-
I don't wear spurs much . . . mainly when I'm in a parade with my cousins . . . But I took all of mine . . . put them in a wood vice that had leather jaws . . . and squeezed them so that when I put them on my boots . . . between the heel and the heel of my boot . . . in that little crease . . . I tightened them up until they did not move . . . I could wear them outside . . . get on a horse . . . off . . . walk around the yard . . . and the spurs stayed on my boots. They're not tight enough to scratch the boots . . . and you certainly wouldn't ride far with them . . . but that is how I wear mine . . . with of course a leather spur strap across the front arch of my boot. May God bless, Dwight
-
Altogether . . . it certainly is most likely a very functional holster . . . just a couple comments One . . . if you look at the bottom backside of the holster . . . from the top of the leading edge . . . all the way around to the second chicago screw . . . the space between the edge and the stitching varies drastically. For a practical holster . . . that's OK . . . but you won't sell many like that. That space needs to be very near uniform all the way around . . . and you do that on a belt sander. It takes a practiced eye . . . and a bunch of practice . . . but when it is done . . . it looks so much better. The dye did not take very uniformly . . . and if you used Feibings . . . make sure you dilute 1 to 1 with thinner . . . and ALWAYS brush a light coat of neatsfoot oil on the hair side of your projects . . . then let is set for 24 hours before dyeing. I always dip dye everything I do . . . and while it takes more dye that way . . . the dye also goes in deeper . . . making scrapes and scratches later on . . . less noticeable. Dip dyeing for me has always also been much more uniform than any other way I've tried. You also might want to take the top of the back piece that lays against your side . . . take it up and round it . . . so that as you look at it . . . leather comes up above the hammer, rear sight, and most importantly if it has one . . . the safety. It is a lot more comfortable that way. But all in all . . . just a few constructive critic words to make your product more tasteful. . . . I do really like the design down the front or it though . . . and the clips are a nice touch. May God bless, Dwight
-
I've got a Campbell Randall VSB Burnisher. Honestly It's not as good as you're hoping it is. Mine collects dust.... They're built out of a common brushed sewing servo and fitted with an adapter that allows you to use Galli Burnishing wheels. The Galli wheels are a great item, lots of different wheels, grinding, diamond, leather, wood, phenolic, etc available. The bad part is that they have poor speed control ("0" to 3000K RPM) and almost no torque. A burnisher needs a little bit of low rpm torque. The Galli burnishing wheels have a bit of diameter to them so a low torque, hard to control cheap brushed servo isn't really what you want. The dust collector shield on the Randall VSB is actually a plastic dust collector hood from the Bosch Router. I ended up building 2 of my own burnishers, one out of a LOBO profile sander and the other out of a washing machine motor. Sometimes i use the DC burnisher on the front of my Galli FCE, but it's only setup for horizontal burnishing. I also have 2 other heavy factory made motor driven burnishers. One is a Randall in a hammered green paint. It has lots of torque, but setup with steel burnishing heads and kinda not that great. The other is an ancient machine that's almost identical to the Randall (Looks like Randall Copied it) that has a large multi groove cocobolo (or somthing similar) head about 6" in diameter. That one sees a fair amount of flat use. I guess my suggestion is to build your own and don't buy one. It looks like you don't need that advice though! You need decent lower speed torque and ability to vary the speed. 1/2hp 3ph motor is probably a good choice. I've run `1/3hp motors on burnishers and found them overheating from the load if I use them for a period of time. a 3ph motor is less prone to getting hot as well. If you're doing heavy burnishing I'd probably go so far as to recommend a 3/4hp motor.