All Activity
- Past hour
-
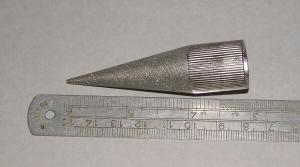
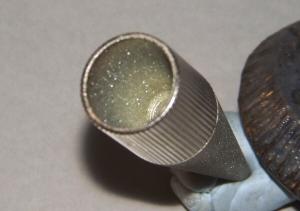
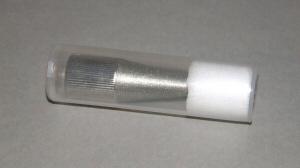
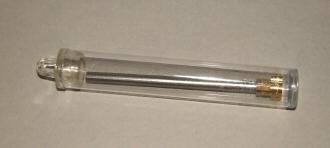
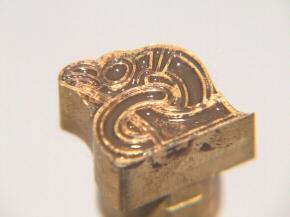
Two things arrived in the post today 1. From Temu this hole punch sharpener. The outside cone to sharpen the inside edge of punches and the tool has a hollow part to help sharpen the outside edge. Comes in a protective plastic box. This should help me keep my punches sharp 2. From texasleathertools a handled stamp. He took one of my Viking eagles and made a stamp. And is it tiny! Only 12mm (1/2 inch) across the base. Made in machined brass with a steel handle. First class workmanship. It came with its own plastic protective case. Now I need to find a project I can use it on I put some paint on the design so you could see it clearly - remember this only 12mm across the base
-
I think that would be the best way and maybe add a couple more to give it a little extra character. kgg
-
Try, very, very carefully, dabbing and rubbing the spot with cellulose thinners
-
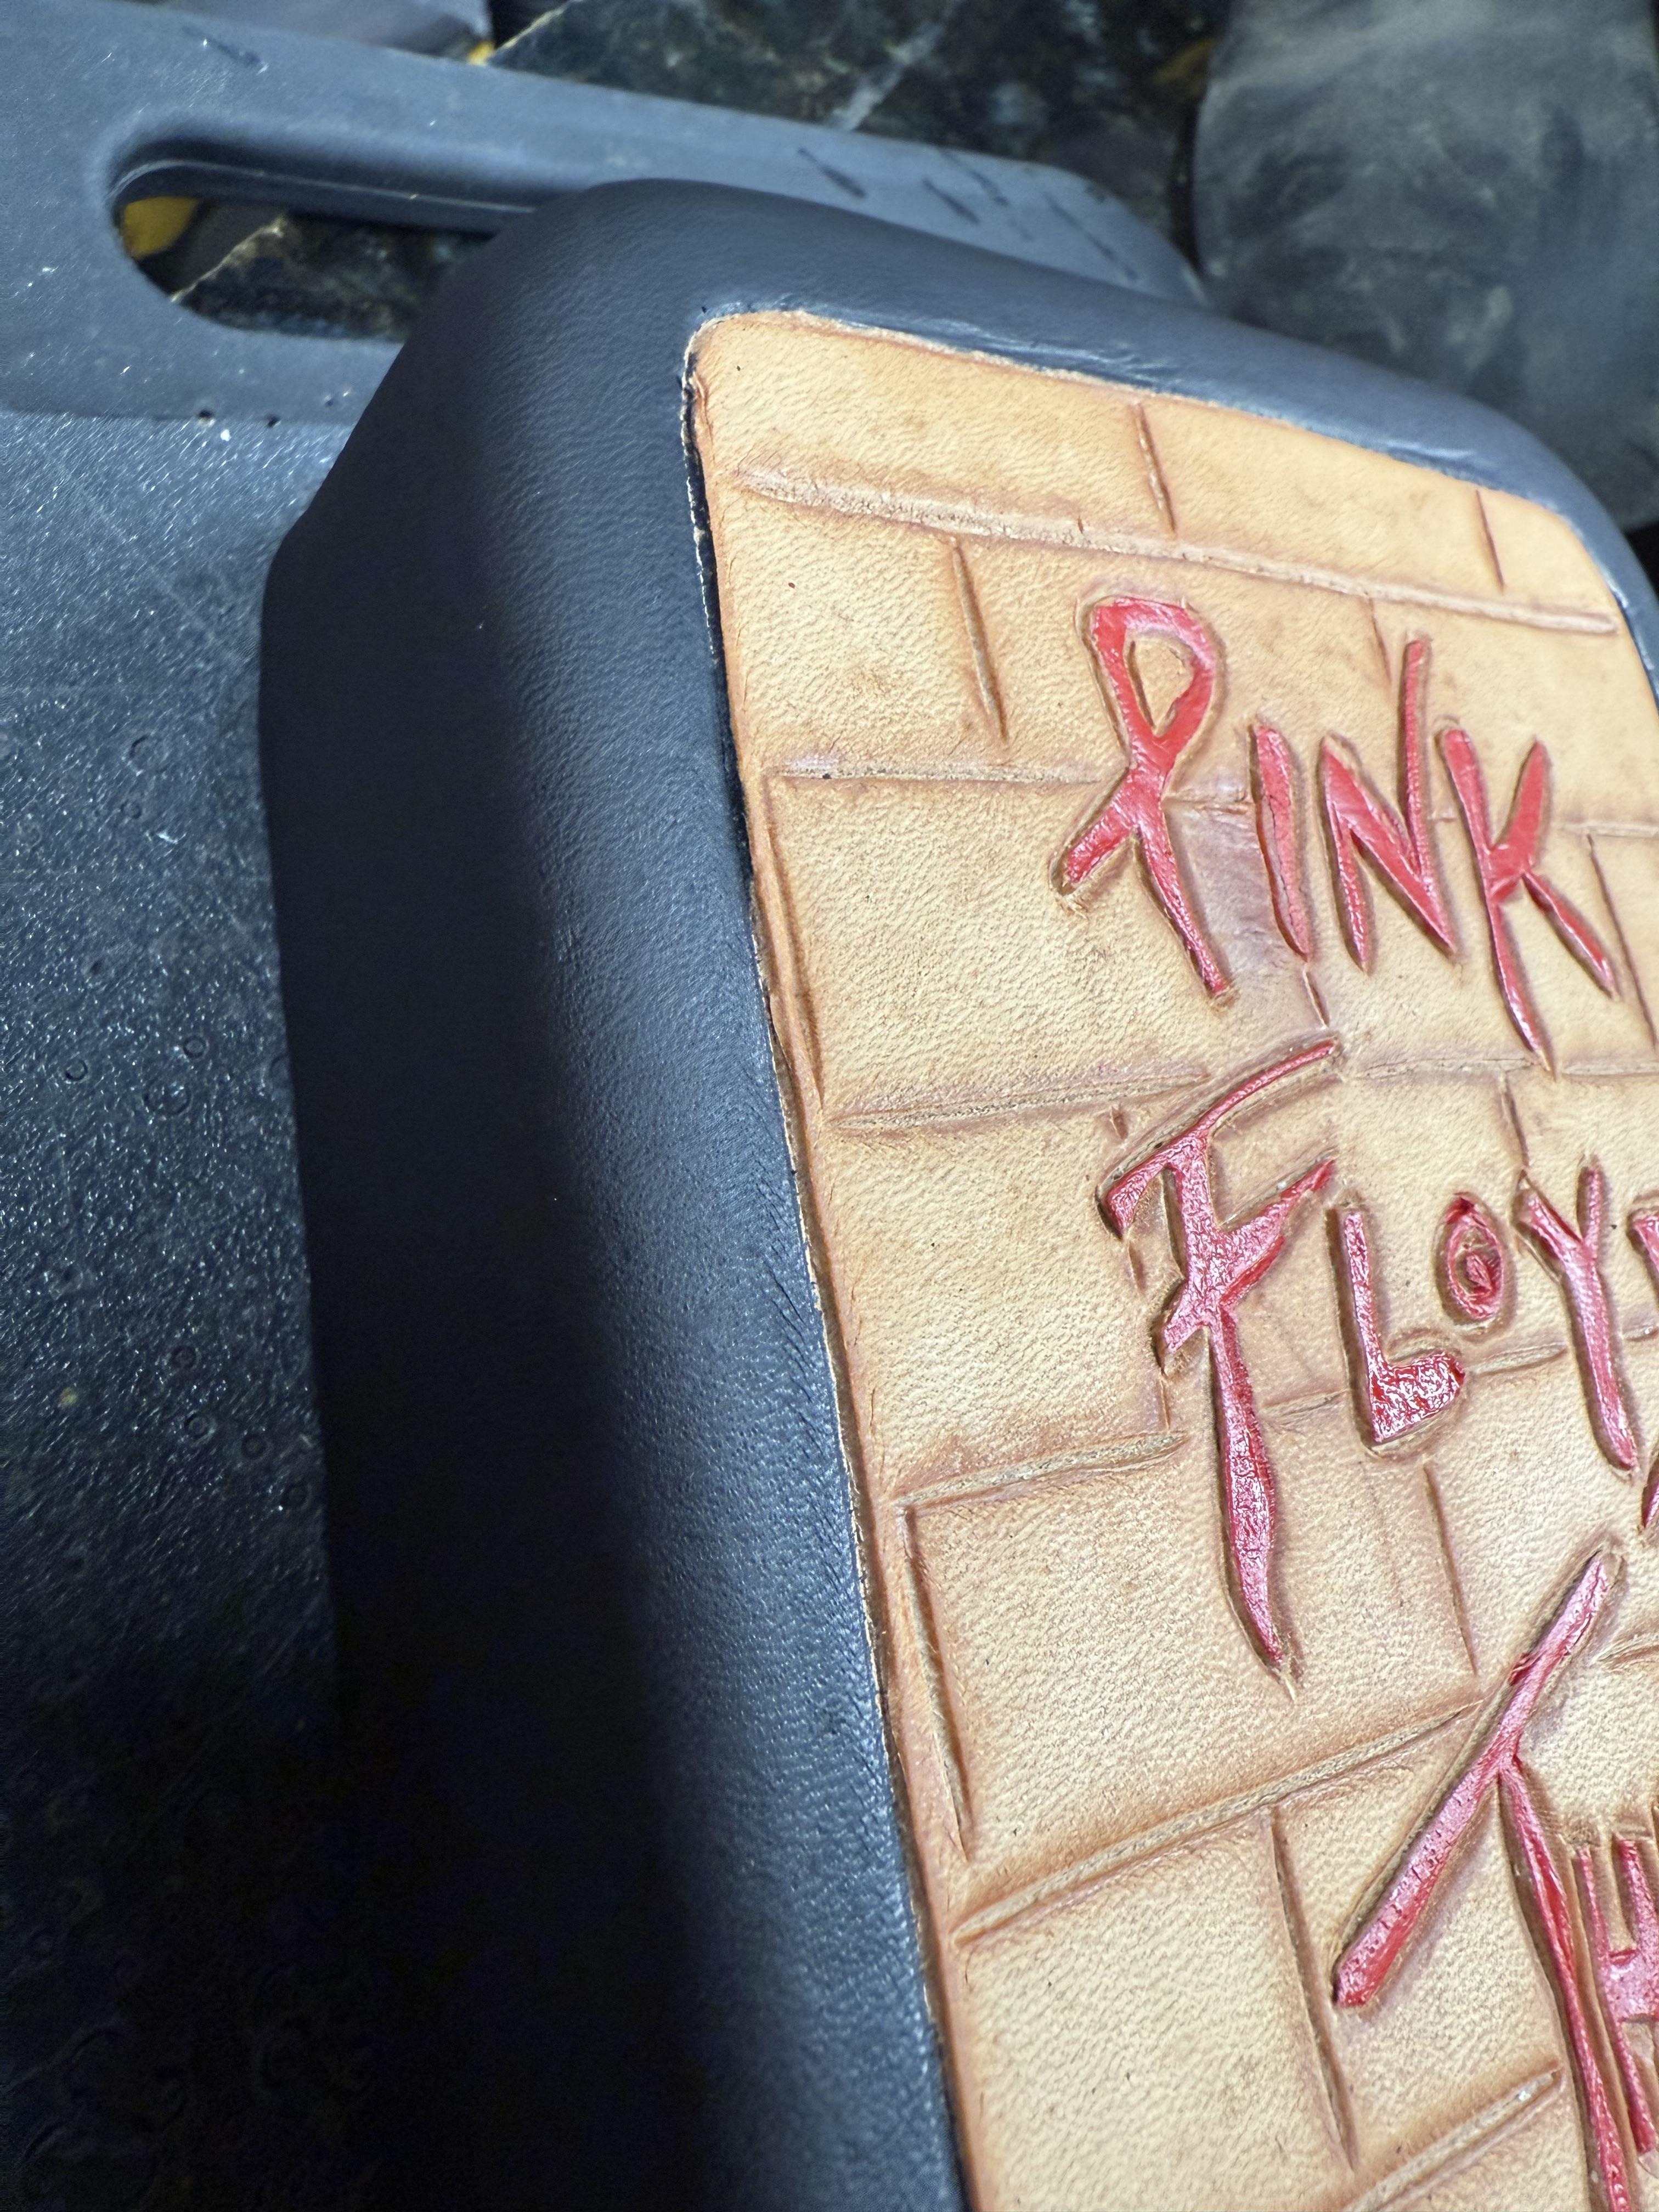
Yes. Between the P and the I. It’s such an eyesore. I’m hoping once the drop of oil soaks in overnight and it is what it will be I can then scrape it maybe and re-oil??? Maybe? It’s a diabetic test kit for my brother. I’m hoping to remove it but if not, well, it’s my brother. lol.
- Today
-
Is it the area in between the P and I? Antiquing may hide it. It looks like it got a little burnished so if it doesnt work the first time try slightly roughing up that area and try antiquing again.
-
Thank you. No seriously. Lol. It’s a friggin pink spot in the word pink! Ra help me. Lol
-
Ah! I think i finally spied it. I think if you antique it, then top coat it. It will no longer be visible.
-
Lol is this a joke? Cause I am not seeing the bad spot you mentioned. BTW that looks great! Nice work.
-
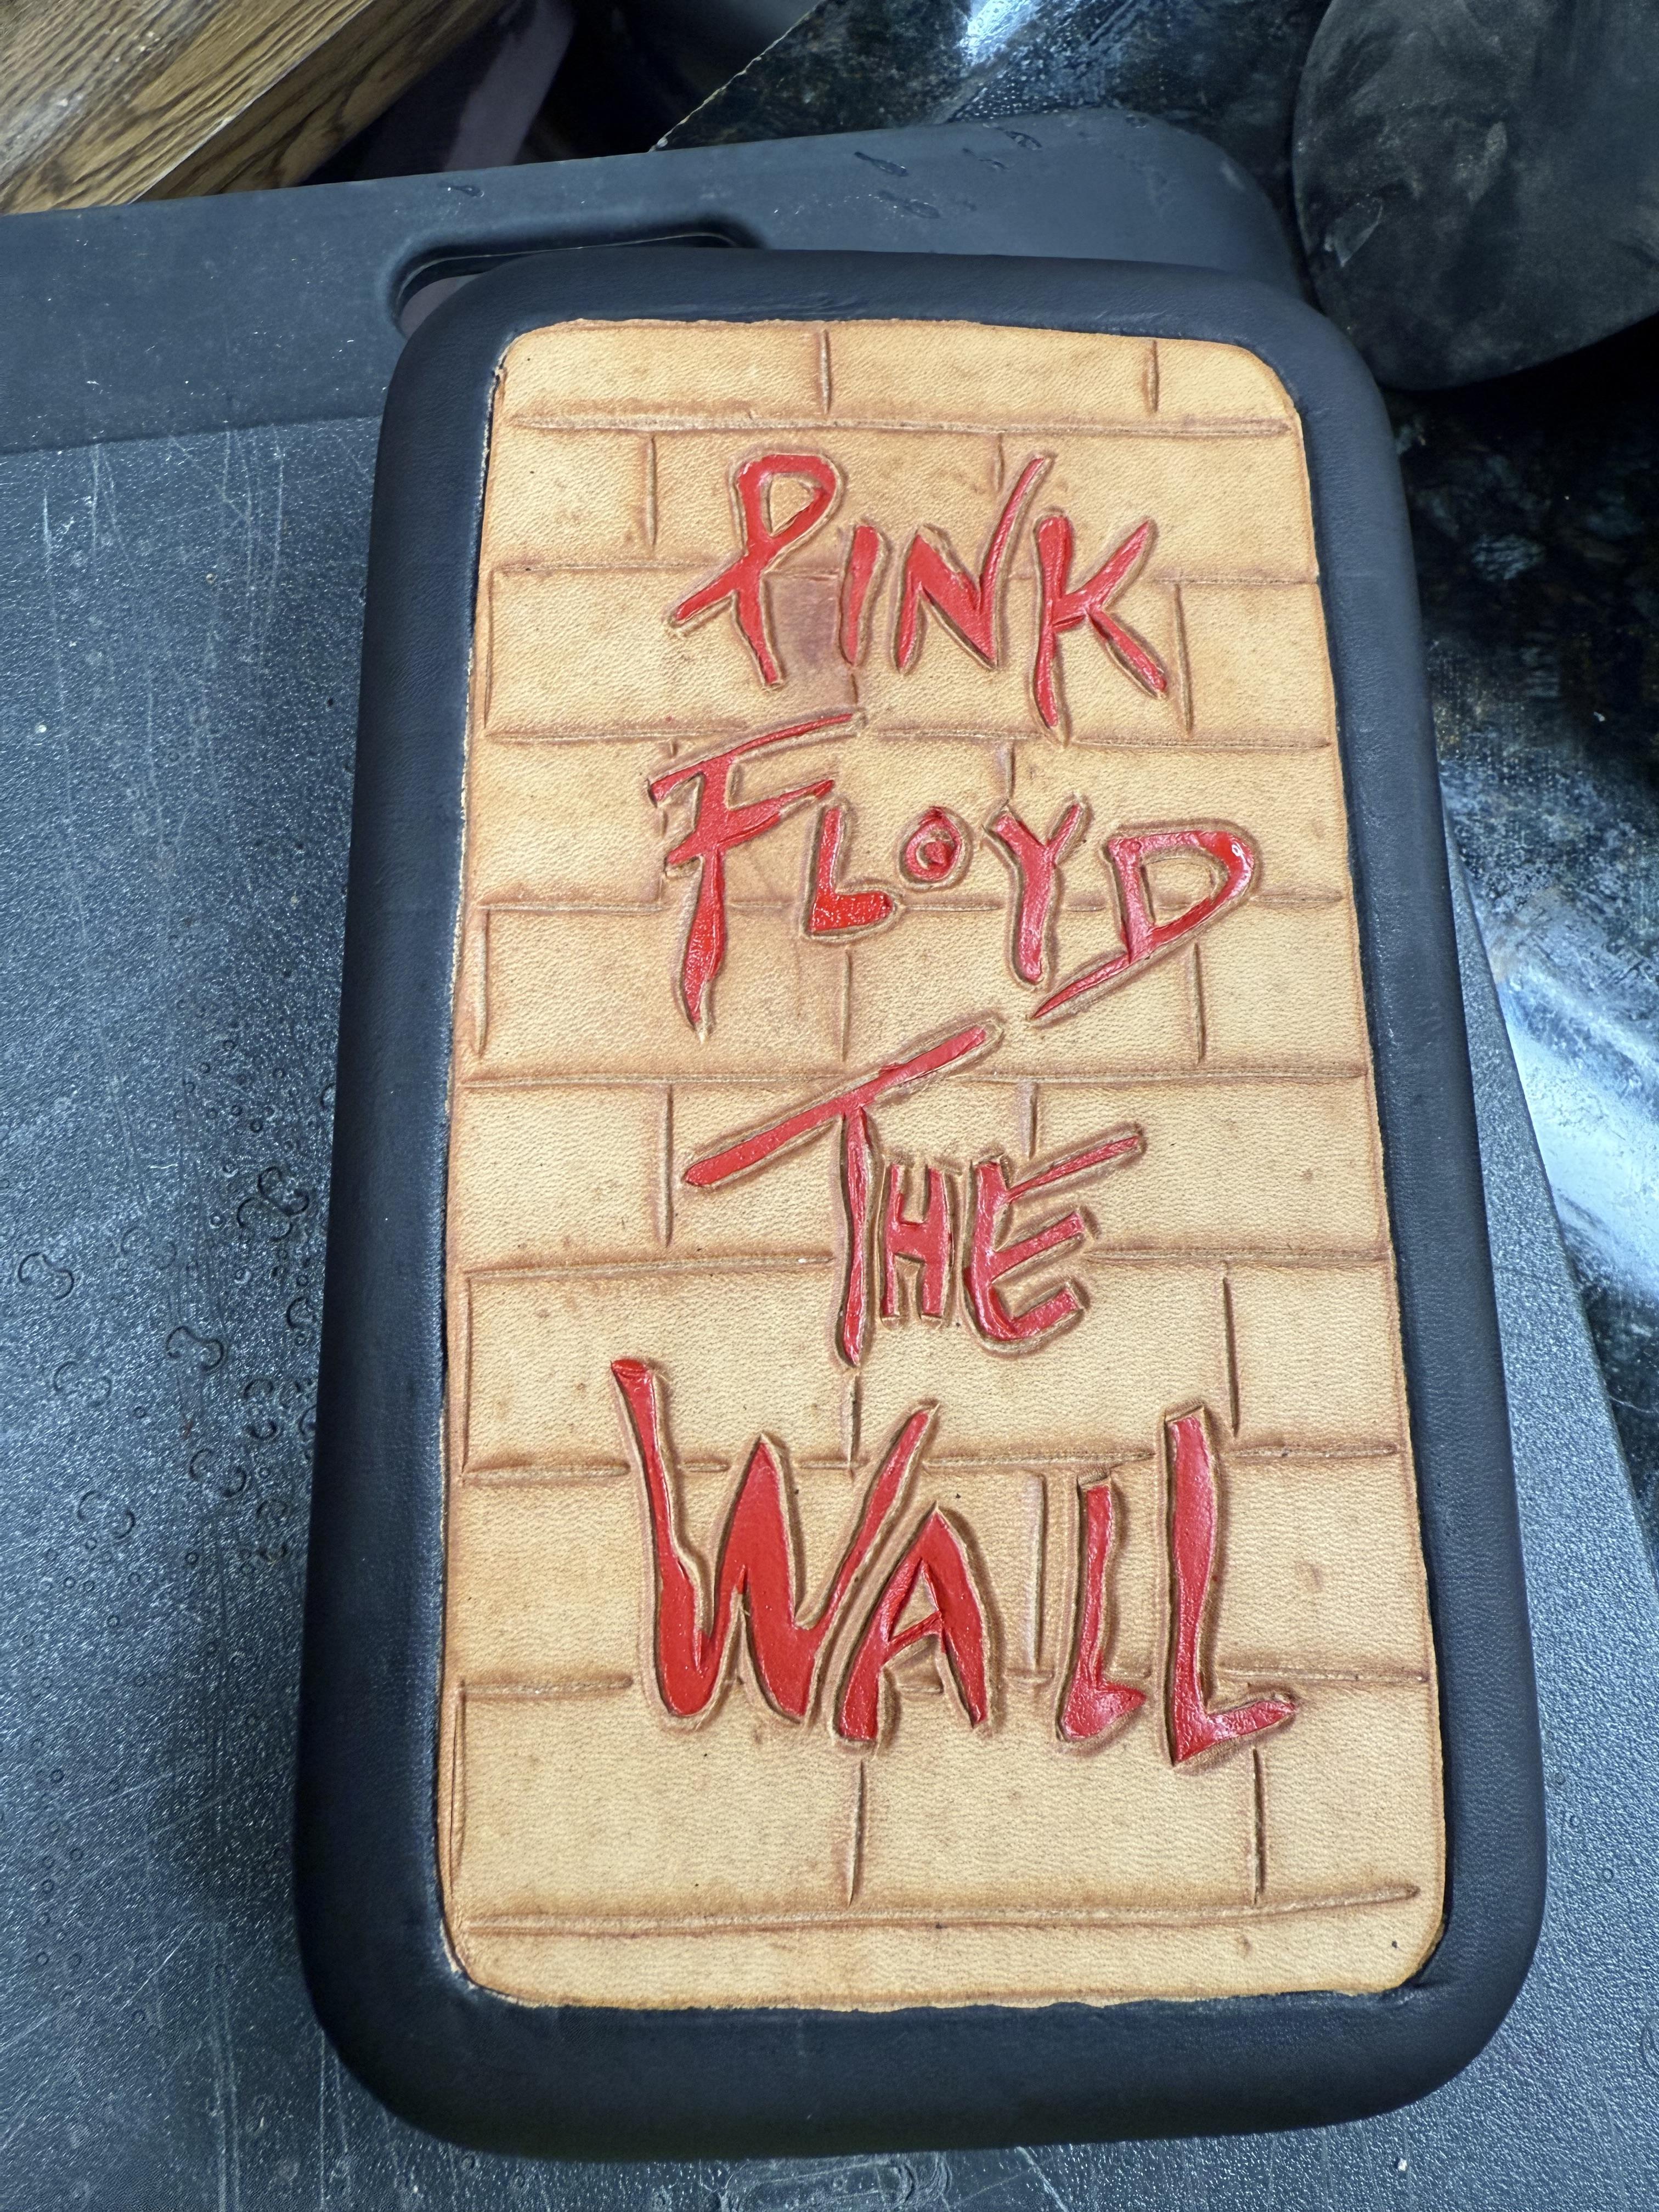
How do I remove this spot? I got a bit of paint on it and I tried acetone. Then I added a drop of oil. Now it looks pink. What do I do? I also plan on antiquing this. Maybe it will cover it up a bit???
-
Not sure if anything is available off the shelf, but bear in mind that Stimpson didn't sell hardware generically. In other words, you couldn't just buy dies and than fit them to any machine. They had different die systems for different machines, and each application had a different stroke, arm configuration, pocket mechanism, etc. 3/8" diameter hardware is more common though. At least if it was for the regular C-1 series rivet machines and for the 489 and similar series grommet machines (which were the foot and electric powered versions of that hand operated press). It wouldn't be a hard job for someone with a metal lathe to make an adapter to at least get the hardware to fit in the hole. You'll also need to consider how you'll hold your fasteners in place. Most of these machines relied on special pockets to do so which the driver would push the rivet or grommet through and they are really not meant to have the hardware swapped out frequently. You'd set it up for one job and a different machine/press for another job. Some drivers have a rubber sleeve or a magnet to help hold the fastener in place, but you'll need to consider it when choosing your hardware. Because it's a hand operated press, you only have one hand to hold the material and fastener in place as you set it. Grommets are often pre-punched, so you can set the fastener in the hole and then crimp it without any pockets, which is likely how that press was made to work, so I think it would do better sticking with grommets.
-
If adapters are not available. Then talk with a machinist to make you adapters for whatever brand dies you got or want.
-
My local Turkish barber has been arrested for drug dealing I've been a customer of his for over 12 years and never knew he was a barber
-
SylrXIII joined the community
-
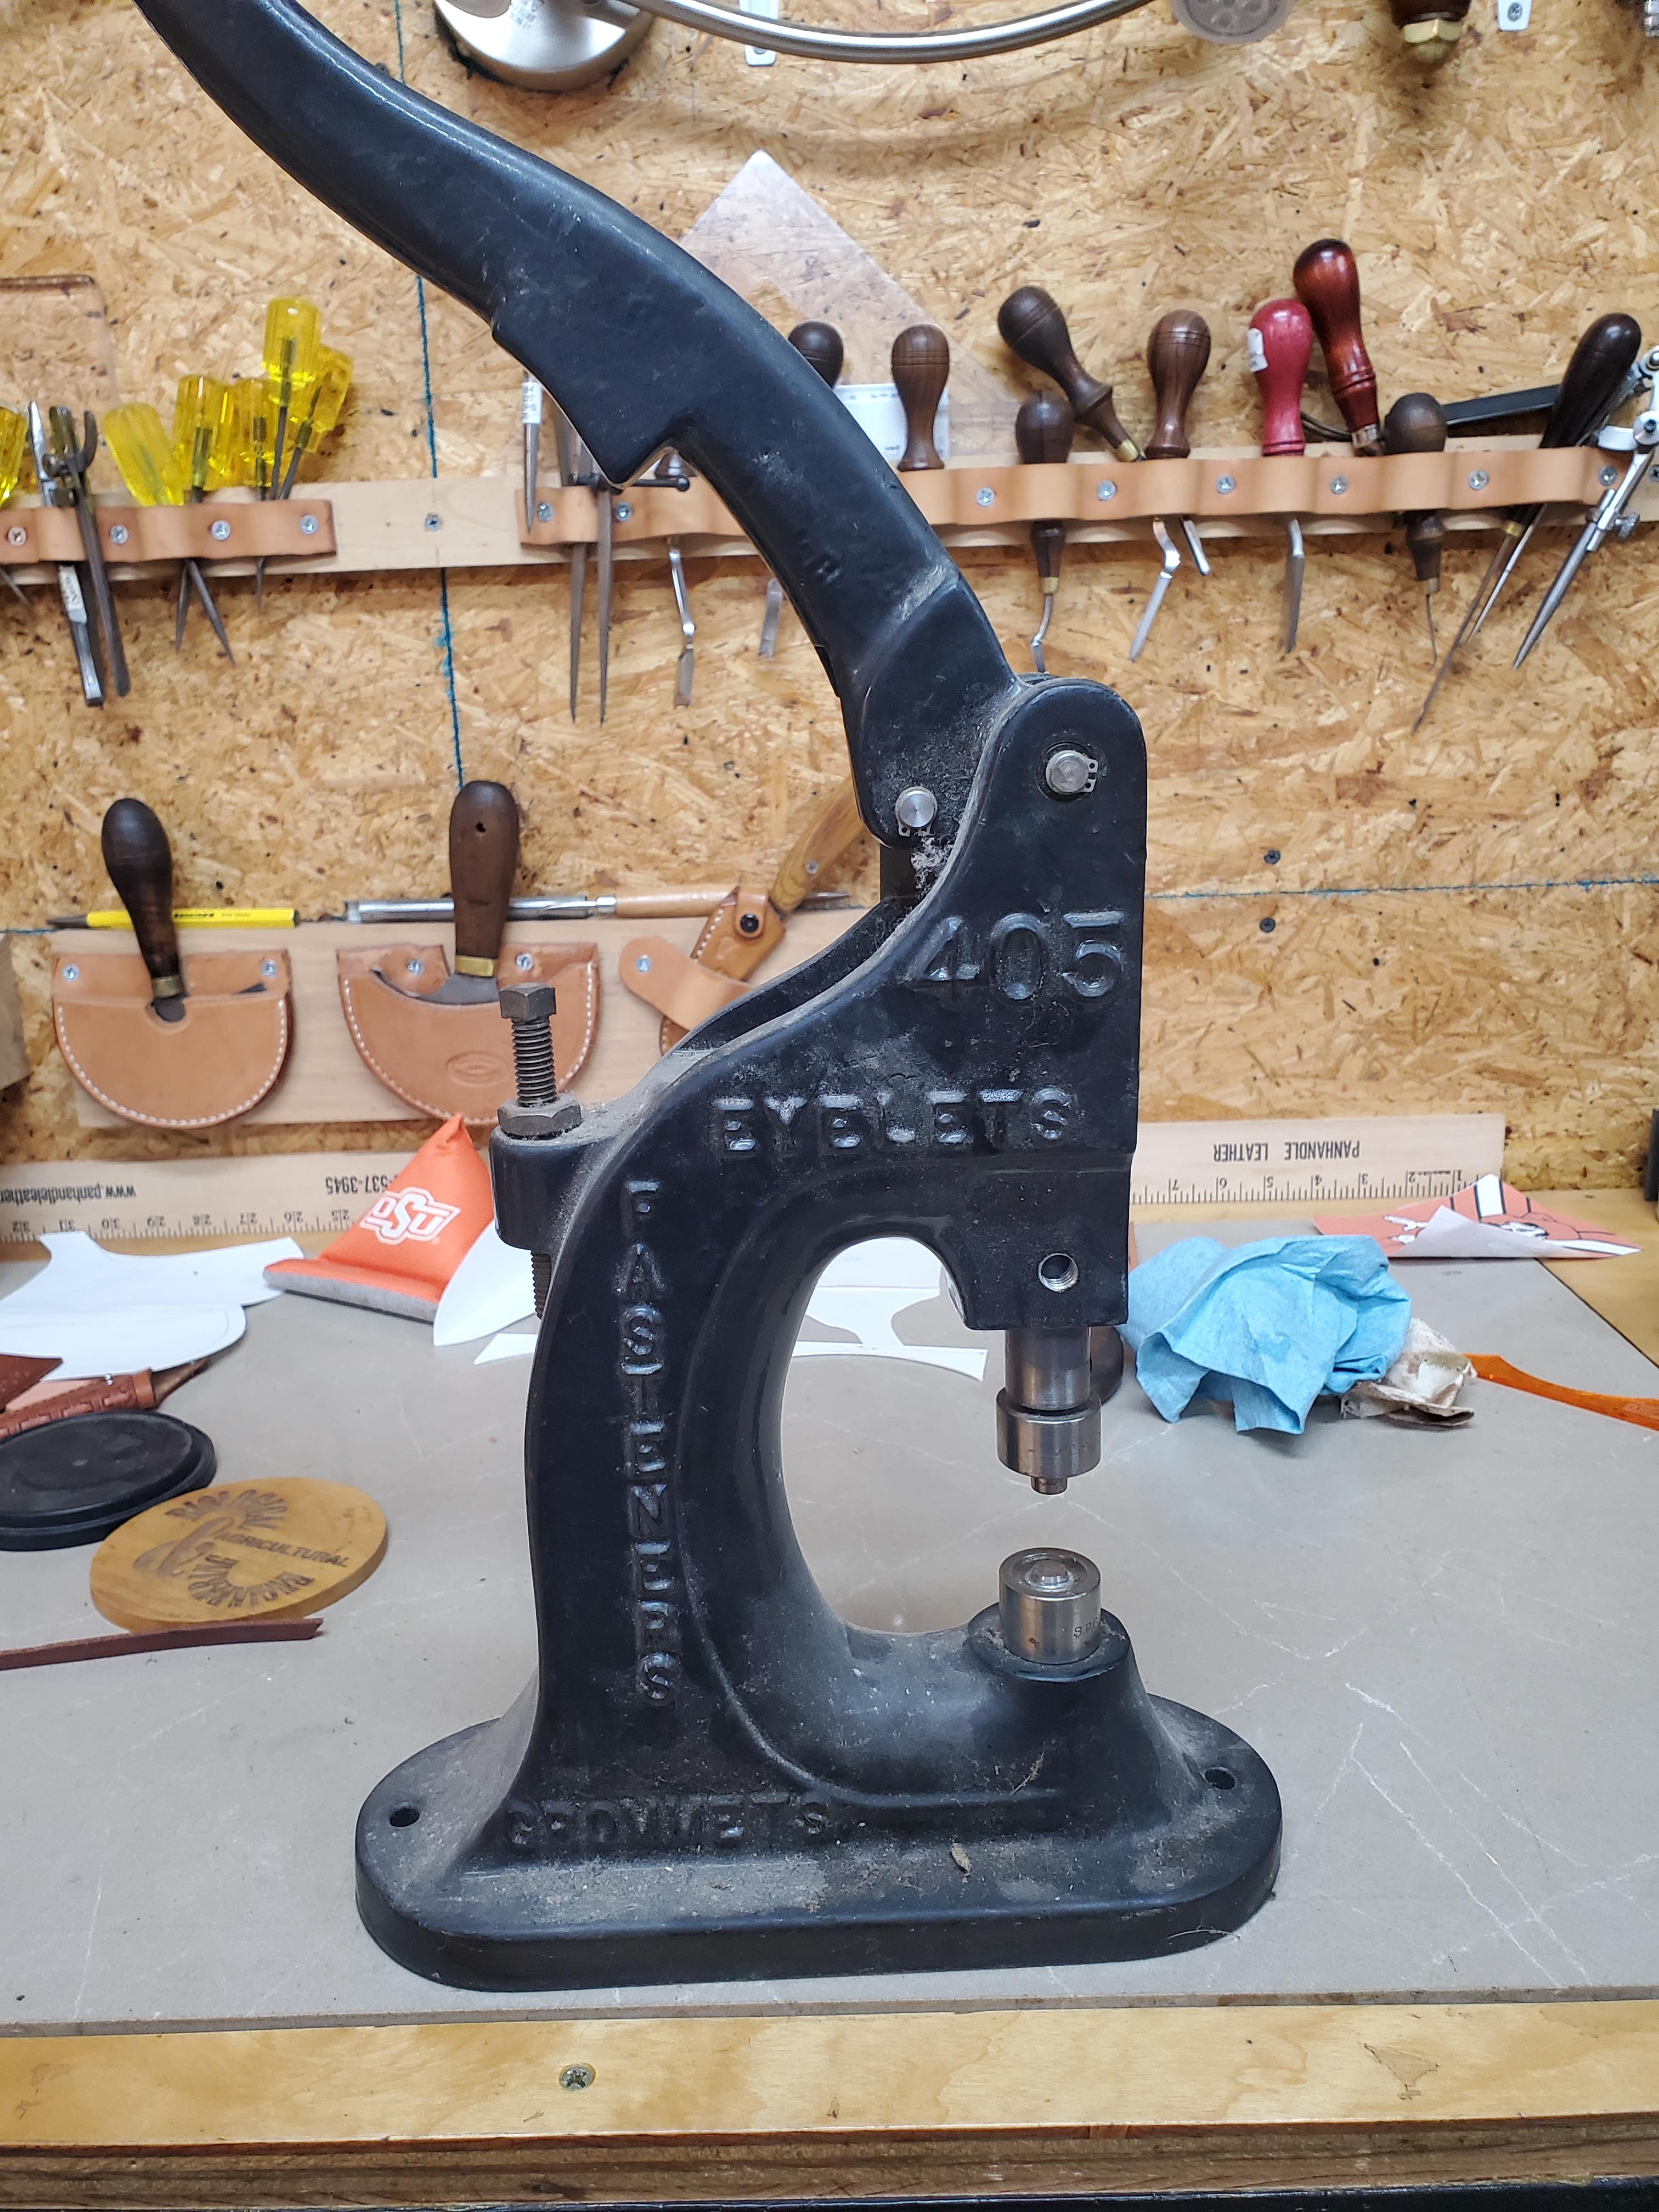
I recently acquired a Stimpson 405. The driver and anvil are for grommets. Has anyone adapted one of these rivets or snaps? How about converting to another brand like Weaver? Thanks, Randy
-
Thanks for all the tips. I know 3 stitches are a lot and I don't have this problem all the time. I think some of the issue is thread. I have thread from different suppliers and its certainly different. Regardless, I have started back stitching 2 and then going forward. Randy
-
I don't wear spurs much . . . mainly when I'm in a parade with my cousins . . . But I took all of mine . . . put them in a wood vice that had leather jaws . . . and squeezed them so that when I put them on my boots . . . between the heel and the heel of my boot . . . in that little crease . . . I tightened them up until they did not move . . . I could wear them outside . . . get on a horse . . . off . . . walk around the yard . . . and the spurs stayed on my boots. They're not tight enough to scratch the boots . . . and you certainly wouldn't ride far with them . . . but that is how I wear mine . . . with of course a leather spur strap across the front arch of my boot. May God bless, Dwight
-
Altogether . . . it certainly is most likely a very functional holster . . . just a couple comments One . . . if you look at the bottom backside of the holster . . . from the top of the leading edge . . . all the way around to the second chicago screw . . . the space between the edge and the stitching varies drastically. For a practical holster . . . that's OK . . . but you won't sell many like that. That space needs to be very near uniform all the way around . . . and you do that on a belt sander. It takes a practiced eye . . . and a bunch of practice . . . but when it is done . . . it looks so much better. The dye did not take very uniformly . . . and if you used Feibings . . . make sure you dilute 1 to 1 with thinner . . . and ALWAYS brush a light coat of neatsfoot oil on the hair side of your projects . . . then let is set for 24 hours before dyeing. I always dip dye everything I do . . . and while it takes more dye that way . . . the dye also goes in deeper . . . making scrapes and scratches later on . . . less noticeable. Dip dyeing for me has always also been much more uniform than any other way I've tried. You also might want to take the top of the back piece that lays against your side . . . take it up and round it . . . so that as you look at it . . . leather comes up above the hammer, rear sight, and most importantly if it has one . . . the safety. It is a lot more comfortable that way. But all in all . . . just a few constructive critic words to make your product more tasteful. . . . I do really like the design down the front or it though . . . and the clips are a nice touch. May God bless, Dwight
-
I've got a Campbell Randall VSB Burnisher. Honestly It's not as good as you're hoping it is. Mine collects dust.... They're built out of a common brushed sewing servo and fitted with an adapter that allows you to use Galli Burnishing wheels. The Galli wheels are a great item, lots of different wheels, grinding, diamond, leather, wood, phenolic, etc available. The bad part is that they have poor speed control ("0" to 3000K RPM) and almost no torque. A burnisher needs a little bit of low rpm torque. The Galli burnishing wheels have a bit of diameter to them so a low torque, hard to control cheap brushed servo isn't really what you want. The dust collector shield on the Randall VSB is actually a plastic dust collector hood from the Bosch Router. I ended up building 2 of my own burnishers, one out of a LOBO profile sander and the other out of a washing machine motor. Sometimes i use the DC burnisher on the front of my Galli FCE, but it's only setup for horizontal burnishing. I also have 2 other heavy factory made motor driven burnishers. One is a Randall in a hammered green paint. It has lots of torque, but setup with steel burnishing heads and kinda not that great. The other is an ancient machine that's almost identical to the Randall (Looks like Randall Copied it) that has a large multi groove cocobolo (or somthing similar) head about 6" in diameter. That one sees a fair amount of flat use. I guess my suggestion is to build your own and don't buy one. It looks like you don't need that advice though! You need decent lower speed torque and ability to vary the speed. 1/2hp 3ph motor is probably a good choice. I've run `1/3hp motors on burnishers and found them overheating from the load if I use them for a period of time. a 3ph motor is less prone to getting hot as well. If you're doing heavy burnishing I'd probably go so far as to recommend a 3/4hp motor.
-
Anyone taken a cheap servo motor apart?
Cumberland Highpower replied to AlZilla's topic in Leather Sewing Machines
In reality, other than testing a damaged pulley, that trick wouldn't do enough most likely to show what's bad. Bearings are precision units (even cheap bearings) and you could have enough bearing damage or runout in the shaft to cause issues and not be able to tell with a screwdriver. A possible "possibility" is that maybe the shaft was "driven" backwards a little, enough to cause something to rub inside? If that was the case would be an easy fix I'd think? If it is a bad bearing, I'd almost gamble its the rear bearing rather than the front. -
BOOT TOE BOX REPAIR QUESTION
Drummist replied to Drummist's topic in Shoes, Boots, Sandals and Moccassins
Tozafoot - Thanks for that reply. I'll give it a try. I never thought to try hammering it flat so that just might work! I have this idea that some sort of product like Celastic or a glue of some sort, would help to "stiffen" the inside of the toe box to help it retain the shape after getting it smoothed out. Is this a bad idea? I also thought of using "Tuff-toe" on the exterior, but I'd hate the look of it. D -
I do like your idea of modifying a motor to give you what you would like particularly if you have a motor on hand. I modified what is called a variable speed buffer to do sanding and burnishing. I would be interested in seeing your end result.
-
Typical gc2605 conversion to non-binding machine
nejcek74 replied to TakashiOkada's topic in Leather Sewing Machines
If he is using Pfaff parts, maybe this is a copy of Pfaff 335? Which was often sold as a binding machine. Regarding 2-way (only horizontal) vs 4-way (horizontal and vertical) feed dog movement there was already written a lot about it on this forum. Conversion is possible but it's a mayor work because you need to connect the upper shaft with the lower one that moves the feed dog. You also need parts which are often more expensive than an used machine. My Pfaff 1245 has only 2-way feed dog and it works for me perfectly fine, but I am using it mostly for heavy fabric or combination of heavy fabric and leather. I guess certain, very fine surfaces could be scratched by a feed dog dragging back. -
Typical gc2605 conversion to non-binding machine
kgg replied to TakashiOkada's topic in Leather Sewing Machines
If to changed what appears to be a clutch motor on the used machine out for a servo motor which should cost about $200 the total cost would be about $600. That is of course assuming the used machine is in good working order and mechanically fit. If the machine does the stuff you would like to do then you would have saved $1300 which would go a long ways to other things like needles, thread, attachment, leather, etc. kgg -

Development of best servo motor for leather sewing machine
AlZilla replied to CowBoyOUTLAW's topic in Leather Sewing Machines
I don't know what that's called exactly but it's not what people mean when they say "Clutch Motor". It accomplishes something similar I've got a couple of those and some clutch motors. A clutch motor has something akin to an automobile clutch built right into the end of the unit. Here's Alexander Dyer talking about clutch motors: -
Jonah45 joined the community
-
The foot is held in place with a tapered pin same as the FAV and Fortuna machines. The 1mm washer was needed to allow the sliding lock in thing to position better for holding and angle adjustments.


