All Activity
- Past hour
-
Great work!!
- Today
-
 Roger M joined the community
 -
Nice work. Great setup. Yeah I made the mistake of air brushing a couple projects in the house. Fiebings pro dye bout gassed me out.
-
Looks great! Keep up the good work.
- Yesterday
-
This is a followup to my topic "Airbrushing" for dying leather with a short video of my setup at the end of this long post. The video was done setup on my deep-freezer just for ease. Airbrushing has a natural pocket emptying progression just like sewing machines. Get a Airbrush and a Compressor it'll be easy but what about where to actually do the airbrushing??? The great outdoors when it's + 30 C or - 30 C or the comfort of your leather room, basement, etc. That leads to dealing with any unwanted fumes contaminating the area or dealing with possible over-spray landing on other projects / tools / leather. My solution was to build a fairly inexpensive spray booth and indoor filtration system for indoor use. I didn't want to cut a hole through the side of the house and deal with spray staining the siding or poke a hose out a window particularly in the winter. To that end I decided to use: 1) A clear 102 litre (27 US gallons) plastic tote for a couple of reasons. i) Lighting: Allows room light inside the tote ii) Interior Surface: All totes are not equal the one I choose has a real slippery surface and even a permanent maker will not mark it unlike other clear or colored totes. iii) Size: 102 litre (27 US gallons) iv) Price: $20 CAD 2) Exhausting: i) The interior lighting via a 12v DC LED at a 45 degree angle. ii) The interior of the tote by using two 140mm 12v DC computer fans that suck at 1.8m/s each (measured with air gauge), are almost silent and will empty the interior air space of the tote in 1.7 seconds with 1.8m/s at the exhaust vent of the bucket. iii) I connected two 5" x 8' flexible ducts to the fans. iv) Price: $40 CAD as the LED and fans were left over parts from other projects. 3) Filtration: i) one 5 US gallon bucket and cover. ii) Window Air Conditioner fabric, HEPA filter, iii) Price: $12 CAD 4) Power: i) 120v AC - 12 DC, 150 w Power Supply ii) 120v AC Power Bar to supply spray booth fans, light and airbrush compressor iii) Price: $35 CAD 5) Miscellaneous items i) 3mm nut /bolts / washers ii) 3D printed housings for Fans, Duct Connections to Fan Housings, 5 gallon Filtration Bucket, Power Supply, Airbrush Holder, Rotating Platter Support and LED supports iii) The Rotating Platter was a 5 gallon bucket lid with a 1/4" bolt and some cardboard iv) Price: $20 CAD Total Cost: $127 CAD Now you got to remember that I am an cheap old geezer and depending on what you have kicking around your costs / results may vary. All comments appreciated but be gentle as I am not comfortable with video's. kgg
-
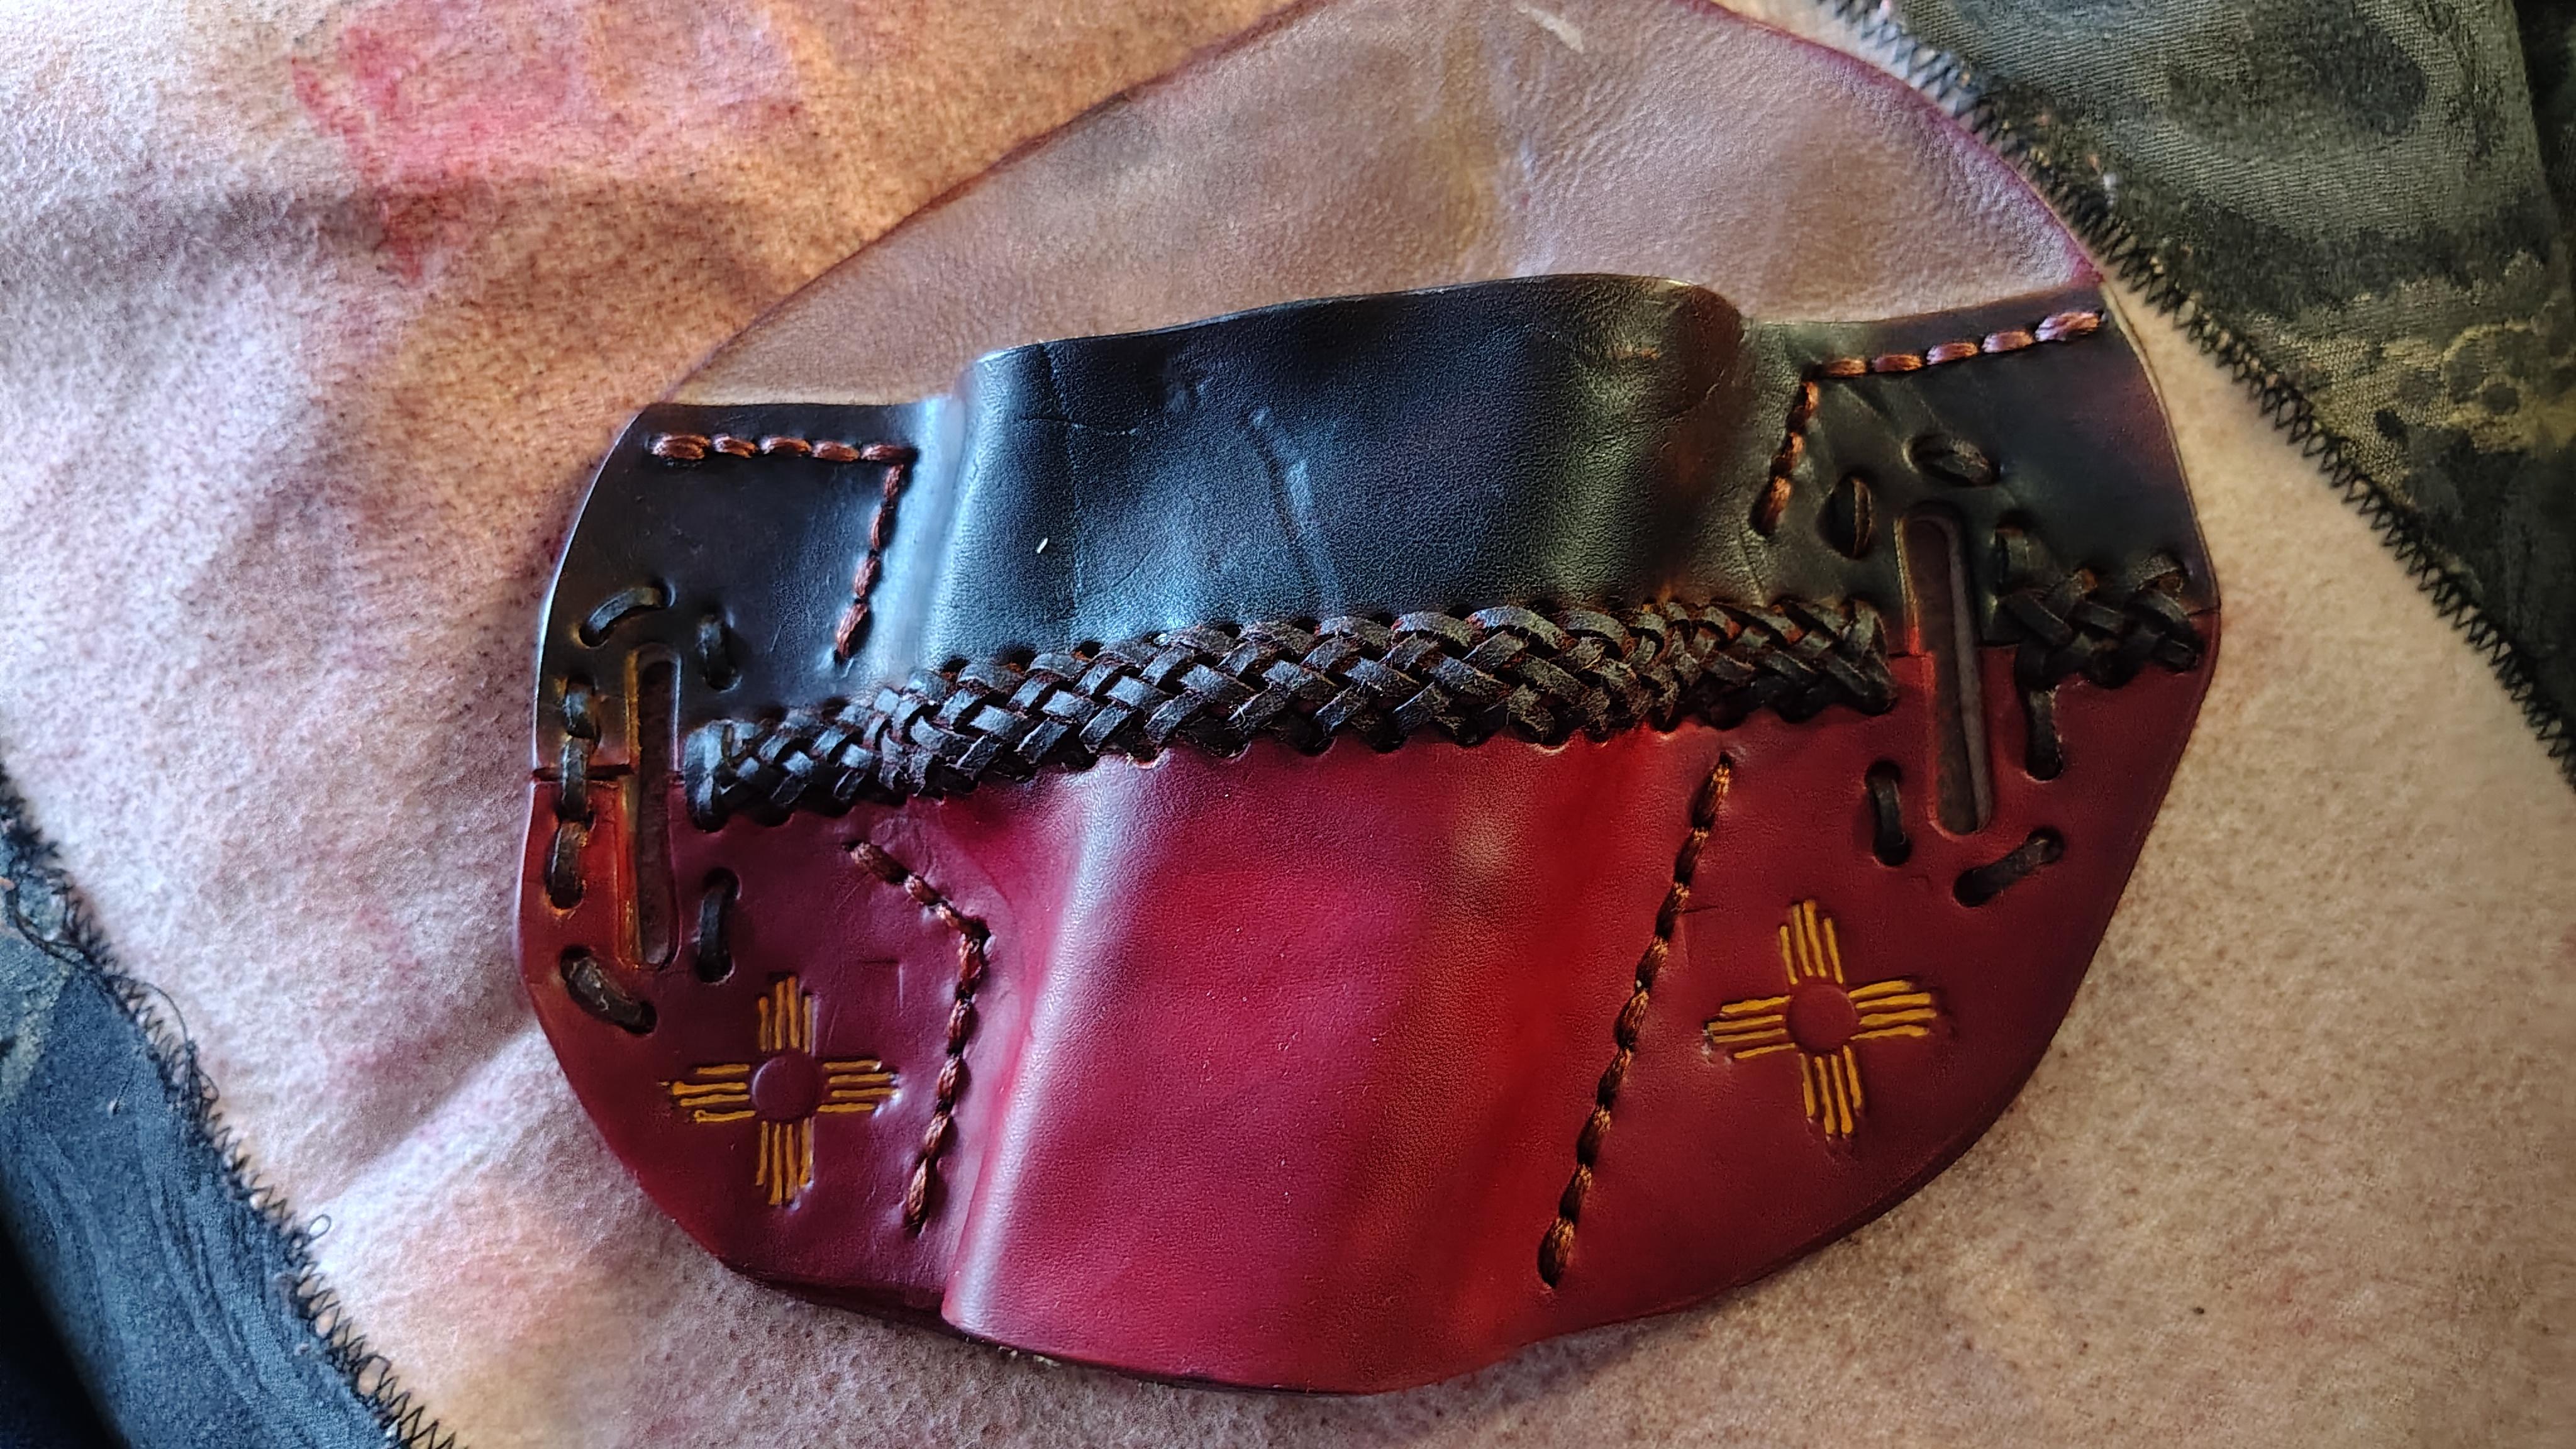
Thanks. I appreciate the feedback. I Added some color to the zias.
-
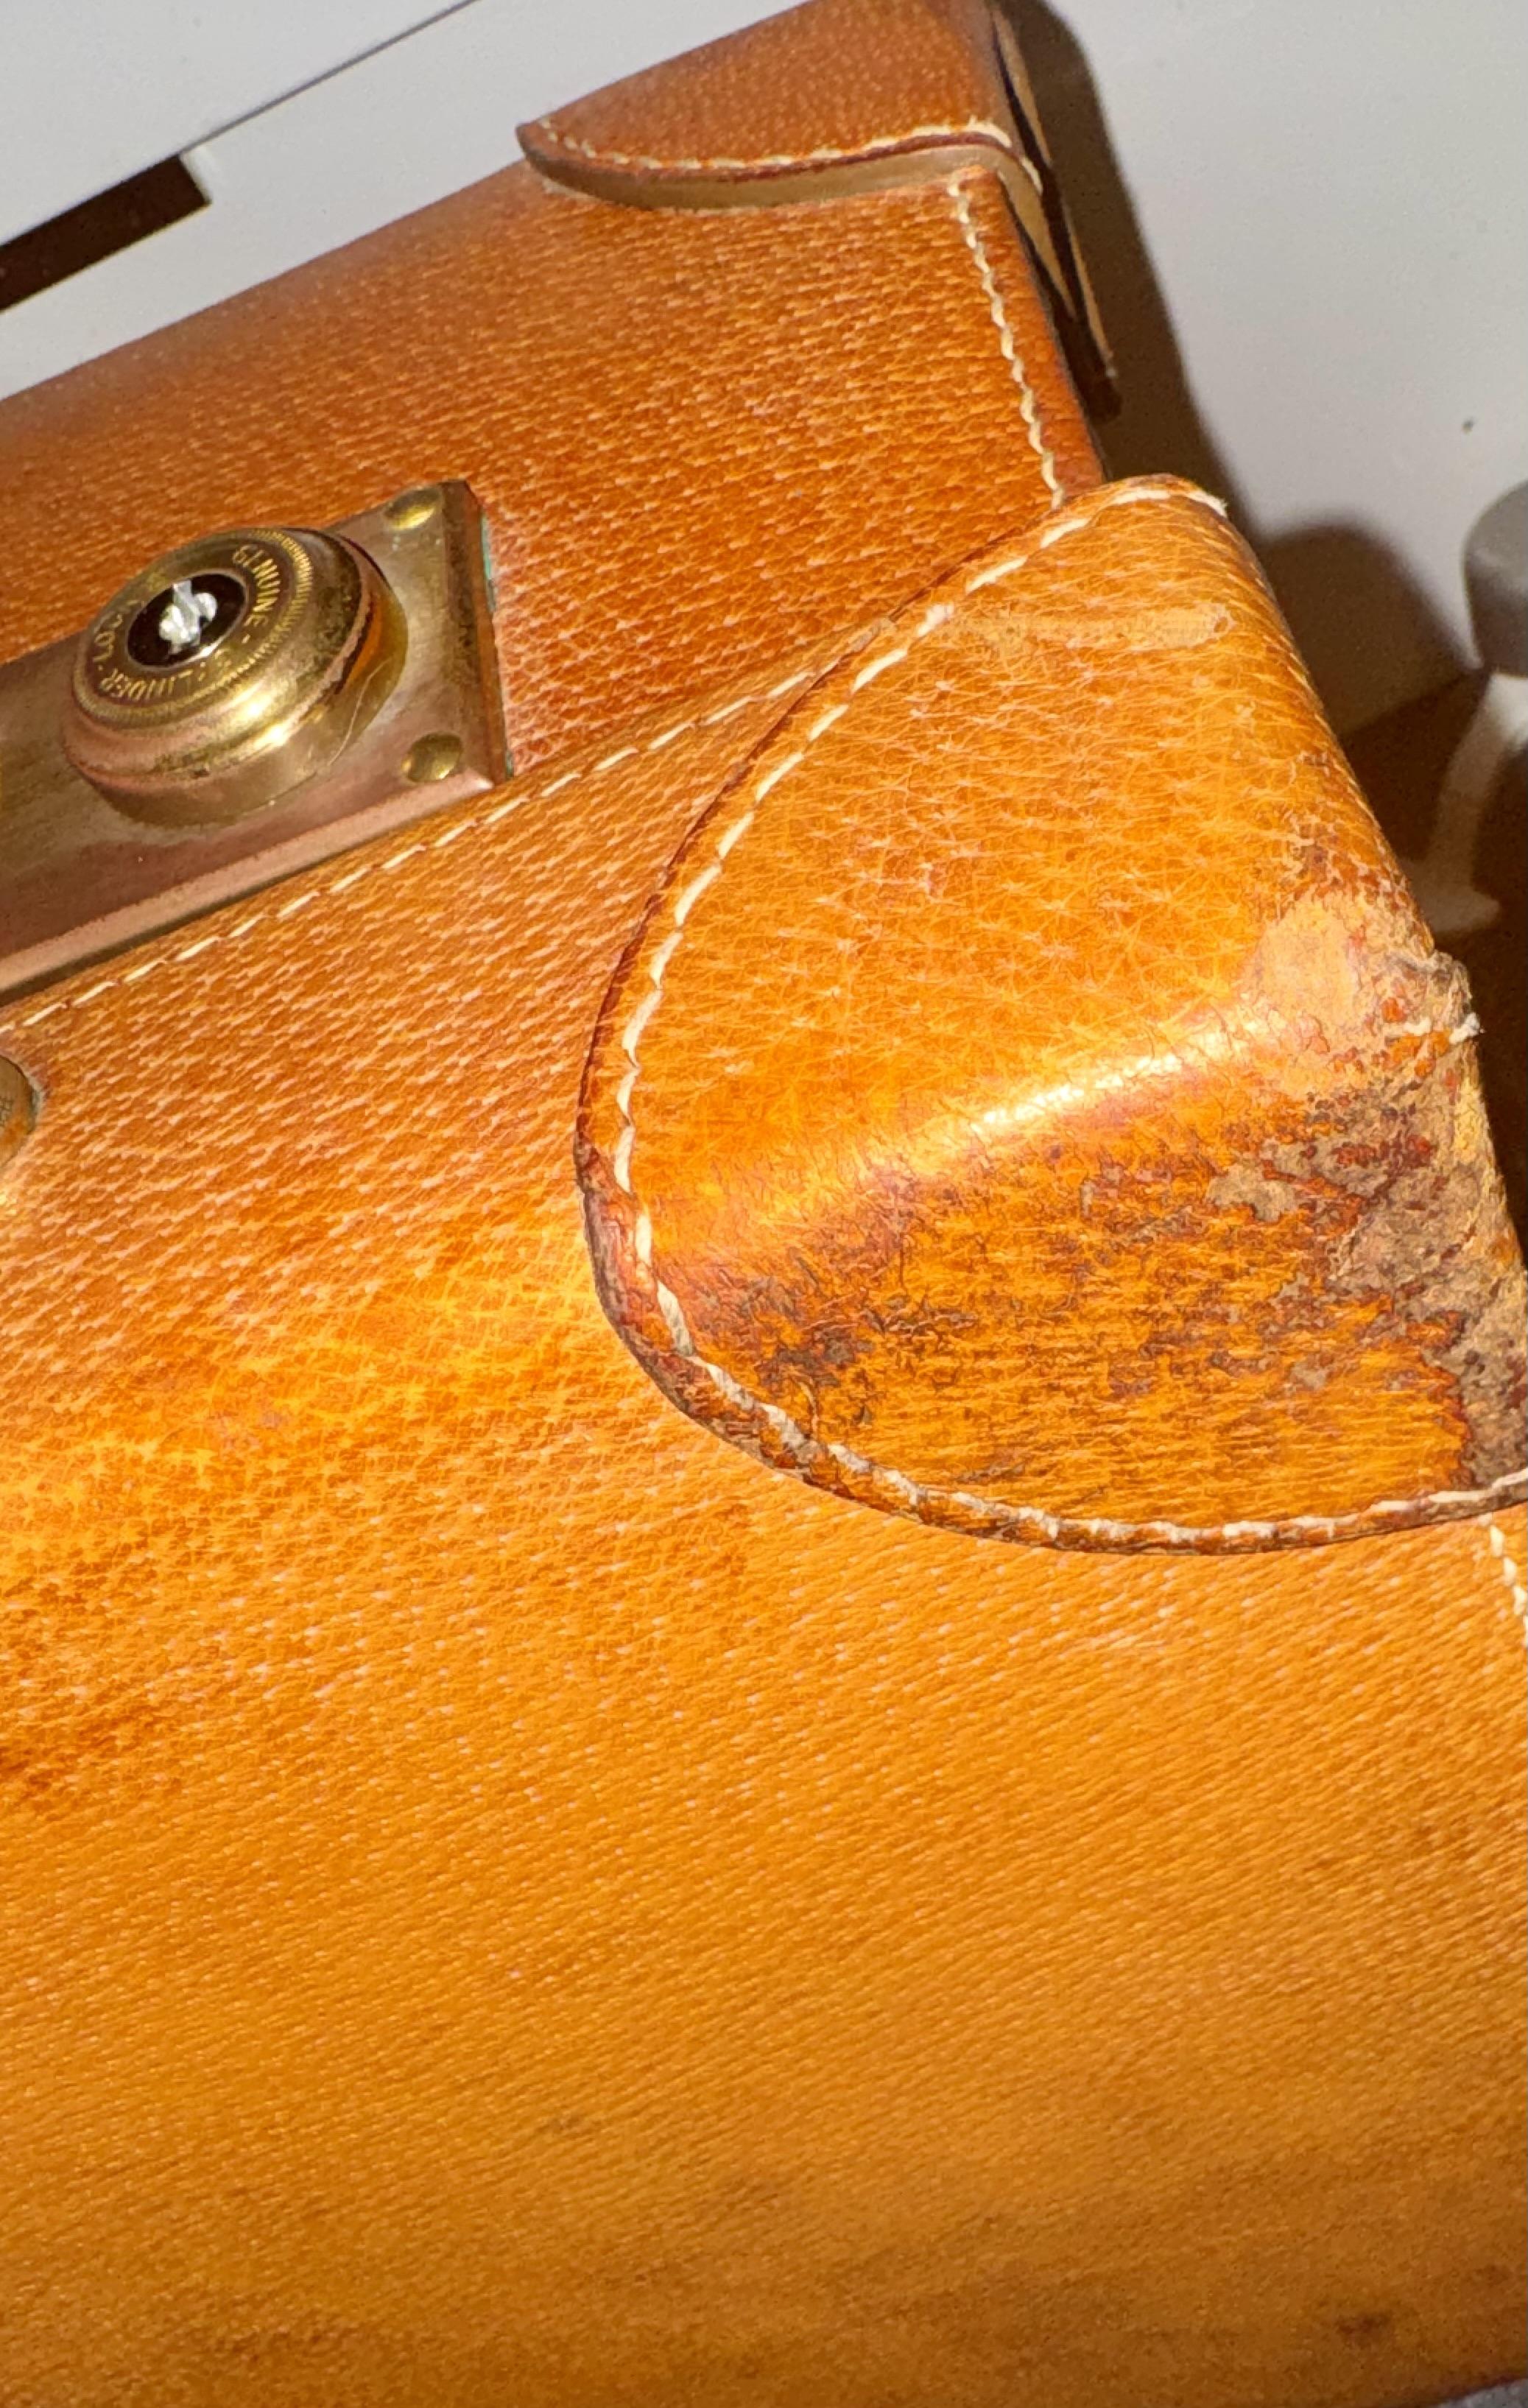
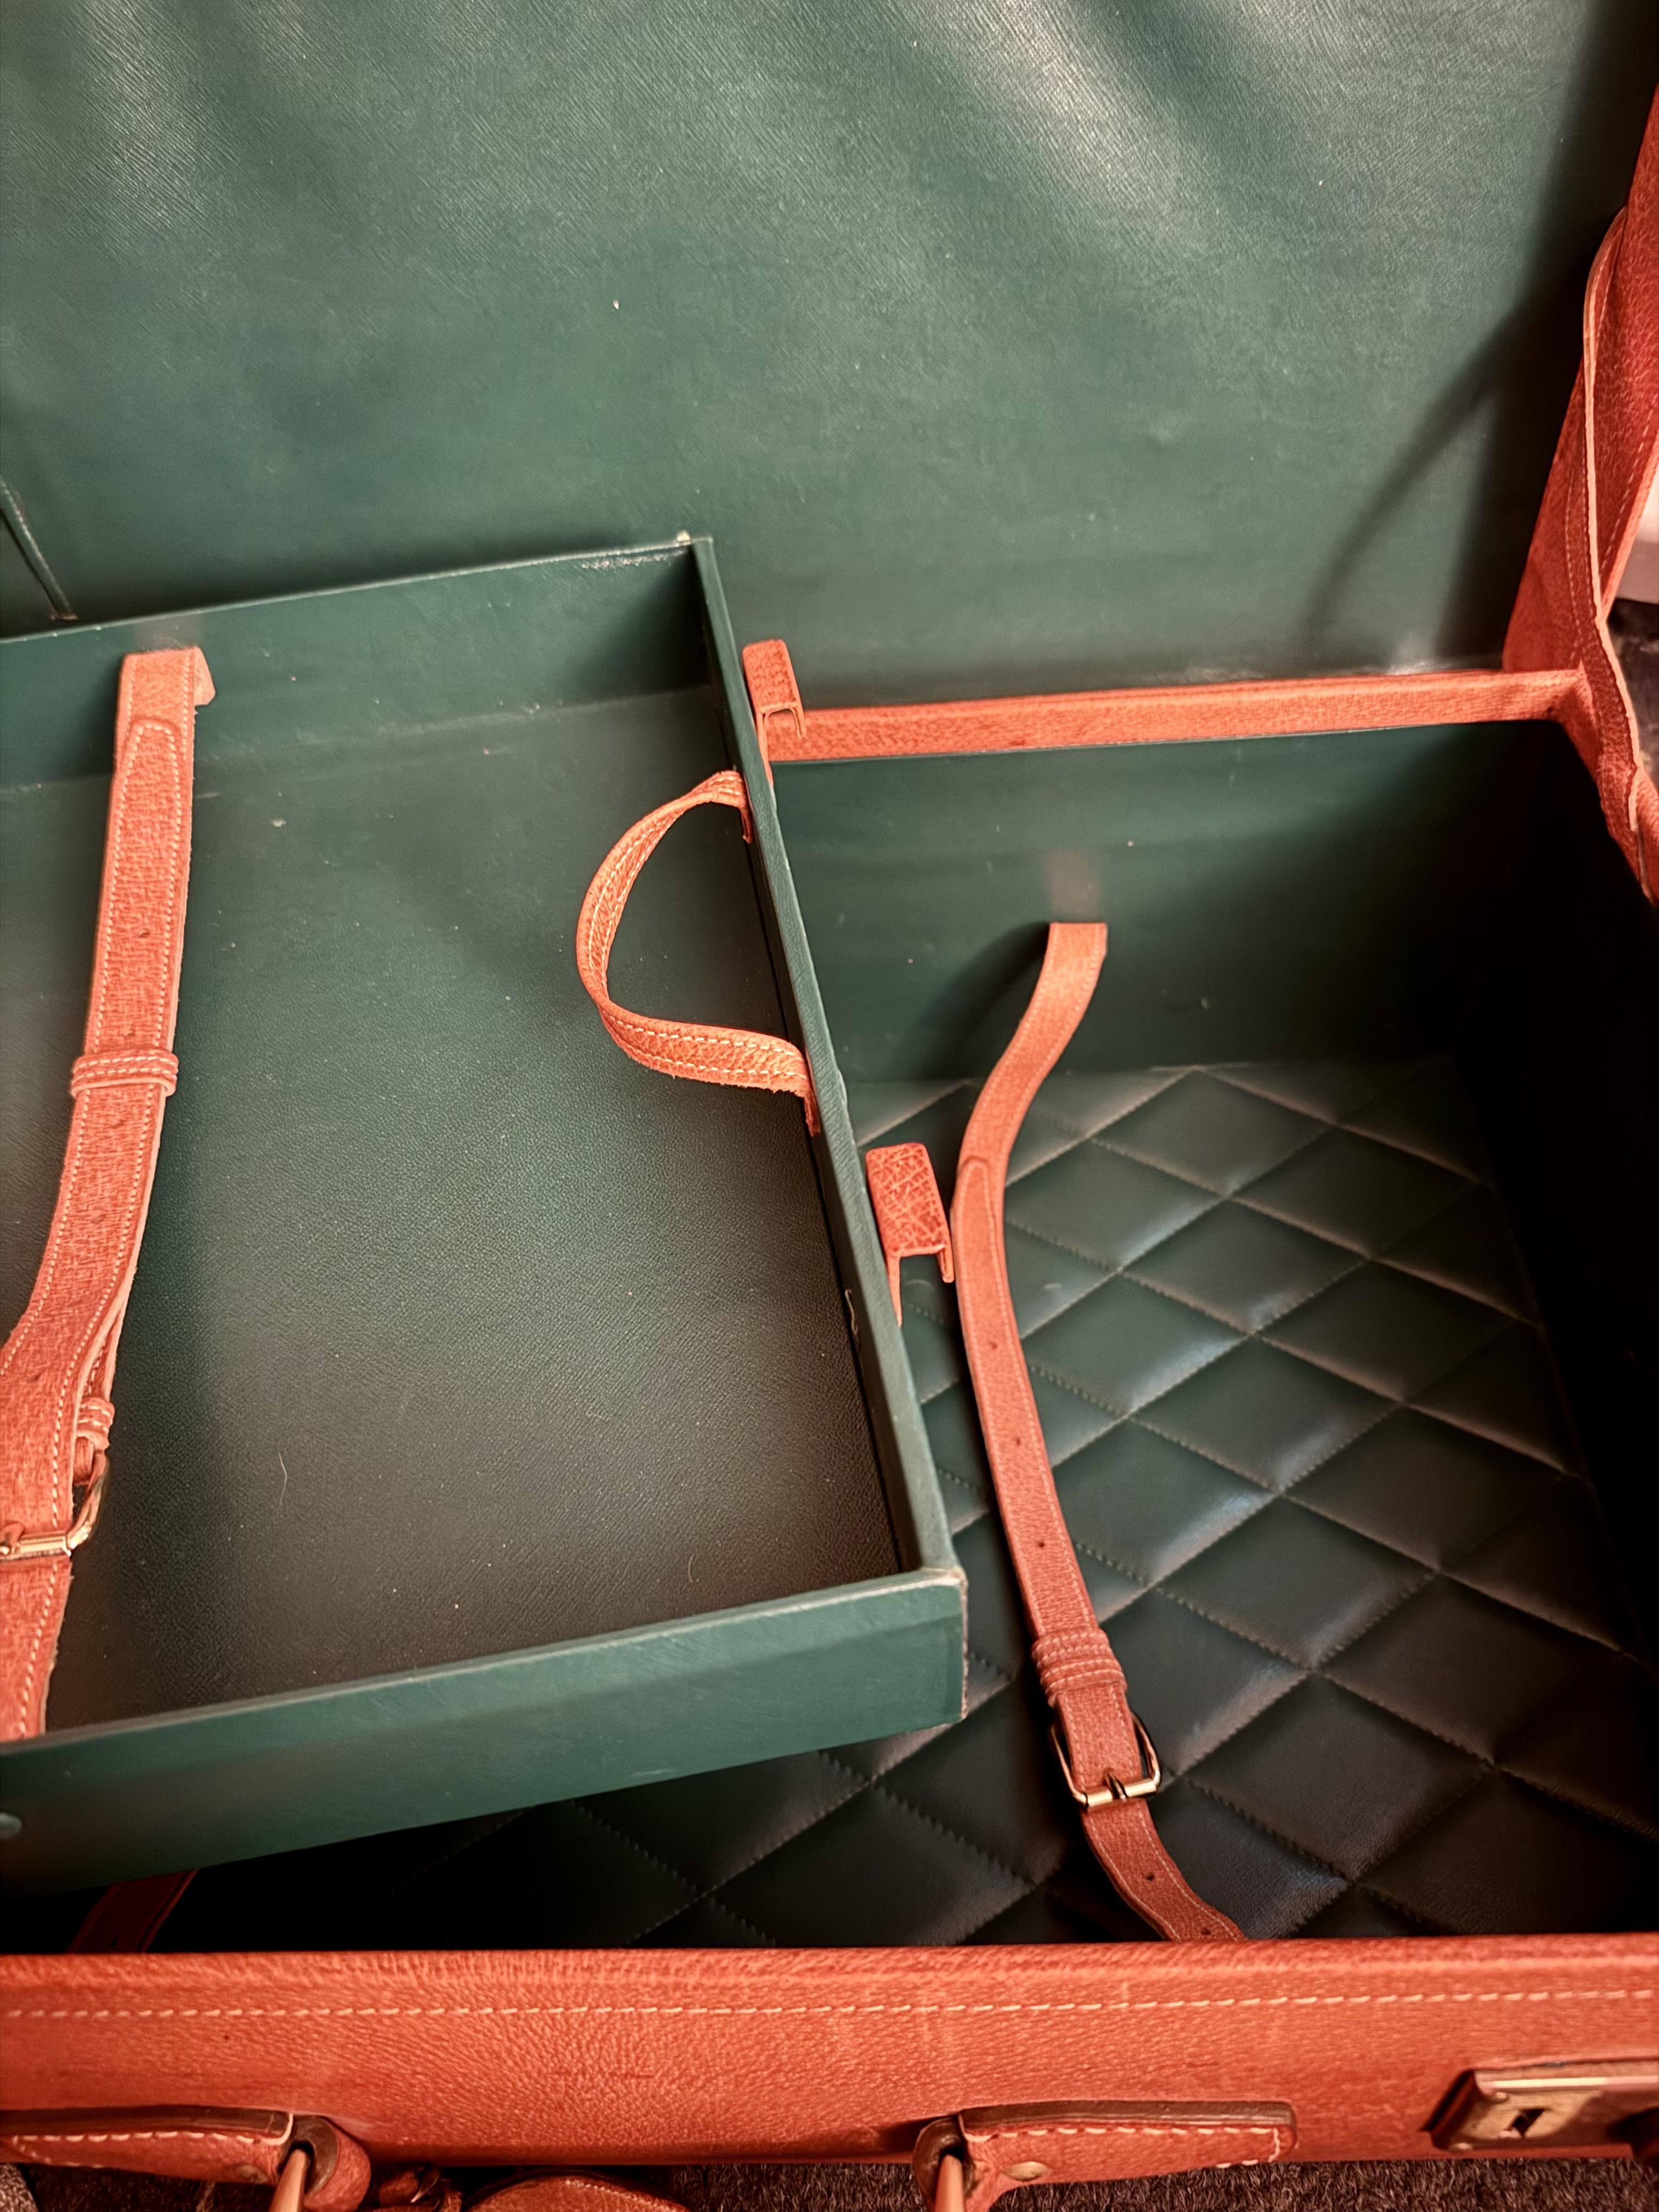
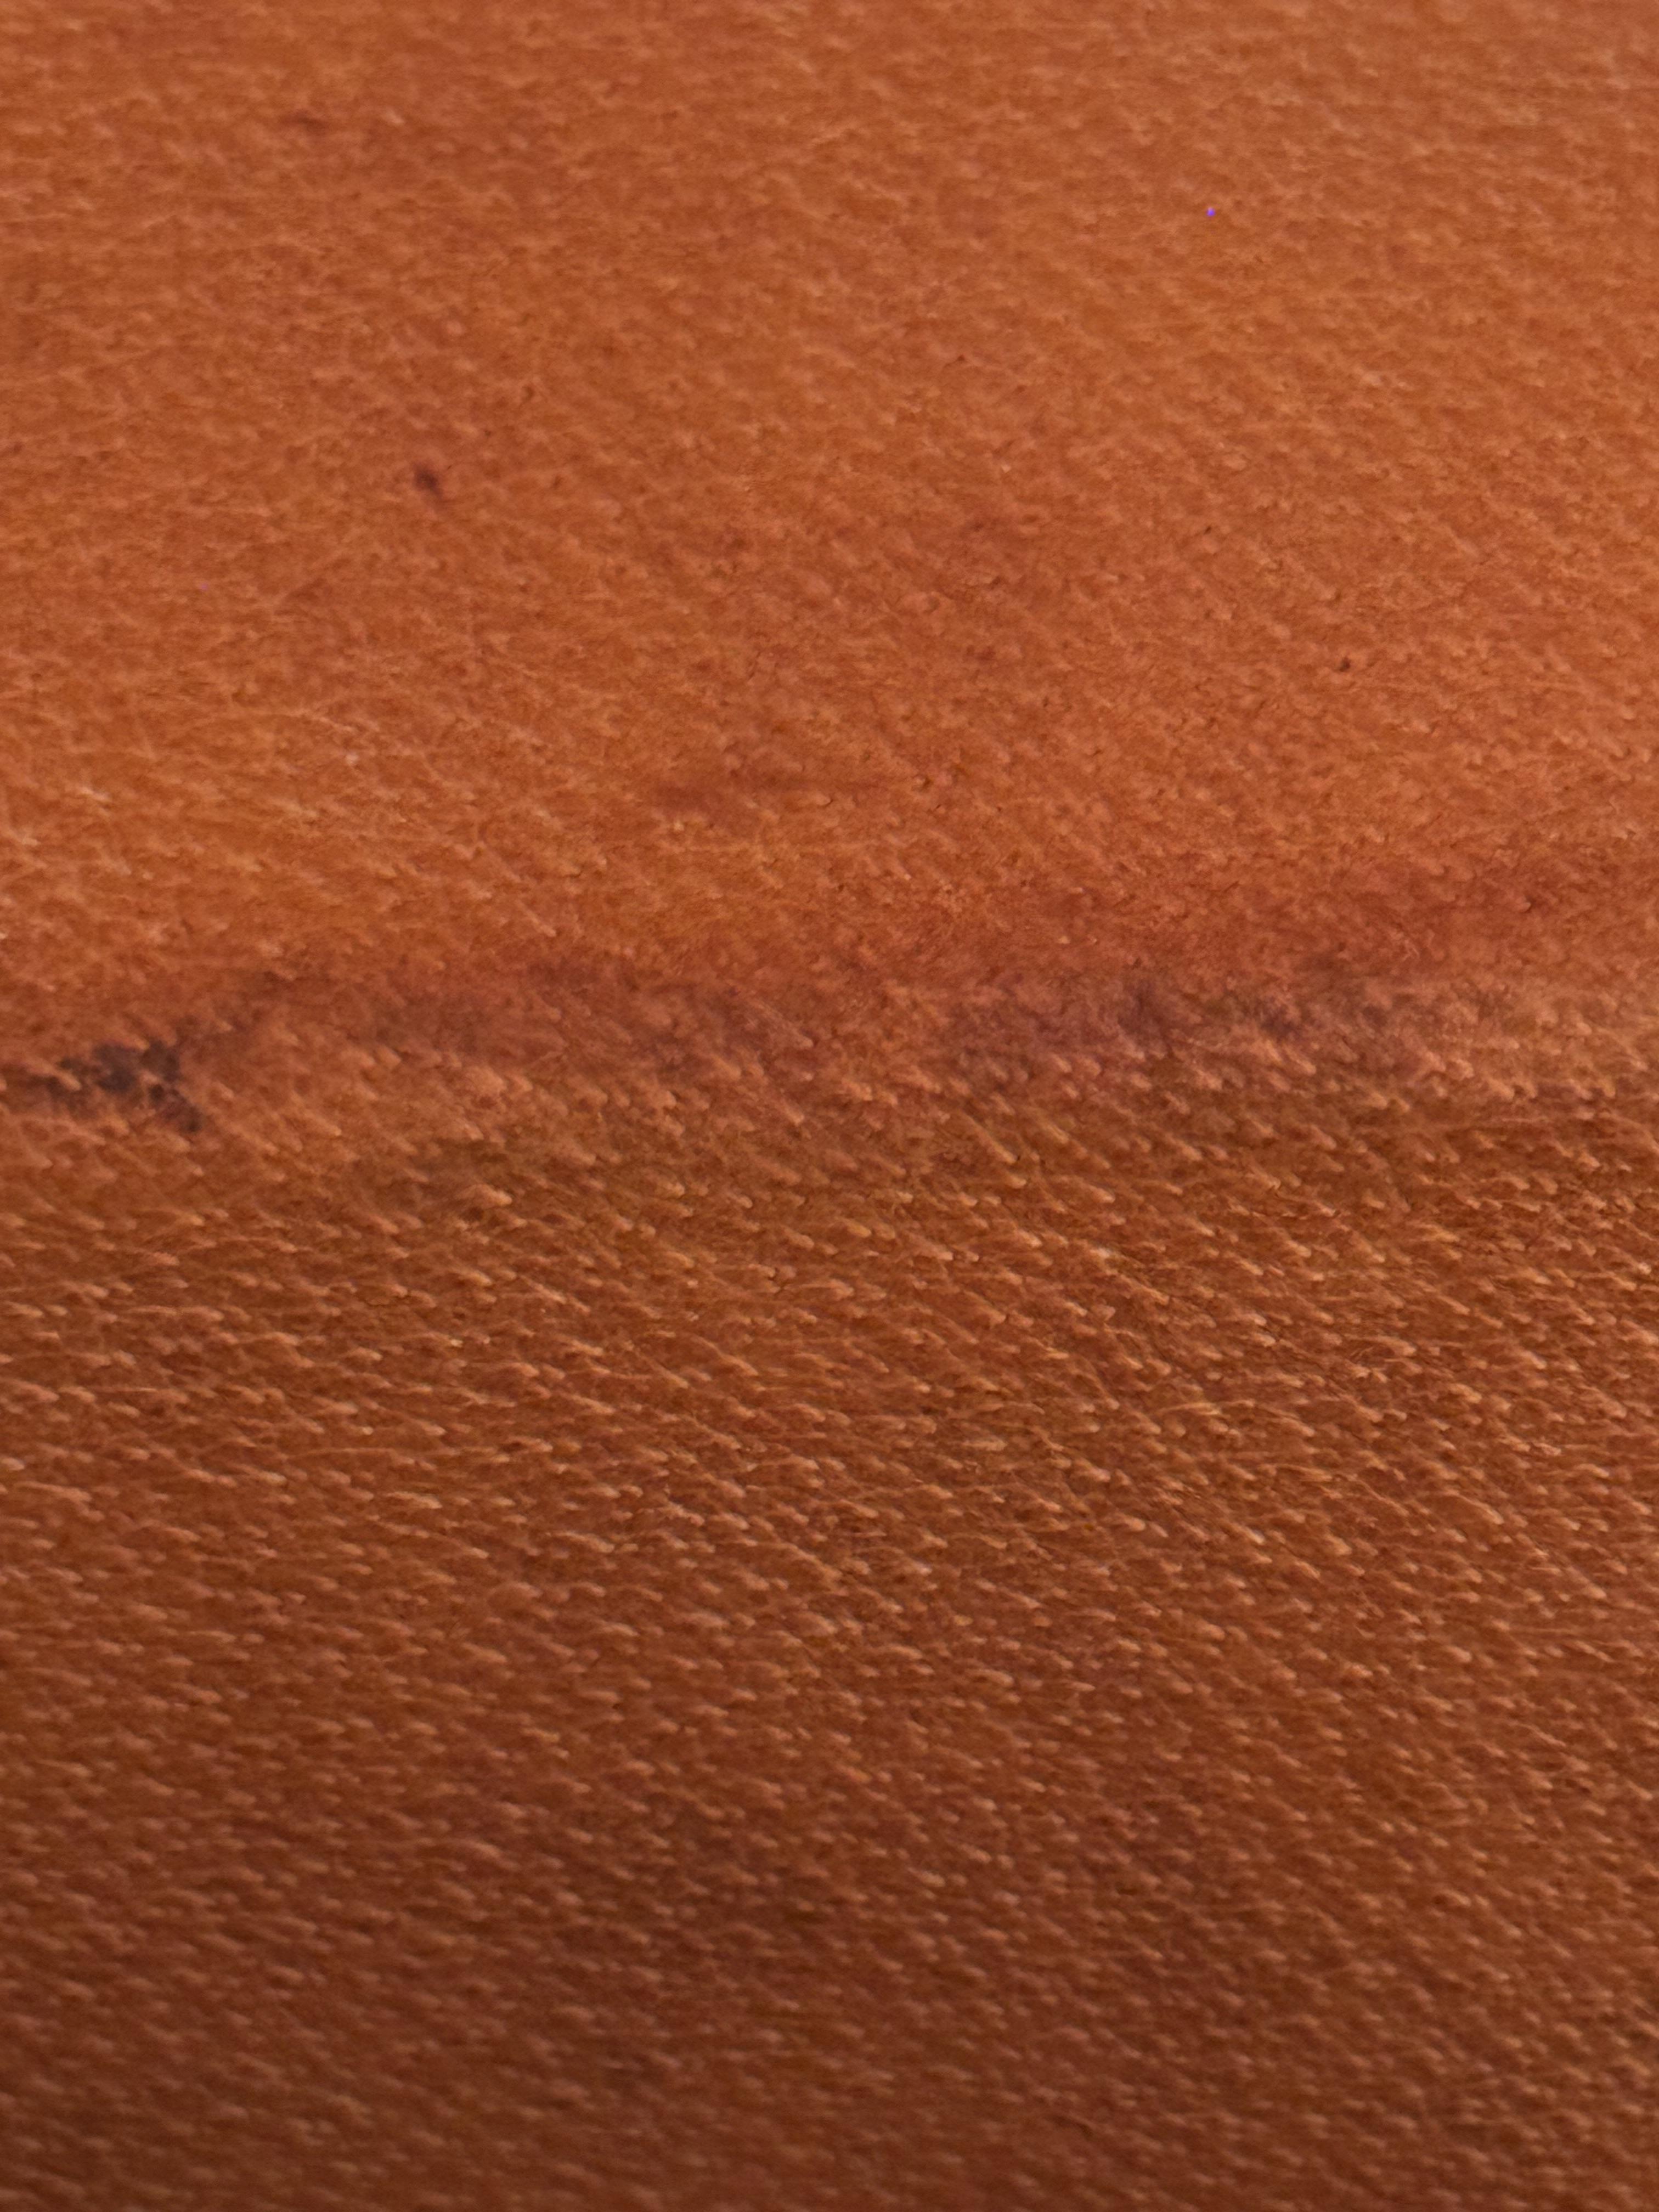
I recently acquired a set of 1970s Italian suitcases made from veg dyed calfskin, I believe they were stored in a garage a they have a lot of black marks throughout. What can I do to mitigate this , what’s the best to hope for ? The interior is a great Polo green Saffiano leather and are in excellent condition.
-
This one took me a while to figure out and some practice to get right. It is much, much better than basically running over your lock stitches 3 times with big thread.
-
I recently acquired a set of 3 Italian suitcases made by Prada from the early 1970s. Structurally they’re in great shape and their surprise Polo green interior is in excellent condition, however there is quite a bit of black marks and spots. From what I understand these are Saffiano leather, developed by Prada, it’s heat stamped down and then a coating is put on it to make it very durable. I’ve had very little luck using a PH balanced mild cleaner like Howard. Not sure what my expectations should be. Lots of contradictory advice online on whether you can use a conditioner or color balm. I’d like to restore them to the best possible they can look. How do I restore these? https://imgur.com/a/Wa8WsSj
-
 Armagnac joined the community
 -
I'm not a frequent poster on here but this project just resonated with me. The knife and sheathe just seem like a perfect fit. They go together better than I can imagine either would work on its own.
-
Thank you everyone for your advice. I’m very new to machine sewing but eager to learn.
-
 ?? like the brown paper you wrap parcels in, but the thicker heavier version
 -
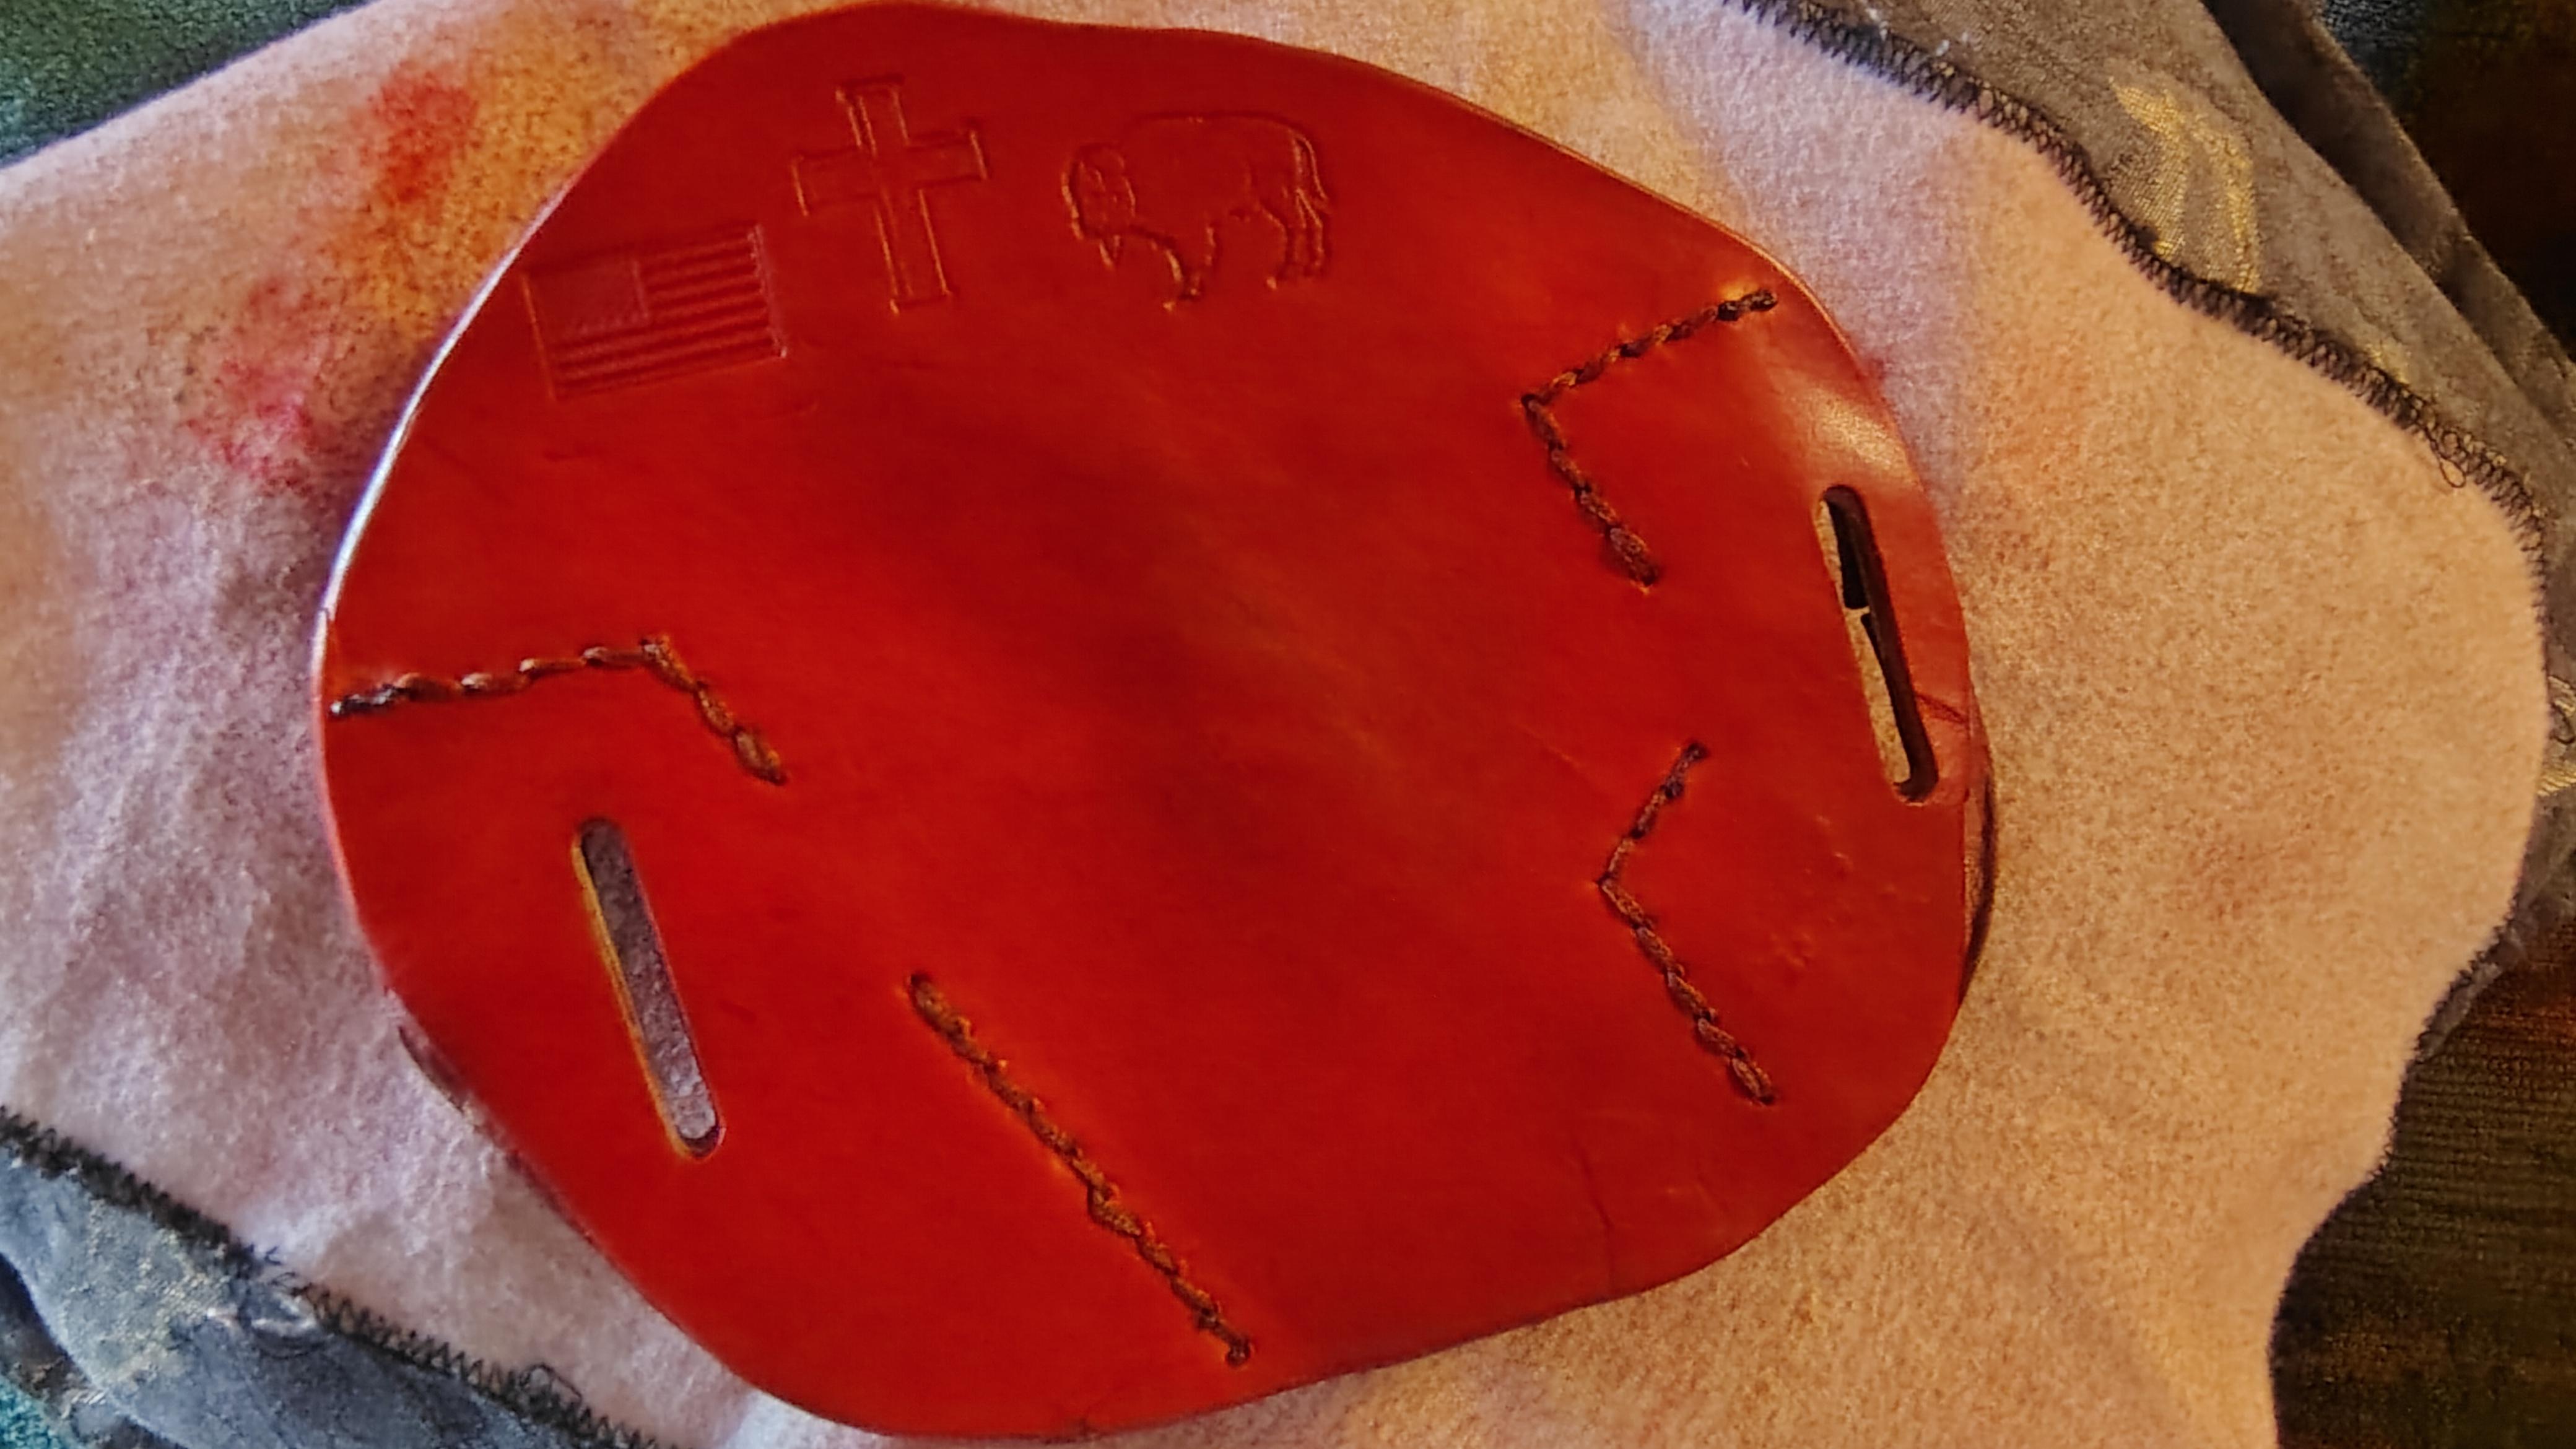
Perhaps it could help if you moistened the leather before cutting the slit and then did the stapling while the leather was still damp. I have never stapled anything but paper and wood, so I am just guessing here. Brgds Jonas
-
 Thank you for that tidbit Dwight. I’ll give that a shot on the next piece that I do here. Like the craft/peach paper that I wrap my brisket with? — AZR
 -
Very nice!
-
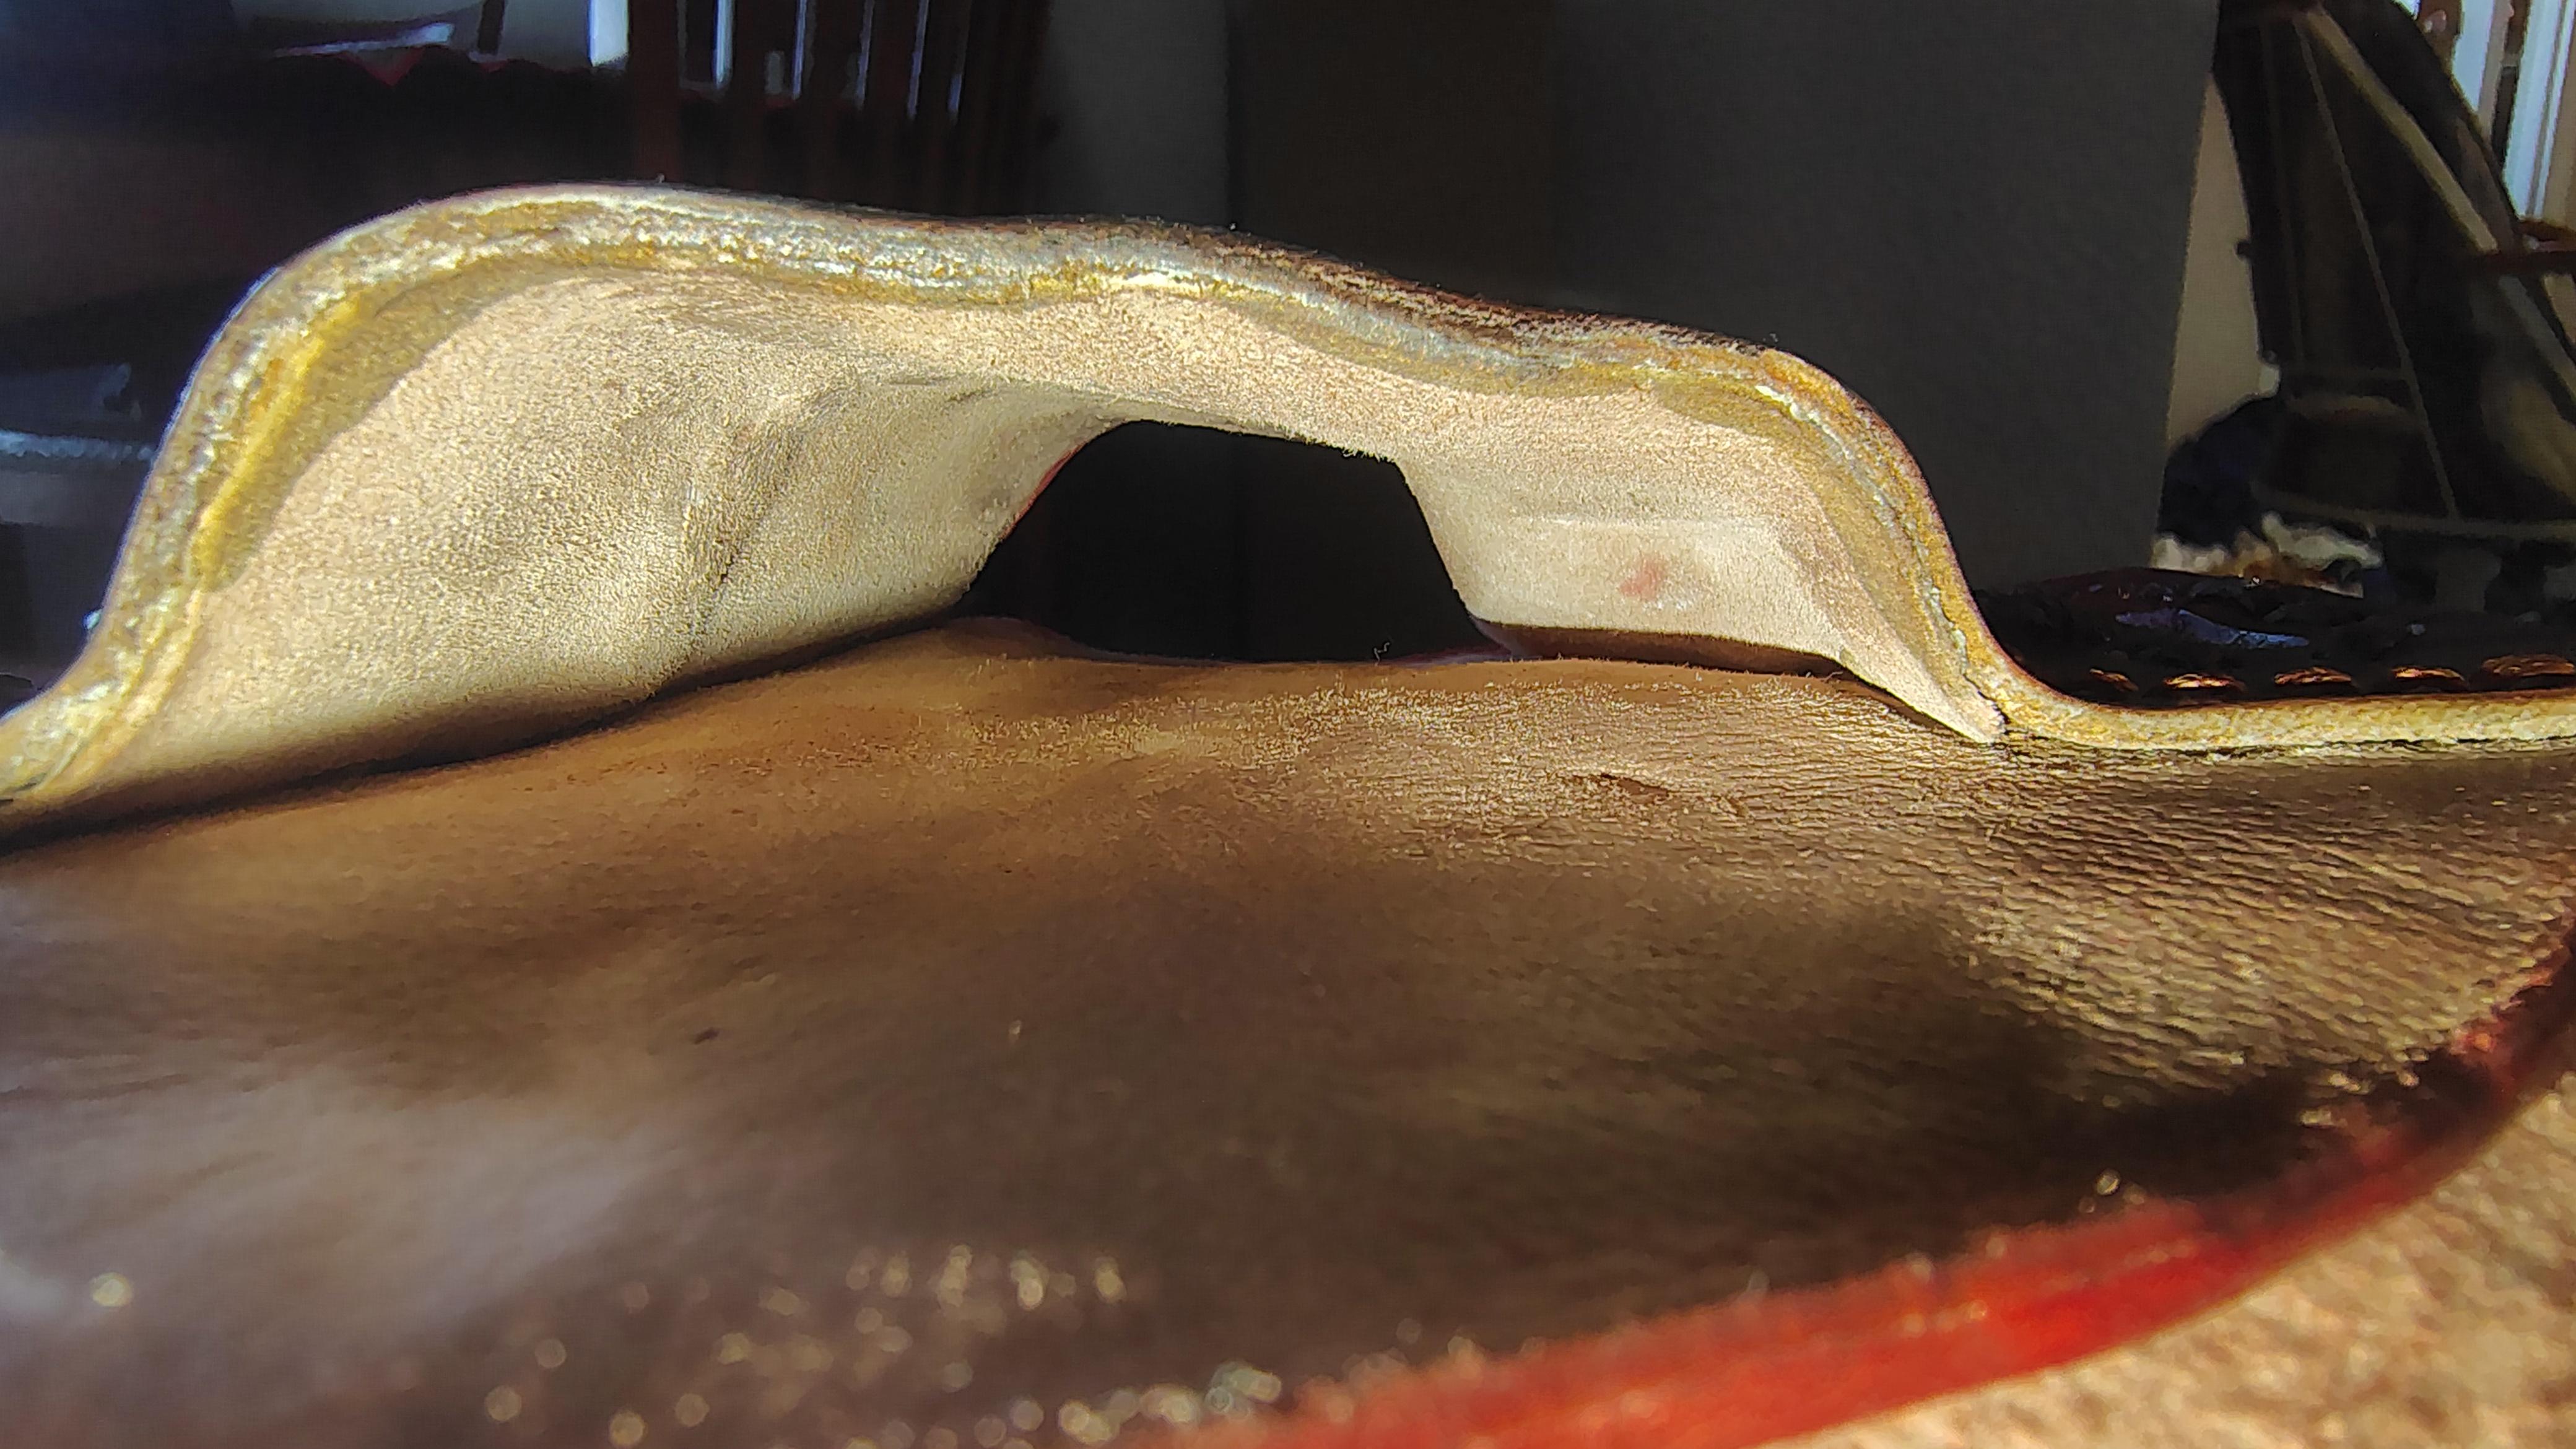
Ditto the grip clearance. I usually leave about an inch under the grip and clearance behind it. You also want be careful of covering the mag release in the back. Nice work though. I like the detail.
-
I knew I had seen another way here it is. https://www.youtube.com/watch?v=H3QZ1tHEvSU Hope this helps JCUK
-
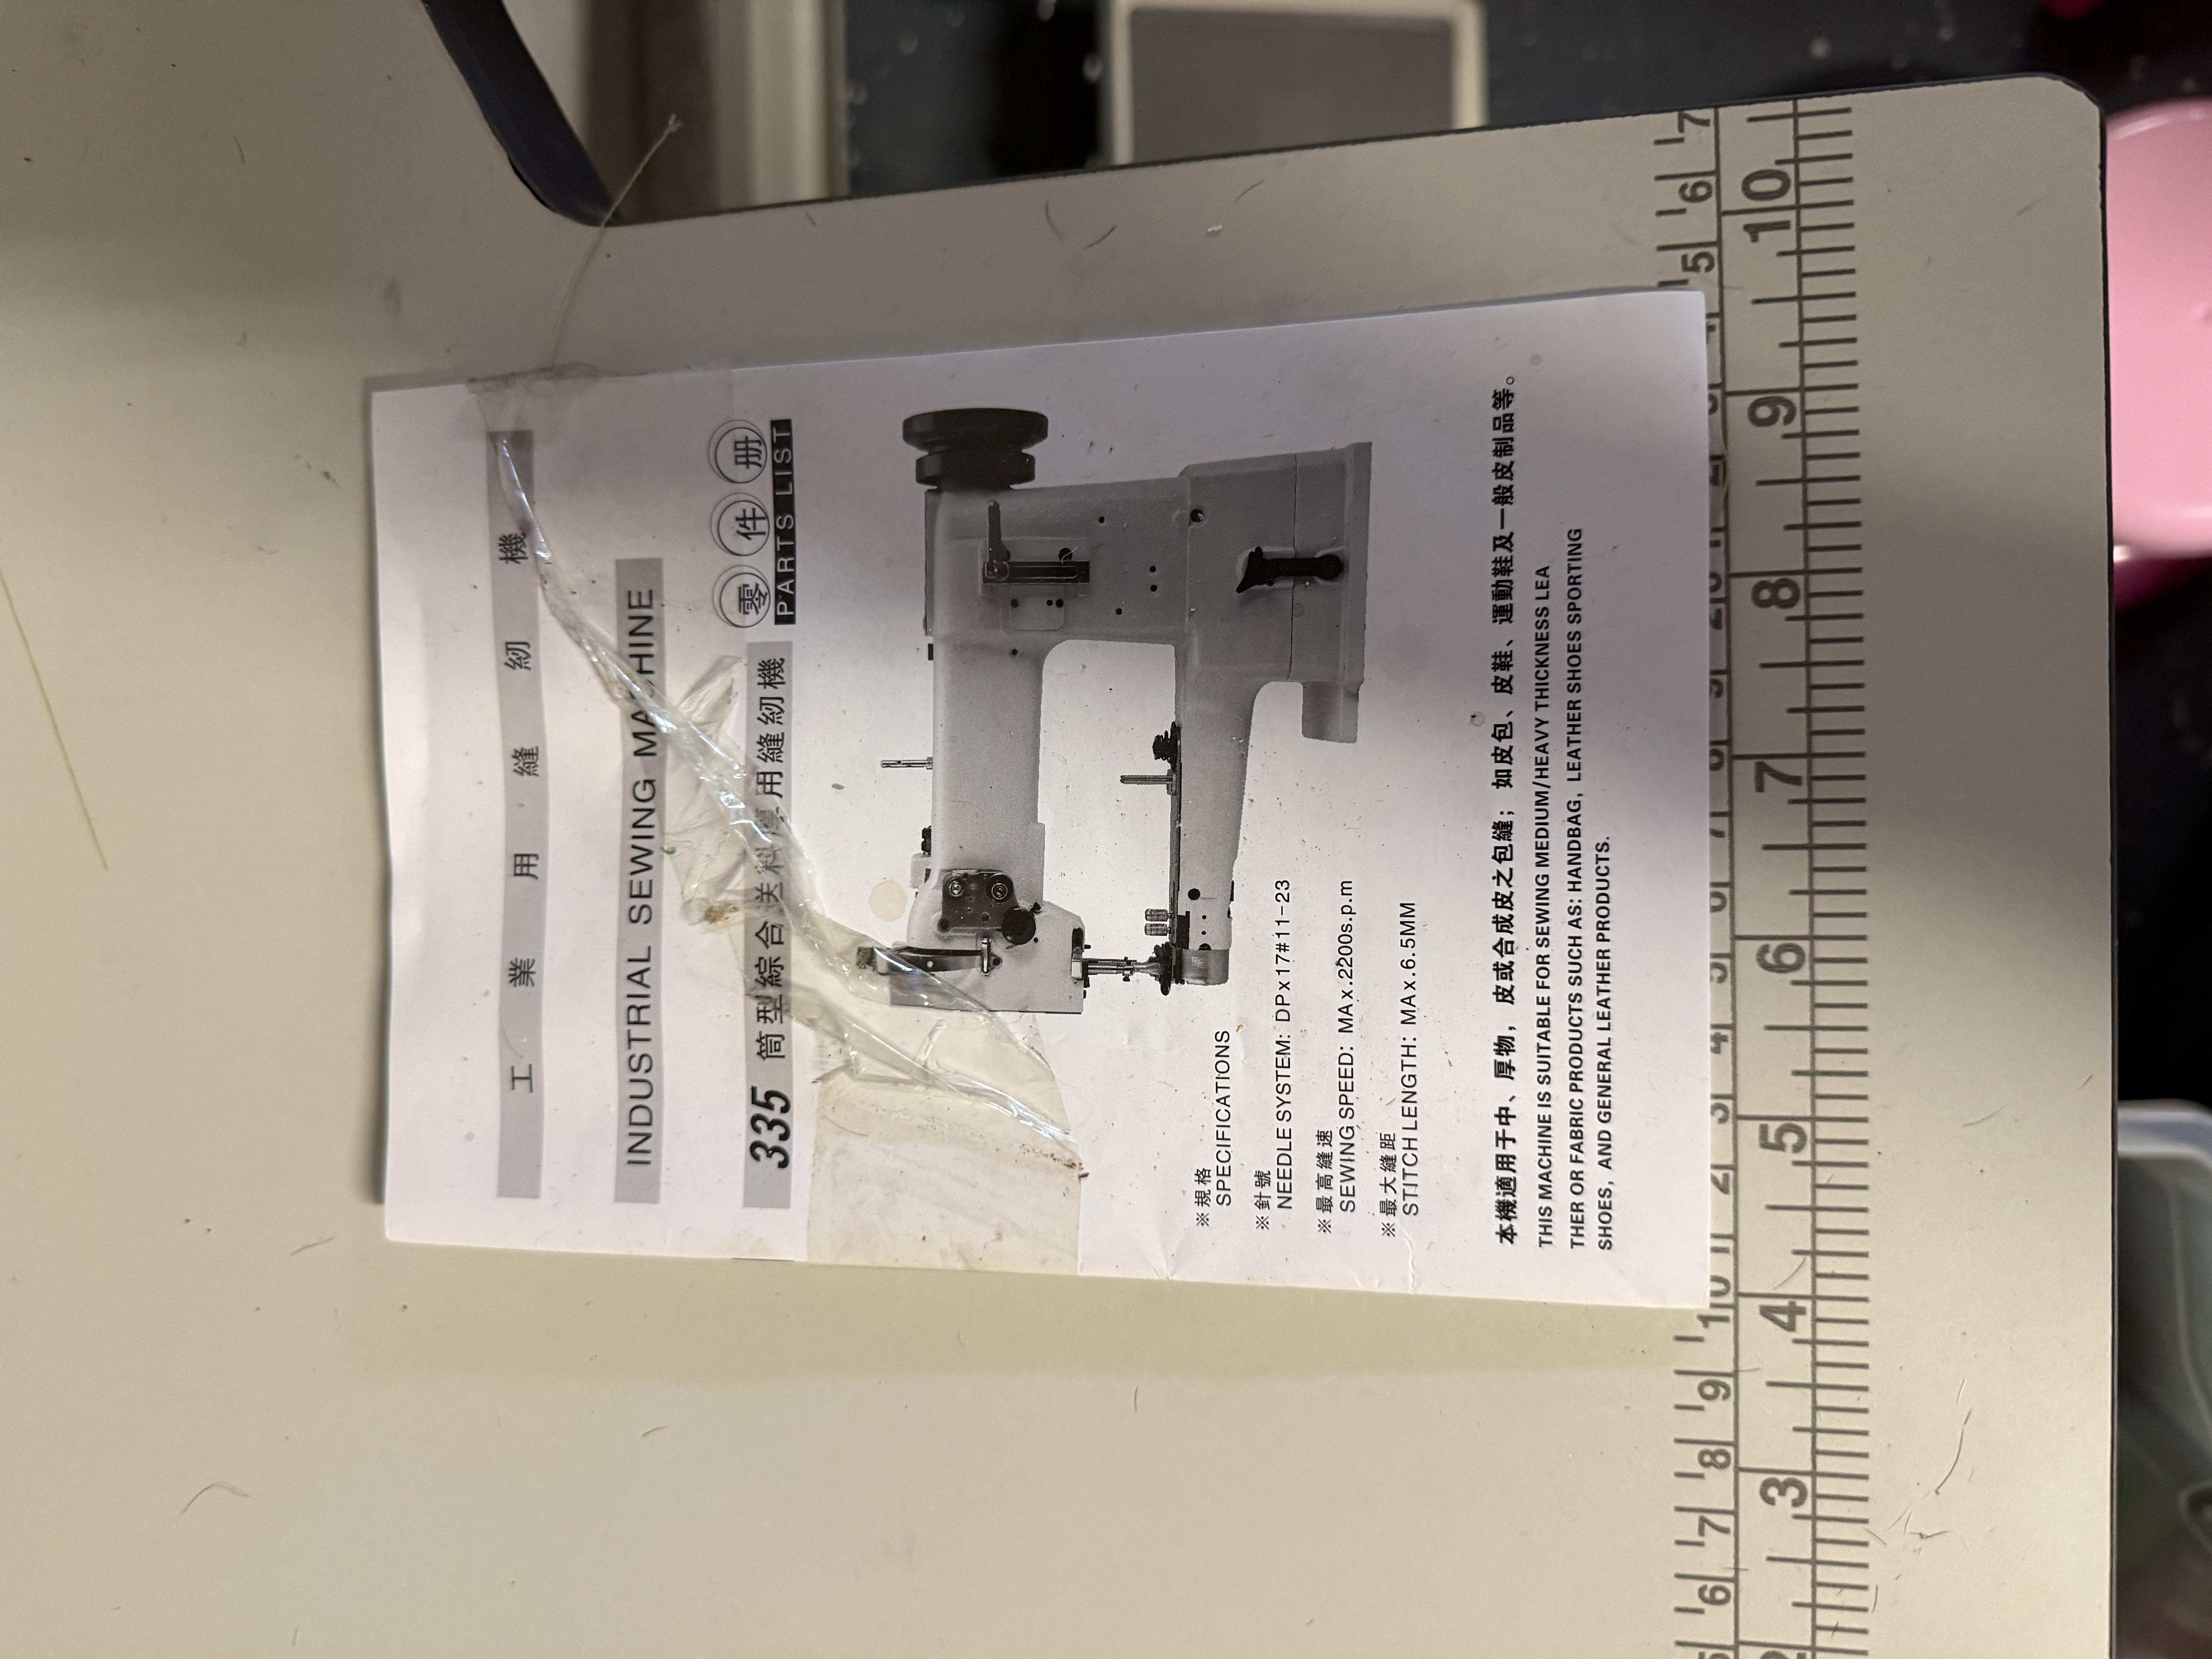
 $1200 OBO located in Orange County, CA less than a year old. Runs great and has only been used a handful of times. I upgraded to a Servo motor. It also has a table. We are moving and I unfortunately can’t take it with us. The FY335A is a Medium to Heavy Duty Walking Foot Cylinder Bed with Compound Needle Feed or (Unison Feed) Lockstitch Sewing Machine with an “M” size Big Bobbin and end of the cylinder Big Size Rotating Hook mechanism. The FY335A machine includes a lever-operated stitch length mechanism with a reverse feed regulator for back tacking and stitching in reverse. Some additional features of the FY335A include a semi-automatic lubrication system. The machine sews thread from size z-46 up to size z-207 in the needle with up to z-138 in the bobbin. SPECS Sew up to: 7/16" Thread Size: Up to 207 / Reverse feed Speed, Max (SPM): 2500 Presser Foot Lift by Hand: 5/16" (8mm) Presser Foot Lift by Foot: 1/2" (13mm) Needle: 135x17, DPx17 Needles System Stitch Length Max: @4.2 SPI (6mm) Cylinder Diameter: 1-31/32" (50mm) Work Space: 10-5/32" x 4-11/32" (258mm x 110mm)
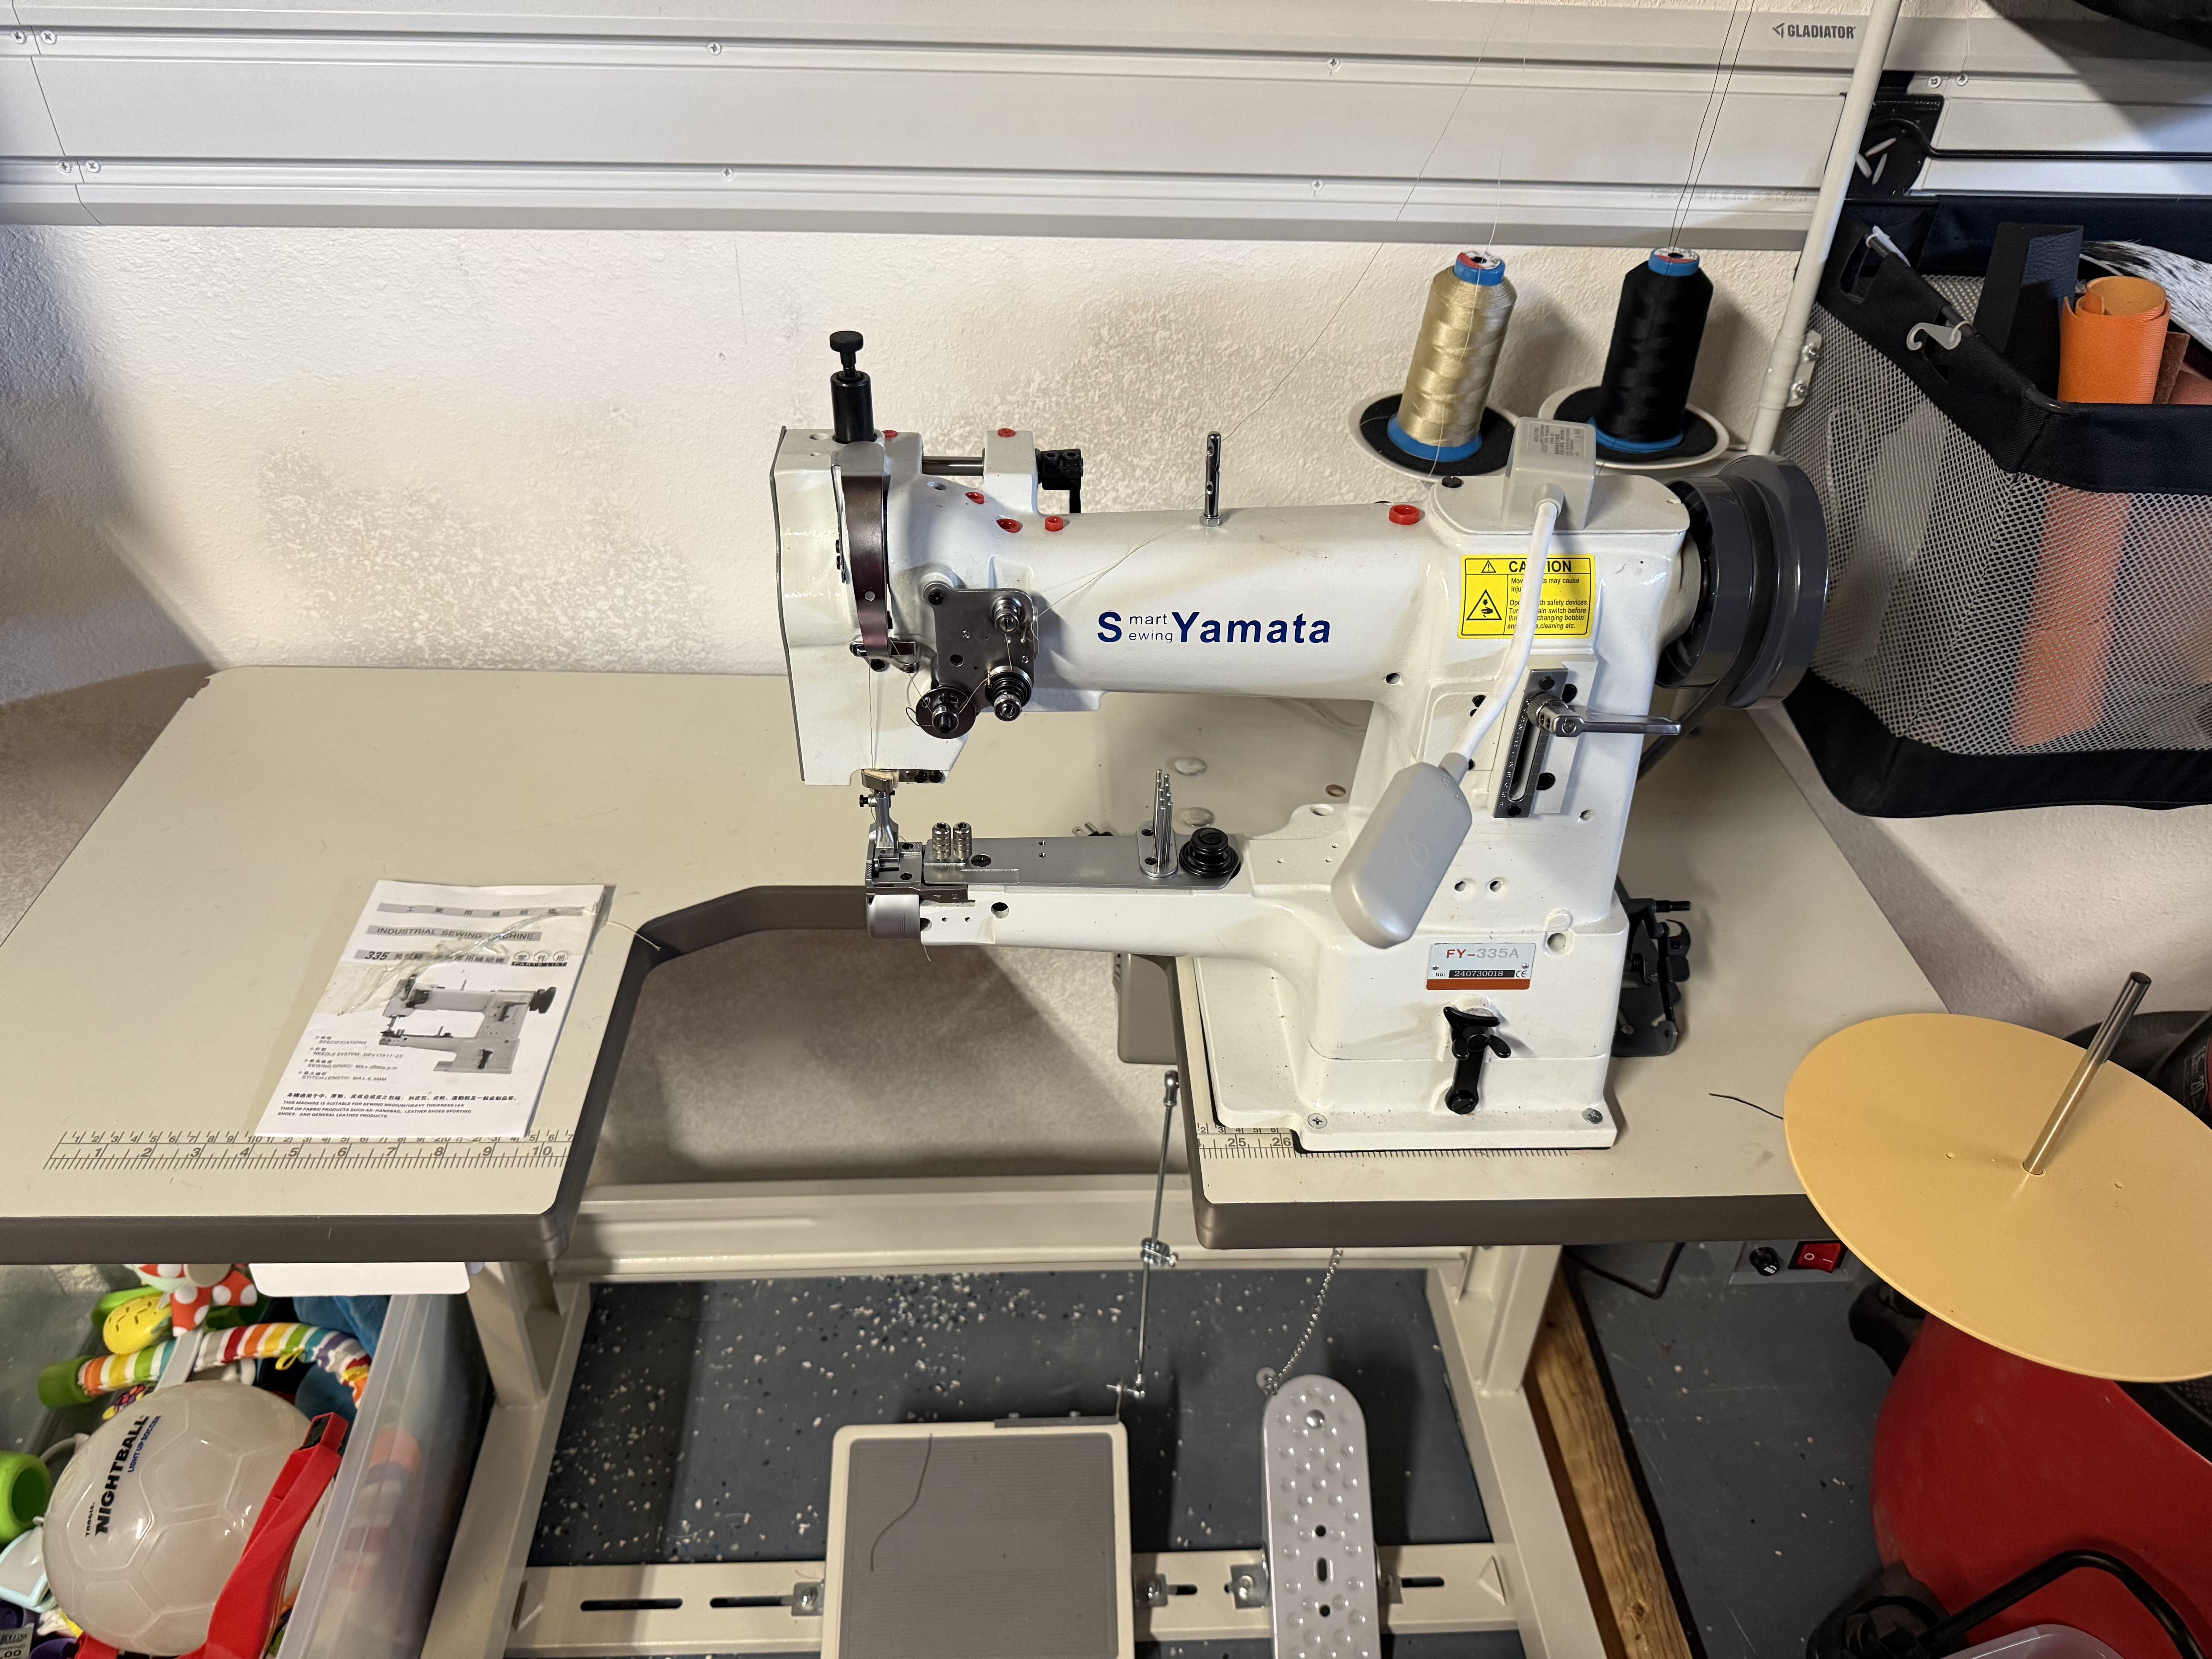
-
Try buffing it over with clean stout brown wrapping paper to polish it up a bit
-
Personal preference. But I prefer after
-
Looks like a good start, 2 things I would look at when you make your next one is grip clearance, looks like it might be difficult to grab the grip of the gun, second is make sure you don't cover the magazine release. Todd
-
 Praxtoner joined the community
 -
For a V92 thread you need a #20 in thin leather or a #22 in thick leather. Here is a good needle size vs thread size chart ( condiments of @CowboyBob ).https://www.tolindsewmach.com/thread-chart.html One layer unless it is fairly thick can be difficult to bury the knot in. To small a thread for the needle size will look slack. Don't forget to hold the top and bobbin thread ends for the first few stitches and there are two ways to start. i) most common method is to hold the thread ends, stitch 3 or 4 forward, reverse back 3 or 4 stitches to lock them and go forward to continue your seam. ii) less commonly done but gives a nicer, less bulky stitch at the start of your seam. Start your stitch line in the distance of 3 or 4 stitches and while holding both thread ends reverse back 3 or 4 stitches and then go forward to do your seam. kgg
-
In Germany, we refer to the round knife as a Halbmond Messer (Half-moon knife) and the head knife as a Viertelmond Messer or quarter-moon knife. For what it's worth, I agree with gmace99 and pabloz. Names are important when referring to tools. Want a hammer? What type? Cobbler's hammer, claw hammer, tack hammer, dead-blow hammer, maul, sledgehammer... etc. Giving anything the wrong name is a sign of ignorance. ... bird's head you dumbass. Brilliant!
-
 cuiretparfums joined the community
 -
 driftwood joined the community
 -
The leather your sewing has to be thick enough to hide the knot,try 2 or3 layers.
-
I’m using 92 thread and needles and I’m not sure what needles I got when I bought the machine.
-
Mostly your top tension looks to be too tight. Try turning back anticlockwise about 1/2 turn. It also looks a bit intermittent which could mean that the needle size should be a smaller size for that weight leather. What size thread and what size needle are you using here? Also are you using a leather point needle?