

All Activity
- Today
-

spring flowers and good food
Sheilajeanne replied to chuck123wapati's topic in All About Us and Off Topic
Oh, my, Chuck! Best laugh I've had all week! There's this story I've heard a few times of a nurse livening up a dull night shift by spreading chocolate pudding on a diaper, then eating it! I suppose that would get a similar reaction... Is your potted meat similar to Spam? No -wait - spam doesn't look like cat food... I've actually eaten it from time to time, and it looks a lot like tinned ham, probably because pork is the main ingredient. -
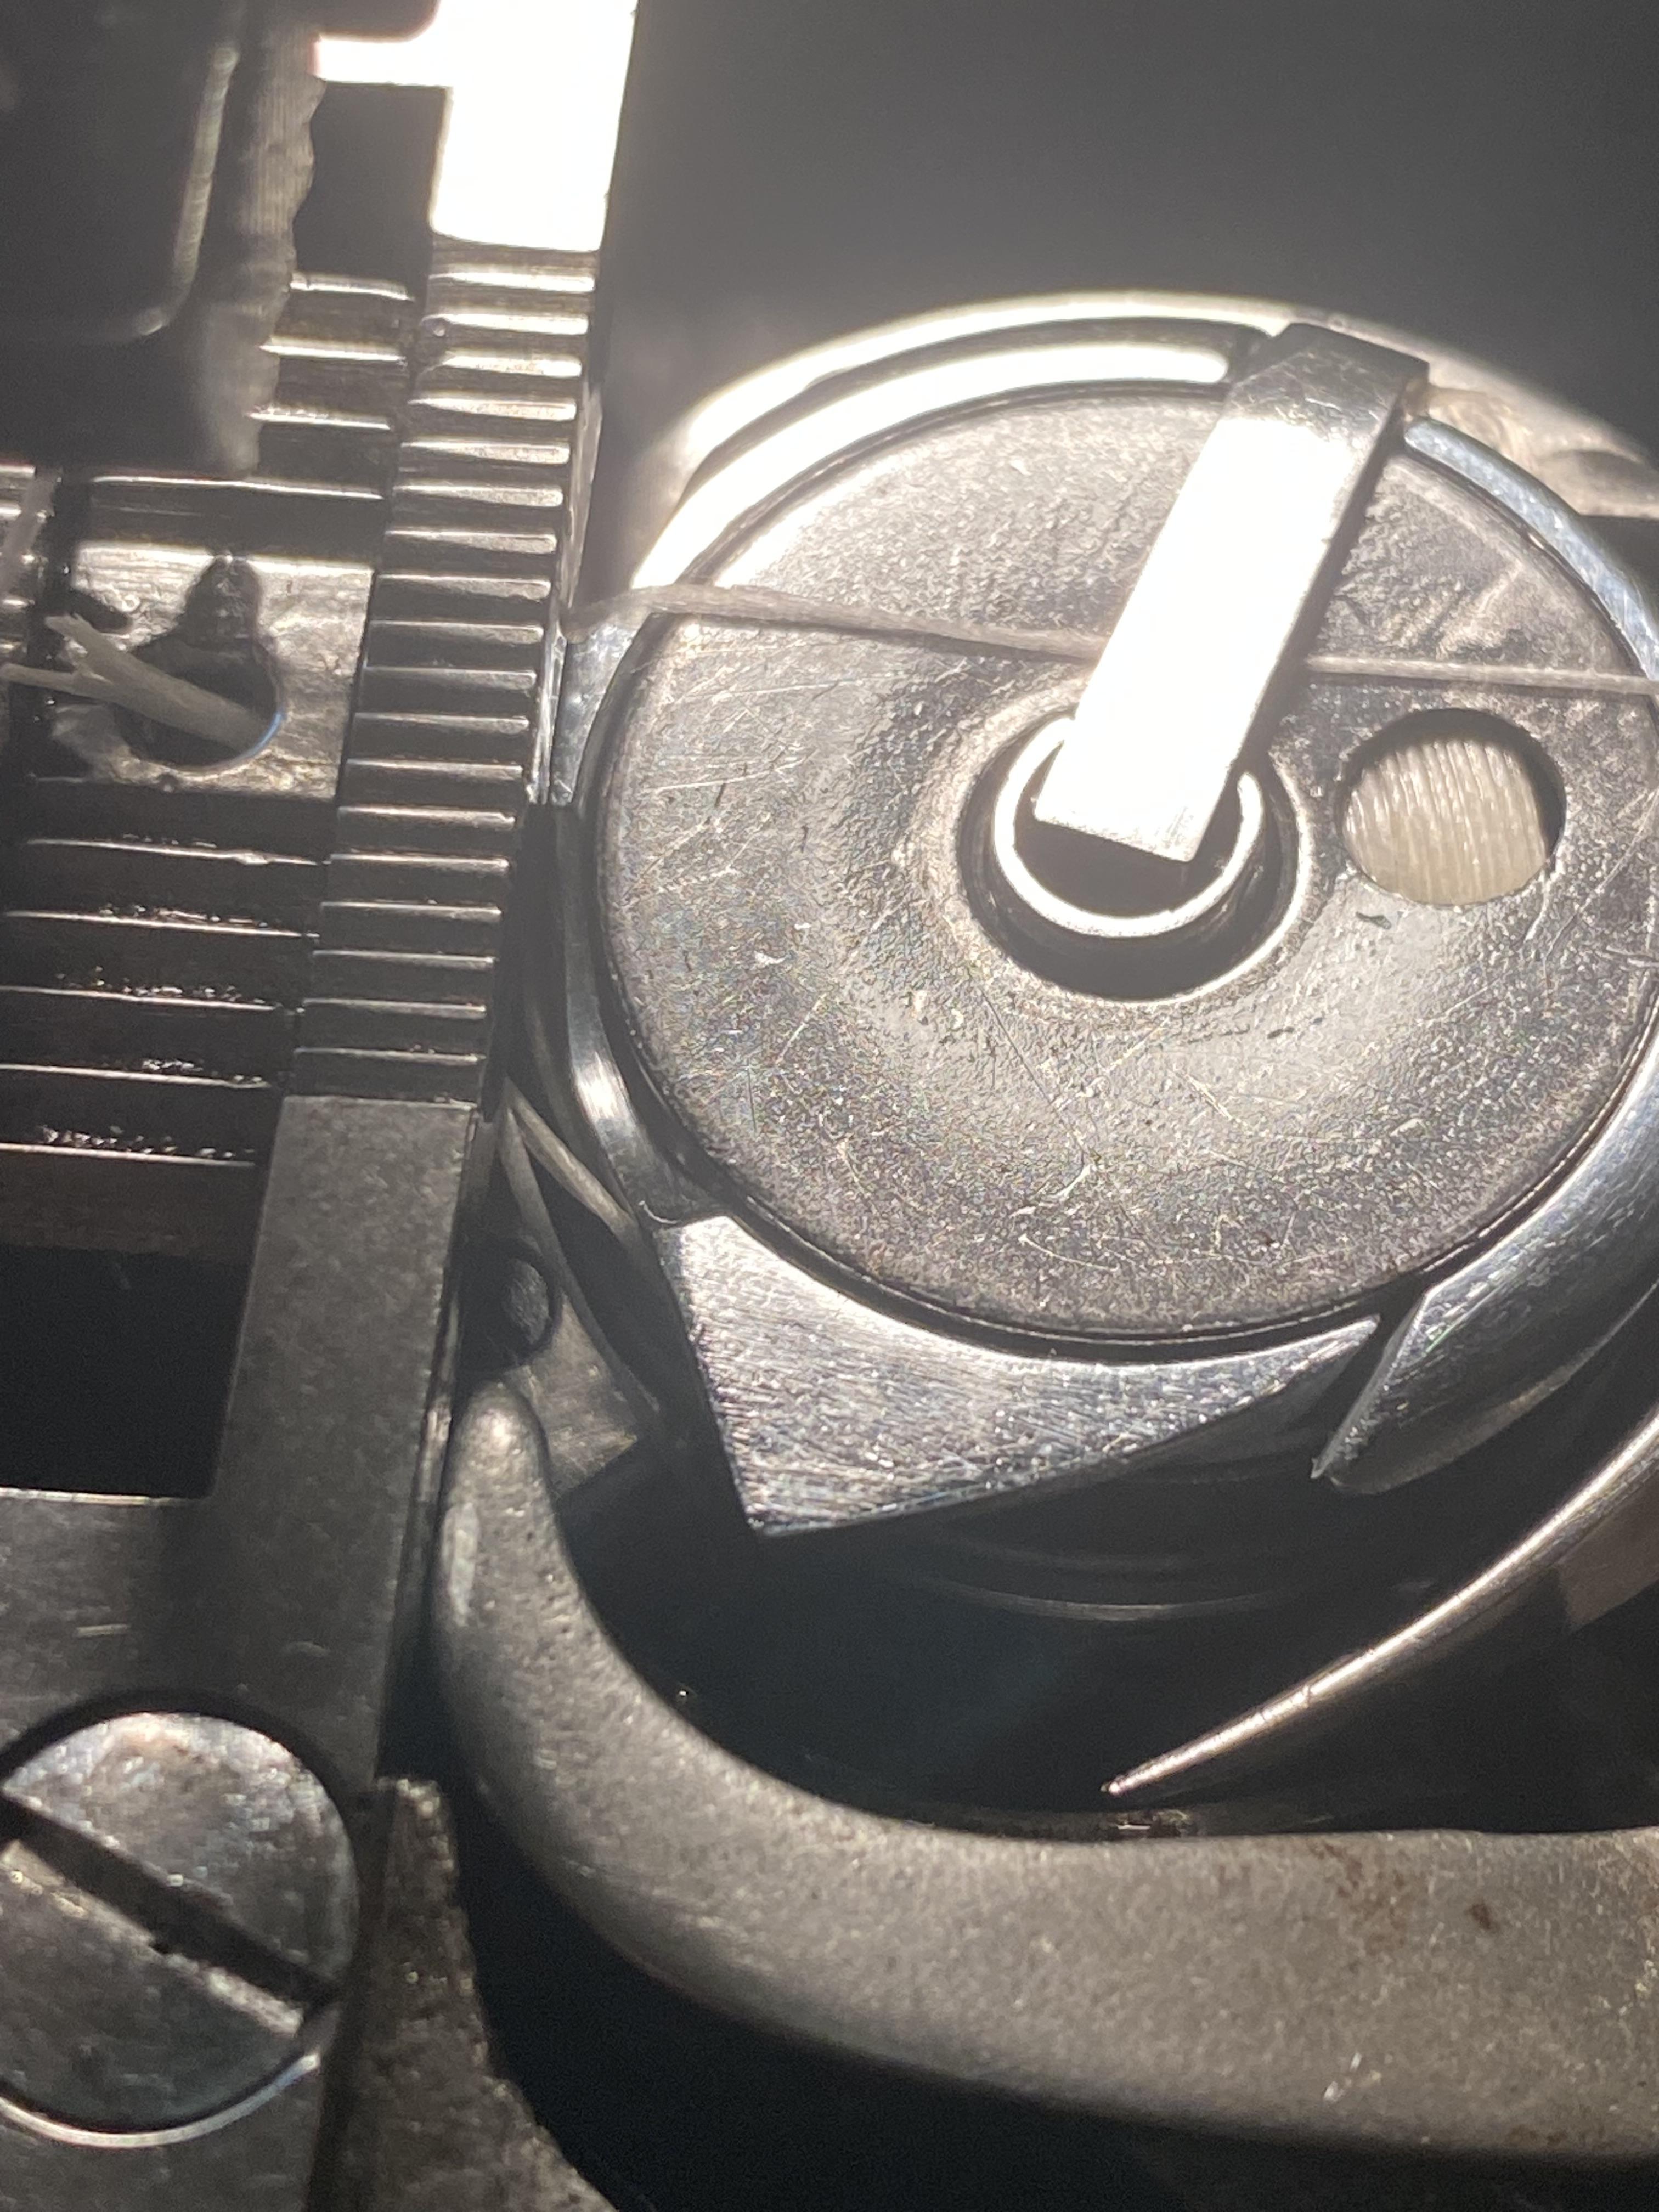
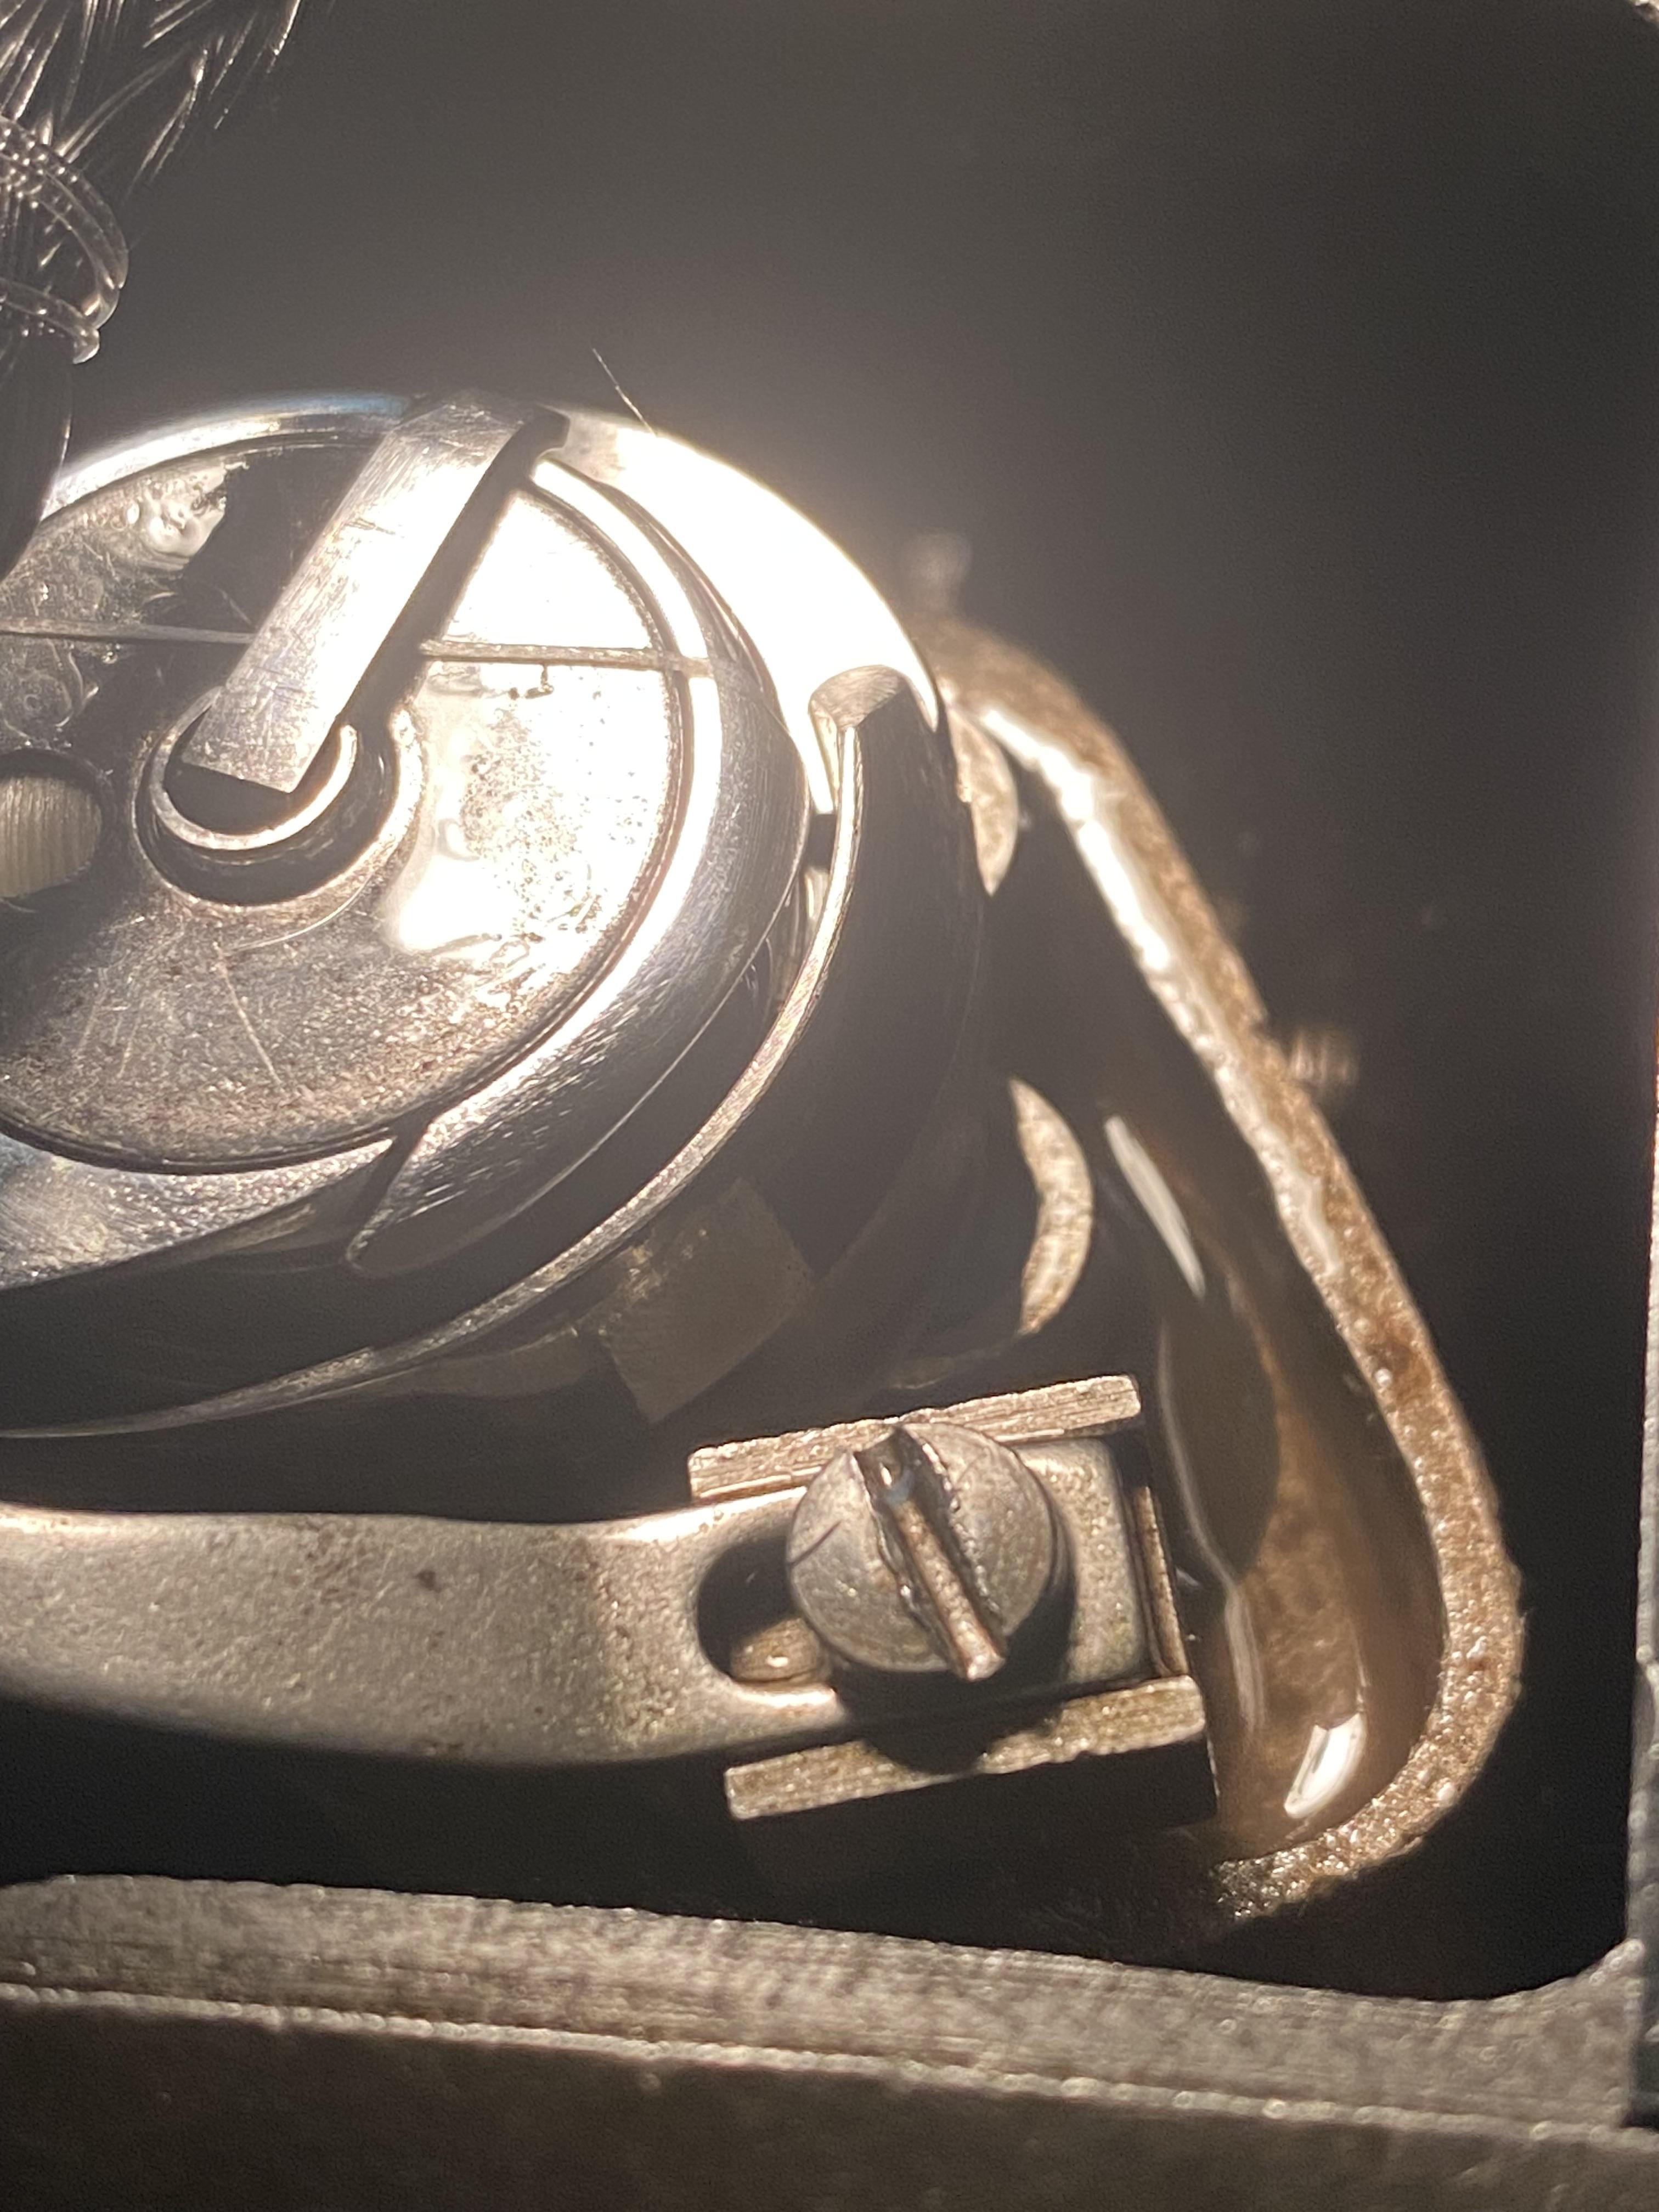
Nice photos!! You can check whether bobbin is loaded properly before making any stitches. Install the bobbin and bobbin case cap. Put the latch down (and make sure no thread under the latch!) Bring up the bobbin thread Pull the bobbin thread for a few inches. You should feel a gentle resistance the whole time you are pulling. If it snags, something is not right.
-
 Judo joined the community
 -

Looking for a replacement for discontinued Denver Side
mjpaisley posted a topic in All About Leather
Hi All, I make custom sandals. I'm looking to source a replacement for Tandy's Denver Side (Military Green, Olive Green). It's only 3-4 oz so I double it up and sew it. Customers love this look but I can't source an equal. Please help. Thanks in advance. Matt Paisley Paisley Running Sandals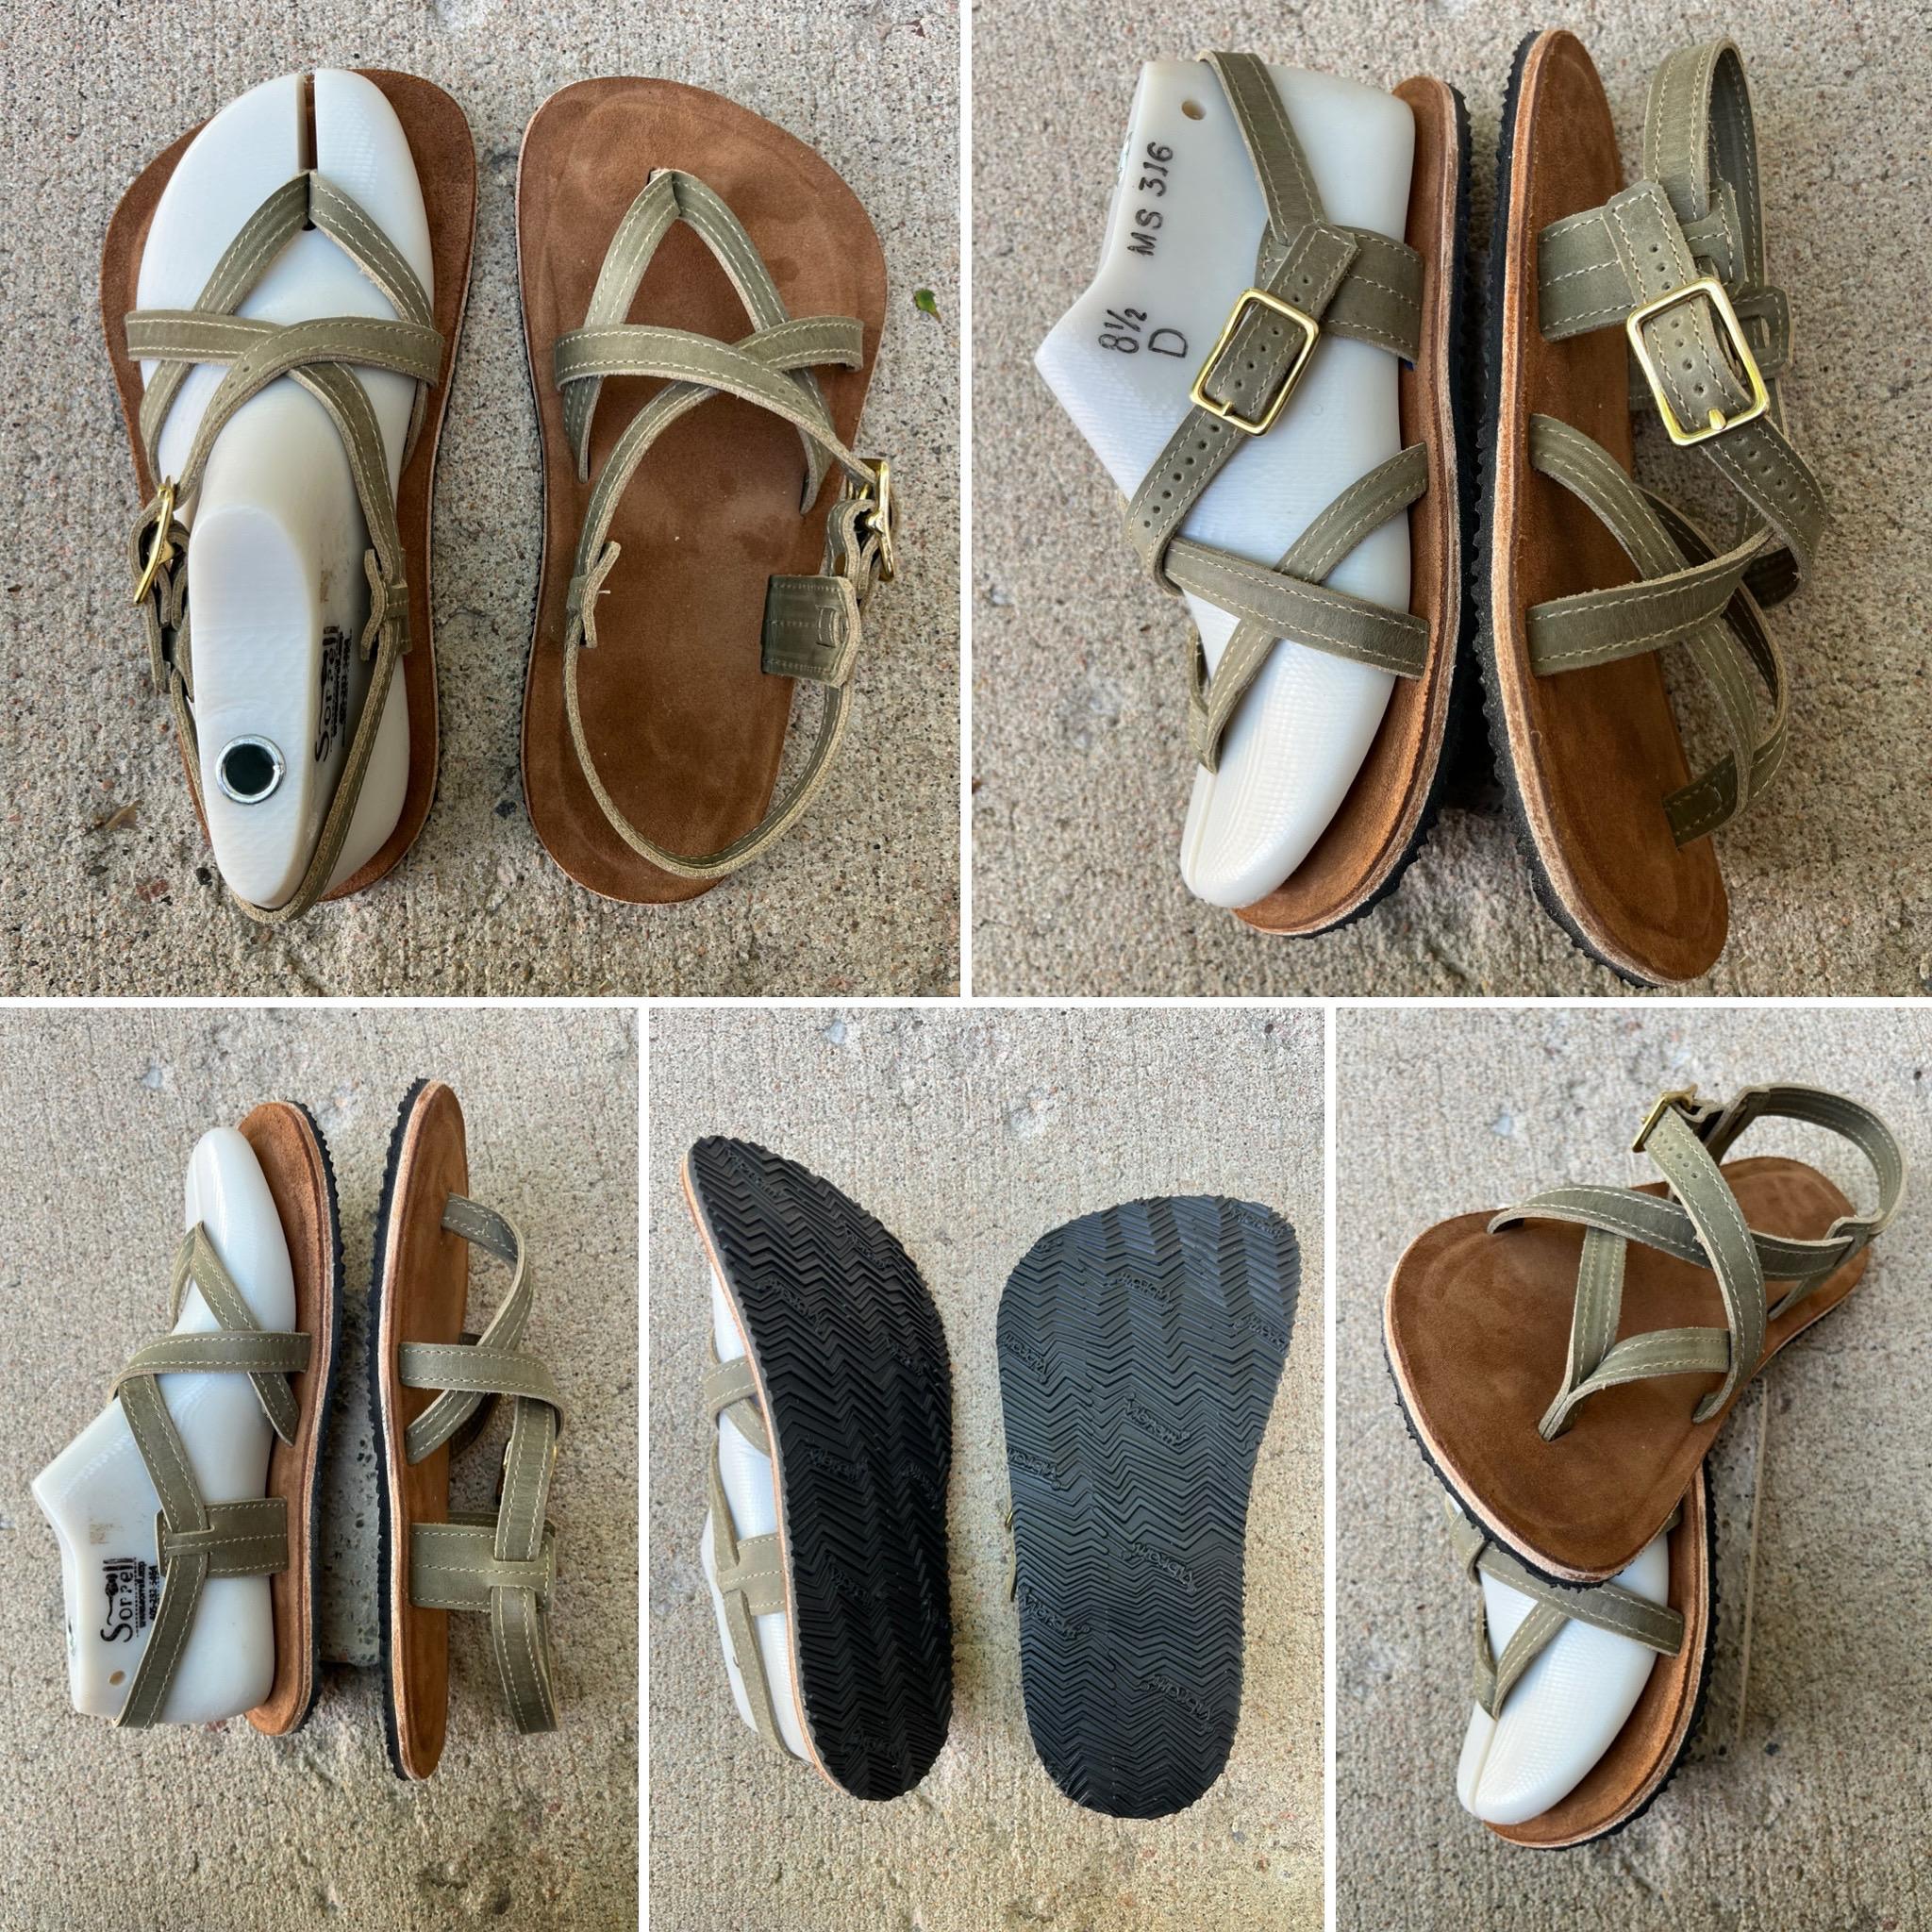
-
Hey @NancyLou, i moved you over to Leather Sewing Machines. I know it doesn't seem quite right since you're not sewing leather, but Help Wanted is for people wanting to find someone to do a job, essentially. I don't know why it required moderator approval. We'll keep an eye out for your next post and see what happens. The big screw you mention holds the opener that pulls the bobbin case back to allow the needle thread to pass around the bobbin. Clear as mud, I know. I don't think any of mine are all the way forward, so it could be out of adjustment. Also, the thread being under the lever that holds the bobbin in place isn't remotely correct. Let me go see if I can find one of Uwe's phenomenal videos about how to set that case opener. EDIT: 48 seconds from Alexander Dyer will do the trick, too:
-
why is the bottom thread under the latch of the bobbin case? Always good to read the manual fully (no offense) - I guess you have a manual, right?
-
Hello, Over the past several years I’ve used these forums to do research on industrial sewing machine accessories and binding attachments in an effort to outfit my various machines. One thing that I’ve noticed is that right now one supplier that often gets mentioned is KHsew. Like many of you I’ve actually ended up buying things from them and while they do have an abundance of componentry, I’ve found that logistically speaking working with them is a little more complicated because they are based in Asia. That said, I was looking at a cylinder arm plate I bought from them about a year ago and I realized that what I was looking at was essentially a stainless steel plate cut out on an industrial CNC laser. Keep in mind these lasers differ from plasma cutting CNCs in that they produce very clean edges that require very little if any processing Additionally, my own work bought one of these lasers to process plate steel and after a year or so of consistent usage we’ve essentially gotten all the bugs out of it. With all that said here’s what I would ask to anyone who uses these types of plate attachments: Between the most common industrial sewing machine brands are there attachments that you all consistently find a need to buy? My thought is if there’s a handful of components people often use I might be willing to model some options and then cut them out on my part. Even better, if there are people who are familiar with CAD/CAM programs out there who already have a DXF file of what they want I could also cut that out on our laser. I want to emphasize that at this early stage I’m not really doing this to make money. If there were one thing that everyone consistently wanted all the time it may make sense to batch process something and then sell it however right now I’m just trying to feel out this community and see if there is something that people feel they often need but may have apprehension buying because it is half way around the world. I would also mention that I’m based out of Brooklyn, NY and currently work in fabrication with an emphasis in carpentry. One of my other pet projects is making “fancy” heritage style sewing machine tables out of solid woods such as white oak, walnut, and maple, but that’s a conversation for another time. If any of this sounds intriguing to you please do reach out. And just to clarify, when I say “sewing accessory” I mean anything that Is made from flat plate steel. As much as I would love to know how to make binder attachments that is too complicated at the moment. Thanks.
-
@RockyAussie The actual company ceased to exist quite some years ago, and the successor company only deals with the Pedersen milling machines. I wrote them about a year ago due to some questions on an old Pedersen sewing machine. But never got an answer. Based on my experience as a marine engineer (there is a whole lot of different hydraulic systems on a ship), I'd suggest that you use either a grade 32 or 46 oil for the hydraulic system. The higher grade if you operate in very warm climates (+ 40 degrees Celsius continuously). My reasoning is that the mechanism has to return fairly fast, and that necessitates a fairly thin oil. I have never seen a clicker press in real life, only on Youtube, and based on how it moves it seems as there is basically just a piston to move the clicker part. And any hydraulic oil will move a piston, but only a thing one will drain fast enough for a spring to return the piston to the start position. I would guess that a skilled hydraulic mechanic could troubleshoot and potentially fix the problem without having the manual. Without having seen your machine, I guess there is some sort of solenoid valve that need to register that your hands are out of harms way before it will press. If any of these don't get the signal, they'll stay open and let oil bleed through back to they hydraulic tank. So it might be an electrical fault. But I am just guessing here. What is the problem that you are experiencing? lack of power, or no movement or slow movement or something else? This company (I found them while searching for a manual) have at least two Pedersen 282 in this (old) video. Perhaps they have a manual that they would share with you? Brgds Jonas
-
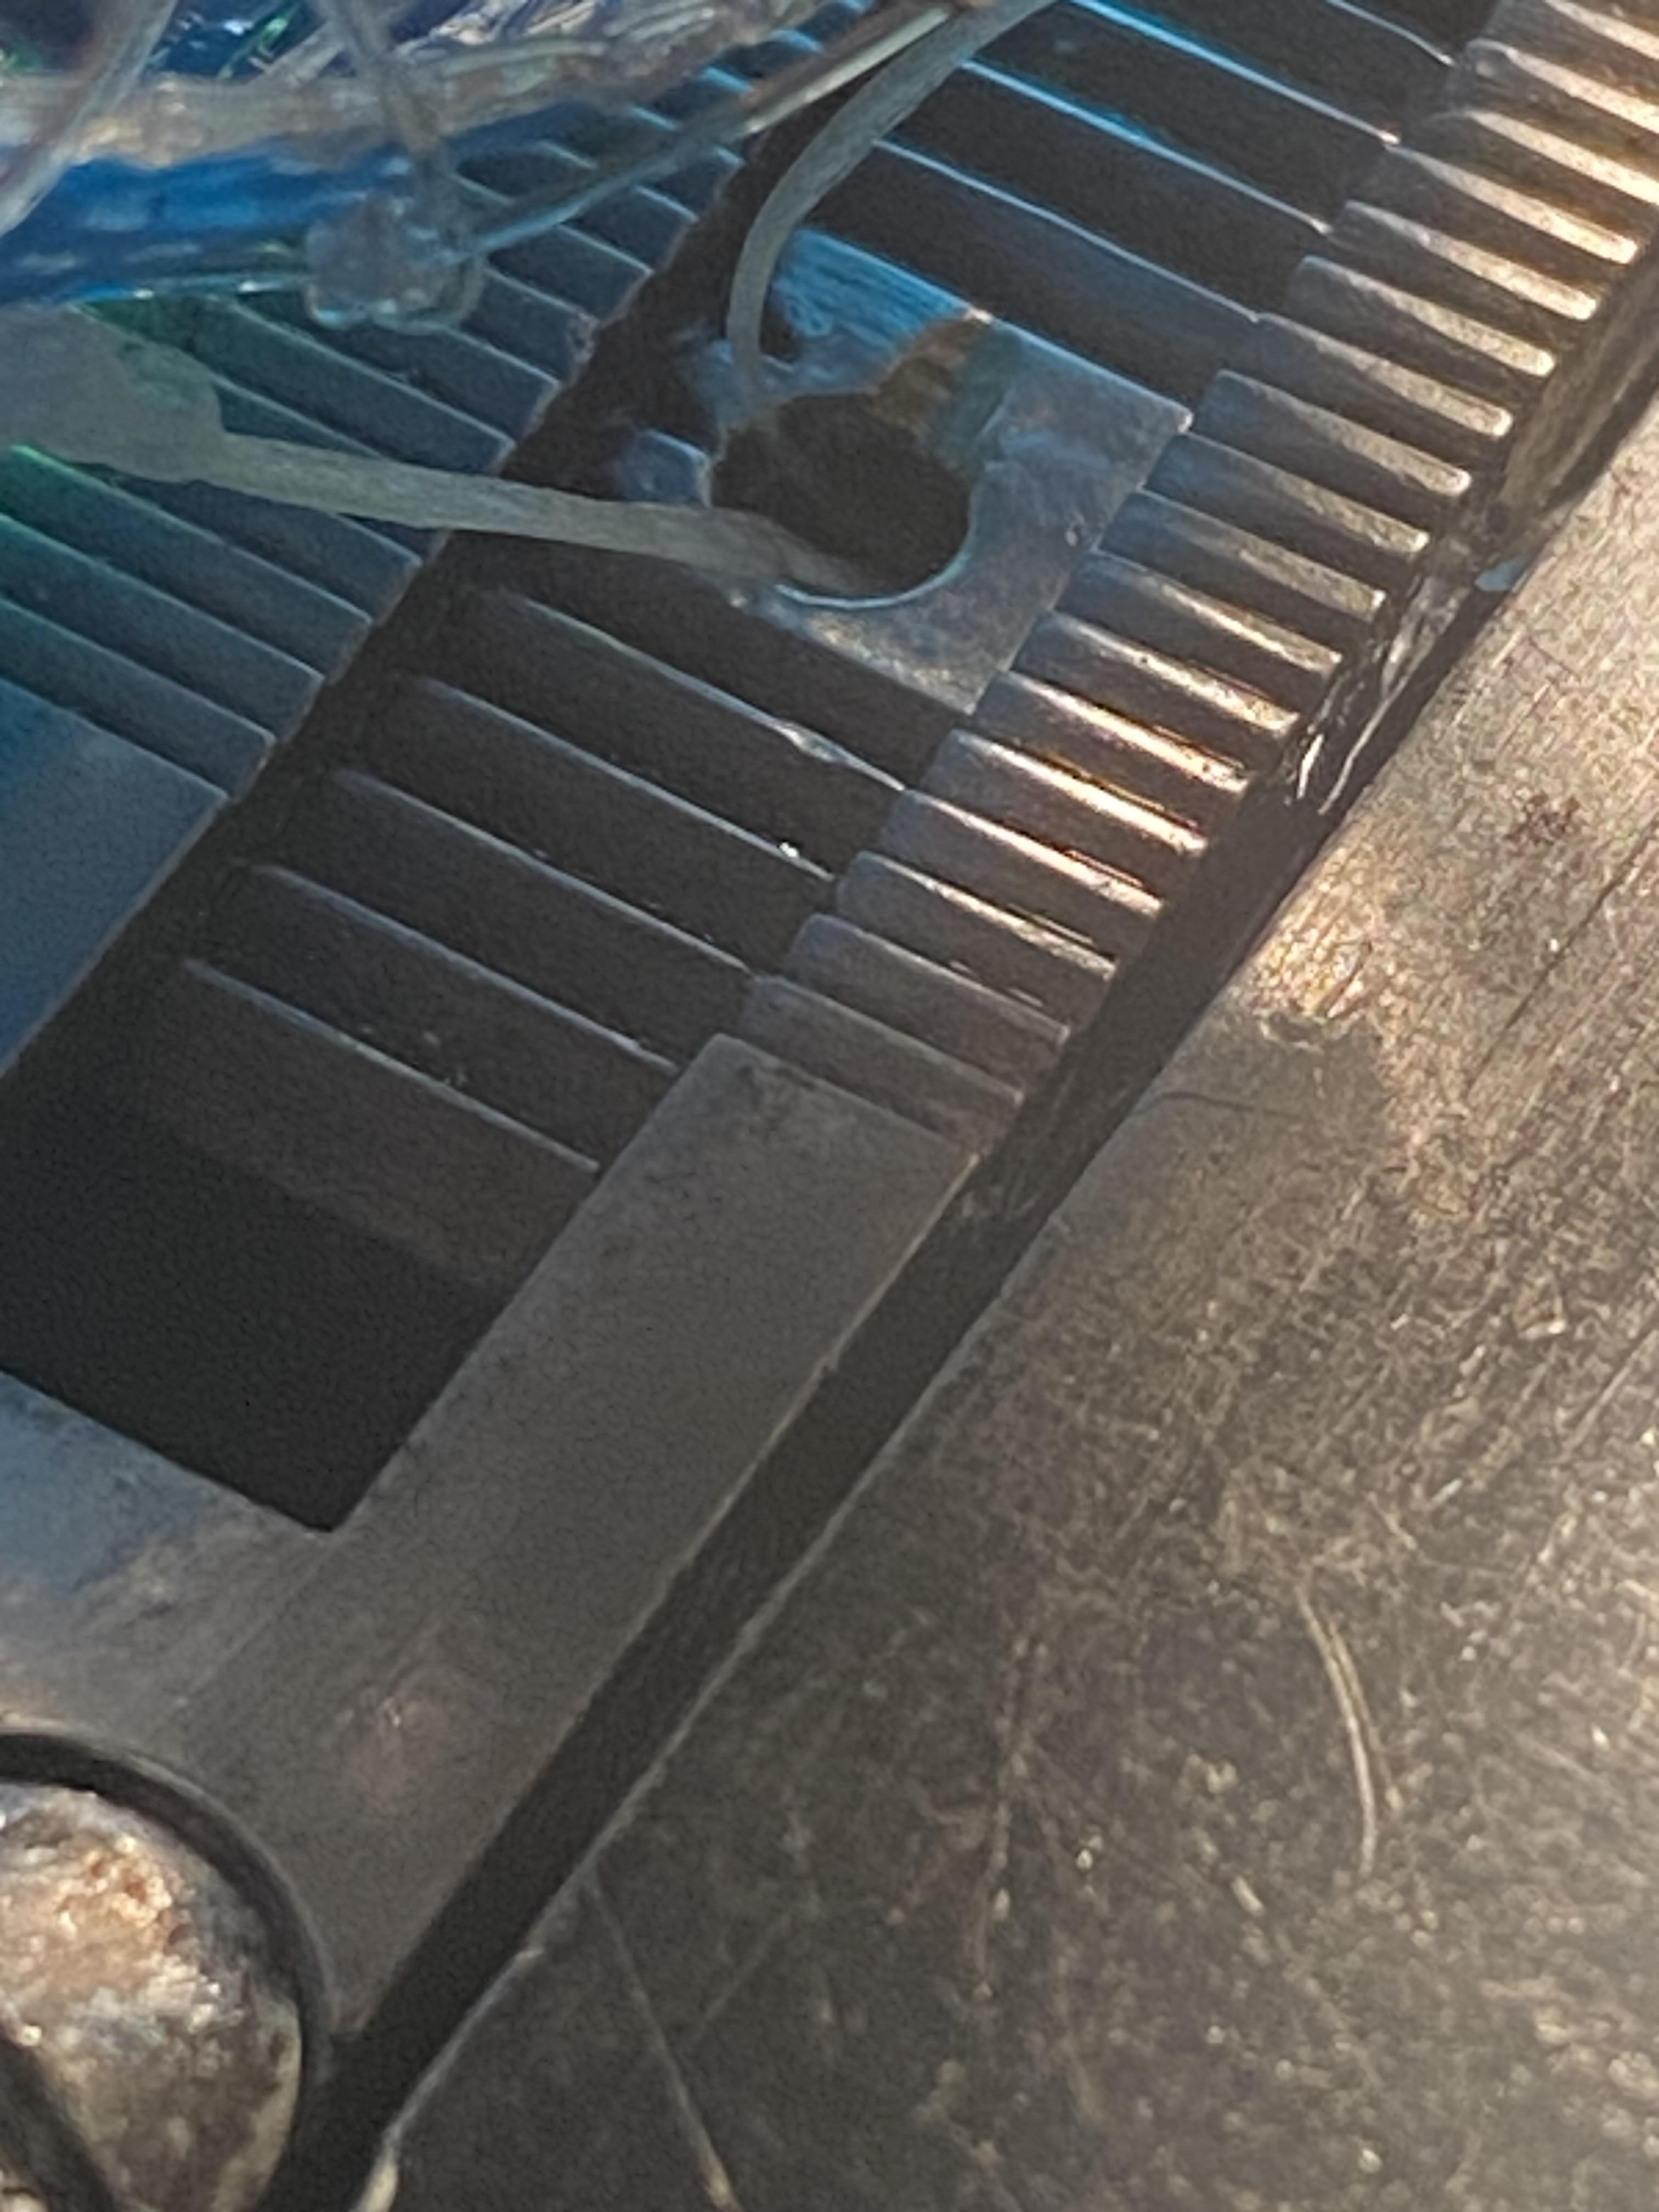
I’m sewing webbing onto a cast net using the singer 111w155 which is the only thing in my life that gives me a hard time. I just refilled the bobbins: everything was working up until I did that. It seems to go about 5 stitches then stops abruptly, and all the thread is bunched on the bottom. I have checked threading etc oiled but cannot figure out the WHY. Could it possibly be that there is too much thread on the bobbin? You all have help me in the past and I appreciate it. Is the only bobbin thread adjustment the bigger screw shown in photo? Frustrated in Florida

-
 Yeah, and the resistance is right there at the top as that flat spot comes across. Good for you being cautious, most people just force things. To me, it looks and sounds like normal operation. There's a video somewhere of Leather Machine Co breaking in new machines. They run them for several hours straight in an oil bath. Another poster here said he does something similar with his new machines.
 -
 Chris Bray joined the community
 -
You need to move this to our Marketplace section, under the Wanted section.
-
 For now, oil everything that moves and keep a rag onder the foot until sewing time. Twist every adjuster to get them past any high spots. You can even back off the pressure spring to make it easier to turm the balance wheel to break it in. Also, if there's a foot rotation lockscrew on the front of the head housing, back it off until it's needed. Oh, if the bobbin winder wheel is engaged, disengage it by rotating the eccentric screw on its housing. That adds some stiffness to the mechanism when it's on.
 -
 So do you think it’s just normal then? also thank you everyone for input! I’m forgot to say it a few times! Hahah
 -
 The resistance probably is when the foot lifts up cause it then is working against the foot pressure spring. The higher the foot lift is set and the higher the foot pressure is the more resistance you feel. Just my thoughts. I´m not in front of the machine.
 -
77583898811__32D62216-B50C-45F5-9CF1-B300A660964A.MOV
-
Ok some(most) of the terms yall are using, I have to look up just an fyi haha! To show how new I am to this. So if I start turning the wheel with any force and all. It will continue turning like normal. Can I post video? We shall see haha
-
Well, there you go. It now has an official purpose.
-
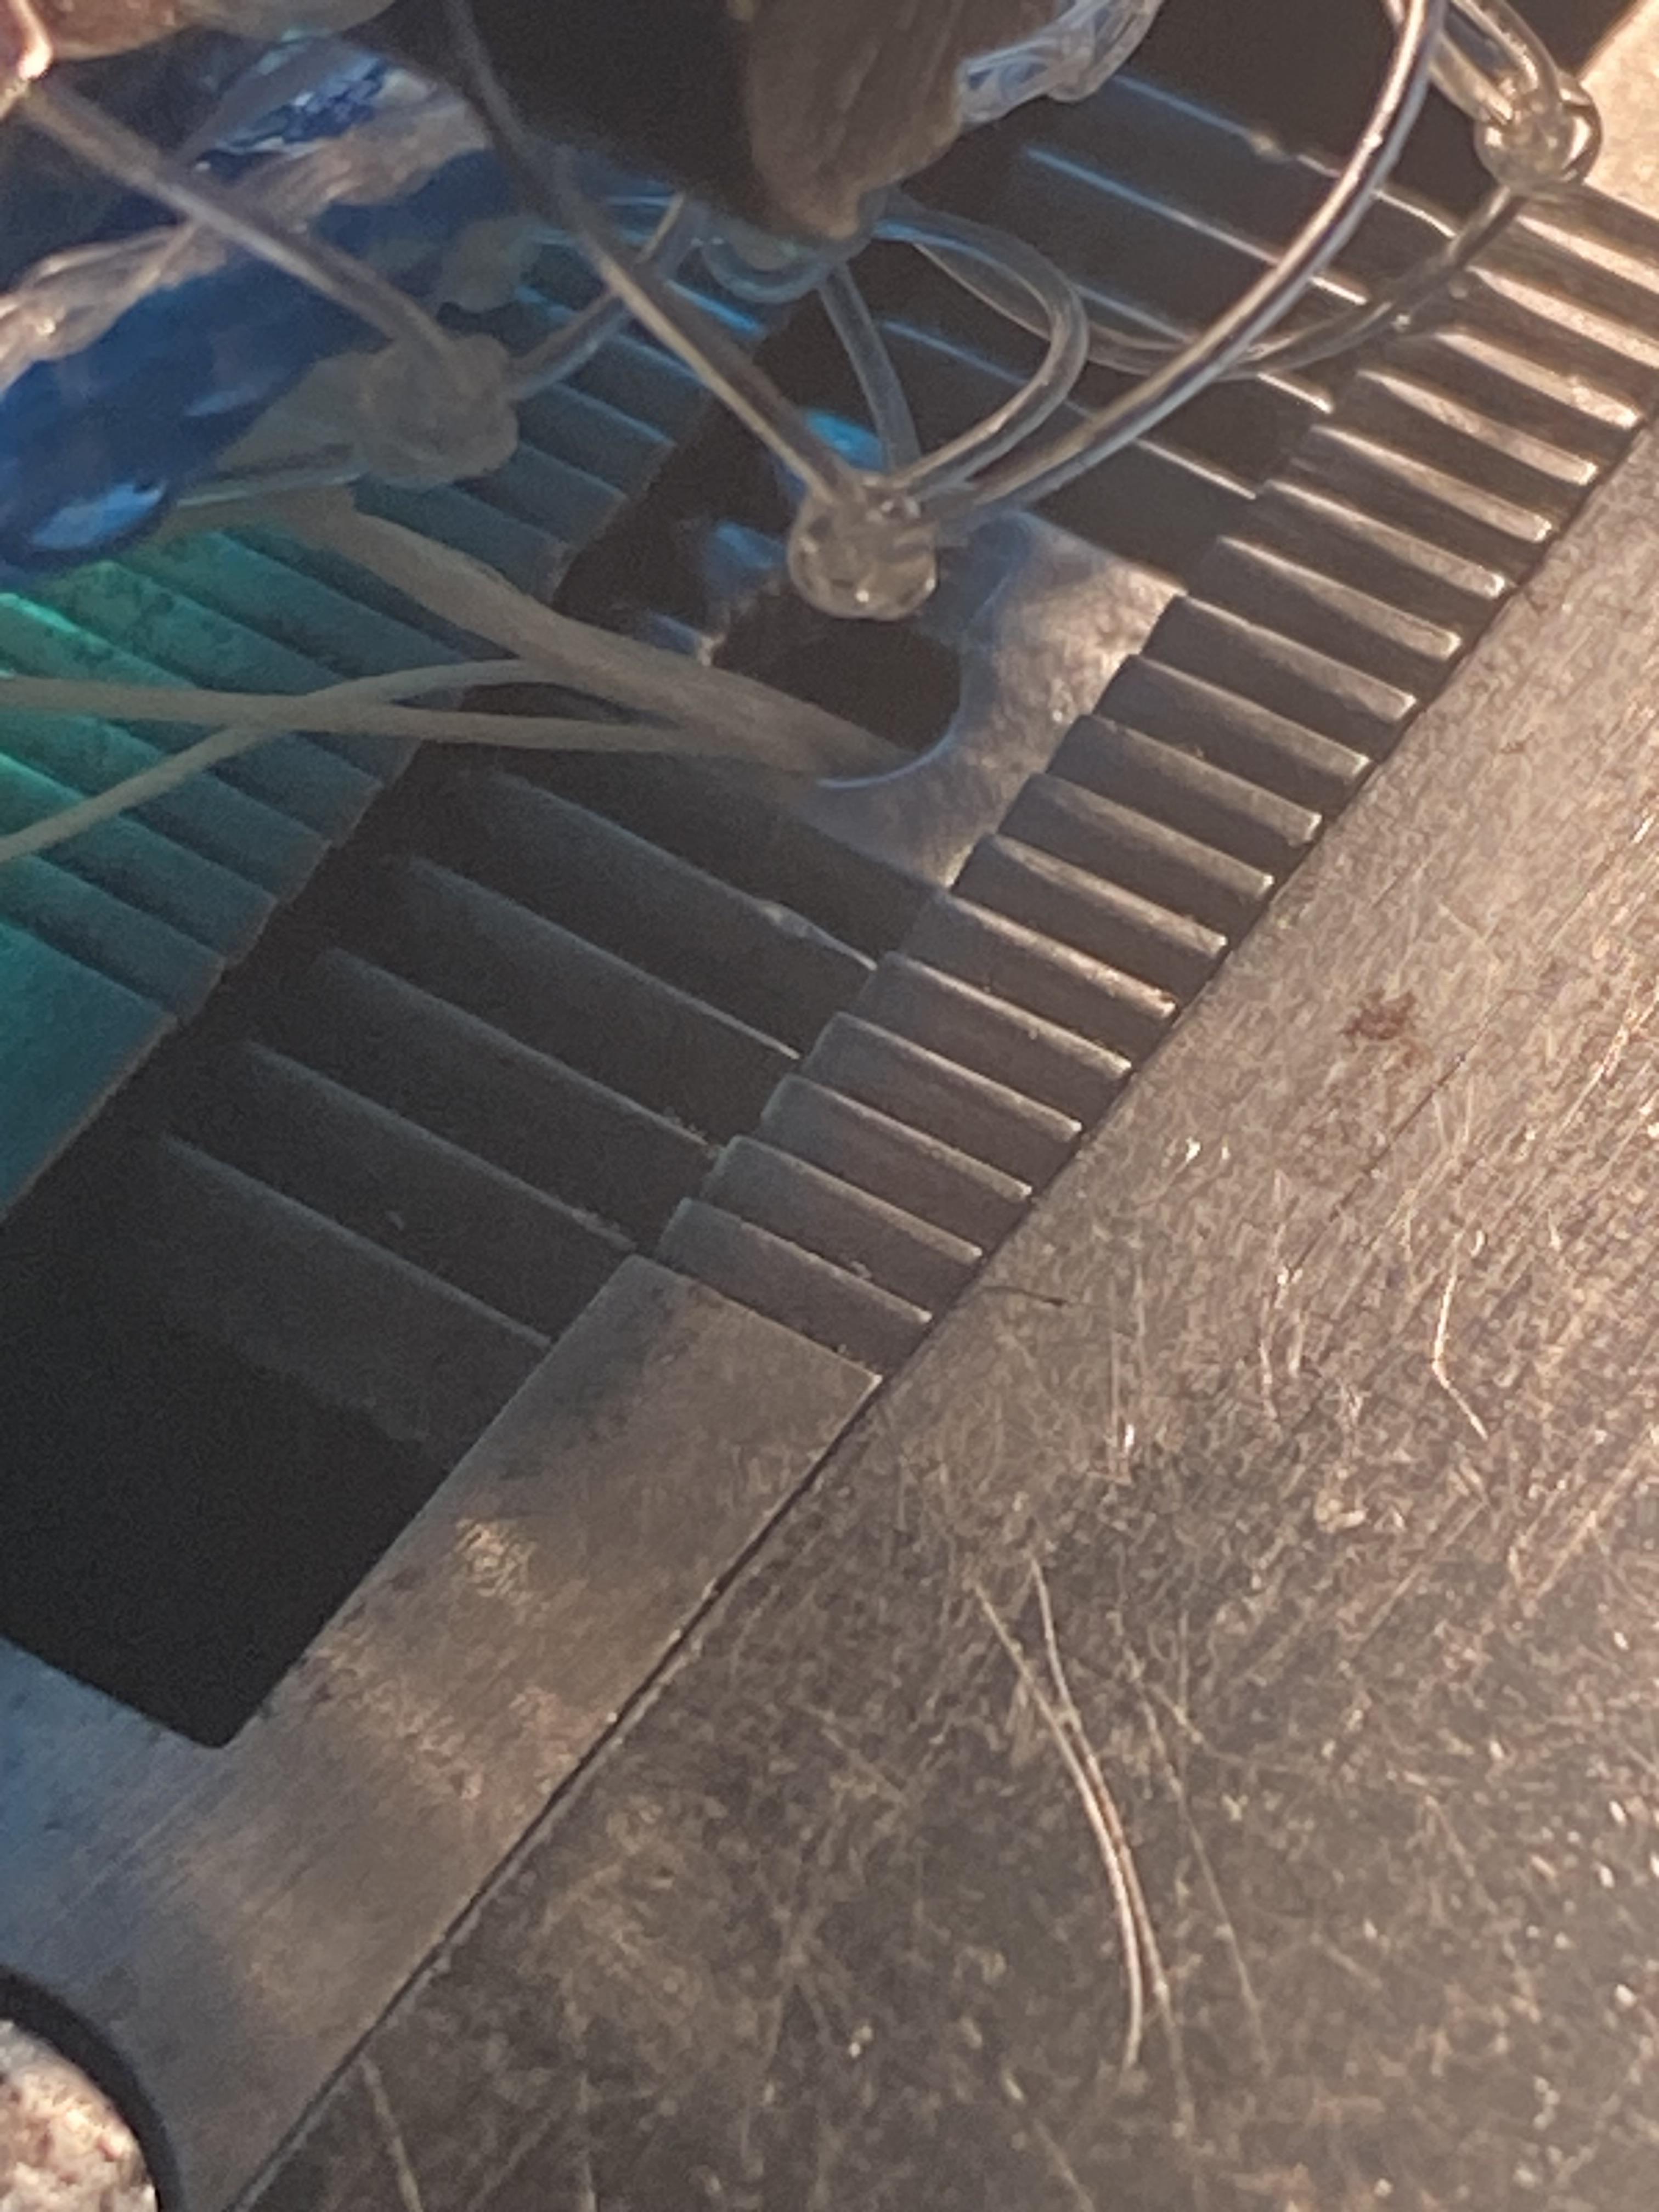
is it just me or does the cam track look concave? It should not look like that, right?
-
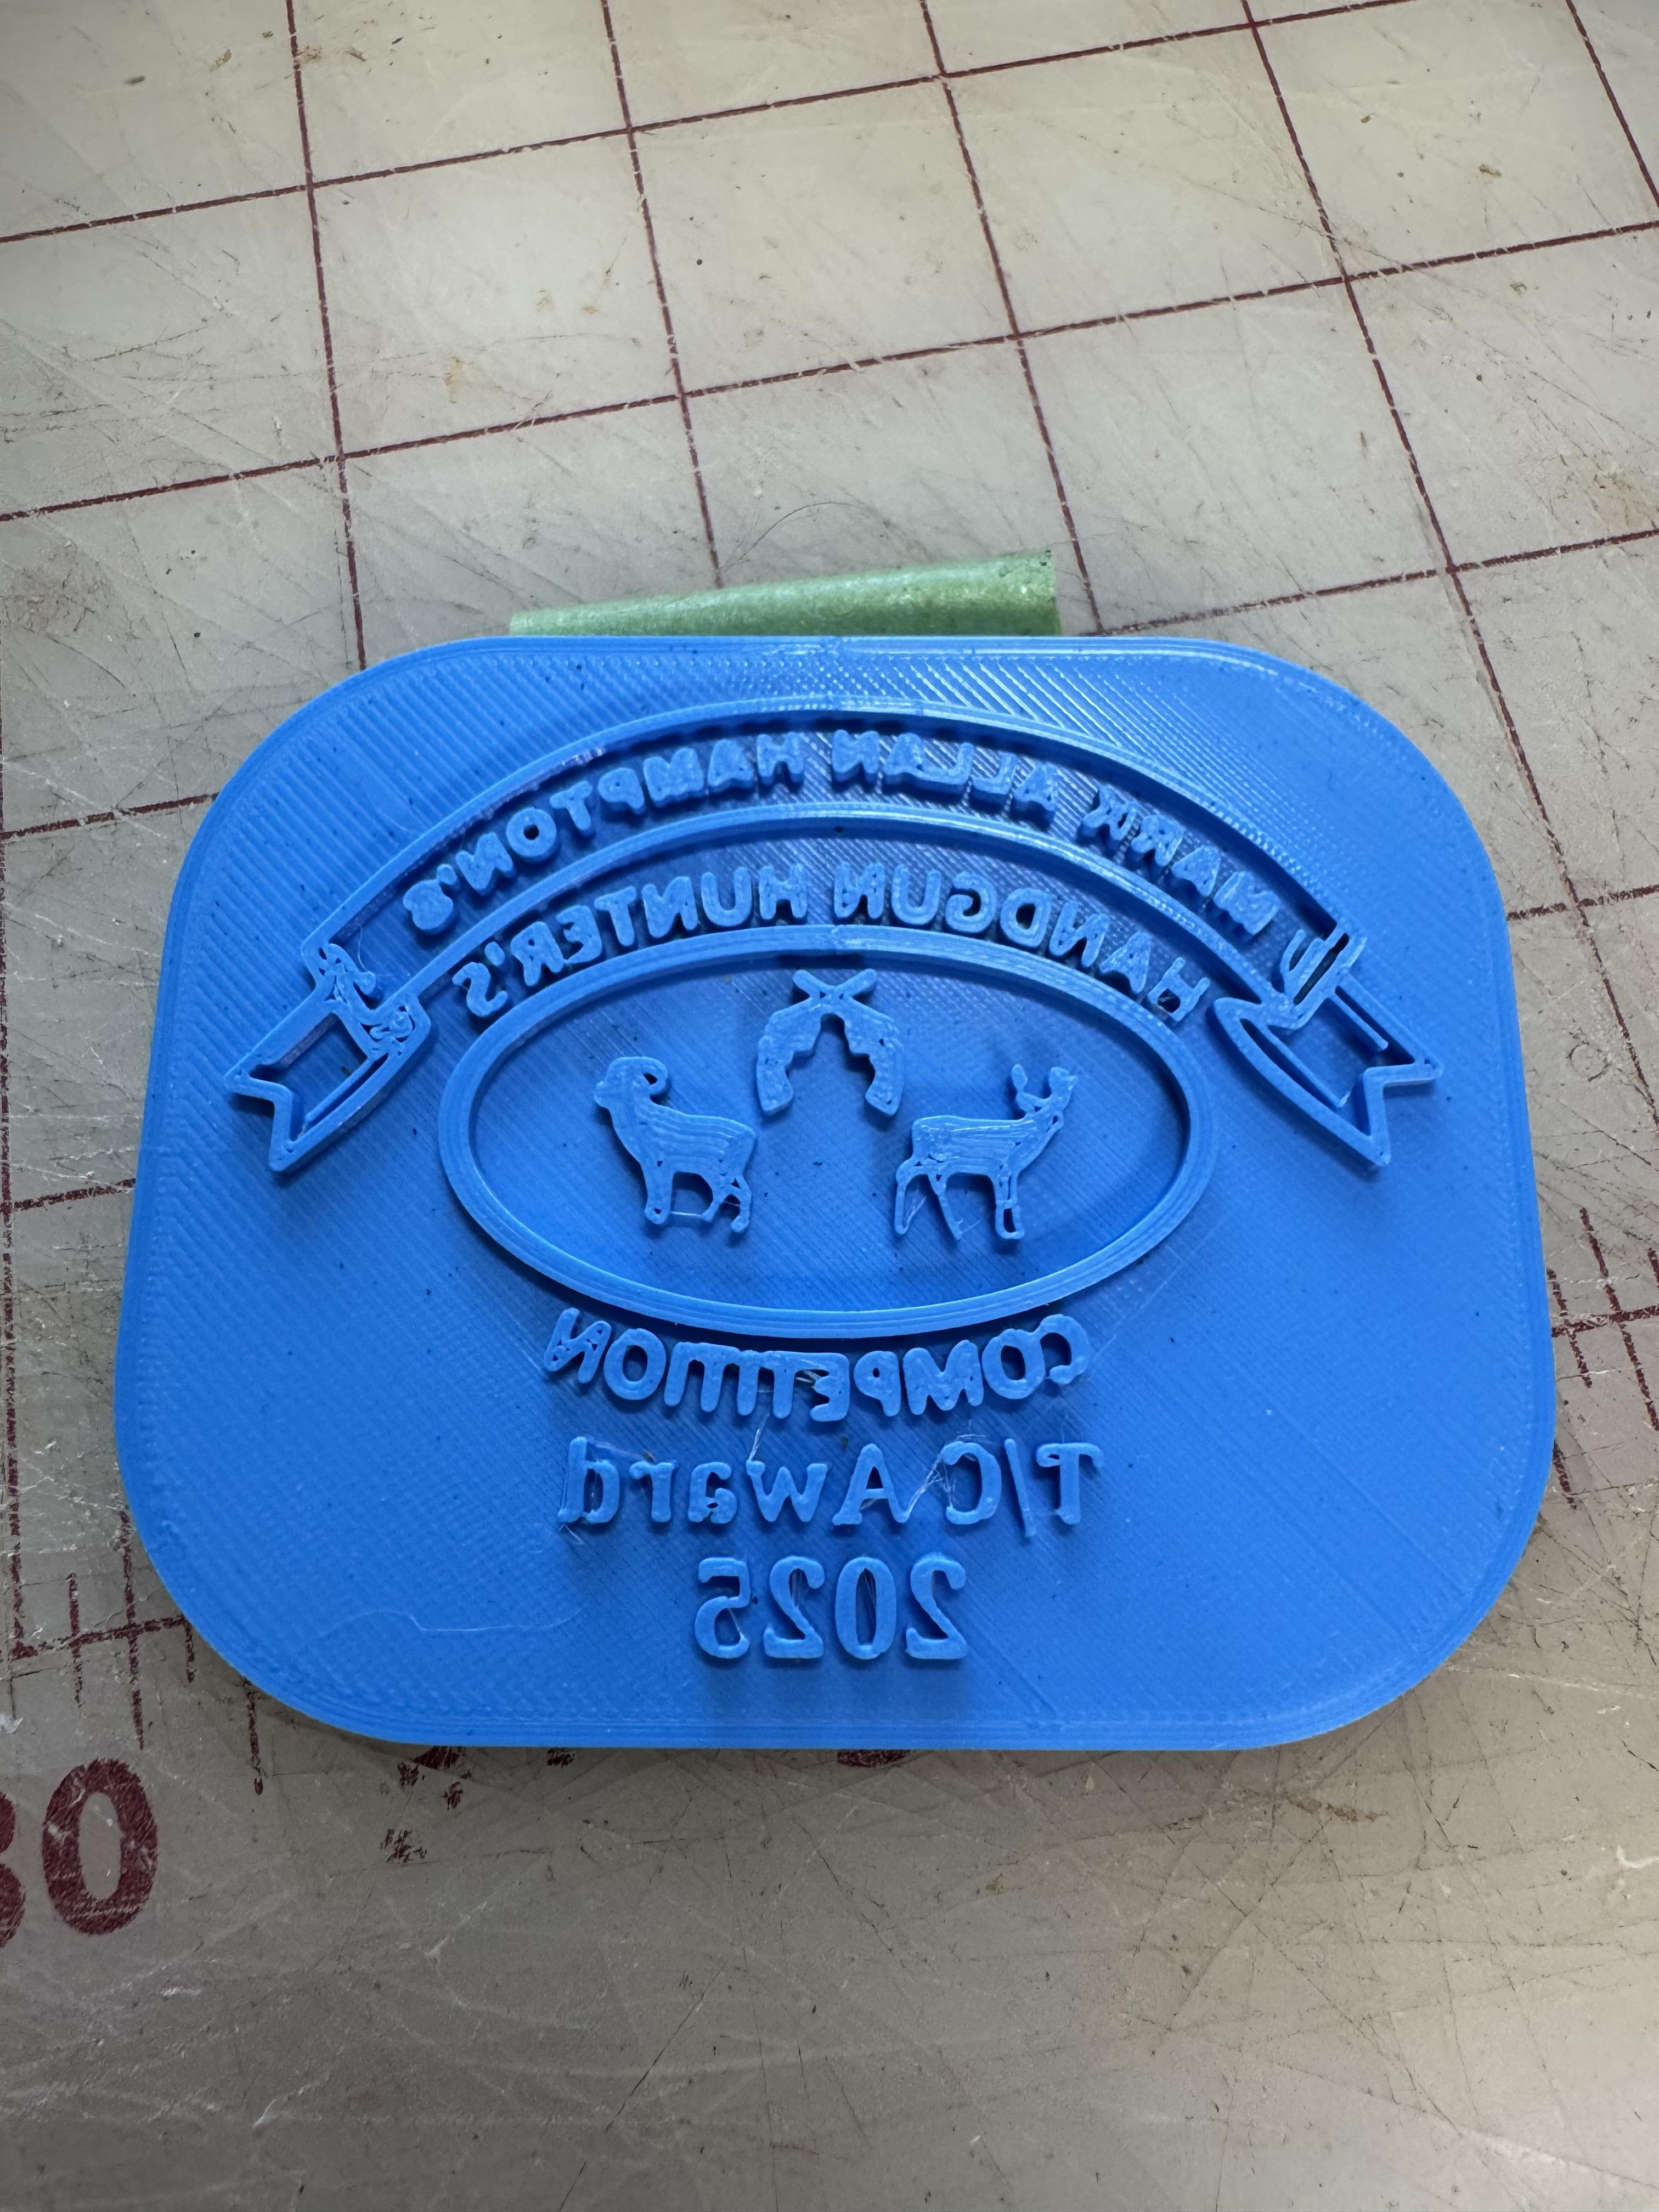
 This is the stamp I printed for this sling.
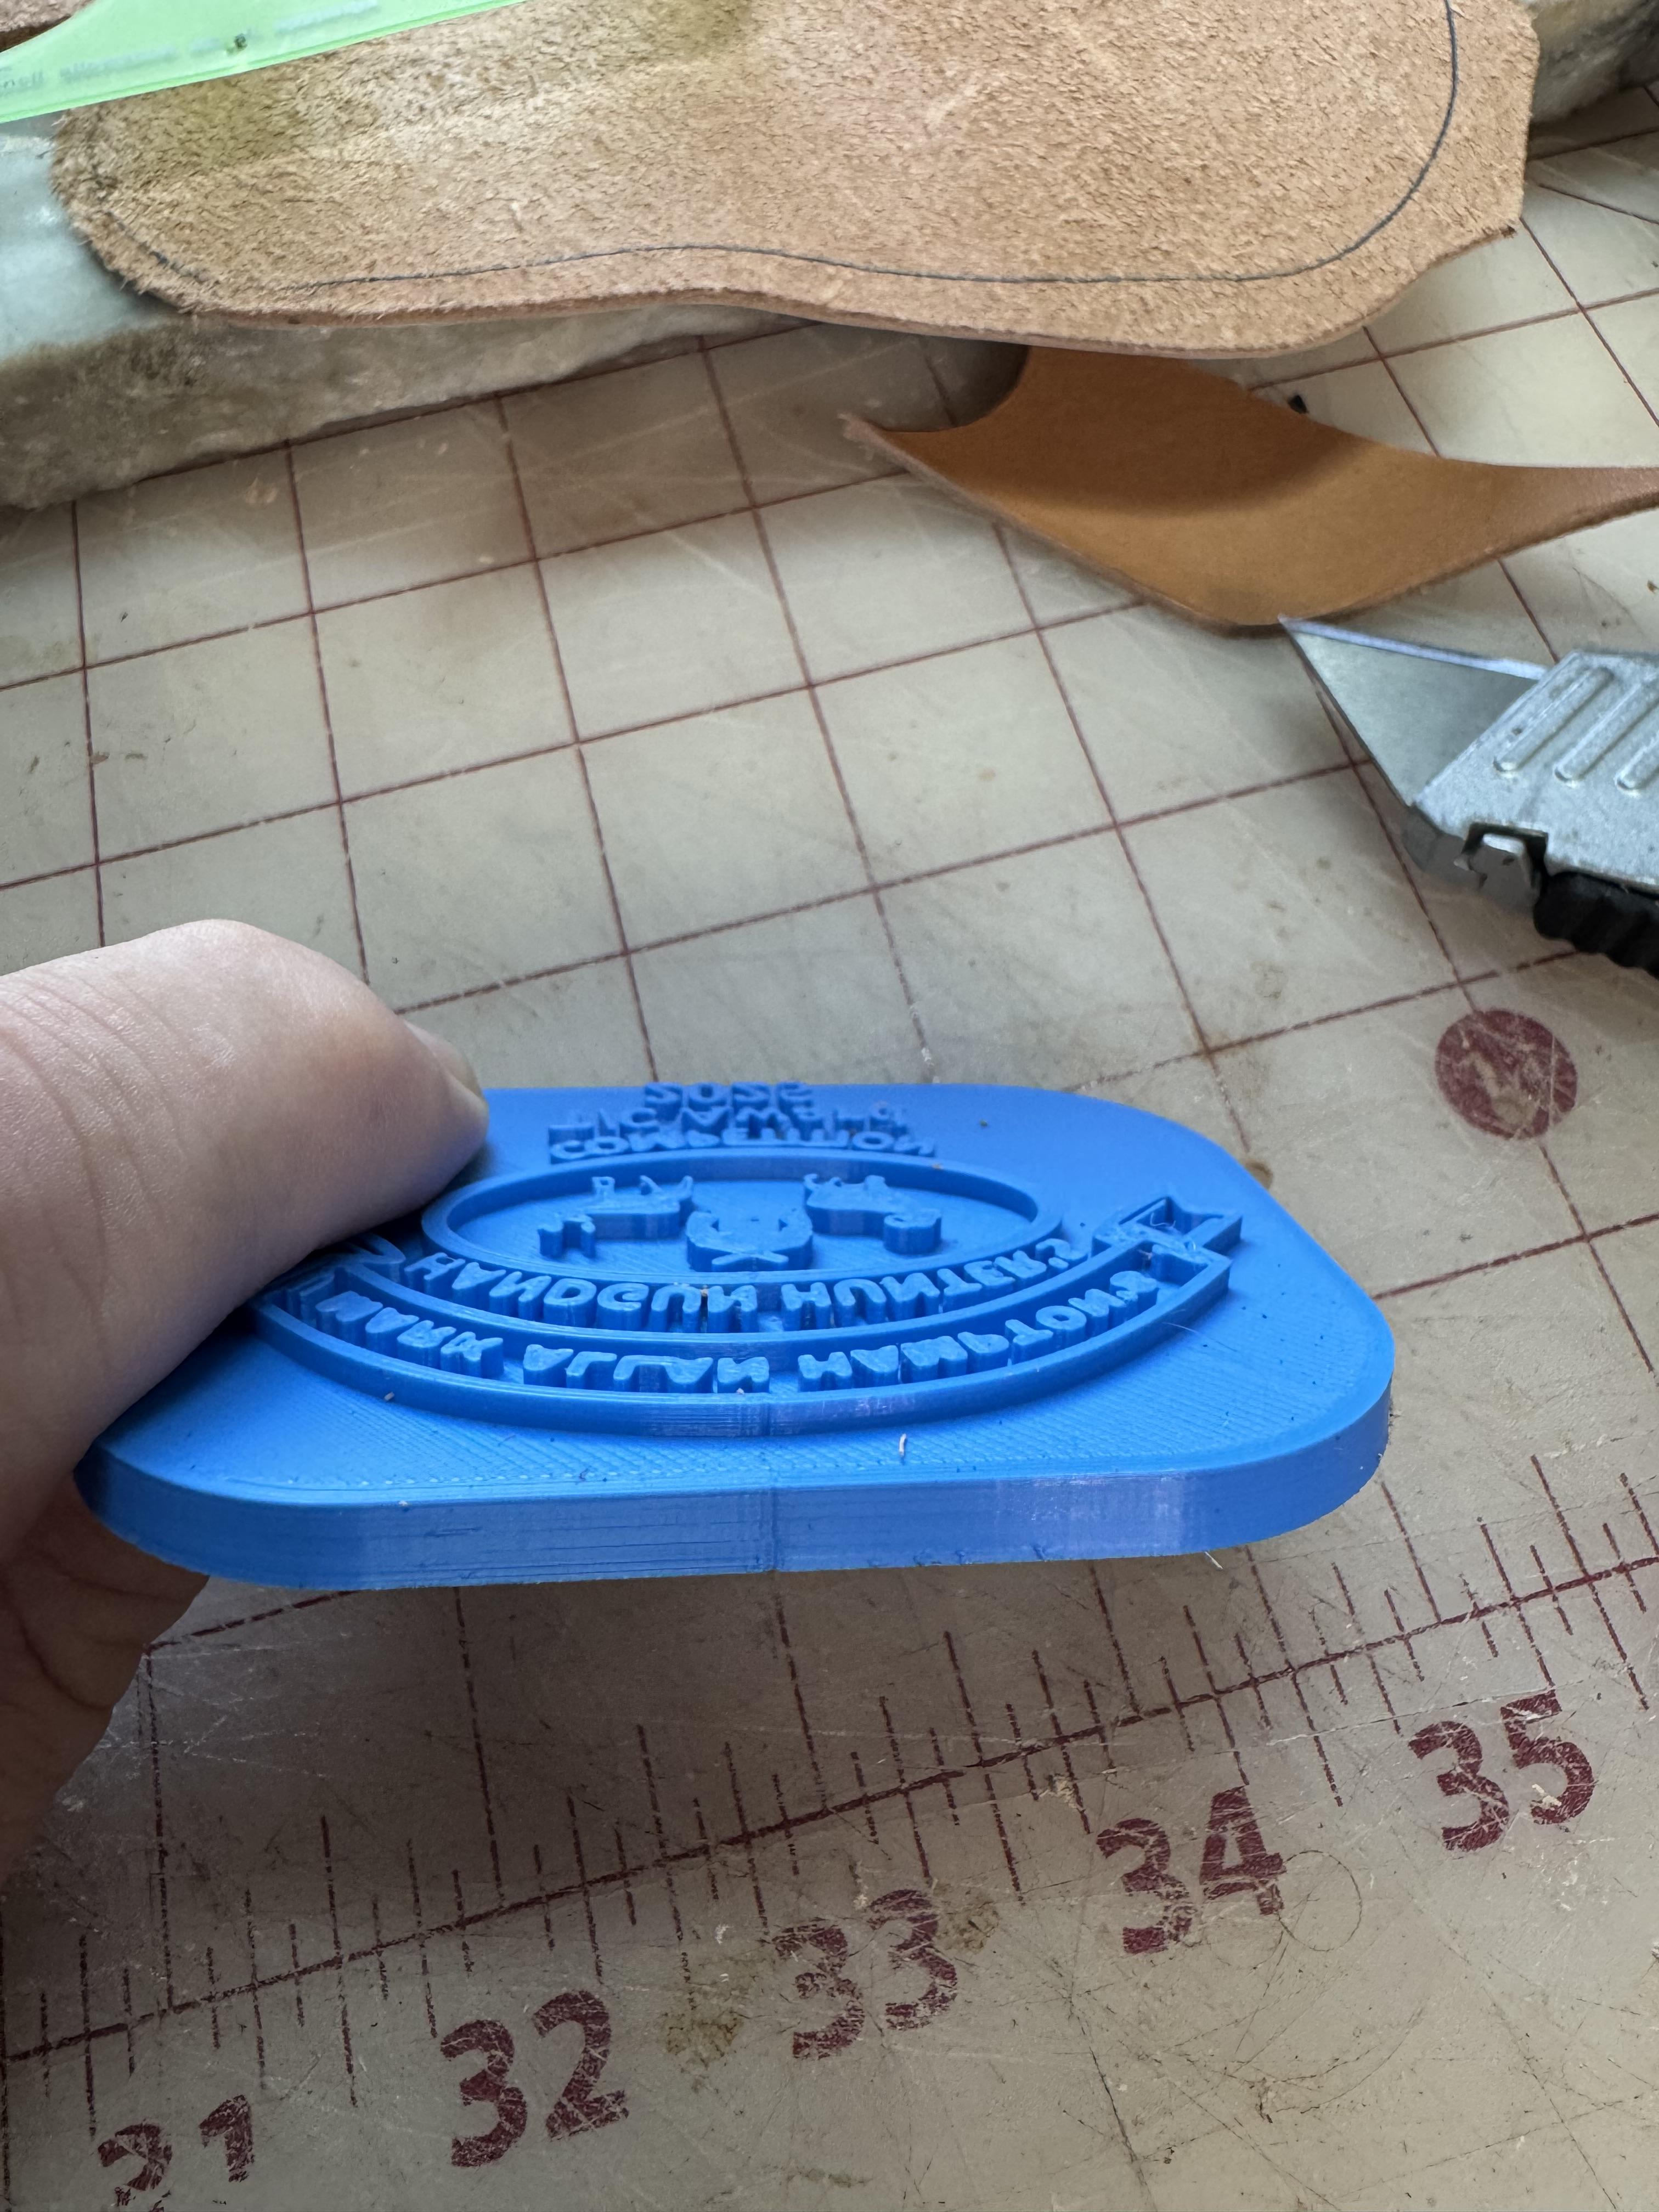
-
very nice !! i need that too.
-

spring flowers and good food
chuck123wapati replied to chuck123wapati's topic in All About Us and Off Topic
i sure have my share of experience scars lol dont need many more but you know things need to be figured out once in a while lol. Oh yeah Kilns and wheels are crazy expensive, i have a really really old electric kiln but no 220 in my shop anymore to run it. soooo... a new propane burner is needed to be built for my project. I'll post pics lol sooo..... one time, again not thinking all the way through, i had this great idea to buy a small can of potted meat, don't know if you have it over yon but it looks just like cat food and as we have a cat the wife sent me to buy cat food lol. Soo anyway potted meat looks just like cat food even on a cracker so dont make one right after you buy cat food and take a bite in front of your wife or she will go into a craze you've never before witnessed lol. I've come to love this semi stifled growl she makes sometimes under her breath. -
spring flowers and good food
chuck123wapati replied to chuck123wapati's topic in All About Us and Off Topic
At least I lived long enough to grow out of it lol, but it takes so much of the excitement out of experimenting -

Vilh. Pedersen 282 clicker press manual
RockyAussie replied to RockyAussie's topic in Leather Machinery
Thanks you for that Jonas, I had found that as well and sent him a message but unfortunately he has not been on LW since May this year. I may try and contact Seick as you suggested and see how that goes. I would really like to know what oil grade it takes at least. I was hoping that someone from Denmark or near to there may know something but no luck as yet. Thanks again for trying. Brgds Brian -
 As mentioned the pin is tapered and can be knocked out pretty easy using the right size drift one way or the other. It is very important not to use a hammer to get the pulley off . The best and safest way is to use a 3 jaw gear puller . Without feeling or listening to the machine i cant really say if it needs any attention . Is it just a little stiff or does it actually bind to a standstill ? The groove in the pulley is CNC machined to a tight tolerance is i would not mess with it . The bearing that runs inside it is replaceable and is softer metal therefore sacrificial . I would just persist with running it for about 1/2 a mile of stitching and see what happens from there
 -
HaHa dikman, your "shop" looks smaller than mine. I have similar boxes along a top shelf. Here's a quick idea, don't know how high your ceiling is or the new press but you seem to have a convenient height at 4 boxes down. Break there, lift the upper 4 boxes up and fix to the wall. A bit more rudimentary woodwork gives you somewhere to put the press and maybe even a bit more workspace.
-
@RockyAussie I tried a bit more Googlin. This member had a manual, the thread is not super old, so maybe it was worth sending a message to him and see if he still has it, or maybe if he saved a pdf of it. Brgds Jonas


