Wizcrafts
-
Posts
7,804 -
Joined
-
Last visited
Content Type
Profiles
Forums
Events
Blogs
Gallery
Store
Everything posted by Wizcrafts
-
Most straight stitch machines, like the common Singer 31-15 and its offspring, can be converted into roller foot machines. The conversion kit includes a roller foot attachment, a special inline feed dog and a matching throat plate. The presser foot bar will probably need to be moved up to allow the roller to fully engage. There are small and large roller feet available.
-
For those curious about how side soles are sewn to uppers, here is an example of a sidewall sewing machine.
-
Question on value and maybe exact model 111W150
Wizcrafts replied to coma44's topic in Leather Sewing Machines
The 111 sub-class 150 is a needle feed, fixed foot machine. It will be fine for wallets and other flat seam sewing. If it encounters a tall seam, you will have to use the knee lifter to climb onto the higher level. It has a standard Singer G bobbin and can handle up to #138 bonded thread, but may like #92 better. -
If you can't, or won't move the left hook assembly, try prying our the deflector tab a little to push the needle away from the hook. Most lockstitch machines pull the thread and needle to the left as they sew, which explains why that needle makes more contact than its right counterpart. I would personally try to move the left hook a smidgen. The timing gear can be tweaked later.
-
You can move each hook drive laterally. There should be frames holding the hooks that can be moved by loosening big screws. There will also be a bendable deflector on each bobbin case that is supposed to push the needle ever so slightly out of harms way as the tip of the hook approaches it. If your hook tips have burrs, they need to come out and be buffed smooth again, or replaced.
-
*HELP* Special Binding Parts for Juki DSC-245
Wizcrafts replied to StepDa's topic in Leather Sewing Machines
You may have to fully convert the feed into a synchronized binder system. I strongly advise you to contact a Juki dealer. They will either already know, or can look up the list of parts needed for the conversion. Your machine may or may not have the basic required parts installed. -
You are missing the throat plate that has notches to hold the bobbin cases in position! Here is a download link for the pdf instructions manual. Here is a parts manual for the Pfaff 346-H3.
-
Here is a manual for the 111w155 111W152_W153_W154_W155.pdf
-
It is a heavier than usual cloth sewing machine. It uses the same class 15 bobbin and shuttle as the 31-15.
-
Thanks Falker. They are part of history.
-
The motor would be more powerful than the feed system, negating its effectiveness. Drop feed dogs for cloth are quite fine. To grip and pull leather through calls for a much more aggressive tooth feeder. I sincerely doubt you will find a heavy duty feed dog and throat plate for that Brother machine.
-
That Brother is just a domestic/household cloth sewing machine with bottom feed. It may sew a few ounces of leather, but with thin thread. For instance, it may be able to sew thin wallet interiors, or possible entire wallets, not exceeding 6 to 7 ounces combined thickness. You may be able to change the foot to a Teflon plastic foot that lets the leather glide under it easier than the steel foot.
-
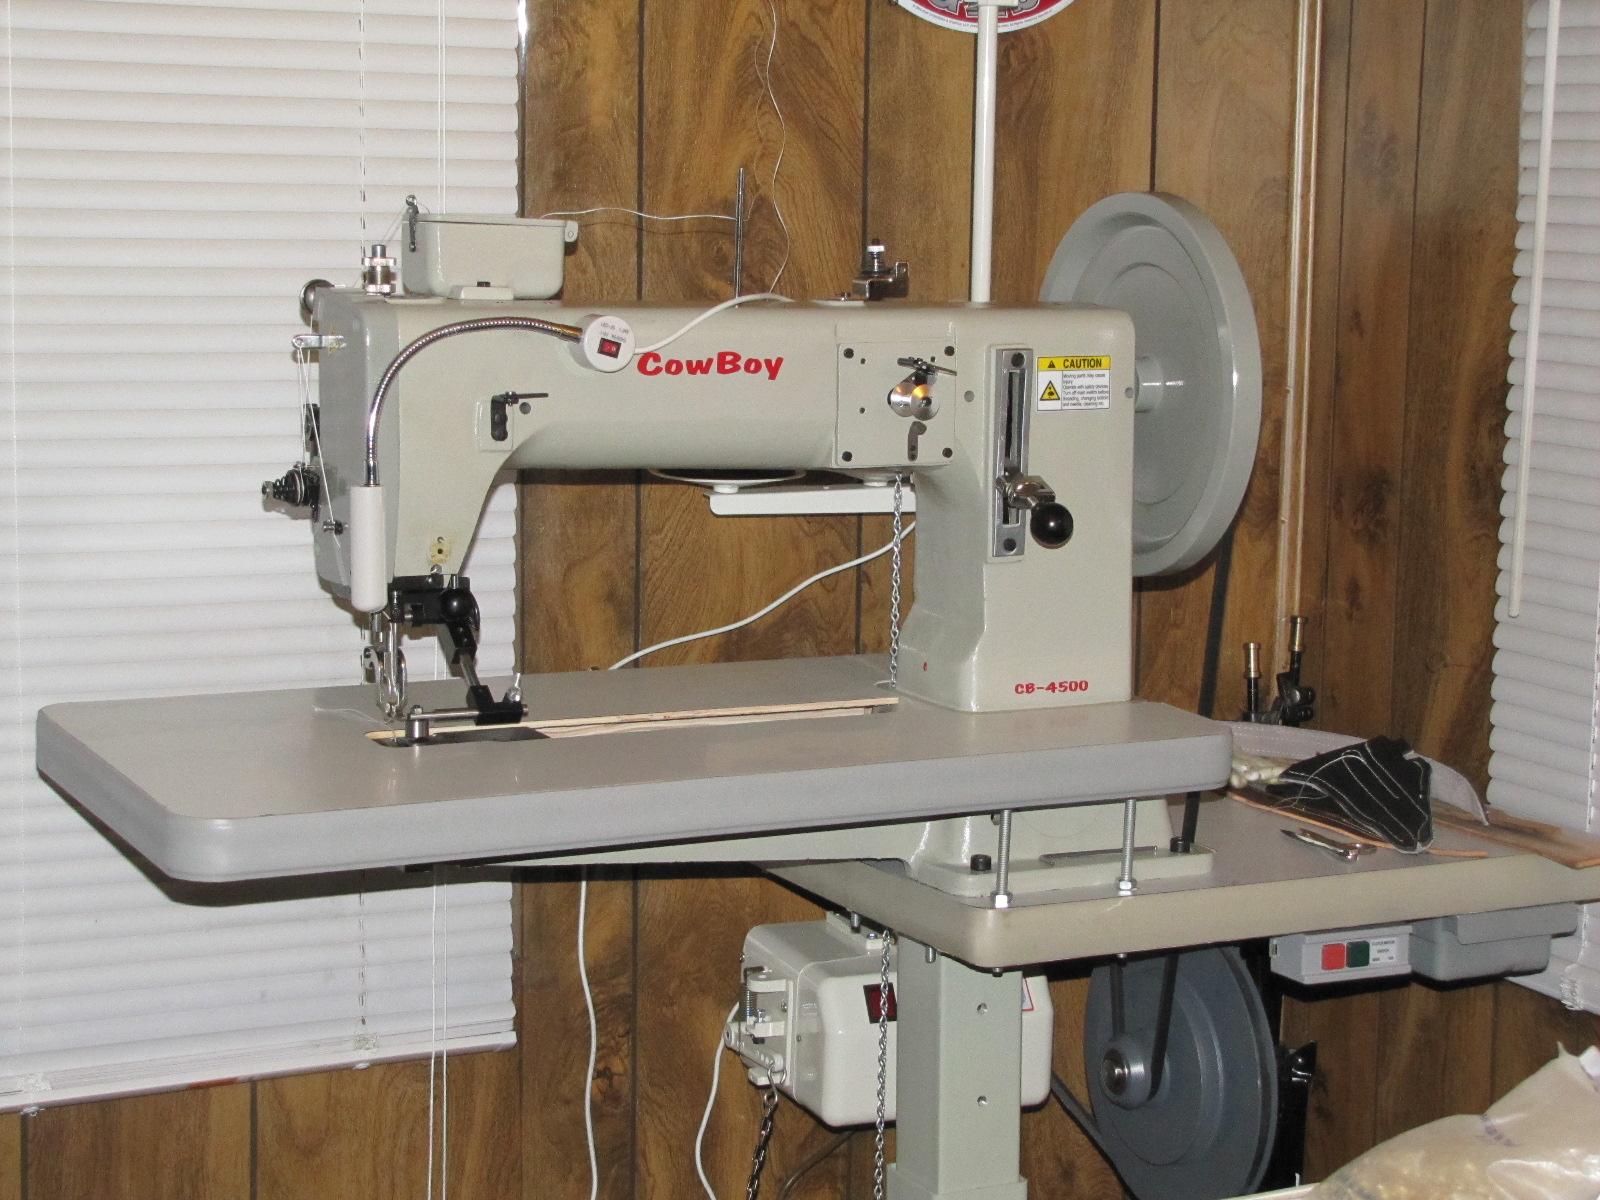
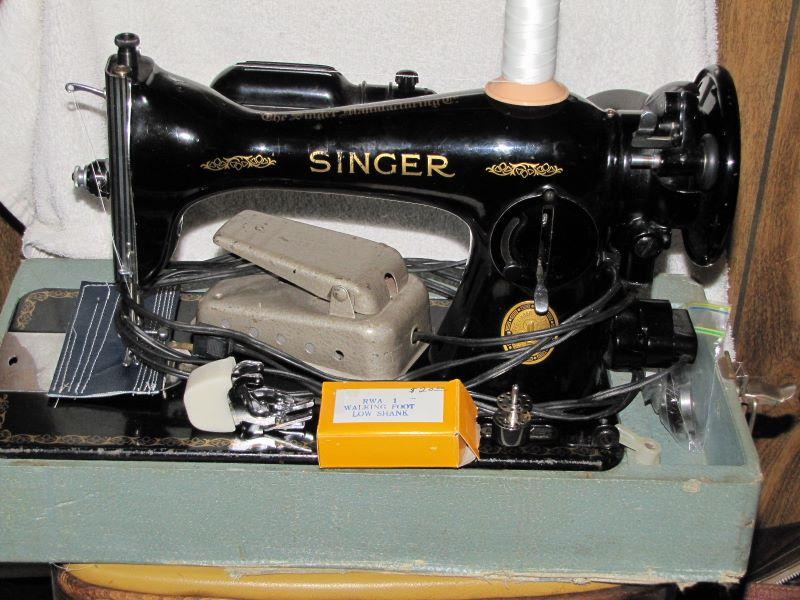
Mister Frodo; You are asking about household/domestic sewing machines meant for cloth. Household (domestic) sewing machines are not meant to sew leather. Some can manage a few ounces, plus or minus. But, all of these machines are bottom feed only, via feed dogs and a fixed presser foot. The feed motion on the bottom has to fight against the downward force on top. Reducing the foot pressure leads to the leather lifting with the needle, causing skipped stitches and shredded thread. These machines may have little 0.5 to 1.5 amp motors (1/15 horsepower and under) on the back of the head and a speed control pedal on an AC cord that you set on the floor. Some may be inside a table that opens and closes, or sit in a hand held carrying case, or be mounted on a treadle base with a wooden top. Leather sewing machines are usually mounted on industrial tables - 20" x 48" - with steel legs, or pedestal stands, and have large, very powerful motors under the table (from 1/3 to 3/4 horsepower). Most leather sewing machines have compound/triple feed, where the feed dog, needle and an inside foot move in sync while the outside presser foot simply moves up and down to clear or hold the leather. These machines can handle thread sizes way bigger than household machines and can sometimes sew as much as 3/4 inch of real leather. The Singer 15 class below is NOT a leather sewing machine. The Cowboy IS a leather sewing machine.

-
You should be using a #22 or 23 needle with T135 thread. Are you? Also, make sure the top thread is feeding through the check spring, before the take-up lever.
-
That is a Singer Class 66. It is made for sewing soft cloth, up to about 1/8 inch thick. It can sew leather up to 6 or 7 ounces combined, but with no larger than #69 bonded thread, using a #18 leather point HAx1 needle. The machine is bottom feed only and doesn't produce very long stitches. But, it is great for hemming and darning shirts, pants and skirts. I have one at home, motorized, in a hide-away table. Cute to look at, but no use in a shop setting.
-
If it ever comes down to shipping the machine to a remote buyer, know in advance that the head must be removed from the stand and the heavy handwheel removed from the back of the machine. The machine and flywheel, plus the drawer with small parts, should be wooden boxed securely and strapped to the pallet. The treadle base should be strapped down on its side. It will be cheaper to take the palleted equipment to the shipper, or at least a commercial building with a loading dock, where it can be driven into the trailer by a loader. Some sellers also disassemble the treadle stand for better security during shipping. Roads are sometimes rough and pallets can crack. Because the costs of packing and shipping are a variable, it is best to simply state: Plus actual shipping costs. Otherwise, list it as pickup only from (location).
-
These machines can be listed for sale in our Marketplace section of the forum. The Adler sewing machine would go here and the splitter would go here. Get the model names and numbers from the tags on the machines. Identify them in the ads, include front view photos (the pic of the Adler is from the back) and state the asking prices and location, as well as who to contact.
-
Maybe it need more oil?
-
Upholstery class sewing machines are neither built for, nor are they capable of sewing serious holsters. Shift your sights up to the 441 class of harness/holster stitchers. This includes such brands as Cobra, Cowboy, Techsew and the progenitor: the Juki TSC-441. It also includes the deprecated, non-441, Adler 205-374 and its clones. The 205 was Adler's answer to the 441 challenge in the late 1980s. If you are unwilling to Chinese up, look at the super heavy duty, needle and awl, Campbell Lockstitch and Union Lockstitch machines that are rebuilt in Texas; land of the free and home of the brave.
-
Stepping back and restarting conservative - Singer 15-91
Wizcrafts replied to Vinito's topic in Leather Sewing Machines
<!DOCTYPE html> <html lang="en"> <head> <meta charset="utf-8"> <title>Wizcrafts Server Test Page</title> <meta name="robots" content="none" /> <meta name="robots" content="noarchive" /> <meta name="GOOGLEBOT" content="NOARCHIVE" /> <meta name="viewport" content="width=device-width, initial-scale=1"> <style type="text/css"> <!-- body, html {margin-top: 0; font-size: 99%; font-family: Arial,Helvetica,sans-serif; color: #000; background-color: #FFF;} --> </style> </head> <body> <!-- content --> </body></html> -
I sometimes thread my CB4500 bobbins clockwise for springy, or extra thick thread. It feeds through the tension channel easier that way.
-
Stepping back and restarting conservative - Singer 15-91
Wizcrafts replied to Vinito's topic in Leather Sewing Machines
I used to run a 15-91, before getting industrial machines. I found it was limited to 8 ounces, total, with no bigger than #69 bonded thread. The feed is bottom only. The pressure needed to hold down hard leather tends to drag the stitch length down. A Teflon foot helps it feed sticky materials. A word of warning. You will burn out the pod motor trying to sew above 1/8 inch of leather. A working or rebuilt replacement motor will cost over $100 on eBay. Keep a fire extinguisher close. -
Put a few drops of oil in the shuttle race. Are you loading the bobbins so the thread feeds counterclockwise? That may reduce some of the bobbin slap. Did you know that you need to remove the faceplate occasionally and put a few drops of oil into each tiny oil hole in the moving parts inside the head?
-
Hoping for help with my new patcher (Adler 30-1)
Wizcrafts replied to Vinito's topic in Leather Sewing Machines
You can find presser feet online or on the phone that have less (finer pitch) aggressive teeth (old Singer 29 feet will usually fit the Adler 30). The trade off is that you may have to manually help feed the leather, especially if you fill in the gaps with tool handle coating. This really depends on how slippery the bottom layer is. If it is slick enough, less foot pressure will be needed to hold down and move the leather. However, grabby leather needs the teeth to sink in to drag it as you sew. I would like to remind you that "patchers" were built for shoe and boot repairs and were marketed to shoe repair shops. I use mine for sewing/darning shoe uppers, fixing purse straps, sewing patches over pockets on vests and onto jacket sleeves and sewing tubular projects too small to go around my cylinder arm machines. Tooth marks in veg-tan can be smoothed out somewhat. Reducing the foot pressure to the minimum needed to hold down the leather and move it will leave less visible marks. -
Hoping for help with my new patcher (Adler 30-1)
Wizcrafts replied to Vinito's topic in Leather Sewing Machines
Number 19 needles are for T90 or v92 bonded thread. Your #138 thread is 50% bigger and needs a larger needle. As the thread diameter increases, the lockstitch knots become even larger and require a much bigger hole to be pulled up without extraordinary force. The denser the material, the bigger the needle hole needs to be for any given thread combination. That is why I mentioned that I prefer a #23 (160) needle when sewing with #138 thread, top and bottom, into leather. When sewing textiles a #22 needle is fine. But, leather is tougher inside and presents more resistance to the lockstitch knots as they try to move up with the take-up lever.