jimi
-
Posts
1,418 -
Joined
-
Last visited
Content Type
Profiles
Forums
Events
Blogs
Gallery
Store
Everything posted by jimi
-
Singer 45K89 missing tension parts or not?
jimi replied to Oldiesfan's topic in Leather Sewing Machines
Nice one Oldiesfan...nice to see the oldies are being saved! -
What kind of Singer Machine did I buy ?
jimi replied to Oldiesfan's topic in Leather Sewing Machines
I would imagine to help keep the stitch length even when turning corners etc..if you do a circle with a roller foot it will have a larger stitch length on the outside curve and a smaller on the inside unless it has a gear on the roller like some newer ones do. On machines without it you would use the knee lift to do the same thing....but i could be wrong?? €5! well done. -
Prusa 3D Printer Heated Bed Sheet Mileage Replacement
jimi replied to kgg's topic in 3D Printers and Lasers
Thanks for the Info Kgg, I will give this a go when i get the plugs up and running again so i might pick your brain further in the future -
Do you have the scraper on??
-
You could ask this guy...he had a box load of parts for the class 7. https://www.ebay.co.uk/itm/124184612597?hash=item1ce9facef5:g:FsIAAOSw4rteupUX
-
What kind of Singer Machine did I buy ?
jimi replied to Oldiesfan's topic in Leather Sewing Machines
Looks like a 34k post bed and the part that goes in the hole should connect with some kind of cam on the inside which will raise the roller wheel every turn of the shaft. Just found this....Folker restored one of these -
It looks like it is there instead of the spring? to exert pressure to keep the plate on?
-
Prusa 3D Printer Heated Bed Sheet Mileage Replacement
jimi replied to kgg's topic in 3D Printers and Lasers
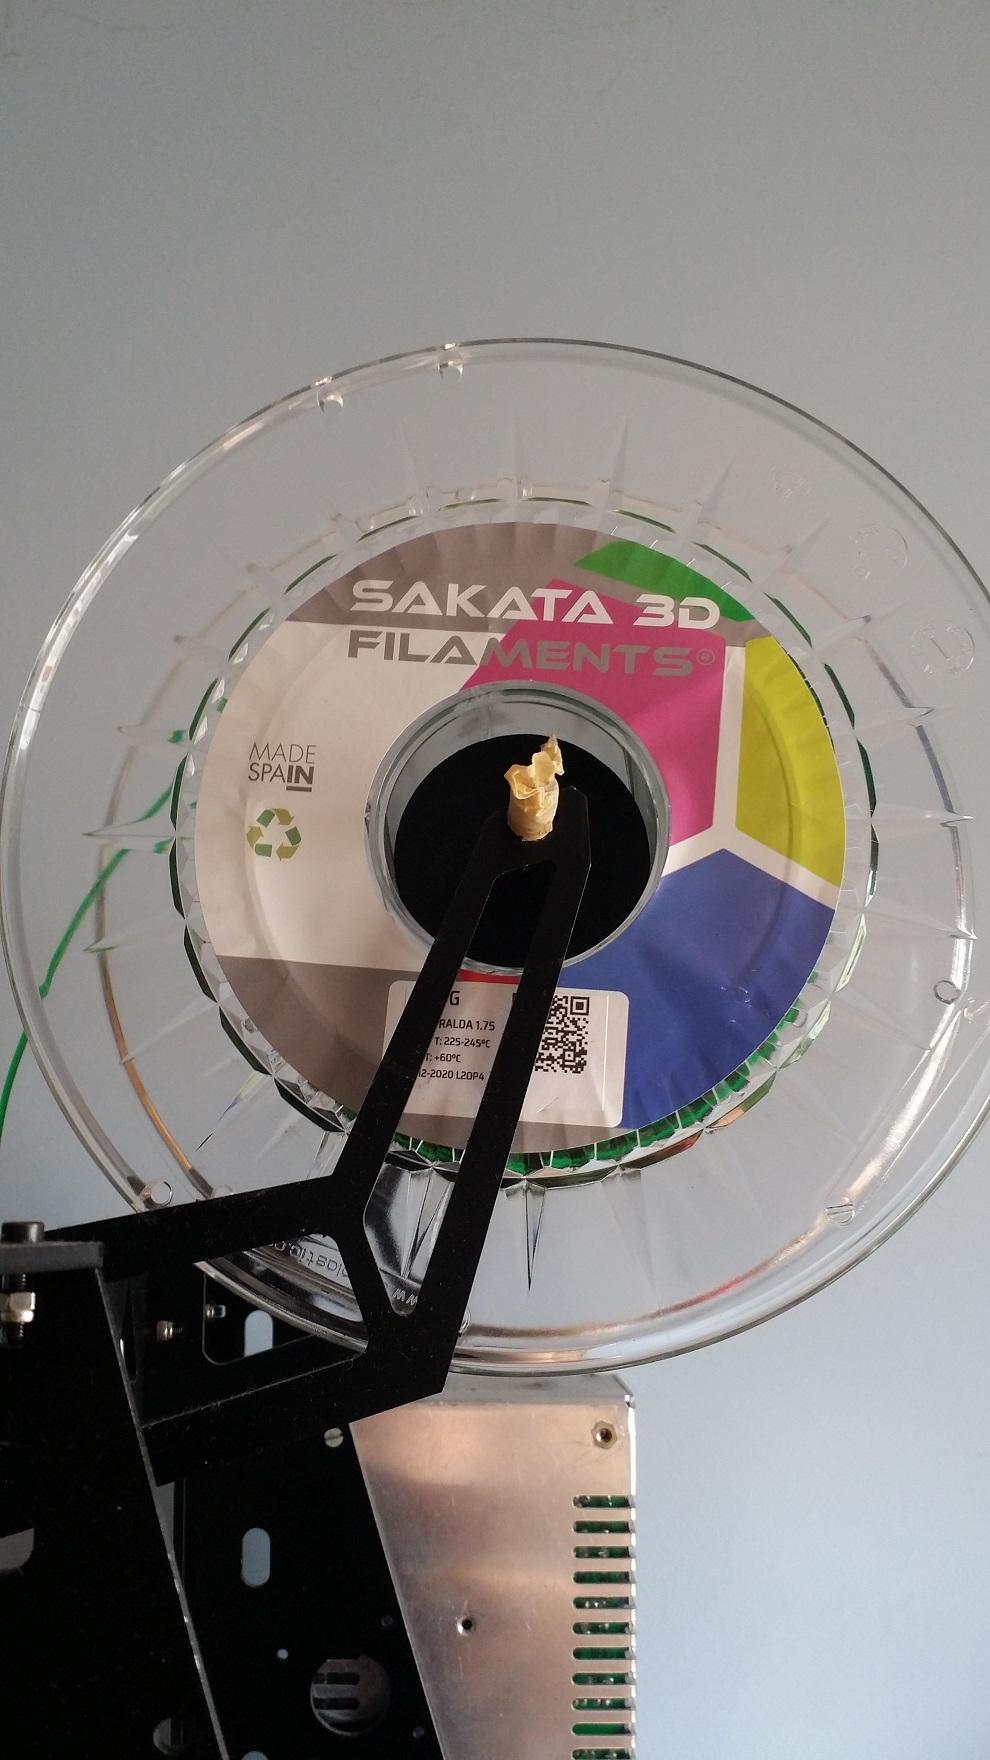
Thanks for the advise Guys, i am going to try the mirror at one point again when i do more remote plugs as i prefer the mirror finish to the rugged, the rugged seems to hide more my first layer cock ups! Kgg, I am using Sakata PETG at around 230-235º and there is a basic/cheaper PETG which i have tried and works just as well, the only difference i can see is the shine (and price). So it is obviously the donkey pushing the buttons that needs to get things together

-
Prusa 3D Printer Heated Bed Sheet Mileage Replacement
jimi replied to kgg's topic in 3D Printers and Lasers
Yeah i did that Kgg and it did work sometimes but then you loose the mirror finish also on the first layers. This was the point i was trying to use the glass for, to get a good finish on one side.
-
Prusa 3D Printer Heated Bed Sheet Mileage Replacement
jimi replied to kgg's topic in 3D Printers and Lasers
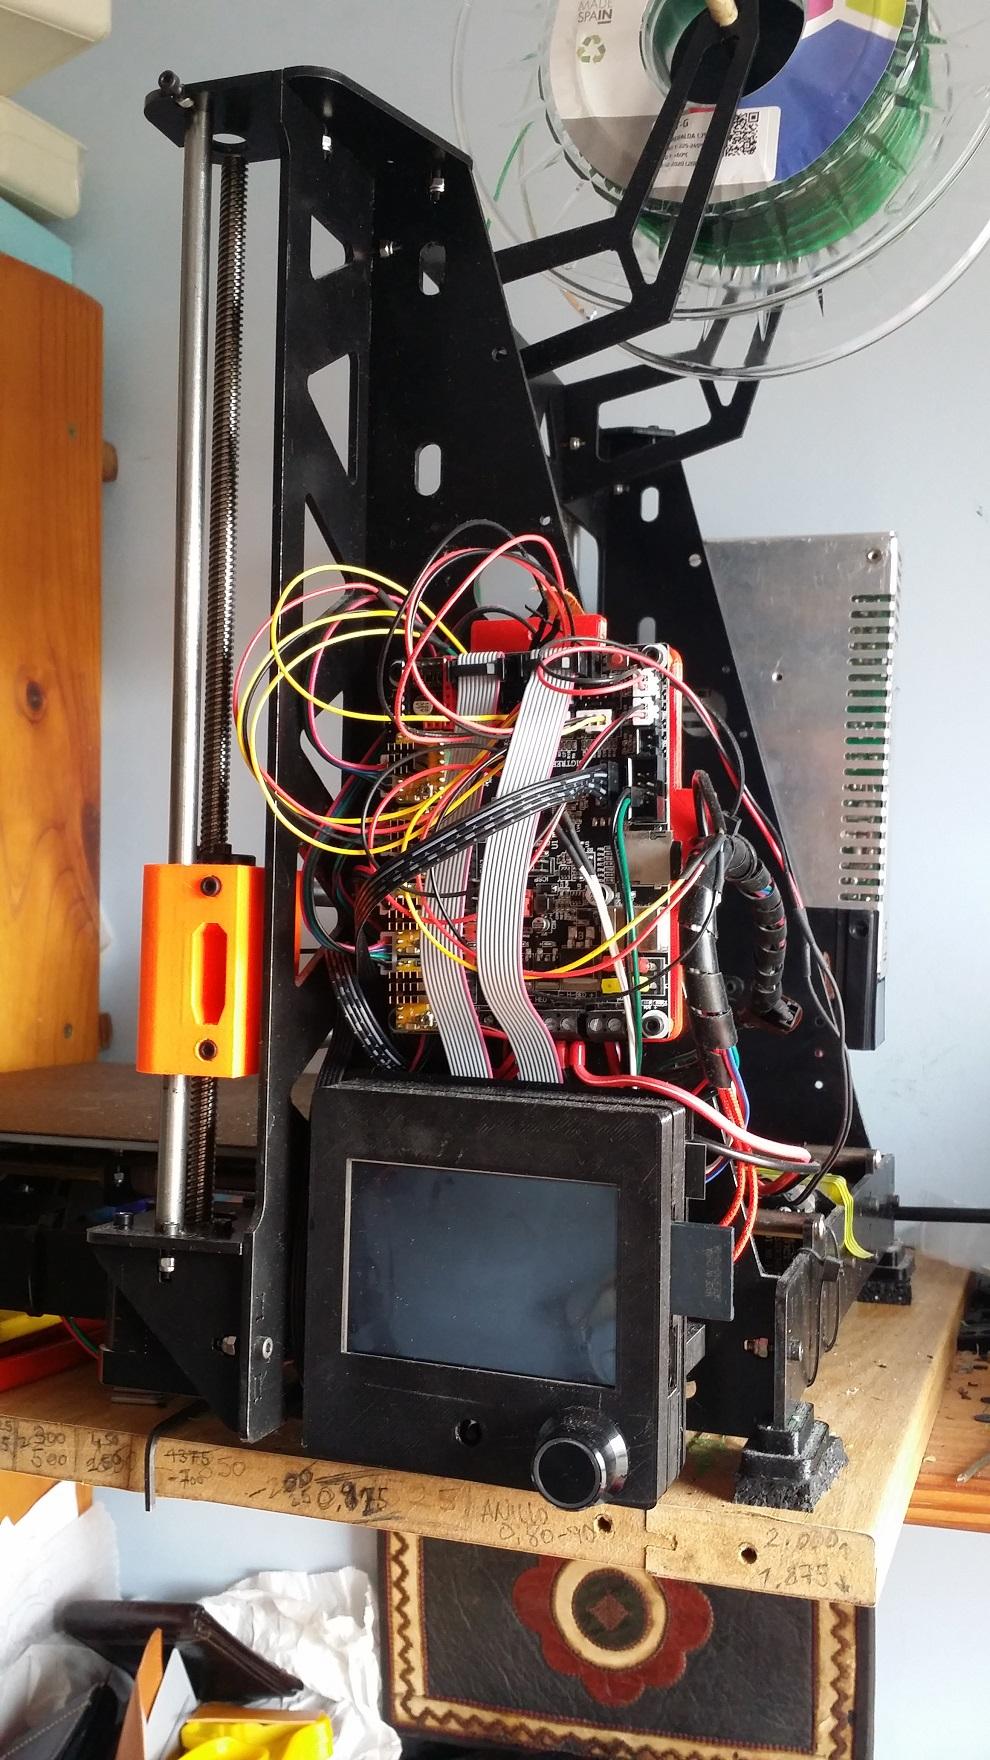
I upgraded the heatbed on mine a few months back as it was not magnetic, it was one that came with the printer and i got tired of changing the PEI sheet. It now has a new magnetic one with a metal poder coated PEI double sided and is going really good up until now. The only thing i miss is the smooth side instead of the rugged one it has now with the new plate. I was thinking of trying a mirror again as this gives a really nice finish if you can get the part to stick! I used a piece of old glass and a small piece of old mirror to test a while back and it worked pretty good but the longer parts would warp and some of the smaller ones would unstick. It could have been the wrong type of glass or mirror?? not sure, i might give it a try again one day again but at the moment the longer/wider parts with a little brim has worked ok. -
Thanks for the photos and the video David, judging from the video from youtube of the other 68 and yours it looks pretty much the same?? it is hard to see even in slow motion, i see that small lift when the needle goes in and on the other youtube video it looks like on the top it also is synchronized the same as yours when the needle enters the leather so this must be at the correct position then?? I must be wrong then in saying that it should lift to help pass on the leather?? I would have imagined some kind of adjustment for the thread tension on the take up also but it looks like the small post for that on the left is in a fixed position at the end of the curved arm which swings left to right inside the head?? the large screw on the plate being the pivot point?? is that correct?. I also remember when using linen thread on the machine it made a small twist-loop before entering the leather? a #207 bonded nylon thread works good in these machines with about a #22 needle. Maybe someone with this specific machine (or very similar) here on the forum could shed some light on the adjustments if any are possible. You done a good job with the needle bar and the fixing it with the shims David, well done. If you are up and sewing then that is a good sign.
-
This is just a video i found on the internet, this is not my machine otherwise i would have made a video trying to explain this cam motion but it looks like from the video if you put the speed to the lowest in the settings-playback speed you can see the needle looks like it is in the down position when the foot is raised by the cam? Maybe if you could taka a picture of the head from the front with the cover off?
-
Hi, If you could upload some pictures of the problem area or a short video this would help. Have you downloaded a parts list of your machine? You can normally find them easily on the internet and maybe if you are lucky a user manual?
-
Hi David, Here is a short video that will show what your foot does when sewing. On the 45k68,69 and71 the definition is "Drop Feed, Needle Bar Cam, Compound Take-up and High Lift". The normal 45k1 etc.. were "Drop Feed, Needle Bar Link", and the 45k56 and 89 were "Drop Feed, Needle Bar Link, Vibrating and Climbing Presser. So your cam is to ease the pressure between the foot and the teeth by lifting up the foot slightly instead of it being pushed only by the teeth of the feed dog.
-
Yes Glenn, it is meant to get you in the mood for sewing patches onto boots! Jajaja....
-
I have 8mm leather on the 2 45s here and they work just fine but i suppose that is all personal choice in the end. I am sure 10mm would work well also?
-
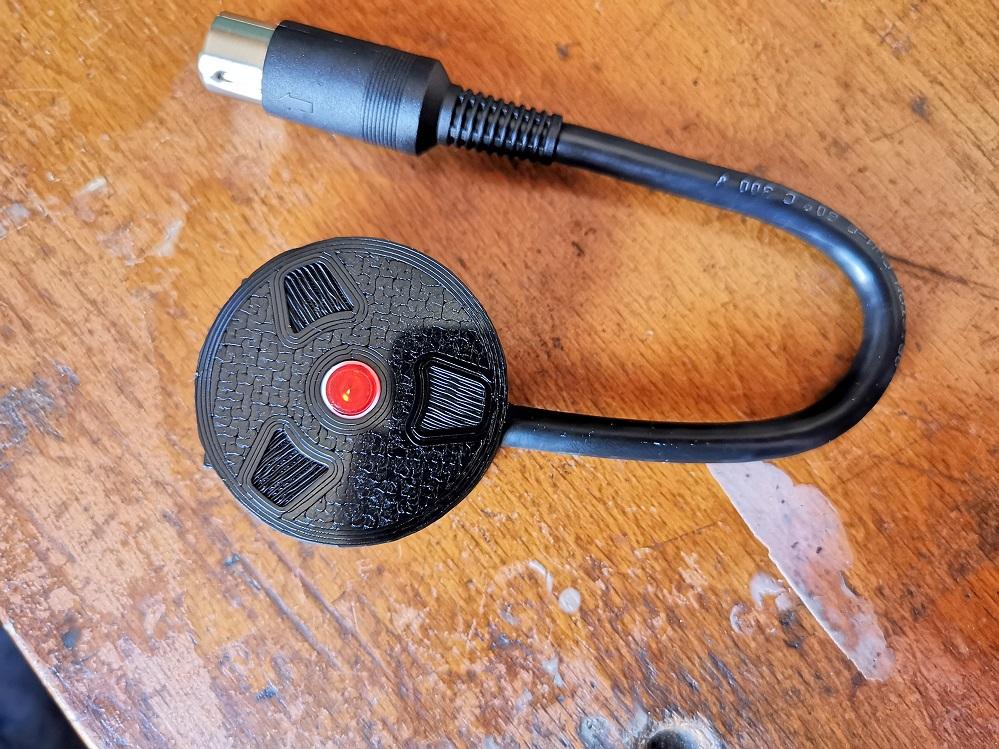
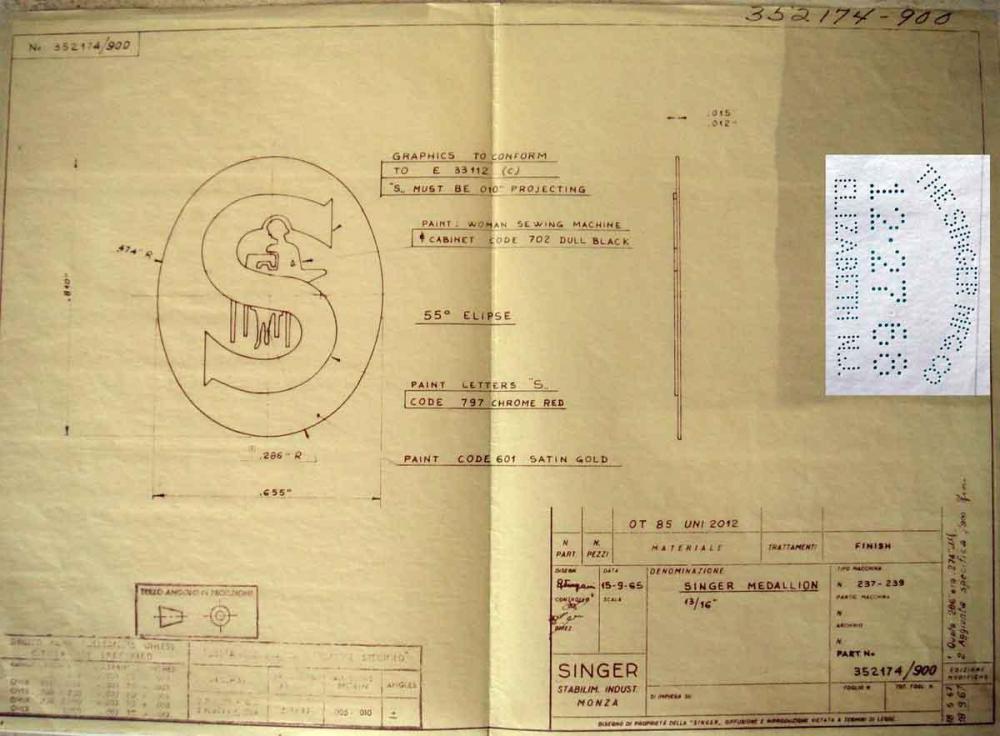
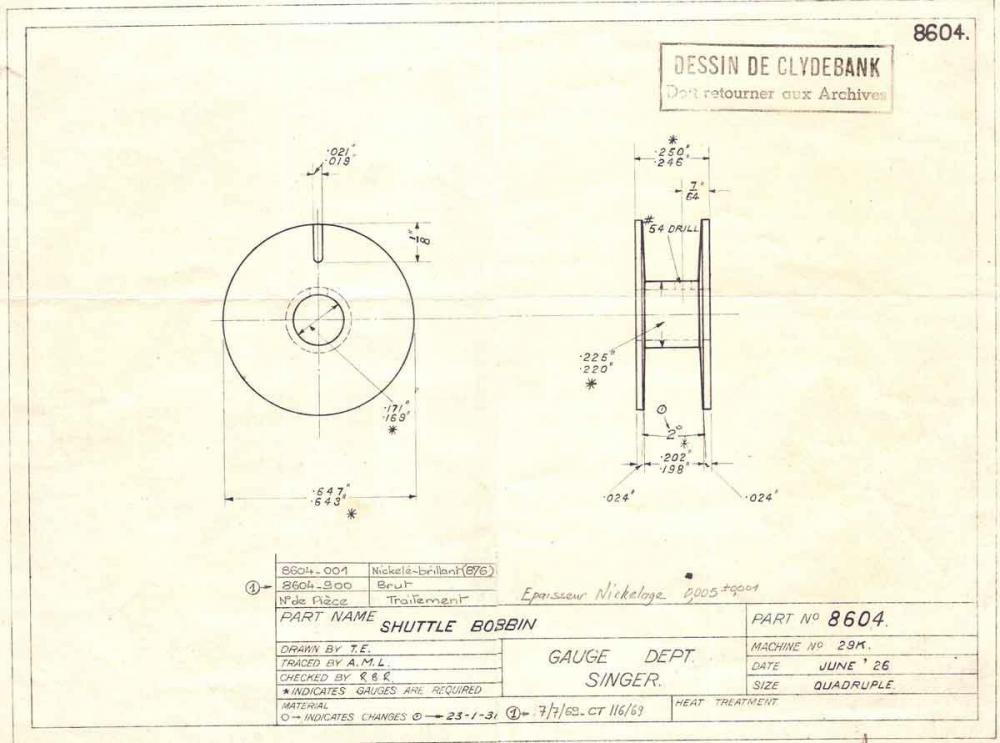
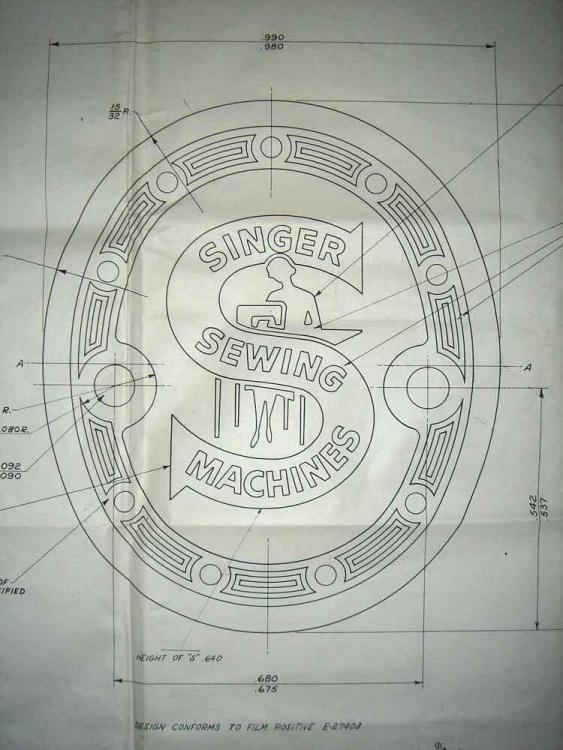
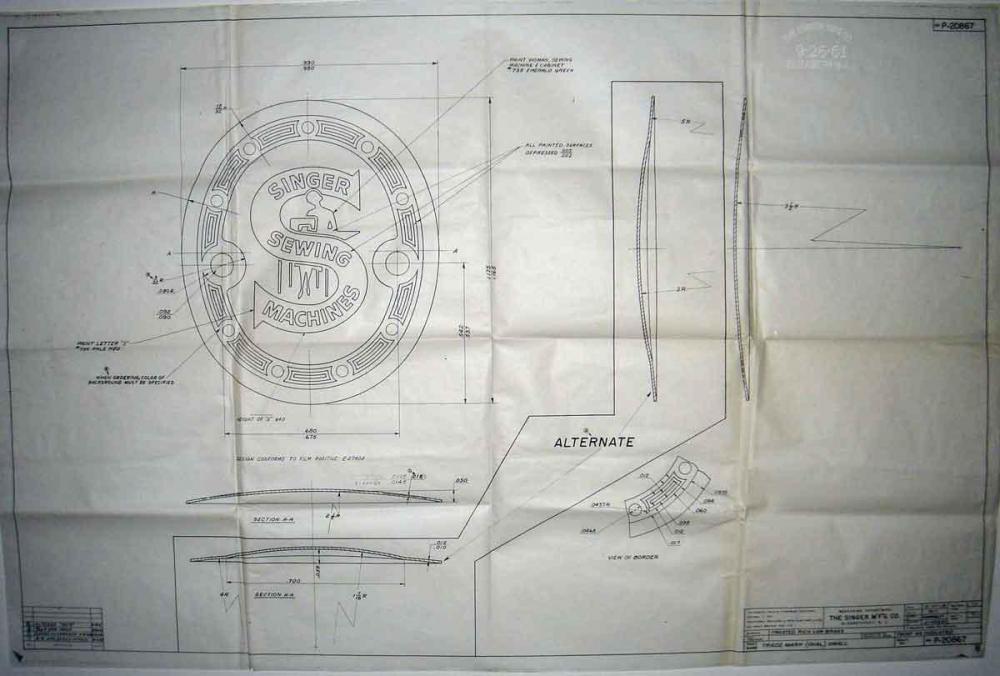
Original Singer 29k bobbin drawing and Badge
jimi replied to jimi's topic in Leather Sewing Machines
Hi Bob, Sorry they are the only ones i have found, seemingly the Clydebank ones were destroyed when the factory closed?? If i find anymore i will put them up for sure. -
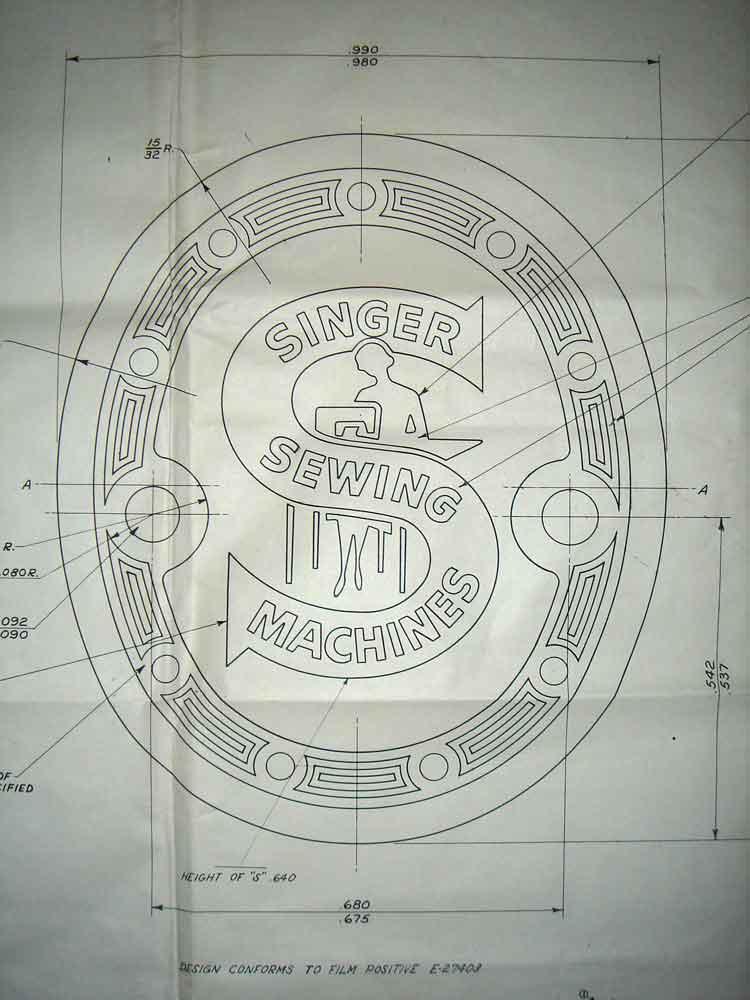
Just thought you might like to see these...not many around. The badge looks like it is for a domestic?? there were two sizes small and large i think and this ones looks like the small one because of the holes where the pins go??
-
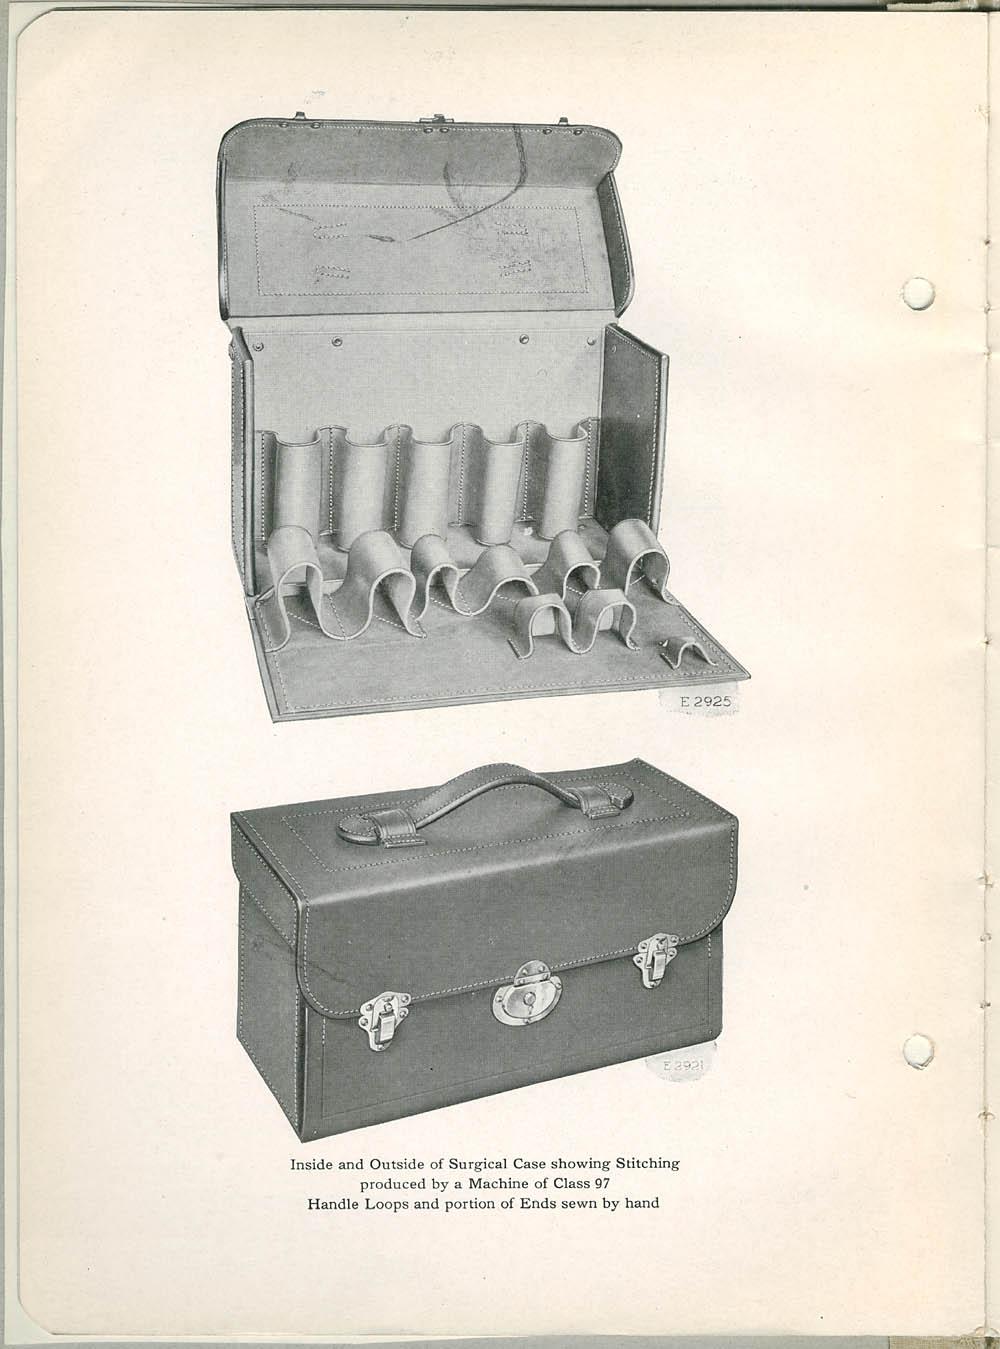
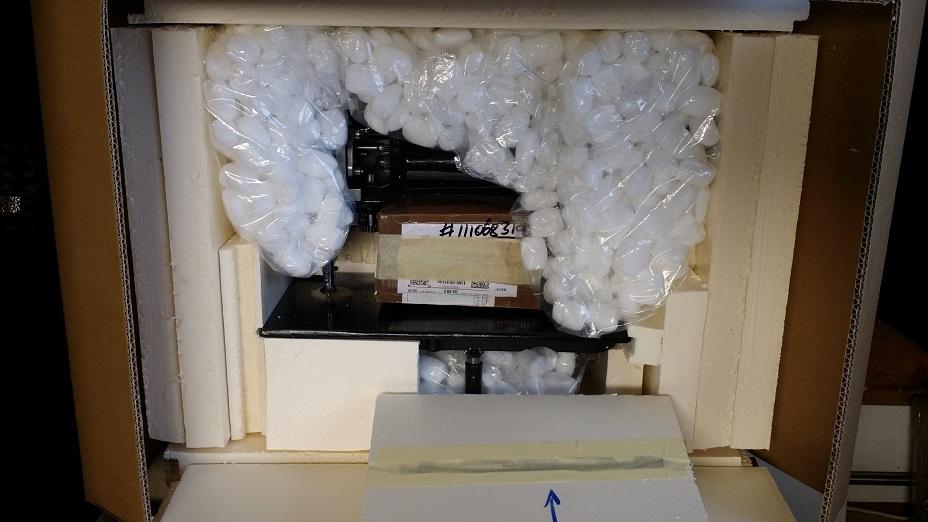
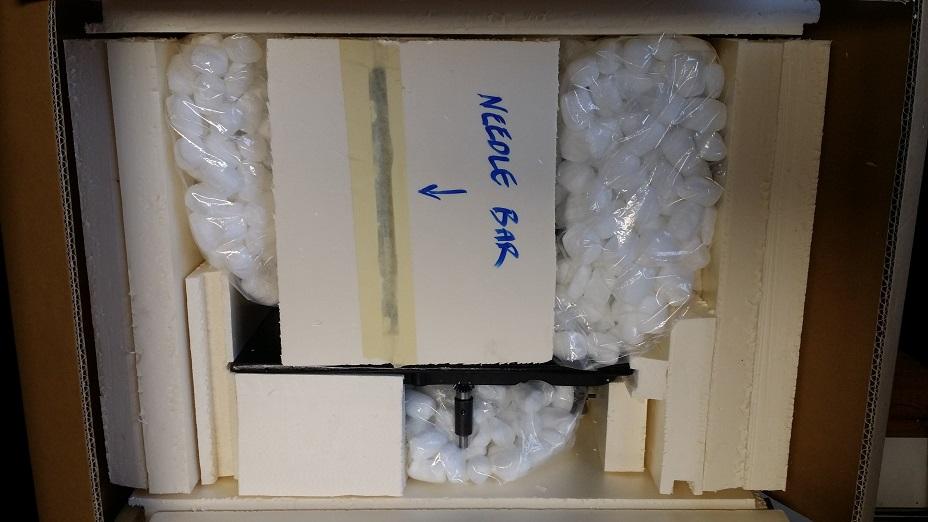
Here is one i sent a couple of months ago which arrived safe... the good thing about the foam is it is strong and light. There is a few more squares of foam under the bags to stop the machine from moving around, then the square on top with the needle bar also stops the machine from moving.
-
No.... it is machine sewn, as you said it has tracks from the sewing machine and it has been back tacked 4 or 5 times each side.
-
Yes correct tsunkasapa, that is a chain stitch and looks like a double needle machine. This works with one thread only and a looper instead of a bobbin, in this case 2 threads and 2 loopers. The machine that comes to mind for this heavy duty work would be a Puritain stitcher. You have probably heard of them???
-
Not needed anymore.....machine is sold.
-

-
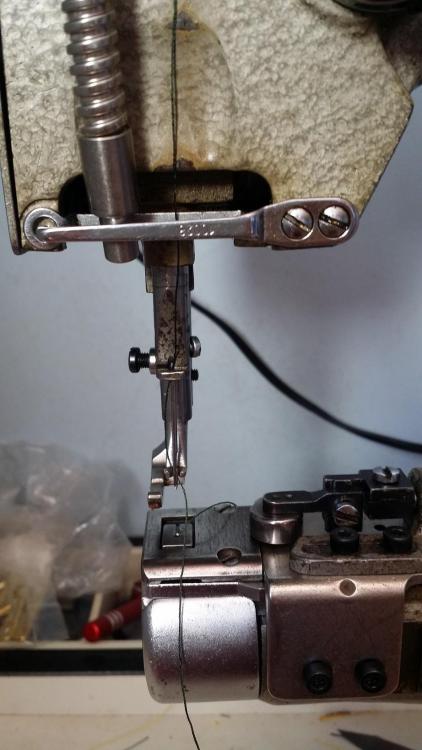
Need help threading Brother machine
jimi replied to rivercityleather's topic in Leather Sewing Machines
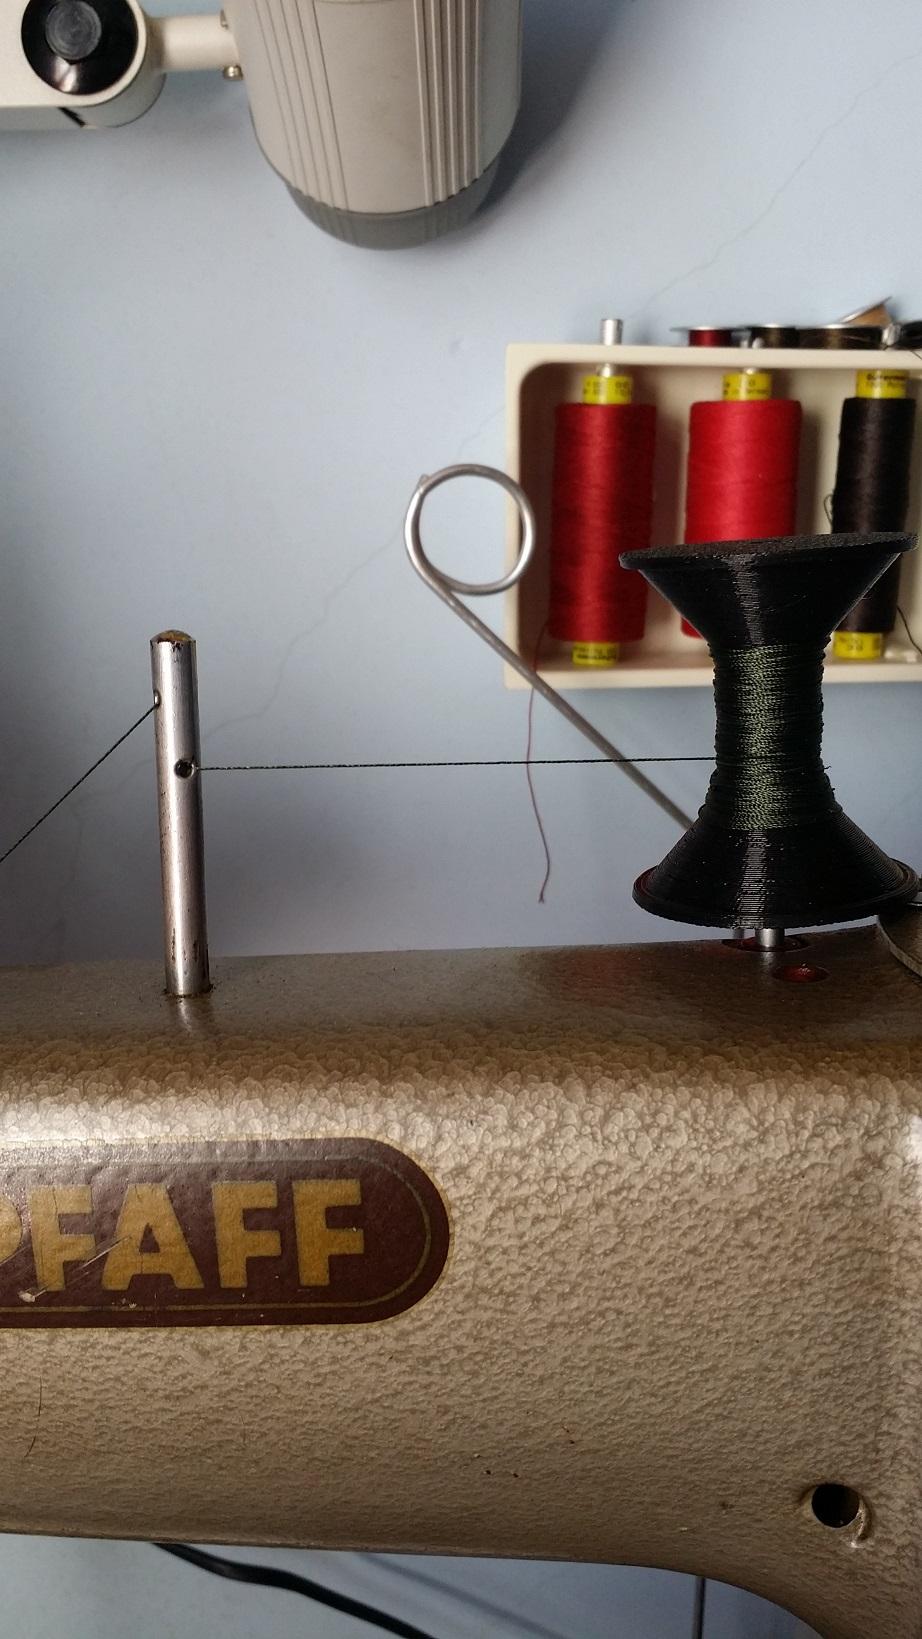
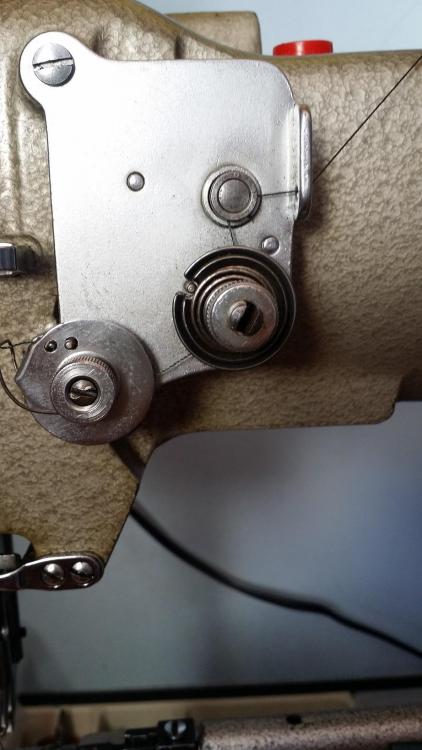
Hi Rivercity and welcome to the forum. Here is the path for the thread, usually i have the thread from a large cop just behind the machine and coming through the wire at the back in the picture or directly from the bobbins on the wall. Hope this helps.

-
In that case i would probably look for a second hand little used Dremil around your area, sometimes people buy them for the urge and don´t use them in the end so you might get a good deal. Also people get them as presents and then sell then off when nobody in the family is looking! I think they are made in Mexico??