Basically Bob
-
Posts
584 -
Joined
-
Last visited
Content Type
Profiles
Forums
Events
Blogs
Gallery
Store
Everything posted by Basically Bob
-
Needles Keep Unthreading! Please Help
Basically Bob replied to thekid77's topic in How Do I Do That?
... Give this metnod a try. Thread the needle. Twist the thread (long portion)to separate the cords and make a "hole" right next to the eye of the needle. Put the tag end through the hole . Twist the thread (long section) hard against the eye of the needle and rub the thread back towards you to work the wax in as best you can. Make sure that you load ip the ends of the thread heavily with wax. Not the published or traditional way of doing it but I find that it is quicker and that the thread holds on better for me. -
Phone Holsters
Basically Bob replied to Airth's topic in Purses, Wallets, Belts and Miscellaneous Pocket Items
Looks great! I like the rugged look, for sure. That being said, you really do need to get that slit right for the Sam Browne stud. Looking forward to seeing more of your work & thanks for sharing! -
Looks great! Thanks for taking the time to share.
-
Any Books Or Video Guides On Fine Leather Working?
Basically Bob replied to DavidL's topic in Resources
Sure. Volume one covers the basics: attaching hardware, shields and tabs, bckles , rivets and snaps, the correct way to attach belt loops. Knife sheaths, cheque book covers and a mote book cover. Volume two is more advanced with lots of info on the construction of various handles and installing zippers.brief cases, toiletry bags, book/bible covers etc.. Lots of info on the internet about all of Al Stohlman's books. -
Any Books Or Video Guides On Fine Leather Working?
Basically Bob replied to DavidL's topic in Resources
.... I should have explained a bit more. I use the Stohlman books, primarily as a reference for case construction techniques, loops, hardware attachment etc. but do not use the North American stitching style (grooving a stitch line). -
Any Books Or Video Guides On Fine Leather Working?
Basically Bob replied to DavidL's topic in Resources
Like Joe, I use Valerie Michael's book (The leatherworking Handbook) extensively for stitching info. I use Al Stohlman's techniques outlined in his "The Art of Making Leather Cases" Volumes one and two. Val Michael's techniques are in the "British" style which is my personal preference. -
Yeah ... I like that!
-
Barbed Wire Belt
Basically Bob replied to Rohn's topic in Purses, Wallets, Belts and Miscellaneous Pocket Items
Nice, Rohn! -
Good work, Chief ... Nice 4-banger, too!
-
Small Holster For S & W Snuby
Basically Bob replied to Rohn's topic in Gun Holsters, Rifle Slings and Knife Sheathes
Like it a lot! -
Did An Iphone Holster
Basically Bob replied to Quillleather's topic in Purses, Wallets, Belts and Miscellaneous Pocket Items
Looks great! I especially like the effort you put into the design. -
Sweet!
-
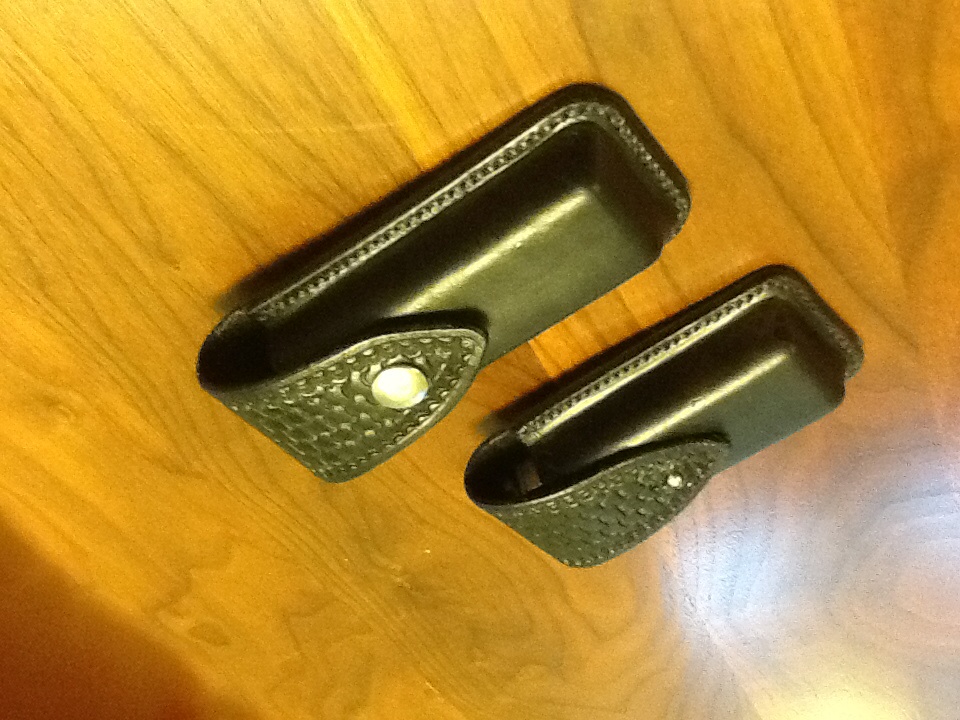
Leatherman Cases
Basically Bob replied to Basically Bob's topic in Purses, Wallets, Belts and Miscellaneous Pocket Items
LoyalNine, thanks! The leather is a little on the heavier side - 7 oz. i used it because I had a piece that was a little stiffer than norm and I thought it would suit this application well. I out the belt loop together using Al Stohlman's, case making, volume one as a guide and use his standards for everything I do, concerning hardware attachment and loops etc. Here's a pic - a little rough but it 'll get the job done!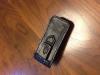
-
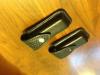
Leatherman Cases
Basically Bob replied to Basically Bob's topic in Purses, Wallets, Belts and Miscellaneous Pocket Items
Stitched at 7 spi and used a Dixon 1 1/2" pricking iron. I finally have the corners nailed and actually prefer to use the 1 1/2" iron rather than the 1/2" or two tooth iron I have. Finished with 7 spi overstitch wheel. -
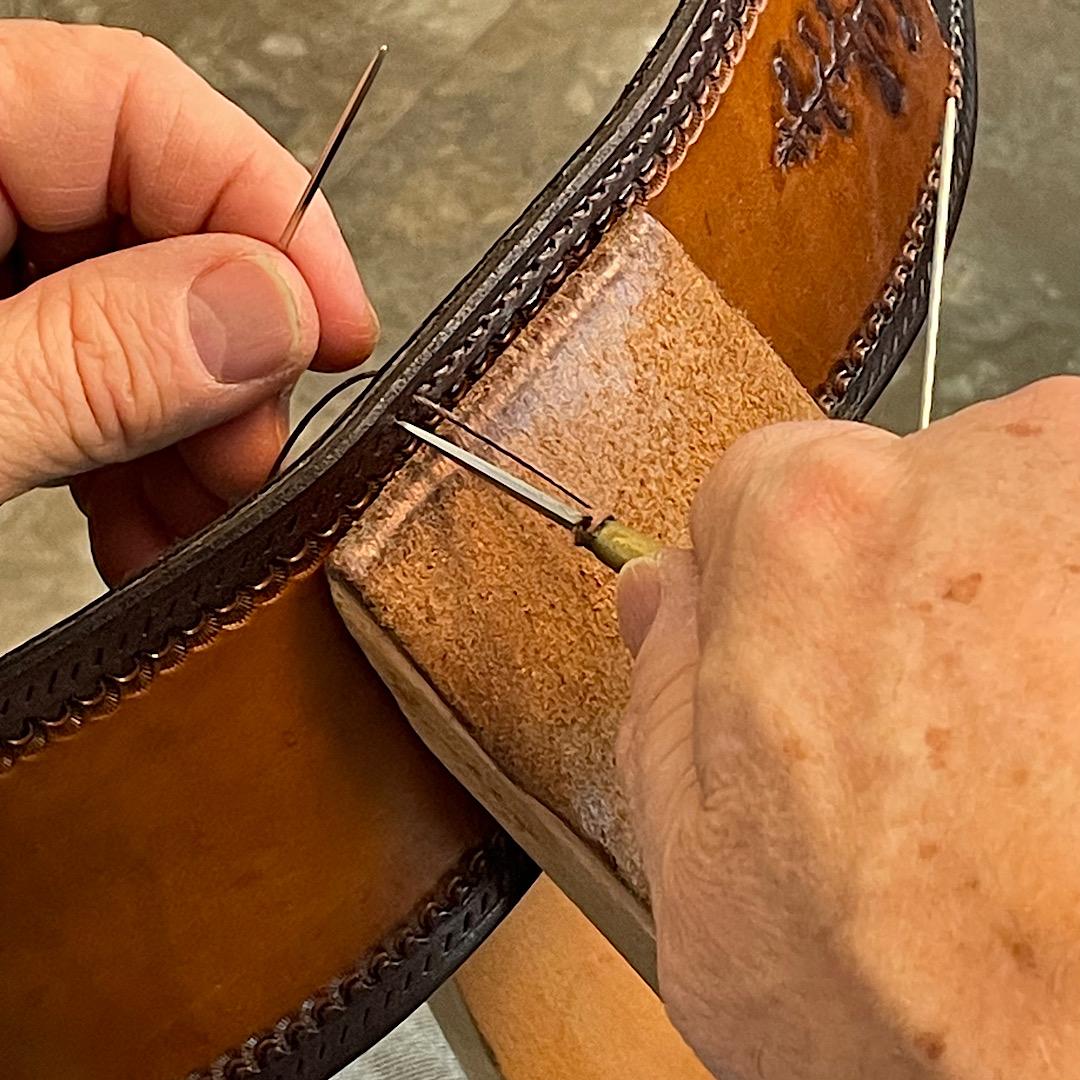
Leatherman Cases
Basically Bob replied to Basically Bob's topic in Purses, Wallets, Belts and Miscellaneous Pocket Items
Dang ... I have no idea why the photos I post on this site or not oriented properly. Nor do I know how to fix it! -
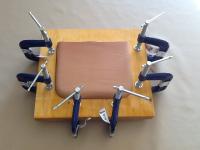
Thought you might like to take a look at these two molded cases.
-
Beautiful work!
-
Classic English Briefcase
Basically Bob replied to AndersenLeather's topic in Satchels, Luggage and Briefcases
You did a great job ... congratulations! -
Insulation Foam For Molding Leather?
Basically Bob replied to minimal Oz's topic in Leatherwork Conversation
Interesting ... Trevor, those cases are awesome! -
Black Water Buffalo Briefcase
Basically Bob replied to Paulsleather's topic in Satchels, Luggage and Briefcases
Sweet! You did a great job! -
Good for you, Joe!
-
Pegasus Document Folder
Basically Bob replied to leatheroo's topic in Purses, Wallets, Belts and Miscellaneous Pocket Items
Wow! Looks great! -
Custom Double Gusset Briefcase
Basically Bob replied to AndyL1's topic in Satchels, Luggage and Briefcases
Looks great! I always find your work inspirational. -
I really like the burst effect.
-
Here's the formula That works for me: Strap Length = Belt measurement - the buckle's inside diameter + fold-over (2 3/4") + 6" for the billet end Note that I space the holes 3/4" apart. If I understand your question correctly, I am adding 8 3/4" to the belt measurement. I would not want to use anything shorter but adding a bit certainly wouldn't hurt.